Overview
This guide covers the recently discovered debug console and the commands that can be used: spawn rideable mounts, enemies, change player skills, assign spells, alter levels, alter your party, add NPCs, etc. — Now updated for Definitive Edition!
Unlocking the Command Console
In order to access the built-in console in the first place, you will need a small modification to be able to open it in-game — here are your options.
Method 1a:
DQXI-SDK (03/2021): [link]
^DQXI-SDK includes DQXISHook (below) but also adds a number of additional features: custom binds, RenderFix, first person mode, and enables even more commands.
For the demo version, use the standalone DQXISHook (below):
Method 1b:
DQXISHook by Havoc *updated for Definitive Edition! (01/2021)
[link]
Note: If you use an international keyboard– the code that binded the console keys for non-English keyboards (added in OG DQXIHook v0.4) has not been updated in the new version (DQXISHook 0.6a). If you would like to use the console, it is recommended to temporarily switch your keyboard configuration to “EN_US”.
You can also use “[” to open to command console, as well as changing the key to bind the command console to in Input.ini by adding this section at the bottom:
[/script/engine.inputsettings] ConsoleKeys=P
Method 2:
Universal UE4 Unlocker [UUU] version 3.0.0 – 3.0.9
[link]
Versions of UUU newer than 3.0.9 do not work with DQXI DE, you can grab a copy of 3.0.2 from this link[cdn.discordapp.com]

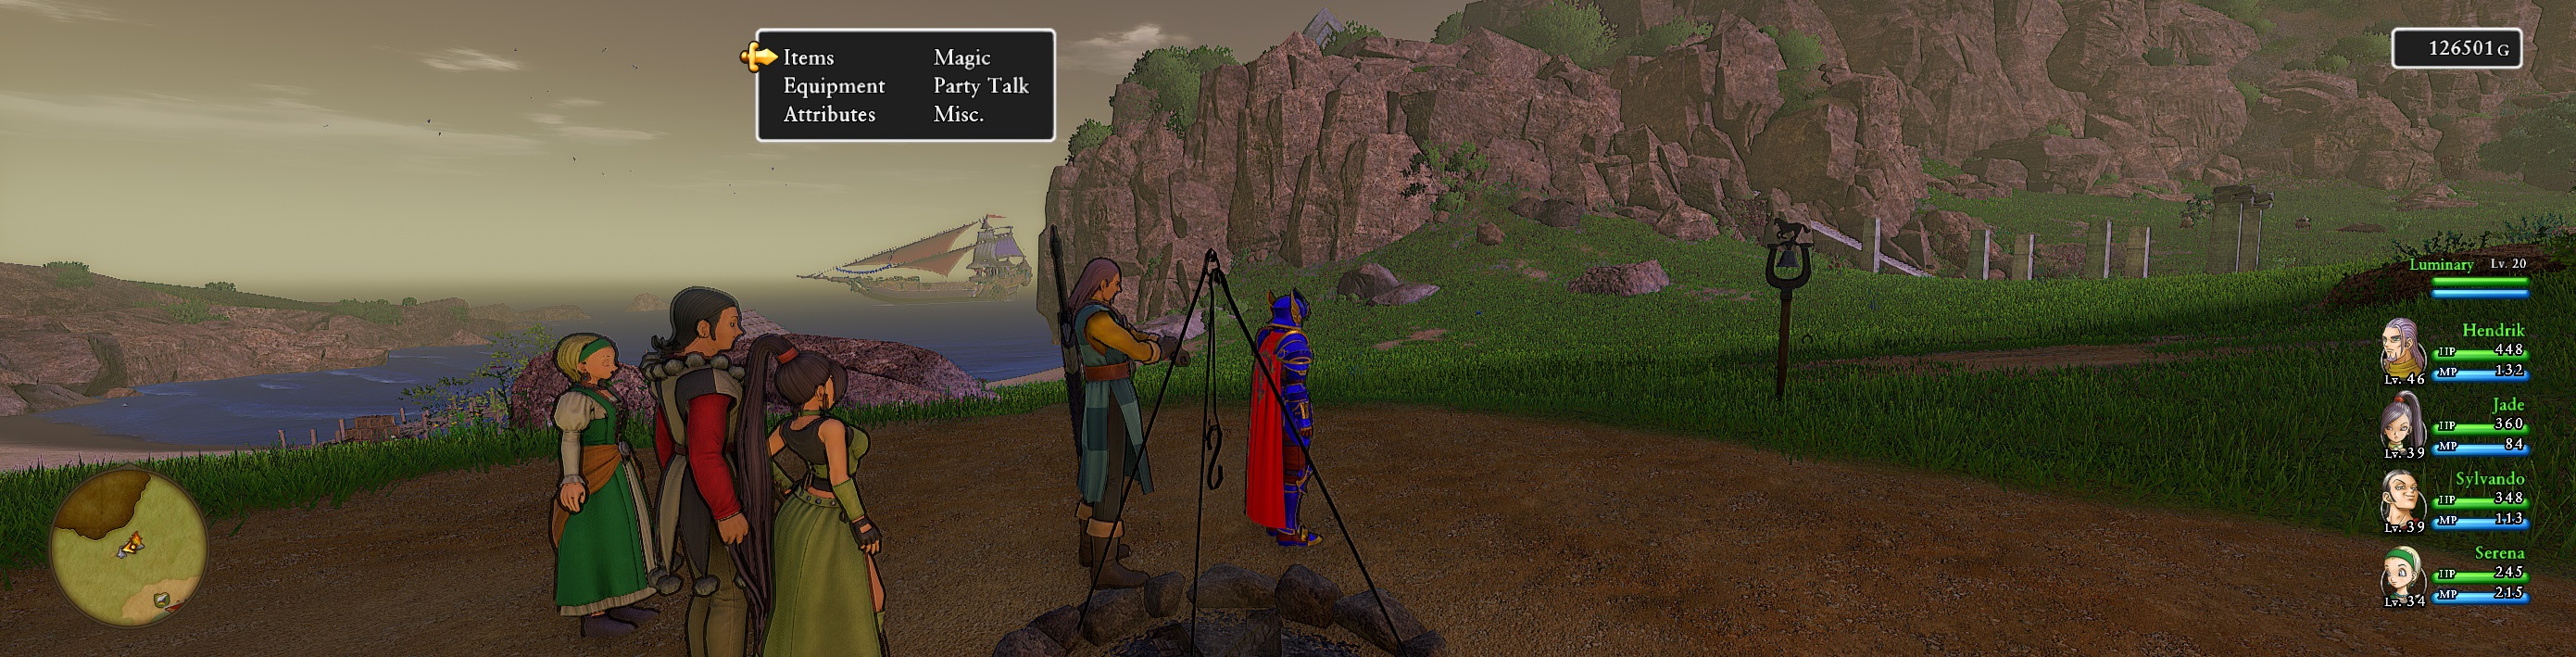
Once you have one of these modifications installed, you can press the tilde (~) or left bracket ( [ ) key in-game and a console will pop up at the bottom of the screen. Press it again, and it will open completely:
<—–
Press it once more to close the console.
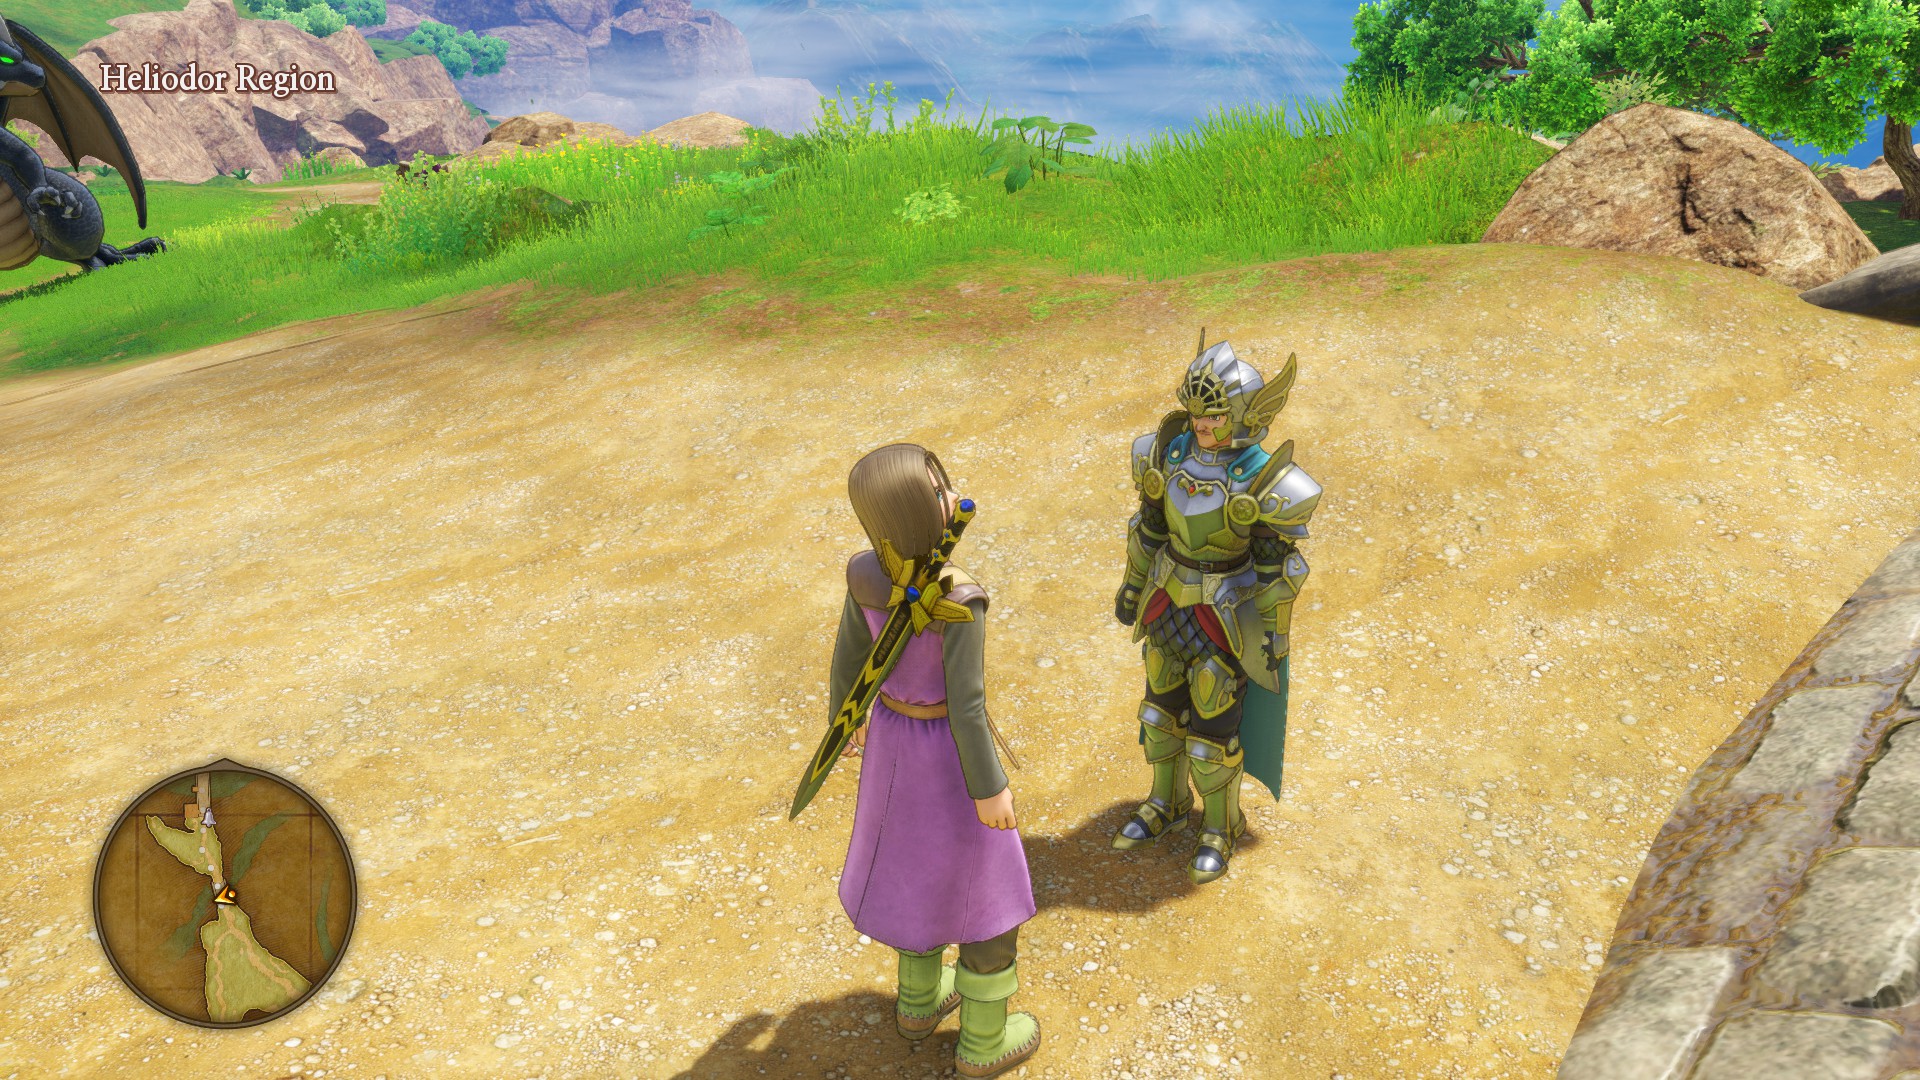
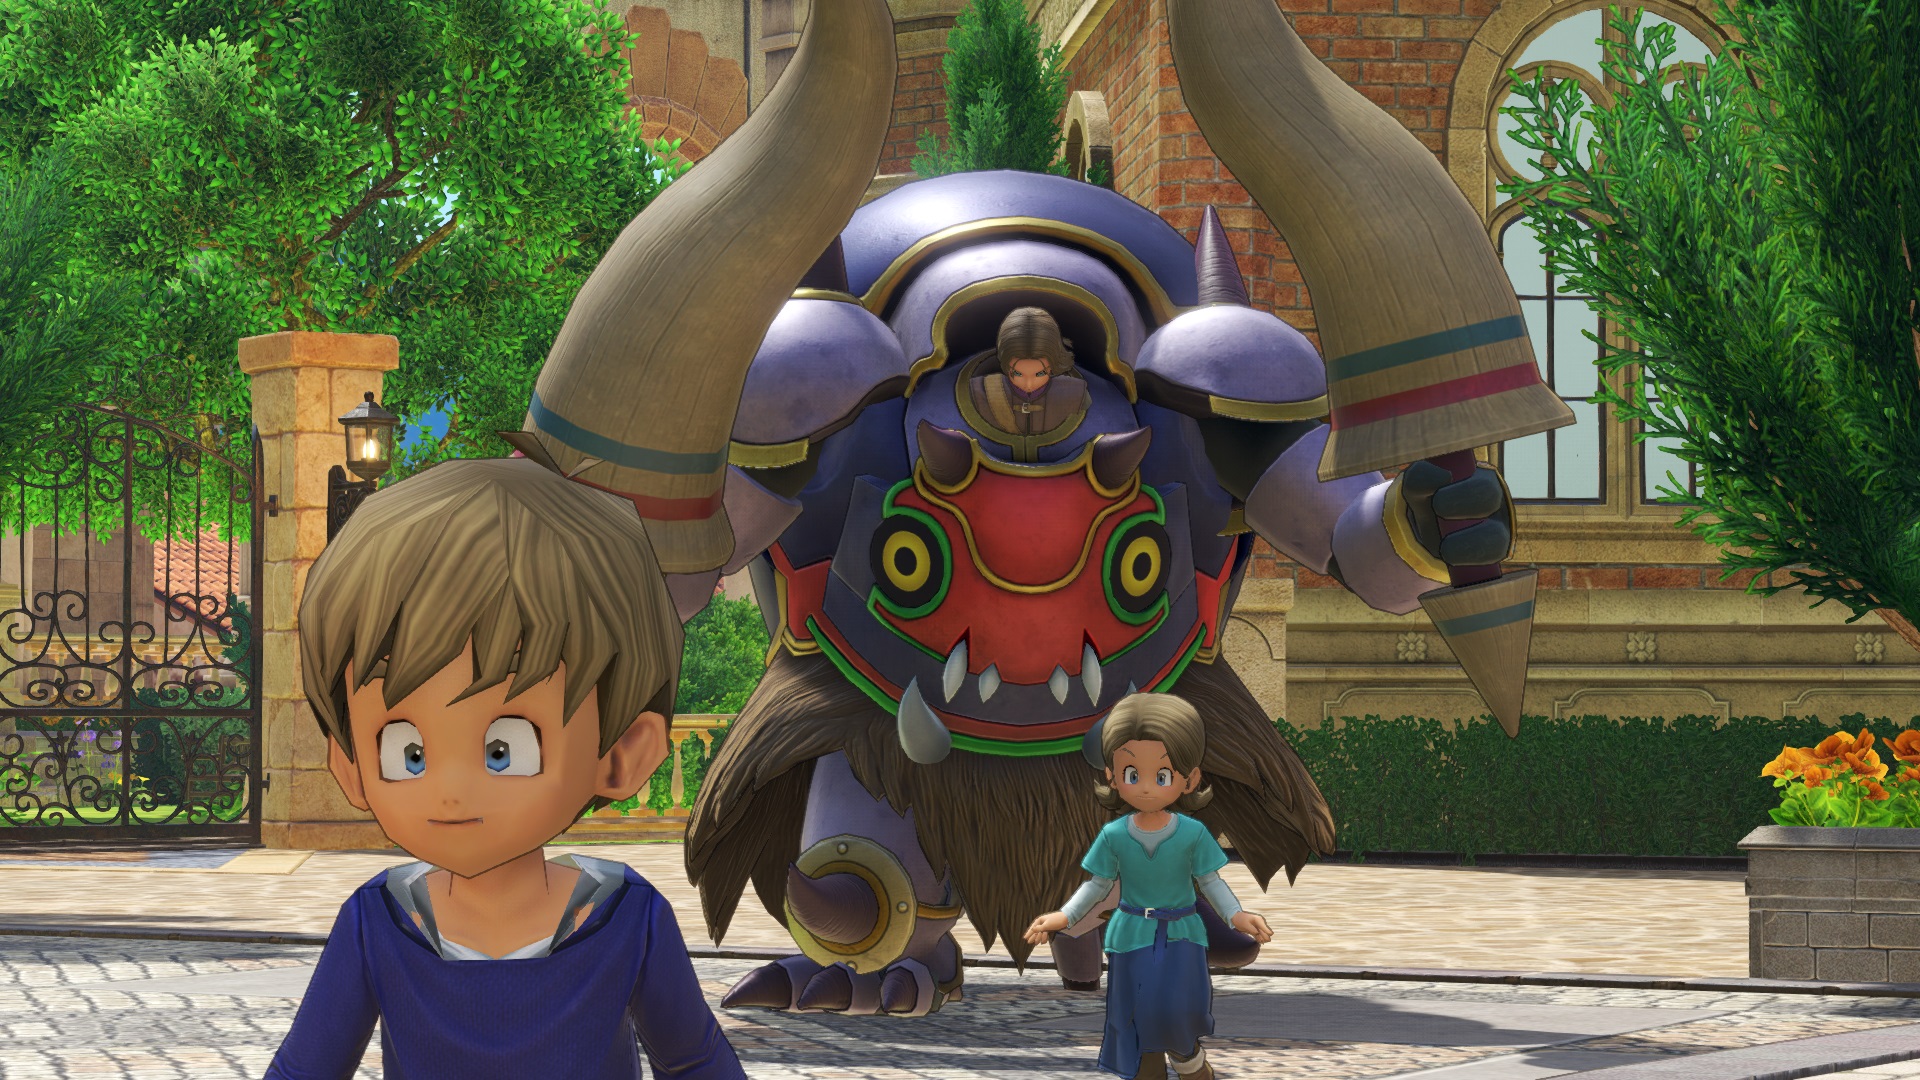
Adding/Changing Party Members, Guest NPCs
As you (probably) know, there are many points in the game where a character will join your party for a short time, they’ll follow you around in the overworld, and basically do their own thing in battle. Now we have a way of adding them to your party at any point! But here’s the caveat: you can only have 2 in your party at a time.
Here’s the command syntax:
GuestNpcJoin <GuestID>
<GuestID>
Name
————–
<GuestID>
Name
GN00001
Sandy
GN00015
Snorri
GN00002
Gemma
GN00016
Hendrik
GN00003
Erik (Hooded)
GN00017
High Lama
GN00005
Connie
GN00018
Sylvando (Parade)
GN00006
Veronica
GN00019
Son
GN00007
Serena
GN00020
Atsuo
GN00008
Sylvando
GN00021
Hendrik (Knight)
GN00009
Dave
GN00022
Erik
GN00010
Vince Vanquish (MMA)
GN00023
Dog (Heliodor)
GN00012
Jade
GN00025
Irwin
GN00013
Connie
GN00026
Vince Vanquish
GN00014
Kai
GN00027
Serena (Haircut)
★NOTE★
★28-43 are NEW to DE★
★★★★
★★★★★
★★★★★★★
GN00028
Beastly Boys #1 (leader)
GN00036
Nincompoop
GN00029
Beastly Boys #2 (vice leader)
GN00037
Sleepy Priest
GN00030
Beastly Boys #3 (in-training)
GN00038
Healijah (Healer Slime)
GN00031
Circus Novice
GN00039
The Underdigger
GN00032
Dutiful Drummer
GN00040
Sinderella
GN00033
Juggler
GN00041
Golden Boy
GN00034
Botanist
GN00042
Sylvando
GN00035
Masterful Martial Artist
GN00043
Vince Vanquish
Example: Get Gemma and Sandy as party members
GuestNpcJoin GN00002 GuestNpcJoin GN00023
Removing a Guest NPC:
GuestNpcLeave <GuestID>
For modifying your permanent (main) party members:
FriendJoin <CharacterID>
Example: Have Jade join the party before Octagonia
FriendJoin P006
**NOTE: any characters added with FriendJoin are reset to level 1 (including characters already in your party)!
Removing a character from your party:
FriendLeave <CharacterID>
To keep their equipped items:
FriendLeaveKeepItems <CharacterID>
*New in Definitive Edition: you can now remove Luminary (P001) from your party
Change your overworld character
New to Definitive Edition, using this command will allow you to change the party character you control in the overworld.
SetControlledCharacterType <CharacterID>
Example: Set Sylvando to be the party’s lead character
SetControlledCharacterType P005
Note: Characters with strikethrough text will work to a limited degree but aren’t fully implemented, you may run into issues after hitting the next loading zone.
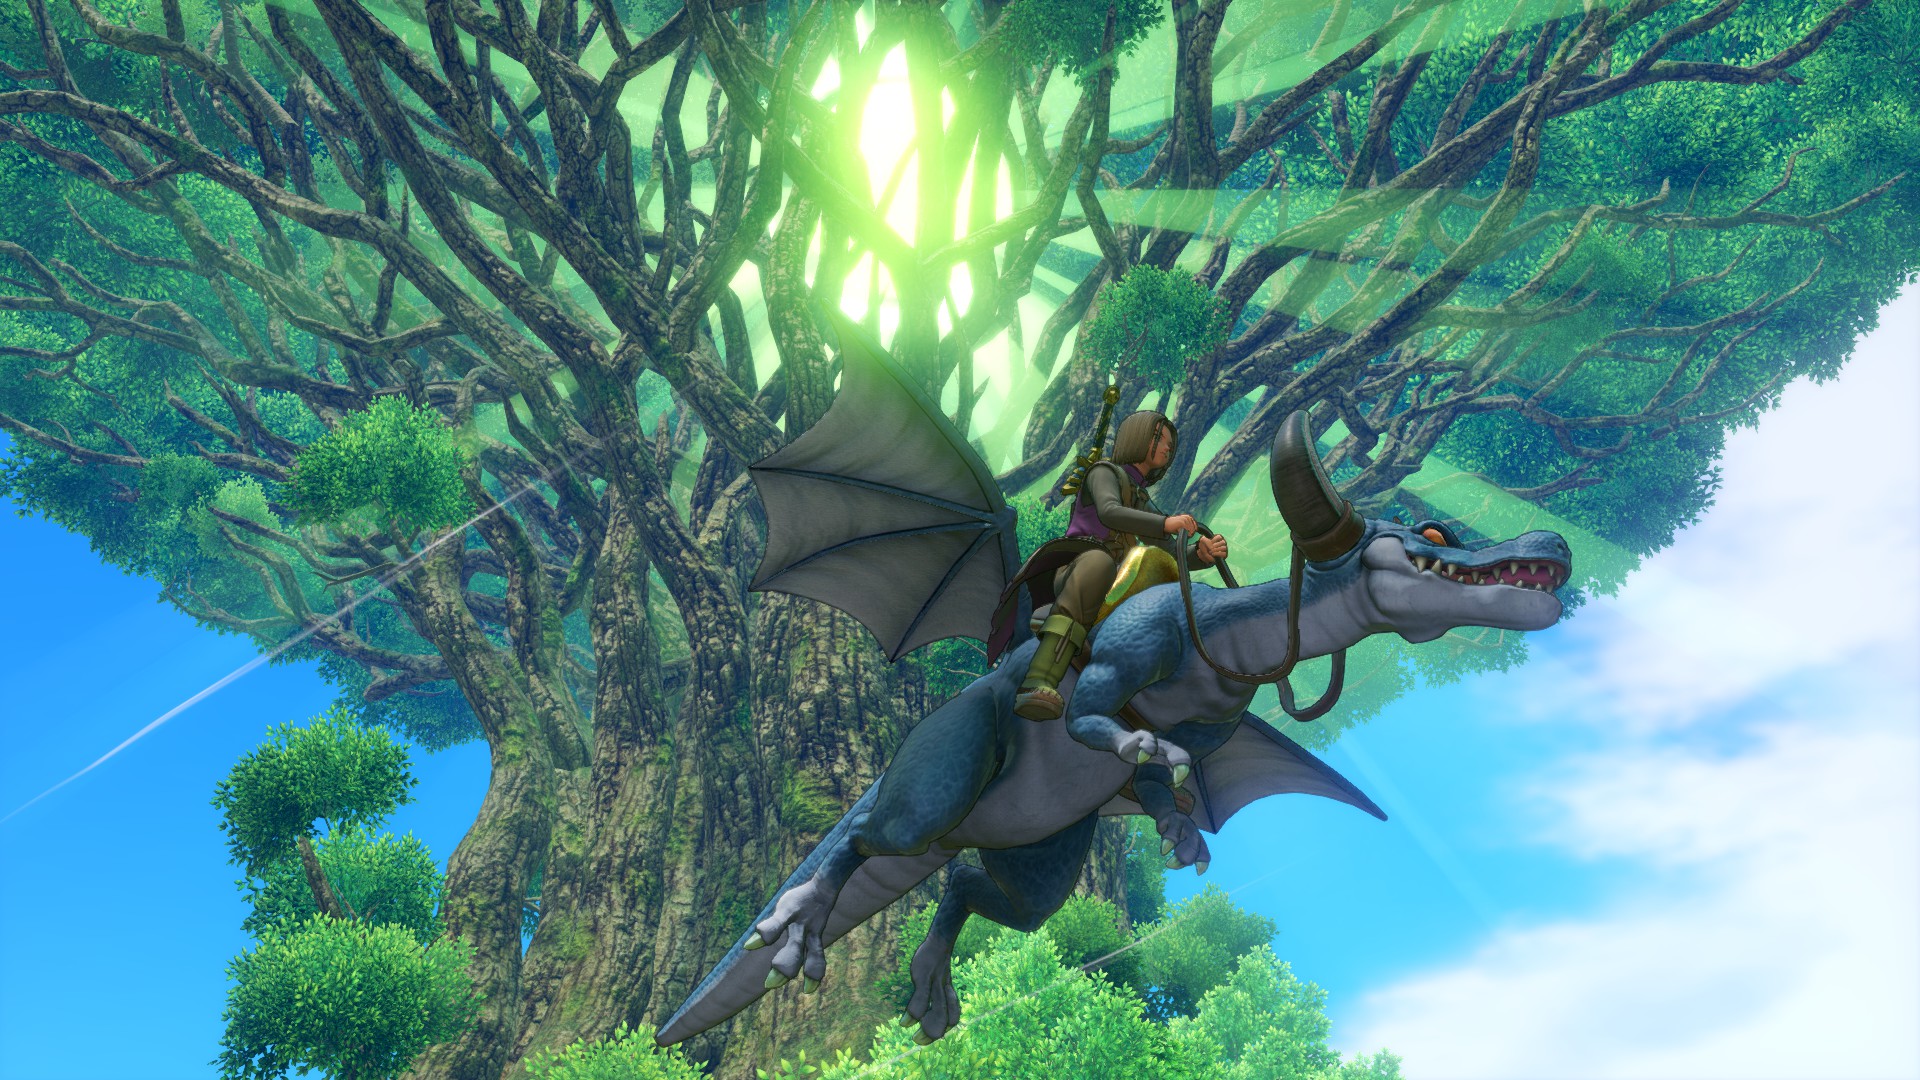
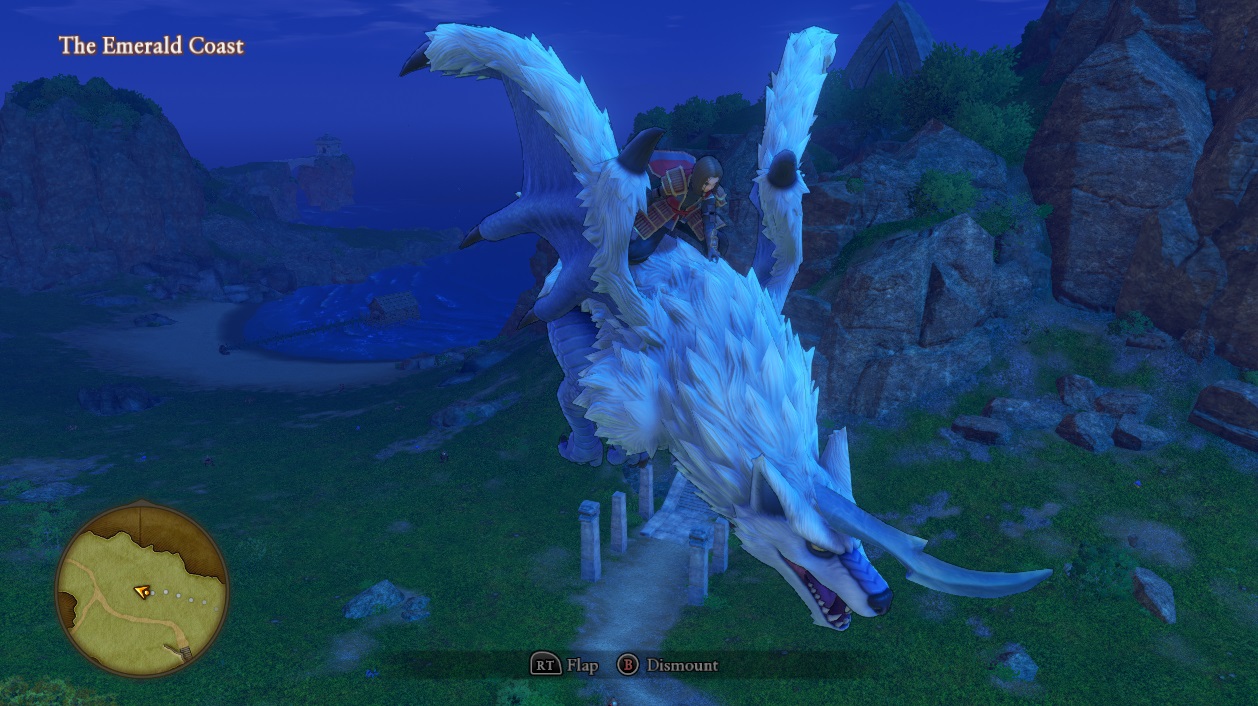
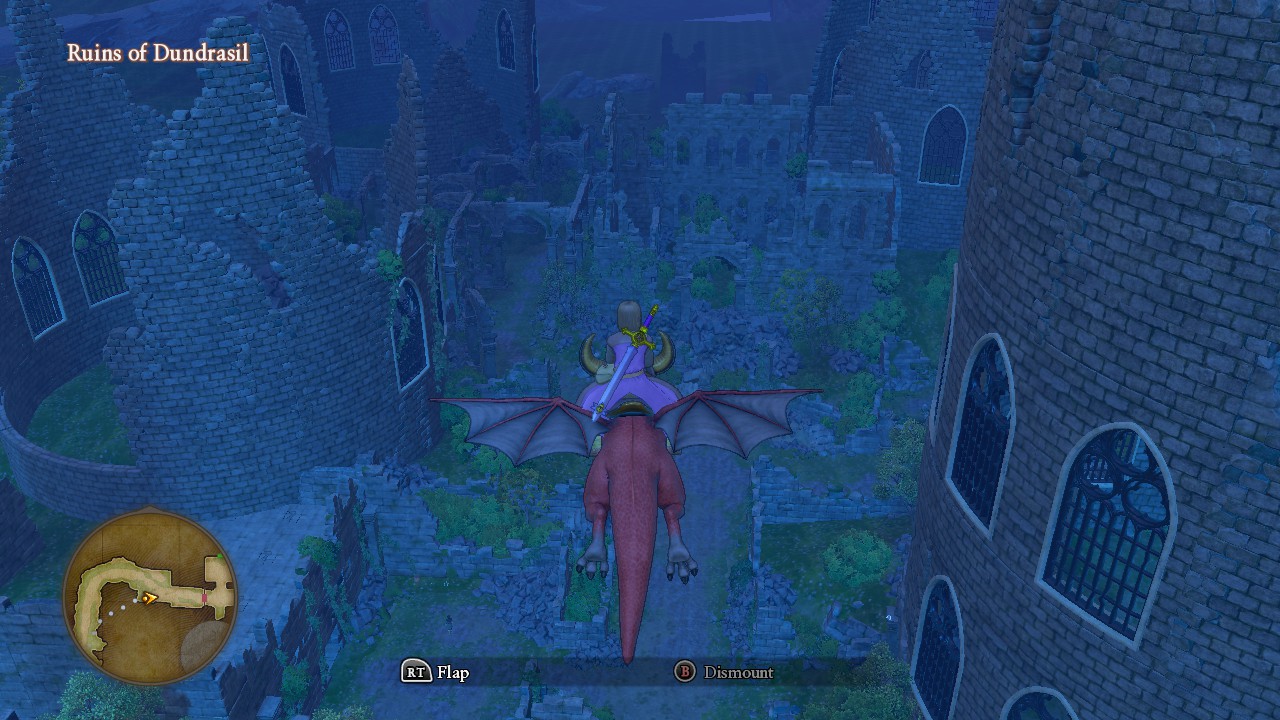
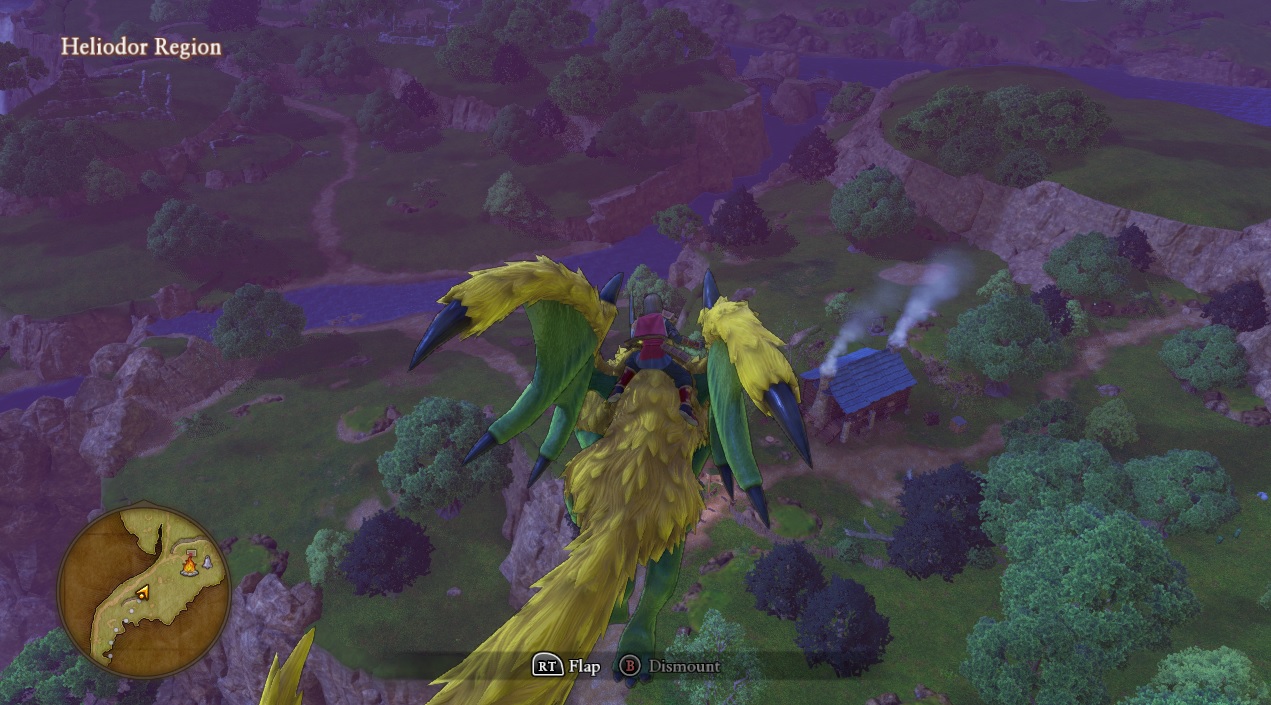
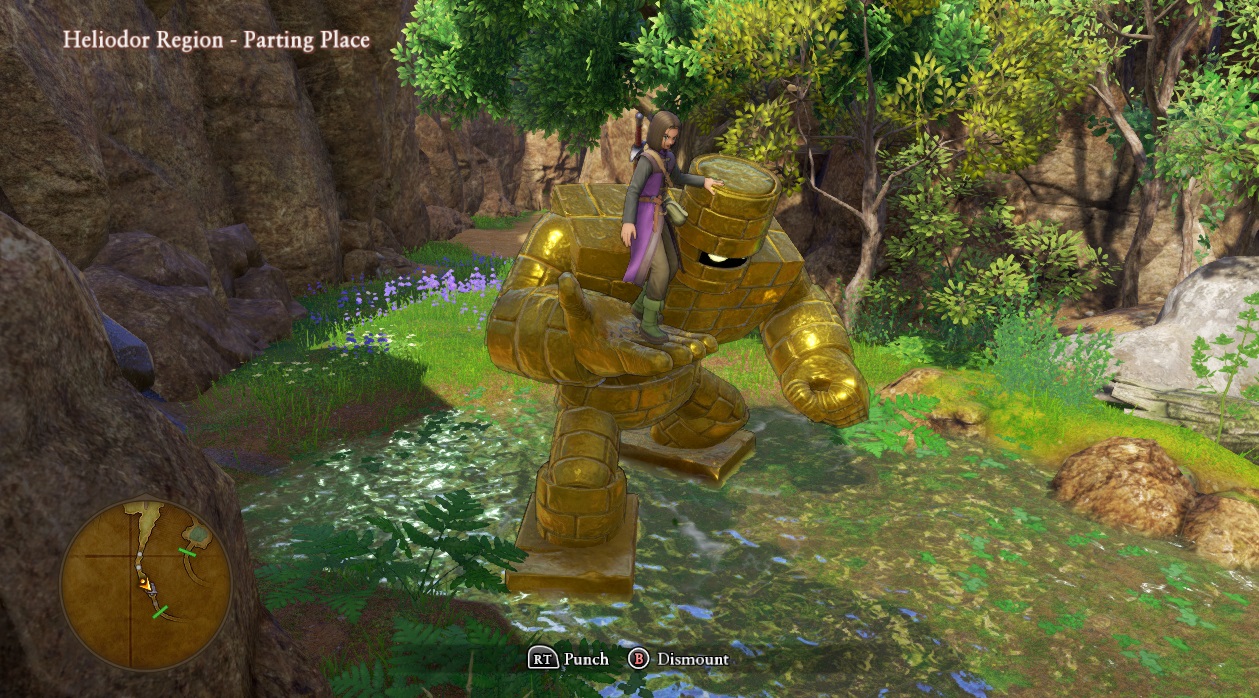
Spawning a Rideable Mount
Please ride responsibly.
ͺ
Command syntax:
VehicleSpawn <VehicleID>
<VehicleID>
Mount Name – Color
————————–
<VehicleID>
Mount Name – Color
V001_E001
Horse – brown
V103_E001
Hornet – black w/ yellow stripes
V001_E002
Horse – white (default)
V103_E002
Hornet – purple w/ light blue stripes
V001_E003
Horse – red / chestnut
V103_E003
Hornet – dark / light green stripes
V001_E004
Horse – auburn
V103_E004
Hornet – red w/ black stripes
V001_E005
Horse – light brown
V104_E001
Skullrider’s Steed – white
V001_E006
Horse – gallopolitan race gear
V104_E002
Skullrider’s Steed – gold
V101_E001
Kaiser – blue
V104_E003
Skullrider’s Steed – purple
V101_E002
Kaiser – purple
V105_E001
Dragooner – blue
V101_E003
Kaiser – turquoise
V105_E002
Dragooner – purple
V102_E001
Eggsoskeleton – gold w/ red legs
V105_E003
Dragooner – red
V102_E002
Eggsoskeleton – silver w/ gold trim
V106_E001
Large (Armored) Horse – purple
V102_E003
Eggsoskeleton – purple top / turquoise bottom
V106_E002
Large (Armored) Horse – black
V102_E004
Eggsoskeleton – purple w/ red polka dots
V106_E003
Large (Armored) Horse – red
V012
Gondola** —->
(you must use ‘Zoom’ to get out)
NOTE
The entries below are
NEW
to Definitive Edition
V201_E001
Chihuawyrm
V203_E002
Dark Sabrecat
V201_E002
Spitzfire
V203_E003
Silver Sabrecat
V201_E003
Labradrake
V204_E001
Slime Knight
V202_E001
Iron Maiden
V204_E002
Metal Slime Knight
V202_E002
Steel Siren
V205_E001
Golem
V202_E003
Golden Girl
V205_E002
Stone Golem
V203_E001
Great Sabrecat
V205_E003
Gold Golem
Example: Spawn a purple dragon
VehicleSpawn V105_E002
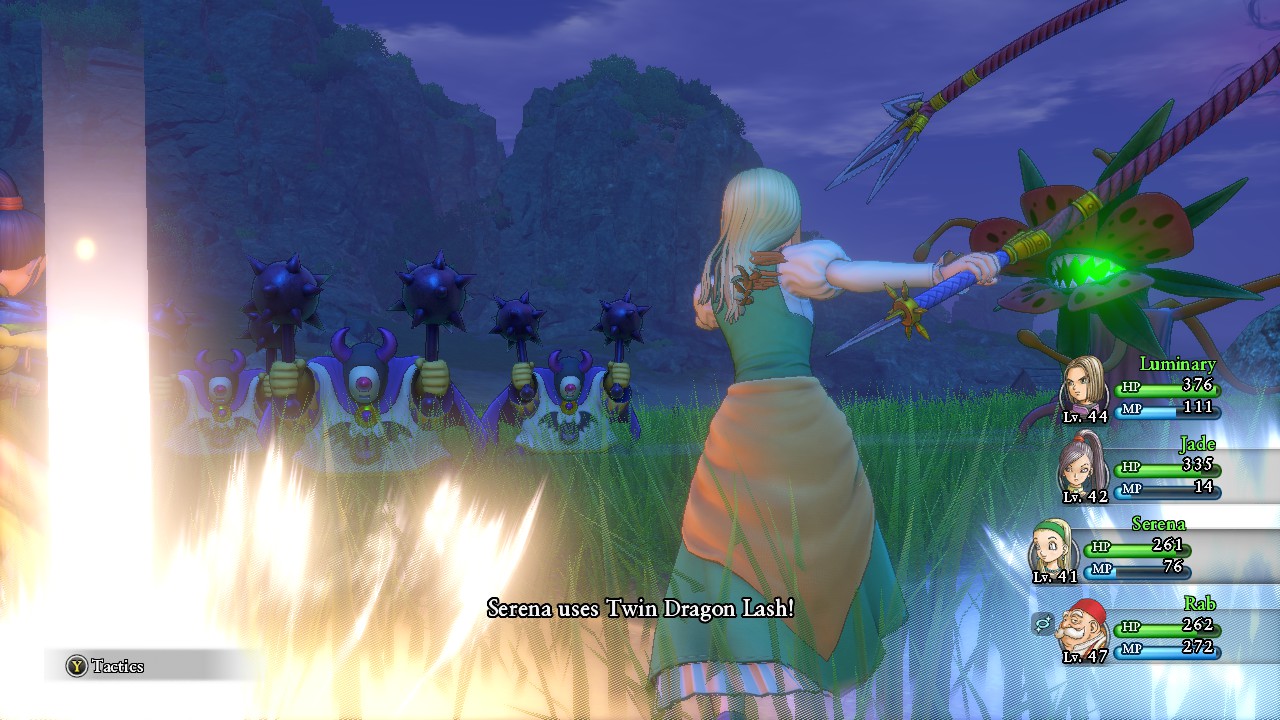
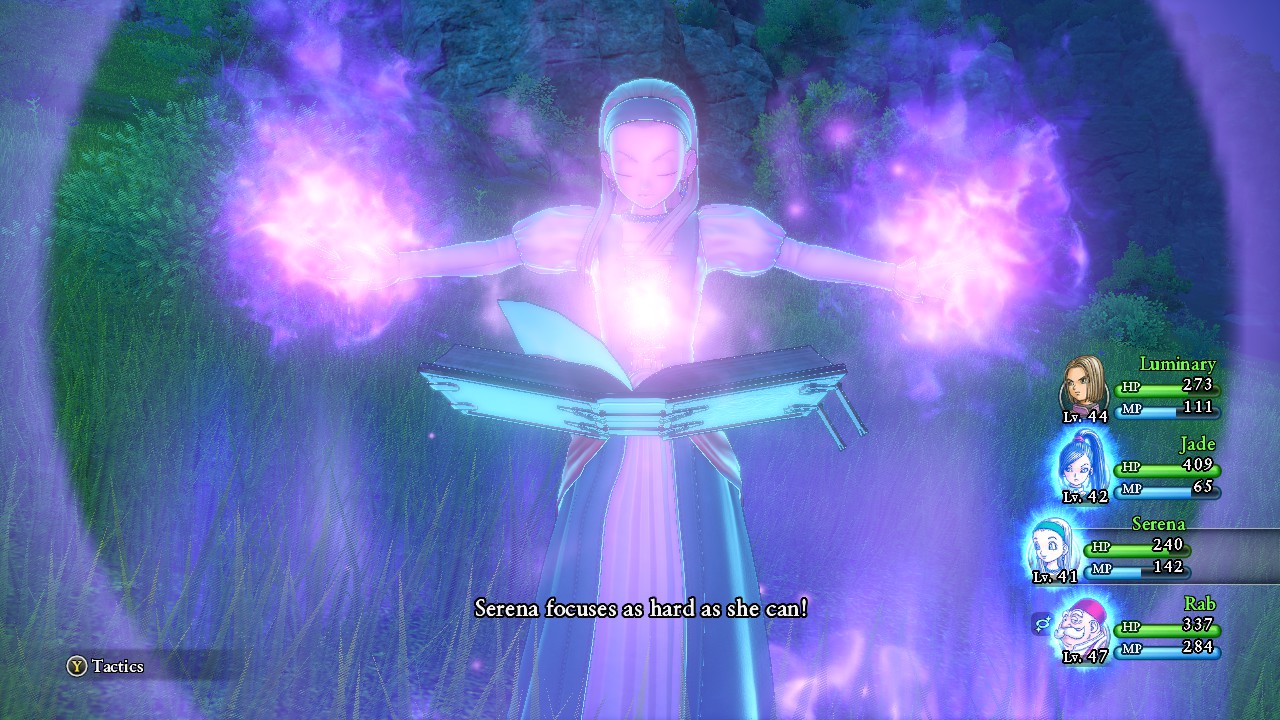
Changing Character Skills/Spells (WIP)
Many people have specifically requested a way to “Reawaken” Serena in Act 3, lamenting that she loses her Mage/Sage skills for more powerful healing abilities. Now, we have a way to address that.
 .
.
We have a couple commands for this: “SetFlag” and “ActionLearn”. SetFlag has a lot of potential for altering not only player states, but game states as well. Much of this we are still learning about.
ActionLearn can be used to give any player character any ability or spells in the game (including monster-exclusive spells/abilities). However, if that player character does not have any animation assigned for that skill, they will stand there and do nothing (effectively wasting a turn). For spells, see the corresponding section below.
For our example, let’s go ahead and “reawaken” Serena:
SetFlag “System” “/Player/SkillPanelState_P004” 1 ActionLearn P004 Io ActionLearn P004 Iora ActionLearn P004 Ionazun ActionLearn P004 Iogurande ActionLearn P004 Hyado ActionLearn P004 Hyadaruko ActionLearn P004 Mahyado ActionLearn P004 Bomie ActionLearn P004 Bomiosu ActionLearn P004 Mera ActionLearn P004 Merami ActionLearn P004 Merazoma ActionLearn P004 Meragaia ActionLearn P004 Medapani ActionLearn P004 Medapanima ActionLearn P004 Rukani ActionLearn P004 Rukanan ActionLearn P004 MagicBarrier ActionLearn P004 Madante ActionLearn P004 Gira ActionLearn P004 Begirama ActionLearn P004 Begiragon ActionLearn P004 Giragureido ActionLearn P004 Baikiruto ActionLearn P004 Mahotora ActionLearn P004 Mahoton ActionLearn P004 Mahokanta ActionLearn P004 Manuha ActionLearn P004 Henatosu
Changing a character’s skill points
TokugiPoint <CharacterID> <SkillPoint#>
<SkillPoint#> can be 1 – 1000 (this is the total number of skill points, including those already allocated to skills)
Example: Give Rab 600 skill points
TokugiPoint P007 600
Spell names (used with ActionLearn):
ActionLearn <CharacterID> <ActionID>
<ActionID>
Spell Name
█
<ActionID>
Spell Name
█
<ActionID>
Spell Name
█
<ActionID>
Spell Name
Mera
Frizz
▓
Dein
Zap
▓
Hoimi
Heal
▓
Kiari
Squelch
Merami
Frizzle
▓
Raidein
Zapple
▓
Behoimi
Midheal
▓
Kiariku
Tingle
Merazoma
Kafrizz
▓
Gigadein
Kazap
▓
Behoimu
Moreheal
▓
Kiararu
Defuddle
Meragaia
Kafrizzle
▓
Doruma
Zam
▓
Behoma
Fullheal
▓
Zameha
C@ck-a-Doodle-Doo
Hyado
Crack
▓
Dorukuma
Zammle
▓
Behomara
Multiheal
▓
Manuha
Dedazzle
Hyadaruko
Crackle
▓
Dorumoa
Kazam
▓
Behomazun
Omniheal
▓
Baha
Insulate
Mahyado
Kacrack
▓
Dorumadon
Kazammle
▓
Zaoraru
Zing
▓
Fubaha
Insulatle
Mahyadedosu
Kacrackle
▓
Zaki
Thwack
▓
Zaoriku
Kazing
▓
Piora
Accelerate
Gira
Sizz
▓
Zarakima
Kathwack
▓
Megazaru
Kerplunk
▓
Piorimu
Acceleratle
Begirama
Sizzle
▓
Nifuramu
Poof
▓
Rukani
Sap
▓
Baision
Oomph
Begiragon
Kasizz
▓
Megante
Kamikazee
▓
Rukanan
Kasap
▓
Baikiruto
Oomphle
Giragureido
Kasizzle
▓
Madante
Magic Burst
▓
Henatosu
Blunt
▓
Sukara
Buff
Bagi
Woosh
▓
Mahotora
Drain Magic
▓
Bomie
Decelerate
▓
Sukuruto
Kabuff
Bagima
Swoosh
▓
Zibaria
Rubblerouser
▓
Bomiosu
Deceleratle
▓
DevineSpell
Anathematise
Bagikurosu
Kaswoosh
▓
Zibarika
Boulderbringer
▓
Mahoton
Fizzle
▓
Mahokanta
Bounce
Bagimutyo
Kaswooshle
▓
Zibarina
Mountainmover
▓
Manusa
Dazzle
▓
Magicbarrier
Magic Barrier
Io
Bang
▓
Zibarunba
Ridgeraiser
▓
Medapani
Fuddle
▓
Asutoron
Kaclang
Iora
Boom
▓
Rihoimi
Reheal
▓
Medapanima
Kafuddle
▓
Rura
Zoom
Ionazun
Kaboom
▓
Ribehoimi
Remidheal
▓
Rariho
Snooze
▓
Riremito
Evac
Iogurande
Kaboomle
▓
Ribehoimu
Remoreheal
▓
Rarihoma
Kasnooze
▓
Toherosu
Holy Protection
▓
▓
Mahosute
Snub
▓
Inpasu
Peep
Example: Teach Jade both ‘Kazing’ and ‘Kamikazee’
ActionLearn P006 Zaoriku ActionLearn P006 Megante
Skill names (used with ActionLearn):
[link]
How to FORGET any learned skill or spell
To undo any learned skill or spell from above, simply use this command:
JumonForget <CharacterID> <ActionID>
Example: Make Jade forget ‘Kamikazee’, which we taught her above
JumonForget P006 Megante
Unlocking Zoom Locations
Just like in the last section, we’re going to use ActionLearn and SetFlag to unlock Zoom locations. Normally the game sets these flags when you first visit a location so you can warp back, but now we can unlock all areas right from the get-go (and enable some major sequence breaks in the game as a result).
Let’s make sure our character(s) know the Zoom spell first:
ActionLearn <CharacterID> Rura
Now let’s unlock the locations:
Unlock all locations:
RuraShowAll
SetFlag “System” “/Rura/RuraXXXX” 1
“XXXX”
Location Name
————————–
“XXXX”
Location Name
—————————–
“XXXX”
Location Name
0001
Heliodor City
0016
Heliodor Region (Campsite)
0031
Havens Above
0002
Heliodor Castle
0016_H
Heliodor Region (Campsite) (Act 2)
0031_H
Havens Above (Act 2)
0002_H
Heliodor Castle (Destroyed)
0017
The Emerald Coast (Campsite)
0031_N
Drustan’s Labyrinth – Trial Isle
0003
Hotto
0018
The Warrior’s Rest Inn
0032
Luminary’s Landing
0004
Lonalulu
0019
Dundrasil (Campsite)
0033
Nautica
0005
Gallopolis
0019_Z
Dundrasil (Campsite) (Act 2)
0034
Yggdrasil
0006
Gondolia
0020
The Snaerfelt (Campsite)
0035
Heliodor City – Downtown
0007
Octagonia
0021
The Arborian Highlands (Campsite)
0036
North of Gallopolis
0007_S
Octagonia (Act 2)
0021_H
Arborian Highlands (Campsite) (Act 2)
0037
Grotta della Fonte
0008
Cobblestone
0022
Champs Sauvage – North (Campsite)
0038
Champs Sauvage – South (Campsite)
0008_S1
Cobblestone (Destroyed)
0022_Z
Champs Sauvage – North (Act 2)
0038_Z
Champs Sauvage – South (Act 2)
0008_H
The Last Bastion
0023
Heliodorian Foothills – Church
0039
The Eerie Eyrie (Campsite)
0009
Puerto Valor
0023_Z
Heliodorian Foothills – Church (Act 2)
0040
Sniflheim City (Campsite)
0010
L’Acadamie
0024
The Manglegrove (Campsite)
0041
Mount Pang Lai – Summit (Campsite)
0011
Mount Pang Lai (Campsite)
0024_H
Manglegrove (Campsite) (Act 2)
0042
The First Forest – Summit (Campsite)
0012
Phnom Nonh
0025
Viking Hideout
0043
The Battleground (Campsite)
0013
Sniflheim
0026
The Hotto Steppe
0044
The Strand
0014
Angri-La
0027
South of Gallopolis (Campsite)
0045
Gondolia – Sea
0015
Arboria
0028
Laguna di Gondolia (Campsite)
0046
Zwardsrust – Sea
0015_H
Arboria (Act 2)
0029
Costa Valor (Campsite)
0047
Lonalulu – Sea
0030
The First Forest – Base (Campsite)
0048
Angri-La – Field of Discipline
Example(s): Teach “Zoom” to Erik, unlock “Nautica” and “The Last Bastion” Zoom locations
ActionLearn P002 Rura SetFlag “System” “/Rura/Rura0033” 1 SetFlag “System” “/Rura/Rura0008_H” 1
Other warp points / shortcuts / “inaccessible” locations
RuraJump <MapID>
S27_Yogensya_CS_B060_010
Seer’s Sanctuary
S30_Hikari_IN01
Seer’s “White Room”
C05_Jounai_IN01
Dundrasil Castle (past)
D14_Jounai_IN02
Gyldenhall
RS_D09_Point_000_BossArea
The Other Side
RS_D11_Point_000_Setugen
The Hekswood
S17_Meifu_CS_B030_080
The Void (Grandmaster Pang)
Ship_F81_000_Field
Insula Australis
S31_Casino_IN01
Puerto Valor Casino
M06_Mura2F_IN03
Octagonia Arena Waiting Room (go upstairs to Arena)
M09_Turibito_CS_B010_070
Nautica (under Blue John’s boat)
C02_Ido
Underground Well (Gallopolis Desert)
B010050_Zeranda_CS_B010_050b
(Normally) out-of-bounds area in Arborian Highlands
S26_Shinden_IN01
Altar of Ages
D14_BossArea_IN01
Gyldenhal Throne Room
S01_H_RouyaB1_IN01
Heliodor Dungeons
CS_Memories
Cutscene Viewer
 .
.
Example: Warp to The Seer’s Sanctuary
RuraJump S27_Yogensya_CS_B060_010
Alter character levels
Similar to the “Changing Character Skills” section, you can also alter a character’s levels (research is still being made into changing a character’s growth stats, so stay tuned). Here’s the syntax:
LevelSet <CharacterID> <Level#>
<Level#> can be 1 – 99
Example: Set Veronica to level 42
LevelSet P003 42
Obtaining Items / Equipment (WIP)
ForceGetItem <ItemID> <ItemCount>
Example: Get 12 of every item in the game
ForceGetItem All 12
———————————-
We are now working on a fully detailed Item ID list: [link]
Example: Get 50 Seeds of Strength
ForceGetItem I_USE_032 50
Example: Get 25 Cobblestone Sword +3‘s
ForceGetItem W_SWD_3001 25
*NOTE: for any +1/+2/+3 variant of any item, just add 1000/2000/3000 to the item ID!
Custom Battles
Ever wish you could re-fight a boss later in the game, or better yet: a boss rush mode? Now you can!

First off, you can spawn any enemy anywhere (even in towns!), but unless they’re in the overworld or somewhere that is designated by the game as a “battlefield” you won’t be able to fight them. Instead they’ll be friendly, and townsfolk won’t even bat an eye to their presence.

To spawn in the overworld:
MonsterSpawn <MonsterID>
To spawn another enemy during an active battle:
BattleMonsterSpawn <MonsterID>
Boss Monster IDs:
<MonsterID>
Name
█
<MonsterID>
Name
█
<MonsterID>
Name
M131_E004_S01
Arachtagon
▓
M605_E001_S01
Krystalinda
▓
M706_E001_S01
Vince
M131_E094_S01
Malicious Arachtagon
▓
M606_E001_S01
Mordegon
▓
M707_E001_S01
Underdigger
M148_E006_Q01
Robbin ‘Ood
▓
M607_E001_S01
Jasper Unbound
▓
M707_E091_S01
Malicious Underdigger
M504_E004_S01
Jarvis
▓
M607_E081_S01
Overweening Pride
▓
M708_E001_S01
Abominable Showman
M510_E001_S01
Tricky Devil
▓
M611_E001_S01
Dora-in-Grey
▓
M708_E091_S01
Malicious Abominable Showman
M527_E004
Spirit of Mt Huji (Atsuo&Atsuko)
▓
M614_E001_S01
Tyriant
▓
M709_E001_S01
Sinderella
M536_E004_S01
Auroral Serpent
▓
M614_E001_S02
Tyriant’s Shadow
▓
M709_E091_S01
Malicious Sinderella
M536_E094_S01
Malicious Auroral Serpent
▓
M614_E081_S01
Blind Hatred
▓
M710_E001_S01
Whambelina
M540_E003_S02
Tentacular (weakened by cannon)
▓
M614_E081_S02
Blind Hatred’s Shadow
▓
M710_E091_S01
Malicious Whambelina
M542_E002_S01
Headless Honcho
▓
M615_E001_S01
Gyldygga
▓
M712_E001_S01
Golden Boy
M548_E093_S01
Malicious Grey Gordon
▓
M615_E081_S01
All-Consuming Greed
▓
M712_E091_S01
Malicious Golden Boy
M553_E004_S01
Booga
▓
M616_E001_S01
Lord of Shadows
▓
M713_E001_S01
Heliodorian Guard
M553_E084_S01
Sheer Decadence
▓
M617_E001_S01
Mordegon’s Staff
▓
M714_E001_S01
Heliodorian Soldier
M560_E004_S01
Jormun
▓
M619_E001_S01
Darkling
▓
M715_E001_S01
Sterling Sylva
M560_E094_S01
Malicious Jormun
▓
M620_E001_S01
Alizarin
▓
M716_E001_S01
Rab (Training w/ GM Pang)
M563_E005_S01
Slayer of the Sands
▓
M620_E081_S01
Unfathomable Anger
▓
M716_E001_S02
Rab’s Shadow
M567_E004_S01
Gloomnivore
▓
M701_E001_S01
Jasper (I)
▓
M717_E001_S02
Jasper (Dark Power)
M567_E094_S01
Malicious Gloomnivore
▓
M702_E001_S01
Jade
▓
M718_E001_T01
GrandMaster Pang (Blizzybody/RedMist/Flamethrower)
M601_E001_S01
Lord of Shadows
▓
M703_E001_S01
Jinxed Jade
▓
M718_E001_T02
GrandMaster Pang (Octopot/Khalamari/Squid)
M601_E001_S02
Shadow of Shadows
▓
M704_E001_S01
Rab (Octagonia)
▓
M718_E001_T03
GrandMaster Pang (Filcher/Poppet/Clockwyrm)
M602_E001_S01
Mordragon
▓
M705_E001_S01
Restless Knight
▓
M718_E001_T04
GrandMaster Pang (Phoenix/Abracadabrer)
M603_E001_S01
Calasmos
▓
▓
——————————————
The full list will be updated for new enemies in Definitive Edition
——————————————
Definitive Edition Enemy IDs (New Bosses)
M95_E001_S01
Boodiful Sootbonce
M95_E002_S01
Boodiful Smogbonnet
M148_E002_S01
Boodiful Hoodlum
M228_E001_S01
Boodiful Wizard
M513_E002_S01
Boodiful Hocus Poker
M031_E001_S01
Boodica’s Right-Hand Man
M031_E001_S02
Boodica’s Left-Hand Man
M216_E007_S01
Indignus (Dragon Armor)
M722_E002_S01
Dark Jasper
M607_E002_S01
Dark Jasper (Unbound)
M723_E001_S01
GrandMaster Pang (Fights you herself)
M723_E001_T01
GrandMaster Pang (Secret Trial — much harder!)
M602_E002_S01
Timewyrm’s Tail
Miscellaneous
This covers all the little things we’ve missed so far:
Disable random encounters when sailing
SetEncountEnabled 0
Increase overworld dash speed
TestPlayerDash 3000
Triple the game speed (everything is faster, including monsters!)
Slomo 3
Change your main character’s name (without creating a new file!) — changes the name on your saves as well. The new name can be as long as you want and contain anything.
SetPlayerName <PlayerName>
Set your gold to <GoldAmount>
Gold <GoldAmount>
Set your character’s HP to <HP#> (see above for <CharacterID>)
HPSet <CharacterID> <HP#>
Set your character’s MP to <MP#> (see above for <CharacterID>)
MPSet <CharacterID> <MP#>
Instantly change the time of day, wherever you’re at, no campsite or inn required!
ForceSetWorldTime <Hour> <Min> <Sec> <ResetNPCs>
Example(s):
ForceSetWorldTime 12 0 0 0 –> Set time to midday
ForceSetWorldTime 24 0 0 1 –> Set time to midnight and reset NPCs
Make enemies much harder to avoid (reduce the distance at which they spawn from you)
r.JackMonsterViewDistanceScale 0.03
Debug camera (take the camera wherever you want, useful since the removal of first-person view)
DebugGameCamera
Disable the minimap (some people find it annoying)
SetMiniMapVisible 0
Disable autosave (useful if you want to make the game less forgiving – the game normally autosaves after every single loading zone)
ToggleAutoSaveEnabled
Save the game anywhere (0-8 correspond with your regular save slots 1-9)
SaveGame <0-8>
Load any game slot instantly (0-8 correspond with your regular save slots 1-9)
LoadSavedGame <0-8>
Remove all monsters from the overworld (only works in the area you are in)
MonsterGeneratorEnabled
Reset all monster spawns in the area
RefreshMonsterDeploy
Fully heal and revive all party members
RecoverAll 1
Set Holy Protection on (reduce random encounters at sea)
SetToherosu
Set Holy Water on (reduce random encounters at sea)
SetSeisui
Reset back to the title screen (useful if you softlock)
disconnect
Exit the game
exit
Miscellaneous pt 2 (ULTRAWIDE FIX)
Continuing from the previous section, we have a couple commands that will allow you to change the resolution and FOV to fit your setup. Please note it is recommended to use Method 2 listed under the Unlocking the Command Console section if you would like to use ultrawide or another non-16:9 aspect ratio.
Changing your resolution:
r.setres <resX>x<resY>
e.g. Set resolution to 3440×1440 —
r.setres 3440×1440
Changing the Field Of View:
fov <value>
e.g. Set FOV to 85 —
fov 85
INI Tweaks
The Debug Console can also be used for testing ini tweaks. For more details, see this guide by ZombiePlasticClock: [link]
2D Mode Commands
For 2D Mode commands, you must use Method 1a listed under “Unlocking the Command Console”
Most 2D mode commands follow the same syntax as the 3D mode commands with the prefix “Triple” at the beginning of the command name. E.g. “TripleRuraShowAll”, “TripleGold”, “TripleFriendJoin”, etc. The ones that work identically to their 3D mode counterparts won’t be listed separately here, just use the same command/syntax as before but be sure to add “Triple” at the start.
Increase (or decrease) character movement speed:
TripleRunRate <Multiplier>
Set the weather:
TripleWeatherSet <WeatherID>
<WeatherID>
Kind of weather
Cycle time of day (morning->midday->afternoon->night):
TripleTimeZoneMoveToNext
FAQs
Q: “Does this disable Steam or in-game achievements?”
A: It does not disable achievements. Conversely, it also means you can accidentally activate several achievements at once if you’re not careful.
For example-
ForceGetItem All 12
— will instantly activate every item-related achievement
Gold 500000
— will instantly activate every “X amount of gold on-hand” achievement
Acknowledgements, Credits and Resources
The credit for the vast majority of these discoveries go to KomodoXeno[www.nexusmods.com] of the Dragon Quest XI Modding Community
Additional information and resources can be found at:
[link] <– There you’ll be able to find a complete command list. It is being regularly updated as more information is datamined about the game’s internal structure, various asset IDs, etc.
Flags list (does not include GameProgress flags): [link]
Syntax:
SetFlag <Category> <FlagName> <Value>