Overview
This guide will help you get Deus Ex: GOTY running with some essential modifications which will greatly enhance your Deus Ex experience; the “Deus EXE” updated Executable, Direct3D10 drivers, GMDX and general help on how to get it all working!
Welcome
This guide will help you in setting up Deus Ex on your computer. It’s fairly straight forwards in getting Deus Ex set up so let’s get to it!
The Program Files folder
Let’s start off with some important information.
The Program Files folder is a protected folder within your Windows installation that works differently from other folders on your computer.
The long story short is that if you have your copy of Deus Ex located within either the Program Files or the Program Files (x86) folder, you may encounter problems and some, or all, mods may not work at all. This varies from machine to machine and some people may not have a problem at all.
If you think you might be being affected by this, try moving your copy of Deux Ex from the Program Files folder into another folder like ‘C:Games’ and launch it. If mods are installed correctly, they may start working for you.
If this is the case, you can make another Steam Library Folder using the Steam Library Folders feature. Go to View > Settings and Click the ‘Downloads’ Tab to find it.
Click Add Library Folder and make it anywhere you want.
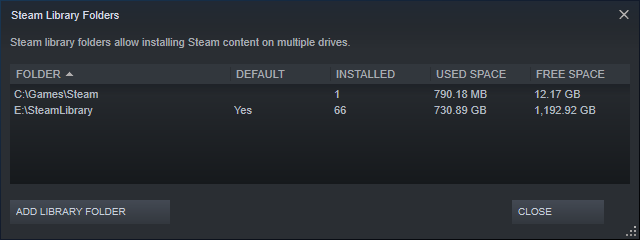
Once you’ve done this, you can reinstall Deus Ex into this new folder and proceed with the guide!
Getting Started
First of all, make sure your copy of DirectX is up to date. You can find the Web Installer to install the latest updates here[www.microsoft.com]
You will also need to install Microsoft C++ 2015 Runtime Libraries[download.microsoft.com] on your machine.
Even if you have any of the above installed and aren’t sure about it, you can reinstall them safely as they will either update the current version installed or just reinstall itself.
There are multiple ways to go from here. You can:
- Just have a vanilla experience with no extra bells and whistles whatsoever,
- Install the “GMDX” mod which includes several mods that will enhance visuals, slightly alter gameplay and enhance many other aspects
I always recommend you play the original game first before you slap any mods on the game.
Let’s start with just vanilla Deus Ex!
Updating Vanilla Deus Ex
This section is just if you want to have the ability to play vanilla Deus Ex with nothing extra included.
You will need to go to Kentie.net Deus Exe page[kentie.net] and update your copy of Deus Ex with this new executable file.
Windows 7 and later users can use whatever the latest version is.
Windows XP users can only update to v5.3 of the Deus Exe.
Simply download the correct ZIP file and extract it to your Deus Ex “System” folder, overwriting everything Windows asks you (If you want to make a backup of the old files first though, go ahead).
It is also important to make sure that the D3D10DRV drivers are installed. You can find them here[kentie.net]
Open it in your ZIP extracting software, go into “DeusEx” folder and extract the contents of that folder into the Deus Ex’s “System” Directory.
Keep checking back as both “Deus Exe” and the “D3D10DRV” files are constantly being updated.
Configuring the updated Deus Ex
So now, we finally have vanilla Deus Ex ready to go!
Go ahead and launch it (either through Steam or just double-click DeusEx.exe in the Deus ExSystem folder) and you’ll see the following menu if you’ve launched Deus Ex before (If you haven’t launched Deus Ex before, you’ll see the next picture down first).

You will see this new window every time you launch Deus Ex from now on. Click Configure.

This new configuration menu will allow you to get the most out of Deus Ex.
Here is a run down of what all the settings are:
UI
Raw Input (Disable mouse acceleration for camera): Down to you if you want to have this on or off. Most people will not want to alter this setting.
Widescreen cinematic subtitle fix: Leave Enabled.
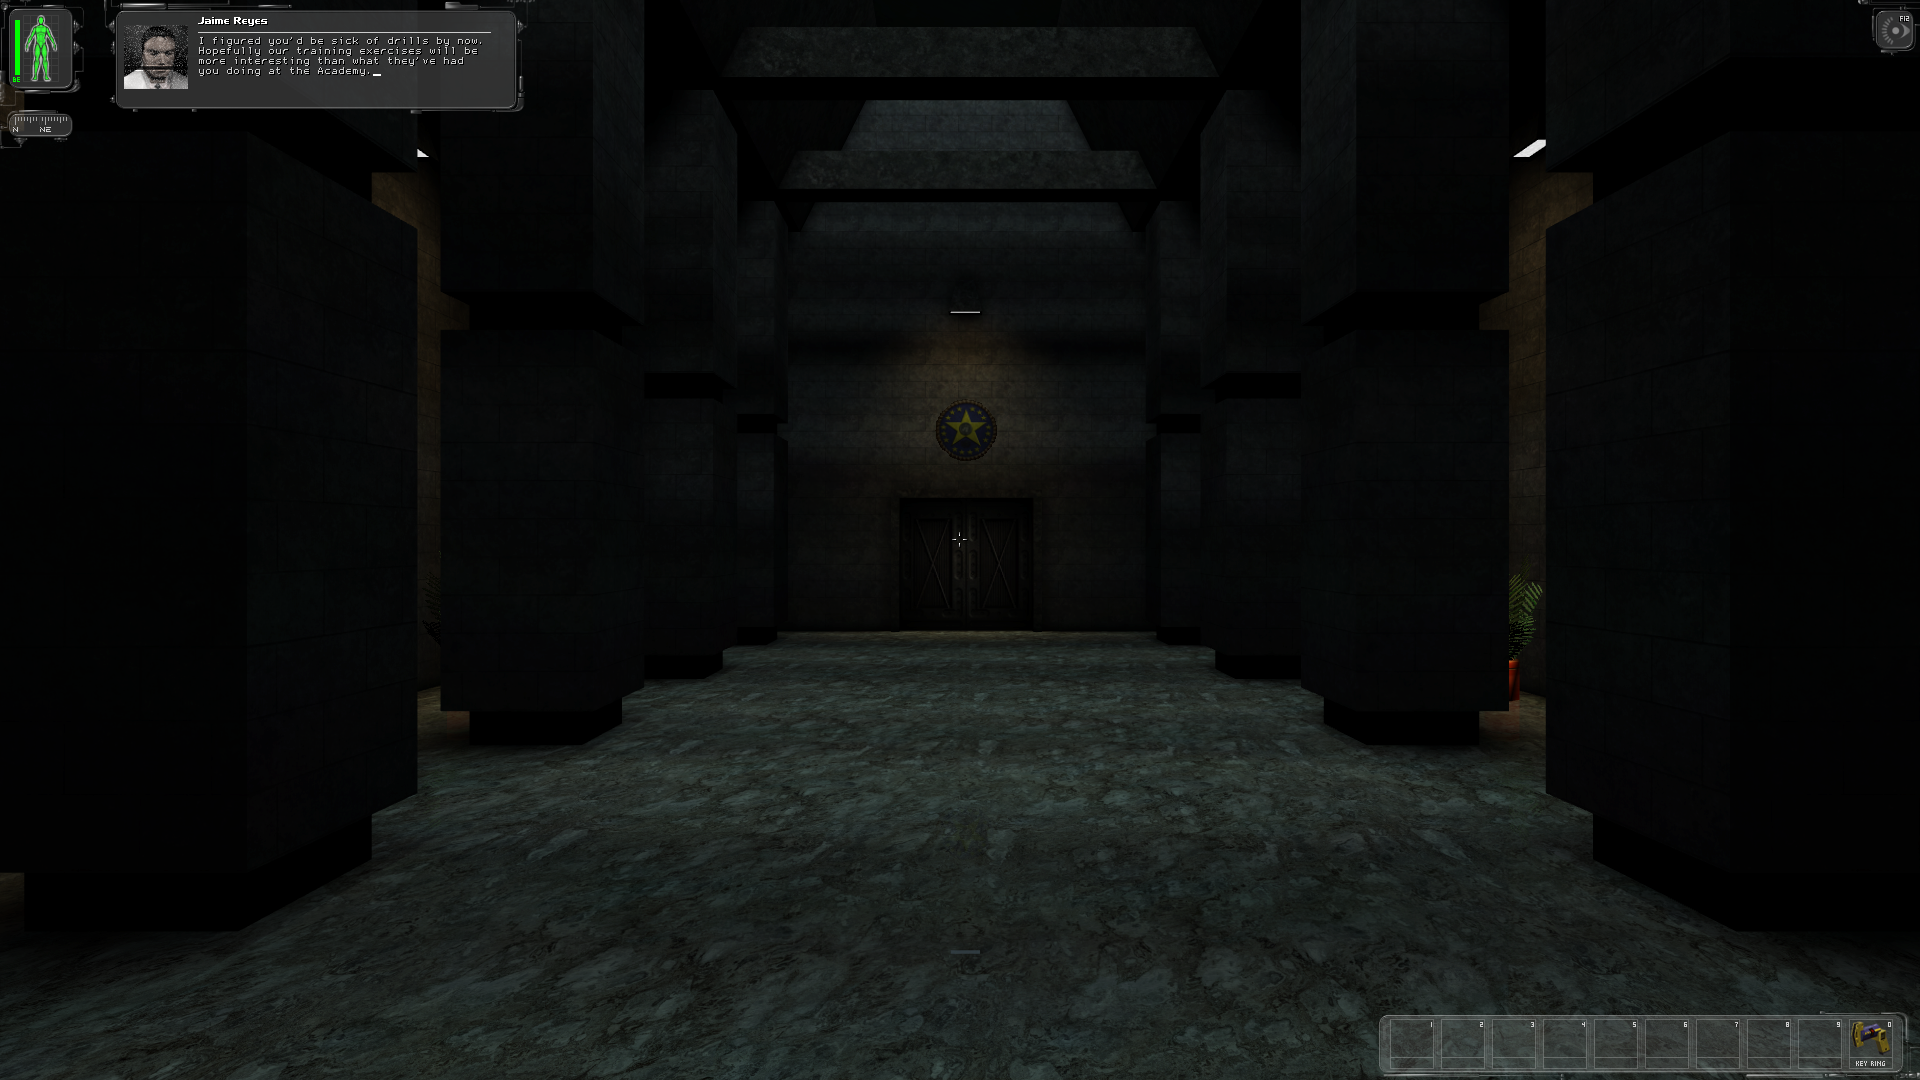
Use custom GUI scaling: This setting will keep the user interface (and menus) at their original sizes. This is good for low to mid resolutions like 640×480 or even 1280×720 but beyond that, you’re going to struggle to read on-screen text.
1920×1080 example (No/1x Scaling)
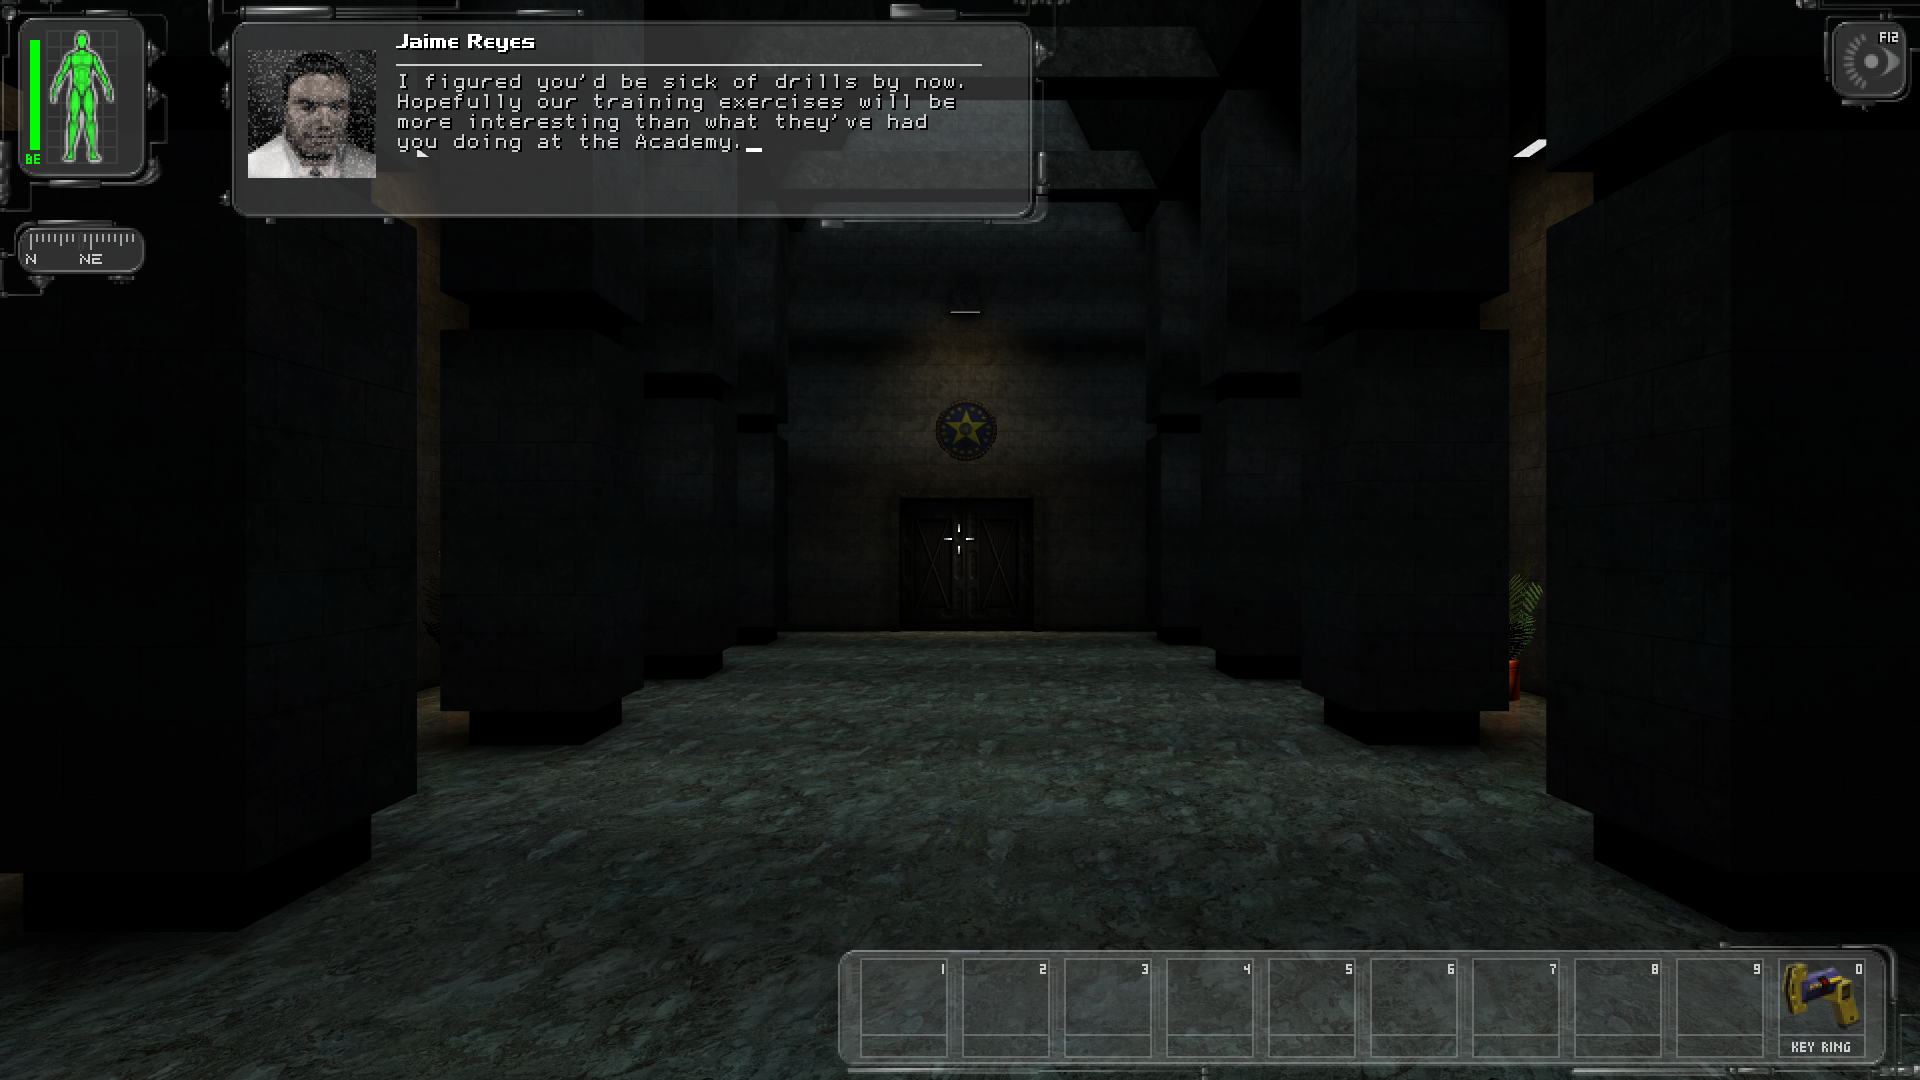
1920×1080 example (x2 scaling)
Video options
Renderer: you can choose OpenGL support, Direct3D support and the likes here. Direct3D 10 is recommended. This is what we installed earlier!
FPS Limit (0 for off): 120 is fine for a default value but you could change this to your monitors refresh rate for the best experience. This could be 120, 144 or 240 Hz or higher.
Viewport
Here the options are pretty self-explanatory. Fullscreen will display the game in fullscreen mode. You may get extra Frames-per-second from this option. Windowed will have the game in a Window that you can move around. Borderless fullscreen plays the game in fullscreen but will allow you to swap between computer tasks a bit more effeciently at the cost of a bit of frames-per-second.
Audio
Latency: Best left alone. If you have audio problems or crackling, try changing the value to other recommended numbers
Use DirectSound Recommended to leave enabled.
Misc
Use single CPU: Recommended to leave disabled.
Quality
Choose 32 bit color and leave Detail textures enabled.
Field of View
Recommended to leave on ‘Automatic (updates FOV on window resize)’ for best results.
Custom Launch Options for “Deus Exe”
Having a new DeusEx.exe allows for more flexibility and new launch options can be given to the new EXE to change how it works at startup.
To launch Deus Ex with a Launch Opttion, right click on the game in Steam and click Properties. In General, click Set Launch Options…
You will be given a box where you can enter in commands.
Here are some launch options you can use to further customize Deus Ex.
-localdata
Games nowadays will save a lot of their information in the ‘My Documents’ folder but, for people with Solid State Drives or are fussy where their game files go (i.e me), we want the game save files to be stored where Deus Ex is installed.
The new Deus Ex exe saves content inside the ‘My Documents’ folder by default but it can be changed back to how the original game behaved (saving its content inside the local game directory) by adding the launch option -localdata
-skipdialog
This option will completely skip the window you see when starting the new Deus Ex executable which allows you to configure game settings. Use this once you’re happy that you have Deus Ex set up the way you want it and you’ll no longer have to click ‘Play’ every time you start the game!
The “GMDX” Mod
The GMDX mod is THE Deus Ex mod on the block that you should get for your Deus Ex experience. This guide is going to assume that you have NOT followed the previous “Vanilla Deus Ex” section. If you have, problems may occur. Start from a fresh Deus Ex installation.
This mod adds the following (and more), according to the official GMDX website:
- Faithfully updated Level Design and Graphics,
- Improved Artificial Intelligence,
- Entirely new game mechanics, such as mantling, zooming in with scopes, and more. All are optional,
- New User Interface shortcuts, more precise GUI information, and additional interactive elements.
- Low quality and duplicate sounds replaced, and new audio additions to fill in the blanks,
- Intricate attention to detail to provide highly polished and deeper weaponry,
- New difficulty levels – Difficulty levels are vastly overhauled to cater to a wider variety of player types.
- RPG Systems – Build a deeper and more meaningful role to play through balancing and expansion
- Bug Patches
Head to The GMDX Website – Latest Version is 9.0.3[www.gmdxmod.com] and download the mod. It weighs in at around 1.9GB. Once you have the mod, Double click the EXE to install it (Make sure you have launched Deus Ex at least once. The installer will ask you to do that first before installing)
Click Next, go through the license agreement (read it and know your rights!)
Now the installer will want to know where your copy of Deus Ex is installed. When you have selected the folder your copy is installed in, press Install to start the procedure.
Now the mod will extract a lot of things to your game and finish!
But you may be wondering how to configure everything that we’ve just installed. We’re going to do that now!
Configuring GMDX
First, we’ll need to make sure that everything is loaded in the correct order.
When you get to the Deus Exe start screen, click on Data Directories and make sure that your directory order matches the following order. If it does not, move things up and down until it matches the picture below.

This is where you can have some control over which mods are enabled and which aren’t. For example, un-checking the New Vision checkbox will mean that New Vision textures are not launched when starting the game in this way.
For now though, click OK, and then go into the Configuration menu. You may want to configure some stuff here. Refer to the “Deus Exe” section to get a better idea of what everything does.
Once you’re done, hit launch! Your Deus Ex start menu should look a little something like this if you’ve done everything correctly.
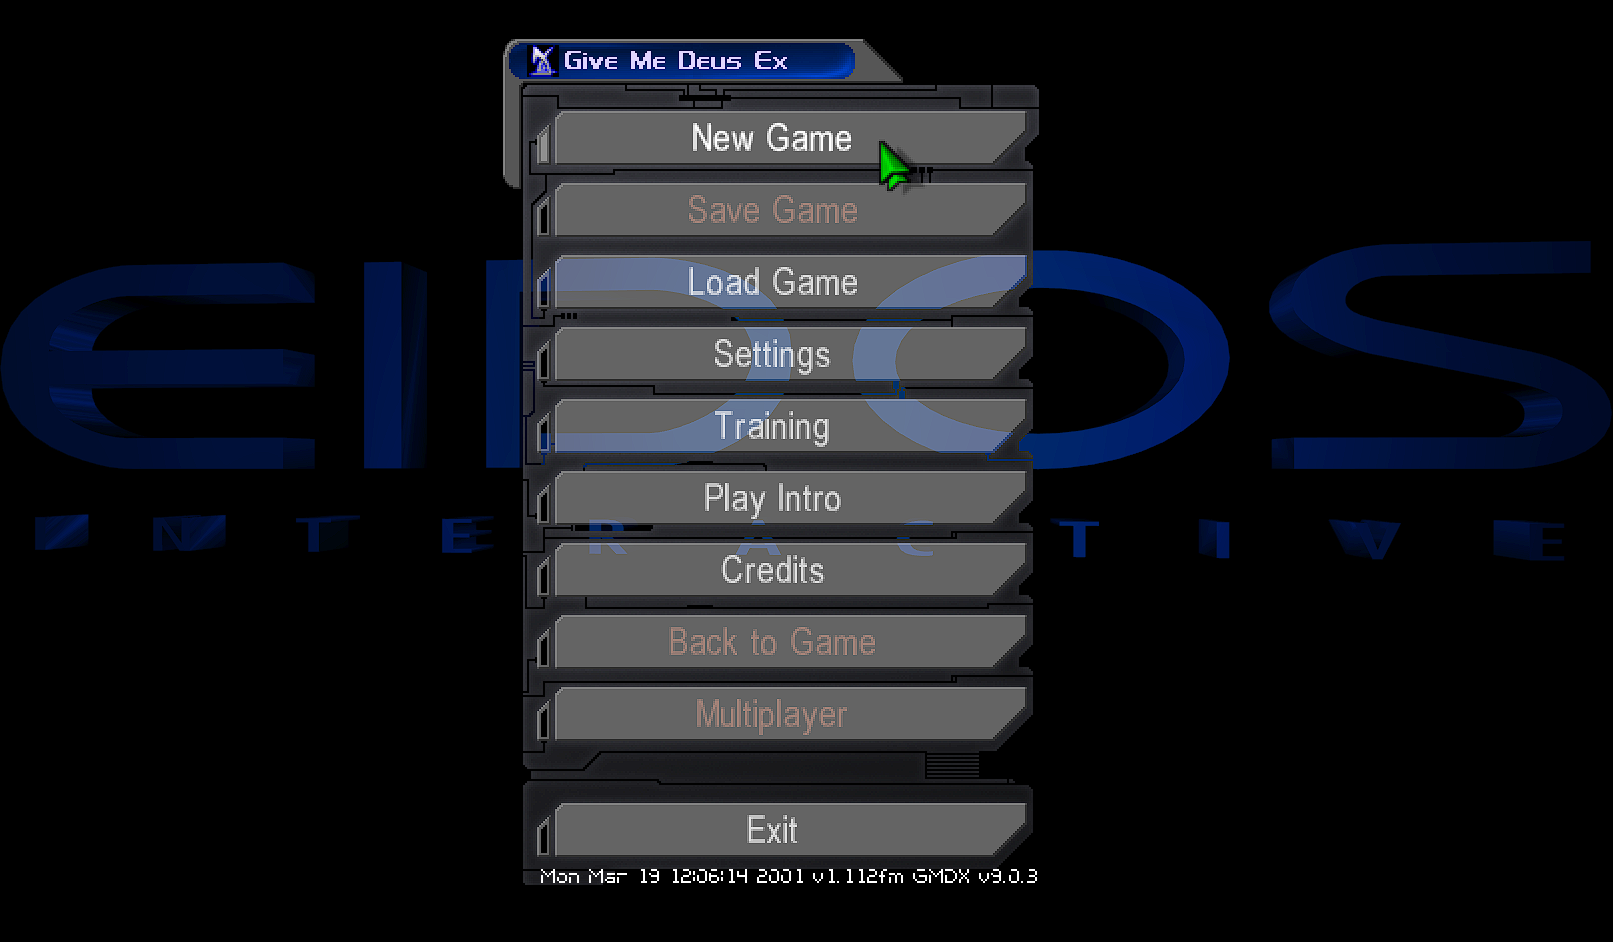
GMDX can be configured extensively in the Settings > GMDX Options menu.
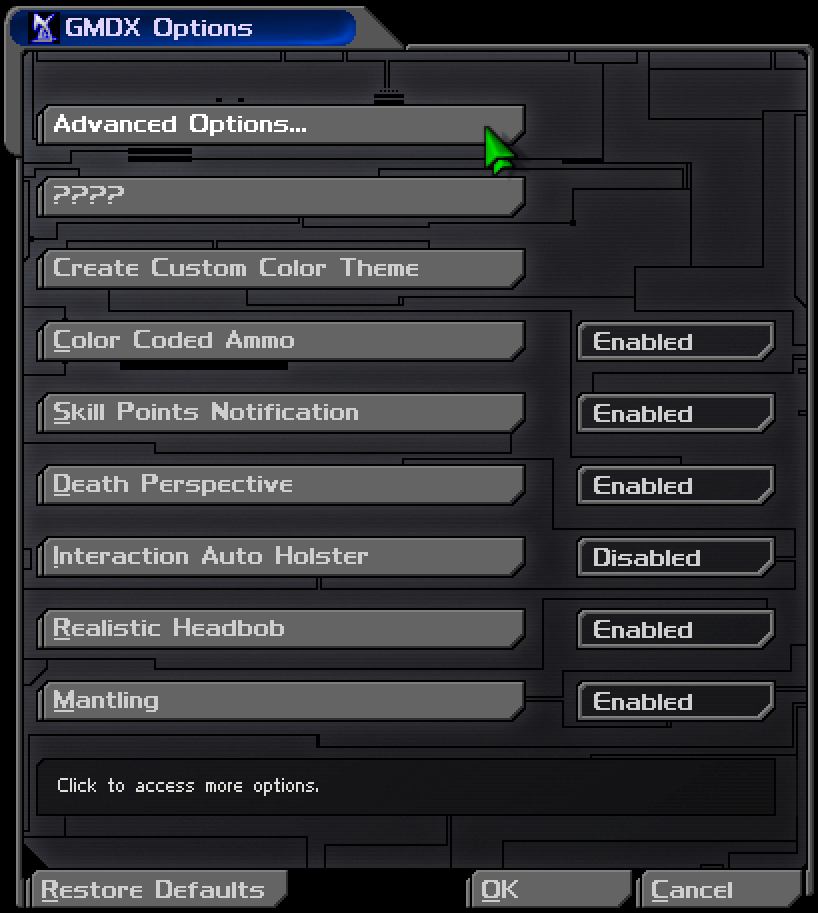
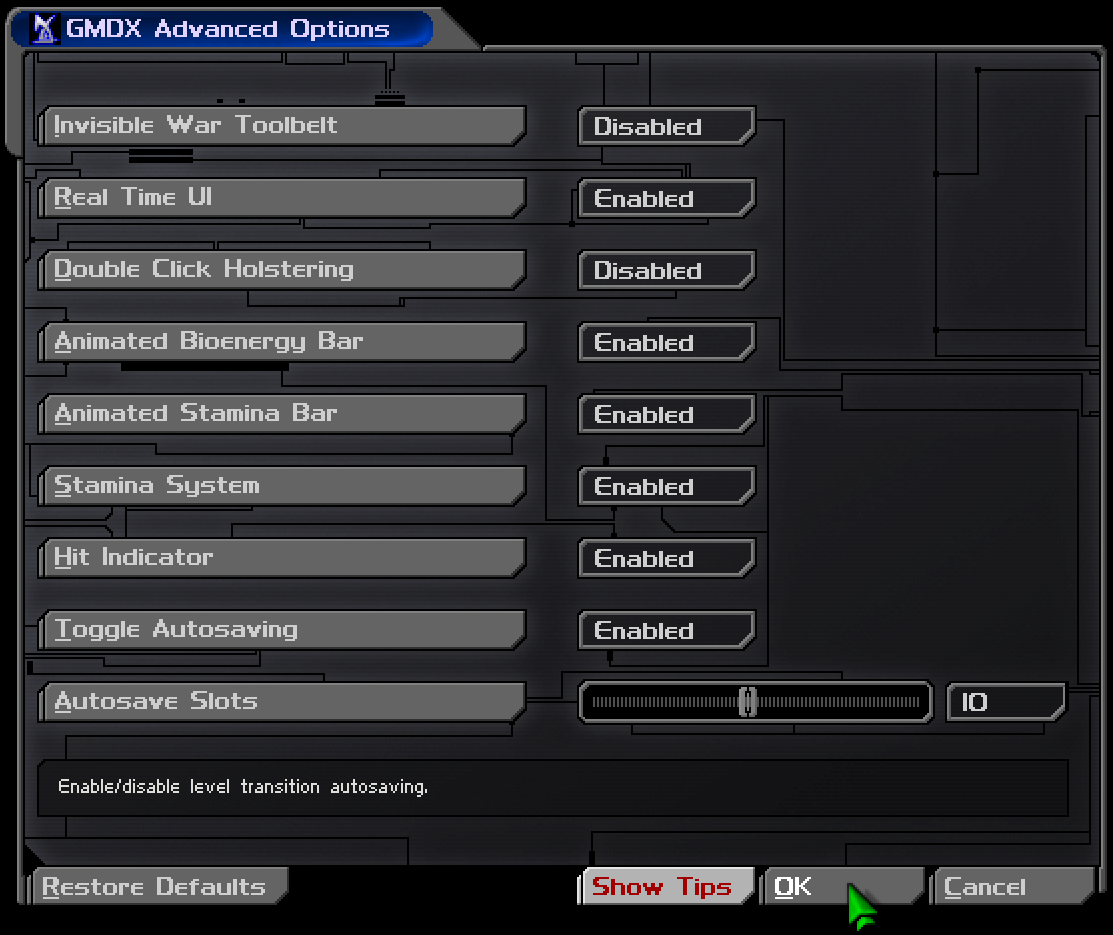
But I’ll let you go through all of these and tweak things to your liking!
GMDX does not overwrite your Deus Ex executable, or any important files used by the vanilla game. Instead, everything is installed in different folders in the Deus Ex directory and GMDXv9 is largely where the ‘brains’ of this mod are contained.
This means that you can swap back between GMDX and vanilla Deus Ex whenever you like, and neither setup affects the other! Pretty neat stuff.
Launching GMDX Through Steam
I mentioned just above this section that GMDX.exe is simply a renamed DeusExe.exe made by Kentie.
Please note that this is not a supported use case by the GMDX Mod Team. This is something I found while just messing around with the files. Use the following method at your own risk of messing up your Deus Ex installation. When in doubt, back things up!
If you want to play GMDX through Steam, in your “Deus ExSystems” folder, simply backup the original DeusEx.exe and rename GMDX.exe to DeusEx.exe.
In your Launch Options, you will need to enter in a fairly long string of text in order for everything to work properly. The string is the following:
INI=”<DIRECTORY_TO_DEUS_EXGMDXv9Systemgmdx.ini” USERINI=”<DIRECTORY_TO_DEUS_EXGMDXv9SystemGMDXUser.ini”
Example of my own launch option text:
INI=”E:SteamLibrarysteamappscommonDeus ExGMDXv9Systemgmdx.ini” USERINI=”E:SteamLibrarysteamappscommonDeus ExGMDXv9SystemGMDXUser.ini”

This will tell Steam to load our new DeusEx.exe in the same way the GMDX Shortcut on your desktop would work. It will load everything correctly, and you can jump into an enhanced Deus Ex experience right through Steam.
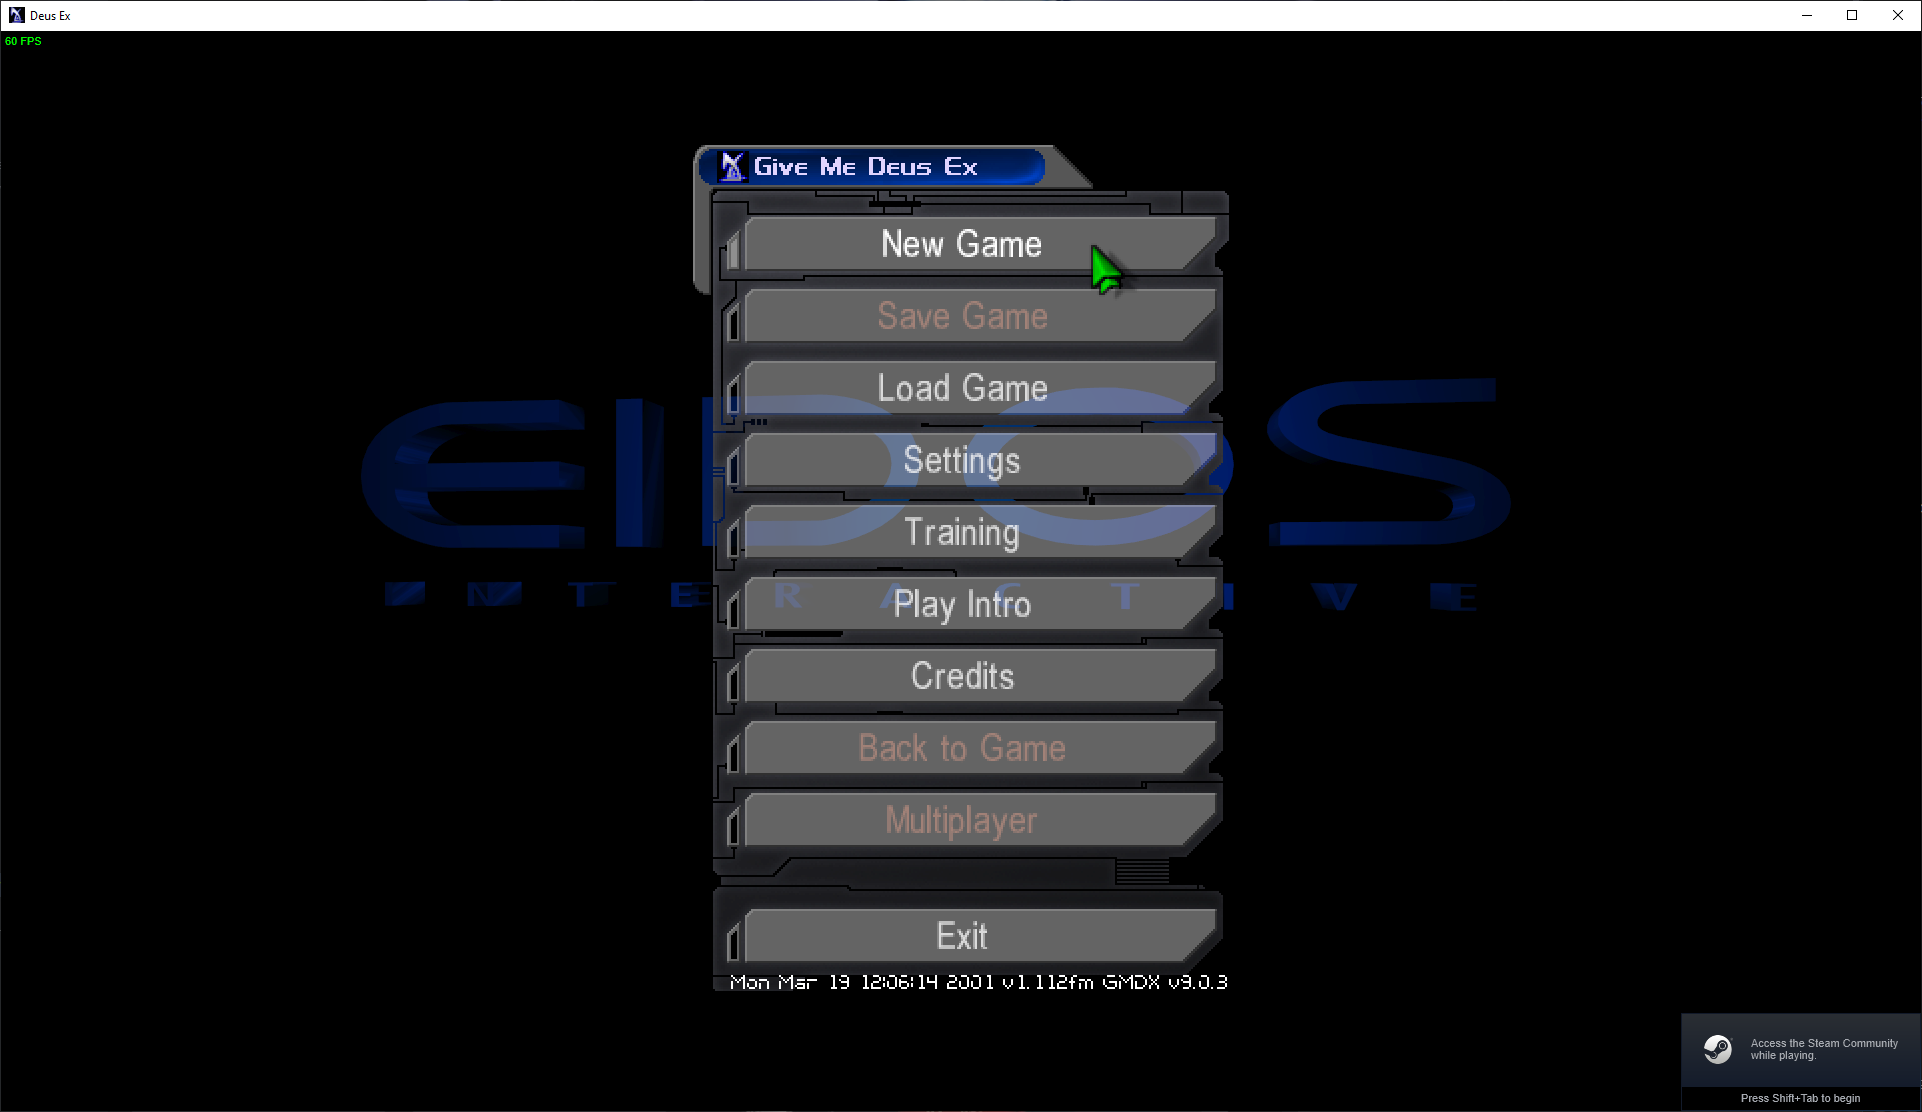
That’s it!
OK So when you have all finished configuring your game, click OK to save your options and click Play to start the game.
Enjoy a better, prettier, almost bug-free, and more immersive Deus Ex experience!

Be sure to check out some of my other guides: