Overview
This guide is part of my Pine walkthrough. I will show you how to go through the Dune Observatory step by step. Obviously this guide contains SPOILERS to the game, so be aware.This is my first guide please give me some feedback and if you like it i will continue with the other vaults and the rest of the puzzles in the game.As i’am not an native english speaker please feel free to correct my language or ask if anything remains unclear.
Open the first vault
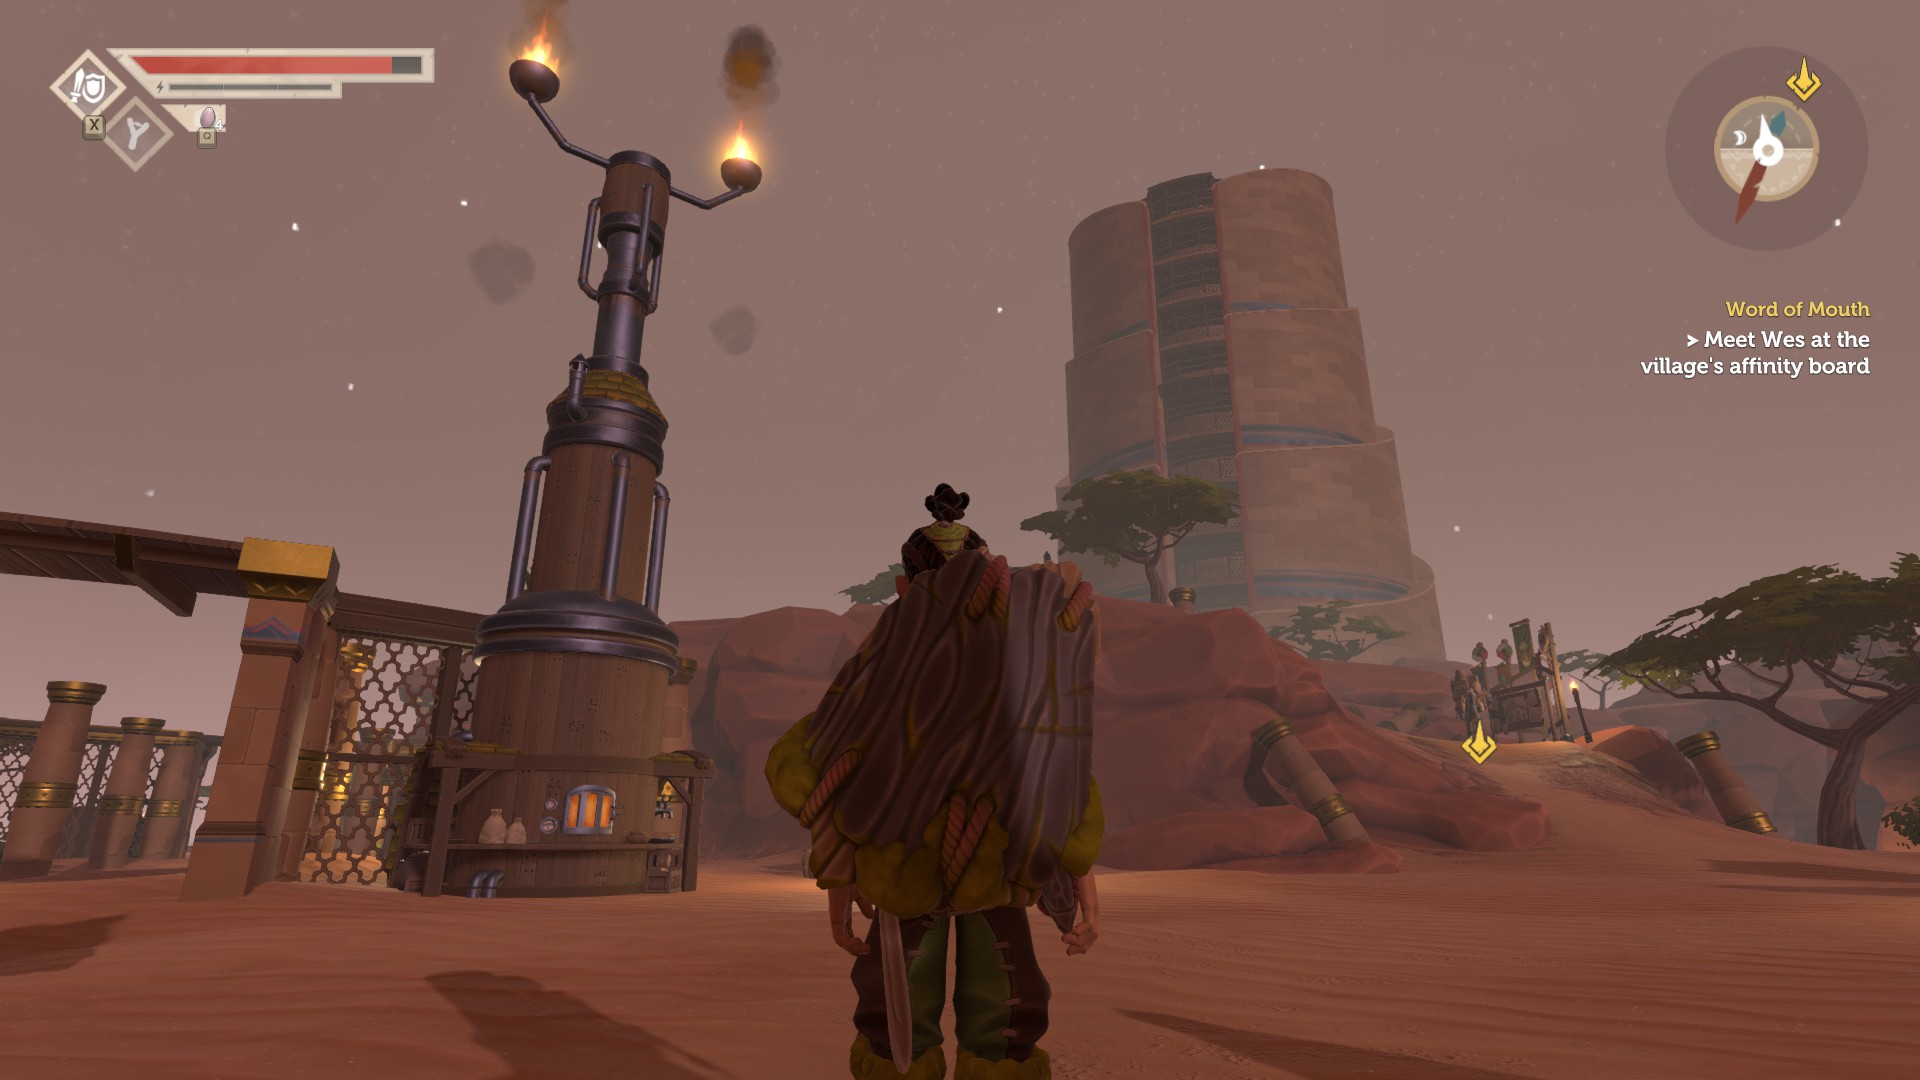
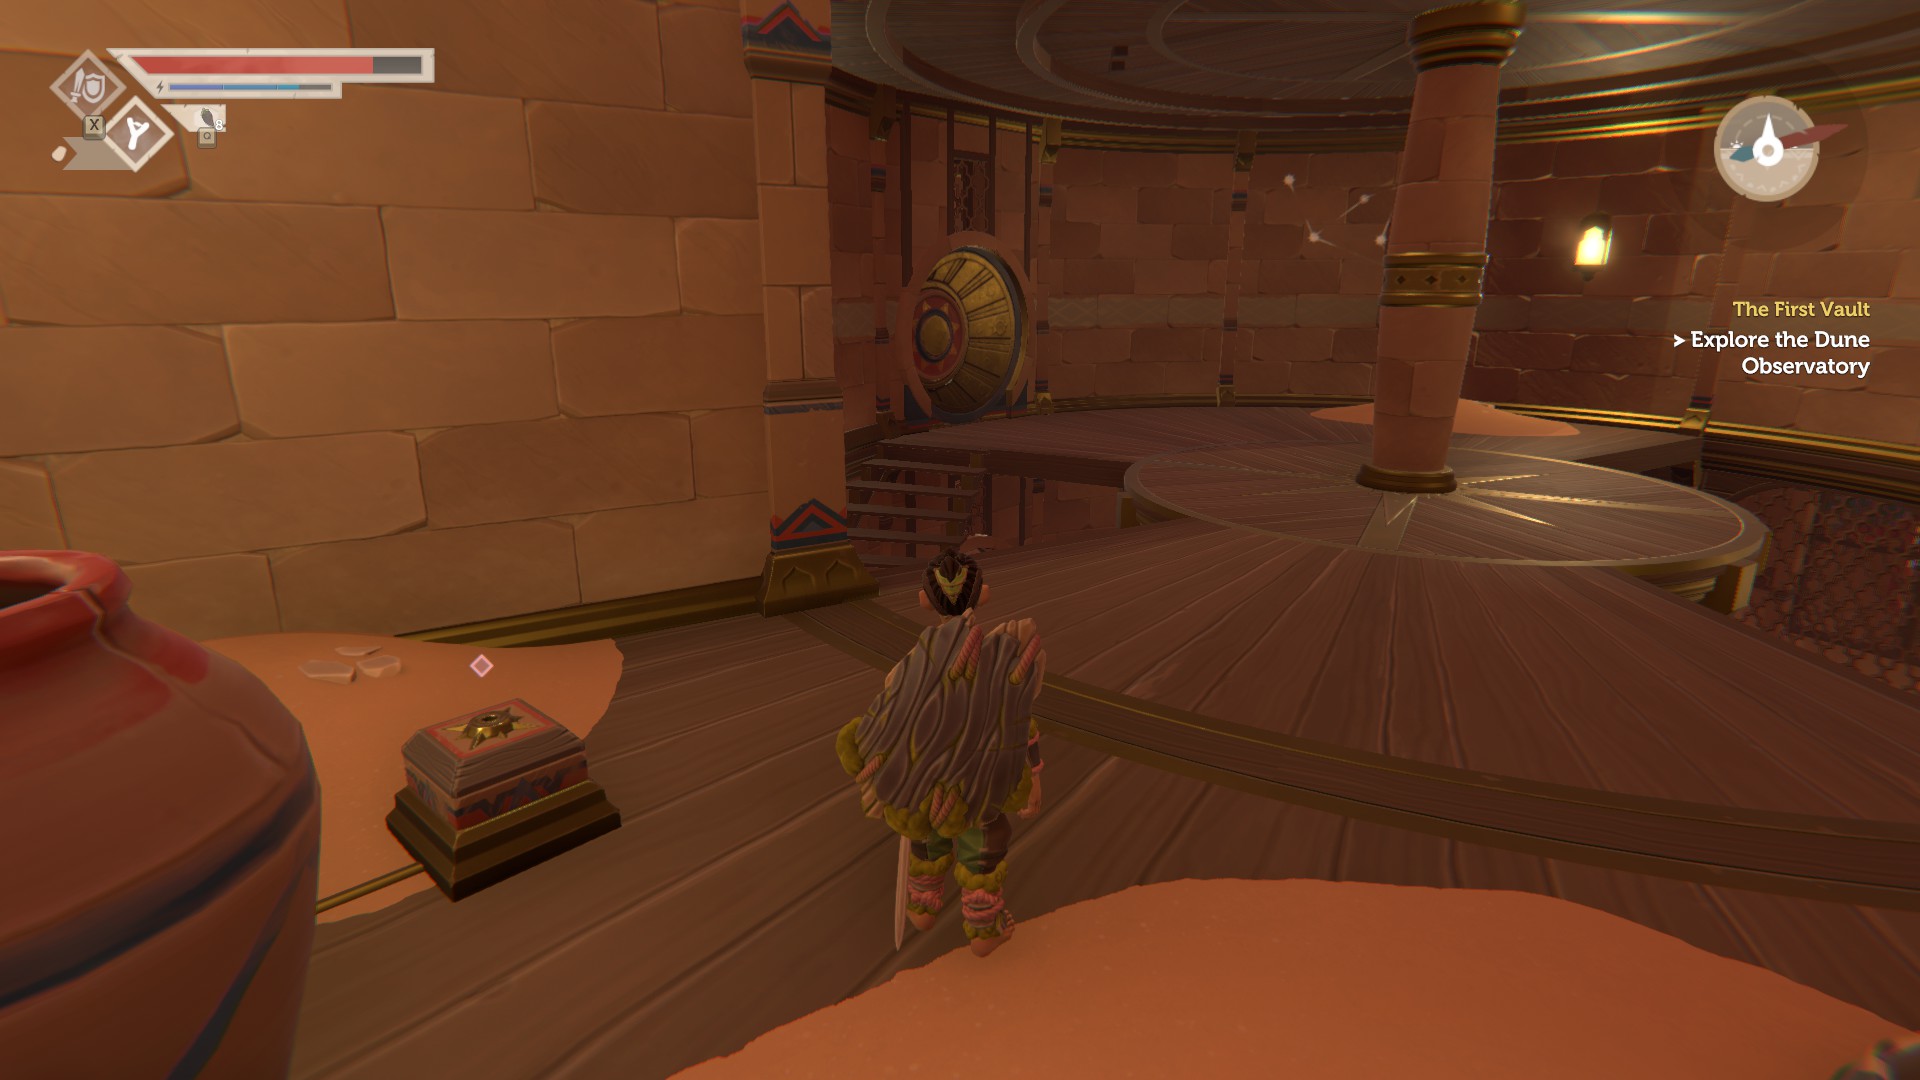
So first of all there is no given order in which you should do the three vaults. If u reach the Dune Obersatory in the southeast of the map, it should look like this.
For this walkthrough i opened the Dune Obersatory as the first vault. This is why this part shows how to open the first vault. If you choosed one of the other vaults it should be identically. If you need to know, how to open the second vault take a look my guide for the Ancient Stables.
[link]
If you need to know how to open the third vault take a look at my guide to the Hollow Mountain.
COMING SOON or maybe never :/, but it’s not so hard 🙂
You should only read this chapter if you want to know how to open the first vault.
Once you have finished the main story so far, that you are allowed to enter the first vault, you know that there is some trash blocking your way. So you need to destroy the trash in front of the Dune Obersatory with an Explosive Keg, or any other explosives. Wes, one of the Tambas, should give you 3 Explosive Kegs and the idea to craft more of them later. They cost
- 2 Marrwood
- 3 Dullrock
- 1 Lean-iron
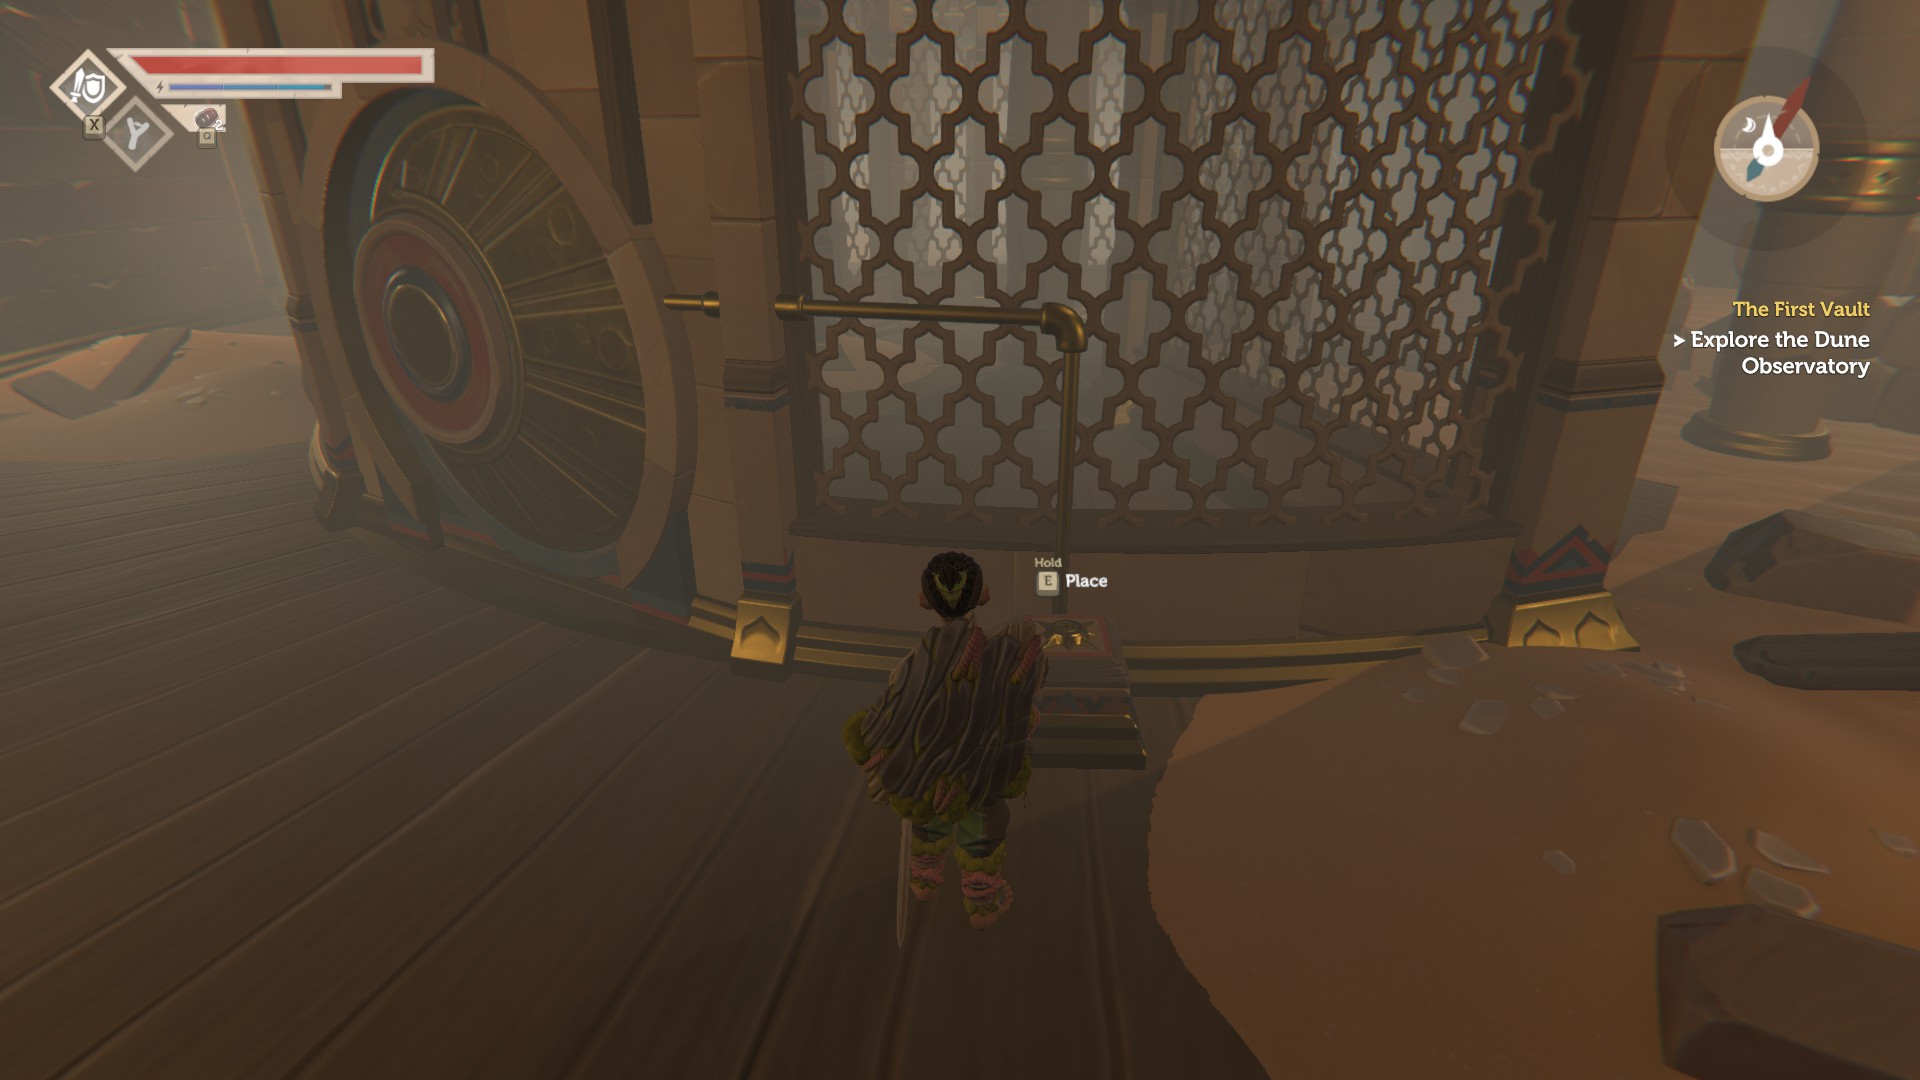
To place the Explosive Keg just press and hold Q and choose it. Left mouse button will place one immediately. Right mouse button will only choose it for later use with pressing Q. You should make sure u place it close enough.
After you placed it take a step back and shoot at it with the slingshot so it explodes
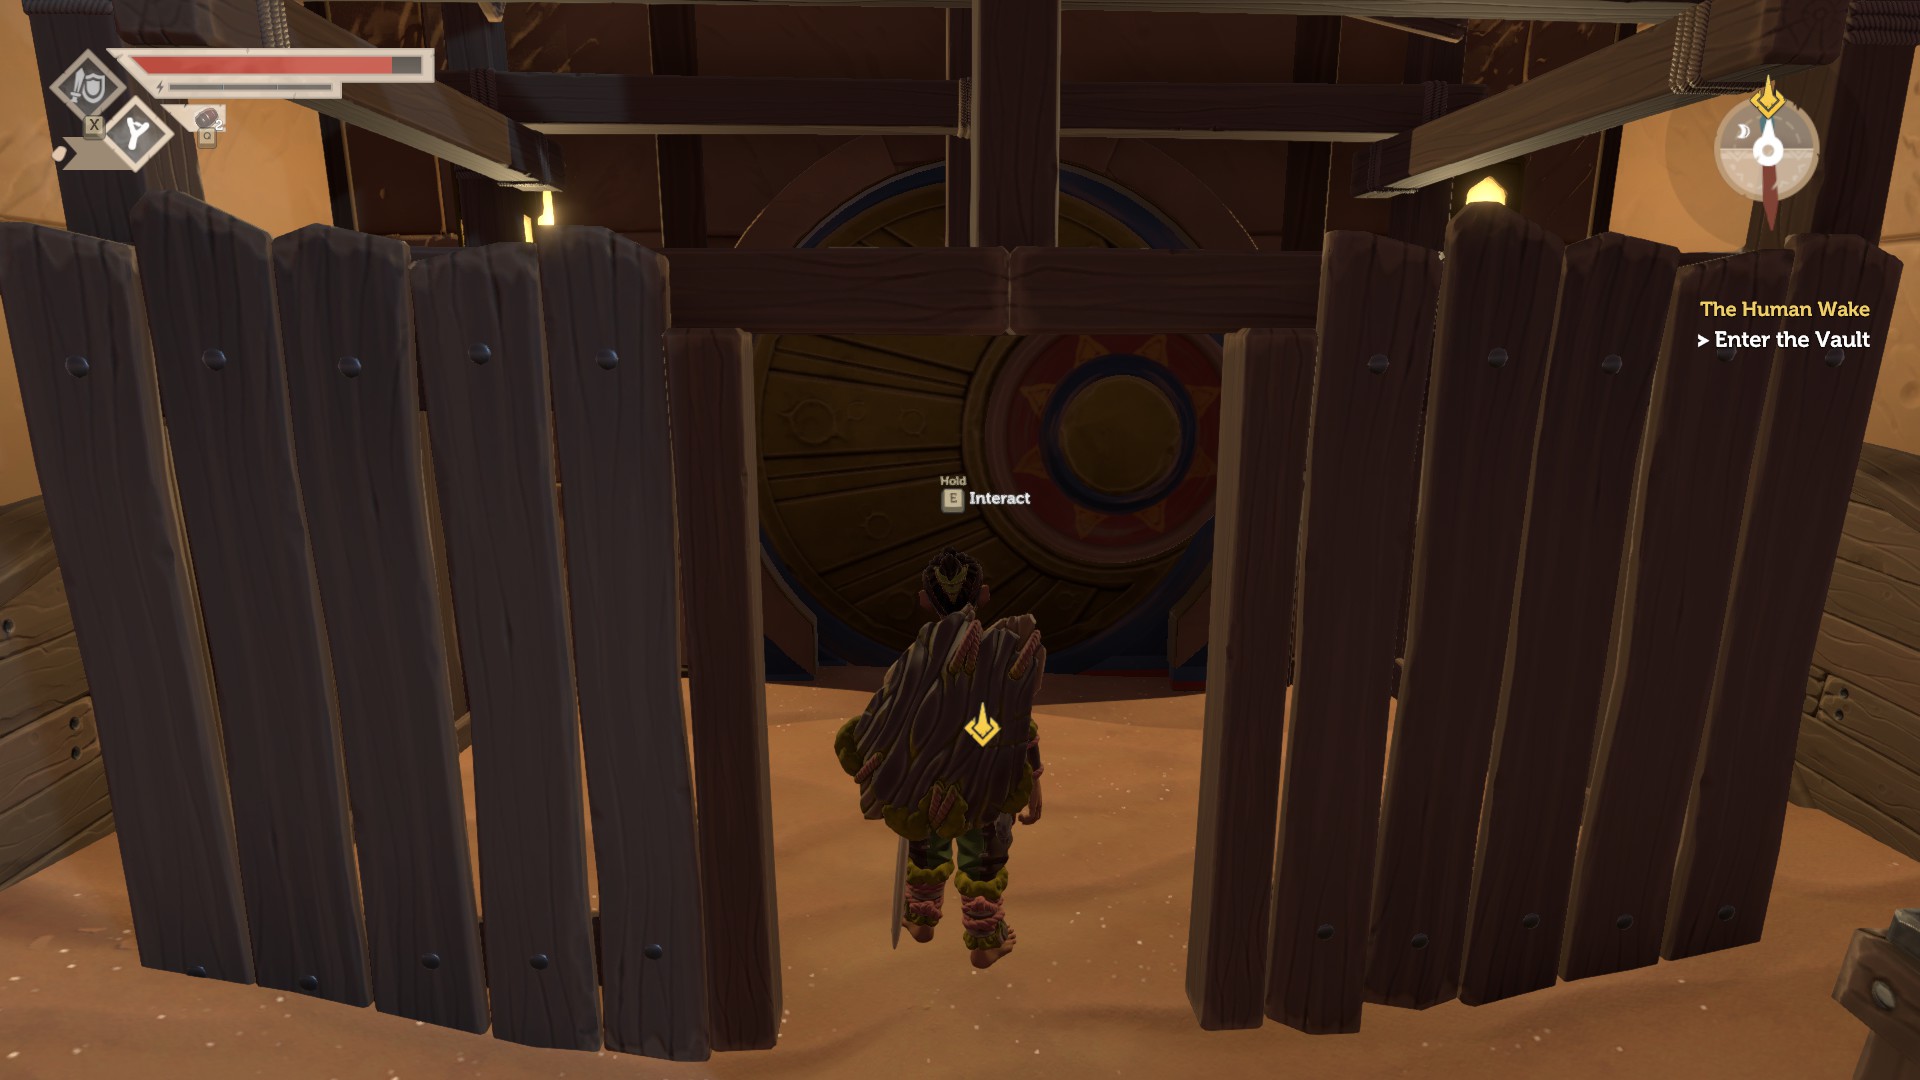
and the trash goes away so you can enter the vault
After you have finished your first vault you will find a note and travel kit next to it. Make sure you don’t miss that.


First floor
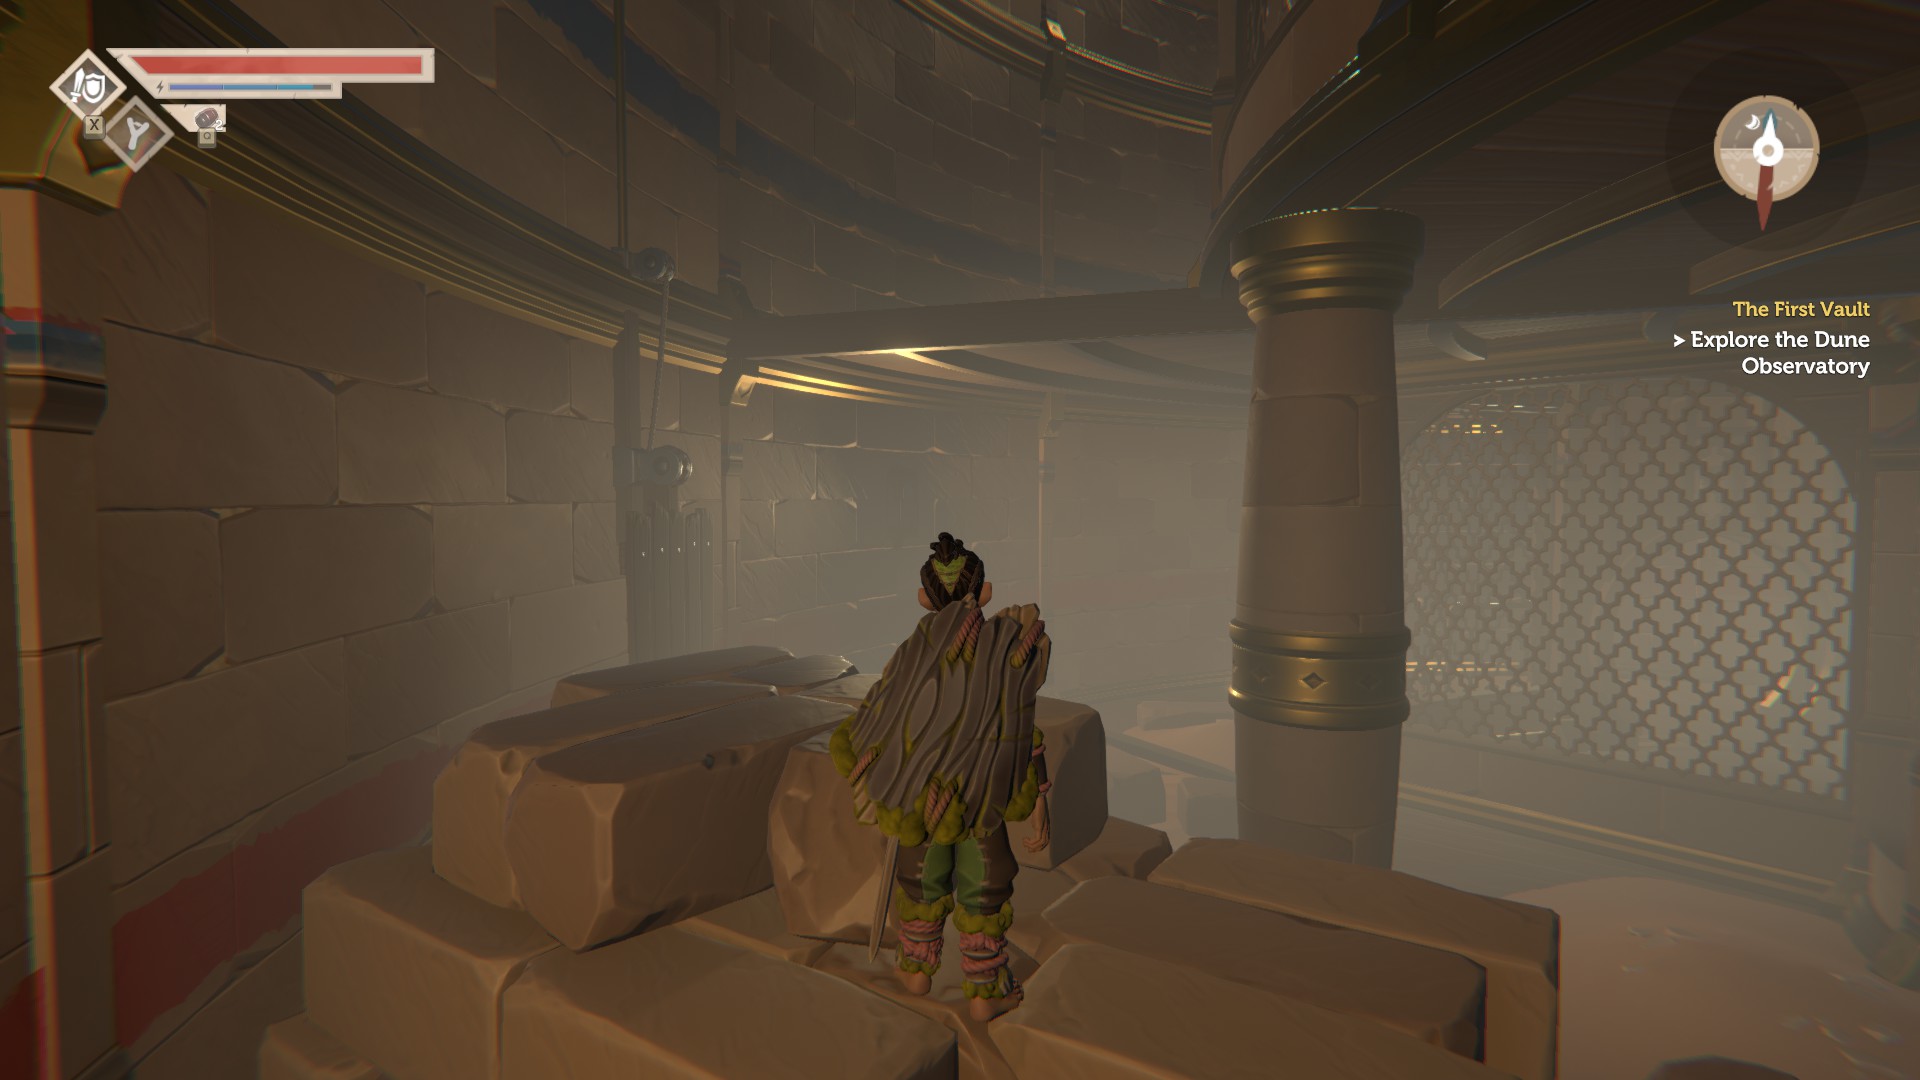
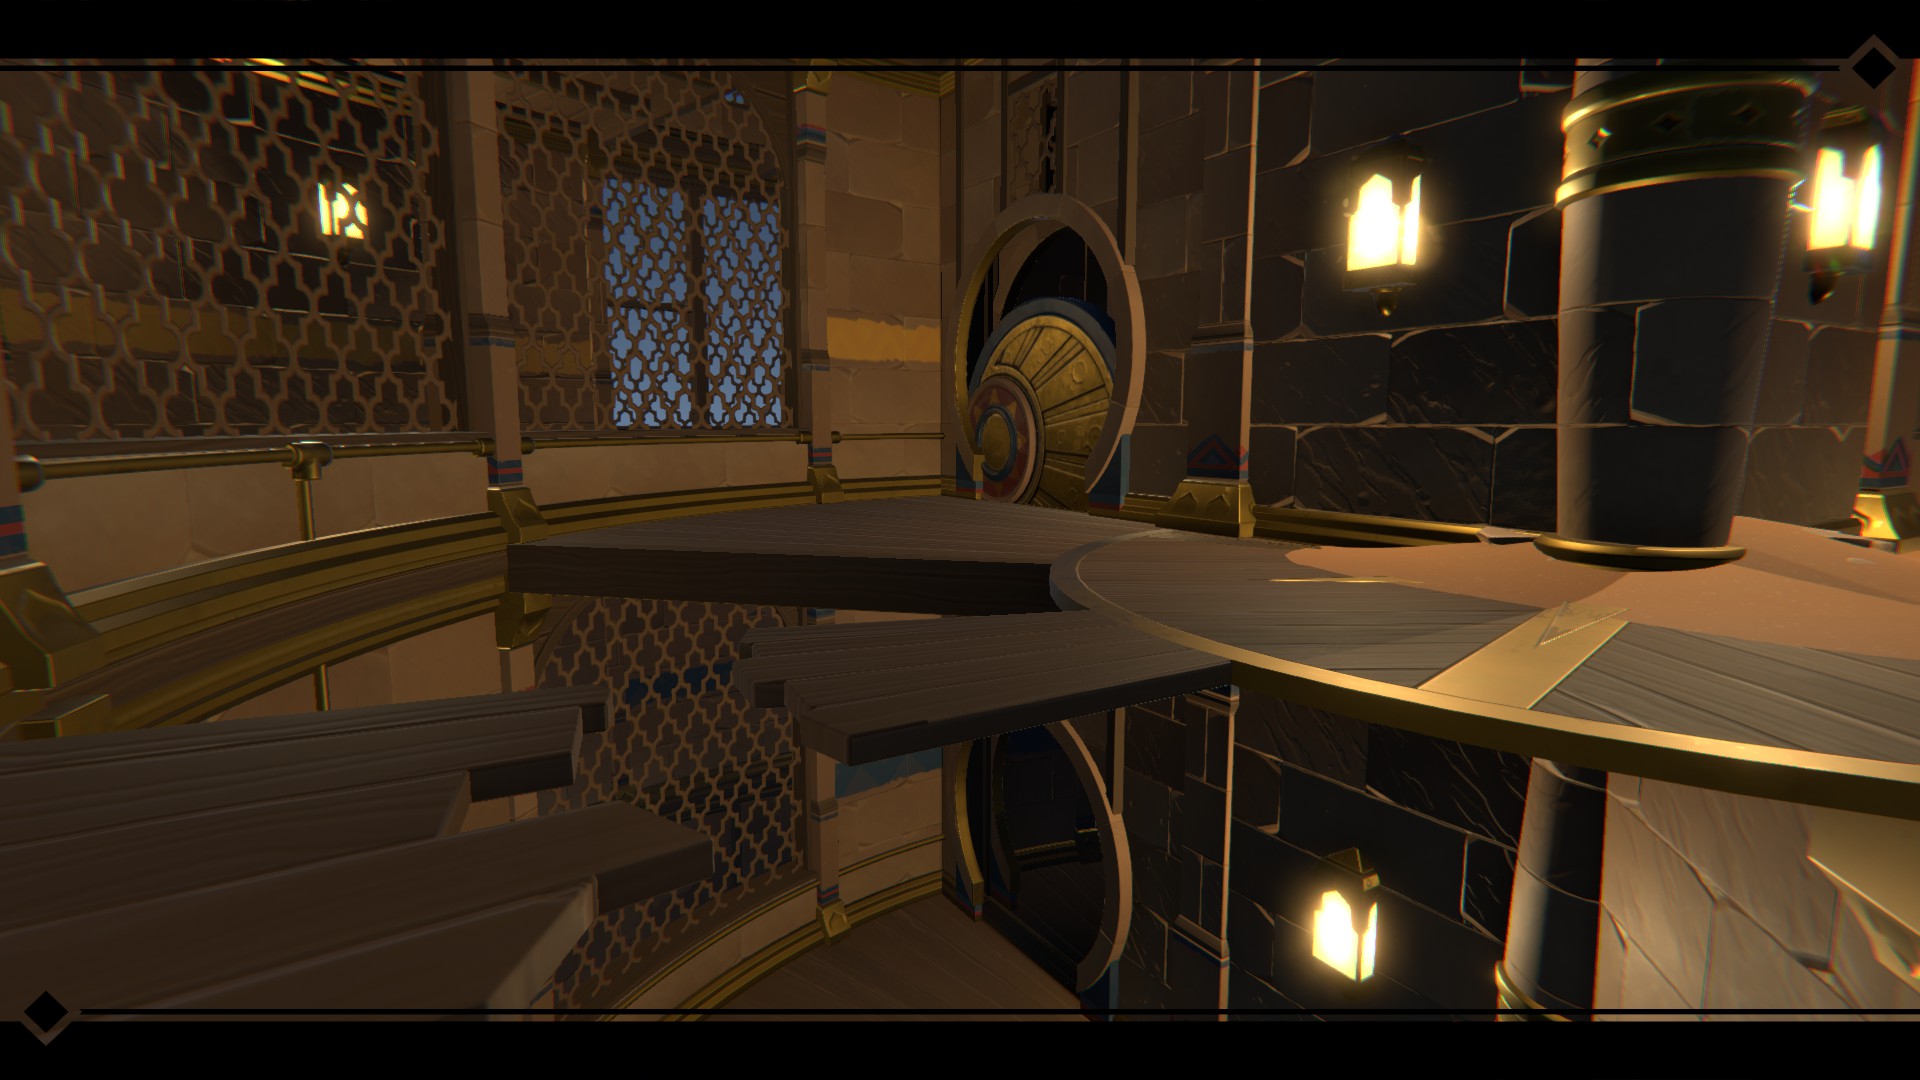
Once you went into the vault you are in the first room and the puzzle solving starts. As you will notice you want to go upstairs, but you can’t because you can’t jump high and far enough.
If you destroy the boxes in the room you will find a pin inside of it.
Place it inside the pin socket next to the closed door.
The door will open and you can enter the central room. You will find a simple lever which u can pull.
After you have done that there should be an aiming target above the stones where you got stucked earlier.
Shoot at it and the platform will move so you are able to jump on it.


Second and third floor
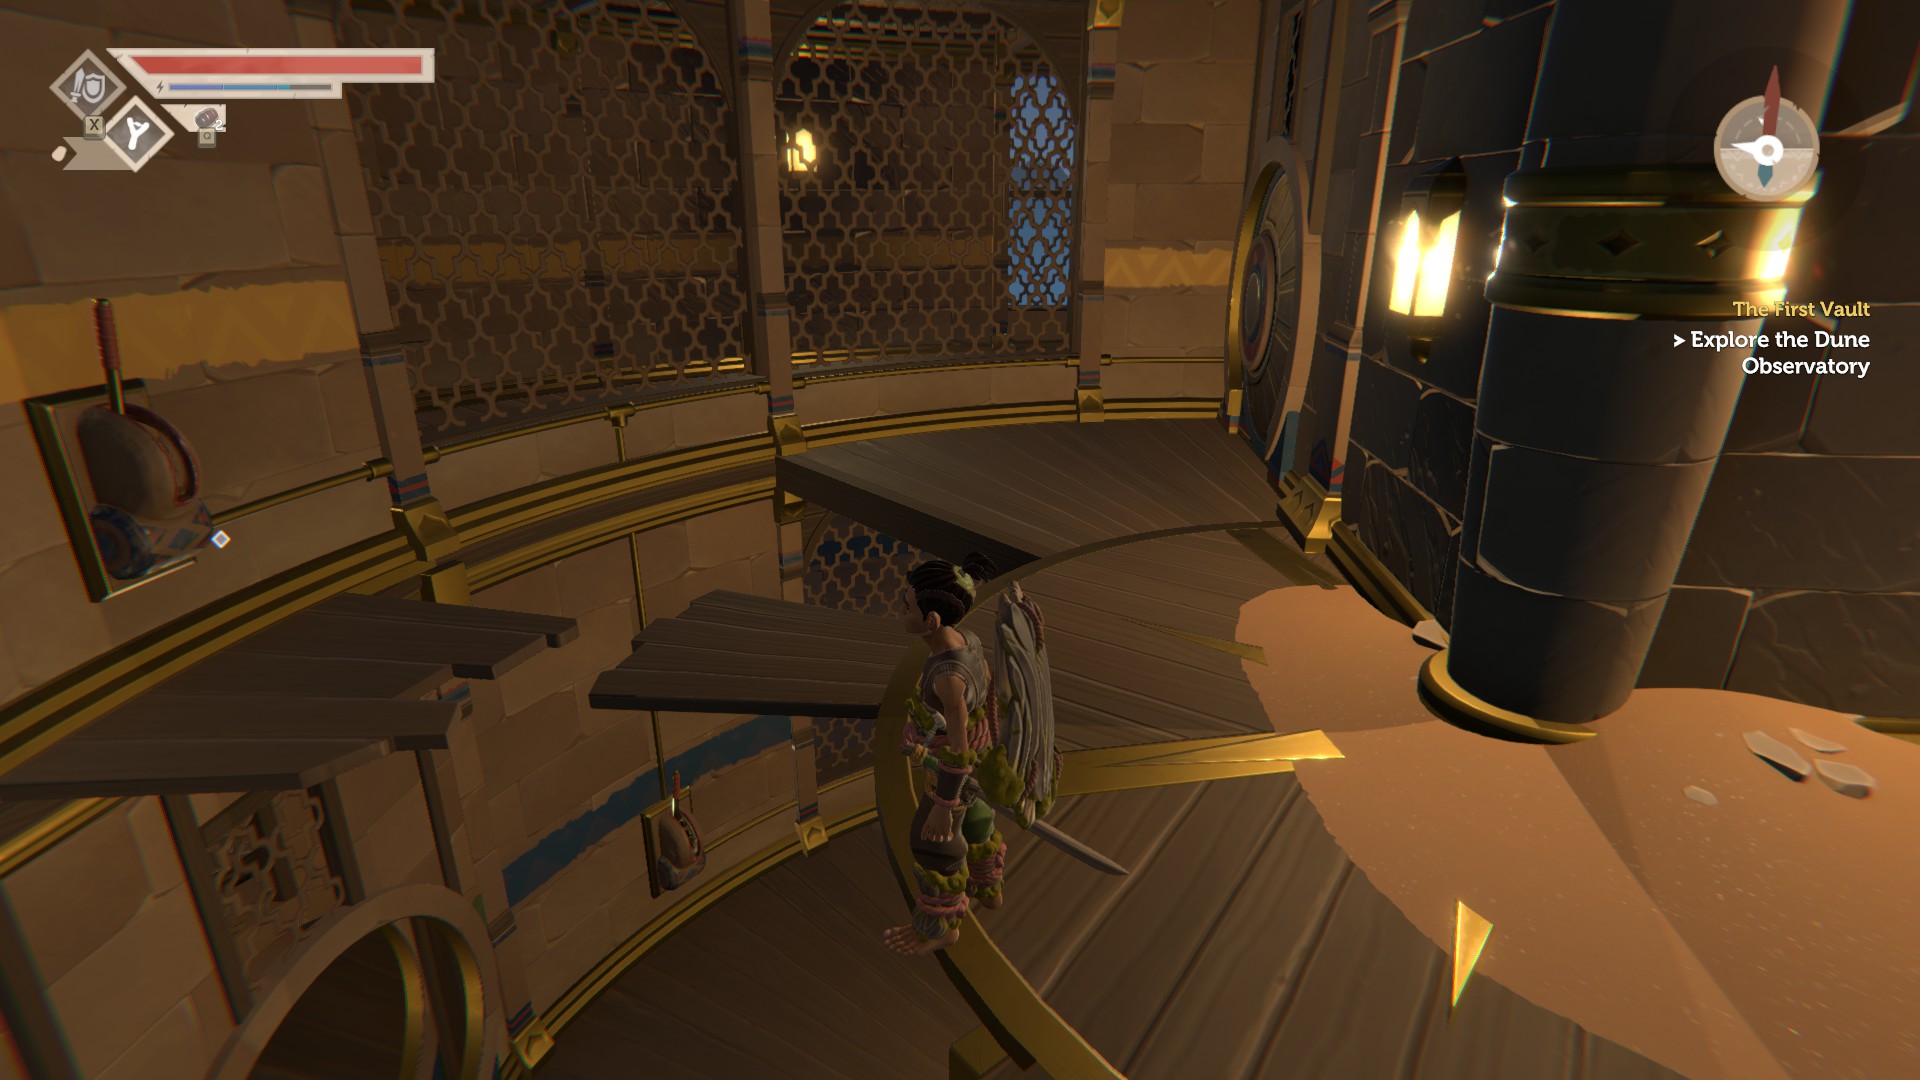
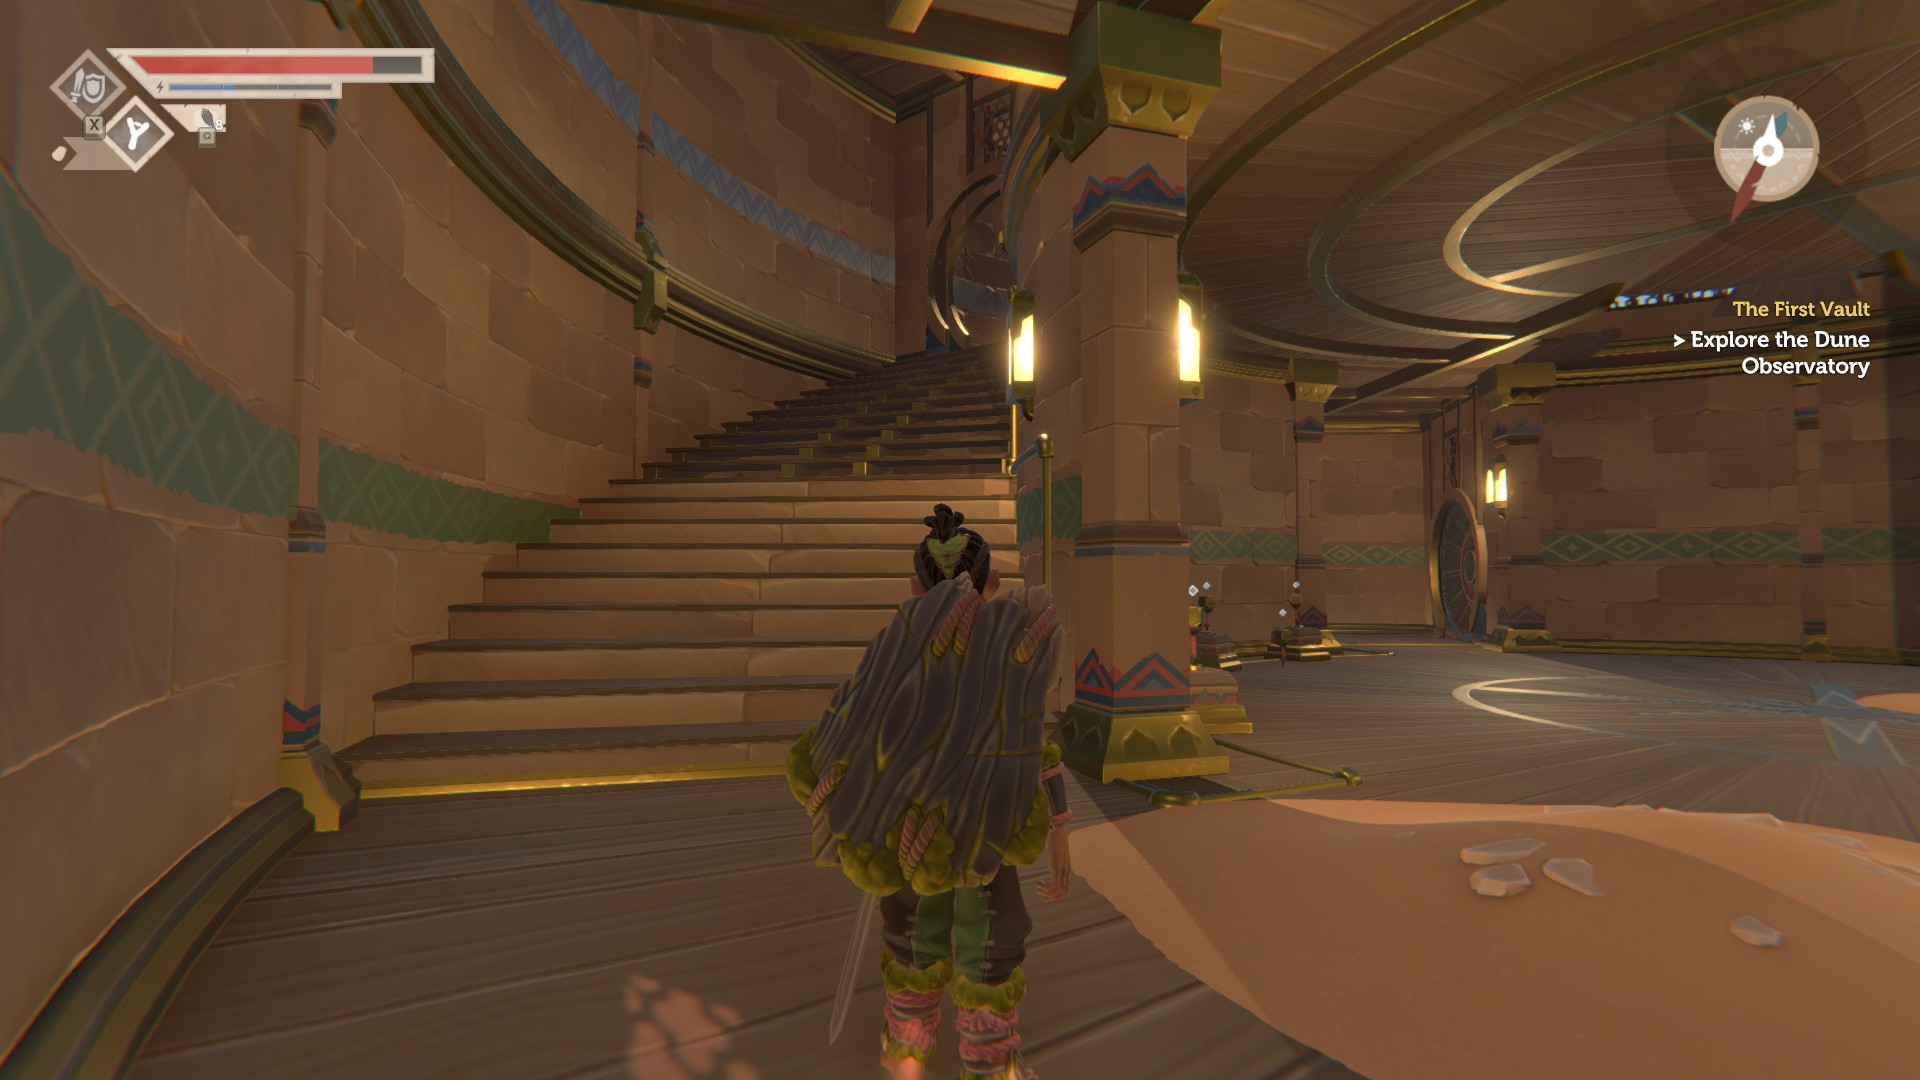
If you have reached the second floor just follow the path.
You will get to a simple lever again.
Pull it and u will see the door moves up to the third floor.
Go upstairs and you will find another lever which brings the door back down to the second floor.


Fourth floor
On the fourth floor you will find two pin sockets.
You will find the first pin in the middle of the room.
To get the second pin u need to follow the path above the stairs.
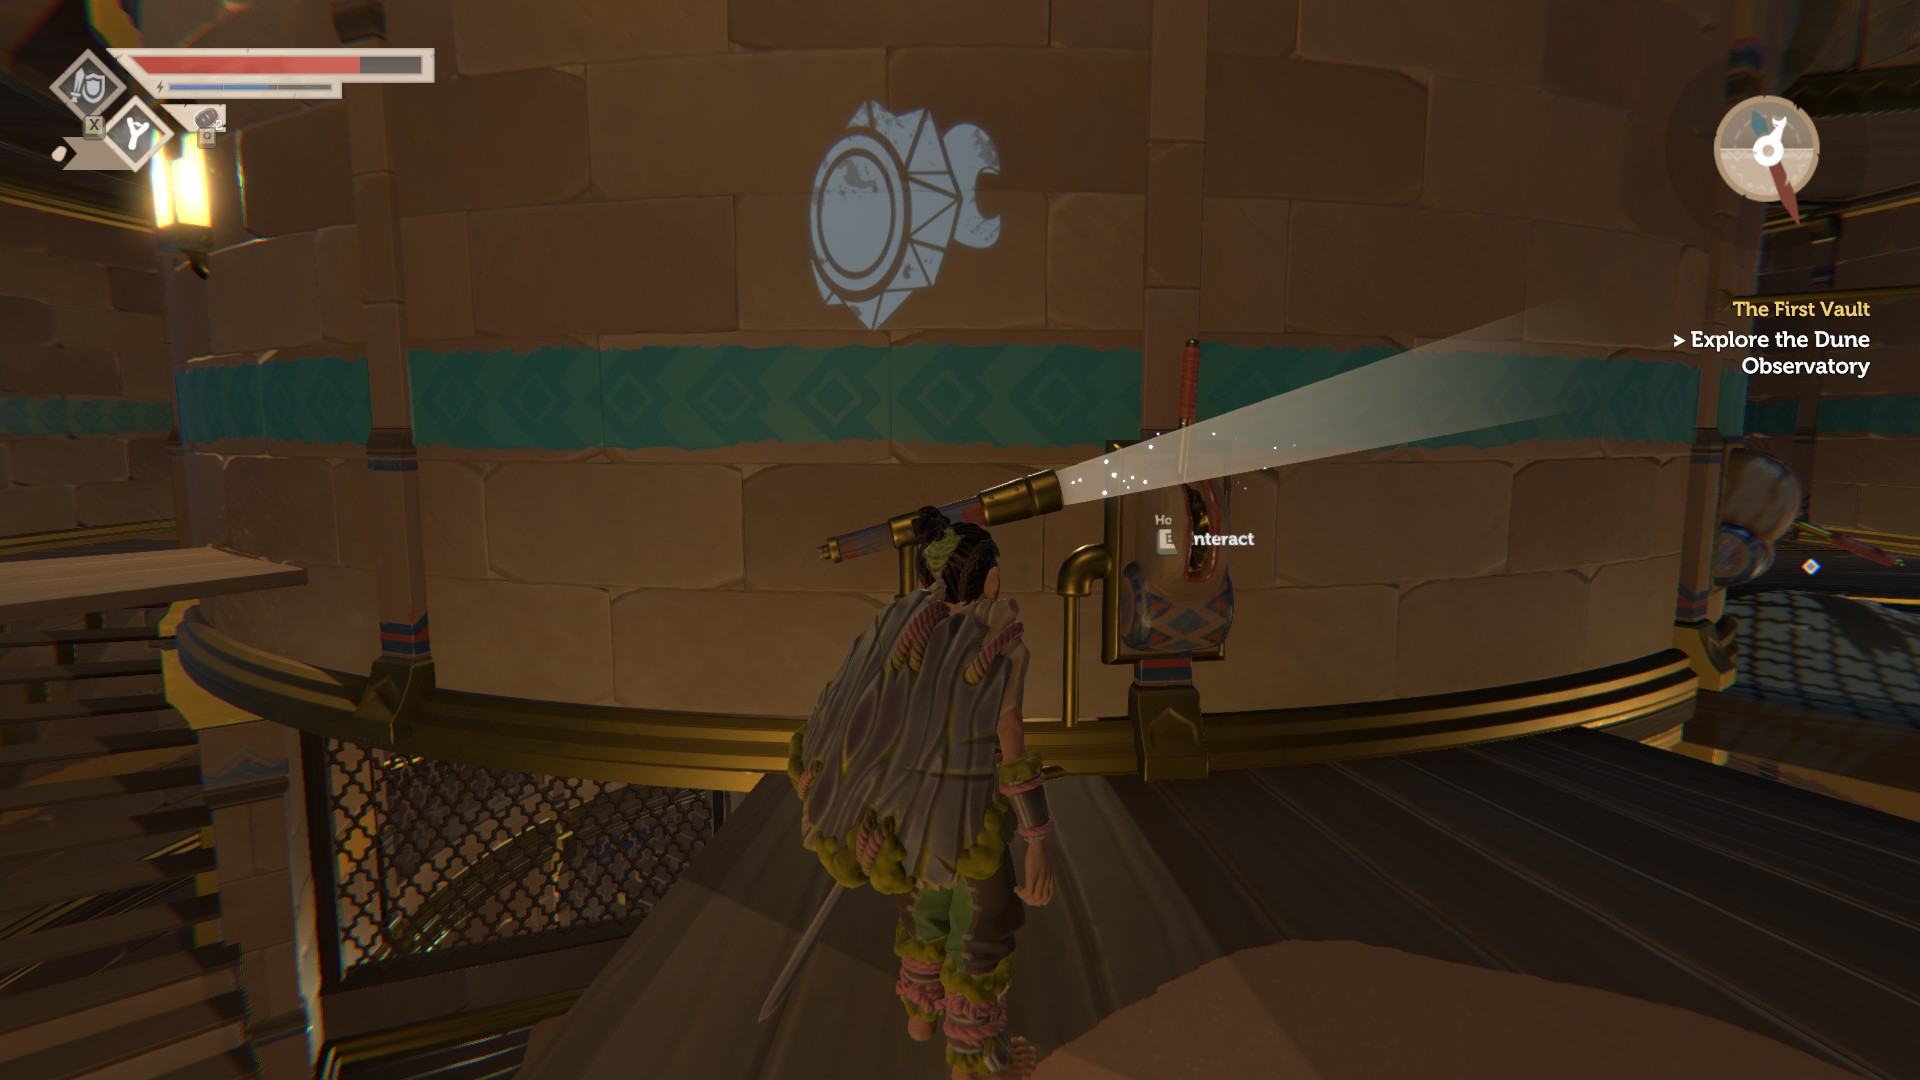
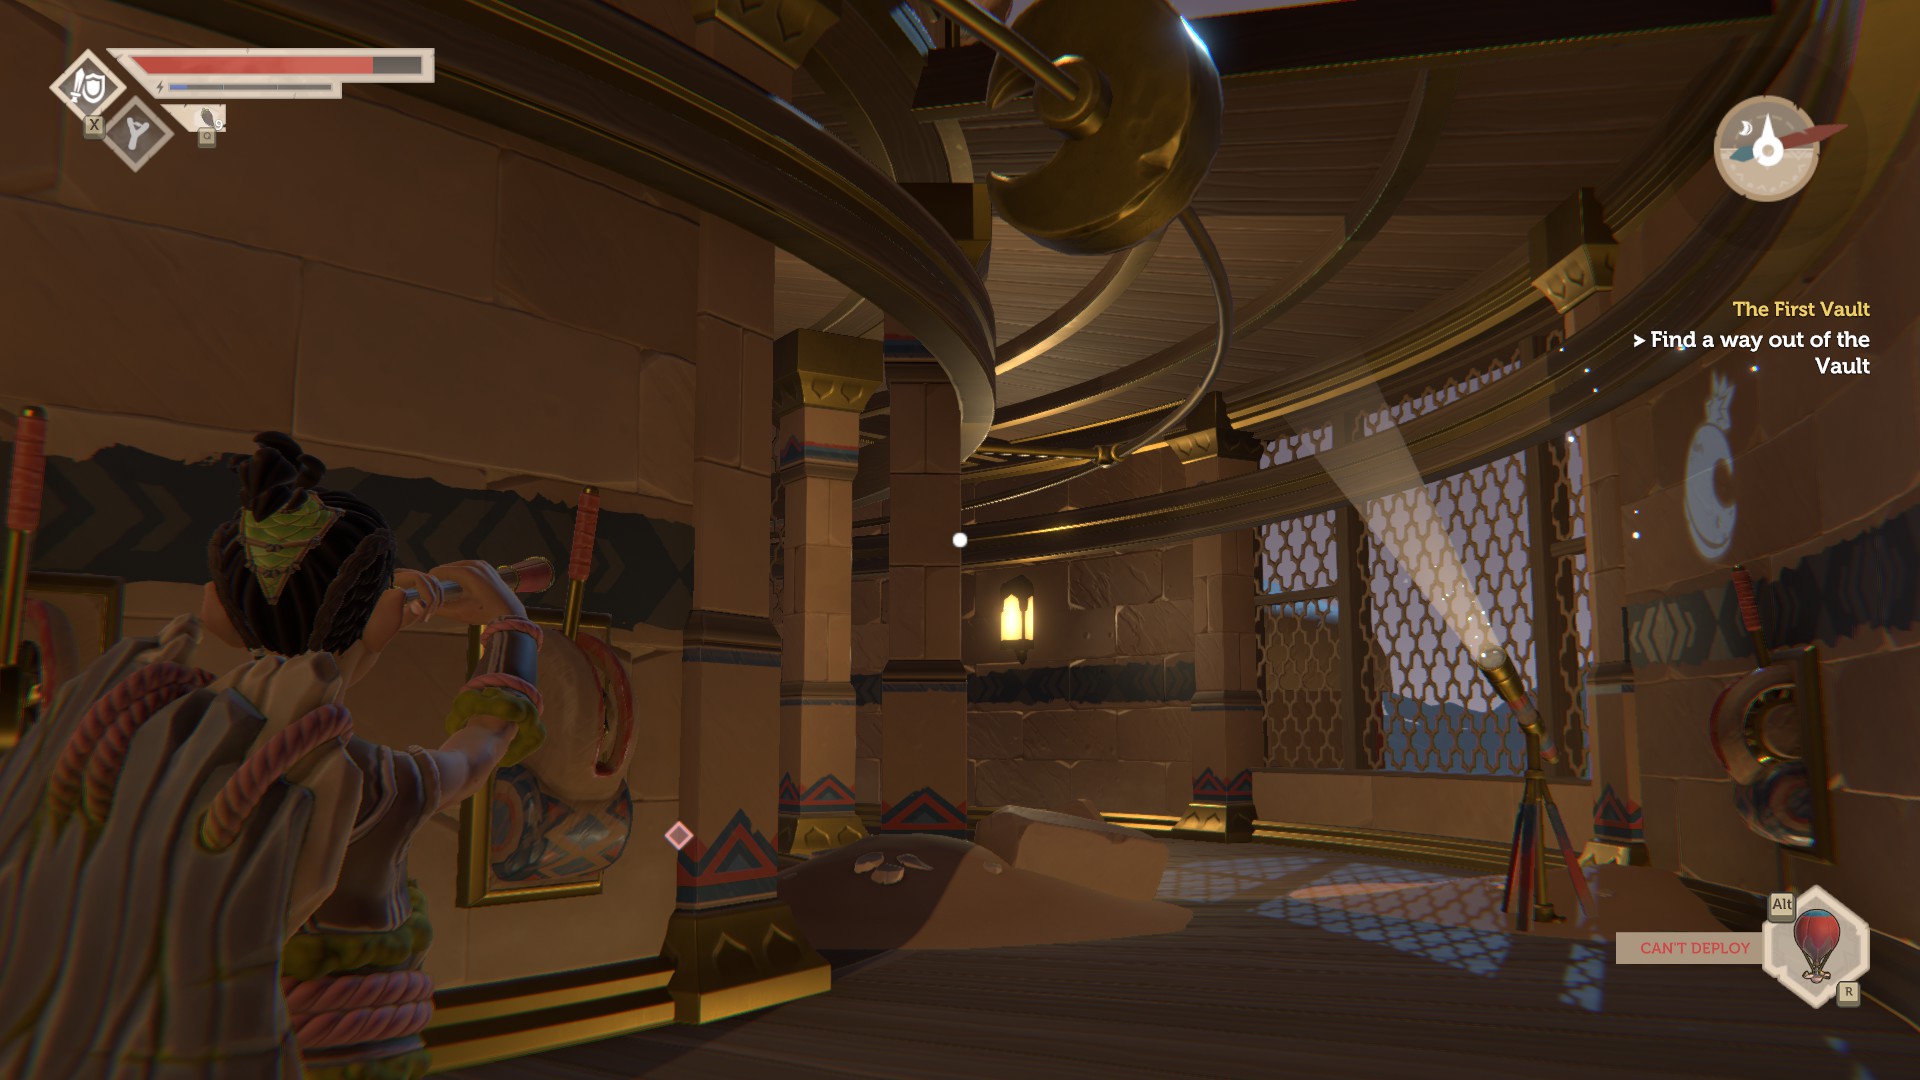
You will find a telescope and three symbols, a star on the left, a sun on the right and a moon in the background.
There are 4 simple levers. One to activate the telescope and three to move the symbols. As shown on the wall next to the telescope it wants to “see” the sun with the moon in the background.
First you need to move the star aside because it blocks the way to see the sun.
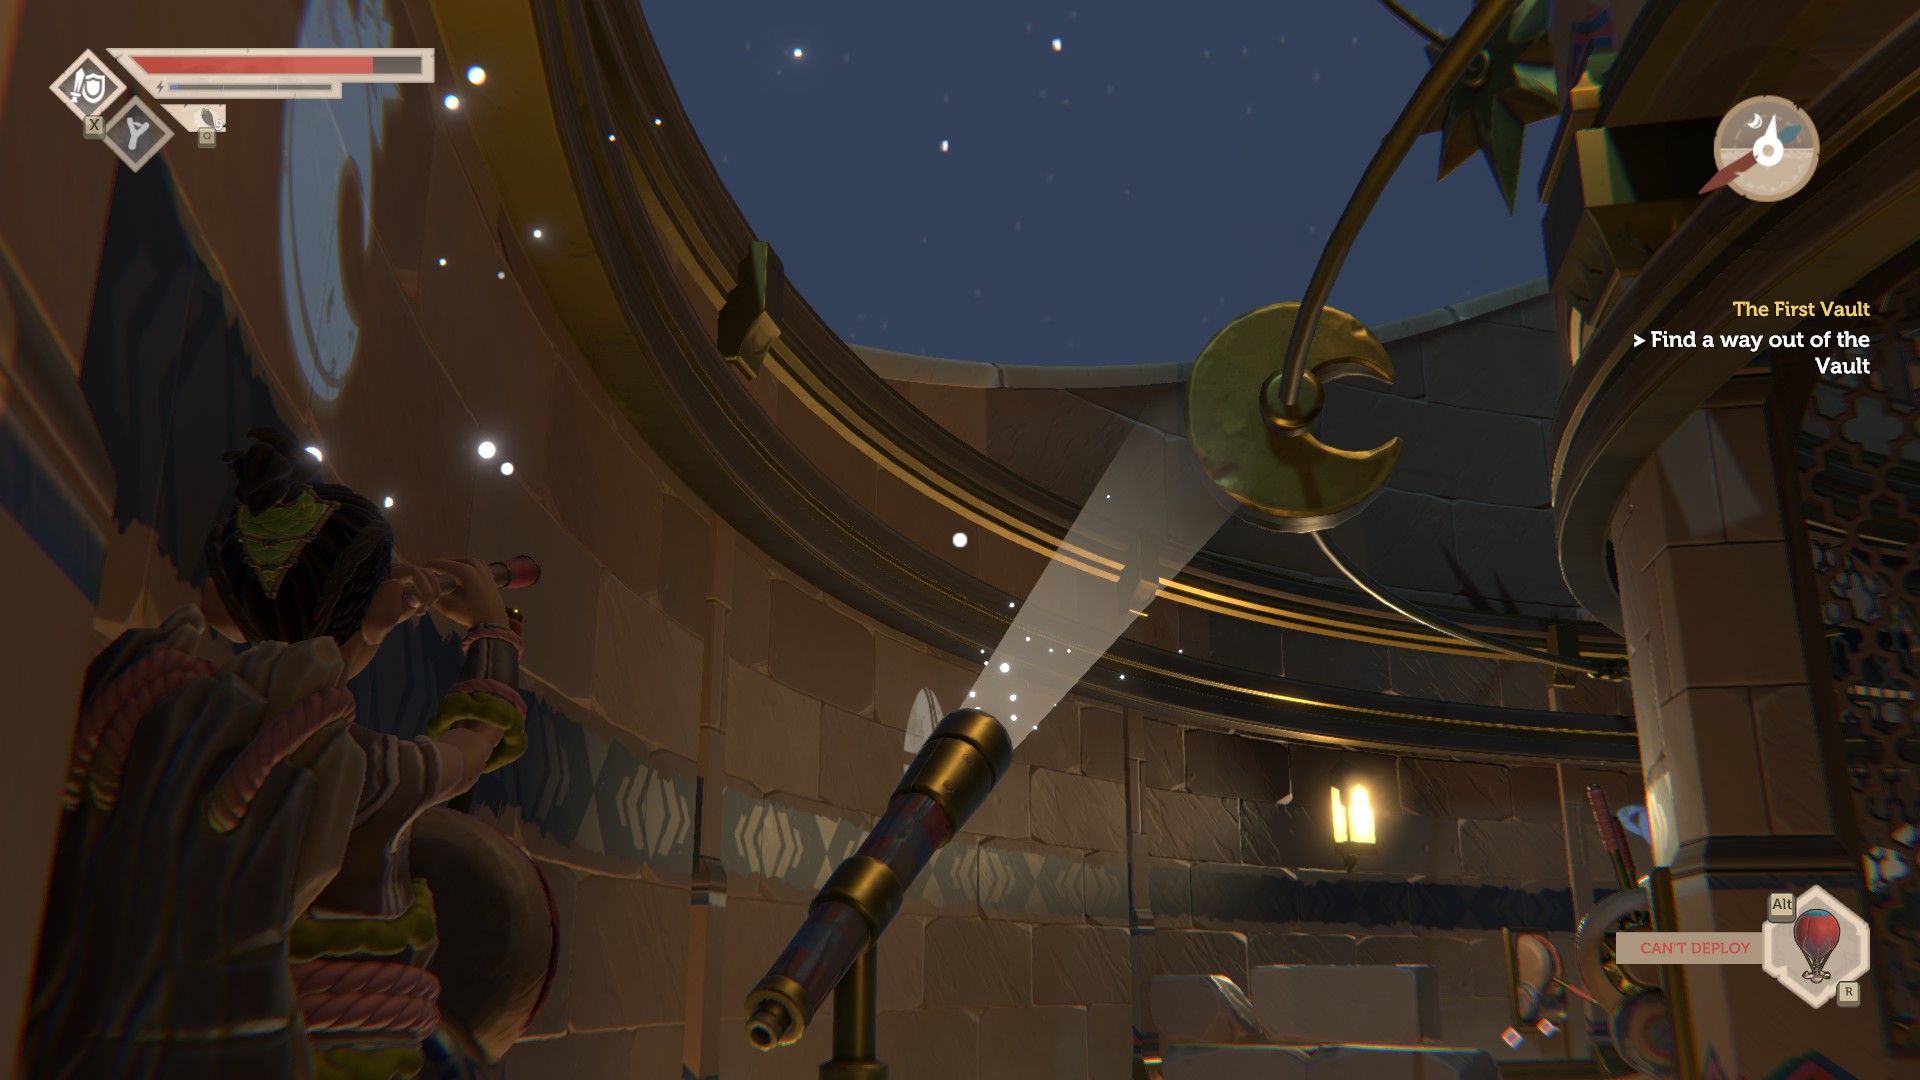
Second you need to move the moon behind the sun.
The telescope should now look at this configuration and you can pull the simple lever.
You will notice there is a platform which starts to move now.

Follow it and u will find the second pin.
Place also the second pin into the pin socket
Now the other platform, in the middle of the room, starts to move.
Follow it and you can go to the next floor.


Fifth and sixth floor
If you reach the fifth floor, you will notice there is a aiming target which stands on a platform.
Shoot it and the door will slide upstairs and u can go to the sixth floor, where you find another pin socket.
You will find the pin after u jumped over two platform which u can move by hitting the aiming targets next to them.
If you place the pin in the pin socket you will now notice the platform on the fifth floor with the aiming target is now moving. If u can see it shoot at it.
Sidenote: It happens that the some of the aiming target don’t start to spin and doesn’t activate. This is one of the known problem aiming target. If you have problems activate it please save your came and reload the save. Mostly this solves the problem.
The door will slide down to the fifth floor again.


Seventh and eighth floor
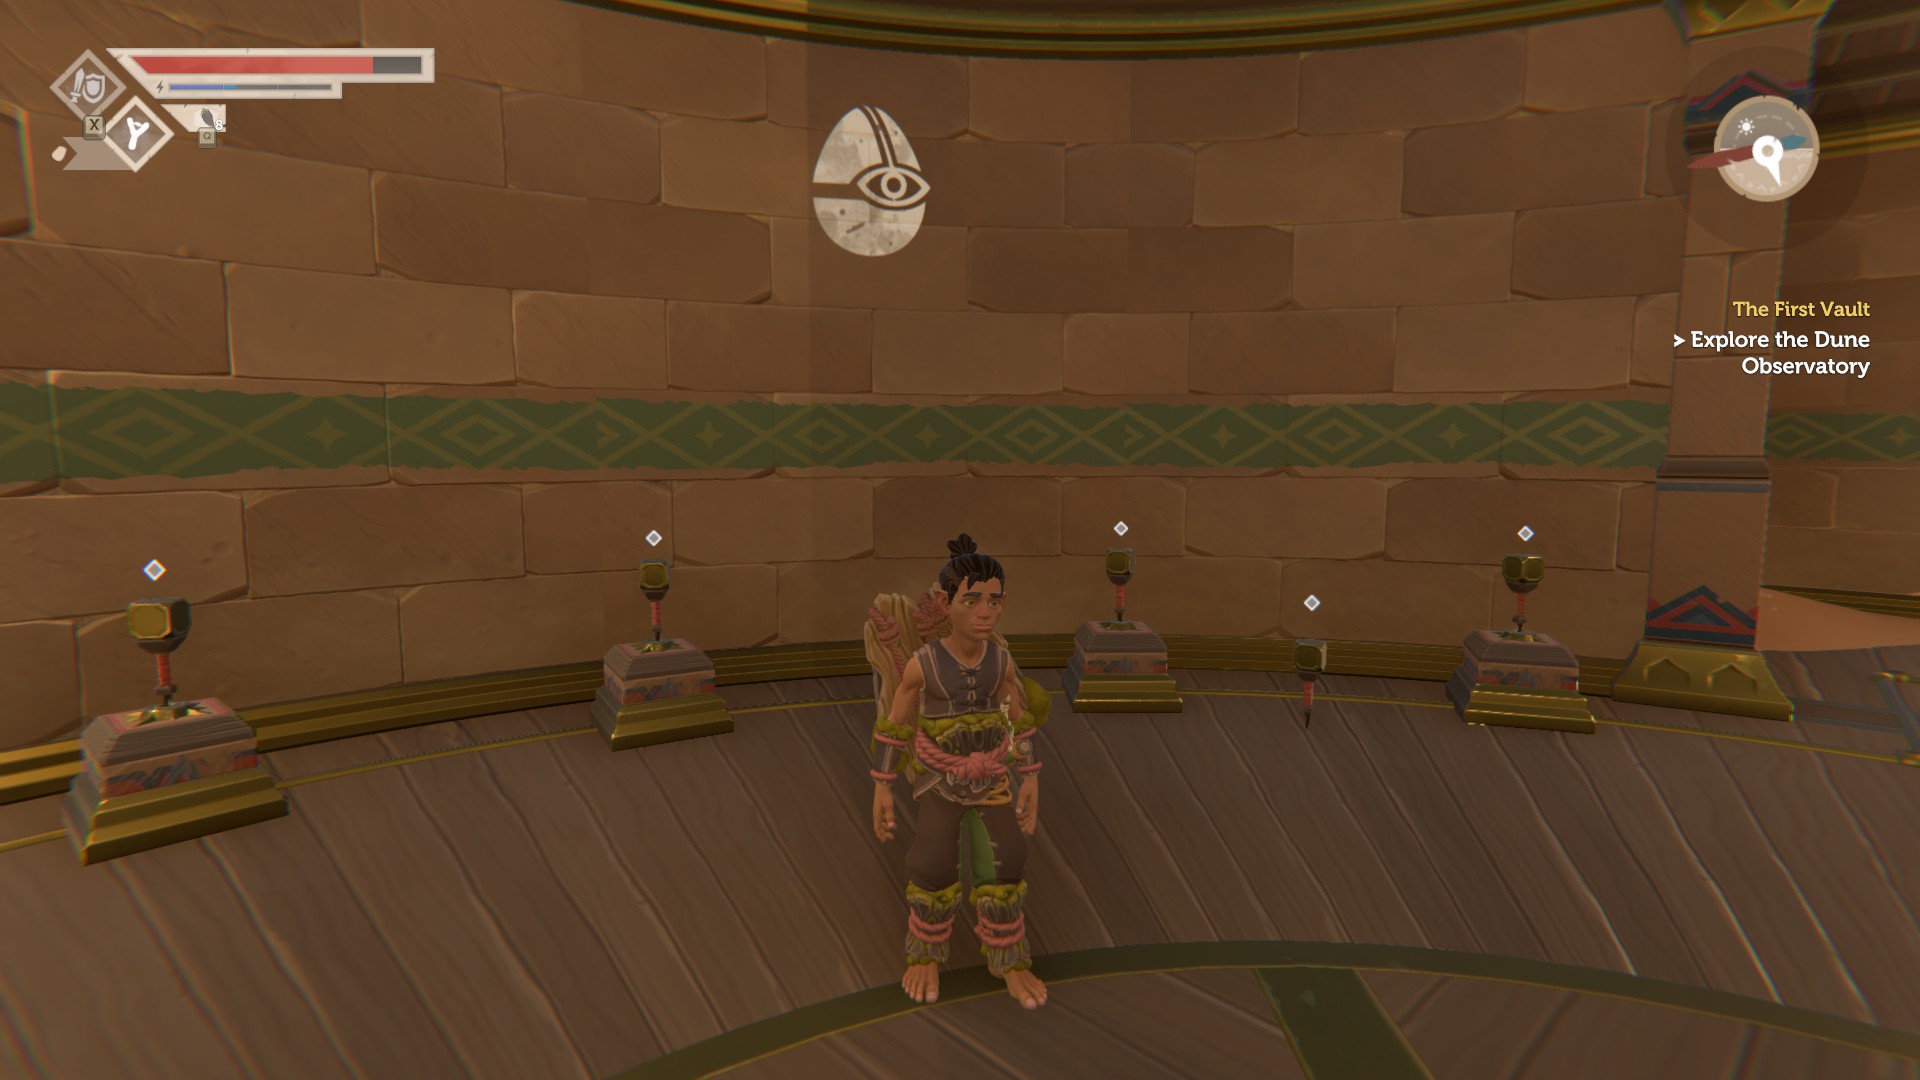
On the seventh floor there are four pin sockets and five pins.
Pick one of the two pins on the floor and place it in the empty pin socket.
If you have done that the door at the end of the stairs left from the pin sockets will open and u can enter the eigth floor.
On the eigth floor you will get a little history lesson and find the outfinding scouting lens.
In addition you will find a note in a sideroom.
The note tells you:


- “You have gotten this far and found the tool that observes;”
- “Now you can prove your worth by using it to see your way to the top of the tower.”
- “That is where you can open the door below and leave for further adventures”
So basiclly it tells you, that you are trapped and need to use the new tool to get out of the vault.
Go back to the seventh floor and you will notice there is a egg symbol on the wall. Everytime you see this symbol in the game you will need to use the scouting lens. So press R and look at the additional informations that you can see now.
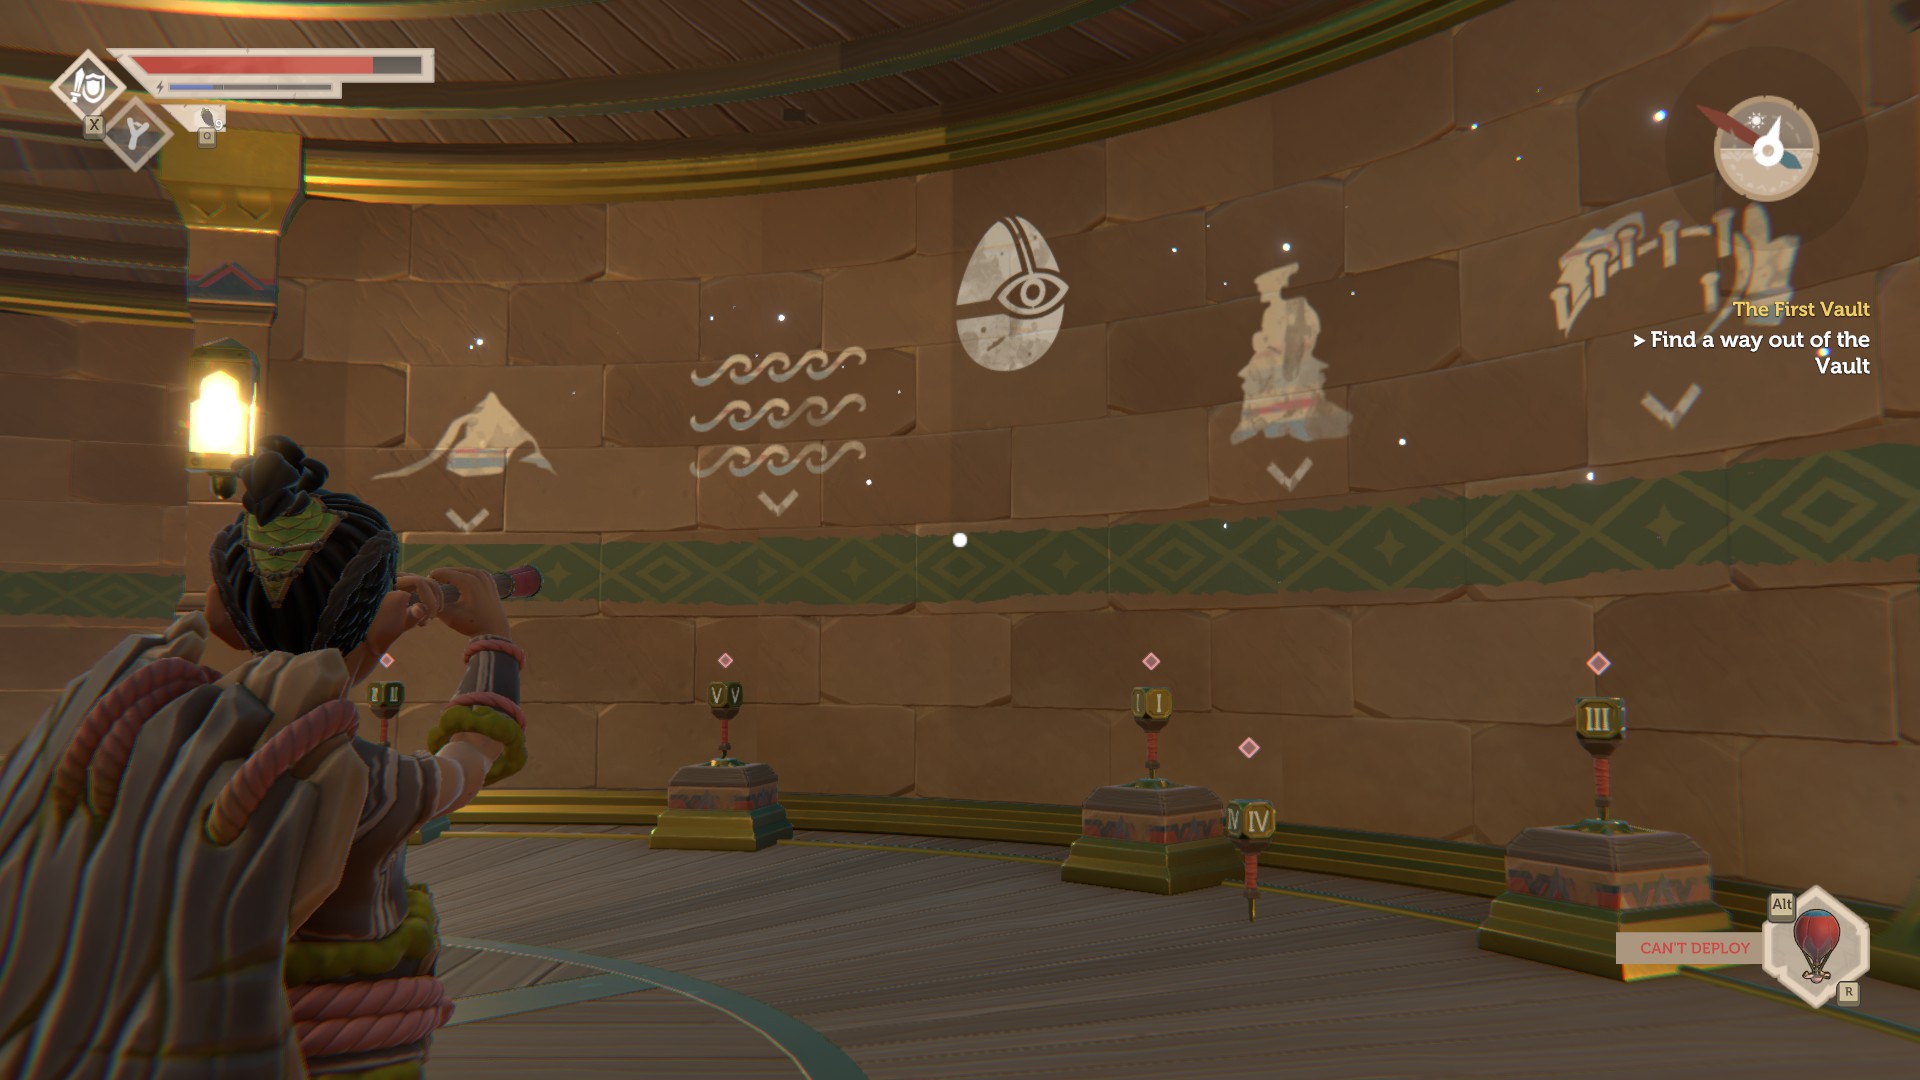
With this view you can see over the pin sockets are 4 diffrent symbols, a mountain, some waves, a high rock and a circle building. On the 5 pins are the roman number I, II, III, IV and V.
On the wall next to the window is the egg symbol as well.
If you watch out of the window you can see the four symbols shown on the wall are related to the landmarks outside. With the scouting lens you can see some roman numbers next to the landmarks.


If you think a little about it, you can conclude

- The pin socket with the mountain symbol above needs the pin with the roman number III
- The pin socket with the wavessymbol above needs the pin with the roman number II
- The pin socket with the high rock symbol above needs the pin with the roman number V
- The pin socket with the circle building symbol above needs the pin with the roman number I
If u place the right pins into the pin sockets,


you will notice the door, on the right from the pin sockets, will open and you get to the stairs that lead to the ninth floor.


Ninth floor
On the ninth floor you will see multiple pin sockets and four pins, two of them burning two not.
To get the door open, you need to place the pins in the right pin sockets. If you use the scouting lens again and look at the ceiling you will notice over some of the pin sockets are symbols.
The “shiny” symbols are for the two burning pins the only round symbols are for the not burning ones. If you place the pins correctly it should look like this …
and this.
After you placed all pins the door opens and you can proceed to the next floor.


Tenth floor
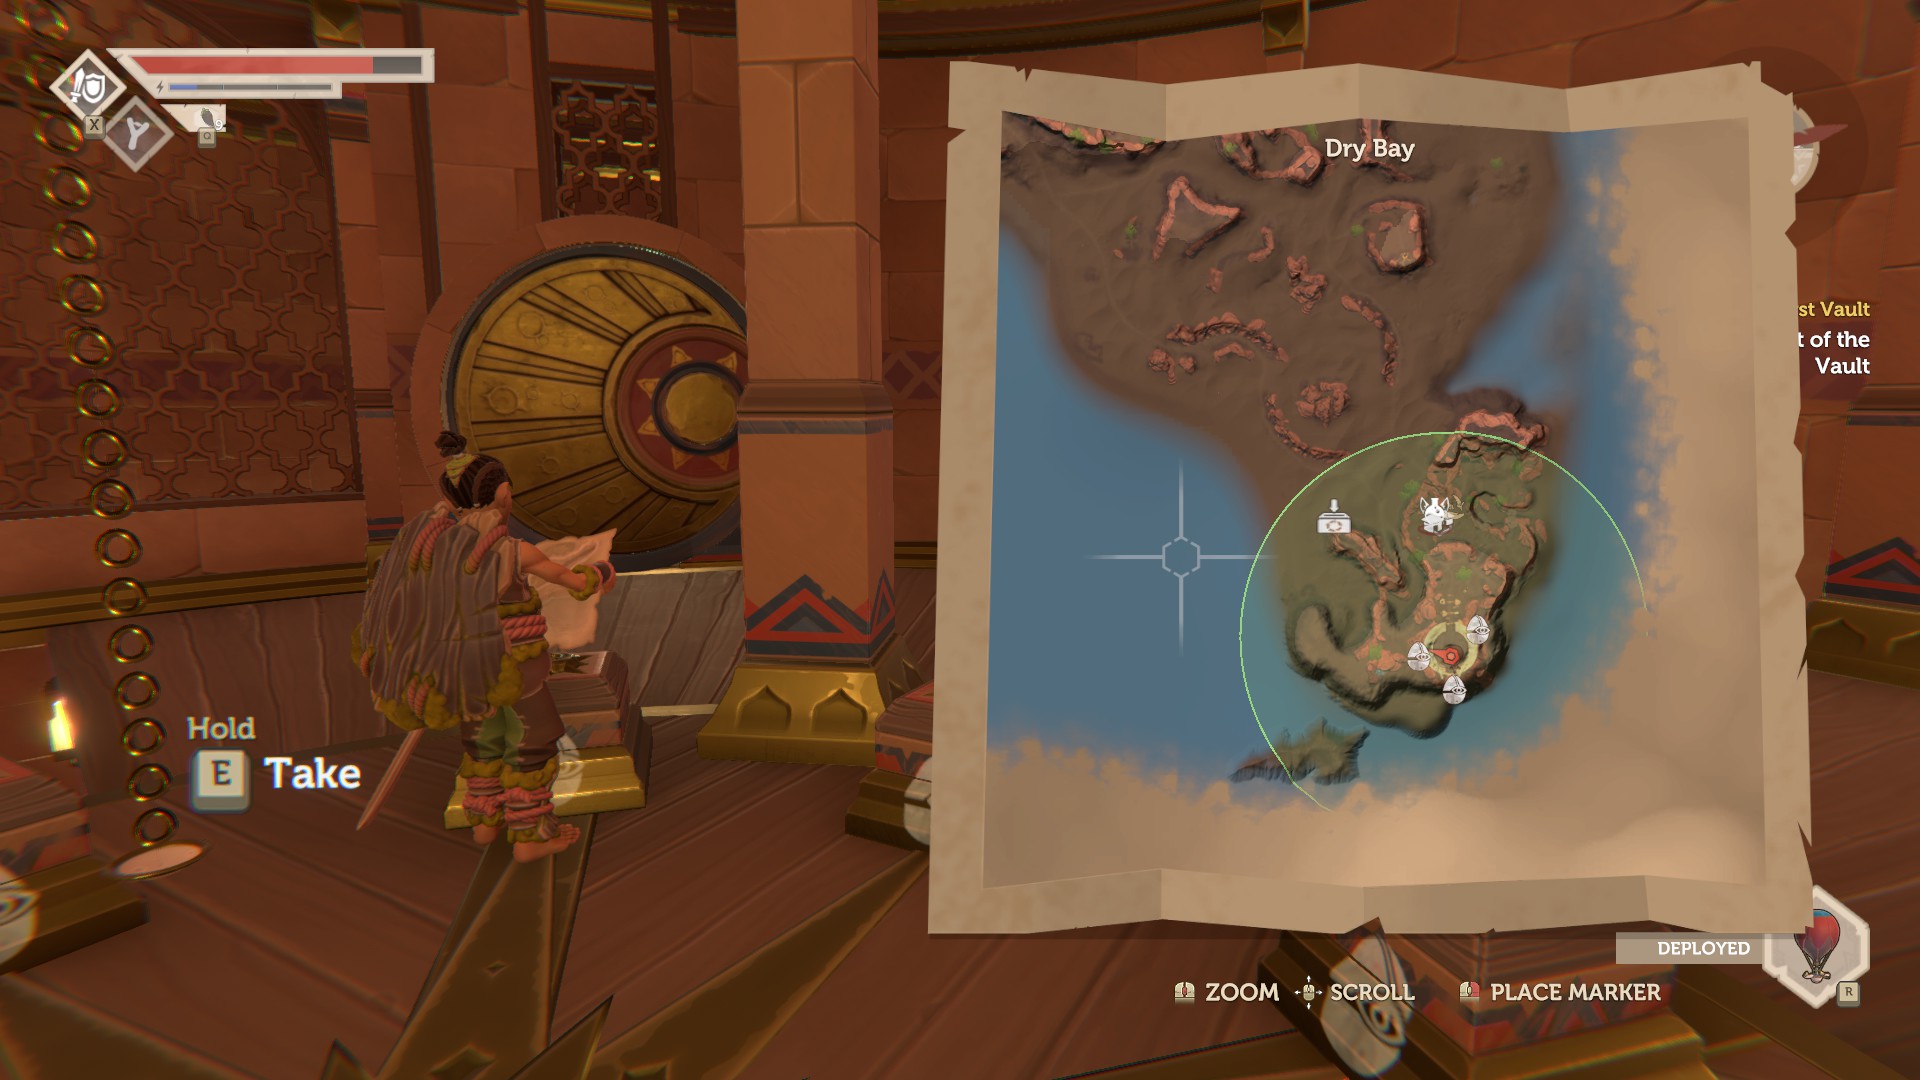
On the tenth floor there are many pin sockets as well and to find the right positions of the three pins laying around you need to use the second feature of the scouting lens. Everytime you see the balloon symbol painted somewhere you will need to use the balloon of the scouting lens. You can place it by holding R. If you have placed it and open the map by pressing M you can see all resource spawns, moving members of the five factions and additional informations in the area around the balloon.
In this case you need to place the balloon in the middle of the pin sockets.
If you open the map now you can see there are three egg symbols on it. If you place the pins in the pin sockets that are related to the symbols the door will open.


Make sure you don’t forget to take the balloon with you by holding E befor you go to the next floor.


Eleventh and twelfth floor
In the final two floors are three different telescopes, that work similar to the one on the fourth floor. There is two differences:
- You only can see what the telescopes want to “see” if you use the scouting lens.
- You have four instead of three different symbols, which are mounted on two rotatable circles.
The two circles can be rotated by two simple levers. One lever turns it clockwise, the other counterclockwise. If you have placed the symbols a telescope wants to “see” correctly you can pull the simple lever near the telescope to activate it.
At the beginning you are not able to go to the twelfth floor and because of that you can’t change the upper circle of symbols. If you look at the symbols the telescopes want so “see” you will notice, that this telescope already “sees” the correct sun symbol in the background.
If you place the planet symbol on the lower circle with the simple levers on the right you can pull the simple lever next to the telescope.
In the middle of the eleventh floor starts a platform to move now. If you follow it you will get to the stairs which leads to the twelfth floor.
As next step you will need to solve the second telescope now this wants to “see” the moon symbol on the lower circle
and the star symbol on the upper circle.
If you have placed them correctly you can pull the simple lever near the telescope.
Now you are able to shoot at the new roped aiming target near the stairs to the twelfth floor.
If you hit it the moving platform has three diffrent stopping points. If you place it left from the aiming target the telescope on the platform is not able so “see” any symbol of the circles.
If you place it on the position under the aiming target the telescope can “see” the lower circle but the upper one is blocked by the rooftop.
If you place it on the third and last position the telescope “sees” the symbols in the lower circle and at first again the rooftop, but if you look closly this rooftop is a moving platform.
So what you need to do is going on the twelfth floor and move the platform aside by hitting the aiming target you can find next to it.
As you can see the telescope is now able to “see” both symbol circles.
You can find the symbols the telescope wants to “see” on the platform it stands on.
If you placed the circles correctly, you can now pull the simple lever on the moving platform the telescope stands on.
Finnaly the door on the twelfth floor, near the stairs, slides down to the eleventh floor and you can take the stairs behind it to the last simple lever inside the cage on the eleventh floor.


Pulling this simple lever opens the door somwhere in the observatory which has blocked your way back out of it. You can now jump all the floors back down to the entrance and leave the vault.
If this was your first vault make sure to read the note left from the entry.

