Overview
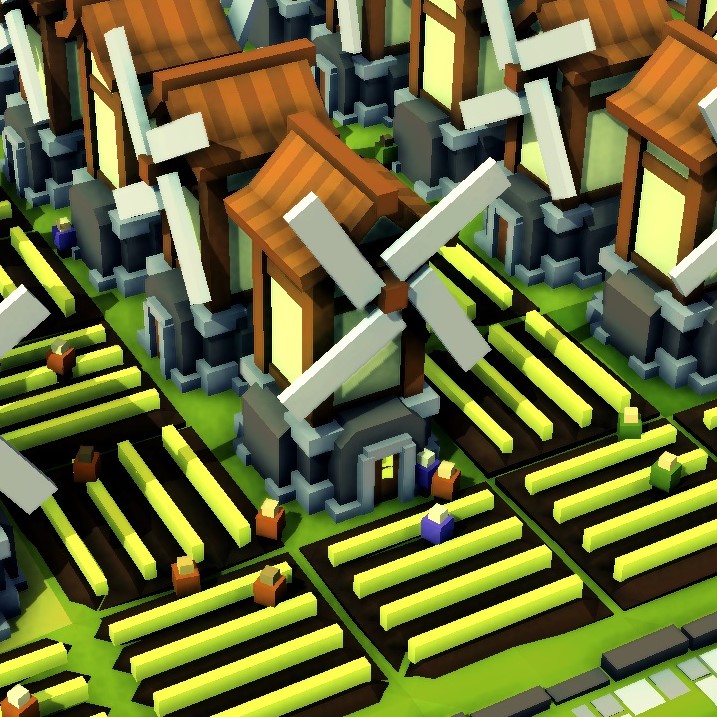
A look at efficiencies of farm layouts, by number and arrangement of windmills for various field/plot sizes.Whether pushing for all achievements or setting up your very first kingdom, this guide will demonstrate some of the simple yet significant concepts of setting up efficient farms.
Introduction & Disclaimer
NOTE: THIS GUIDE IS SEVERELY OUTDATED. WINDMILLS NO LONGER STACK.
While there may be an absolute most efficient setup that maximizes irrigated land within the boundary of one Reservoir, this was not my focus. My goal was to gain a better understanding of the patterns of food production across various field sizes and windmill layouts. I started with the simplest 3×3 layouts and increased field sizes as successful patterns emerged.
I originally created these layout comparisons because I was unable to find any similar resources around the web. I am sharing them now with hopes that others may find them as useful as I have.
All of my layouts were created manually, in Excel. Farm Outputs entered manually, calculations by formula. I double checked everything, but let me know if there’s something I missed.
Basics of Farm Production
Total Food Output from a farm is dependent upon Base Output, Soil Fertility, Windmills, Master Workers, and Irrigation.
Farm Base Output = 4 food
Possible Bonuses
+1 = Master Worker
+1 = Irrigation
+2 = Windmill Nearby (for each windmill)
+0 = Low Soil Fertility
+1 = Medium Soil Fertility
+2 = High Soil Fertility
My Grid Layouts
W = Windmill
# = Farm Output
Total Food Production = maximum output of the field per year. This is good for estimating how much population a field can support.
Food per Square = total food divided by total squares in field. This is the metric for determining the efficiency of a field. The higher this number, the “better” a field is for food production. Higher efficency means more food produced per field-size, while leaving more land open to develop caste or town.
Colored Dots = Percentile rankings of overall field efficiency
Green: x > 75th percentile
Yellow: 75th > x > 50th percentile
Red: 50th > x > 25th percentile
Black: x < 25th percentile
ASSUMPTIONS: Every farm is irrigated with medium fertility soil and worked by a master. This is for simplicity, as well as somewhat common/average based on my experience at mid-late game.
Basic Fields – 3 x 3
Due to Windmills affecting adjacent tiles, 3×3 can be considered the smallest practical farm size.
Concept #1
- Windmills placed at the edge of a field are generally inefficient.

At 3×3, there is not enough room to effectively stack windmills.
This makes one central windmill most efficient but still not great overall.
Small Fields – 6 x 6
At 6×6 there is opportunity to create windmill patterns not available at smaller sizes. At this size it becomes noticeable that more windmills isnt always better.
Concept #2
- Arrangement of windmills is more important than quantity.

The most efficient 6×6 is the first layout to get the greed-dot marker as an efficient 75th percentile layout. This layout works nicely with the “6×6 Housing Unit” kingdom (a guide by user Pooh). Also, 6×6 is small enough that you can fit two fields easily within the boundary of one reservoir (which has a 8sq radius).
Medium Fields – 6 x 9
From my experience, elongated fields seem to fit better into kingdom devlopment. 6×9 is the next natural expansion from 6×6 fields. Two specific patterns emerge as consistently more successful than the rest.
Concept #3
- The two most successul windmill patterns are: Narrow Rows, and Pinwheels (radial symmetry).

It’s worth noting that all of the 6×9 layouts have an above-average efficiency, but due to their size, the difference in overall production between the best and worst 6×9 is more than 30 food per year. That’s growing two taverns for free!
Large Fields – 9 x 9
Only Narrow Rows and Pinwheels. Any other design at this scale does not compare. The larger area of these fields allows efficient chains of windmills to exist in quantities that really boost the overall food per square.
Concept #4
- Larger fields increase the area of efficient windmill patterning.

Perimeters are low production areas, and the midfield area is where windmills and farms thrive. Basic geometry tells us that a rectangle’s area increases faster than its perimeter, which is why this occurs.
Summary
- The perimeter of a field is not the place for a windmill. –they need farms to gain value from their bonus.
- The arrangement of windmills matters more than quantity –place them with a purpose.
- Utilize long rows of windmills to maximize their stacking bonus on farms –the two most efficient patterns are narrow rows and pinwheels.
- When/if possible, focus on increasing field size before increasing number of fields –this will maximize production, but not necessarily accessbilitiy, so be forewarned.
Well, that’s it! Thanks for reading. Best of luck as you take your newfound planning prowess back to your kindgom.
🙂


