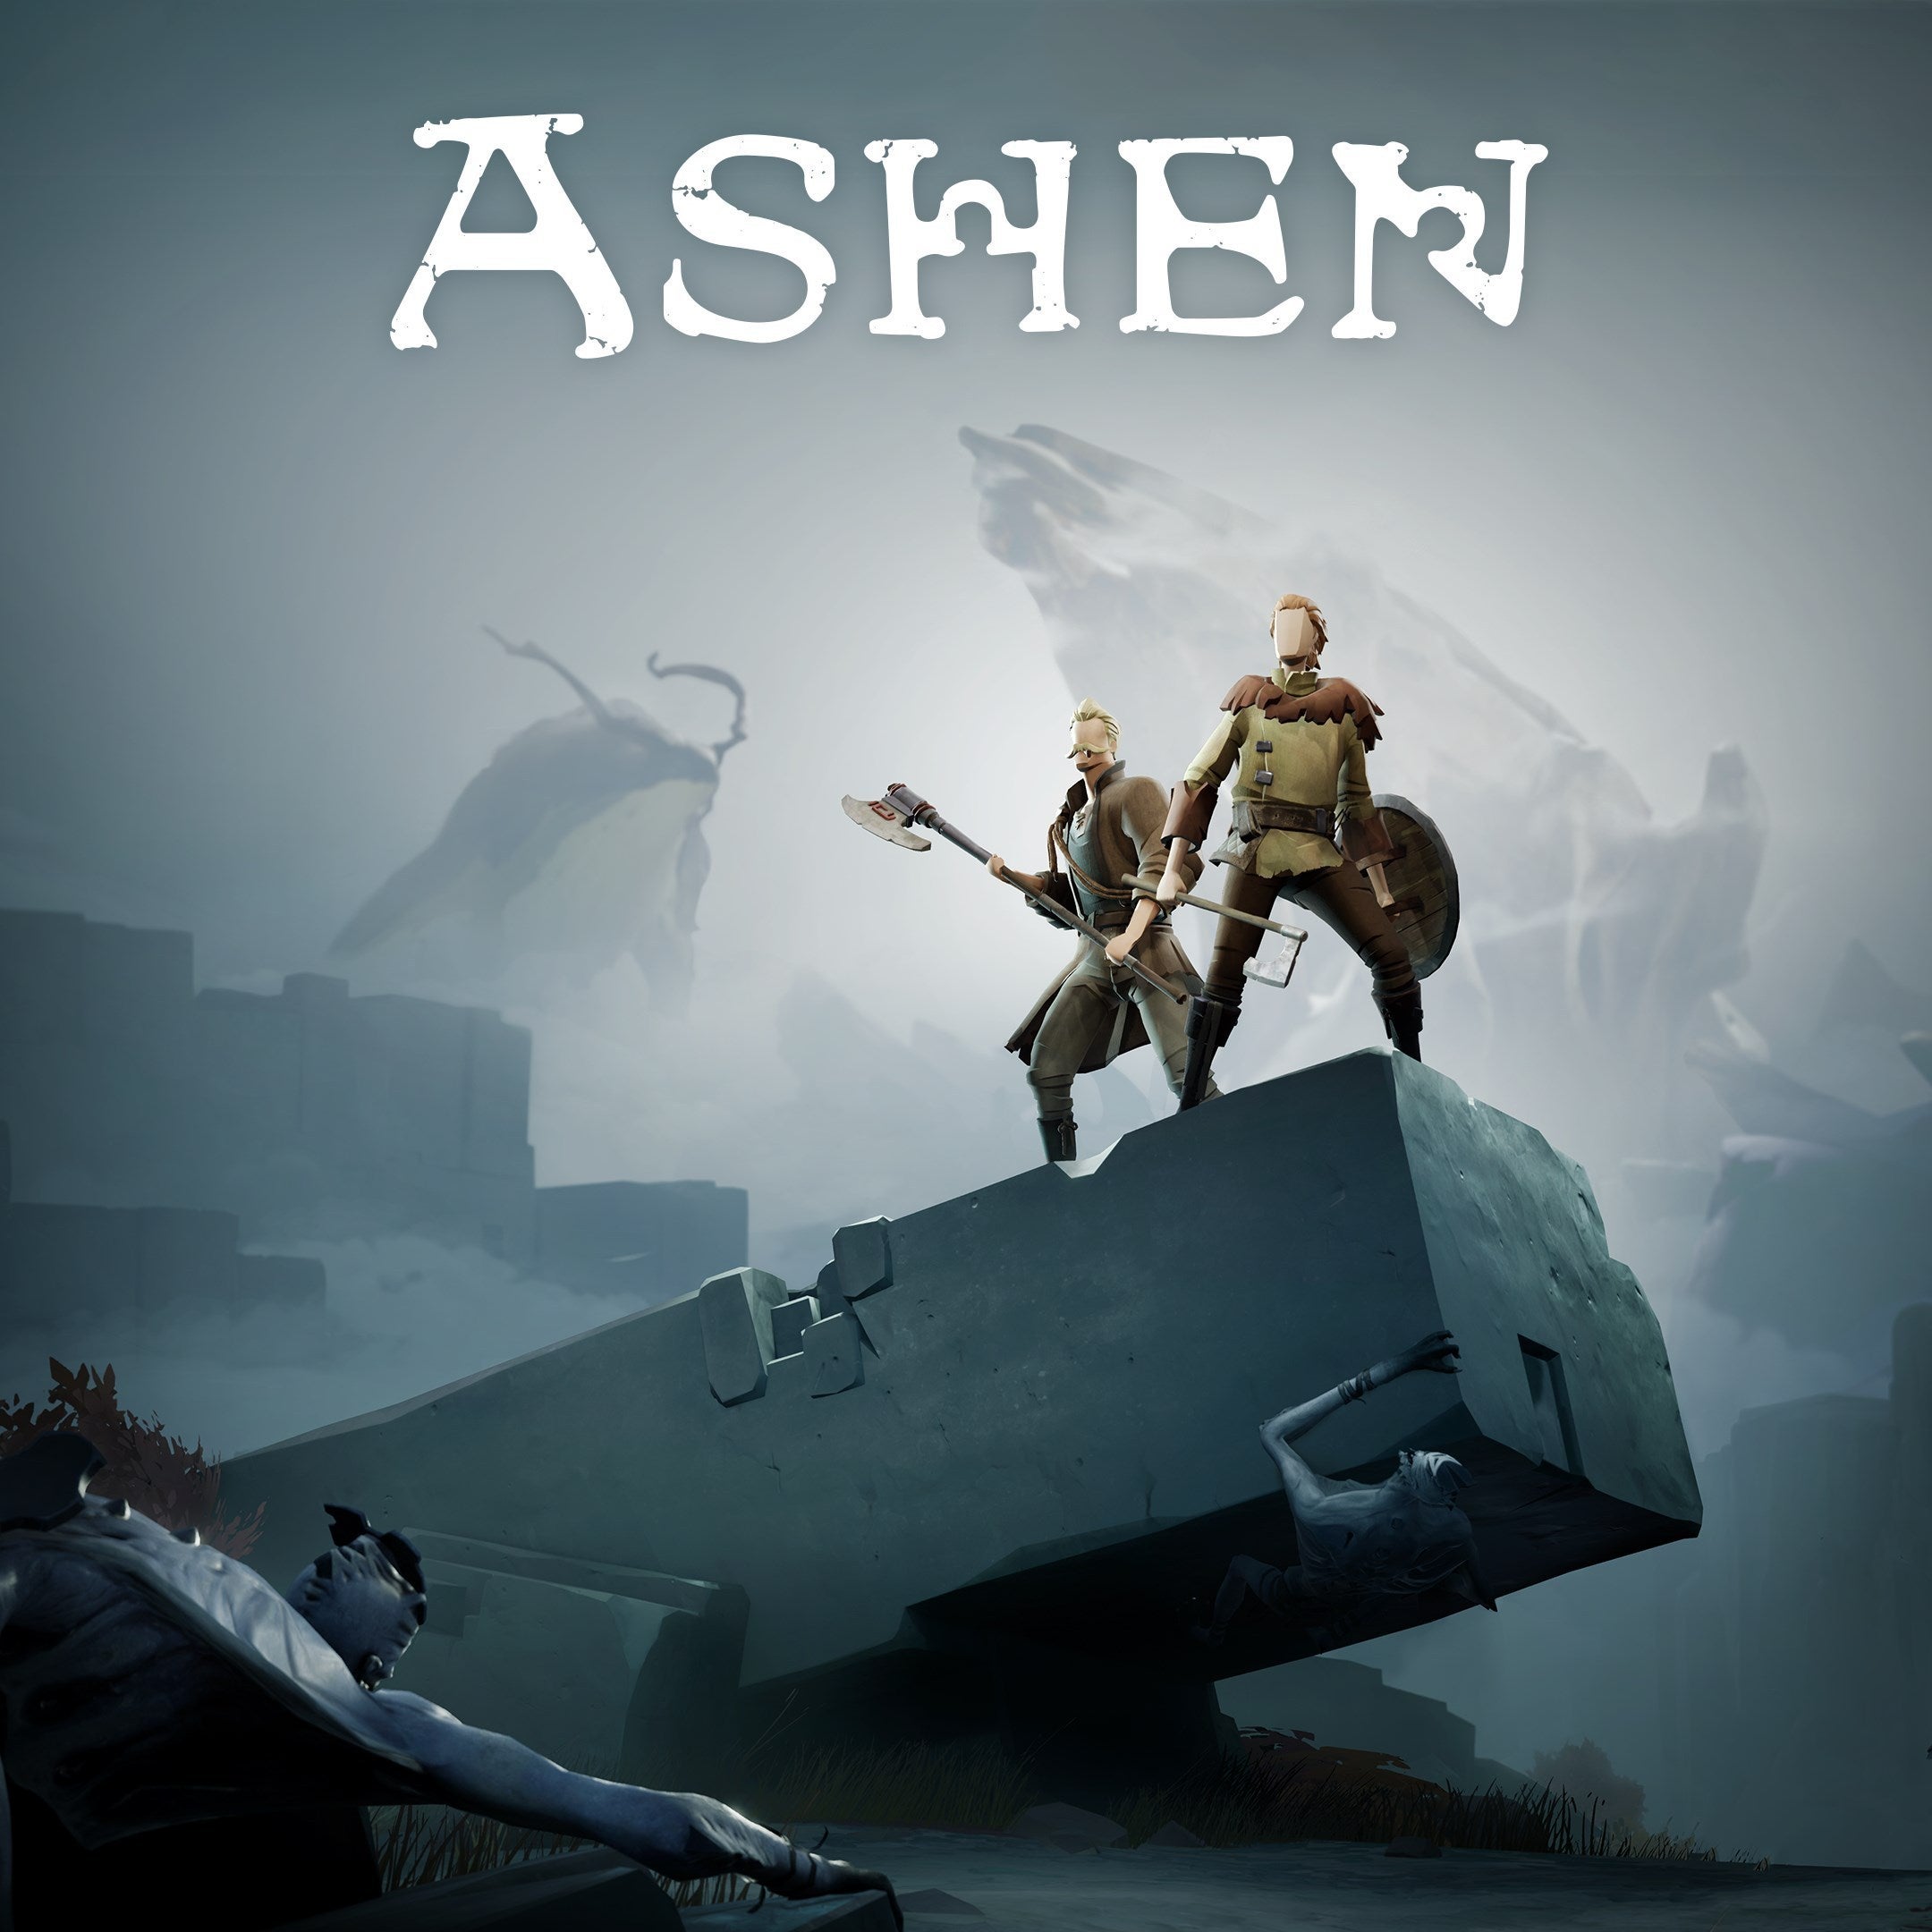
Overview
The in-game tutorial is very lackluster, and there are mechanics and features in the game that can remain hidden to even old players. This guide will go over everything a player needs to know about Ashen.
Intro
This guide will go over everything that I believe a new player should know. This might also show older players something they did not previously know.
Also, this guide contains images and discussions about things throughout the game. If you do not want spoilers of any kind, do not read this guide and go into the game blind.
Control Layout
Open Inventory
Select:
Open Map / Settings
A:
Interact button. Used to talk to NPCs and pick up items
B:
Dodge / Sprint. Tap to dodge, and hold to sprint.
Y:
Jump / Ladder Climb. Uses ladder when next to one, and jumps otherwise.
X:
Use Item. Uses the currently selected item.
Left Bumper:
Block / Place Lantern. When holding a shield, block, and when holding a lantern, it sets it on the ground
Left Trigger:
Shield Bash. When holding a shield, you can shield bash to stagger an enemy using a shield.
Can also be held to charge up. Doing so increases the amount of stun power the shield bash has.
Right Bumper:
Light attack. Does a light attack with either your one-handed weapon, two-handed weapon, or spear.
Right Trigger:
Heavy Attack / Spear Throw. When holding a one-handed or two-handed weapon, it will do a heavy attack. Similarly to the shield bash, holding down the button will charge up the heavy attack.
If a spear is equipped, it will enter a aiming mode that will throw the spear once the trigger is released.
Cancel the throw with B.
D-Pad:
Left will switch between a shield and a lantern.
Down will change the currently equipped consumable item.
Right will change between your one-handed weapon, two-handed weapon, and spear.
Up will use the in game gesture. Tapping it will have a “Follow” emote play, while holding it will have a “Point” emote play.
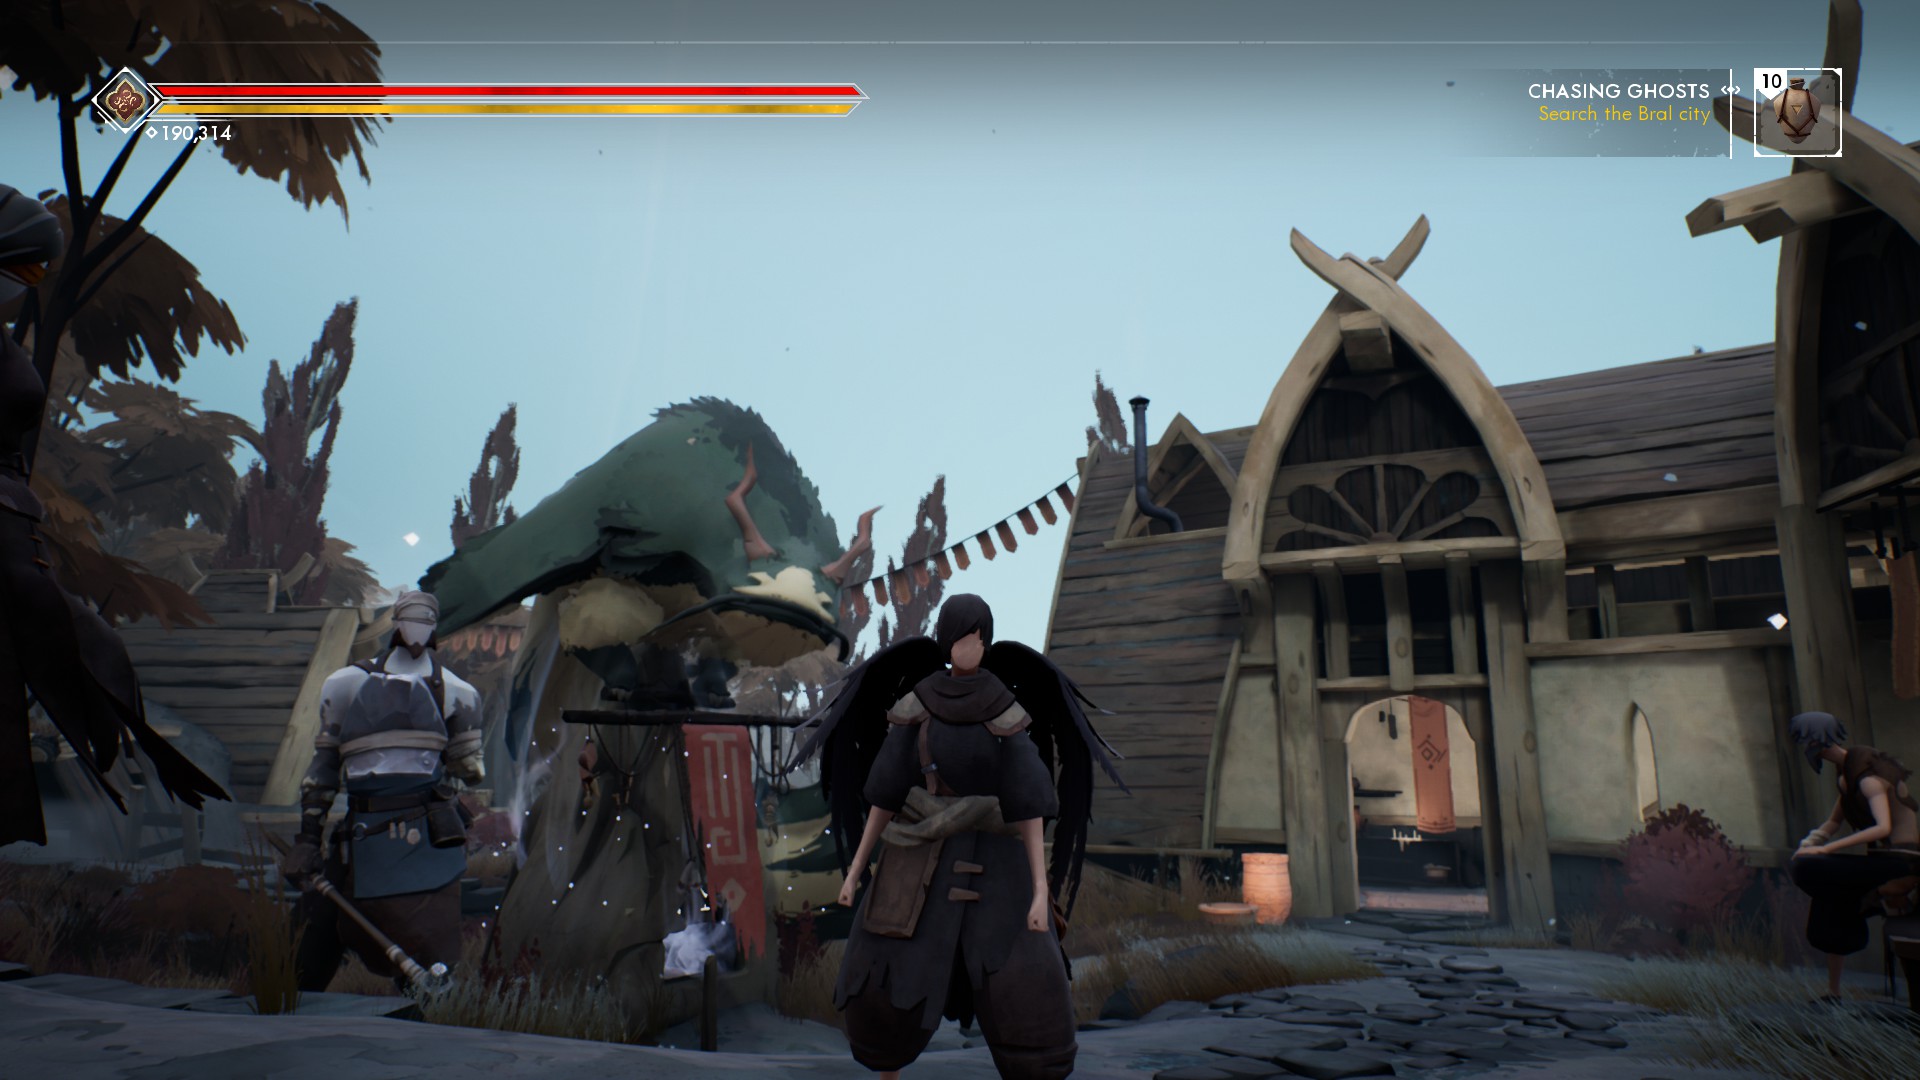
Interface
Red Bar:
Health
Yellow Bar:
Stamina
Top Left Icon:
Currently Equipped Relic
Top Right Icon:
Currently Equipped Consumable
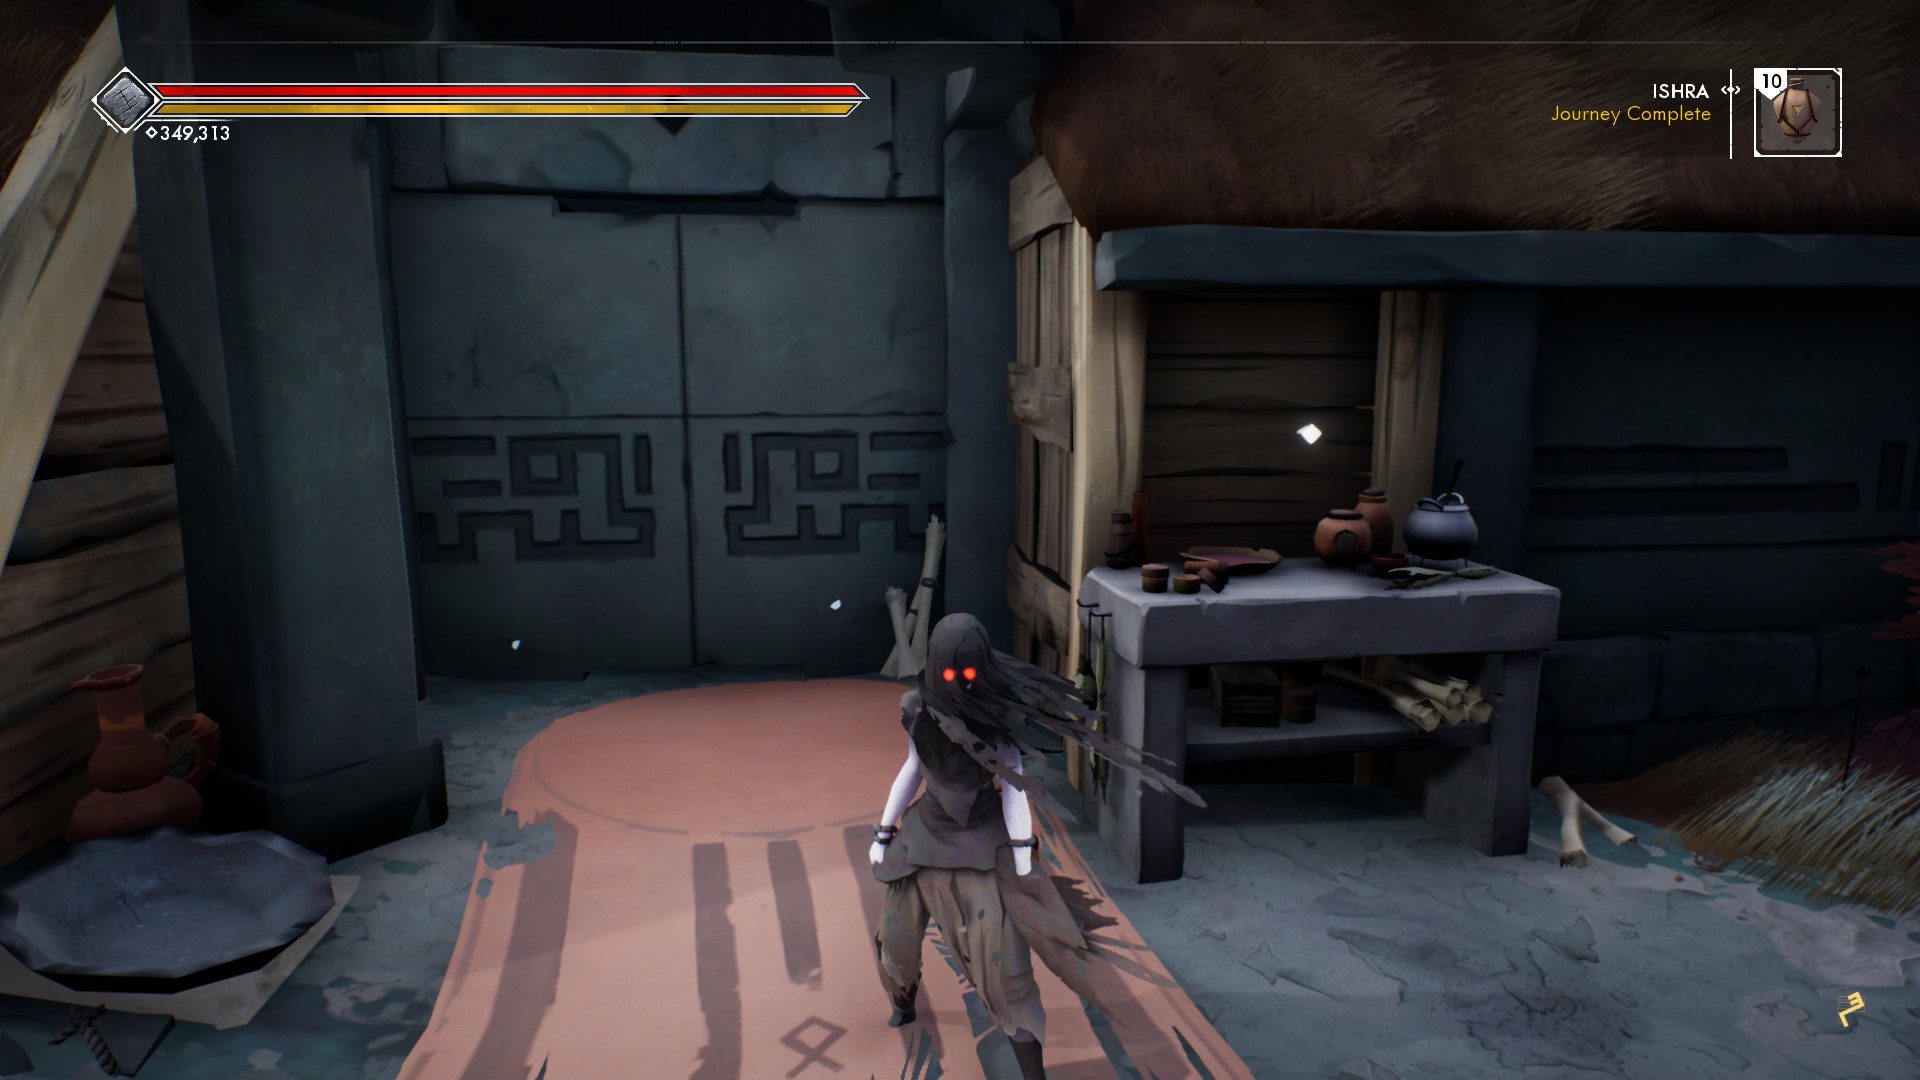
Top Right Text:
Currently Active Journey
Top Left Text:
Scoria (Currency)

Combat

- There is no back-stabbing
- There is no parrying
- Plunge Attacks, while tricky to do, can be very useful
- Shield bash and heavy attacks can be charged (A lot of people either forget about this or never knew to begin with. Can be really helpful depending on the situation.)
- There are two types of combat dodges. When locked on to an enemy, tapping B will quickstep, while double tapping B will do a dodge roll. Dodge rolling has a much, much larger invincibility frame window than the quickstep.
- You cannot two hand One-Handed weapons, nor can you one hand Two-Handed weapons
- You can only hold the shield or lantern when holding a One-Handed weapon. Switching to a Two-Handed weapon or spear will put away the shield or lantern. You can place the lantern down on the ground to illuminate an area to use a spear or two-handed weapon.
Thanks to Reddit user Darth_Agnon for these additional tips.
- Heavy attacks with One-Handed weapons have auto-targeting
- Holding block with a shield and light attacking will perform a “guard-hit”, which prevents going into a four hit combo. This is useful against dodgy or tank enemies as you will have enough stamina left to block.
Items and Gear
–Top Row (From Left to Right)–
Scoria
The amount you currently have. Will be dropped upon death, and will be lost upon failure to reclaim before second death.
Armour
Your currently equipped armour
Spear
Your Currently equipped spear

–Second Row (From Left to Right)–
Shield
Currently Equipped Shield
Lantern
Currently Equipped Lantern
One-Handed Weapon
Currently Equipped One-Handed Weapon
Two-Handed Weapon
Currently Equipped Two-Handed Weapon
–Third Row (From Left to Right)–
Crimson Gourd
The Estus Flask of this game. Has an upgradable number of uses that has an upgradable potency. Max 8 (without Double Swig Talisman) with a max of 350~ health healed.
Consumable Slot 1 and 2
Two slots for consumables
Potion
Slot for quick use potion
The rest is your inventory, which will hold any unequipped weapons, armours, and consumables.
Shield and Armour Stats
The stats for shields and armours aren’t explained well, in my opinion, so here is a list of the stats and what they do.

–Shields–
Stamina Stability
The amount of stamina used when blocking an attack. The higher the number, the less stamina drained. The bigger the attack, the more stamina used.
Stamina Regeneration
How quickly stamina regenerates when holding block with a shield. As a rule of thumb, it is best to not hold block unless you need to.
–Armour–
Stun Resistance
Your ability to not be stunned or staggered from an attack. This is Ashen’s equivalent to Dark Soul’s Poise.
Damage Reduction
The amount of damage removed from an attack. If you have a damage reduction of -15%, you will take 15% less damage from an attack.
Stamina Cost
The amount of stamina used by dodging.
Stamina Regeneration
The regeneration speed of stamina. While -20% doesn’t seem like much, it is extremely noticeable when switching between a low cost armour to a high cost armour.
Vendors
Vendors are tied to the Journeys. As you progress through the main story and side stories, the vendors will have better items for you to buy.
Also, as you progress each vendors’ journey, their respective outfit will be upgraded. If you return to the hub area enough, you can see each one slowly gain new features (such as Jokell having a smoking pipe at his final outfit upgrade. Yes, Jokell fights while having a pipe in his mouth.)
Merchant
These unnamed NPCs are scattered throughout the world, and have various consumables to be purchased, such as materials for making potions. A good idea for players wanted to save their Scoria is to buy the Scoria bags from them. Scoria stored in bags will not be lost, but it does cost a bit of a premium to do this (a 250 Scoria bag costs 300, so 50 extra Scoria for “insurance”).

Bataran
You can upgrade your weapons using the anvil.

Jokell
You can upgrade the number of Crimson Gourd swigs you can carry. (Max is 8)

Amara
You can equip Talismans and Relics using this table.

Eila
You can upgrade how much health a Crimson Gourd swig will heal at the table (Max 350~ health)
Also, that barrel can be interacted with. I wonder what happens when you do that…

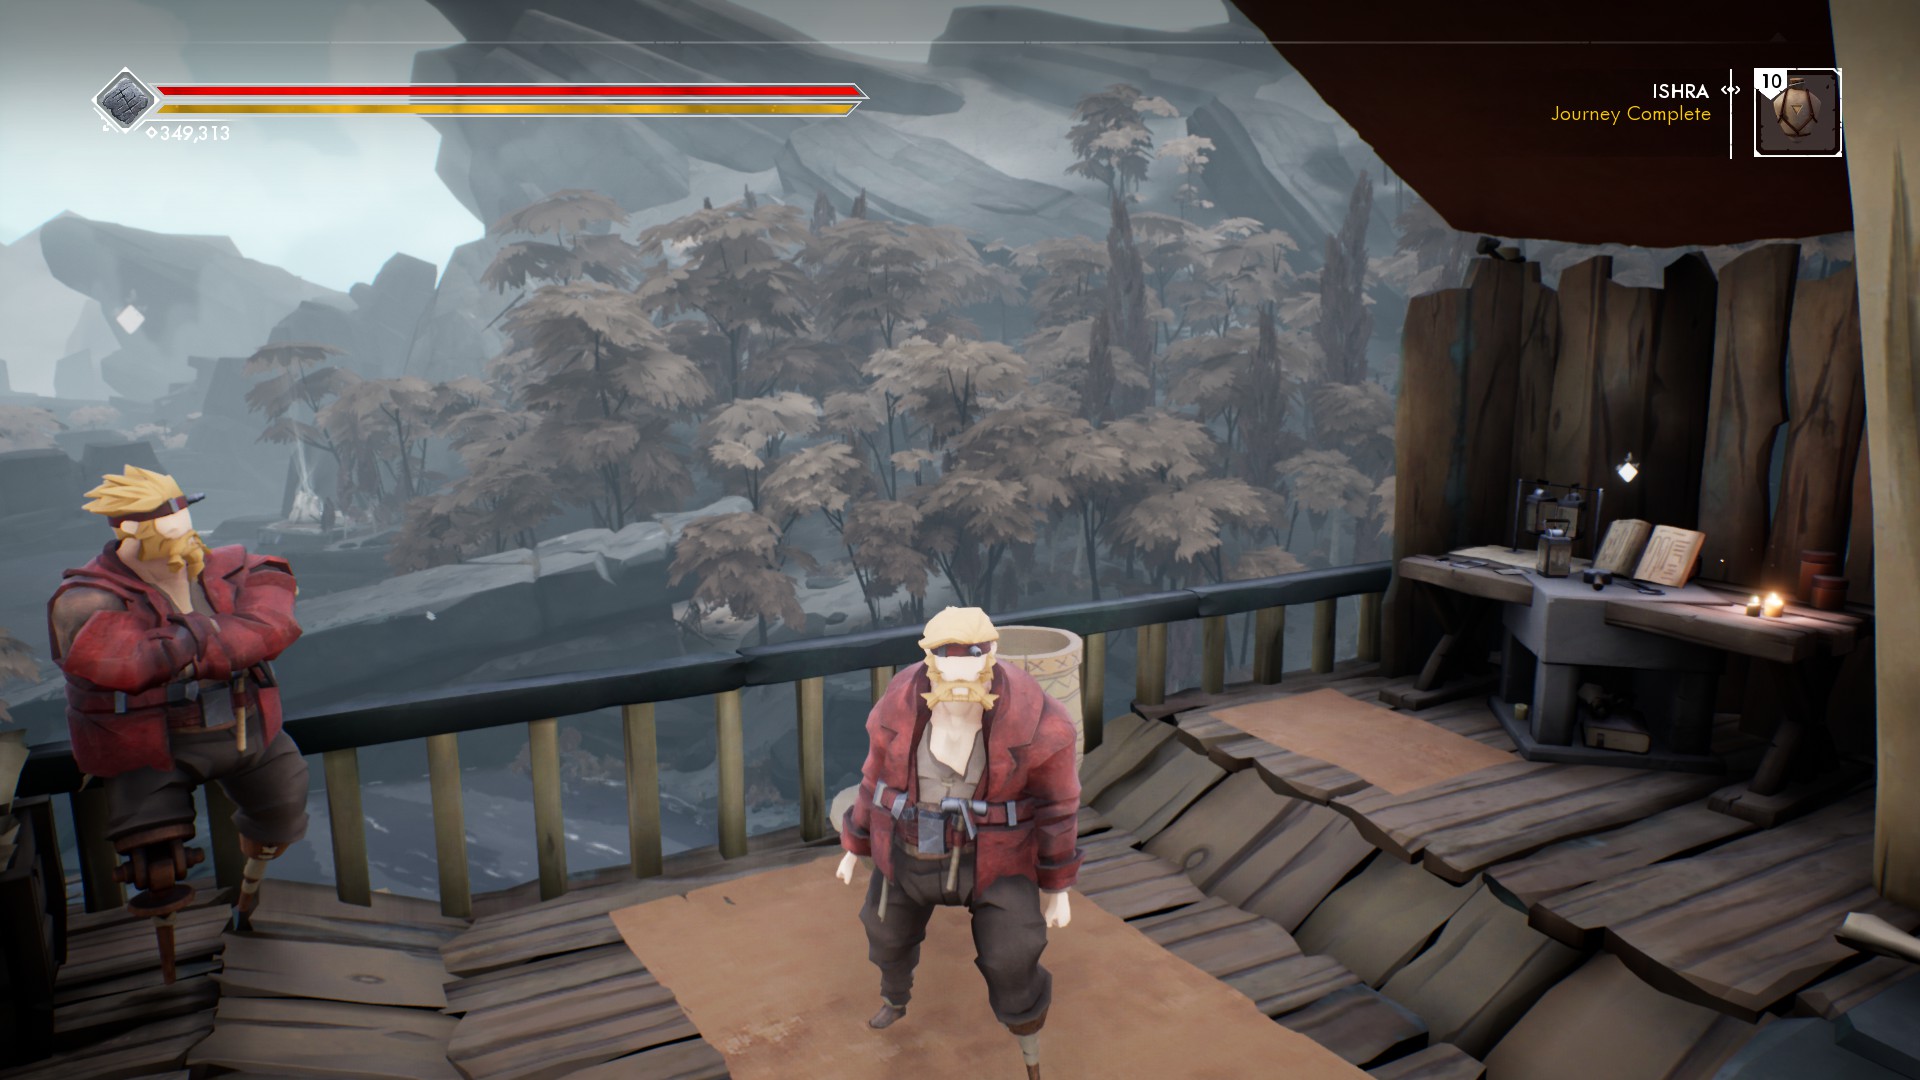
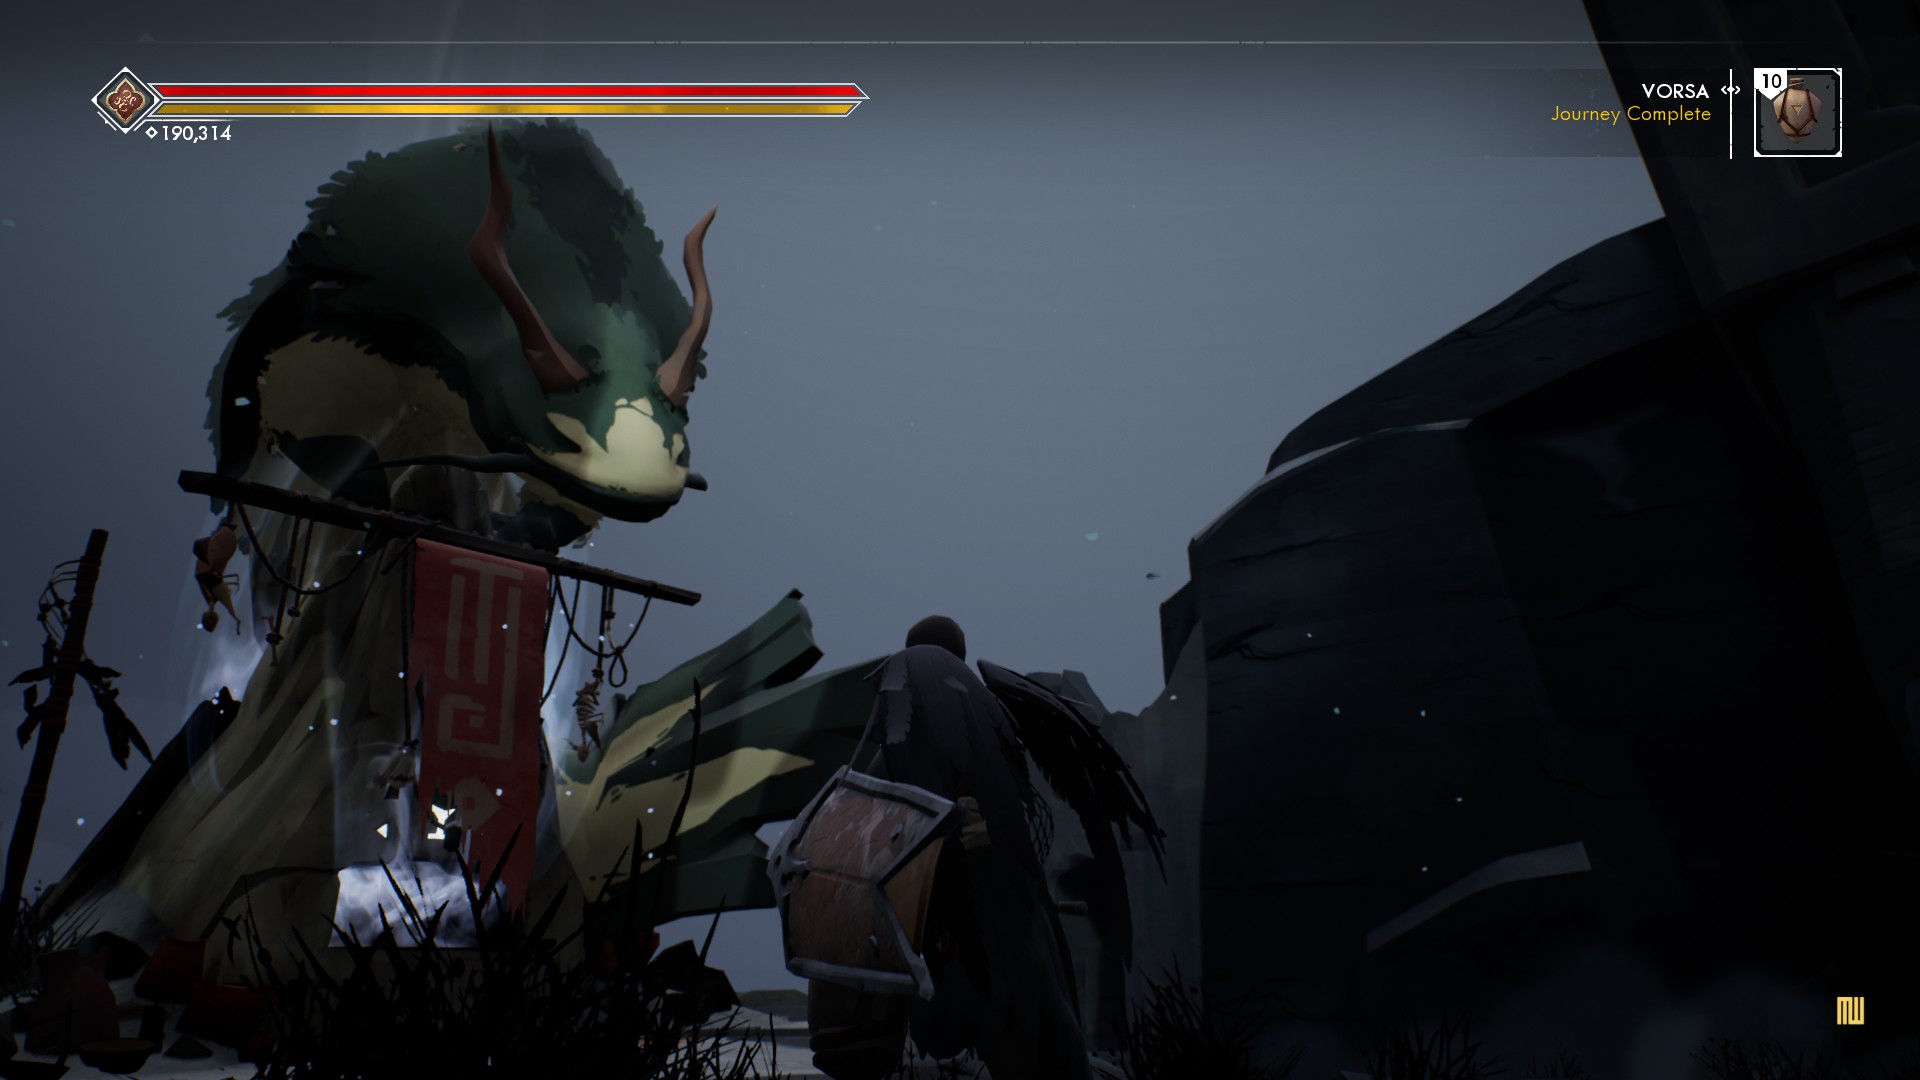
Vorsa
You can craft spears at the table.

Silaren
You can craft potions at the table.
Flokir
You can craft lanterns at the table. The max lantern is about 5 times brighter than the first lantern, and is extremely useful towards the end of the game.
AI Companion and Multiplayer
By default, the AI Companion and Multiplayer is enabled. The way it works is that if there are no other players in the same zone as you, your companion will be AI. If there is, the companion will be another player, but will look like your companion.

The weapon and relic equipped will reflect the players choices.
You can disable both multiplayer and the companion. Personally, I disabled the multiplayer, but left the companion, as there are areas where you have to use the companion to boost you up. Also, the AI Companion helped me in a lot of situations, as it can revive you if you go down. There is only one revive per stone resting though.
If you want to do multiplayer with a specific friend, you can enable it to only allow multiplayer through the filter, and set a four number filter that both you and your friend must have the same to connect to one another.
How to choose your AI Companion
Your AI Companion is not randomly selected between the vendors, but it is dependent on what journey you have active.
If you select Bataran, or another vendor that is “busy”, the default companion is Jokell.


If you select a vendor that is not busy, they will become your AI Companion.


The idea behind this is that as you are progressing a journey, the person that it is tied to accompanies you. This ties into how the various vendors will speak of events in a journey even if they weren’t your active companion.
Personally, I think it’s a nice touch, although I didn’t realize that this was the case until I was very far into the game.
Fast Travel
After beating the second boss, the ability to fast travel is unlocked.
Fast travel can only be done from checkpoints that have a wooden perch on them. Those in a dungeon without one can not be fast traveled to, nor from, and are there as a respawn point. This is typically before a boss.
Shadow Travel

I recommend having a supply of Bone Spears at this point, as 9 bone spears only cost 200 Scoria, which is really easy to obtain.
Children of Sissna Mode
Children of Sissna is Ashen’s “Hard Mode”. In this mode, you start off with much less health and stamina, and the maximum amount of health and stamina achievable is about half of that in the normal mode.

This mode is unlocked after beating the third boss, alongside Shadow Travel.
Essentially, you start off at and remain at a disadvantage. You do get a cool symbol on your character’s face for playing in this mode though.
DLC

It is essentially a large dungeon that only takes a few hours (at most) to complete. It has new enemies, armour, and weapons that can be fought and found. It does tie into the main story lightly, and as far as I recall it doesn’t have anything that spoils the main story.
If the DLC is already owned, you will have to find Kol underneath the big bird in one of the mid-game areas.

After talking to him, he will be near a boat, where if you talk to him, he will take you to Nightstorm Isle.
You will have to progress a bit through the DLC before unlocking a fast travel point to and from the new map.
Achievements

To 100% the game, a minimum of two playthroughs is required, as two of the achievements are for beating the base game and DLC in the Children of Sissna mode.
Well, that’s all I can think of. I hope that this guide has been helpful. Now it’s time to find the reborn Ashen.
