Overview
Here you will find tips on how to beat every Boss and Mid-Boss in Freedom Planet, with character specific tips where necessary, as well as difficulty ratings for each boss based on which character you use.
Information
In this list, I will go over every Boss and Mid-Boss in Freedom Planet, giving a difficulty rating for each character against each Boss, some general tips, and more specific, character based tips if applicable. Please let me know if I’ve made any mistakes or if there are any inconsistencies.
★ = Easy
★★ = Average
★★★ = Challenging
★★★★ = Hard
★★★★★ = Very Hard
★★★★★★ = Hardest Boss For This Particular Character
Early-Game Bosses
[Hunter Snake (Mid-Boss)]
[Difficulty: ★]

[Hunter Snake]
[Difficulty: ★]
Tips: Break the boulders for Life Petals. Don’t try to attack it while it’s rolling around curled up.

[Chomper]
[Difficulty: ★]
Tips: You need to either throw a Phantom Block, or hit it’s angler into it’s mouth while it’s open.

[Chomper Snake]
[Difficulty: ★]
Tips: You need to either throw a Phantom Block into it’s mouth while it’s open, or let one of the bombs fall on top of you so you catch it, then throw it at the boss.

[Claw]
[Difficulty: ★]
Tips: Hug the right wall, repeatedly jumping on the spring and attacking.

[Mantalith]
[Difficulty: ★★]
Tips: Try to focus on destroying one of it’s arms while it’s roaring so it only has one to attack you with afterwards. Keep moving in one direction when it jumps off screen so you aren’t hit when it lands. When it jumps and slashes energy waves, move the opposite direction it’s jumping towards. There are Life Petals if you keep moving to the far right, and there are more up the wall.

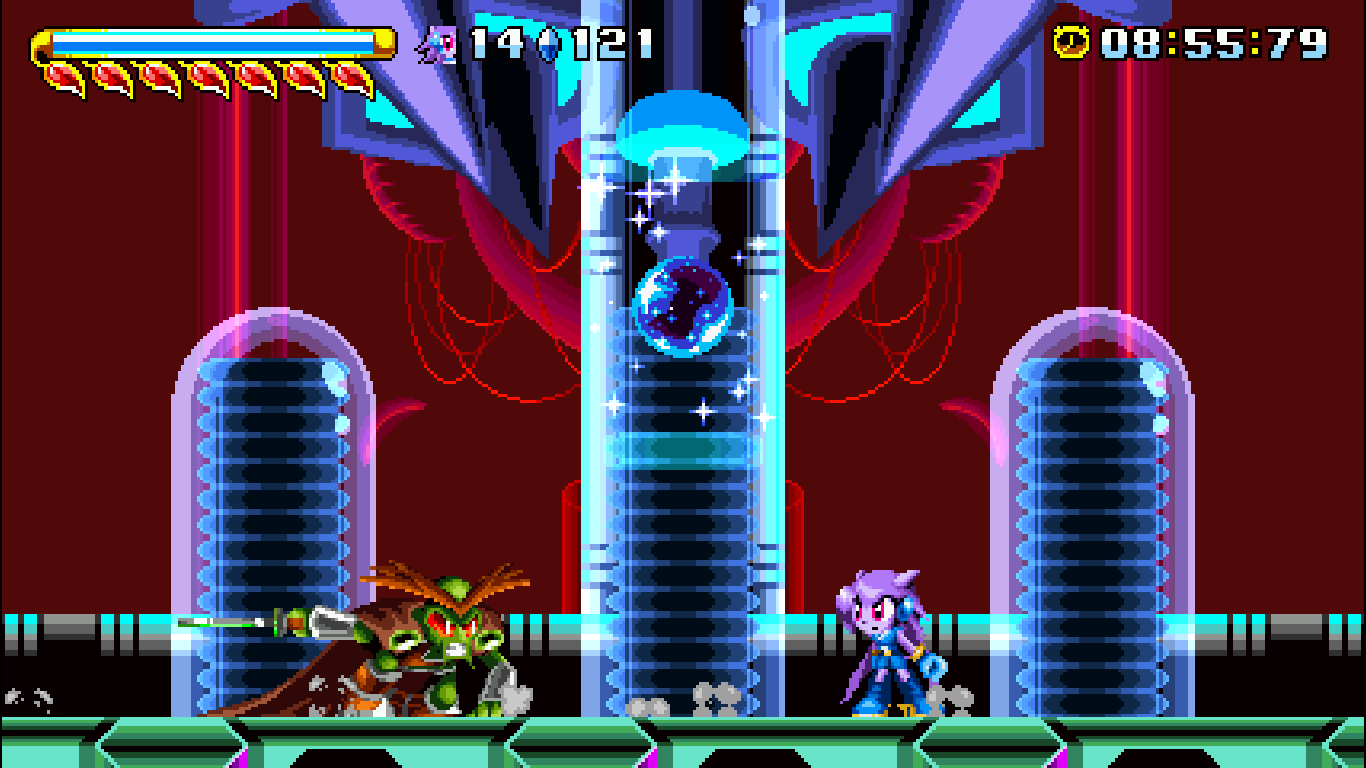
[Serpentine]
[Difficulty: ★★]
Tips: Dragon Boost into him when he uses his rapid-fire into the air attack. Don’t bother trying to attack him while he’s using his flamethrower.

[S.A.M.U.]
[Difficulty: ★]
Tips: Don’t suck at the game. Anybody who’s made it this far should have no problem defeating this Mid-Boss.

[Robo Panther]
[Difficulty: ★★★]
[Difficulty (Milla): ★★★★]
Tips: When Serpentine says “What the?!” you only need to hit it 4 more times to win.

Tips (Lilac and Carol): Remember that if you release your movement keys, you will continue moving, and stay in the same spot on the screen. Knowing this makes dodging Serpentine’s rapid-fire into the air attack no problem to dodge. If your health gets low, just focus on dodging attacks and wait for Milla to drop some Life Petals.
Tips (Milla): This Boss is much harder as Milla. Hold your Super Shield out and wait for two barrages of blue bullets before releasing your Super Shield blast. You should usually be able to get a few good hits in before it switches back to firing blue bullets, then repeat this cycle.Try to keep the plane level, if you’re too high up, it becomes a lot easier to get hit by the blue bullets from below. When it shifts into phase 2, where it stands up high, attack as much as possible. This is your opportunity to deal as much damage as you can, safely.
[Satellite]
[Difficulty: ★]
Tips: Don’t bother attacking it while glows and spins quickly.

[Spade]
[Difficulty: ★★★]
Tips: He’s vulnerable while shooting cards at the ground. Dragon Boost into him when you’re close while he’s shooting cards at the ground.

[Shuigang Helicopter]
[Difficulty: ★★]

[Grappler]
[Difficulty: ★★]
Tips: If you prefer to take the slower, safer route, stand at the bottom and wait for it to drop a big crystal, jump on it and when it rises up, hit it.

Tips (Lilac): Dragon Boost against the wall and use Cyclone to hit it.
Tips (Carol): Without the Motorcycle, repeatedly wall jump up as high as you can, then Pounce into it and hit it with Wild Claw. With the motorcycle, ride up the wall and Spin Jump into it.
[Kujacker]
[Difficulty: ★★★]
Tips: Stay on one of the lower platforms when it starts charging, and either jump up or drop down to dodge it. There are Life Petals to the left of the airship.
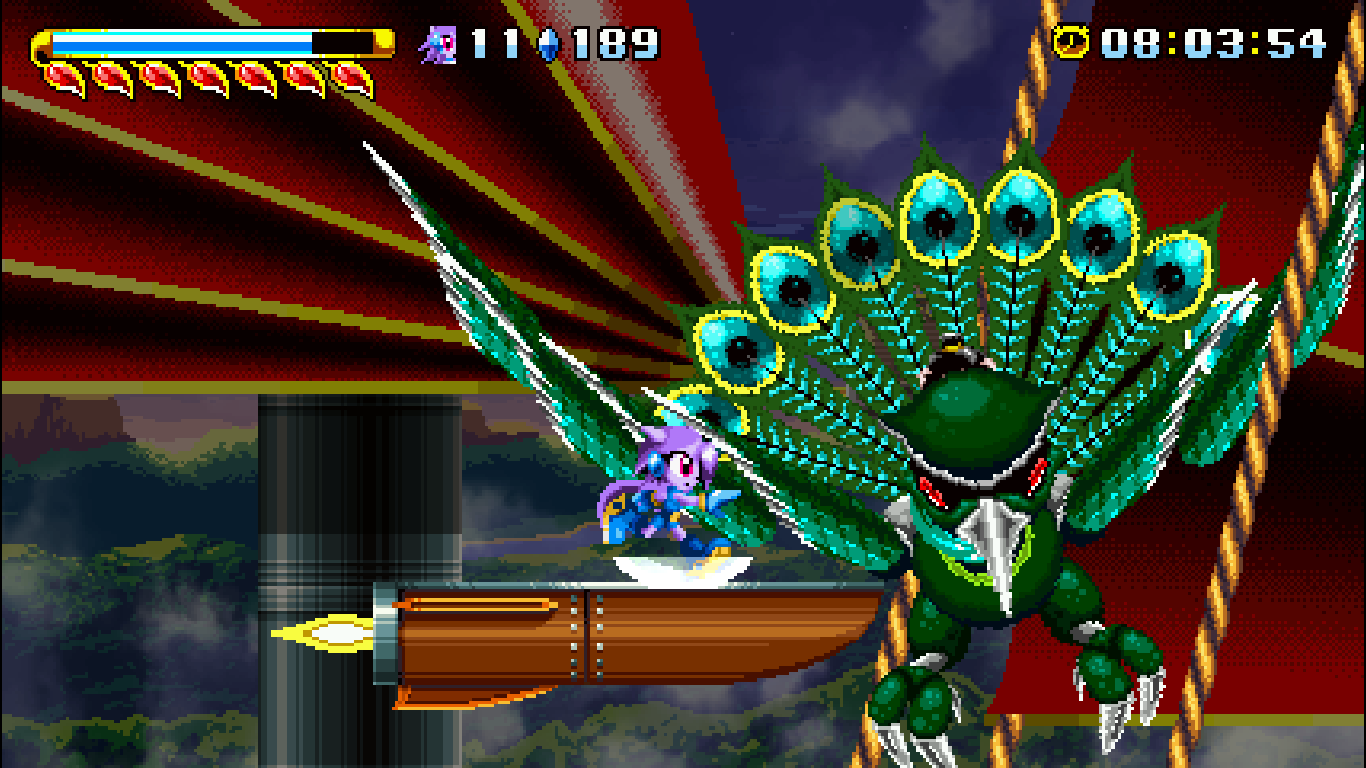
Tips (Lilac): Cyclone is very effective for damaging the feathers.
Tips (Carol): Wild Kick is effective for damaging the feathers.
Mid-Game Bosses
[Neera Li]
[Difficulty (Lilac): ★★★★]
[Difficulty (Carol and Milla): ★★★]
Tips: Be very patient. I know, it’s hard with this one, but the best method for this Boss is to wait for her in the corners, and hit her while she’s jumping and just after she throws an ice boomerang. Remember that the ice boomerangs that hit the ice walls will curve upwards, so don’t worry about them as long as you’re not too close.

Tips (Carol): Use the invincibility frames of Wild Kick to attack her without worrying too much about her ice boomerangs.
Tips (Milla): Abuse the heck out of your Reflection Shield. Just keep reflecting the ice boomerangs right back into her face.
[Gunship]
[Difficulty: ★★★]
Tips (Lilac): During the first phase, use the same tactics you used against Serpentine in your fight with him in Fortune Night. During the second phase, Dragon Boost into it repeatedly, and keep away from the Shade Elites, until it lowers, then start using Cyclone to hit it.


Tips (Carol): During the first phase, jump around as little as possible, it’s very easy to get caught by Serpentine’s rapid-fire into the air attack in the air. Stay as close to Serpentine as possible and use your Wild Kick a lot. During the second phase, keep wall jumping up the wall on the right and hitting it, just try not to get hit by the projectiles and keep going in loops.
Tips (Milla): During the first phase, you can use your Phantom Blocks to block the bullet rain. During the second phase, you can reflect the Shade Elite’s bullets with your Reflection Shield.
[Crystal Basher]
[Difficulty: ★]
Tips: Stand under it and don’t hit it while it’s attacking. It has no attacks that can hit you when you’re right under it.

[Spade]
[Difficulty (Carol): ★★★★★★]
[Difficulty (Milla): ★★★]
Tips (Carol): This is by far the most unfair fight in the game, and to add insult to injury, every time you lose you have to go through 99 ninjas again! As a matter of fact, it wouldn’t be too terrible if you didn’t have to do that, but since you do… During the part with the 99 ninjas, use the curved walls to your advantage, just keep looping around the arena in circles and constantly attacking. As for Spade, sadly, I couldn’t figure out much of a strategy. It seems you just have to get lucky with this one. The best advice I can give you is to use your Pounce and Wild Claw to hit him, and run away as much as possible. Keep track of which move he’s going to use next and if you know he’s about to shoot cards at the ground, get out of there. Try to wall jump off the sides to get some height for your attacks. The best time to attack is right after he throws 3 cards.

Tips (Milla): As Milla you only have to defeat 15 ninjas. Stand in the corner and keep using Shield Burst until you’ve defeated all the ninjas. When fighting Spade, your Phantom Blocks can block his attacks. Just keep using this to your advantage and either throwing Phantom Blocks at him or using Super Shield Burst.
[Syntax Spider Mode]
[Difficulty: ★★]
Tips: Keep your distance while she’s standing on the spikes. Jump in the direction the lava lasers come from. When she starts shooting spikes at you, stand underneath her as she fires the spikes on the edges, then move to the left or right, and hit her as many times as you can while she has no spikes.


[Syntax Squid Mode]
[Difficulty: ★★]
[Difficulty (Milla): ★★★]
Tips: Stay on the top of the top ladders when she goes into the lava, and when she rolls into a ball, stand on the top after she rolls by the top. Don’t ever stand underneath her tentacles, stay either directly under her, or out of her way.

Tips (Milla): Hitting this Boss is much harder as Milla. I advise that you try to throw Phantom Blocks at her, this is usually the safest route.
[Holodragon]
[Difficulty: ★★★]
Tips: Dragon Boost up when it fires it’s laser. Dragon Boost away when it shoots blue fire balls. Keep moving to avoid the claws. Dragon Boost and Cyclone are effective ways to break the red orbs on it’s back. Don’t forget the power up gives you a special attack that shoots a projectile, which works very well too.

Late-Game Bosses
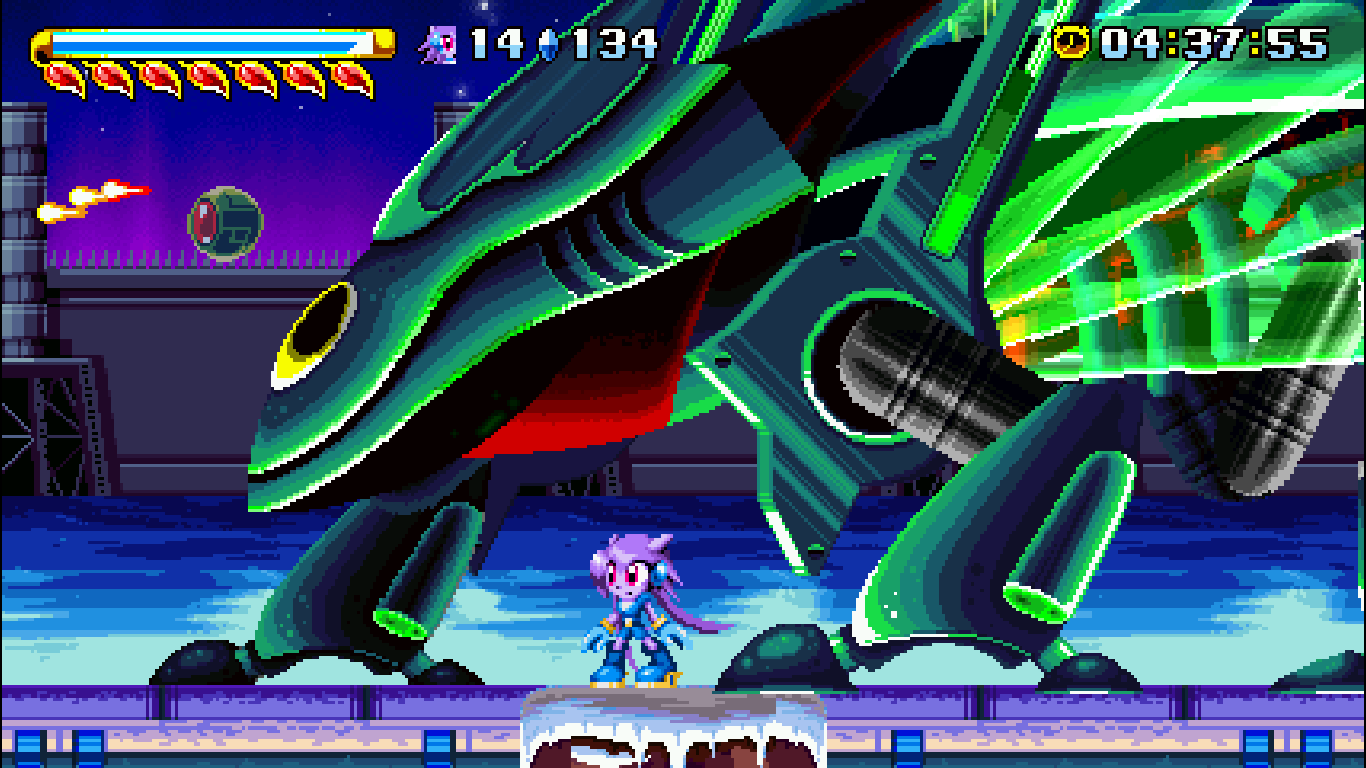
[Syntax Cancer Mode]
[Difficulty: ★★]
Tips: Your hitbox is where your character is on the Holodragon/Tank, not the whole thing, that’s all you have to make sure doesn’t get hit. The black and green area on the front of her is a health gauge.

Tips (Lilac): Use your Dragon Beam a lot.
Tips (Carol and Milla): Use your Flamethrower a lot. Keep double jumping to dodge the lasers, and don’t jump to dodge the projectiles, just move back and fourth.
[Absolution]
[Difficulty: ★★★★]
Tips: Never stand in front of it while it’s on the ground. Make sure you’re near springs every time it takes off so you can jump on them to dodge it when it charges. Walk on to the spring as soon as you see it flying through the background.
Tips (Milla): Throw your Phantom Blocks. Trying to use your Super Shield Burst can seriously mess you up because of the recoil. Be sure to drop your Phantom Block when it starts flying though so you can Puppy Float to better dodge it’s charging.
[Shade Beast]
[Difficulty: ★★★]
Tips: Don’t bother attacking it while Prince Dail is up in the air unless you’re playing as Lilac. When he lowers himself, get as many hits in as possible, prefferably 4 if you do very well. Hug the walls when it shoots his purple orbs. The Beast Irises drop Life Petals. The best opportunity to destroy the Beast Irises is while the boss is using it’s yellow laser attack.

[Syntax Morpher Mode]
[Difficulty: ★★★]
Tips: This boss has a lot of different patterns, learn them. During the final phase when she starts shooting orbs that float up and down at you, stay very close to her, hitting her repeatedly, and jumping when the lower orb fires.


[Mutant Serpentine]
[Difficulty (Lilac): ★★★★★★]
[Difficulty (Carol): ★★★★]
[Difficulty (Milla): ★★★]
Tips (Lilac): Mentally prepare yourself to be destroyed. This is easily the hardest Boss in the game. Don’t go anywhere near the edges unless you want an insta-death. Jump high and a lot. Only hit him after he’s just used an attack and while he’s using his rapid yellow laser attack. Be very careful when you Dragon Boost, it’s really easy to shoot yourself right off the edge. After 10 deaths you’ll start to figure the pattern out, and after 63 more deaths you might have defeated him.
Tips (Carol): Abuse the invincibility frames of Wild Kick to attack him when he charges at you and take no damage. Even if you don’t hit him you can bypass his charge attacks.
Tips (Milla): Every time he uses his rapid yellow laser attack, use Reflection Shield, just keep running away, and reflect this attack when you have the opporunity. That’s all you have to do. Don’t attack, just dodge, and reflect the rapid yellow laser and you’ll win.
[Mutant Milla]
[Difficulty: ★★]
Tips: Just keep hitting her and she’ll die before you do so long as you started the fight near with full health. Get behind her when she lands to use the wave attack.
Tips (Lilac): Dragon Boost to get behind her when she lands more easily, and keep using Cyclone when she’s in the air.
Tips (Carol): Use the invincibility frames of Wild Kick to get behind her when she lands. Actually, just use Wild Kick a lot in general.
[Absolution (Brevon’s Ship)]
[Difficulty: ★★★★]
Tips: When it shoots rockets, stay in one place until it’s almost done shooting them, then run up the wall and they’ll all fly in the same area, missing you. Don’t stand near it when it’s shooting acid. The direction it’s flying in the background is opposite to the direction it will charge from, then it will land in the other direction. Try to be as far in the direction it will land as possible to give yourself room to jump backwards. The pillar on the left is it’s health bar.
Tips (Milla): The same rules apply as with your first Absolution encounter. Super Shield Burst will screw you up with it’s recoil.
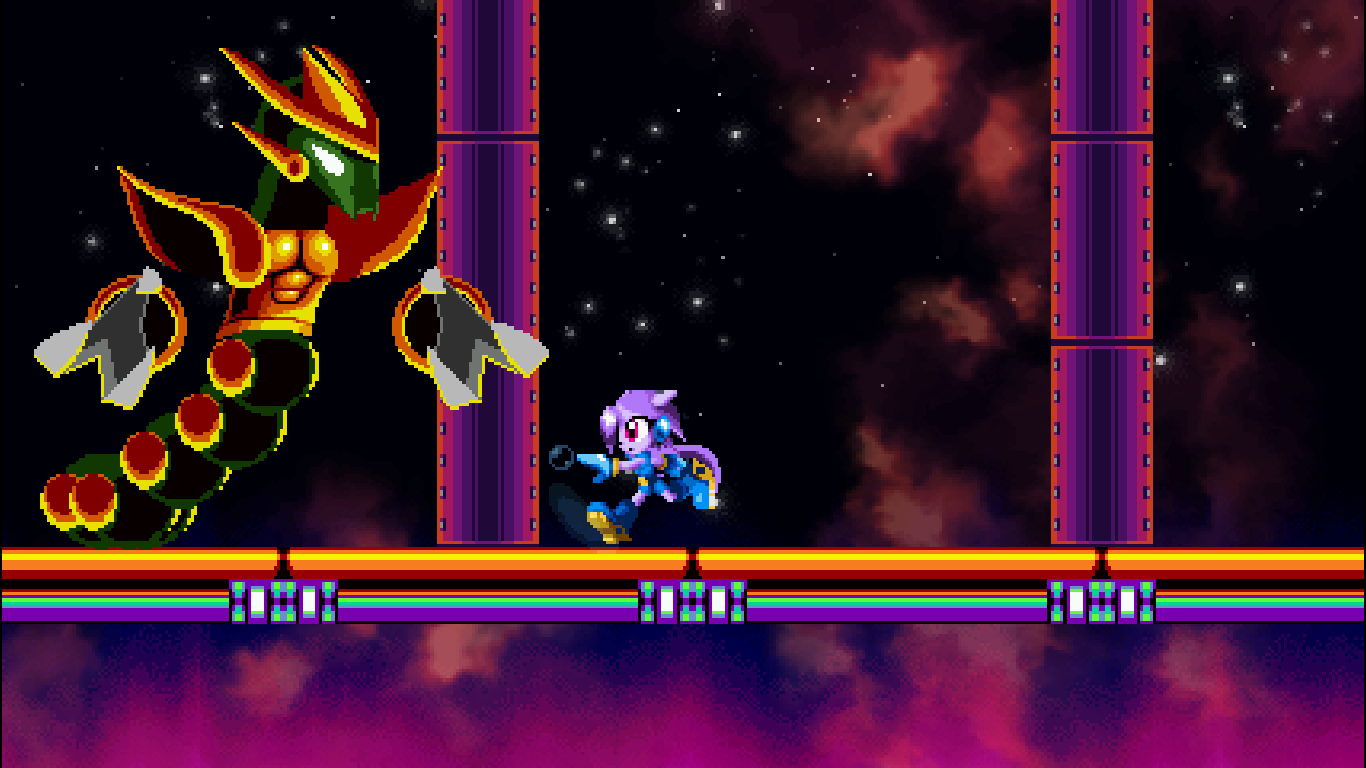
[Brevon’s Power Suit]
[Difficulty: ★★★★★]
[Difficulty (Milla): ★★★★★★]
Tips: Move in the opposite direction it’s going while it’s bouncing off the walls in a ball, and if you get hit while it’s doing this, just stand still for a second, don’t keep moving in the same direction as it or you’ll get hit again. While it’s shooting blue lasers don’t jump, just move in a straight line. Listen for the sound it makes when it boosts towards you and be ready to jump. The pillar on the right is it’s health bar.

Tips (Lilac): Dragon Boost away when it starts shooting blue lasers, to make sure you have the speed to outrun the lingering fire.
Tips (Milla): This Boss isn’t any harder as Milla, but it’s the most difficult Boss you will face as her. You can reflect the blue lasers. A good tactic is to just hold a Phantom Block and let it shoot the blue lasers at you so you can just reflect them right back to it.
[Lord Brevon]
[Difficulty: ★★★★★]
Tips: Never stop moving. Try to remember the pattern that he flies in, first move to the right, and after two swoops, stop and move left. Your best opportunity to hit him is right after he finishes flying and he jumps up and stops for a second. Immediately jump when he throws mines. Jump around a lot because if you’re on the ground when he attacks with his knife and you don’t parry it, it can do a ton of damage. Also note that when you’re on the ceiling, he throws mines that explode instantly, so don’t stay there for long.