Overview
I’m sure the Boomers are just overly excited to have some company.
Introduction & General Tips
Every player who has been tasked with recruiting the Boomers has had their fair share of frustrations just trying to get in the front door. As I looked through the guides I did not find any that addressed this point in the game, so I thought I would. First, some things to keep in mind.
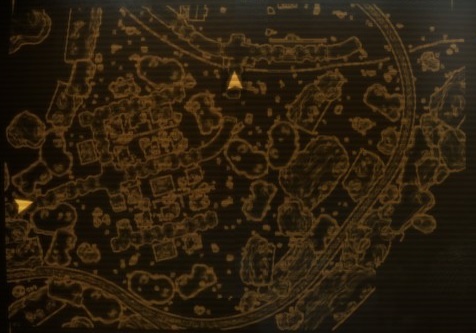
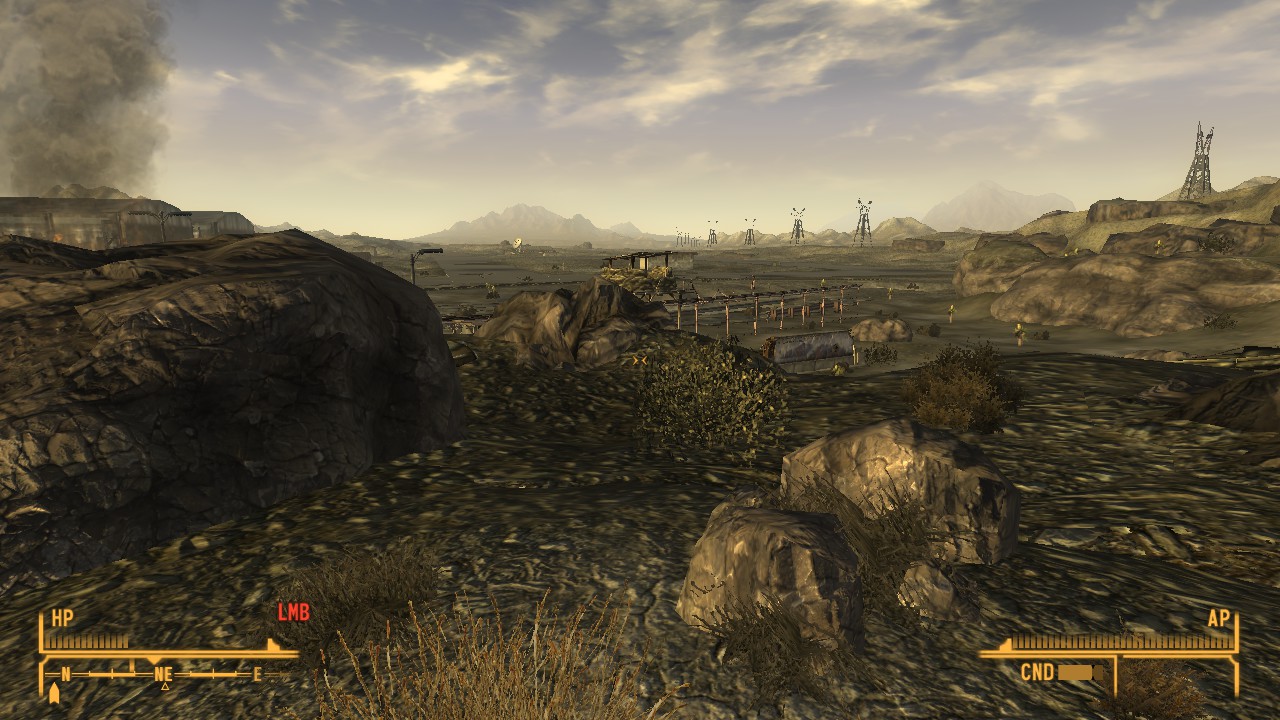
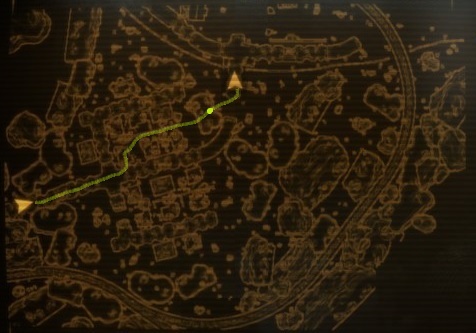
- You’re starting at the point designated by the western arrow, trying to get to the northern arrow. Simple enough.
- George is the man who is waiting right at the entrance to the ruins in front of NAB. When you meet him he offers to make a bet with you. If you choose to take it (and why wouldn’t you?) he gives you a note offering some advice on getting through the ruins. There’s also a Barter skill check here, which I would not recommend because passing it means you put up less money for the bet and therefore get a smaller return.
- Normally, Stimpaks are very useful here. In hardcore mode they heal damage over time, so they’re better saved for damaged limbs. If you need to heal I would recommend food such as a Desert Salad which restores a lot of health in a relatively short amount of time. Either way, you will also want to get Doctor Bags. I ran all three methods without using Turbo but if you’re having trouble it would definitely help.
- Remember the number 14. The Boomers will fire at you 14 times before stopping. Then they will take about 14 seconds to reload their howitzers before they start firing again. This pattern will repeat until you reach the fence.
- Stay away from cars. Cars go boom.
- I’ve mapped the route for each method and marked off the point when the howitzers stop firing at you.
Method 1: The popular way
This is the one I have seen referenced the most in the forums and on the Internet in general. It’s quick, relatively easy, and even if you take a lot of damage you’ll probably still make it to the fence.

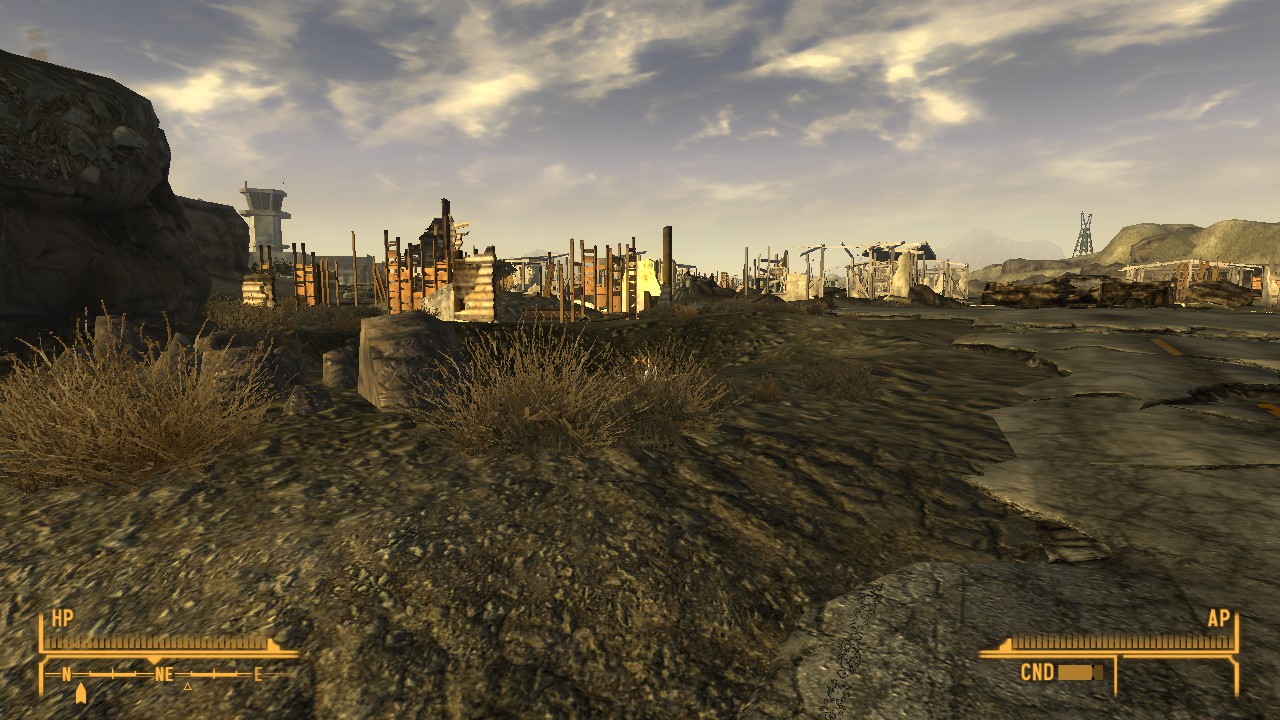
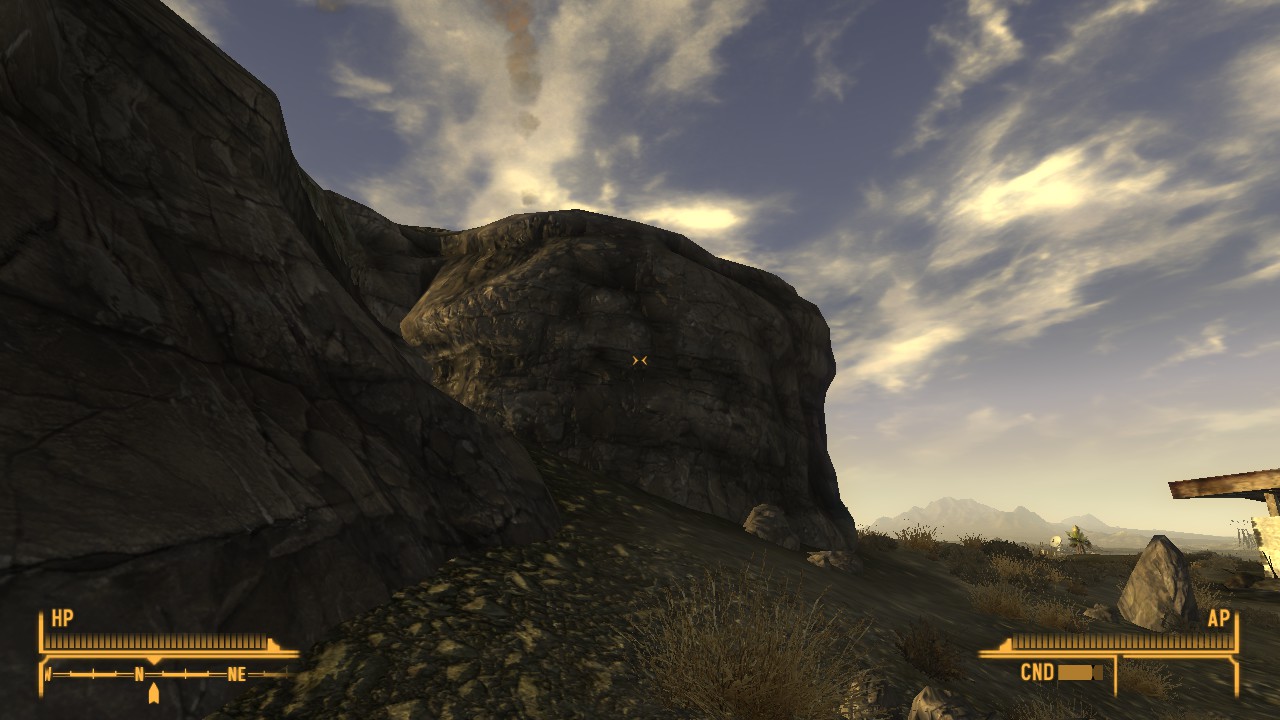
After you talk to George continue down the road until it opens up into howitzer-blasted ruins south of the fenceline. Instead of walking out into the open and making it really easy for the Boomers to target you, hug the rocks to your left.
There are “safe” spots, typically at corners like this one, that you can pause and wait out a volley or heal yourself.
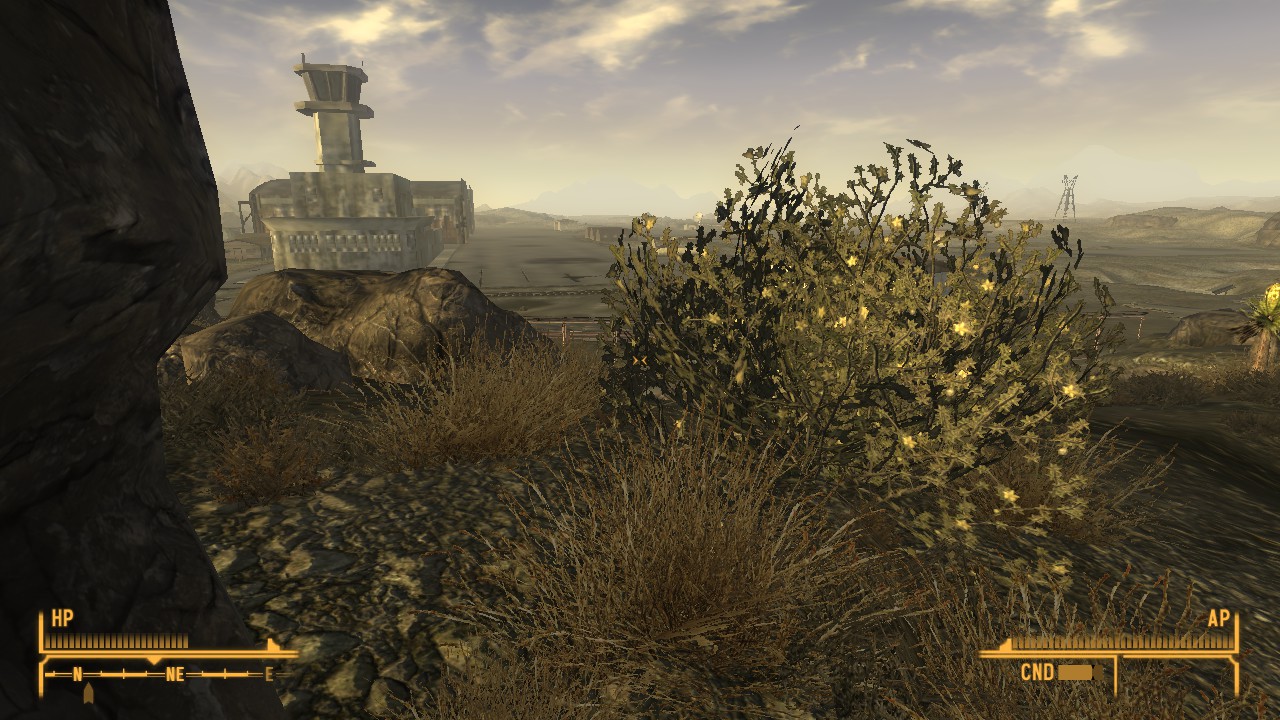
When you get up to this bush they’ll stop firing at you; keep going forward and hug the fence as you move east to the gate.
Method 2: The long way
But if it’s popular, that obviously means it isn’t cool, right?

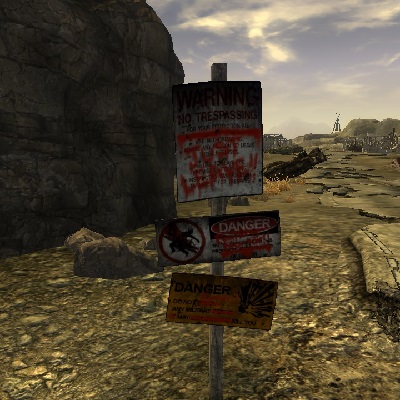
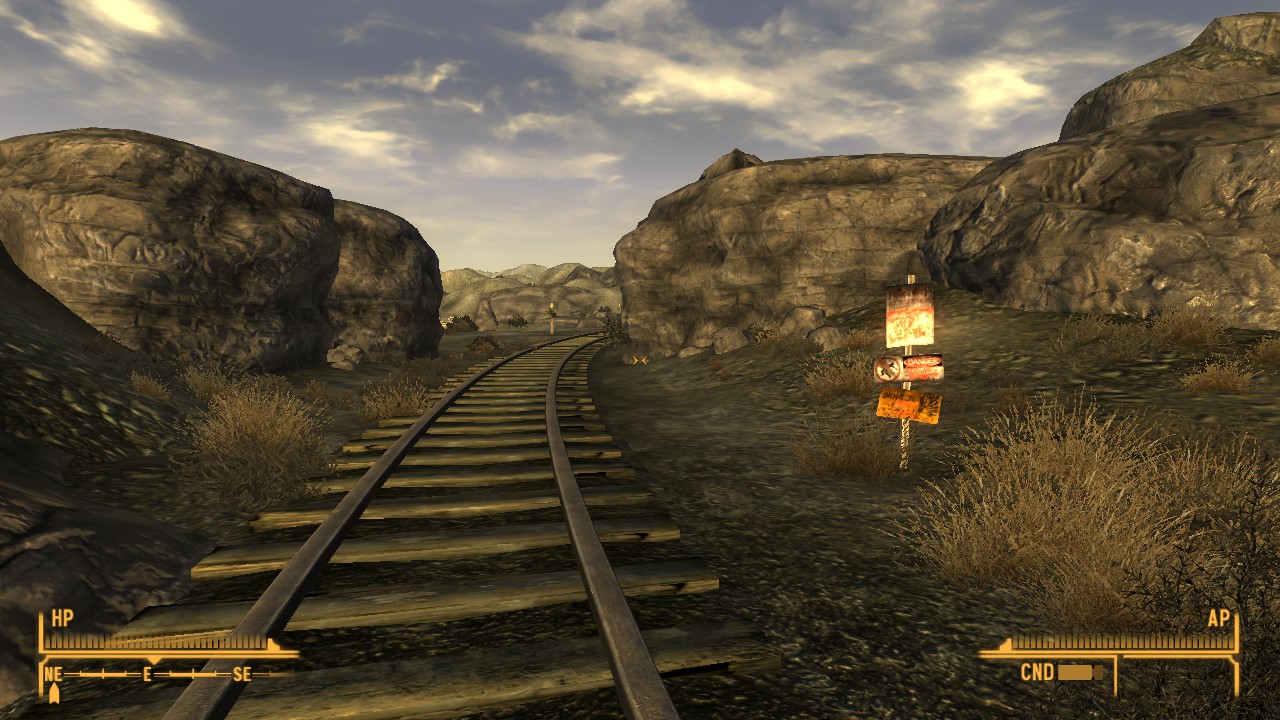
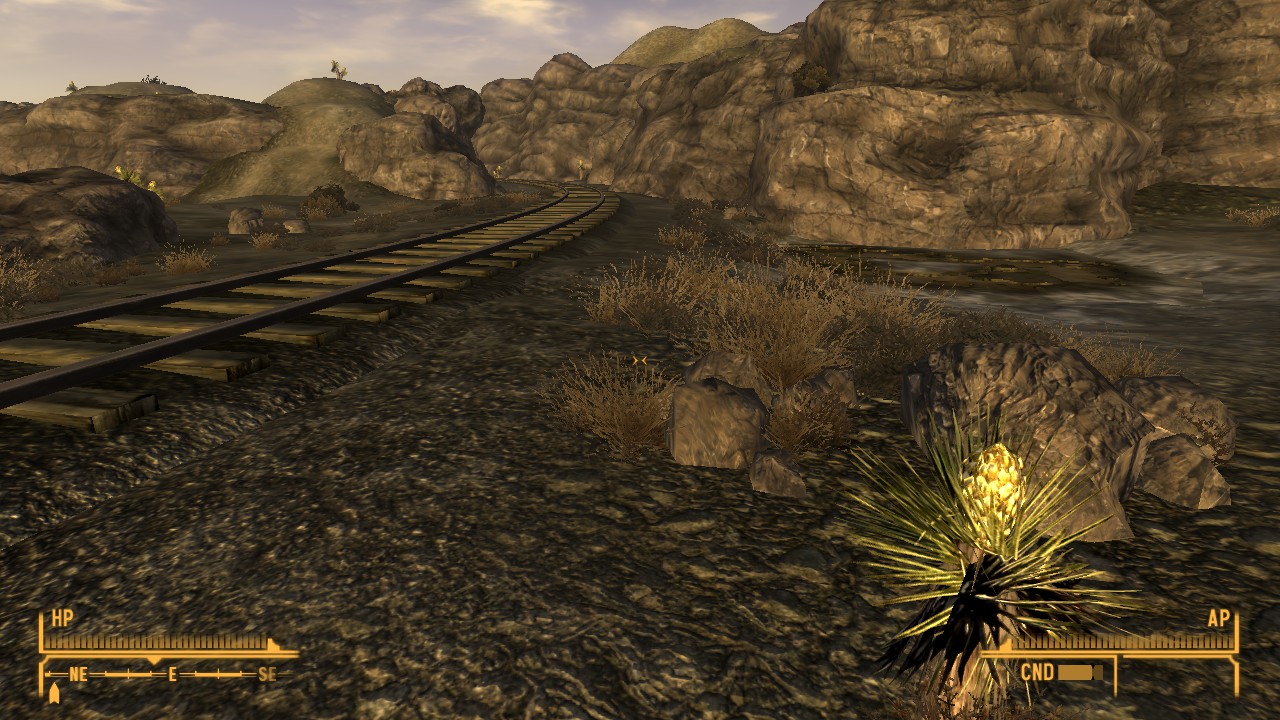
If you don’t feel like talking to George, there is a second entrance to the south of him. As you approach NAB (from the south) you should come across some railroad tracks. Follow these east and you’ll soon see a familiar danger sign sticking out of the ground. For this path, we’re going to continue on these tracks as they wrap around the south and east side of the ruins.
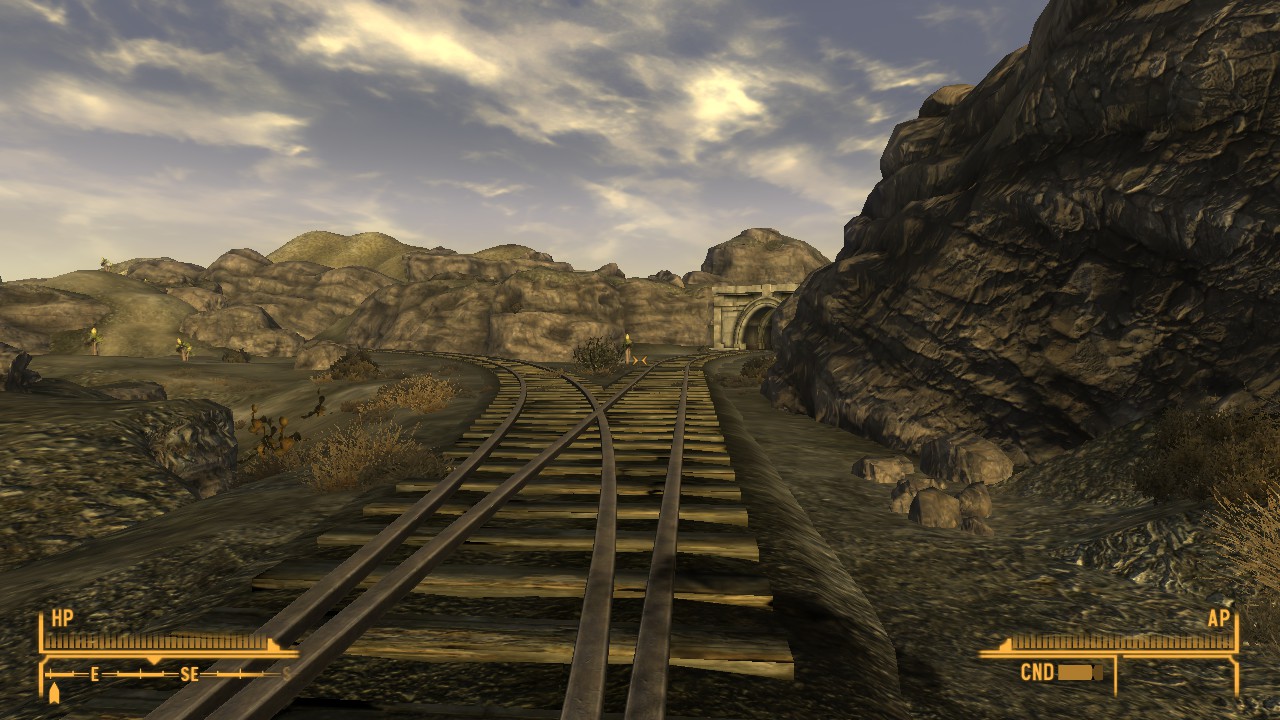
Follow the railroad tracks as they cover the outer edge of the ruins. You will be fired on, so run quick like a bunny. You’ll get to a point where the tracks split off. The northern part of the fork (the left one in the picture) continues on to NAB, and the southern fork (the right one) leads to the Train Tunnel. With the proper lockpick skill (100), this provides a shortcut to Raul’s house, a Brotherhood of Steel safehouse, and some friendly Deathclaws.
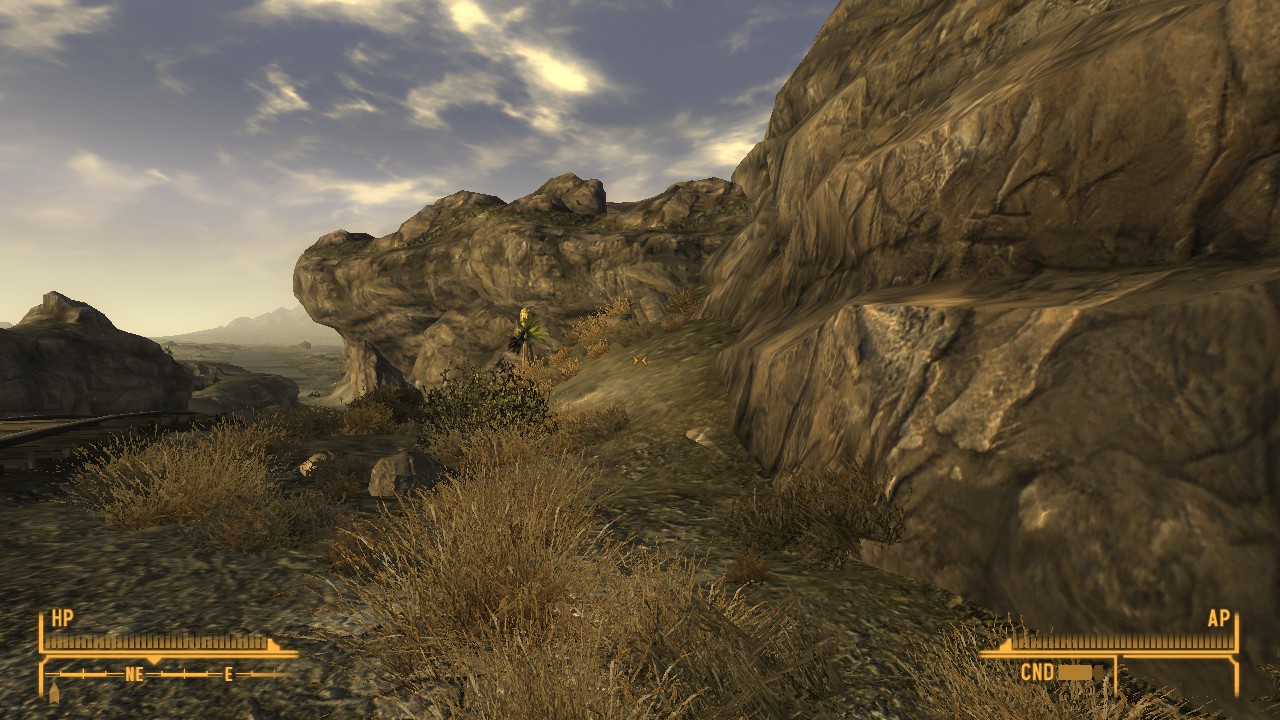
It’s important to note that these railroad tracks are a part of this area’s border; if you step any further south they will not fire on you. This means you can step off the tracks onto the dirt and take a moment to rest, grab a Stimpak, use that other Turbo you’ve been saving. That said, I wouldn’t get closer to either set of tracks than these rocks are until you are ready to continue.
Once you’re ready, continue following the tracks east and they will curve up. As you are heading north stick to the rocks on the right hand side. Eventually you’ll see this small hill; once you get here the howitzers stop and you can continue up the tracks and across the fence to the gate.
Method 3: The stupid way
Seriously, don’t do this one. You’re probably going to die.
Keep in mind that it’s more important in this route to take along Stimpaks and Doctor Bags than in the others because you are much more exposed. Also, DO NOT STOP MOVING. You’re not going to have the opportunity to hide under some rocks and wait out the next volley.
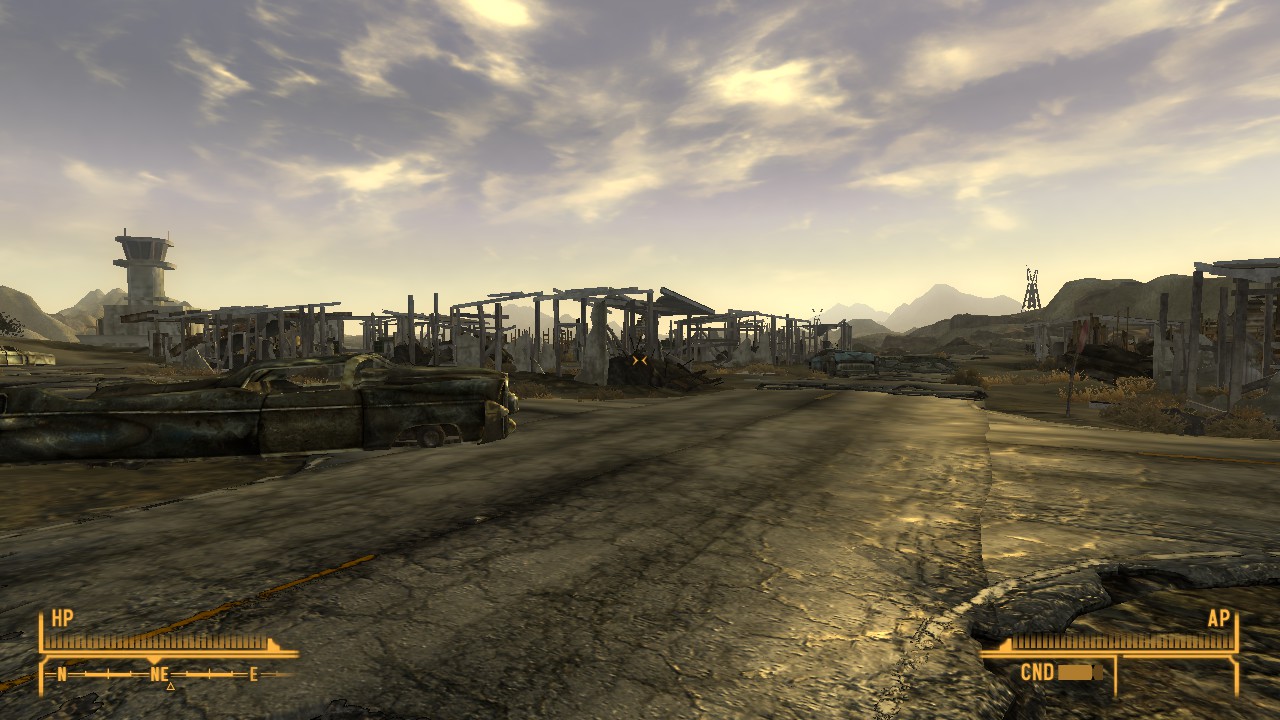
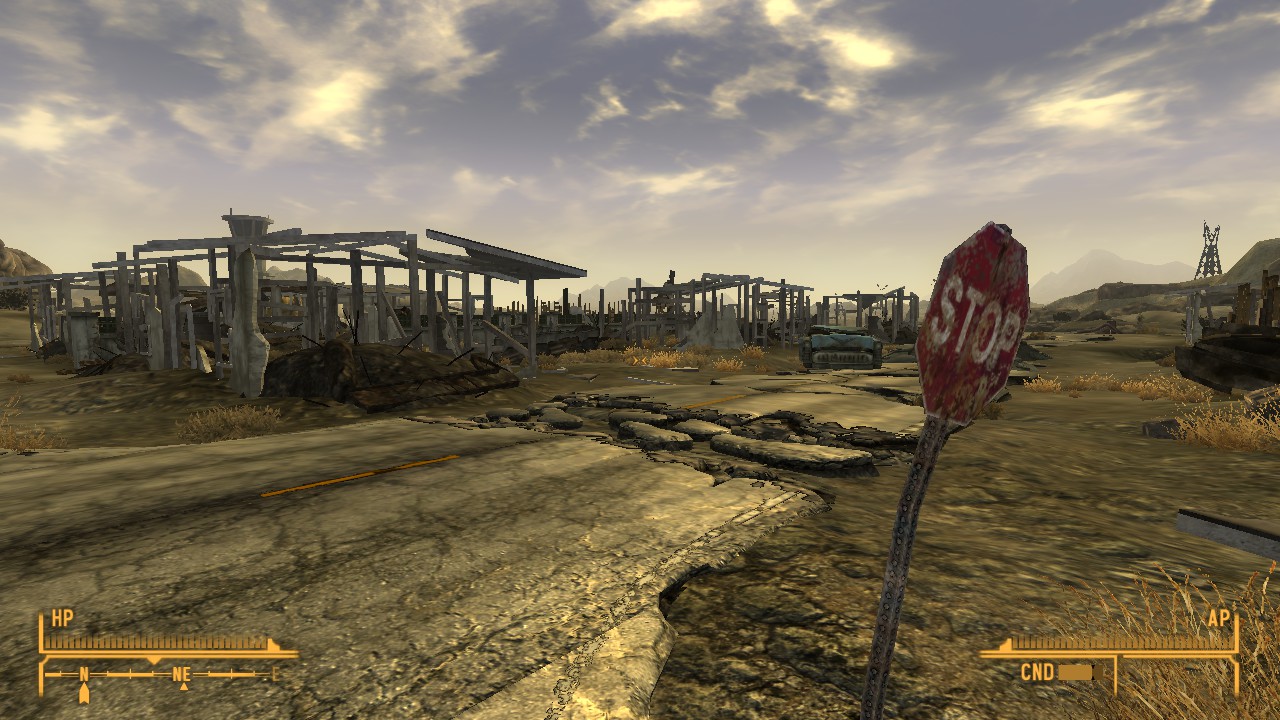
This is similar to what the note from George tells you if you take the bet with him. Run along the road and almost right away you’ll get to a four-way stop. This is where the houses begin. Go into the house on your left (it’s across from the Stop sign; closest to you in the picture above) and run through what’s left of it.
As you get to the other side you’ll notice a white and green fence in front of you. Get to that fence and start running east.
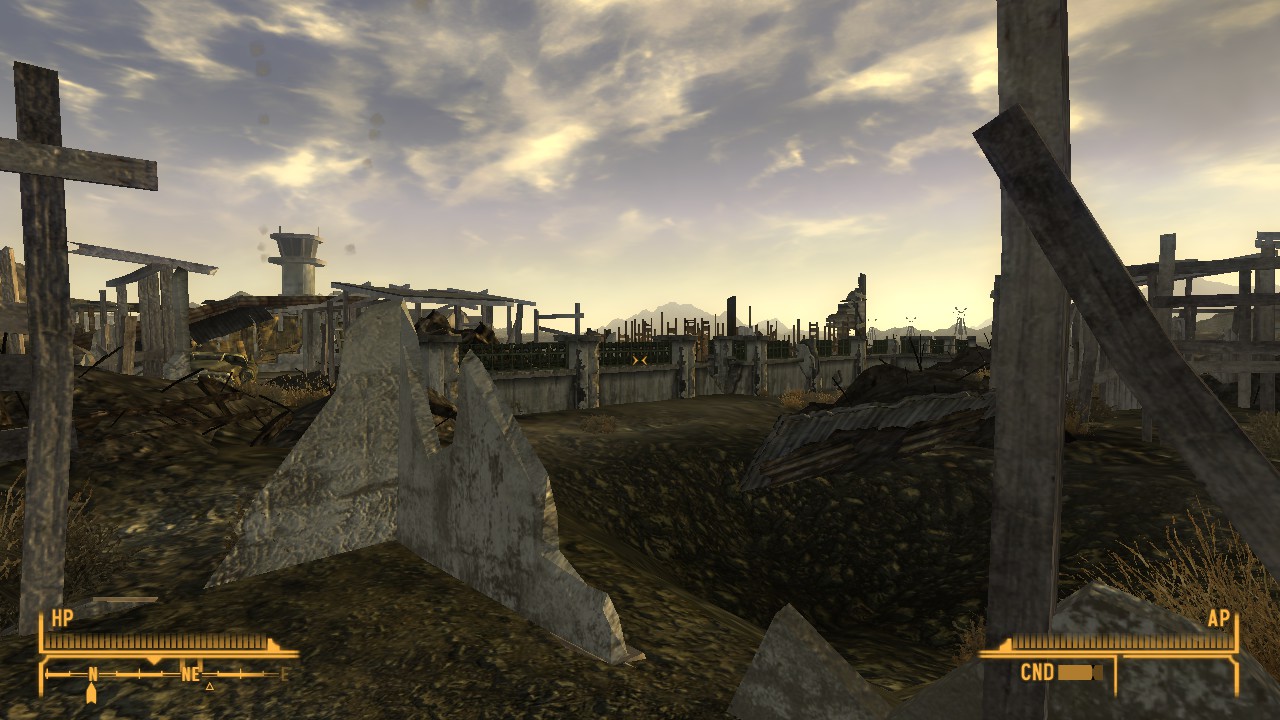
You’ll run into a pile of debris which you’ll have to jump over.
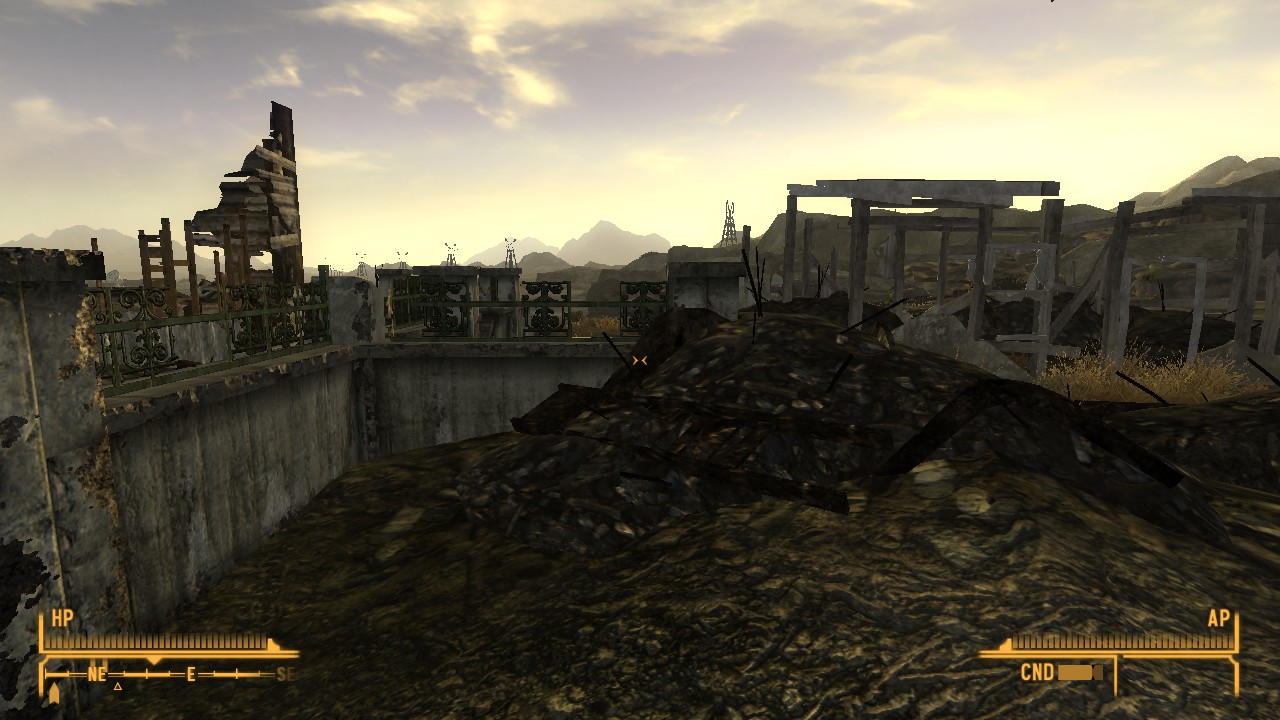
After that, continue to hug the fence until it stops in front of a large crater.

From this point, charge forward and hug the rocks on your left side. When you reach the top of the cliff, they’ll stop firing at you. Jump off the cliff and stroll up to the gate like the macho man (or woman) you are.