
Overview
It’s quite easy to finish Risen 3 with all the achievements almost by accident… except for the Demon achievement. These are the crib notes I made on starting a new game whose only purpose is to get the Demon achievement ASAP.
General Notes
Remember, you can:
- skip cut scenes with a right mouse click (and confirm),
- slip dialog lines with a right mouse click,
- can teleport to the boat with M then E (and confirm).
Feel free to pick things up things you see (treasure, plants etc) but don’t bother seeking them out or exploring the map as we’re not going to be playing the character past about the first 20% of Chapter 2.
For some reason, it doesn’t feel like cheating to me to set the difficulty to easy for the purposes of getting this achievement. It’s not like lowering your soul level makes the game any harder or different than normal, and you’ve already proved you can handle that (or hard). If you feel differently, play however you want to play. I know I did. Except for the bit with the sea monster. I wanted that to be fun and it wasn’t :-(.
Also, we’re not going to opening any of these:

You will also need the DLC installed as these seem to be by far the richest enviornments for dialog options that cost soul points.
Tutorial
Yawn. Get through it as quickly as you can.
The Crab Coast
Follow Patty up the beach and basically play through to the caves and be sure to quicksave just after killing the hellhounds. I recommend saving like this often because it’s a little to easy to fast forward through a conversation on autopilot only to fat-finger and accidently pick the wrong dialog option.

- “What have you done to me?” (-1 soul)
- “You’re just pulling my leg, right?” (-2 soul)
Congratulations, you are now a lost soul (soul level 47)
The game now makes you view trhe character sheet. I put all my points in Melee.
The game now makes you view the spirit realm. No idea why since its a very long time before you actually get the skills that makes it at all useful.
The game won’t let you set sail again until you talk to Bones again. Exhaust his dialog options. Make should you select “Speak!” when its offered in order to activate the DLC.
As mentioned before, we’re not bothering to explore, so head straight to the Sloop and set the destination to Fog Island in order to pick up the Glory boost. While we’re not interested in a long term character, were going to have to play a chunk of the game in order to get enough soul loss opportuneties and higher skills are going to make that easier.
Fog Island
Welcome to Chapter 2. That was a bit quicker than your original play through, wasn’t it? 🙂
Talk to Bones again. Exhaust his dialog options, but make sure you select
- “How did you get your spirit back?”, which leads to:
- “Your spirit is obviously still traveling” (-1 soul)
Always exhaust everyone’s dialog options as this is how you get most quests into the quest log.
Don’t forget to equip your DLC clothing at this point (it’s magically appeared in your inventory).
Take the dingy to the beach. Venturo will wander over and say hello. Take the
- “Let’s go and find your friend”
option to start the escort quest and use Venturo to clear out nearby mobs for cheap glory. Escorts will travel some distance to help you if you are attacked, so if you want to use him to take out the scavengers before you reach Rakazor, feel free 🙂
Finish Venturo’s quest and escort him to the HQ.
Talk to Venturao. You can learn all the hunting skills from him at this point, but its not worth it since we won’t be killing enough beasties to break even. Plus you don’t have the cash at this point for more than one 500G skill at this point. If you do want to buy skills at this point, you can also sell all junk to him, including your original clothing. Personally, I saved my money to go against combat skills later.
Talk to Carlos, exhaust his dialog options to get quests.
After talking to Carlos, talk to Ventuaro yet again yet more quests.
Head up the stairs for a teleporter stone. You can save this for later (since the Map -> Boat -> Dingy -> walk back isn’t far), but we’re about to pick up 4 more, so we may as well spend it immediately on the pad by the HQ exit.
Leave the HQ, and following the right hand ‘wall’ all the way down the map until you reach Mortimer’s shack.
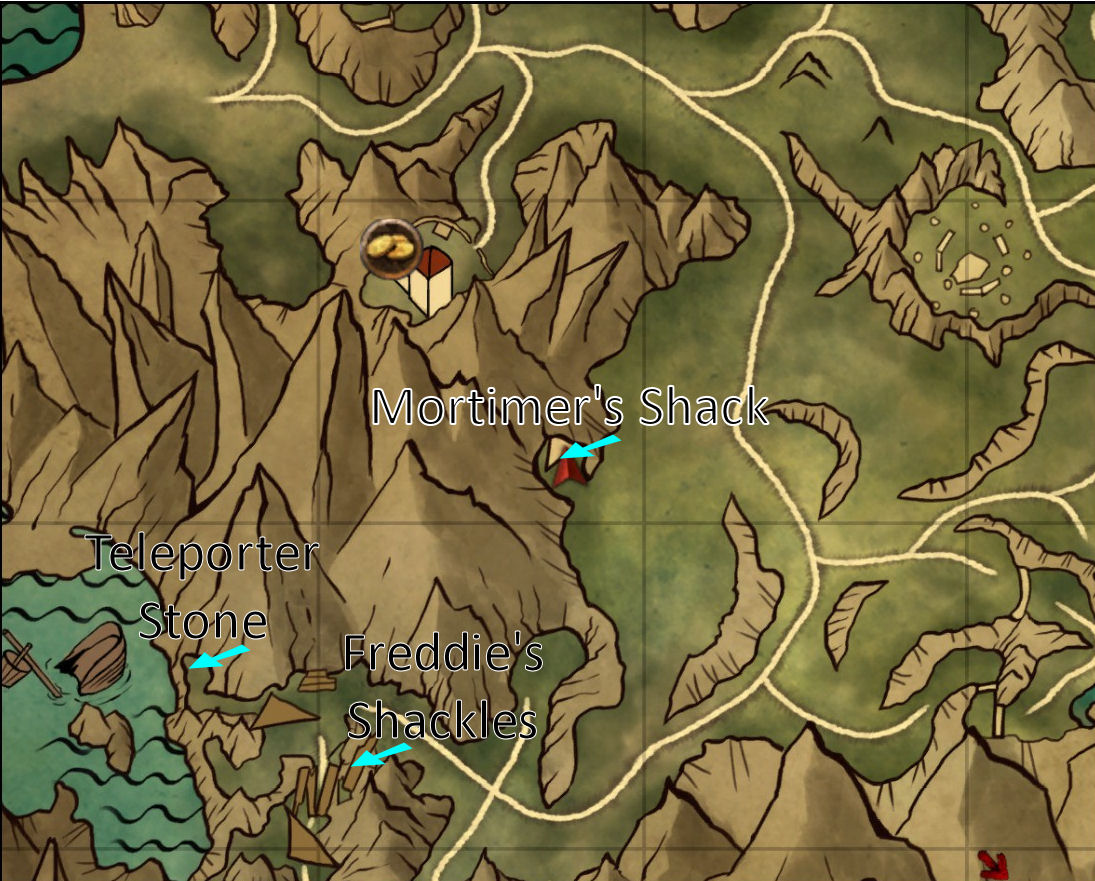
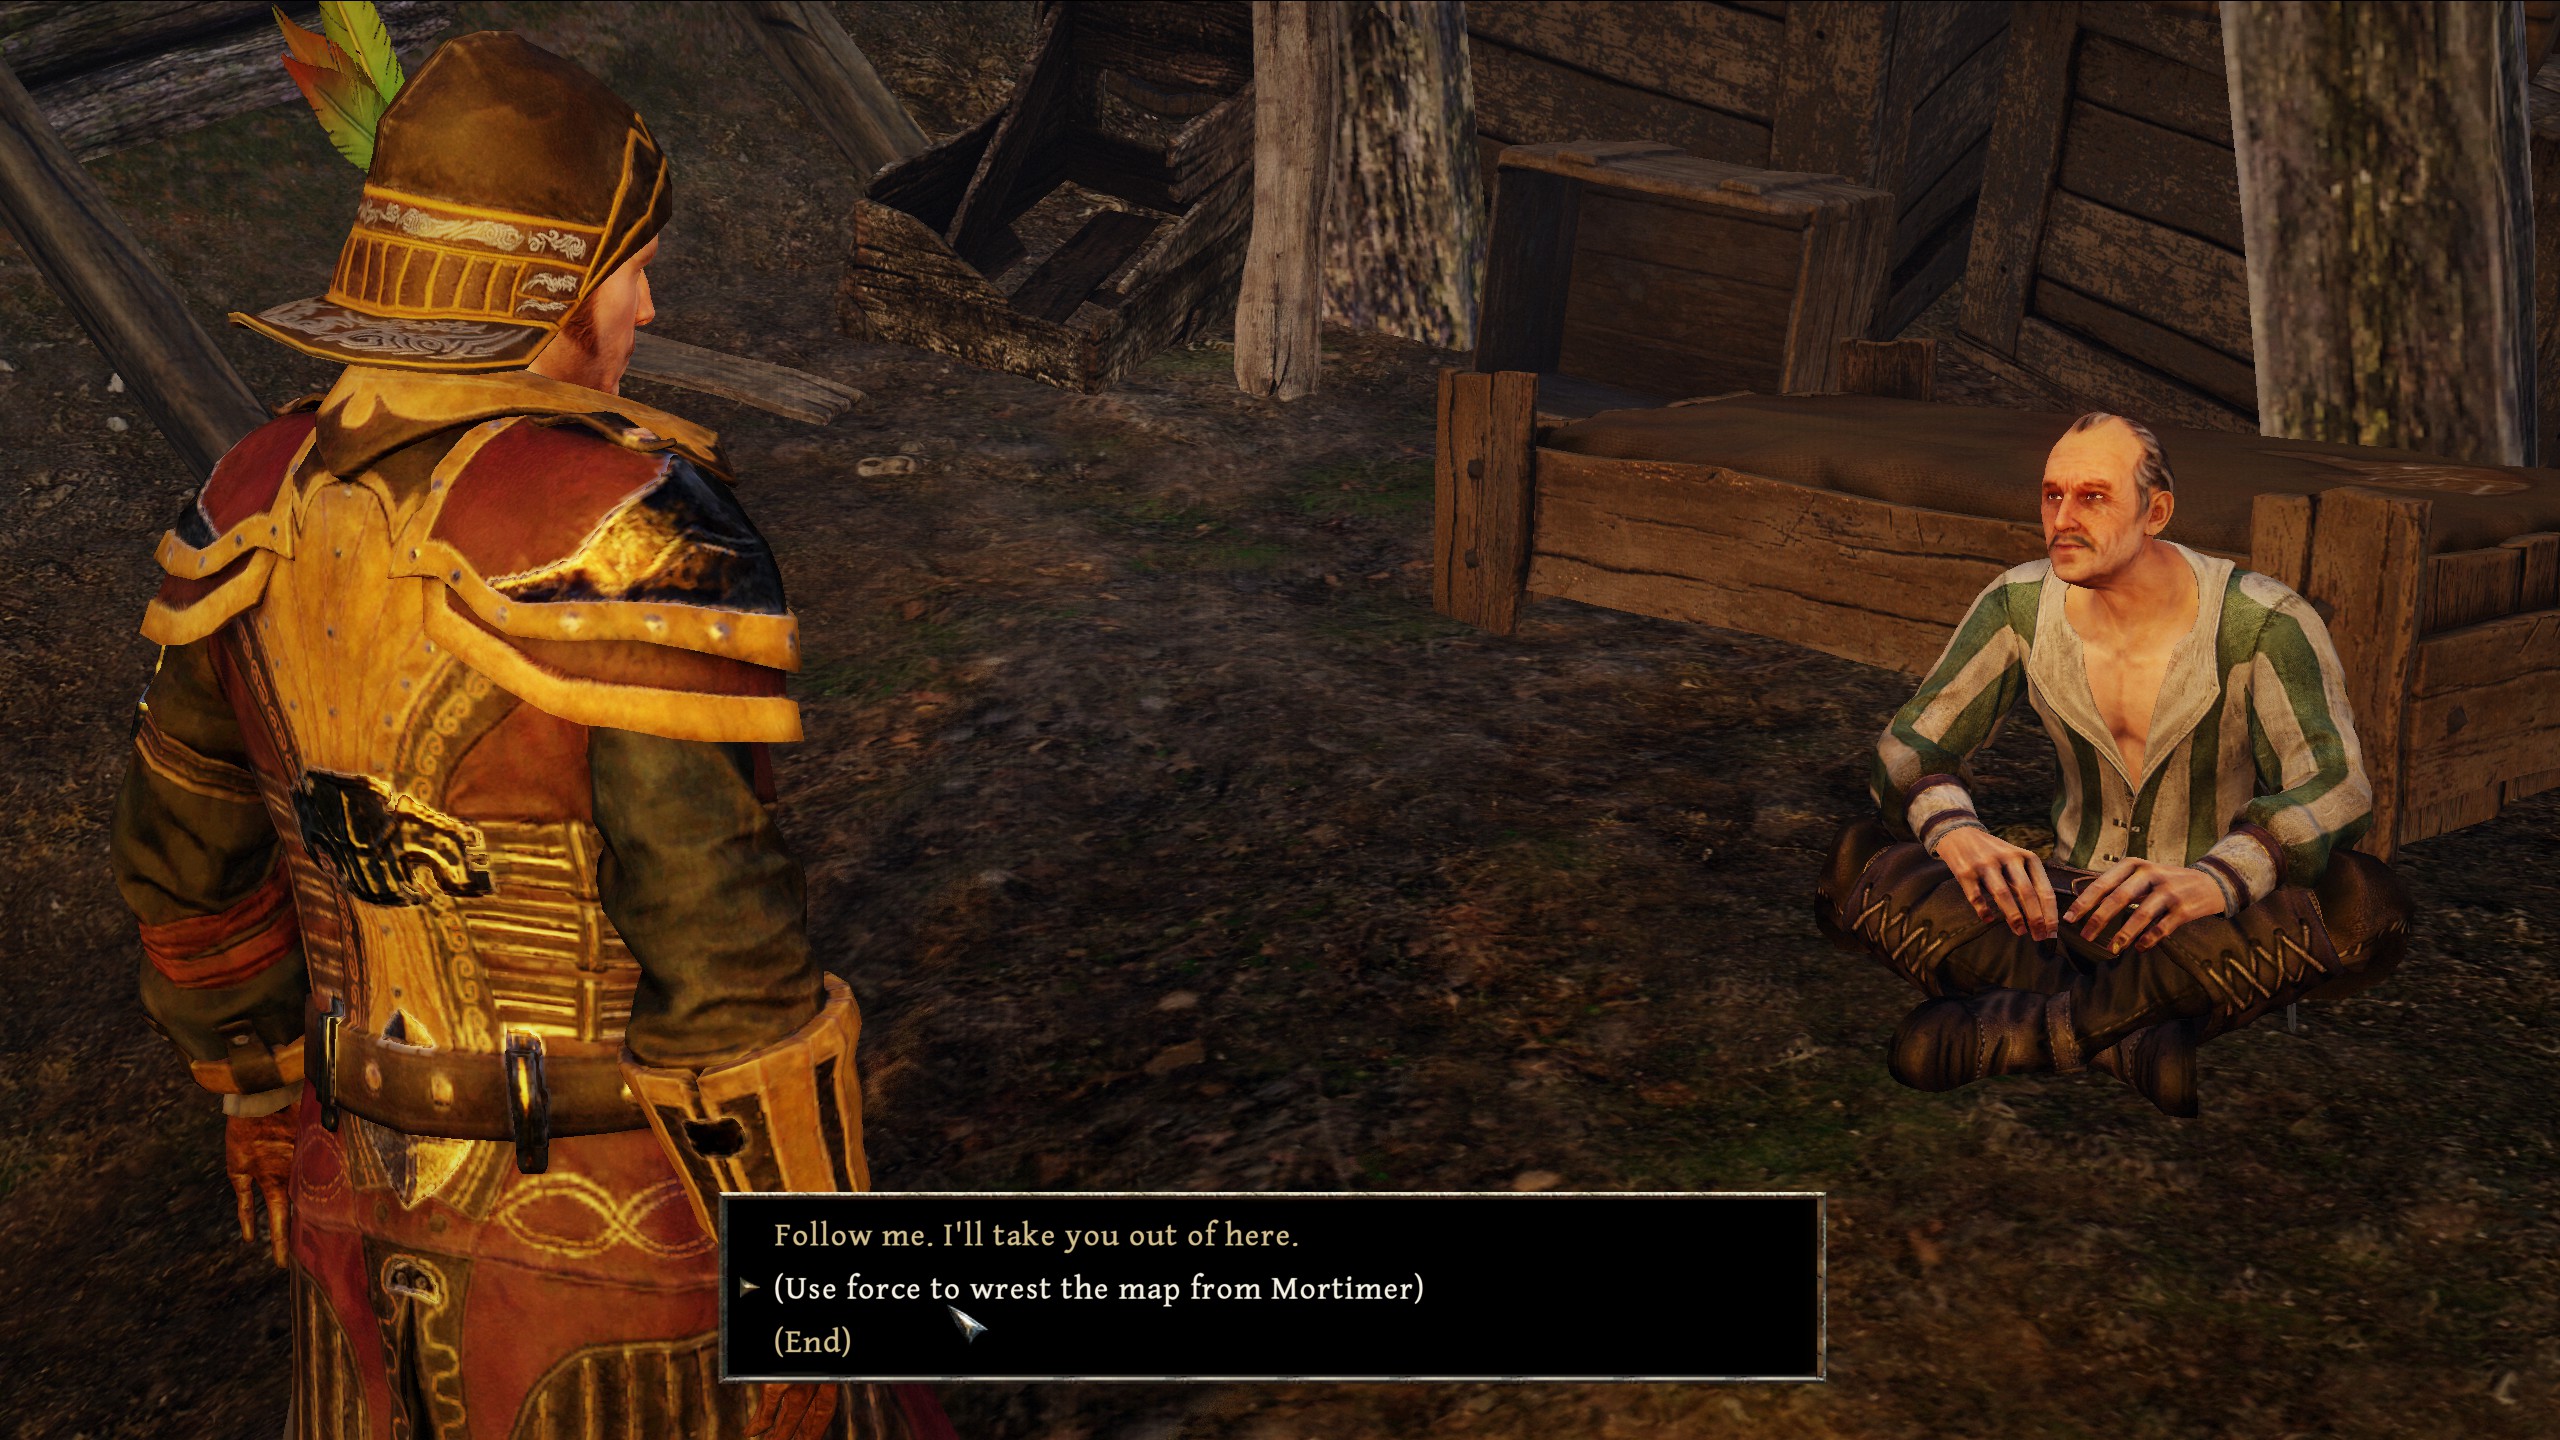
Talk to Mortimer and listen to his life story for a Ruby. Take the
- (use force to wrest the map from Mortimer)
option for -2 soul, and put Mortimer out of our misery.
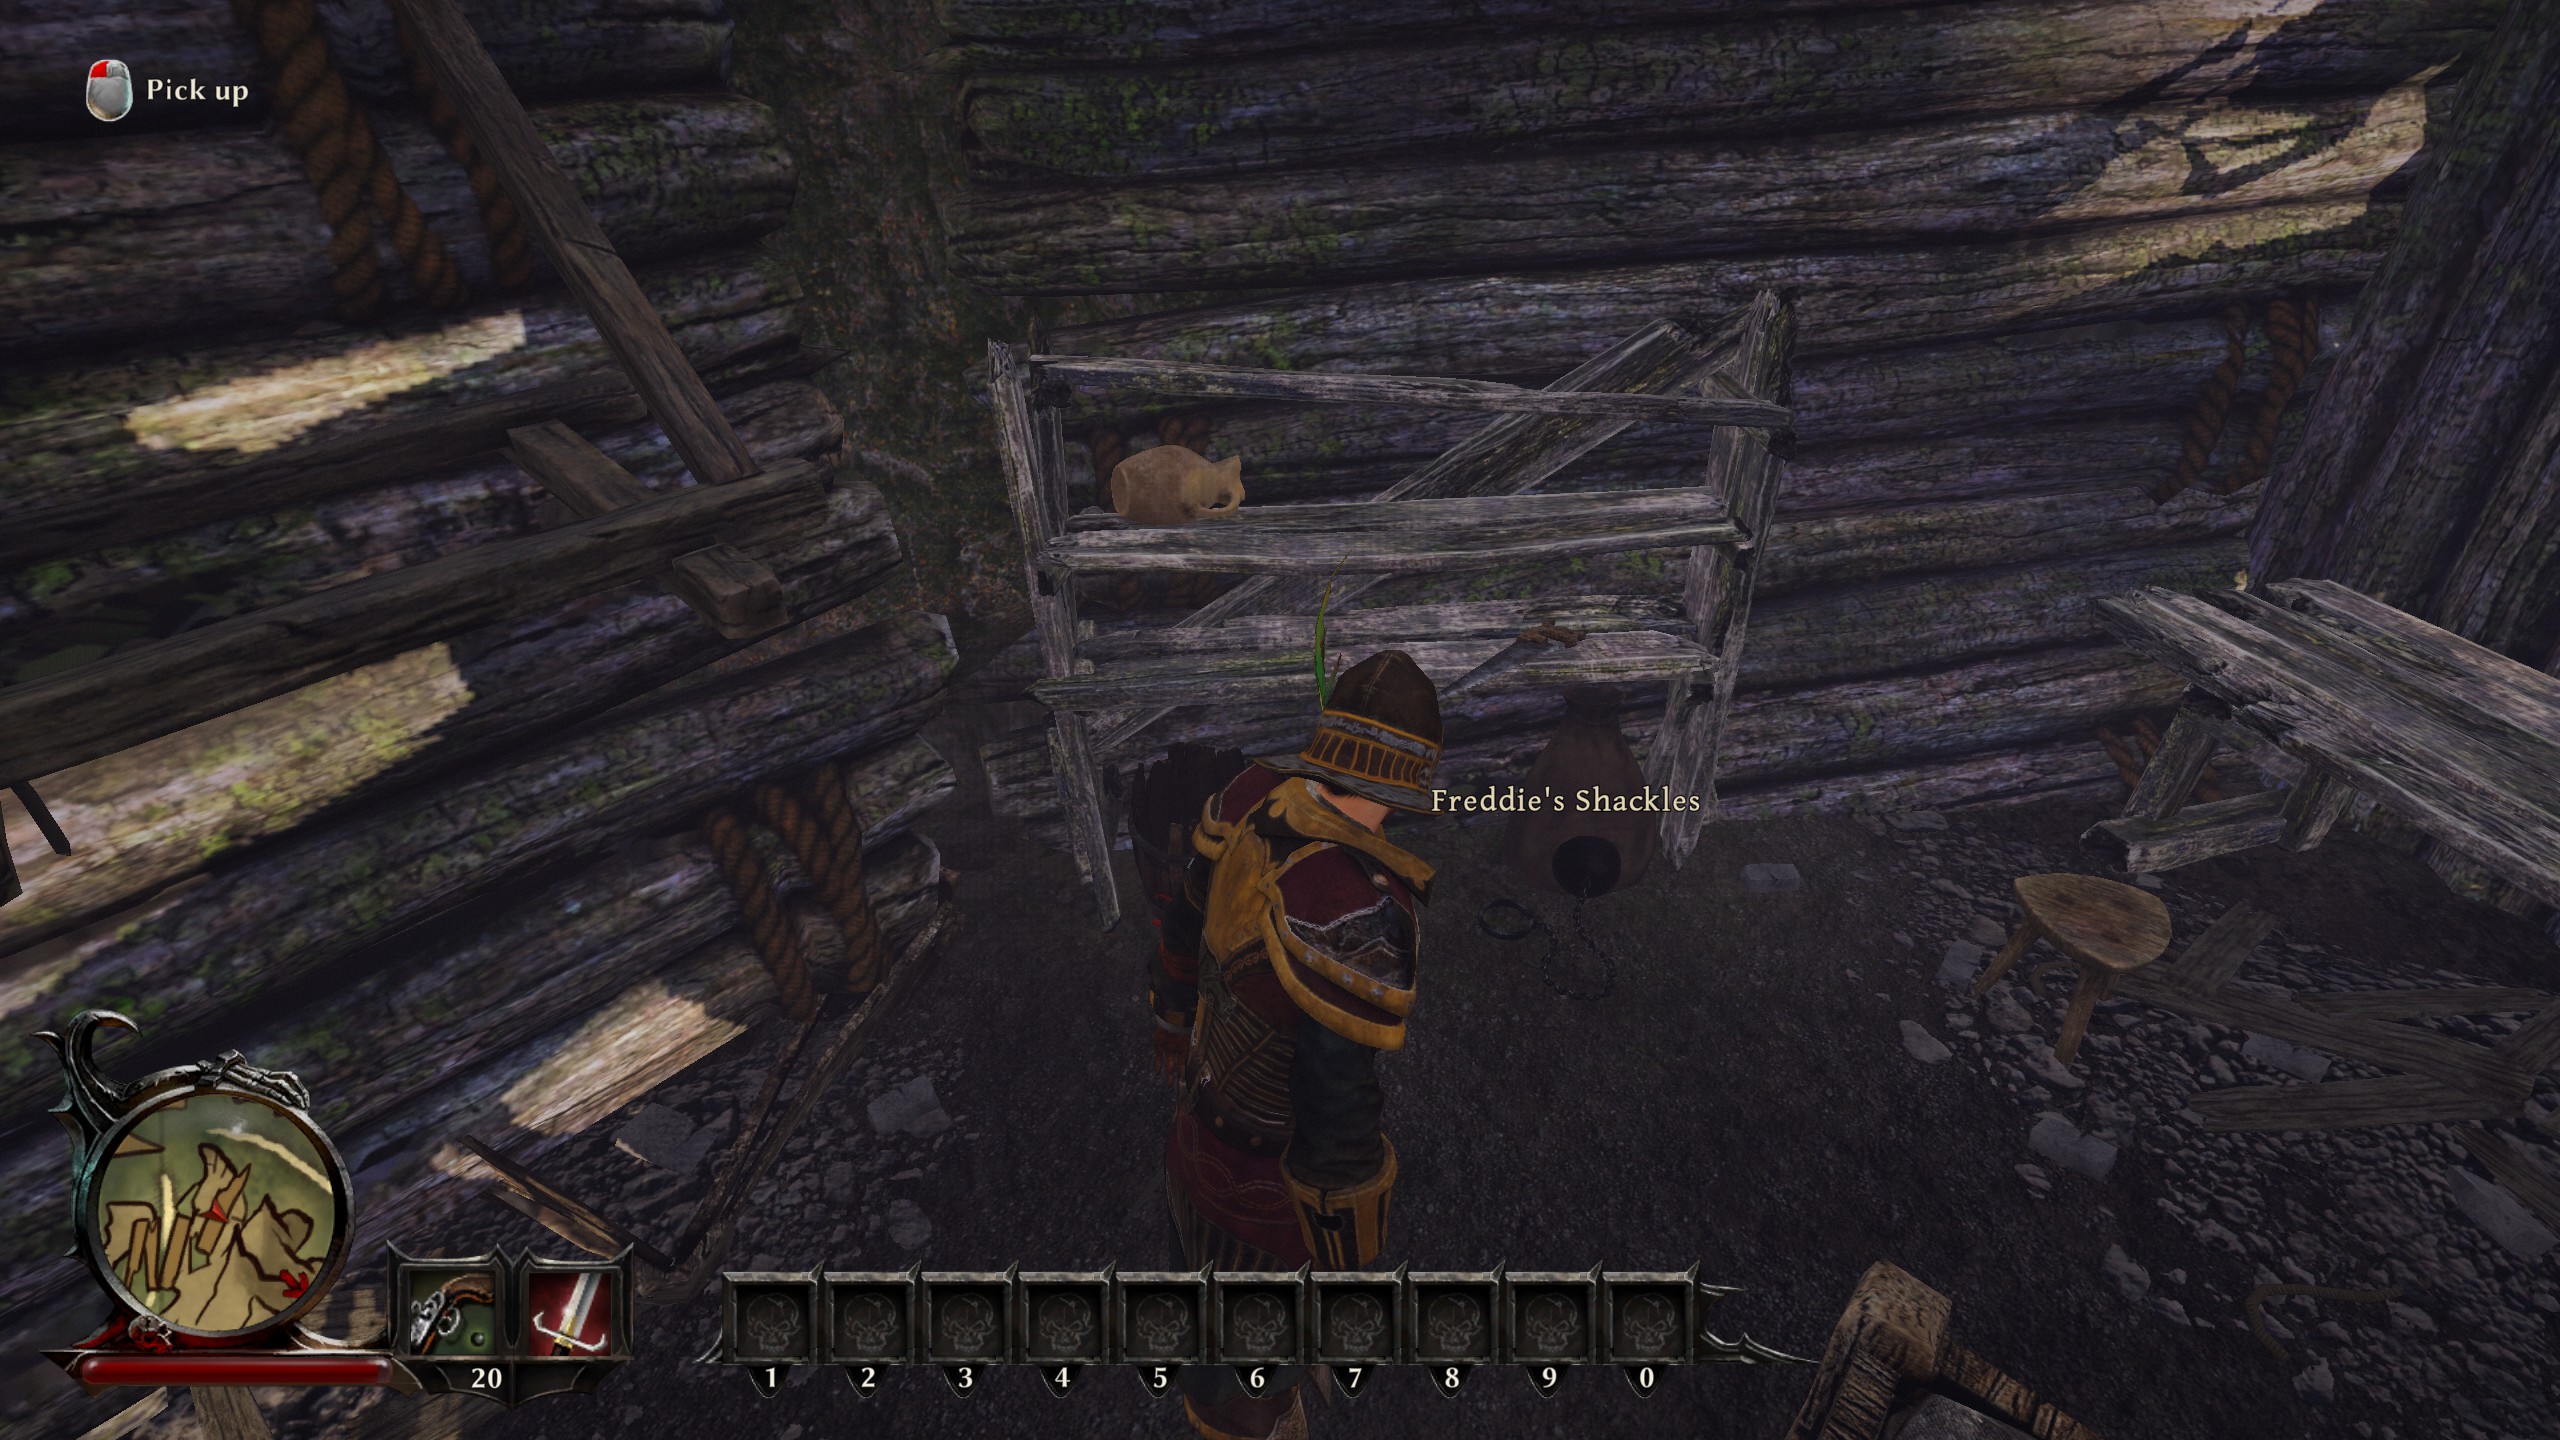
Grab the teleport stone and vender trash, then take a rest in the bed
The first time you sleep on any island, you’ll have a dream sequence that results in the loss of 1 soul point. In these sequences you’ll find soul dust on the ground where the sparkle effects are. Soul dust can be traded for bonus soul points or cash. Guess which option we’ll use 🙂
Talk to Mendoza to end the dream sequence.
Talk to Bones. Select
- “I have nightmares”, then
- “You’re my doctor. You must help me”, then
- [either option], then
- “So, what would make me more demonic?”, and then
- “i don’t care about anyone else” (-1 soul points)
Exhaust the rest of his dialogs for more quests, then continue following the ‘wall’ south.
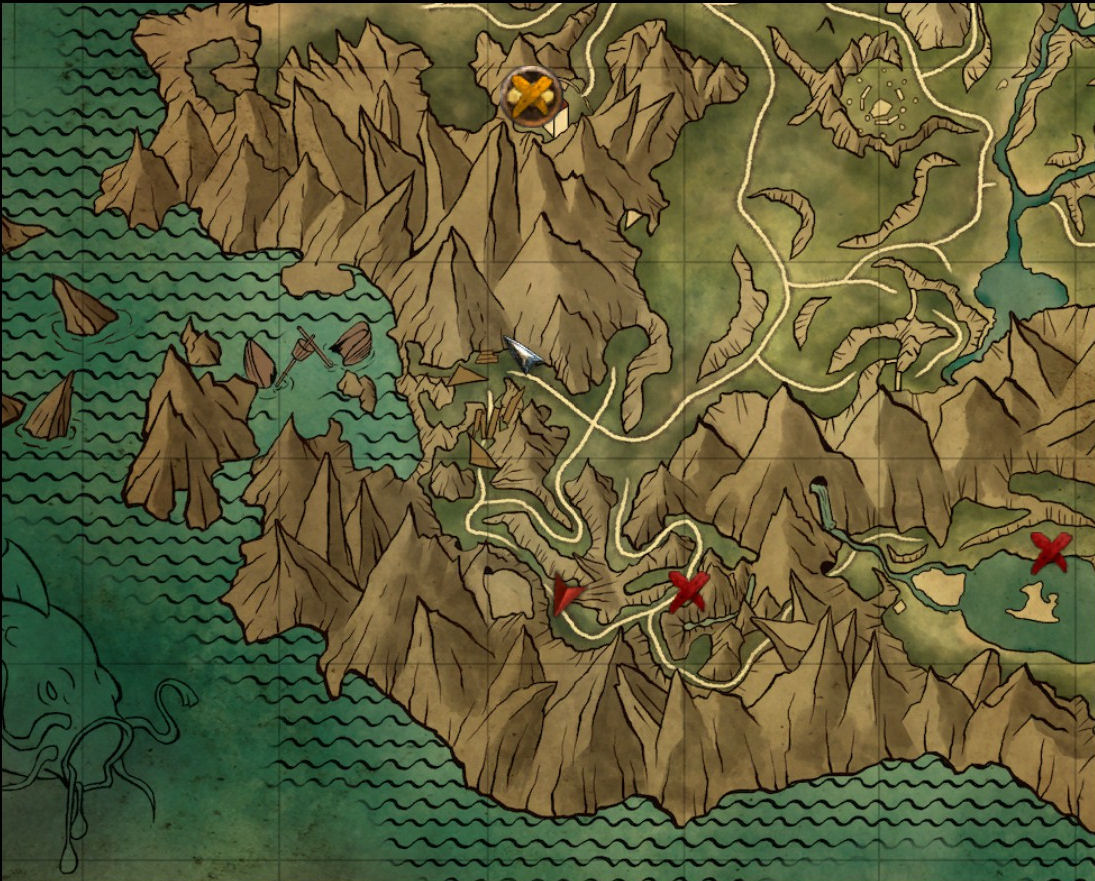
Get the legendary item. Watch out for tripwire traps as you approach this area. There’s also another teleporter stone nearby if you want it.
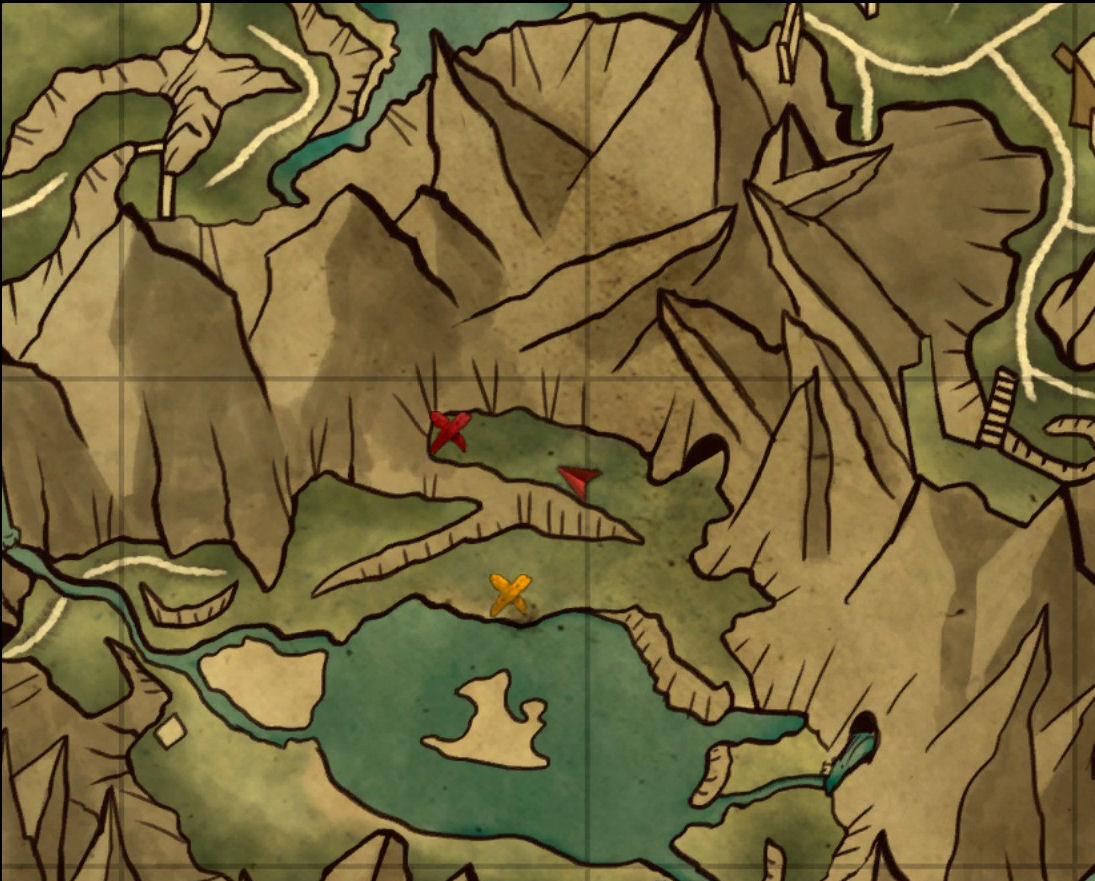
Set the active quest to “The Scattered Soldiers” and head to the southen most (which is also the nearest) X on the map. Take to southern road with the Ghouls & Zrak Xakom.
Talk to Gonzales. Select
- “The answer will cost you” for 25 Gold.
Tell him you killed Zrak Xakom for a quest reward (200G).
Talk to Domingo. Select:.
- “The creature responsible for the death of your comrades is dead” followed by
- “You’re a mess” (-1 soul, +180G)
Continue on the south-east most X on your map.
Now we get a chance to actually deserve the points we’re dropping. If you didn’t understand the quest on your first play through, the story is that some of the soldiers have been turned into fish. We get to persuade the remaining solider to eat them.
Pick up yet another teleporter stone from next to Nathan, then talk to Nathan. Work through the dialogs till you get to:
- “About the fish….”., then
- “It’s just fish. If you’re hungry, eat it”
There’s a teleporter just to the east, but there’s little point in activating it.
Talk to Nathan and select
- “Stop complaining” (-3 soul)
Consider clearing the valley for some loot and glory (there’s an easy swamp golum here, and a half way decent mace towards the west wall)
If you haven’t been raising your attributes as we go along, now is a good time to spend some more points. Again, I put all mine into Melee at this point (for a score of 35)).
Set the active quest back to “The Scattered Soldiers”. We’re going to head towards the most Northern X. Head to the north-east of the valley (past Nathan, and up towards where Kral Al Ral was), climb into the spider cave and fight you way north through the tunnel.
Remember to pull rather follow the spiders deeper into the cave so as not to get too many adds from eggs.
Talk to Diaz if you want to buy a lock pick (100G), but unless you’ve been putting points into Dex it’s not worth it.
Arm wrestle Hector if you want for an easy 100G.
There’s yet another teleporter stone on the ground here if you want it.
Go talk to Circe (AKA Xora Rul). Exhaust her dialog options.
[Consider killing the nearby skeletons at this point so they don’t become adds in the upcoming battles.]
Talk to Diaz or Hector and select the attack option. This will agro both of them. After killing them, take a drink of water from the barrel, then talk to Circe again for -2 soul points. A new battle will start with Xora Rul & two minions.
Teleport back to either the HQ or to the boat, and head for the last set of Soldiers.
Once they finish their duck-killing set piece talk, talk to Hull. Select
- “You’re [expletive] a brick, aren’t you?” (-1 soul)
Then exhaust the rest of his dialog. Buy the first level of doctor here for 250G if you’re following my career plan.
Talk to Fletcher. Select
- “I’ll kill all the ducks if it’ll shut you up” (-1 soul)
and then exhaust the rest of his dialog.
Head little north & west and attack the Suspicious Duck (AKA Raxkarok). Kill all the peaceful ducks as well. Head back to Fletcher for a 200G reward, then talk to Hull and select
- “No, I killed them too” (-1 soul)
[This isn’t as much fun as the “Yeah, but I won’t let them live for long” line, but the numbers are the same]
Teleport back to the HQ.
Talk to Carlos and report all the soul eaters you killed for a 500G reward.
Talk to Venturo and report all the comrades you found for 500G and 165 Glory.
We’re done with this Island. Time to move on.
At this point, you should be Irritable (soul level 33). 17 points down, 23 to go!
Calador Island
Either follow Angus to the fishing village, or head directly there.
Talk to Nate and select
- “Why should you care?” (-1 soul)
Accept his offer to travel to the Citadel. S.O.P. – we’ll use him to take a few of the mobs.
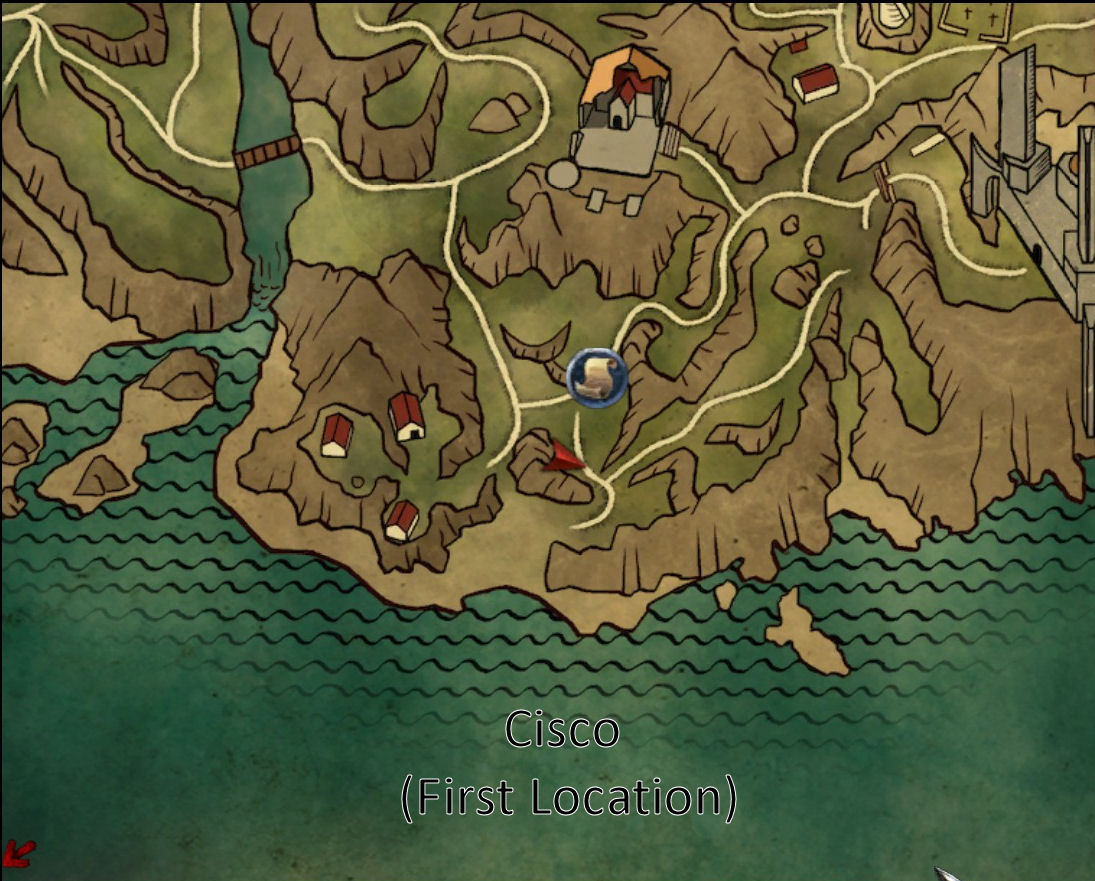

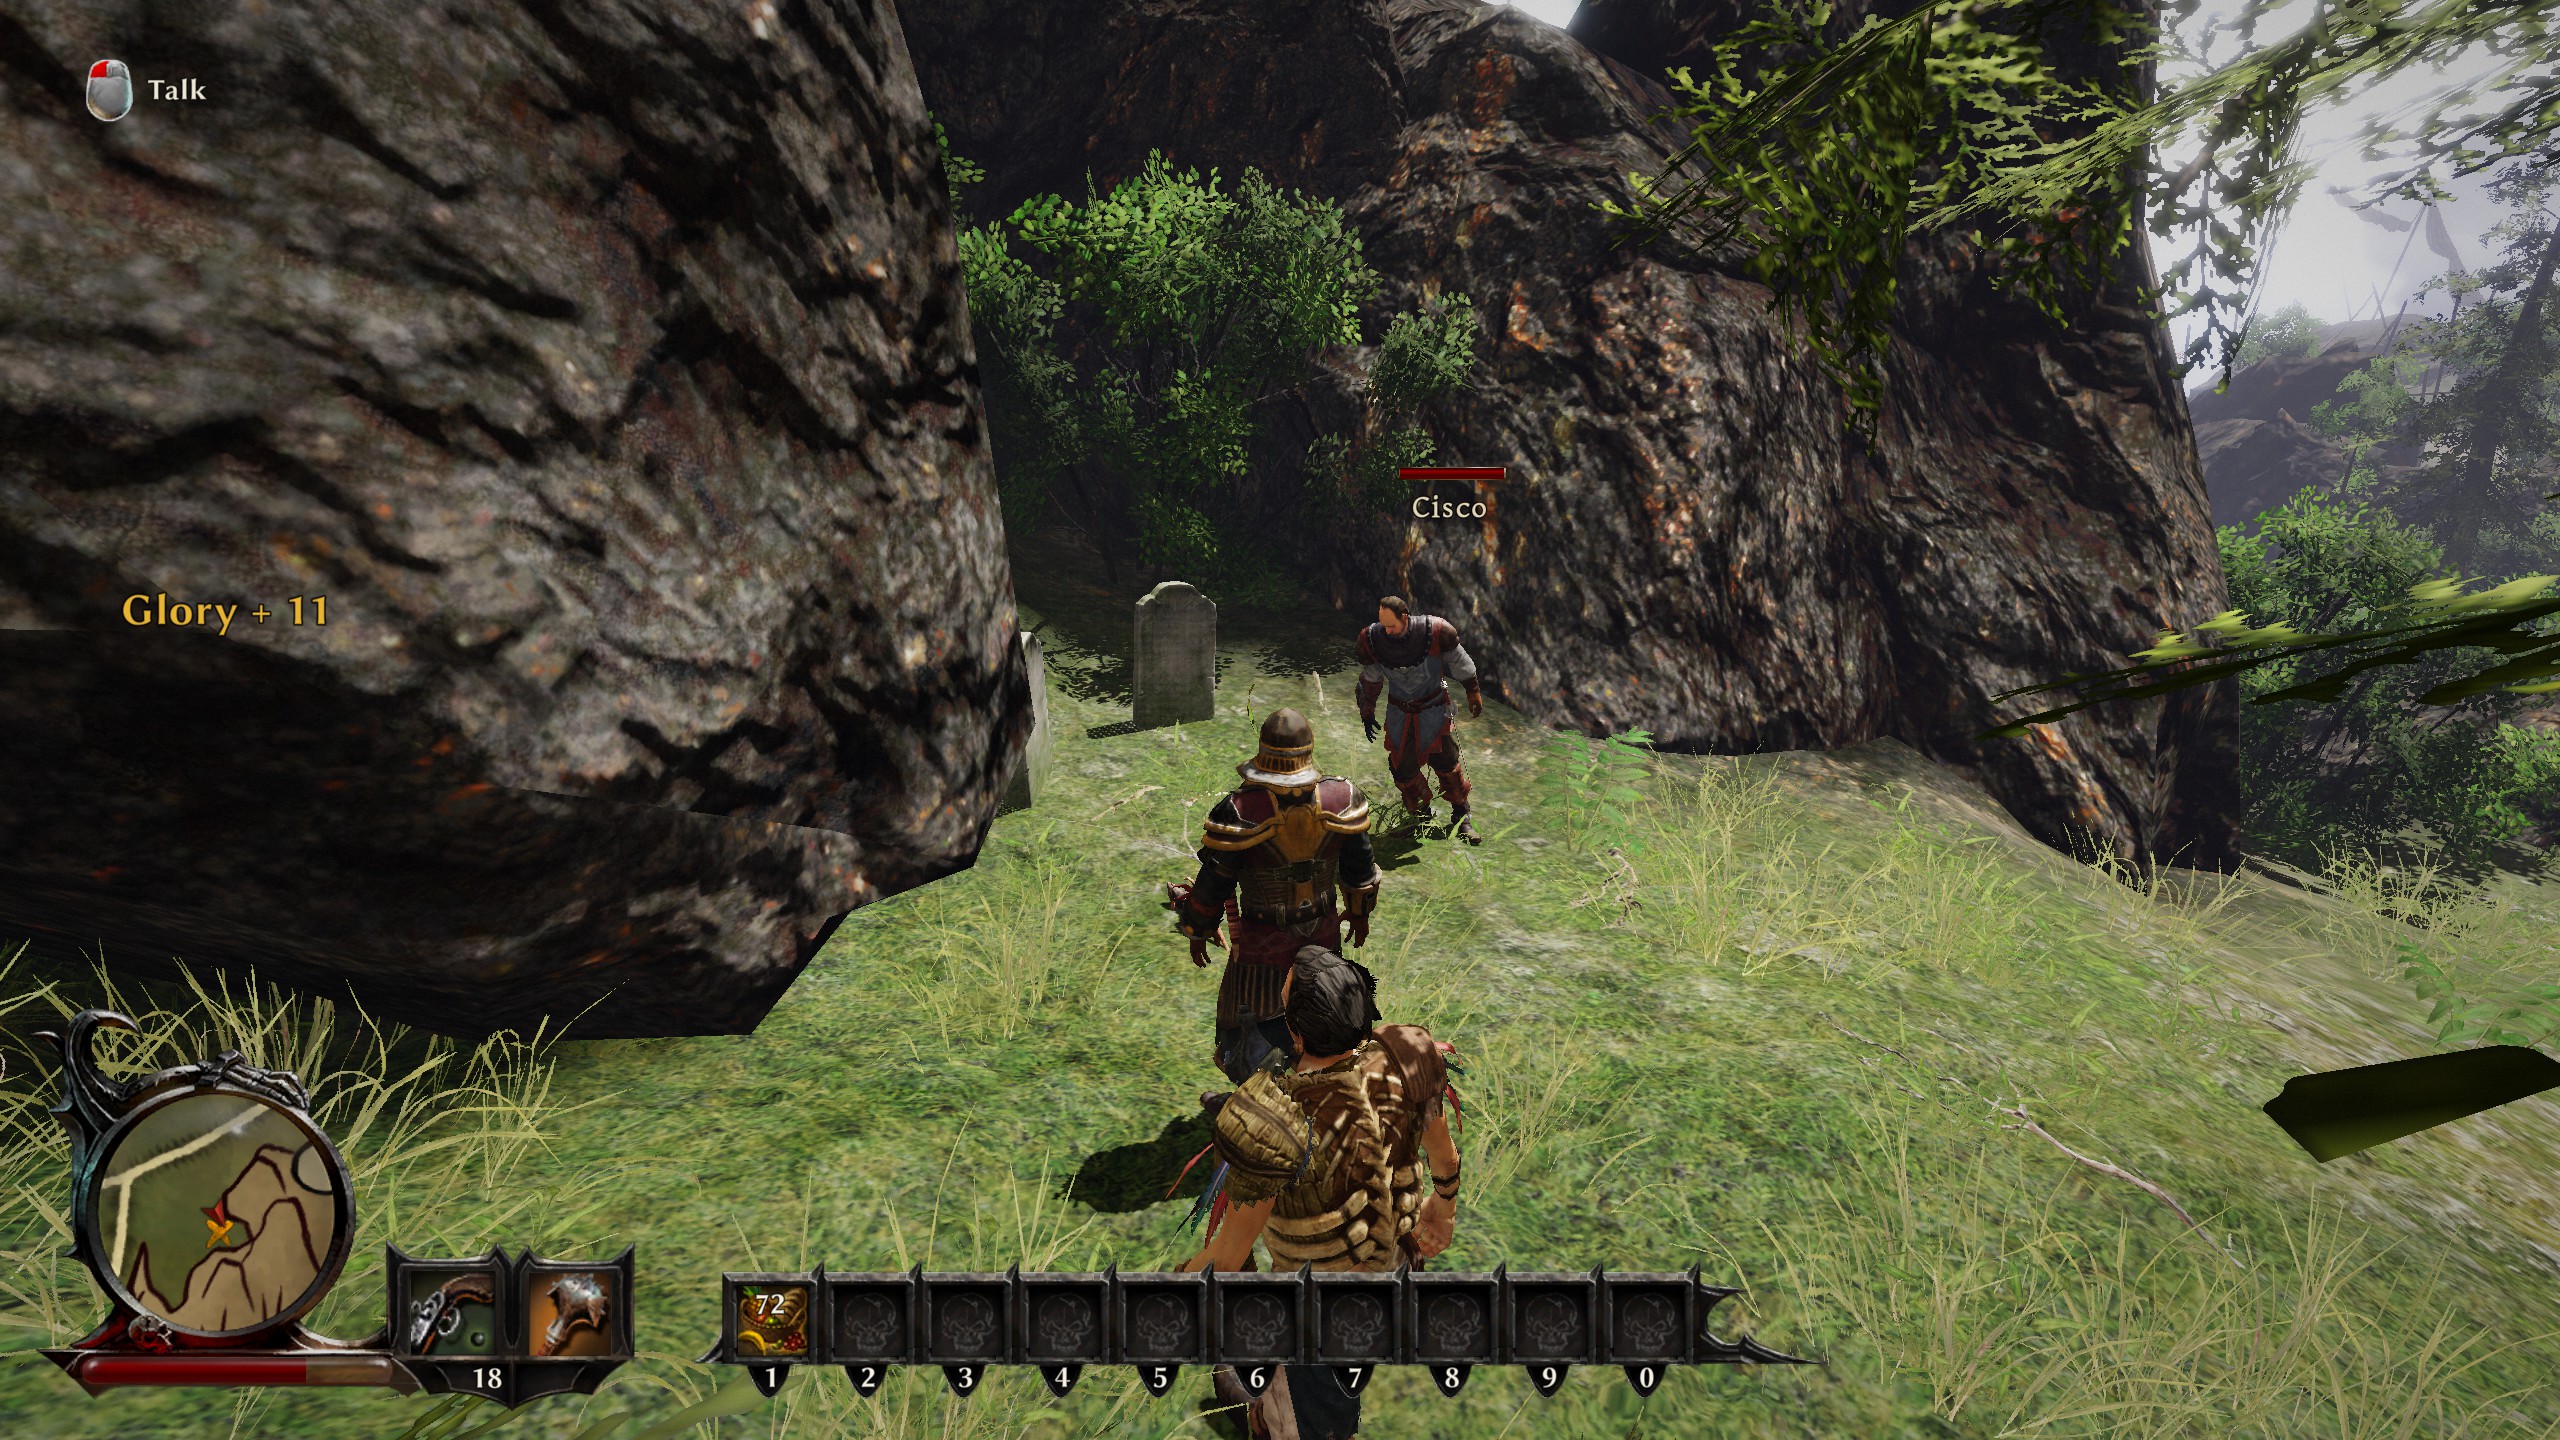
On the right, you’ll see Cisco. Stop and have a chat and select
- “You can take whatever you find, as far as I care” (-1 soul)
Continue on your way to the Citadel with Nate.
Activate the teleporter.
If you want the Sneak skill, you can purchase it from Nate for 500G. I saved my money.
Talk to Drake. Select
- “It’s true, my grandfather was a demon hunter (lie)” (-1 soul)
Pick up the “Booze of Aiming” legendary item from the east stairwell for 440 glory and +10 critical hit.
Head up the west stairwell and rob the place blind before Connor shows up. Sleep in the bed for another dream sequence (-1 soul), then outrace Conner back down the stairs and rob the shop he was protecting blind as well. When Conner shows up, sell everything to him
If your following my career plan, increate you Melee to 40, your Toughness to 20, and Ranged and Cunning to 15.
Note: The haggle skill only affects the purchase cost, not the sale cost. So it’s of no use to us in this play though.
Beat up Henrick, then pay him 1,000G to learn Riposte and 500G for your preferred weapon (Slashing if you’re using the mace). Depending on the time of day, you may be able to arm wrestle for easy cash.
Talk to Wilson. Select
- “You’re getting engaged (loud)” (-1 soul)
and buy the critical hit skill for 500G (without this skill, you cannot get critical hits never mind what critical hit score you have. While critical hits only apply to ranged weapons, it’s still useful for a non-ranged character such as ours for winning scripted duals by spamming ‘E’),
Head north and talk to Eldric to advance the main quest line, 440 Glory, and the destroy crystal portal skill.
Head down the hill to the windmill. Grab the teleport stone from inside the windmill and grab the 100G bag that’s attached to one of the blades as it rotates past. Kill Dagobert the duck for another 100G.
Talk to Ernesto, Nikodim and Mira (being sure to talk to Mira last). Go to the cart by the building and follow the trail of gold / “Suspicious Tracks” to the cemetery
Talk to Hanna. Select
- “I thought about it. Get your amulet back yourself” (-1 soul)
and fight 3 skeletons.
Look behind the north most gravestone for the Tuning Fork (440 Glory + 5 spirit) legendary item.
Continue following the suspicious tracks & gold, killing the Ghouls, Goblins & Lava Golem. Pick up the blood cap, hero’s crown, and elaborate candlestick on the way. Take a rest in the bed to trigger another dream sequence (with Steelbeard this time) for another 1 point soul lost. Pull the lever to open the short cut back to the real world and head down the hill.
It’s probably worth your while to stop off at the mine on your left and go in just far enough to kill 3 skeletons and find Alvito’s body. Doesn’t help with soul loss, so you’d just be doing it for glory and a quest reward next time we see Wislon.
Follow the road back around and down to the windmill building (taking out some goblins on the way). Talk to Ernesto and select
- “Nikodim had it (lie)” (-2 soul)
Head south then west to arrive at the Tavern
There are a lot of quests / interaction here that have no soul level affects. We’ll skip those.
Talk to Yvette. Select
- “I have a better idea: buy your own stuff” (-1 soul)
Don’t bother getting the amulet for her since we already upset the ghost.
Optionally talk to Porter to get him to return to the Citadel.
Grab Garcia’s key from the fountain if you want to.
Beat up or pay off Moe to get access to the inside of the Tavern. Go inside and talk to Travis. Select:
- “You want to make trouble for me” (-1 soul)
Optionally drink Kramer under the table for 100G and the key to the chest upstairs.
Head upstairs and talk to Mick. Select
- “I don’t care for beggars” (-1 soul)
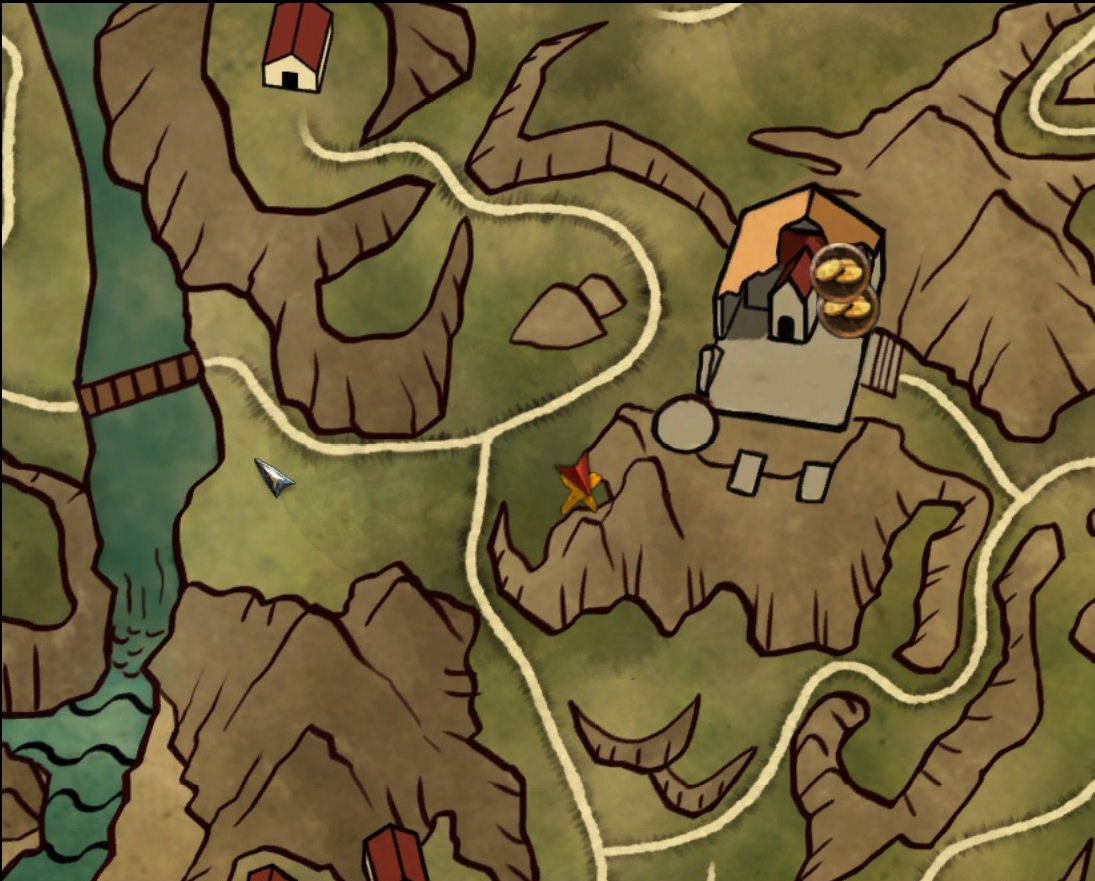
Set the active quest to ‘A Big Haul’ and head to the yellow X.
Talk to Cisco. Select
If you found Alvito’s body, return to Wilson for a reward (200G, 220 Glory). Be sure to say ‘Harsh words from a harsh man” else you’ll <i>gain</i> a soul point! Talk to Eldric for an additional Alvito reward.
If you sent Porter back, return to Eldric for a reward (200G, 110 Glory).
We’re done with this island. Back to the boat.
At this point, you soul level should be 20. Just 11 points to go…
Tacarigua Island
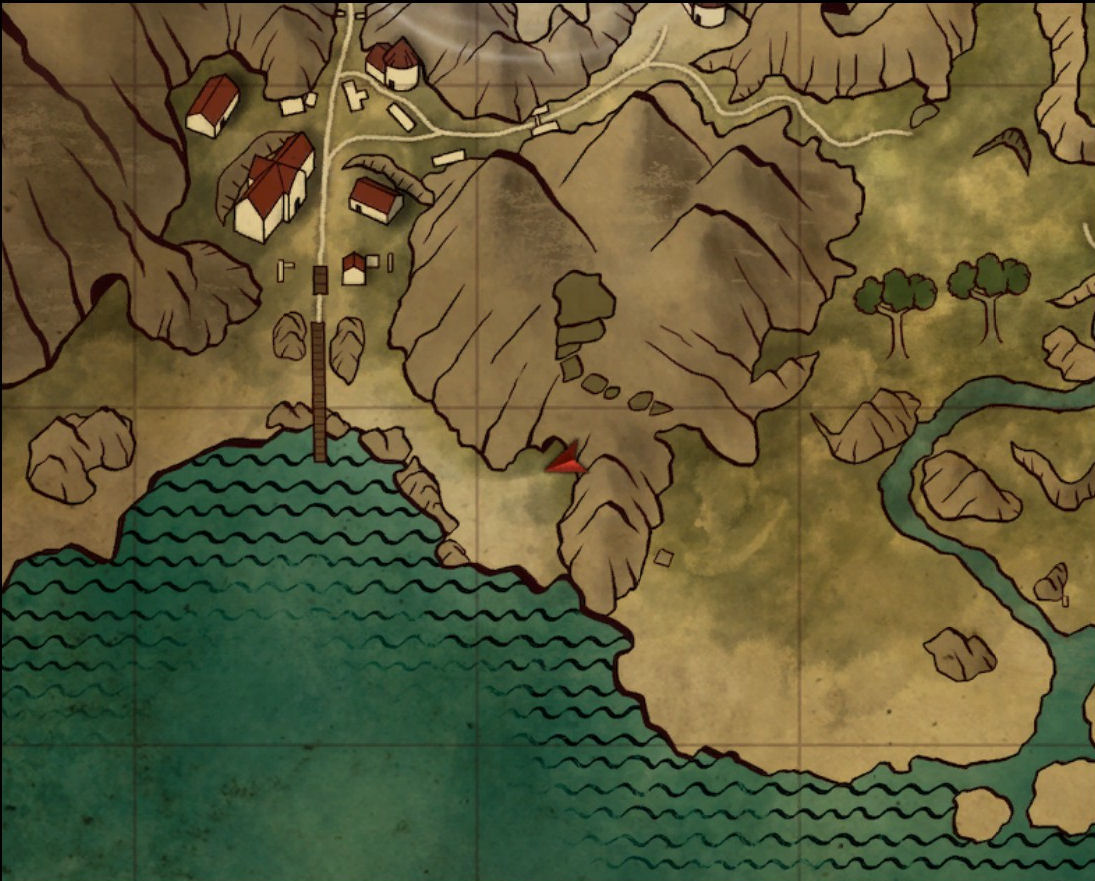
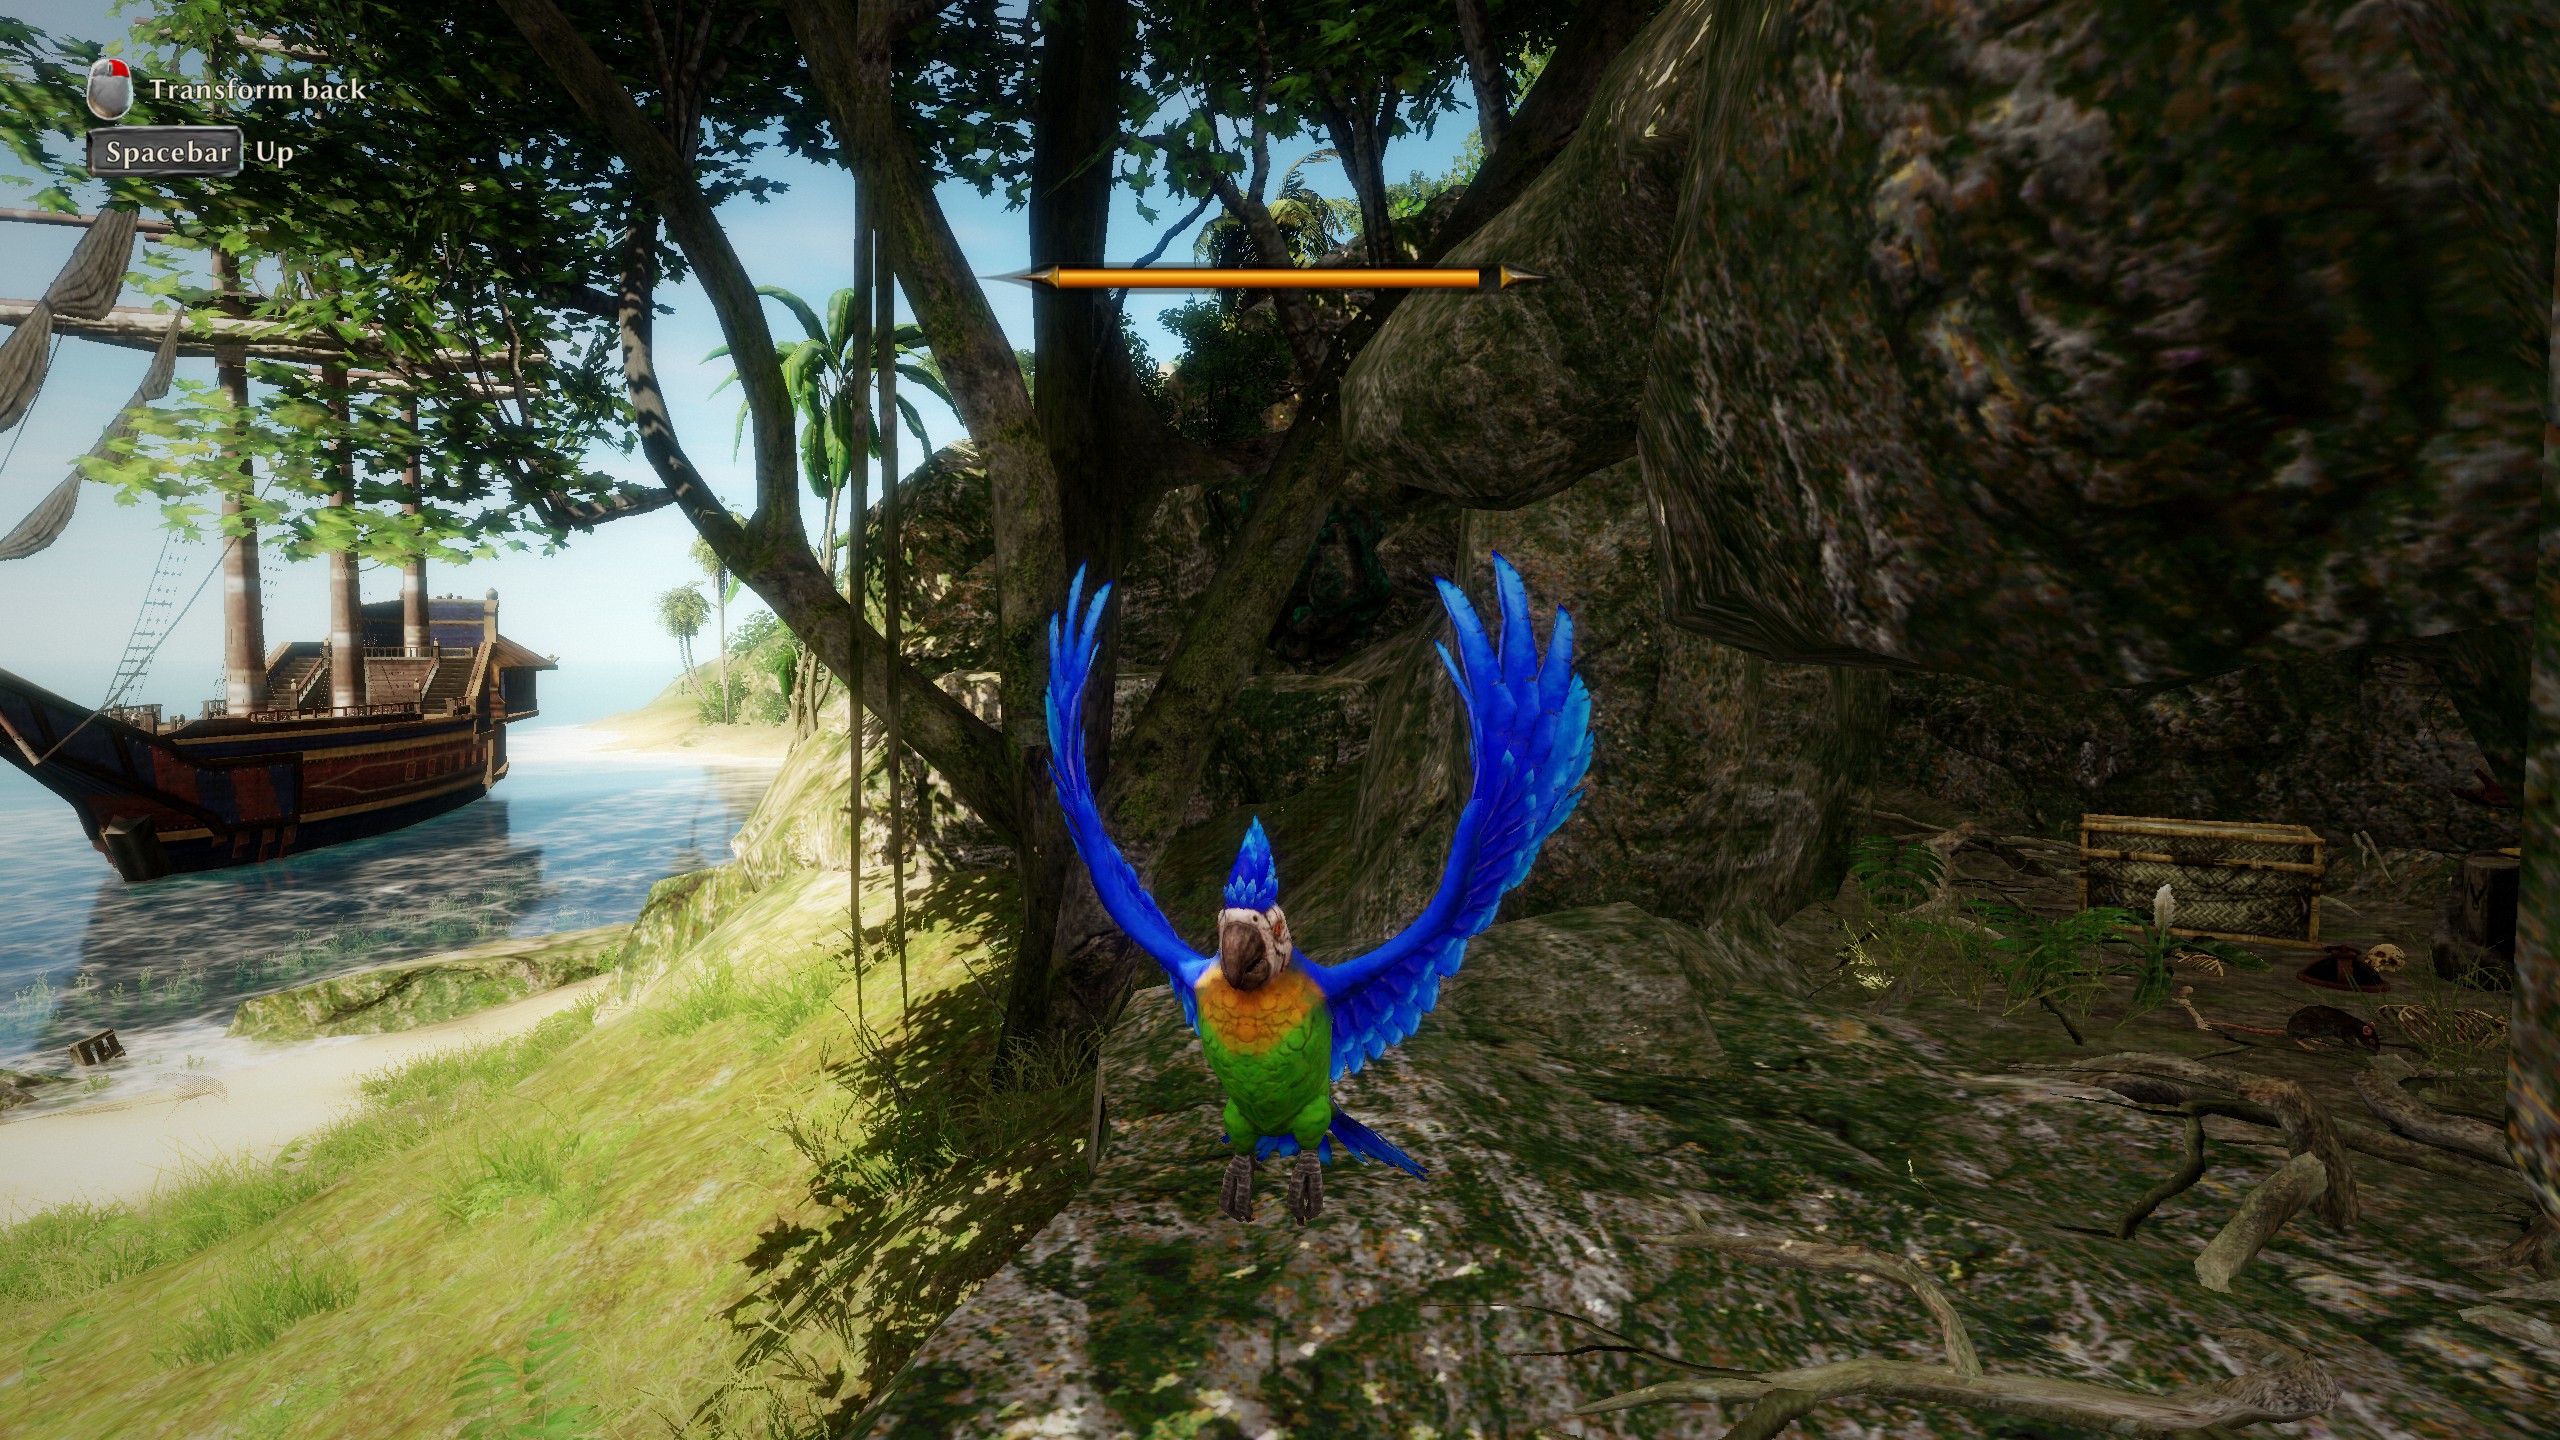
Take the dingy to the beach, look west, then use a Parrot scroll and fly all the way to the small cave to the south east of the village.
Revert to human and scale the cliffs and Liana vines just west of the cave up to the top of the mountain.

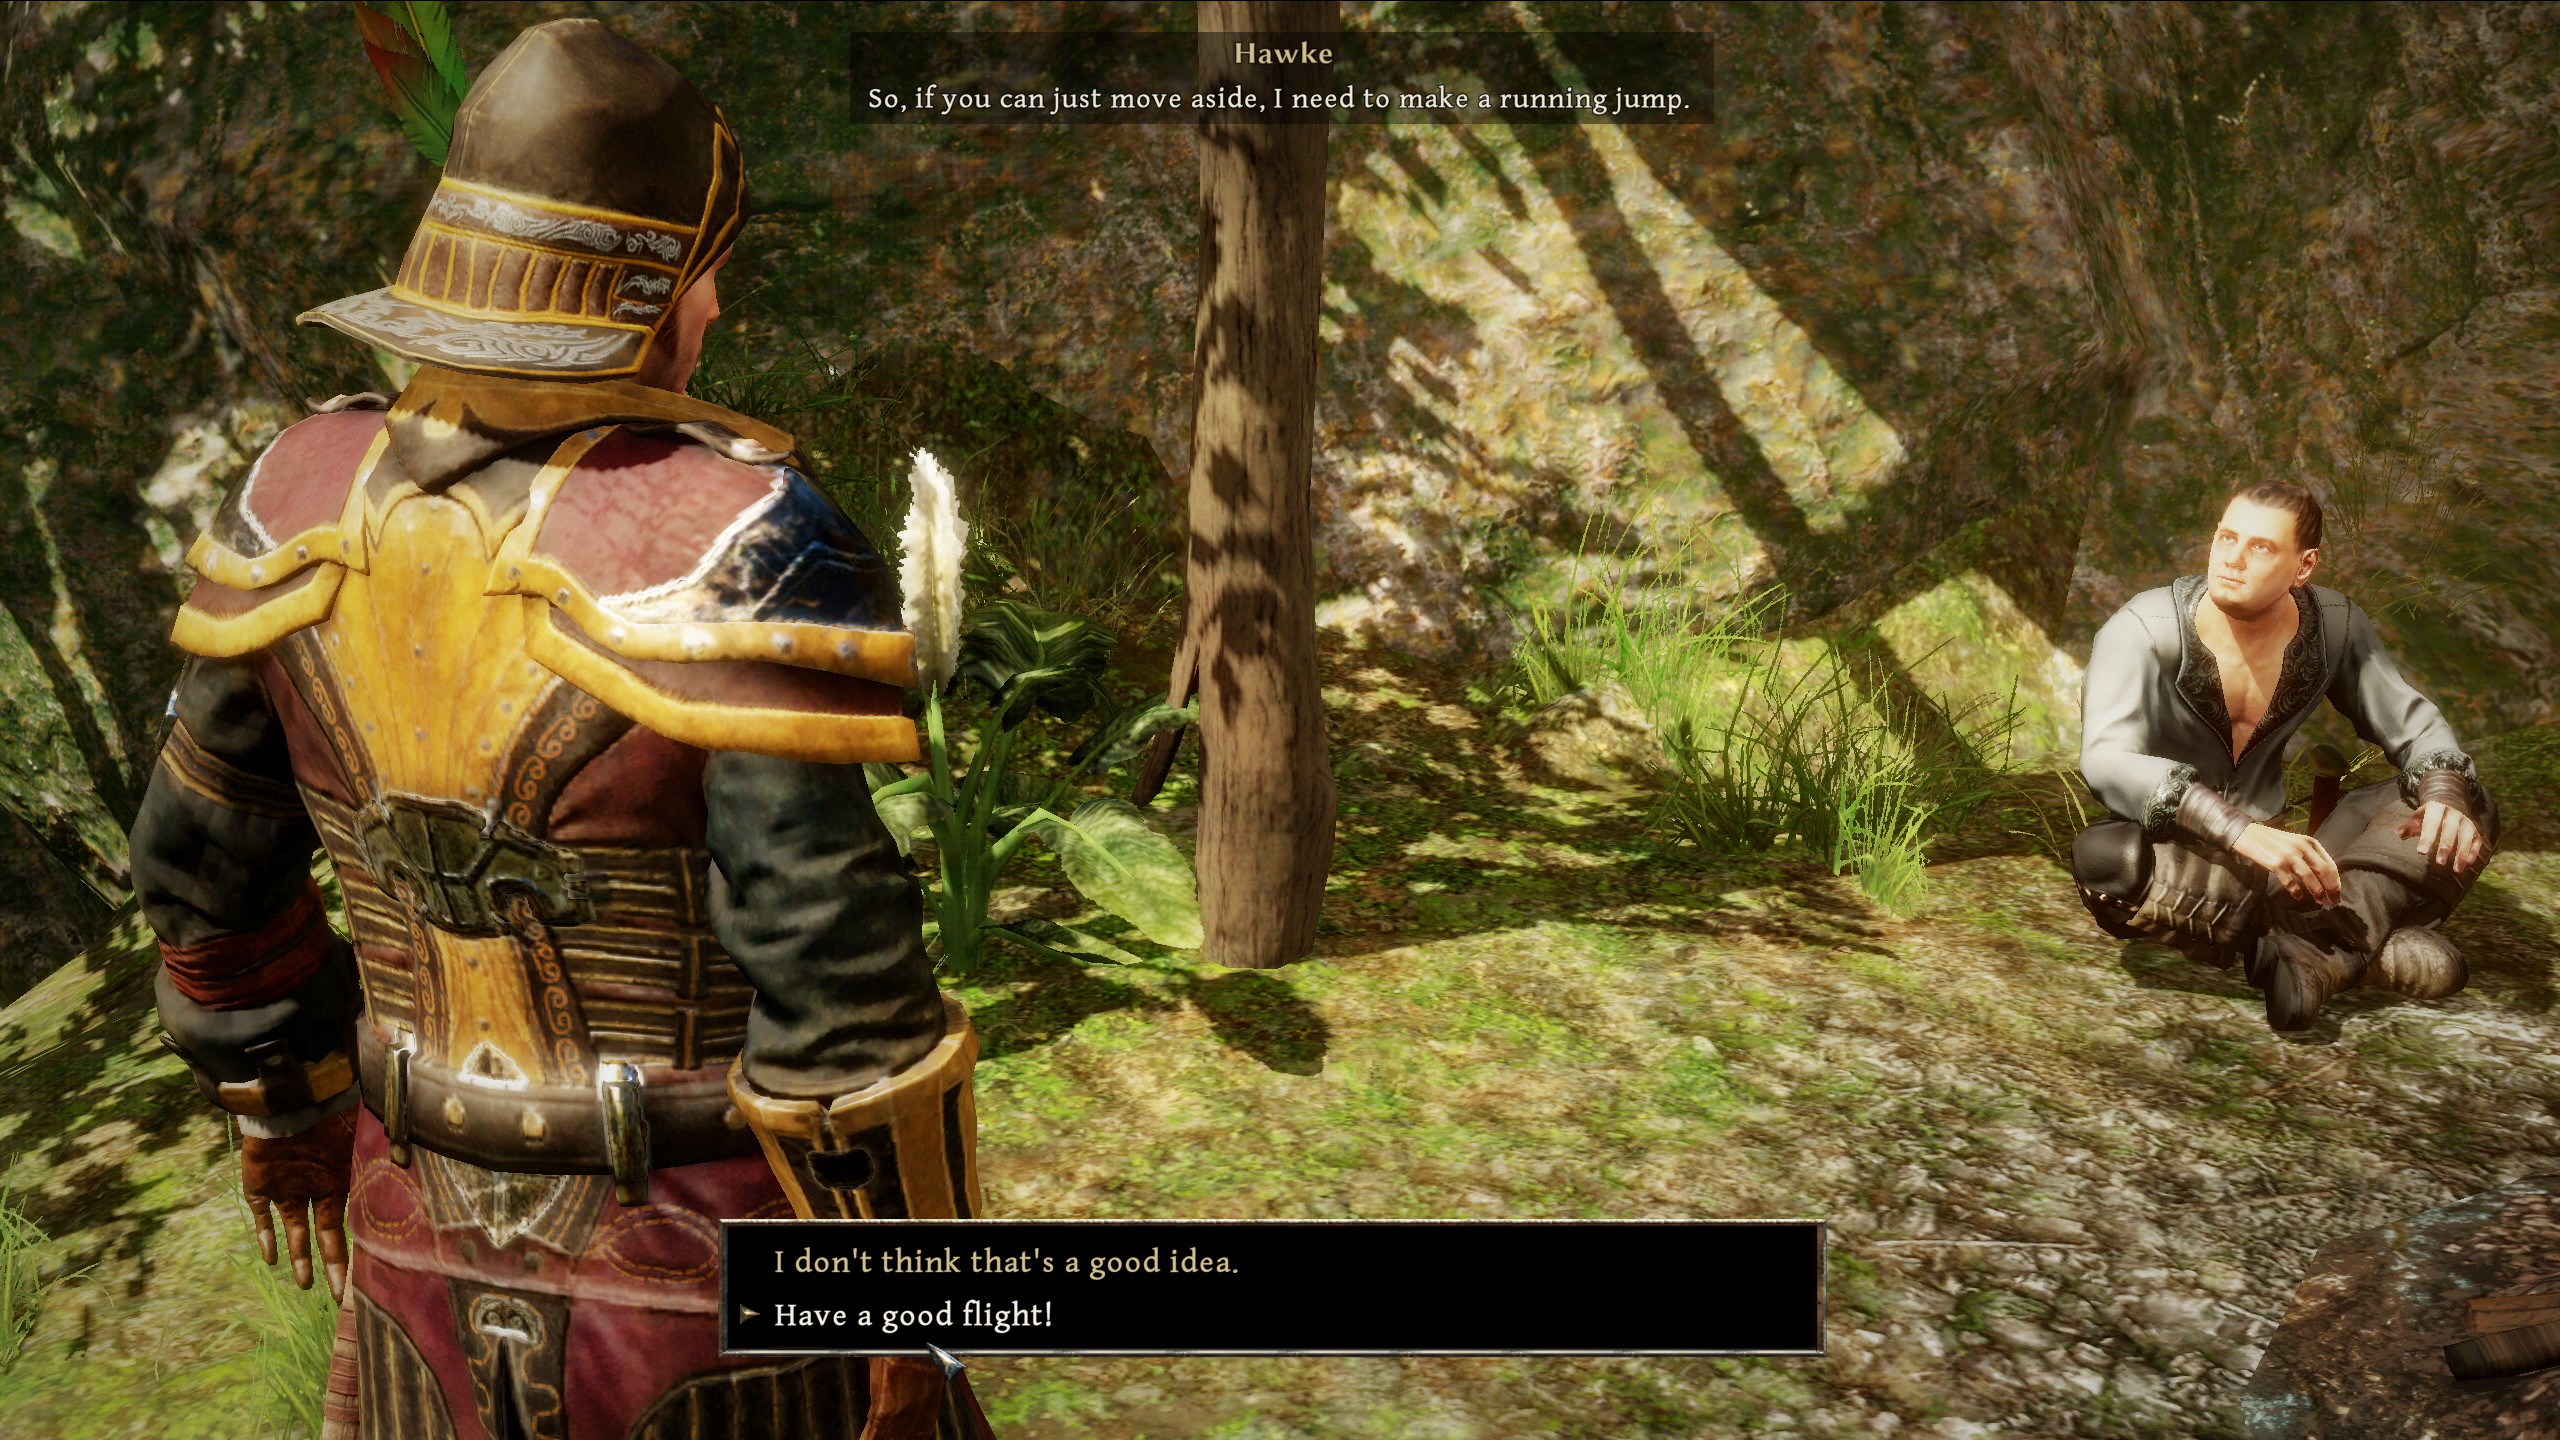
Talk to Hawk to get his loot quest. Climb the eastern tent/rocks to his hidden cache, then return to Hawk and talk through until you can select the
- “Have a good flight!” (-2 soul)
line.
Grab the Hero’s Crown while you’re here. We’ll never use it, but it’s the though that counts.
Use the bed to trigger this island dream scene (-1 soul)
Then return to the boat. We’re done with this island (everyone is too polite)
Your soul level should now be 17.
Island of Thieves
Avoid Ulva for now and head straight to the bed and trigger the island’s dream sequence (-1 soul).
Head through the wooden gate and kill the Goblin Scouts and Nodi. Grab the Seer of Worlds from the table.
(If you’ve played before, you’ll know that originally you were meant to sneak through these sections and leave the spirits unharmed. Instead, we’re going on a series of murder sprees which will be rewarded in the form of a soul point loss when we hand in the auri culcis in to Kaan)
Return to the beach and talk to Ulva. Select
- “Go babble to someone else” (-1 soul)
then agree to follow him and follow to the center camp, taking out a couple of claw monkeys on the way.
Activate the teleporter pad and talk to Kaan (no one else here is worth talking to from a soul points point of view). Avoid the ‘Take me to Kali’ option until you have exhausted the other option. Show Kaan the Seer or Worlds for -1 soul points.
Follow Kaan to Kali
Talk to Kali and select
- “Why not?”
Go through the wooden gate and kill the Goblins & Wesi. Grab Skull thumper from the table and the teleporter stone (not that we need another) that’s pseudo-hidden next to it.
Teleport back to the village and hand in Skull Thumper for another -1 soul point.
Set the active quest to “Goblin Invasion”, and head to the south west red X.
On route to the red X, you’ll meet Melih who will give you the specific “Trophy of the South” quest, but otherwise, just keep heading towards the same big X.
Kill the Goblins and Sudi. Grab the Opinion Amplifier from the table.
DO NOT teleport back at this point. Instead, head south the beach then east. We don’t need more combat, so I recommend using one of your precious Parrot scrolls to fly along the beach until you see Famir and land next to him.
Talk to Famir if you want. OtherWISE prepare to head north and bring death and destruction done on the last set of Goblins & Shaman. Watch out for the tripwire and the Jungle spiders before you get there though.
Once you killed Easi, pick up the Gnome’s Specter and teleport back the village.
Talk to Kaan and exhaust his dialog options for another -2 soul points.
You should now be at 10 points, but the achievement requires under 10 :-).
Teleport back to the boat. Take the dingy to the beach, and sleep in the bed again. You should get the Ursegor dream segment and loose that final point.
If you don’t, simply visit one of the islands we haven’t been to yet and sleep in a bed there.