Overview
The GRA 3 Star Challenges Achievment is one of the hardest to get in the game, however with some prep and tactics, it can be very easy to obtain. This guide should make it seem less daunting.
Getting preped up
There are a few things you need to make this easier. DOs and DONTs list follows.
DO be in your early teens at least level wise.
DO have high guns and sneak skills (around 60)
DO have some stealth boys (Several can be found in the REPCONN Test Site, where you complete the Come Fly With Me Quest. Save them up)
DO have good or neutral reputation with Caesars Legion and the NCR.
DO bring Mr.House the platinum chip once, so that you gain Caesars mark upon exiting the Lucky 38.
DO NOT do any other faction quests for the NCR
DO NOT bring companions while doing this.
And that’s it. You can make a character just for this, or use an exsisting character if you fit in these parameters. It’s really not too hard to make a character just for this if you need too. And hey, the game’s fun as heck. Enjoy yourself.
Now there’s 3 weapons you will need. However, don’t worry about not having weapon 1 right away. If you follow this guide you will get it anyways.
1.) A ballistic fist. You can buy these from various places, such as the Great Khan Armory or even Blake at Crimson Caravan Company. However, through this guide we will be killing Caesar and his Praetorian Guards have them.
2.) A modded hunting rifle is favorable, but an un-modded one will work. Get lots of AP rounds as well as standard ammunition. You can get the hunting rifle from many shops like the Gun Runners, and it is available from level 6 up. It’s all over, you should have one by the time you reach your early teens.
3.) A Recharger Rifle. You can find them on dead Blight Brotherhood guys who are all over REPCONN Test Site. If you want, you can bring your energy weapon skill up to make it a little more useful later on, but this isn’t needed.
That’s it gear wise. I’m betting you’ll also have healing items and good armor, but they aren’t super important. Kinda. Never hurts to have tons of stimpacks.
STATS
Now this is important, and where this character will be specialized. SPECIAL is very important, but two stats in particular. Here’s how I always make my character and how you should make yours to make this all easier.
Raise your endurance to 9 at the beggining of the game.
Then use your last point to raise Luck to 6.
When you level up, use the Intense Training perk to get your Luck up, and eventually to 10. With the high Endurance, you can also get all the implants in the game, but definatly get the Luck and Endurance ones for MAX crit chance and MAX HP.
For other perks, get Finnese. This gives you a 5% bonus chance of getting crits. That’s 15% total. But you can get it higher. With the 1st Recon Beret given to you by Boone after his quest, it goes up to a total of 20%. This is SUPER important and makes you a killing machine.

Taking it to the Legion
WARNING: Doing this WILL cause negative reputation with the Legion. For this whole guide, you should make a seperate save path so you can keep your character if you want to.
Alrighty, time for challange one, Against All Tyrants. Probably the easiest one too. Grab your hunting rifle and plenty of ammo for this one.
TIP: You can go ahead and put your game on Very Easy for these. I did them on Hard for the fun of it, but it was somewhat difficult.
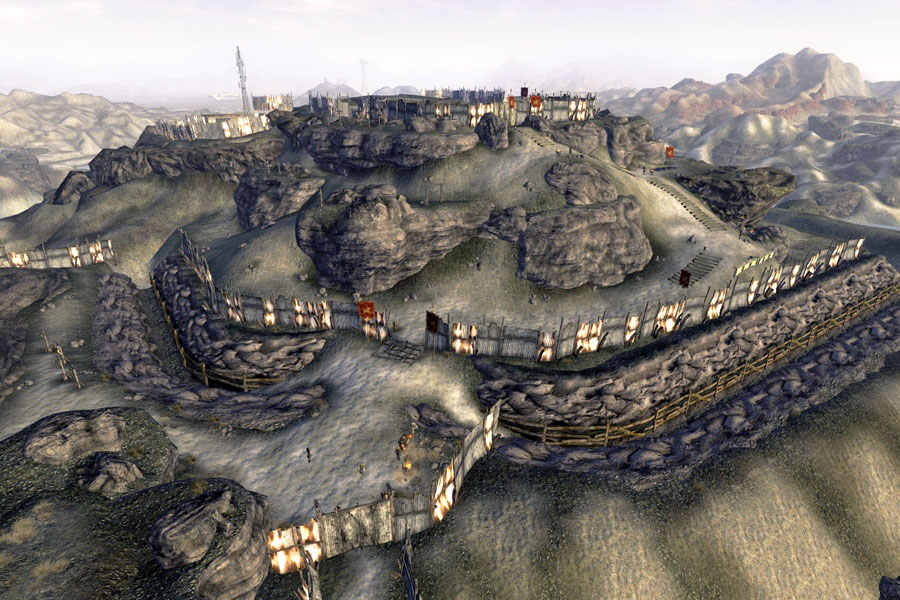
For this challange, you need to kill 10 named Legion members. There are a few, but the most are at Fortification Hill. This is why you need the mark of Caesar. Go to Cottonwood Cove, and take the raft up to the fort. When the guy asks you for your guns, spit on his face and blast him. There are a few enemies around but they’re not too bad. Don’t worry, this wont alert the whole camp. Make your way up the fort, sneaking if you need too. There aren’t too many guards leading up. A scope comes in handy here.
Entering and clearing the Fort: This is actually very easy with that high crit chance. Most guys should go down in 1-3 hits. Just blast like crazy and use the tents to your right as soon as you enter to funnel the jerks. Remember, ONLY use your hunting rifle. Stab yourself with some Med-x and Stimpaks if you need to. Shouldn’t be too hard really. Now, kill everyone. There are a few named Legion here. The area is small so you should have no problem finding them all.
Now for the tent:The tent is a bit harder to tackle. Save first. The guys inside have power fists, and theres a lot in a tight area. Run in, get off some shots (use your AP rounds now), then turn around and leave. They will follow you, but you will have much more room to dodge. Cripple legs if they’re too fast. An easy job for the hunting rifle. Keep doing this until you’ve killed most of the guard, then just enter and pick of Caeser and his buddies. Loot, and get -edit- the Praetorian Guard’s Ballistic fist.
Three more places to go Now, go to Cottonwood Cove again and kill everyone, in particular MrPheonix who spends his days watching over the cove. Easy.
Then, go to Nelson (east of Novac) and whipe out Dead Sea in his baracks. This should leave you with one more needed hunting rifle kill.
Go to Red Rock Canyon and kill the Karl, who is in the Khans longhouse. Kill the Khans if you have too. Bam, you’re done.
Sleep now, NCR
This one is probably the hardest. But, you can do this without making the NCR hostile.
Time for, Armed for Bear
Grab your Ballistic Fist and stealth boys for this one. You’ll need to kill 15 named NCR, Lieutenant and above in rank. The tactic is simple-get them alone or sneak behind them (make sure it says hidden) then punch em’ in the back! Should always 1-hit them, and if its a sneak kill, no rep will be lost and no one will be hostile. If you DO get caught, don’t fight. Run. If your rep isn’t lowered too low, you’ll still be able to enter NCR areas without being shot up.
Here are some areas the most with named NCR that count:
Camp McCarran
Mohave Outpost
Hoover Dam
Bitter Spring
All the Ranger stations (usually have 1 or 2 named Rangers that count)
If you clear these areas stealthfully, you should have enough kills. There’s about 11-13 named NCR in just the first 4 places listed. There are tons of named NCR so finding them should be no prob!

I put the “Death” in Deathclaw
Don’t be intimidated by this one. It sounds hard by concept, but it’s actually very easy.
QUIT CRYING, and grab your Recharger Rifle! This is the best weapon to use.
It’s time for Deathclaw Pro Hunter.
You need to kill 5 Adult Deathclaws with .22 Pistols, Switchblades, Boxing Tape, Recharger Rifles, or Dynamite. Recharger Rifle’s are the best, because of accuracy, high rate of fire, and no ammo. As the name insists, they recharge themselves.
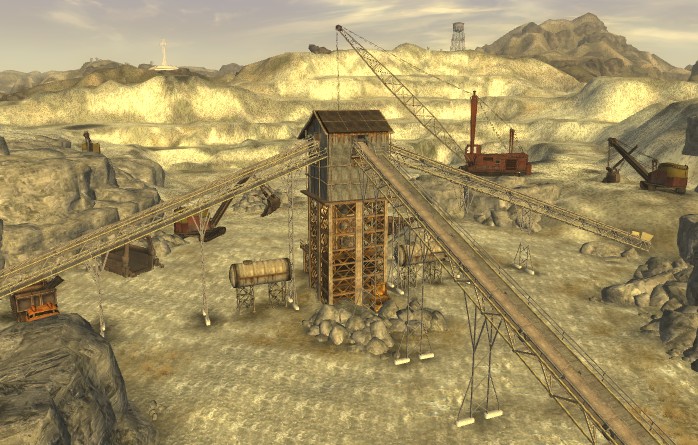
Get to Sloan: When you’re here, head towards Quarry Junction. Hug the wall to your left, staying crouched. Remember, only adult deathclaw kills count. That means the big ones. The first deathclaw at the entrance doesn’t count, so pick it off quickly with a gun of your choice.
The rock climber tactic: By following the left side of the large rock wall, you’ll be able to jump up on rocks. Deathclaws can’t get you here. Keep up on these rocks as you get into the Quarry. Get to a good vantage point where you can see most of the Quarry and its deathclaws. Now, staying crouched, pick and nail the deathclaws, one by one. Aim for legs if you can. Sneak attack crits and reg crits will come often, so these deathclaws should go down rather fast. Crits will ignore their armor, so ignore the fact that regular hits don’t do much. Keep doing this, hitting as many deathclaws as you can. They’ll run all over, but if you stop shooting they should calm down and return to your area. This takes some time but it’s safe. If you kill all deathclaws in the area and need more kills, find more places to get up high. There’s a bulldozer, truck, more rocks, and a trailer thing that all work. Remember to get HIGH, as they have a large reach. Run fast. SAVE OFTEN. This really should go by quick though as you only need 5 kills. Use the picture below to help you plan high areas to go for.
And that’s it! Very easy. Now the achievment should pop up.
FIn! Some mods if you want to make this harder (Why?)
There are two overhauls I use that effect NCR and Legion. It makes them both more fierce, and gives them both better gear. This WILL make the first two 3 star challanges harder, but go for it if you want.
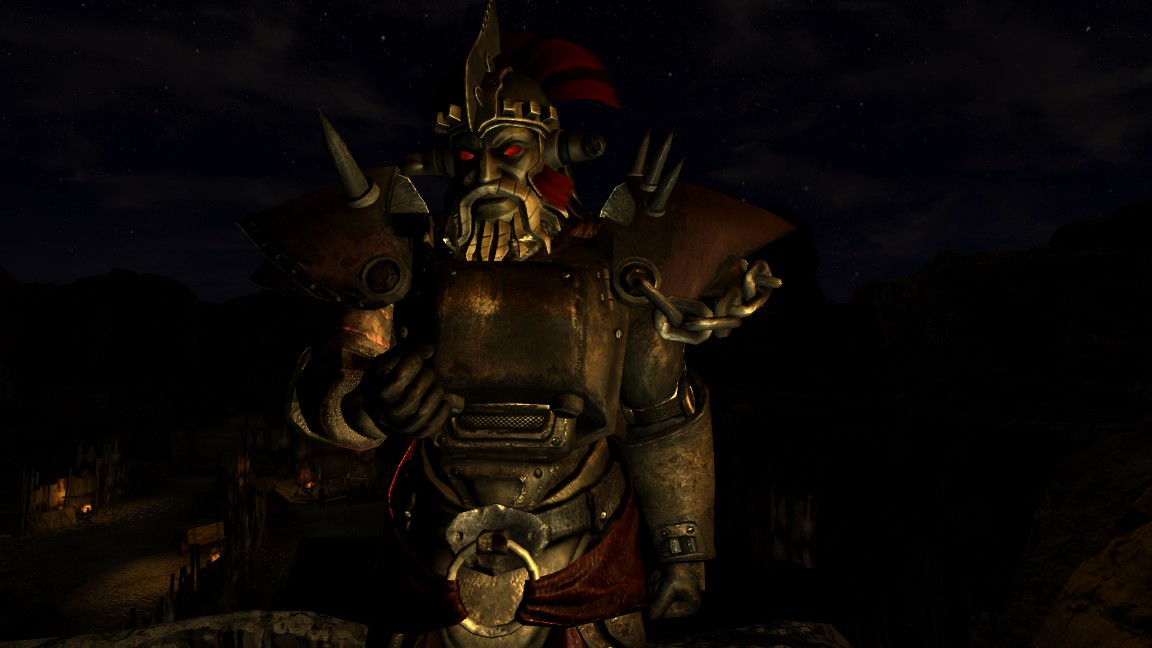
This mod is for the Legion. I love it so very much. Makes them all a force to be messed with. It also adds new areas, classes, companion ect. Also good for Legion characters.
[link]
This mod is for the NCR. Gives them more modern looking armor while keeping a lore friendly feel. Gives higher grade armor, not just a retexture. And some new weapons to use too I believe. Goes great with the above mod.
[link]
If you like the mods, tell the authors. They deserve it.
And thank you for using my guide. Sorry for any grammer mistakes, I did my best to make it readable. Hopefully this guide will make everything easier. I’ve seen other guides, but they were all so overly tough. This is the method I tested and used. If you have any tips to add as well, go ahead and put them in the comments for others to use.
Thank you!
(Pic is from Caesar’s New Regime mod linked above)