Overview
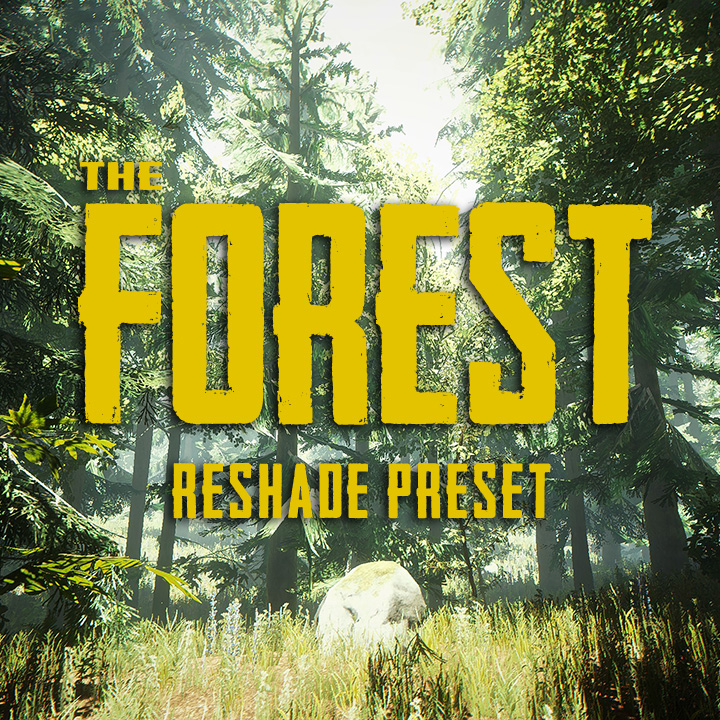
The graphics of The Forest are not bad, but with Reshade and my preset it looks amazing.
What it does

This is a custom Reshade preset for The Forest.
I wanted to get the best out of the graphics, without to lose the natural look and mood of the game.
It’s also slightly brighter than the default settings, for better visibility in dark caves.
It enhances the sharpness of the textures a lot, removes a little bit of the fog and has slightly brighter colors.
What it looks like
How to get it
Download the official Reshade installer from here:
[link]
Install it with the OpenGL option and select your “TheForest.exe”.
It can be found in your Steam directory under:
“SteamSteamAppscommonThe ForestTheForest.exe”
Install all presets when getting asked.
Now download my preset here: [link]
and put it in the game directory.
Start up the game and you should see an info, that Reshade loads at the top of the screen.
If not: Check all the steps above.

Now press SHIFT+F2 to open the Reshade window.
Click through the tutorial and learn a little bit more about Reshade if you want. 😉
After the tutorial you should have a selectbox where you’re able to select the presets.
Select the TheForest.ini

You should see the difference instantly. If you want to disable the preset, simply add a new one, give it the name “Disabled” e.g. When you select it, everything should be default again.
After that you should select “Performance mode” in the settings tab and bind a “Effects Toggle Key” for easier switching through the profiles.

Done! I hope you’ve found my tutorial helpful and you like my preset.
I think it really makes a difference. 🙂 Have fun!
Changelog
Version 1.0:
First release
Version 2.0:
Changed the brightness and the bloom for better results with the Forest 1.0
The first release was too bright in some areas.
For updating, delete reshade and download the latest version here:
[link]
And the updated config here:
[link]


