Overview
Hi. This guide requires you to download some files, a little moddingand setting up the game how it will be in this guide.I tested this approach on laptop with GTX960M 4GB, which have similiar graphics results as today’s Low-End PC. Also for modding, you will need OpenIV Program to make some changes in the game. So let’s start!V1.1 > New Graphic Settings and Display set upV2.1 > My experience with playing GTA IV without internet connectionV2.1.1 > Radio DowngraderV2.1.2 > Beta mod
1st Step – Installing the Game
Let’s start by installing the game. You need a clean installation of GTA IV and newest update.
If it’s already installed and you want to be sure you will have a clean installation that is up to date, delete everything from:
steam/steamapps/common/Grand Theft Auto IV/GTAIV
Then verify your game cache by clicking with RMB on GTAIV in Steam, select Properties, go to Game Files and click on Verify Game Cache…
It will register that 5 thousands files is missing and you will have most up-to-date installation.
But be ready for downloading around 20GB of files.
Also don’t keep any commandline.txt or commands in Select Launch Options in Steam properties, you wouldn’t need them.
If you played the game before, you have some files saved in your PC as a settigns, saves and some cache. It’s better to delete these files (at least I am doing this after clean installation, you don’t have to). The locations are:
1. ThisPC/Documents/Rockstar Games/GTAIV/Profiles/(your ID)
> Delete everything except SGTA400 – SGTA415, these are your savefiles.
2. ThisPC/Users/(username)/AppData/Local/Rockstar Games/GTAIV/Settings
After deleting these files and you’re done with clean installation.
****Turn On Steam Overlay for this game, or it will skip the frames after few seconds and game would be unplayable.*****
2nd step – Downloading the Mods
You will need just these mods:
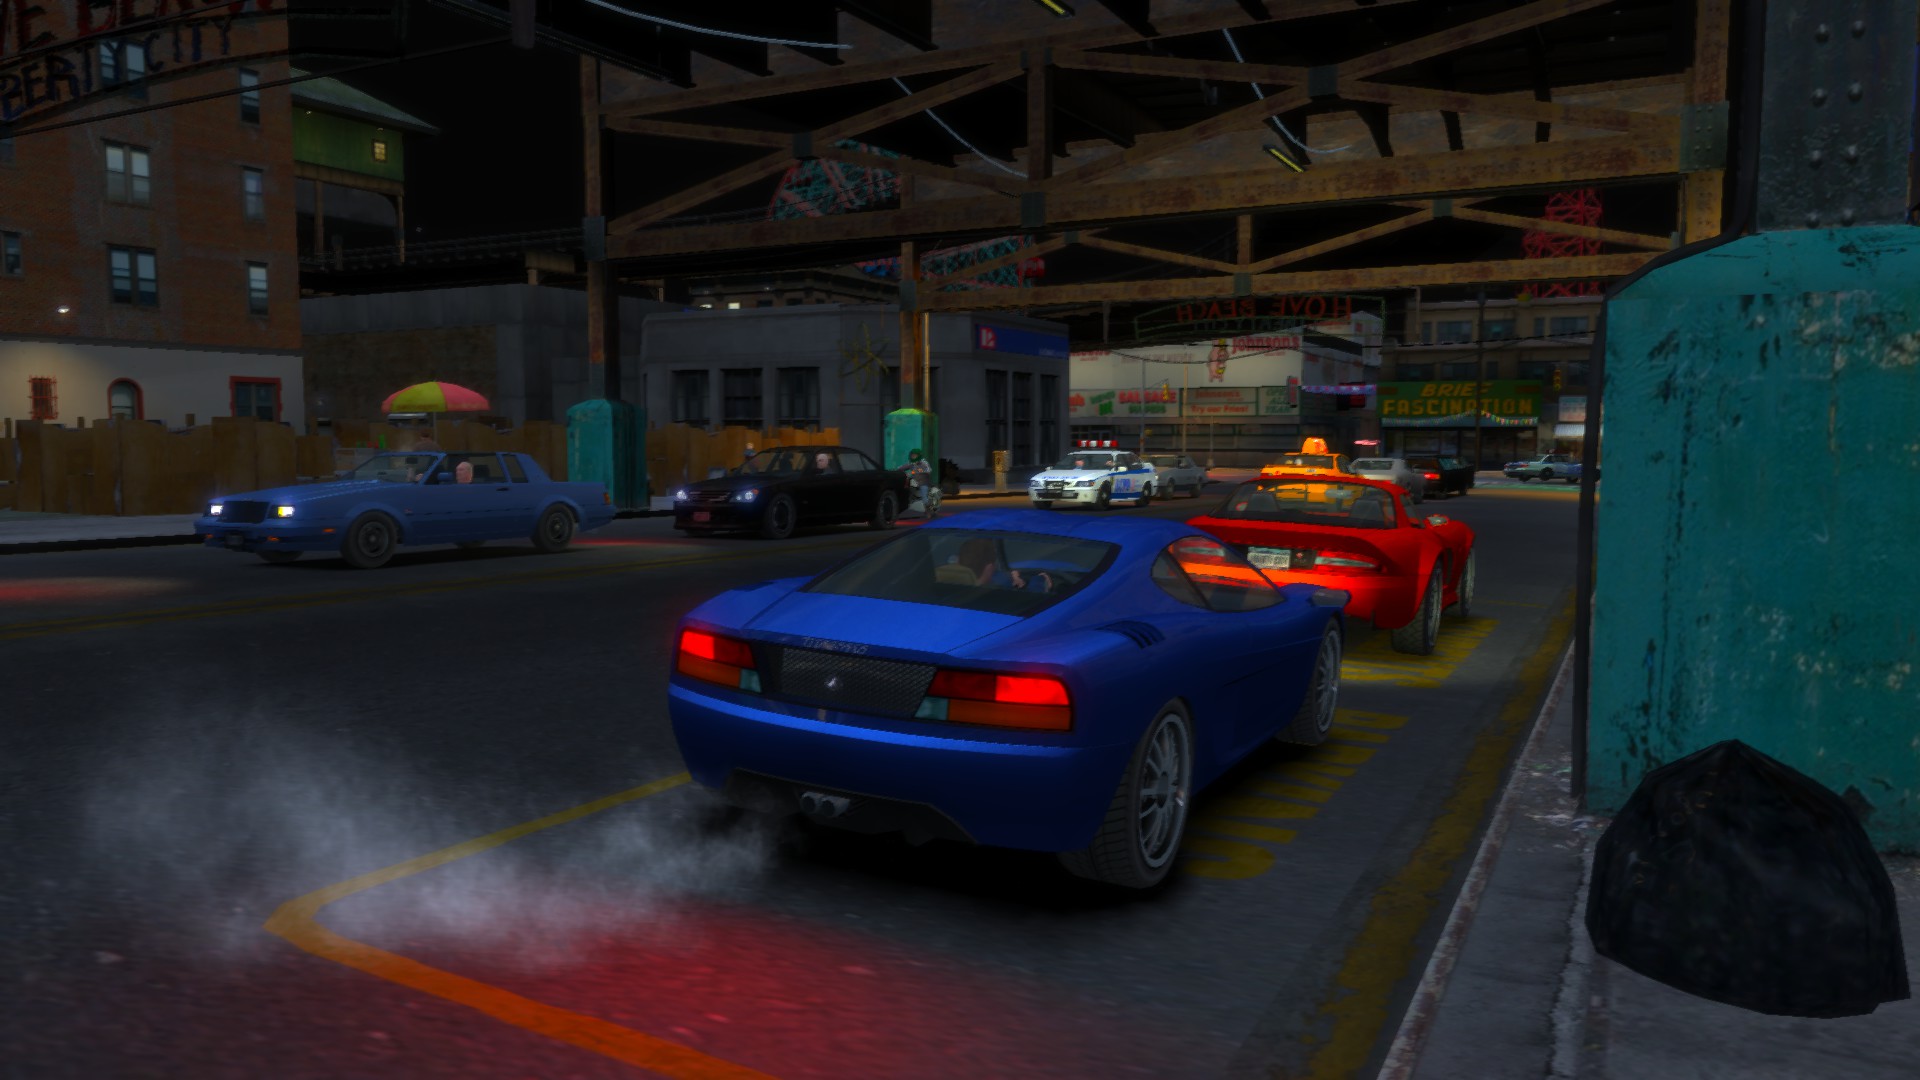
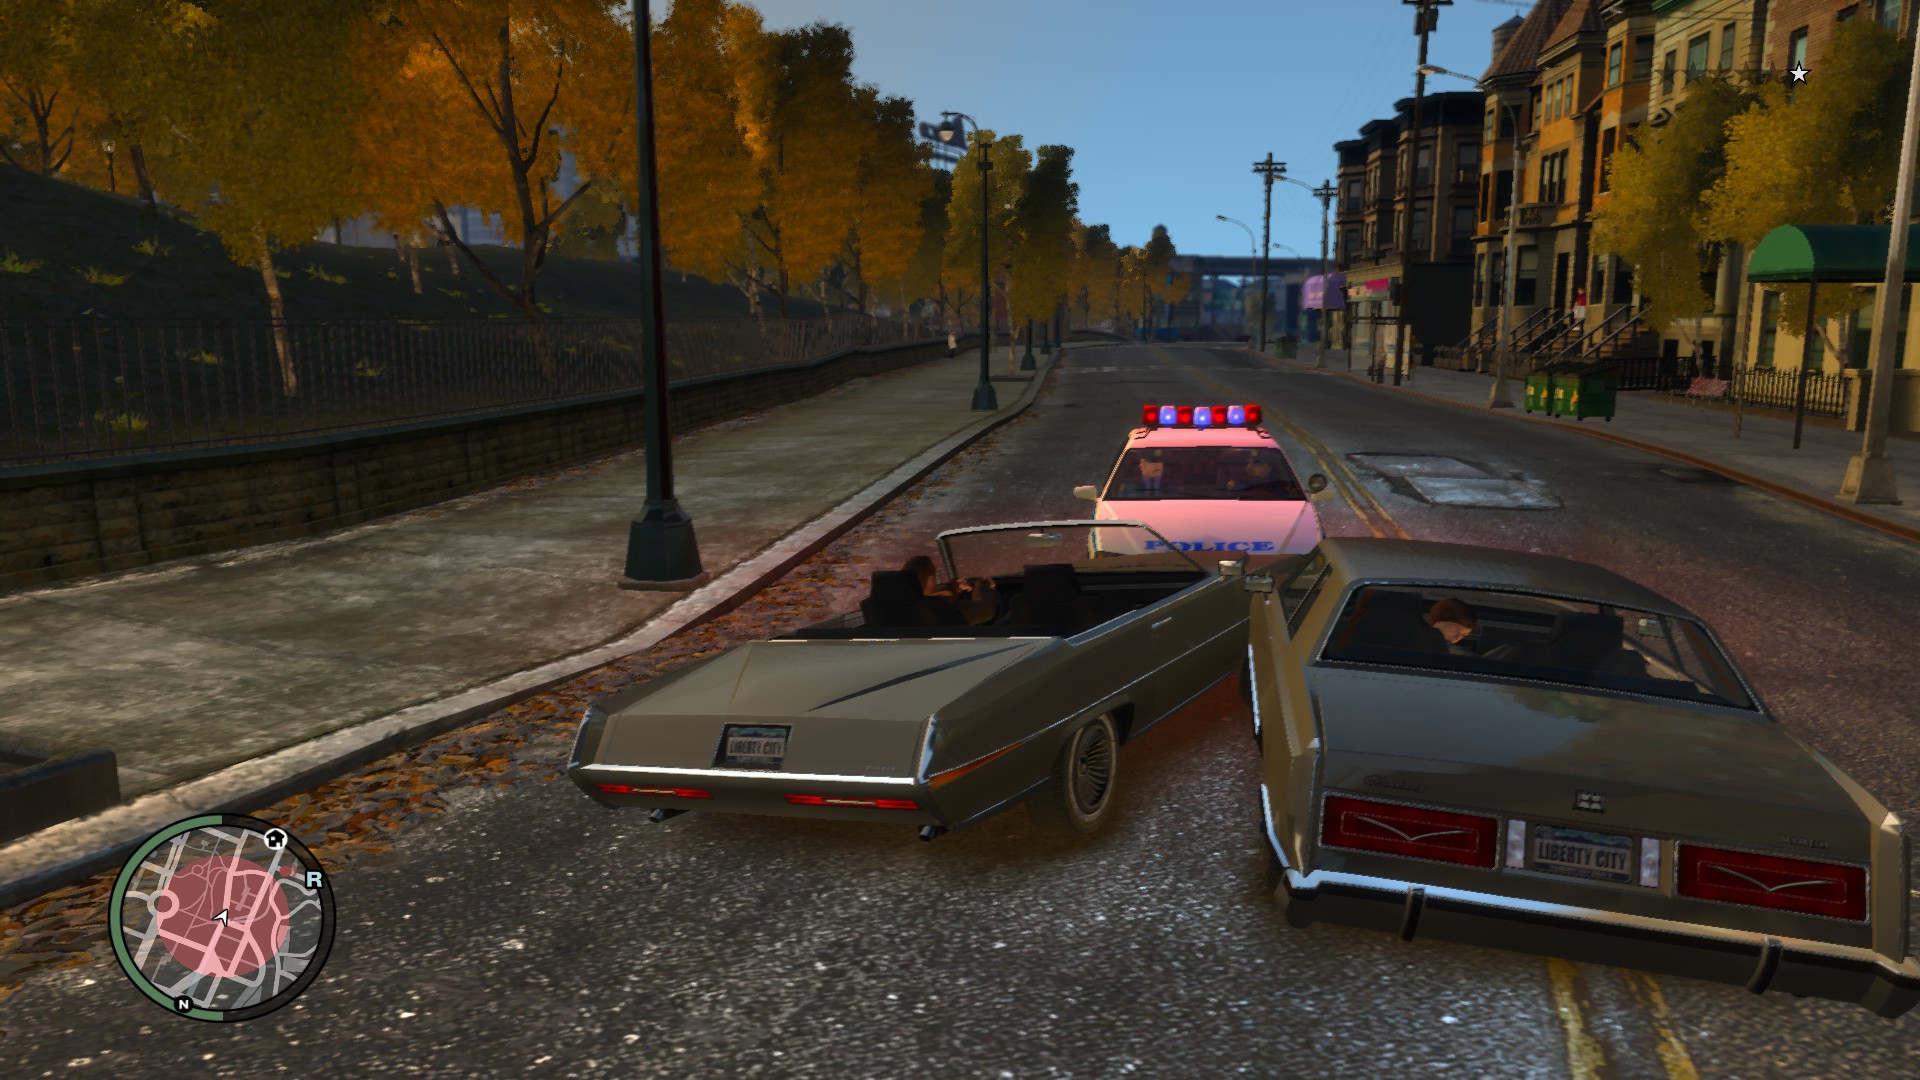
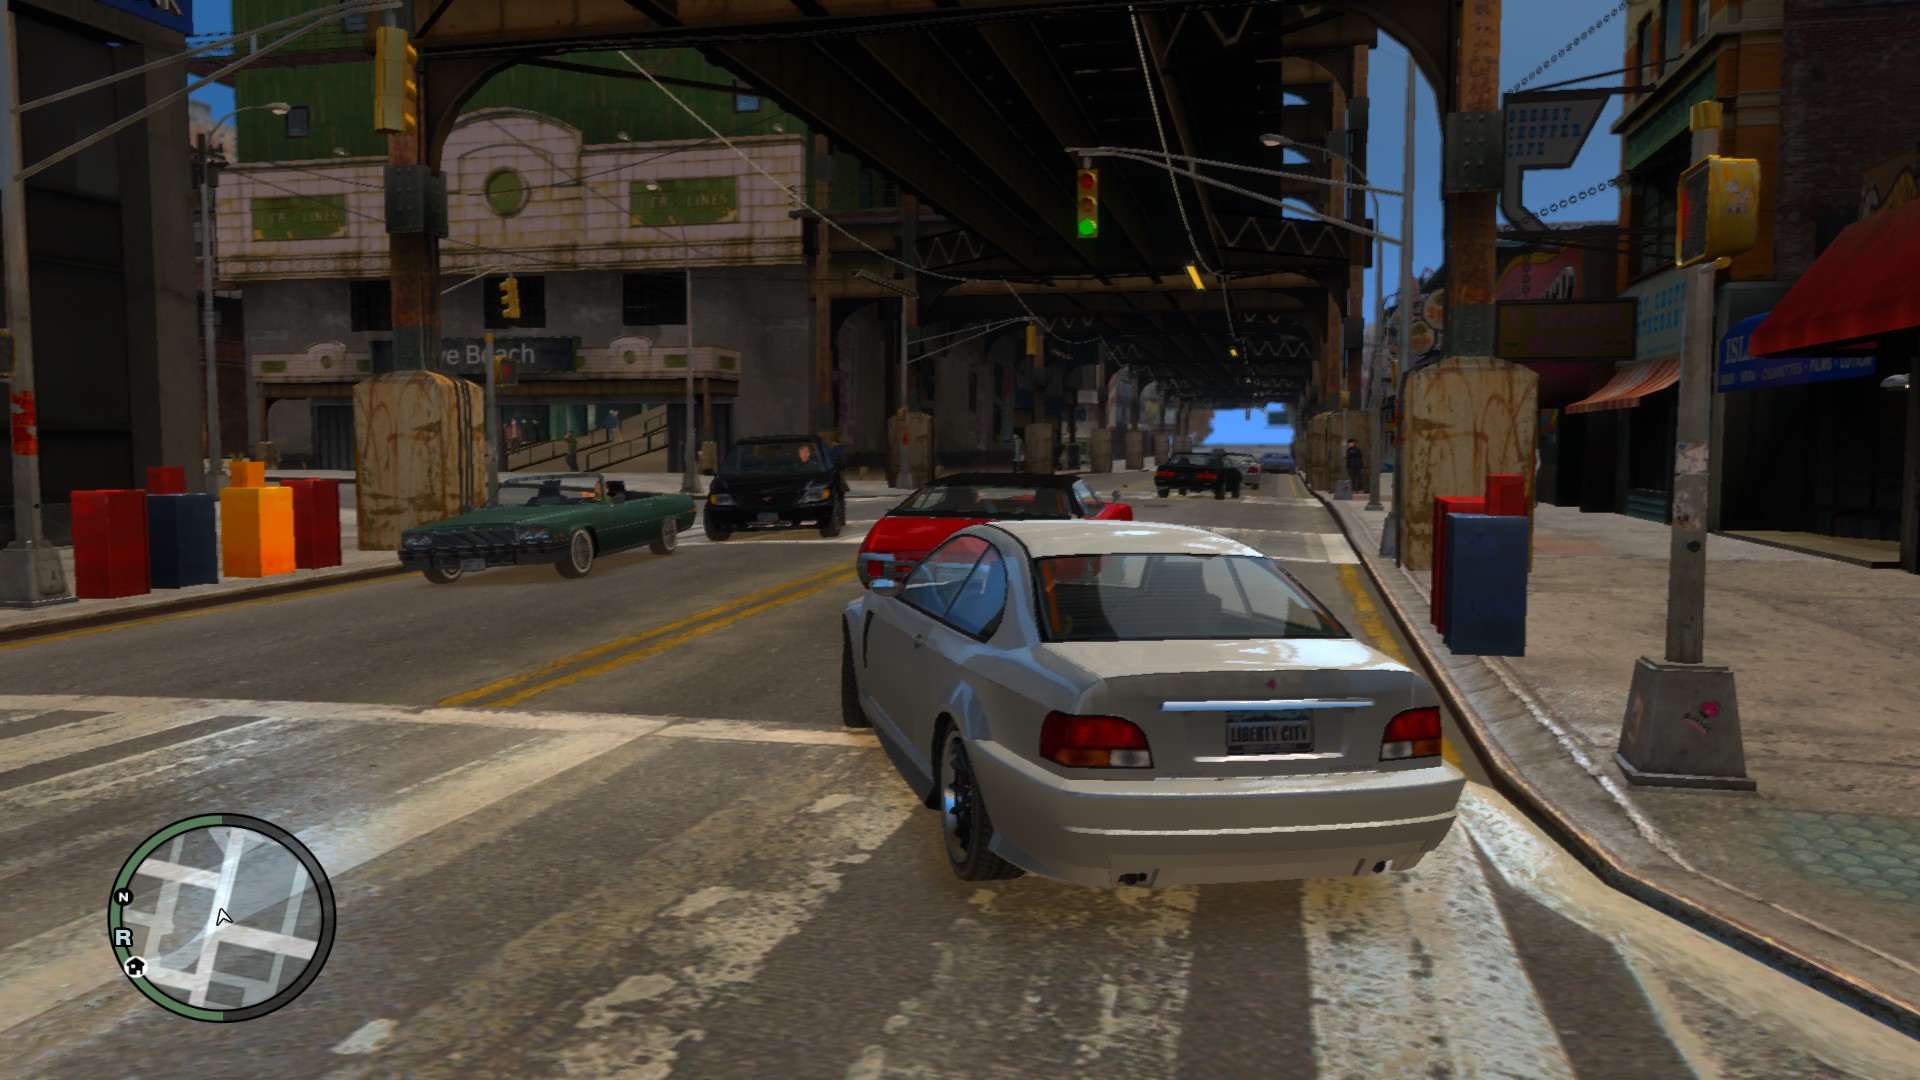
– 1st mod changes timecycs, so the weather will have more colour.
– 2nd mod get all cars clean, so you will not see any dirty car in game.
– 3rd mod get more blood on pavements and walls after shooting on your enemies.
You will need OpenIV program, which let you to open and mod some files in game.
Also dinput8.dll file, which changes graphic resources from 512mb to 3072mb
without using any commandlines.
Links:
OpenIV
[link]
1. Simple Improvments (timecyc)
[link]
2. All cars are clean
[link]
3. More Blood
[link]

*******512mb to 3072mb > dinput8.dll
[link]
*** The last one is not a virus, either your browser will tell you that.
Just download it, and if you are not sure, try to control it through your antivirus program.
3rd Step – Let’s start Modding!
– Make a backup of your game.
– Instal OpenIV.
– Then launch OpenIV, and select your path to game files.
After making that, it will open your game directory in OpenIV. Do all these changes in OpenIV.
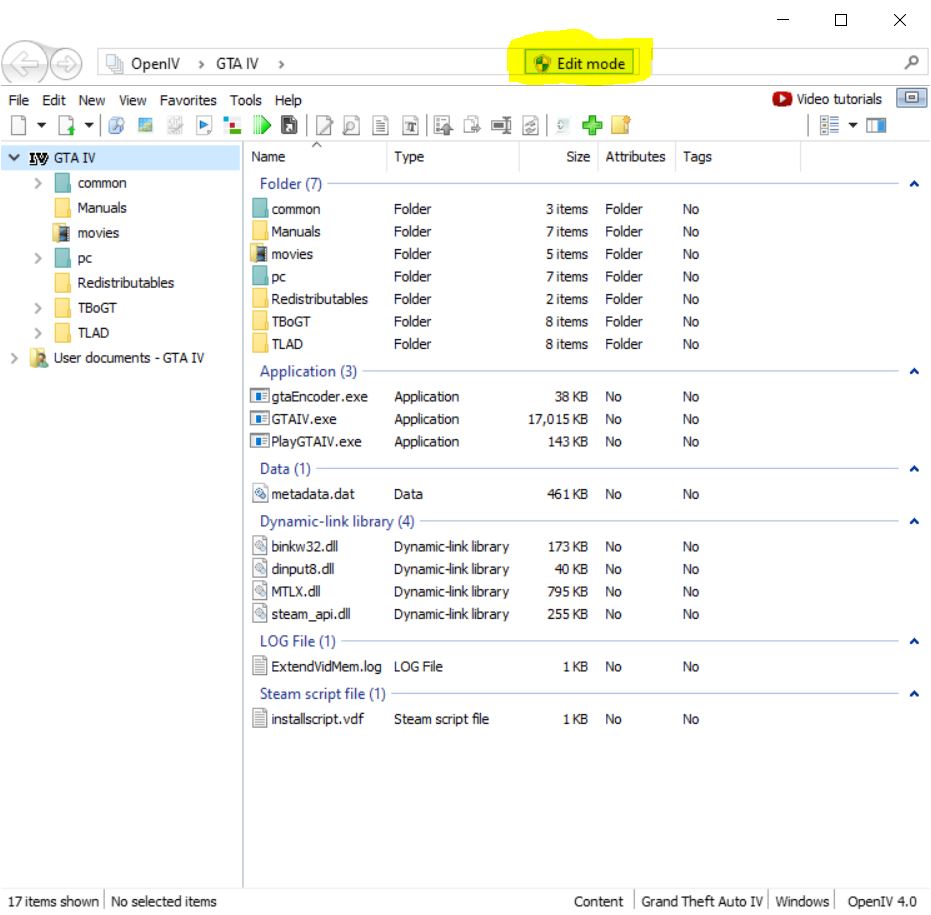
Before making any changes in OpenIV, you need to click on Edit Mode in directory link and click on yes in notification window.
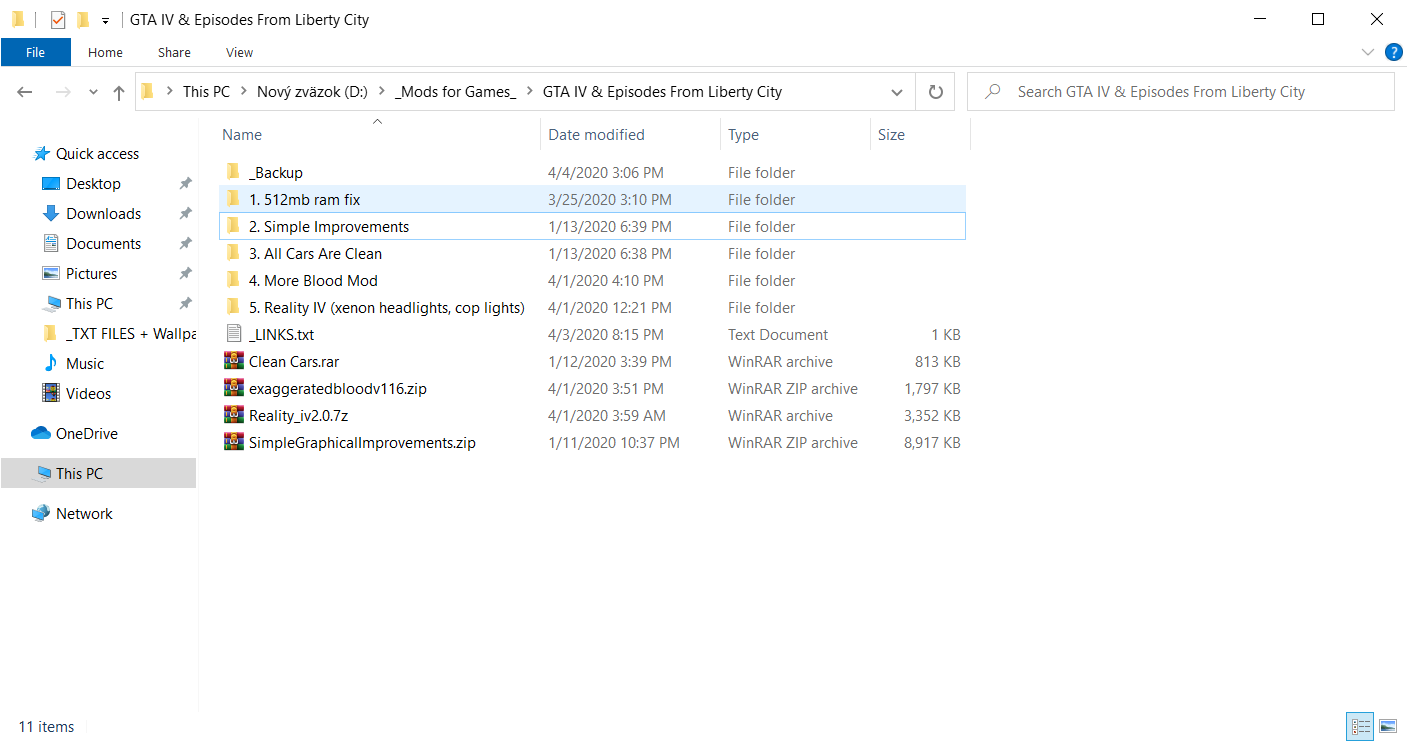
Also you can make a file just for modding like in image below, drag there every downloaded file there, extract them there and maybe rename them like I did, so you have a little more control in that.
1. 512mb Fix
– Go to GTAIV/ where main .exe file is located in Open IV and drag there dinput8.dll from 512mb ram fix Folder
2. Simple Improvments
– Go to GTAIV/pc/data in OpenIV and drag there all the timecyc.dat files from Simple Improvments Folder
3. Clean Cars Mod
– Go to GTAIV/pc/models/cdimages/vehicles.img and drag there these 2 vehshare.wtd files from
Clean Cars Folder
4. More Blood
– Go to GTAIV/common/data/effects and drag there bloodFx.dat from More Blood Mod Folder
– Go to GTAIV/pc/textures and drag there fxprojtex.wtd and peddamage.wtd from More Blood Mod Folder
Job is done here. Let’s move into the game.
4th Step – Graphic Settings
Setting up the game
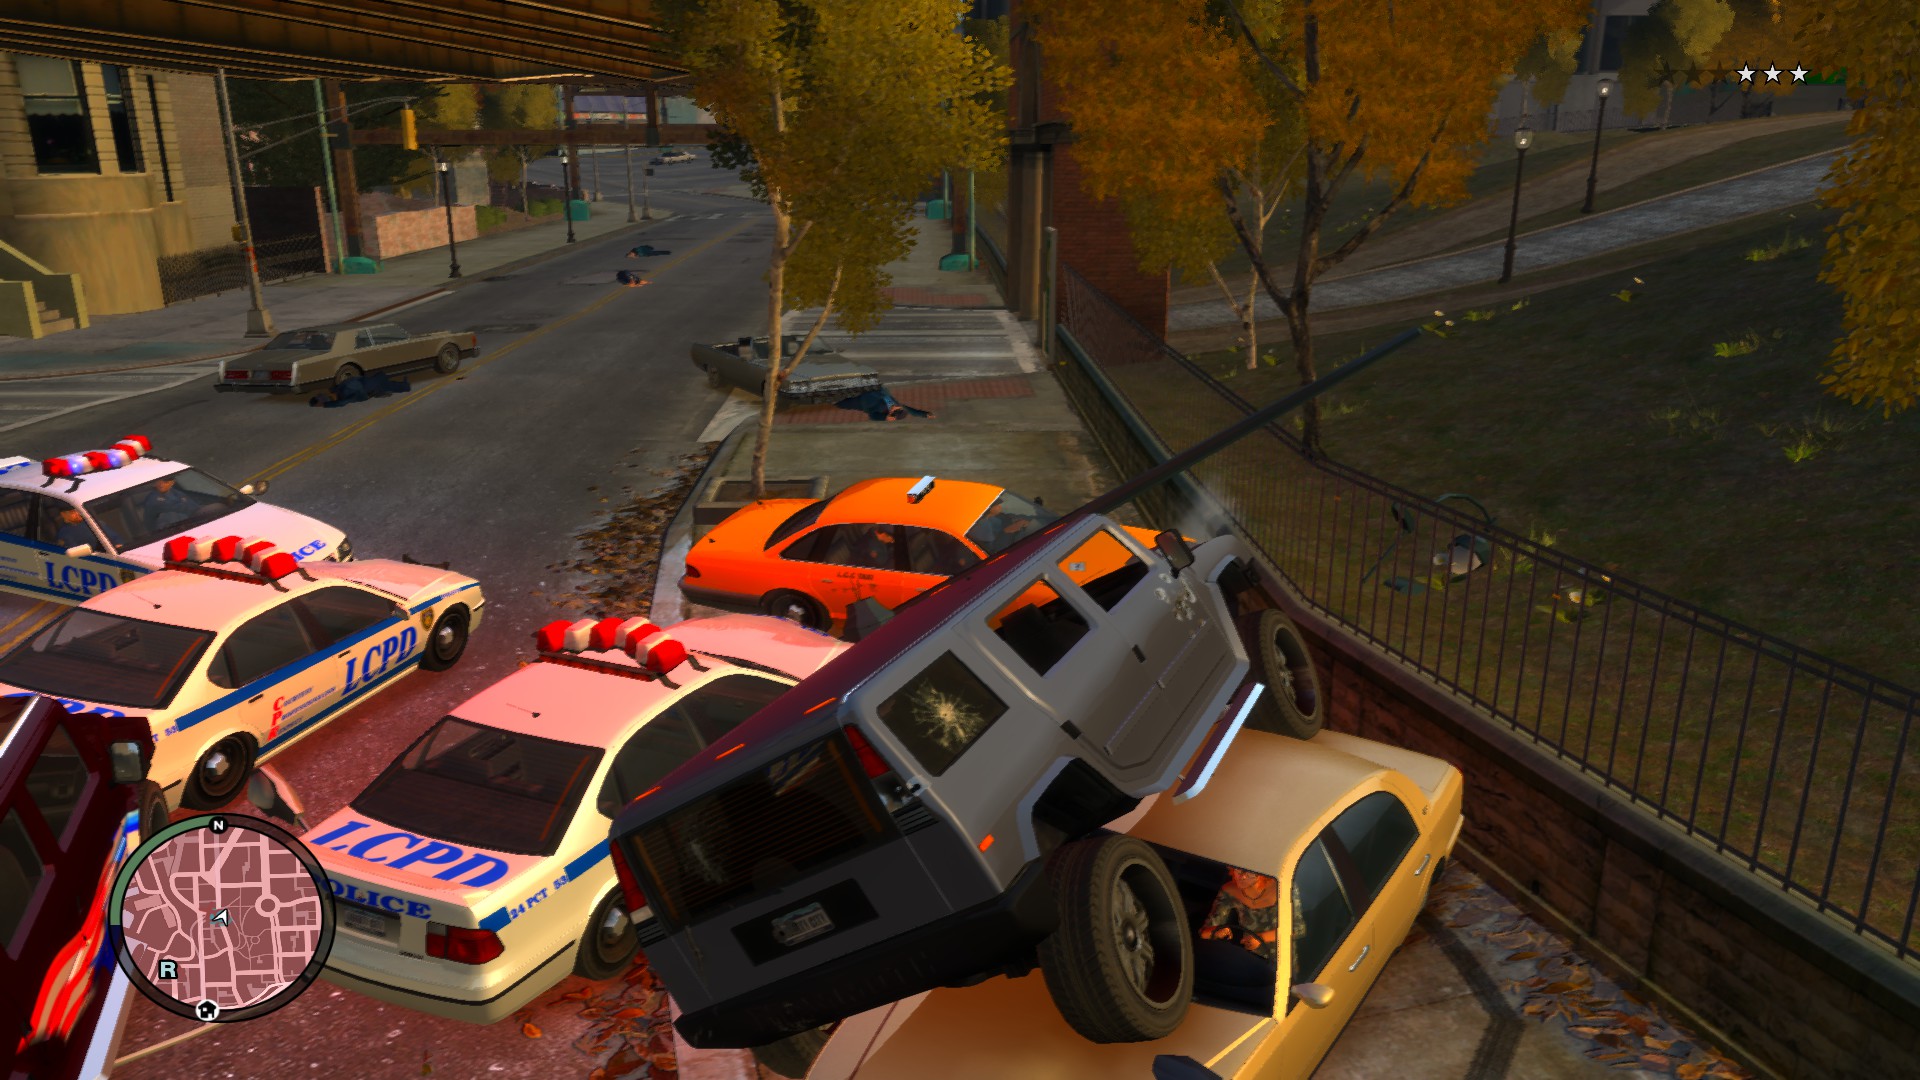
Graphics Settings that I use works fine for me. Most of the times, I have smooth framerate with very little stutter and even in physics performances like crashes, shootouts and explosions, game runs smoothly.
Here are the Graphic Settings:
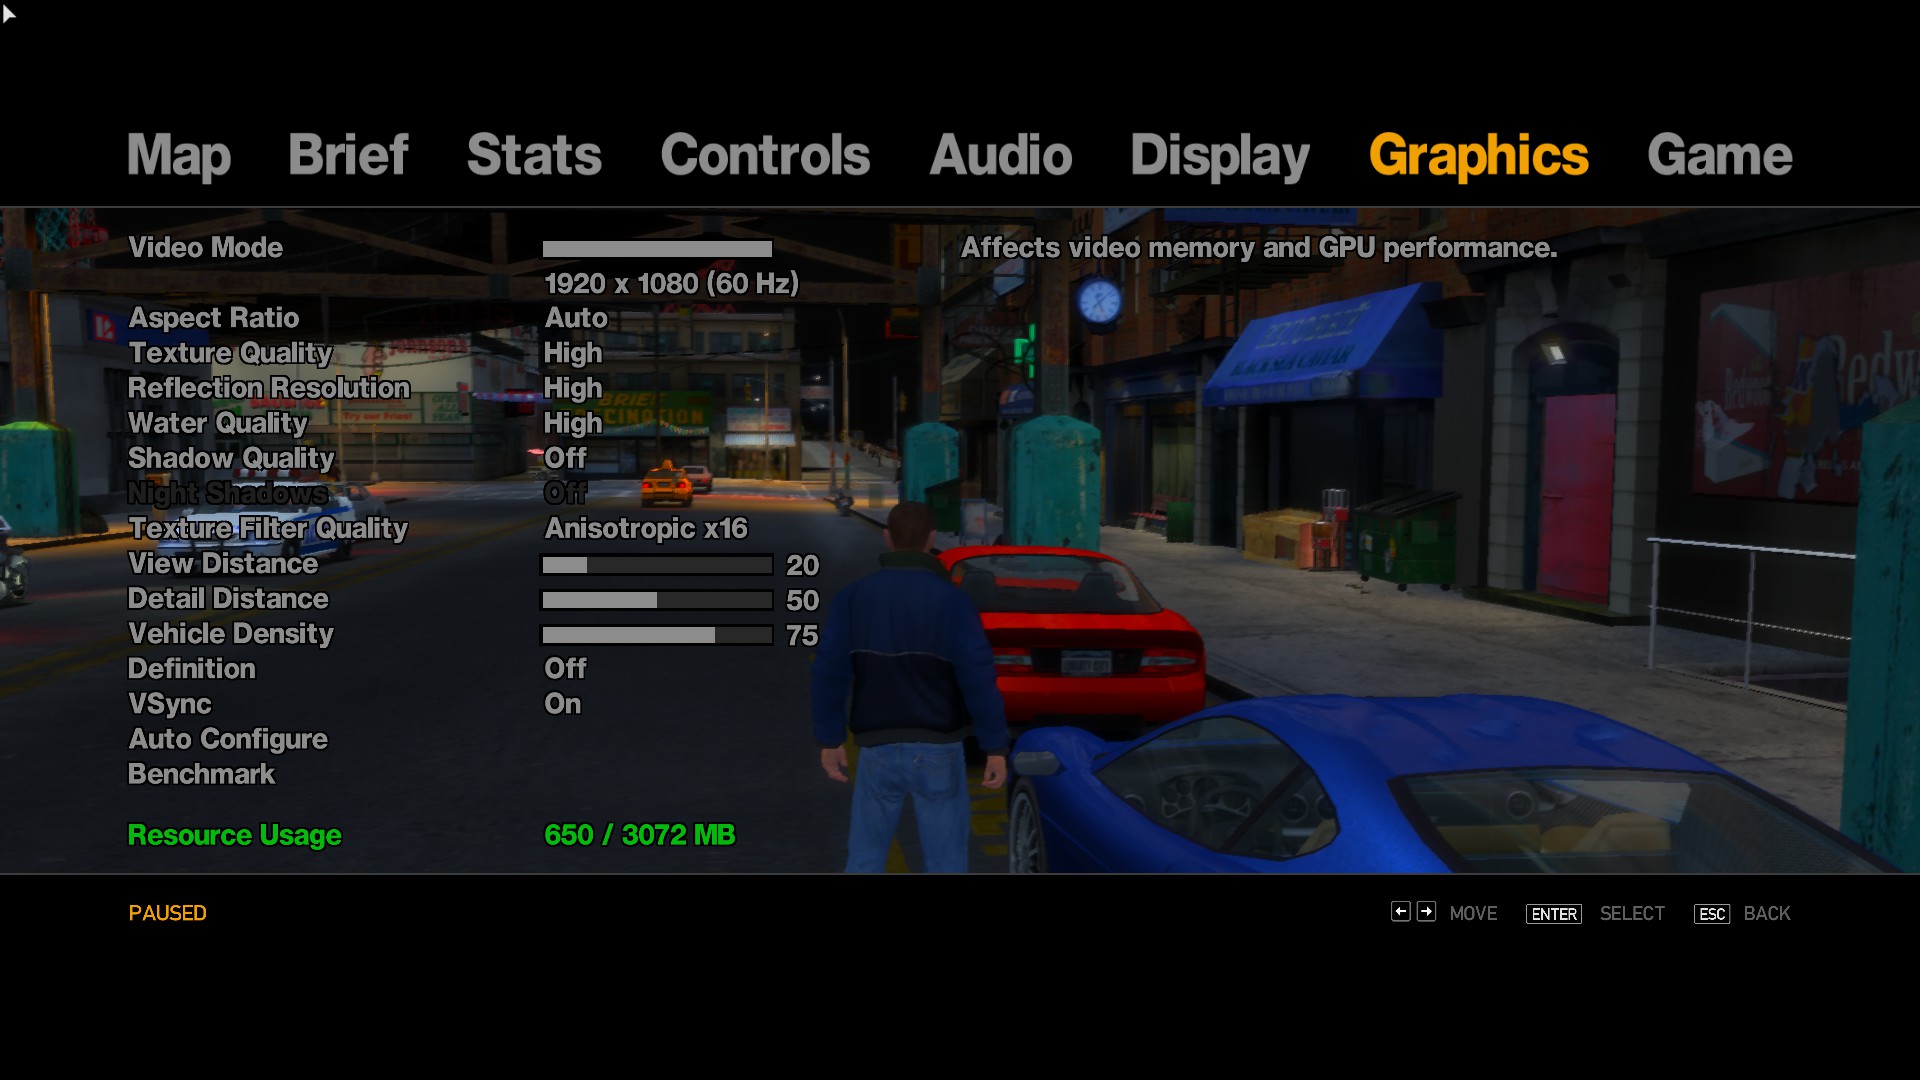
****If you have better rig, you can:*****
– Turn on Definition (More sharpen Image, less Motion Blur and No DOF).
No Definition is usefull for popup effects in the distance and I think it was used in Xbox 360 version.
– Turn on Shadows to High or Very High
– Get View Distance from 20 to 50
**Update** – I tried to play it this year and I was used to 30fps from a console. So I turned on shadows to “High”, turned definition “On” and had a frame drops on my rig, but it wasn’t concerning me as much as before. Like I said, spent a lot of time in front of Xbox lately so not having constant 60fps wasn’t problem for me anymore.
Display Set Up
As you installed new timecyc files, the display set up as a brightness, contrast and saturation now behave differently. The contrast bar don’t work, only brightness and saturation.
I tried many combinations, 10% or 20% brightness and 50% saturation works best for me, so there is minimal bloom, the roads have better colours and world looks just nice. But it’s up to you.
I also used 100% Saturation, then world looks lively and roads have little different colour. but red colors and night lights had too much contrast.
Here are the Display Settings:

If you are using controller, try to turn off Handbrake Camera.
You can change your aim camera while playing by holding LT (aim while holding a gun) + Back on Xbox controller (camera selection). It also works with meele combat camera.
So that’s it. Now you can try if this works!
If you are modder and see this posts, maybe you laugh that there are many better mods there like ENB, ReShades, etc.
But these mods are for people, that are not in modding community and could make their experience much better while progressing a game than they would do in Vanilla state.

I hope this will work for you!
**** For Low-End PC Gamers: ****
If it still not running as expected, also your Nvidia Control Panel settings matter. Many people say that you have to set it up to performance if you have a weaker PC, bla bla bla. But it’s not worked for me in any game.
So I set it up to highest quality in advanced settings for all games, and also I have a low latency mod in control panel. It’s older driver, I had to find it but it really helped me.
I didn’t find a low latency options in most recent updates, so I have one from 2019/10. It’s 436.48, and this driver works for gaming laptops. Here’s a DW Link, if you have a poor performance in other games you play, turning on Low Latency could help.
[link]**Also make sure your Preferred Graphics Processor is your main GPU, not integrated card!
You can change it in these settings.**
*Here are the Nvidia Control Panel Settings


***UPDATE***> I am using now “PREFER CONSISTENT PERFORMANCE” in Power managment, Low Latency mode turned “ON” instead of “ULTRA” and Negative LOD bias on “ALLOW” instead of “CLAMP”. So these four changes were made. I just wanted to try if I get more performance with this Prefer maximum performance, but I get more stable frames with consistent mode.
Also getting physics to CPU helps, but I prefer to having it on GPU lately, so it’s your choice.
**** ****

V2.1 No Internet
Just one thing – don’t play it without an internet connection. I get my laptop on one party and when most of people got to sleep, we wanted to do a speedrun with one guy on a new save, but we didn’t had an internet connection there. So we tried to run this game without it, and instead of starting it in 1 minute, we had to wait like 5 to 10 minutes while R*GL will recognize that we want to play this game without an internet.
After that, we couldn’t pick up a saved game or even save the game. Even the game was running worse without a connection, instead of 60/50 fps, it was running like 60/35 fps with much more stutter, and then sound didn’t work when we get it on TV through HDMI later, etc.
The main thing – I tested this game for more than 40 hours with an internet connection, it didn’t crashed once. But when we tried to play it then, it crashed 3 times, and all of the times, alt+f4, task manager or even alt+tab didn’t work. So each time, the only option was to hard reset the PC with the power button, and after third time it crashed, my PC didn’t recognized my 2nd SSD after restart and all of my games on Steam was gone. (cause I had them installed on 2nd harddrive) So after that I restarted PC how I should through the power options in Start menu, and then it recognized the 2nd SSD with all the games installed.
But I almost lost my 2nd SSD and all of installed games on Steam thanks to R* games launcher. Just some thing that triggered this crash each time when we wanted to play this game without internet.
I wanted to let you know about this thing, so you can be aware of this.
V2.1.1 Radio Downgrader
With this mod, you will get all the songs that are not in the game anymore and you will hear music instead of advertising all the time.
Link [link]
Download a downgrader for GTA IV and follow instructions from “readme radio dwngrdr” text file. You need to chose between only old songs from GTA IV “without new vladivostok”, or combination of all new and old songs “with new vladivostok.
I was using only old songs (without new vladivostok), and now, I am gonna use a combination of both new and old songs (with new vladivostok).
V2.1.2 > Beta mod
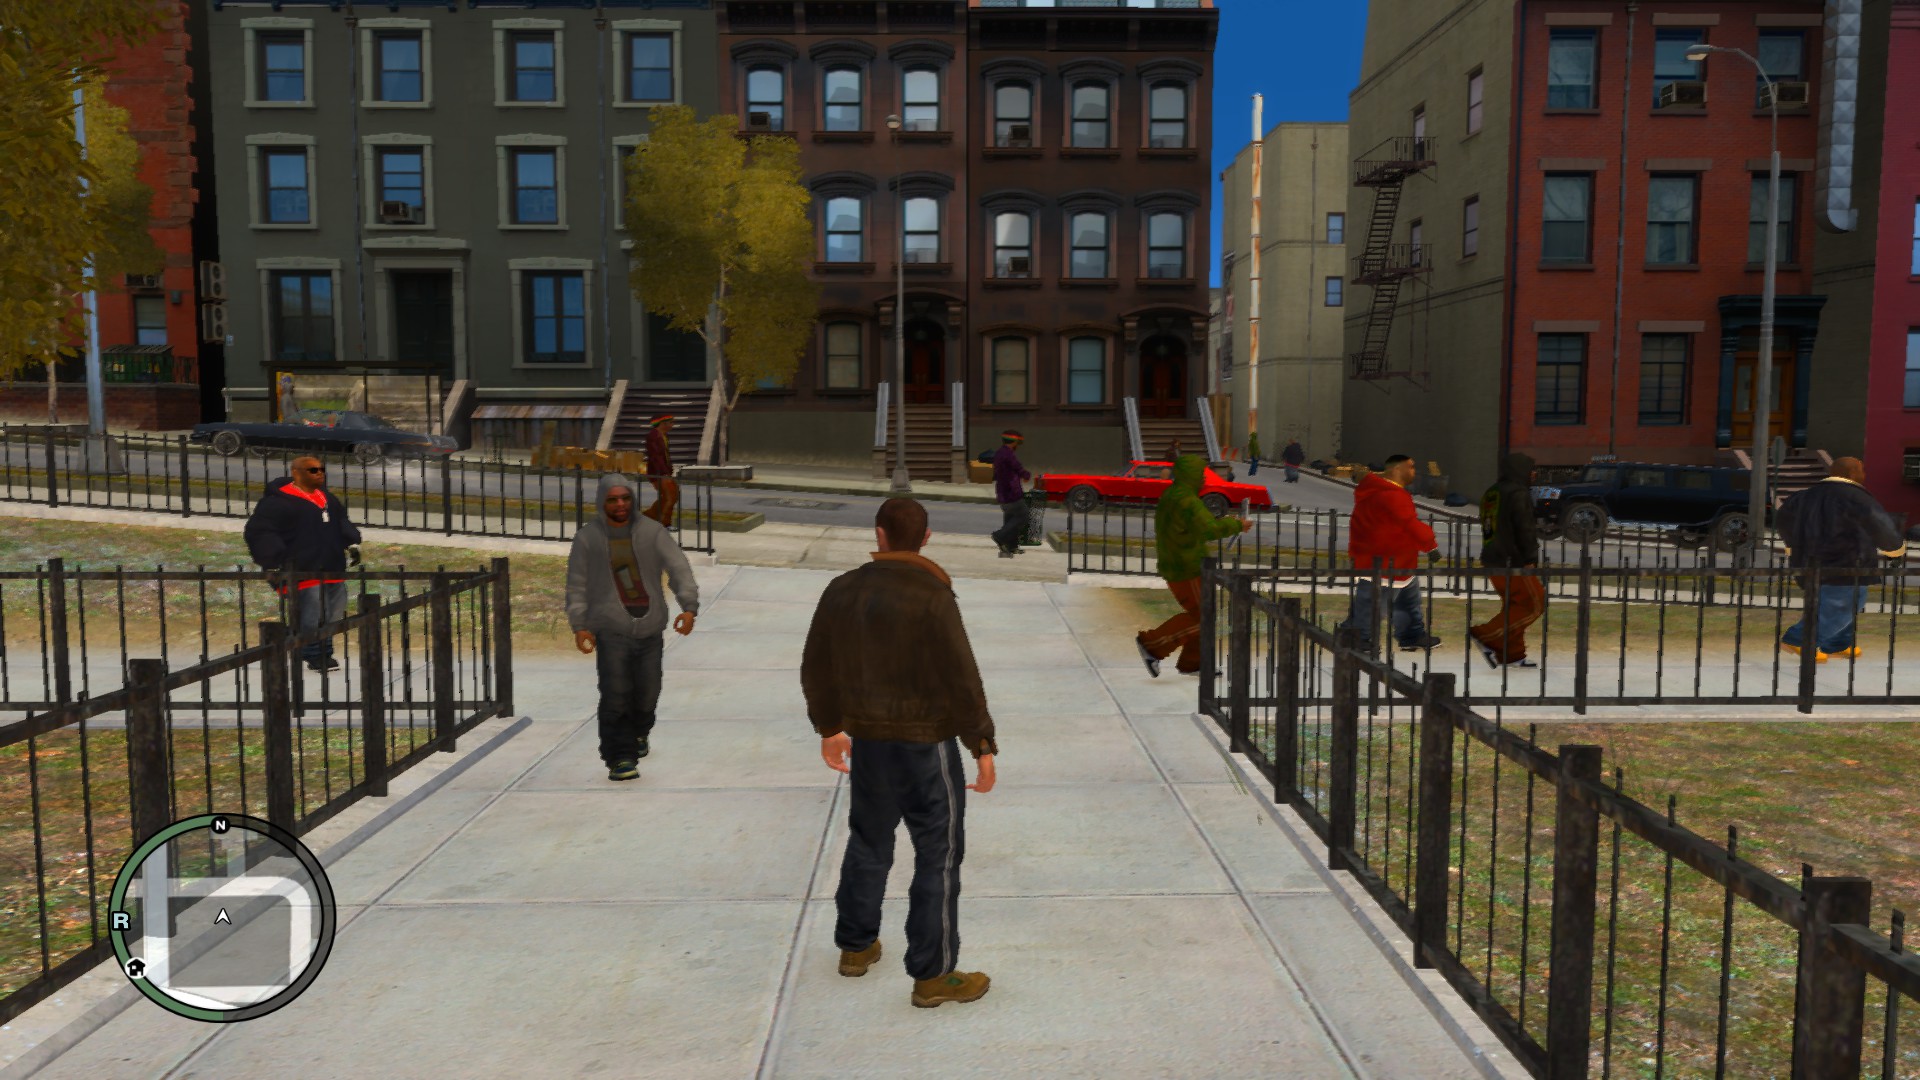
So this mod will bring you all the textures and things that you seen in the trailers. It is not hard to install of what I been testing, but I haven’t tried ALL the beta files from there, but only some that are written below. You will have a different textures for Niko, his clothing, face and hair. Also different textures for some friendly NPC’s like Roman, Michelle and few other ones. Main point is Niko’s looks and his clothing, like one red tracksuit jacket from russian shop is looking different (like Croatian flag now) and his main leather jacket and the one with blue top is looking different (leather texture). But one leather jacket from russian shop will save the original texture of leather that we were used to (black/gray/red leather jacket).
You need to install only:
cs_faustin to cs_roman_t and everything cs_ to:
Grand Theft Auto IVpc/anim/cutsprops.img
ig_faustin to ig_playboy and everything ig_ to:
Grand Theft Auto IVpcmodelscdimagescomponentpeds.img
to this location, also install m_y_gafr_lo_02 and m_y_gjam_lo_01
playerped.rpf to:
Grand Theft Auto IVpcmodelscdimages
These were only things I used, it has just three directories. It worked correctly for me and it doesn’t have a long installation. Just delete other files what you will not use from this Beta mod and keep a .zip file, so when you want to use other beta files, you will get them from zip. Maybe you will appreciate the new Niko’s look. I tried to give him his beta face with original haircut, but it wasn’t looking as good as with his beta hair, so I recomend to install it like I mentioned above.
Here’s a link: [link]