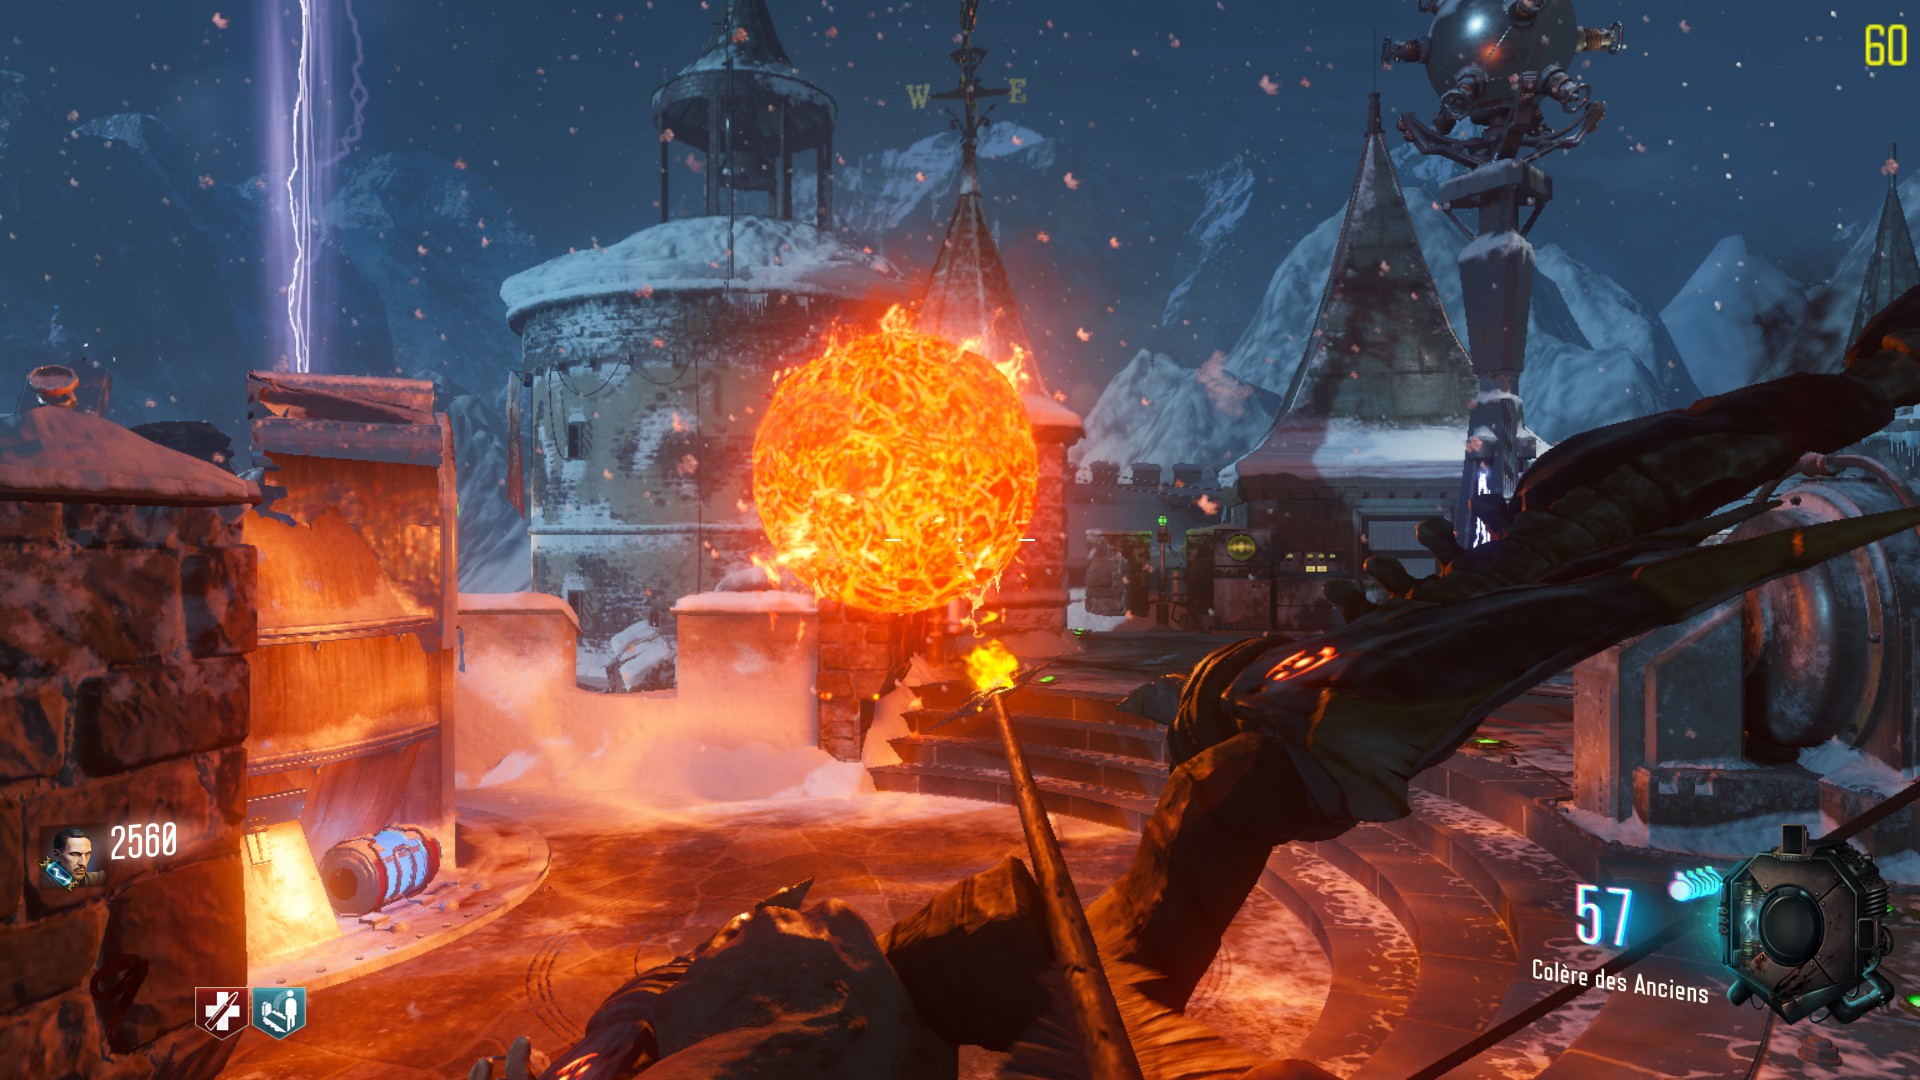
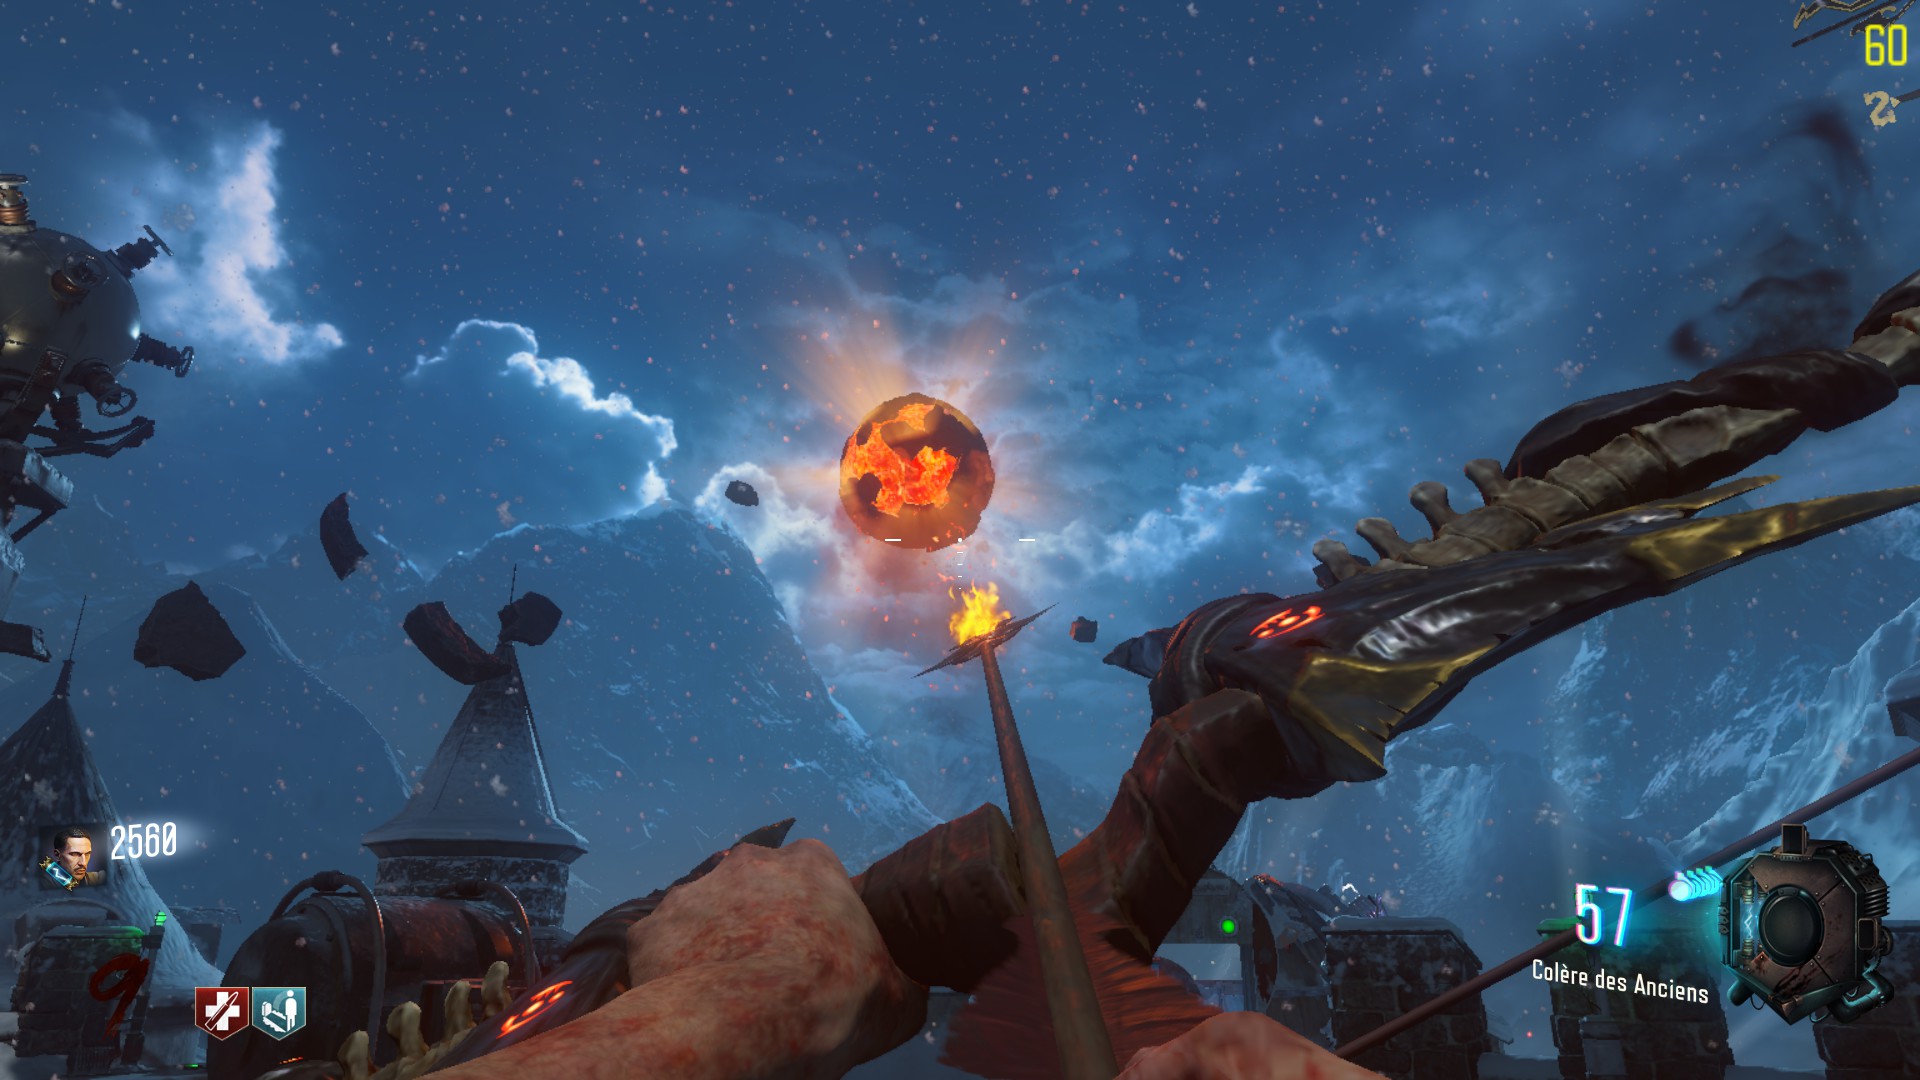
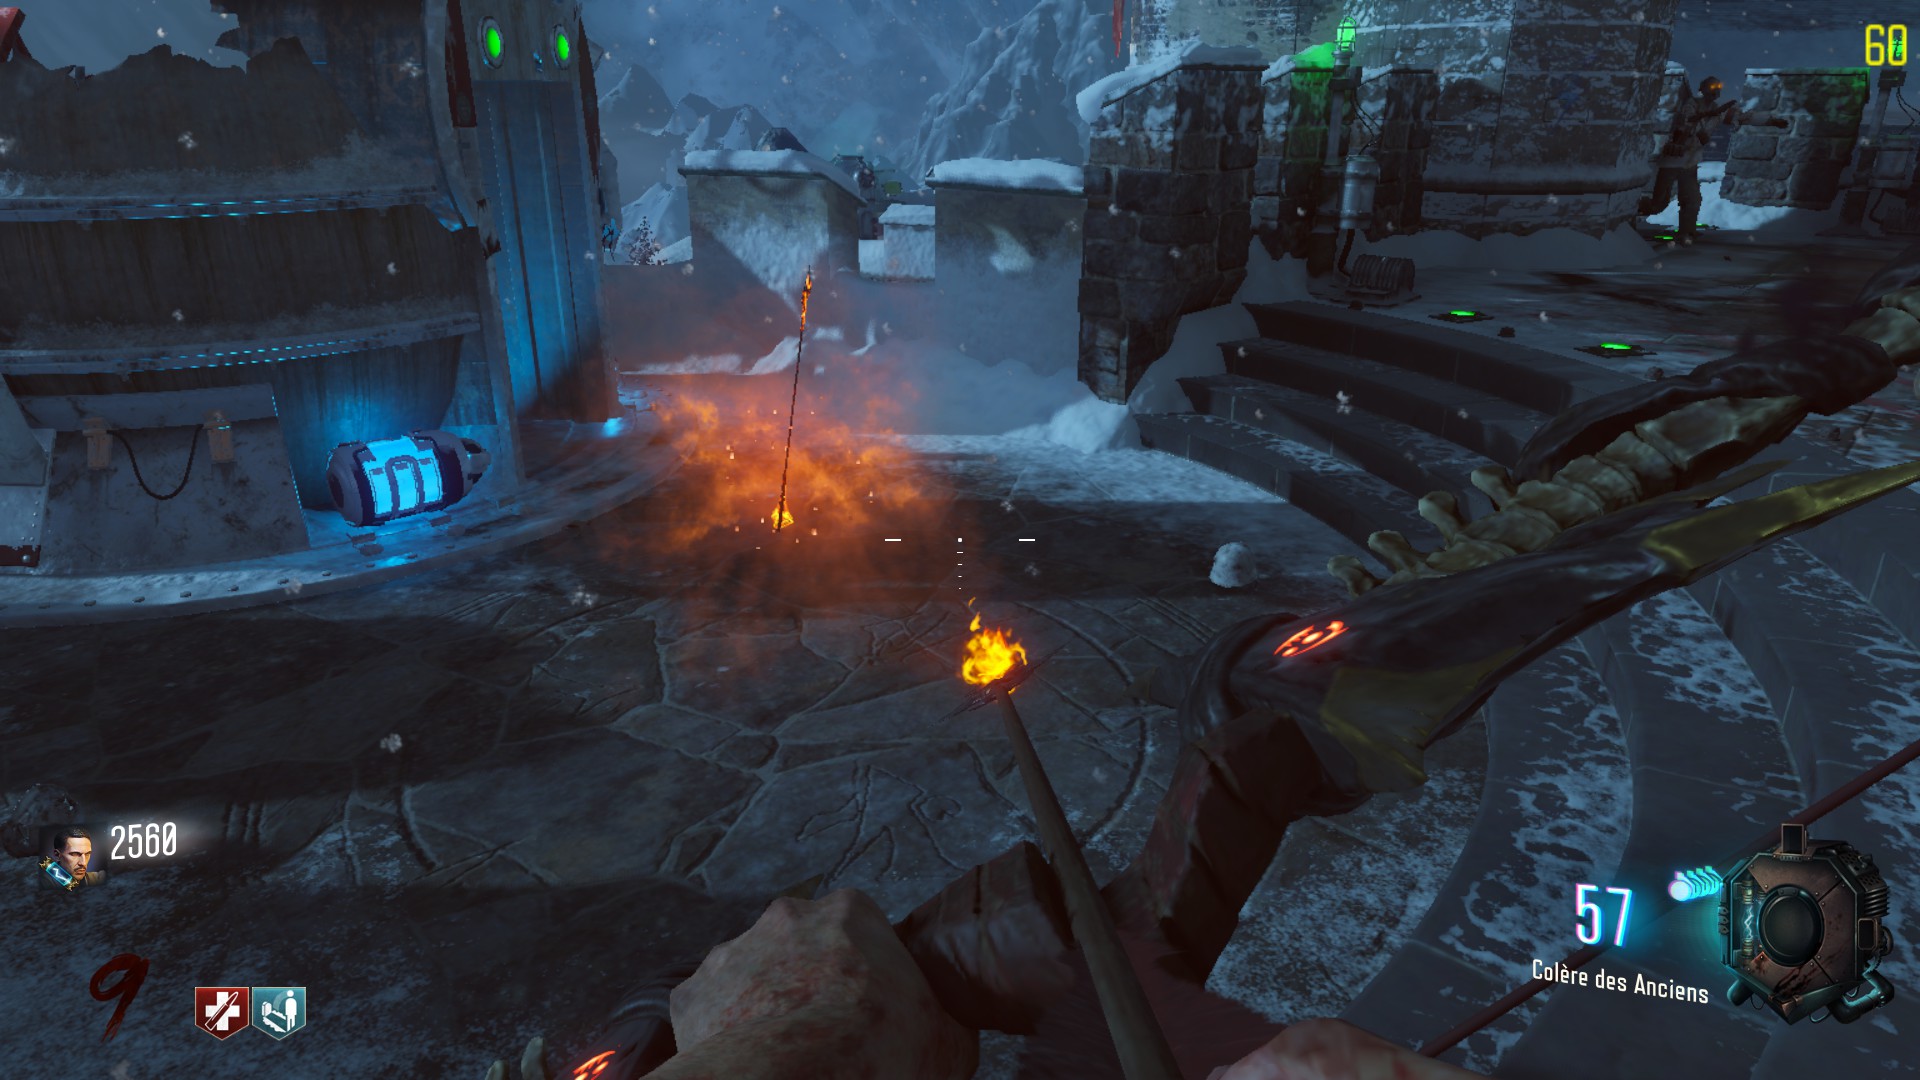
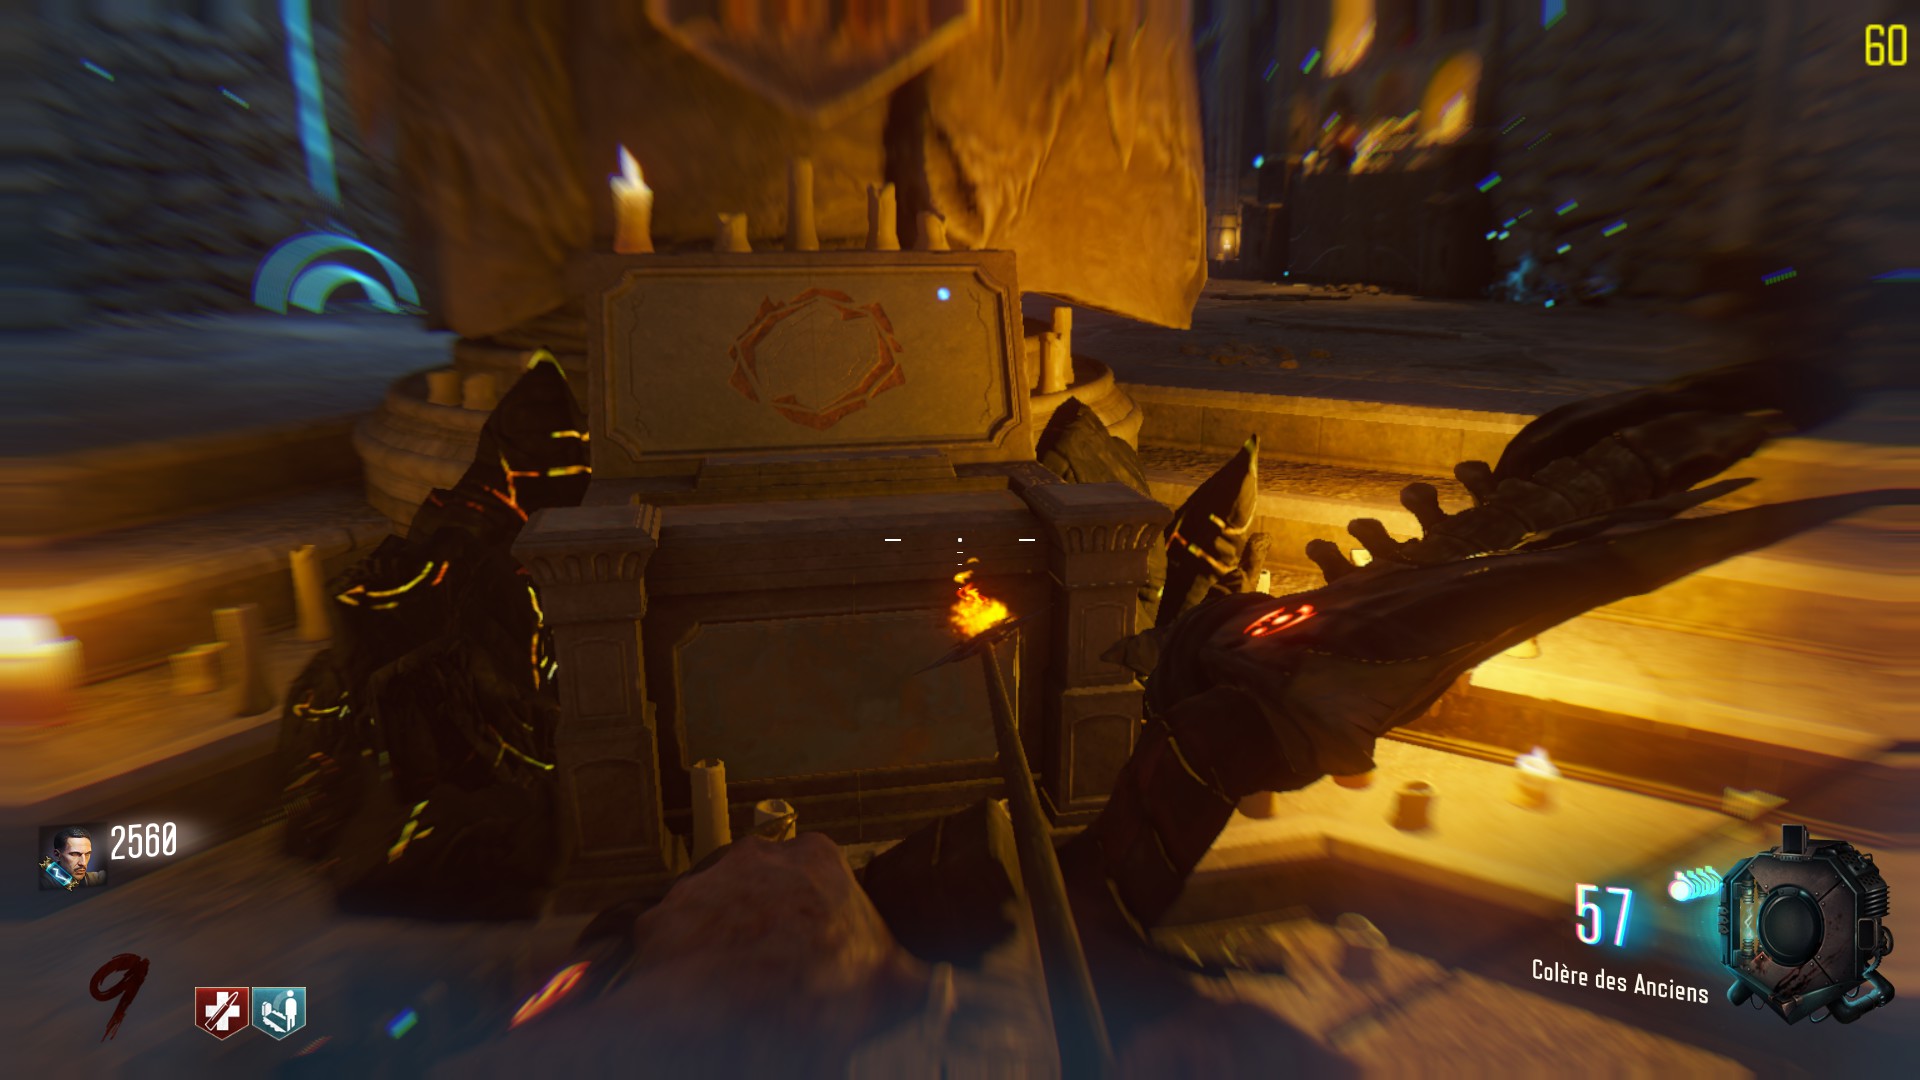
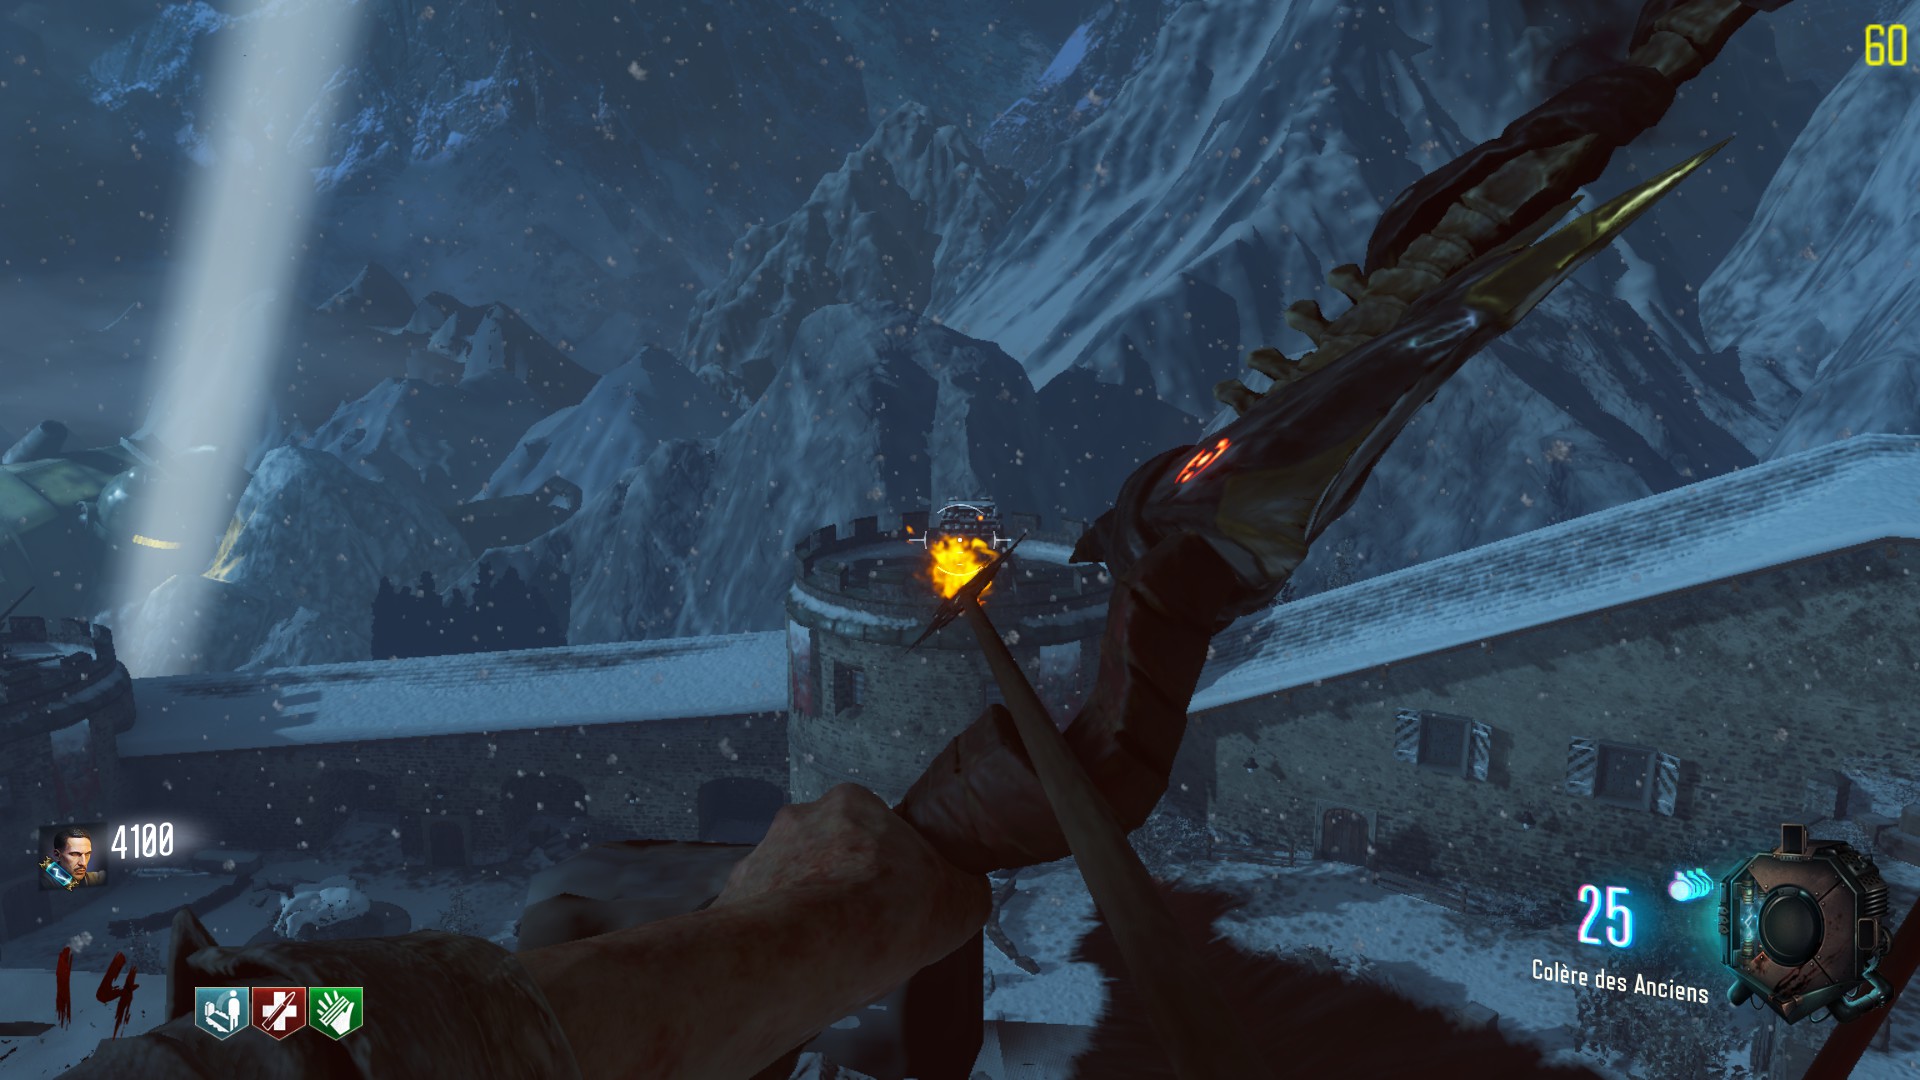
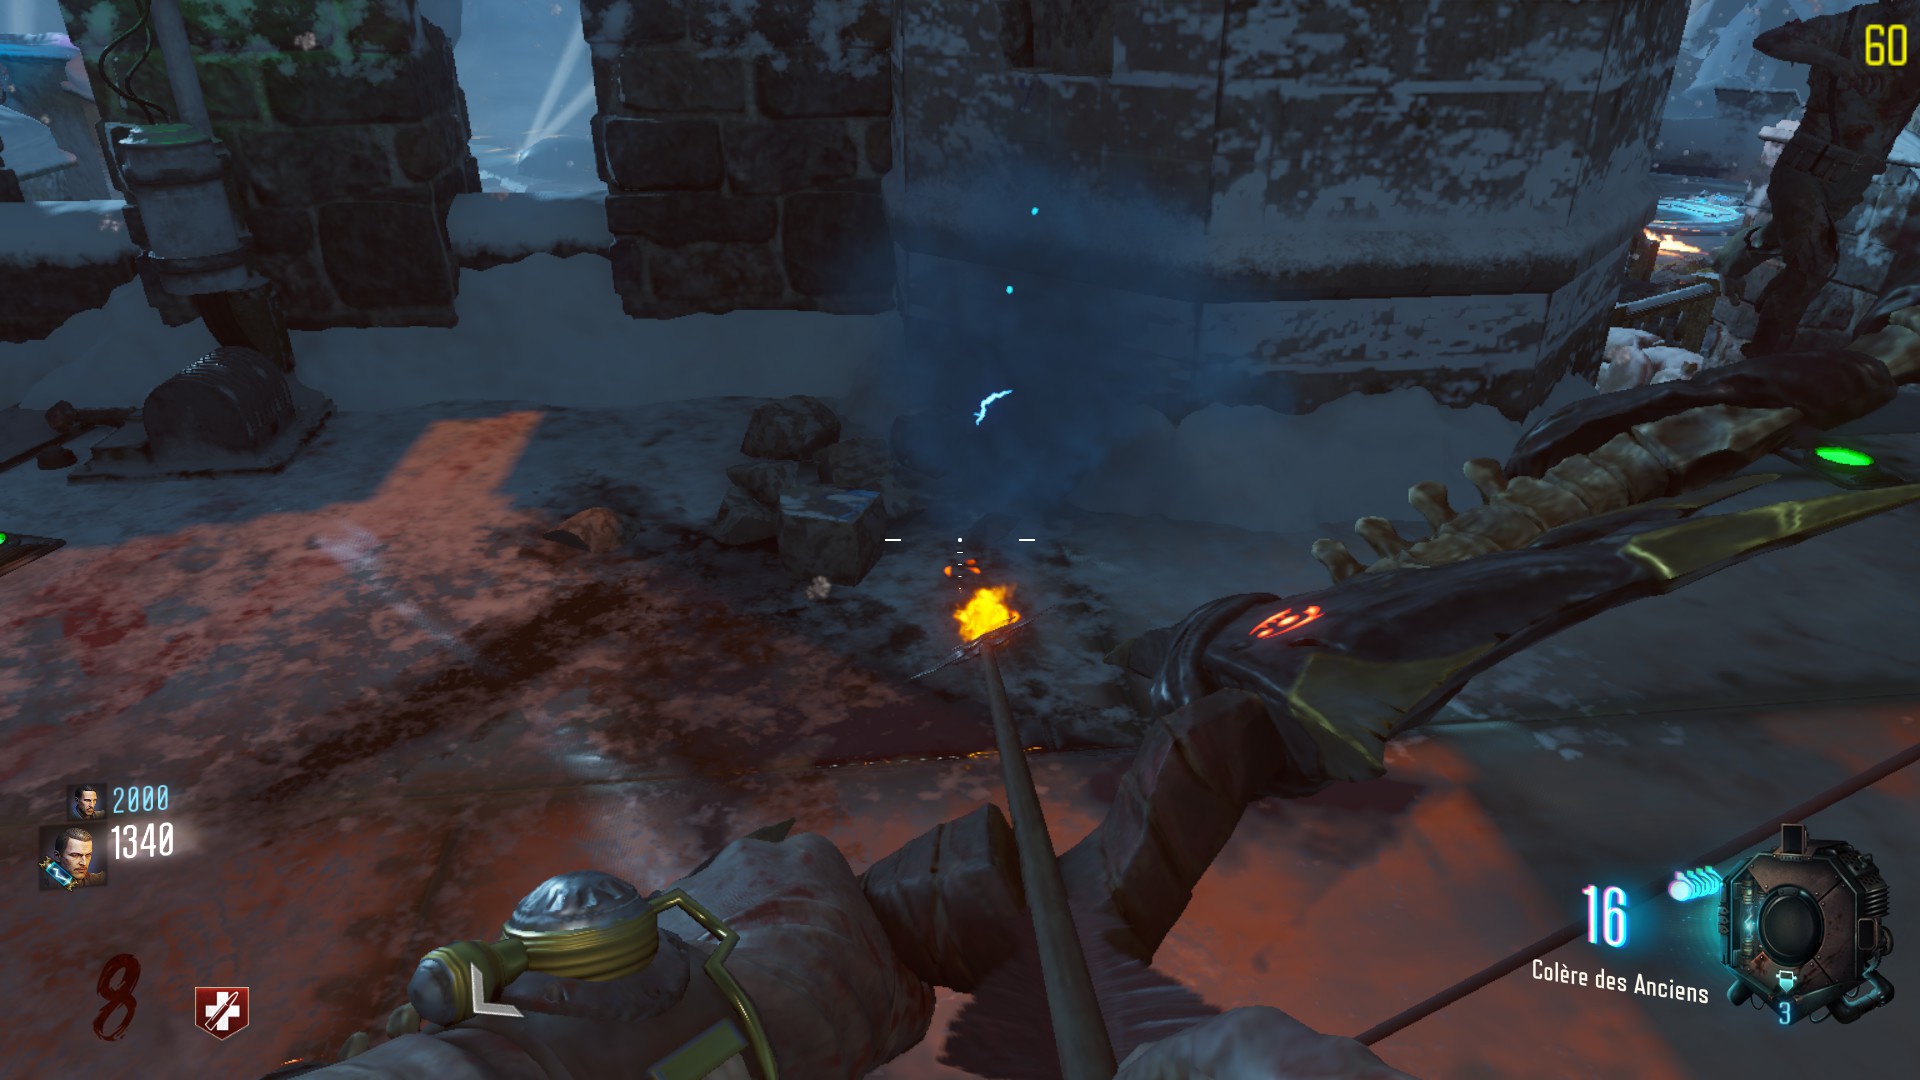
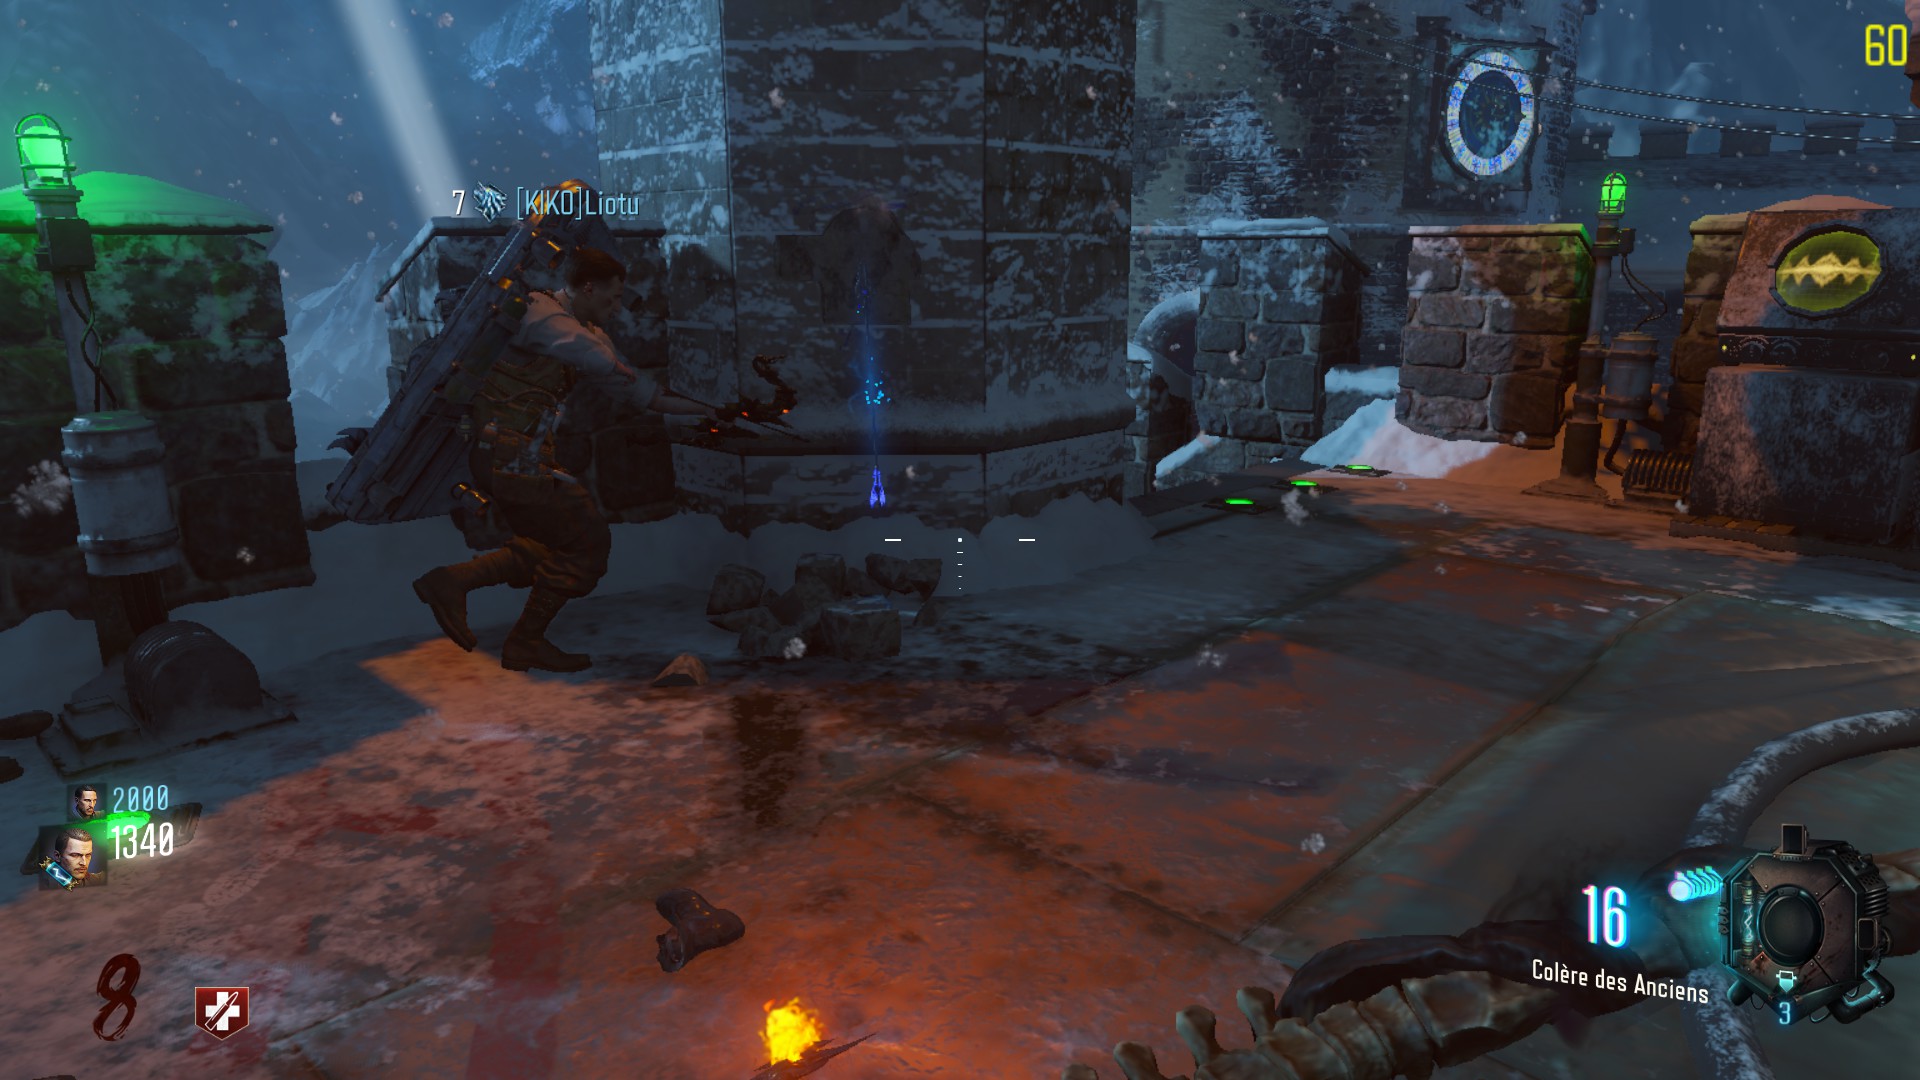
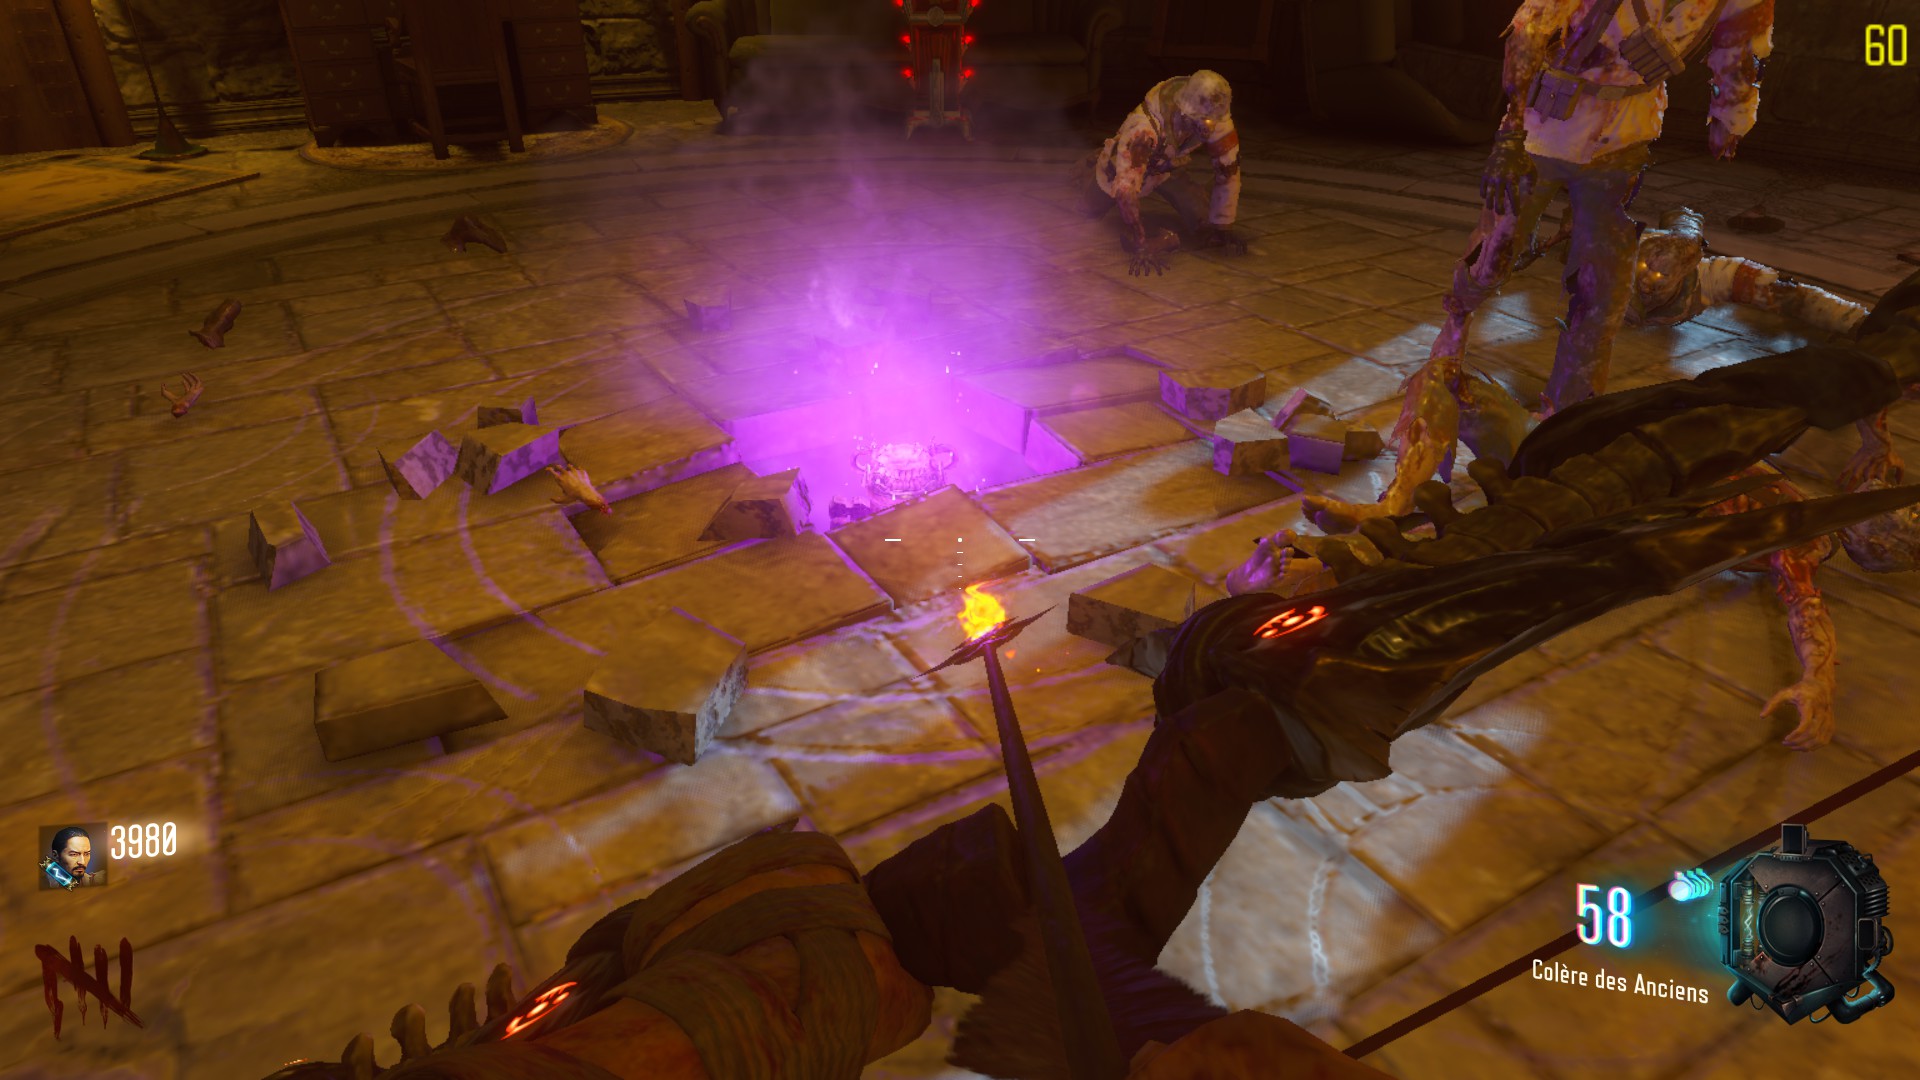
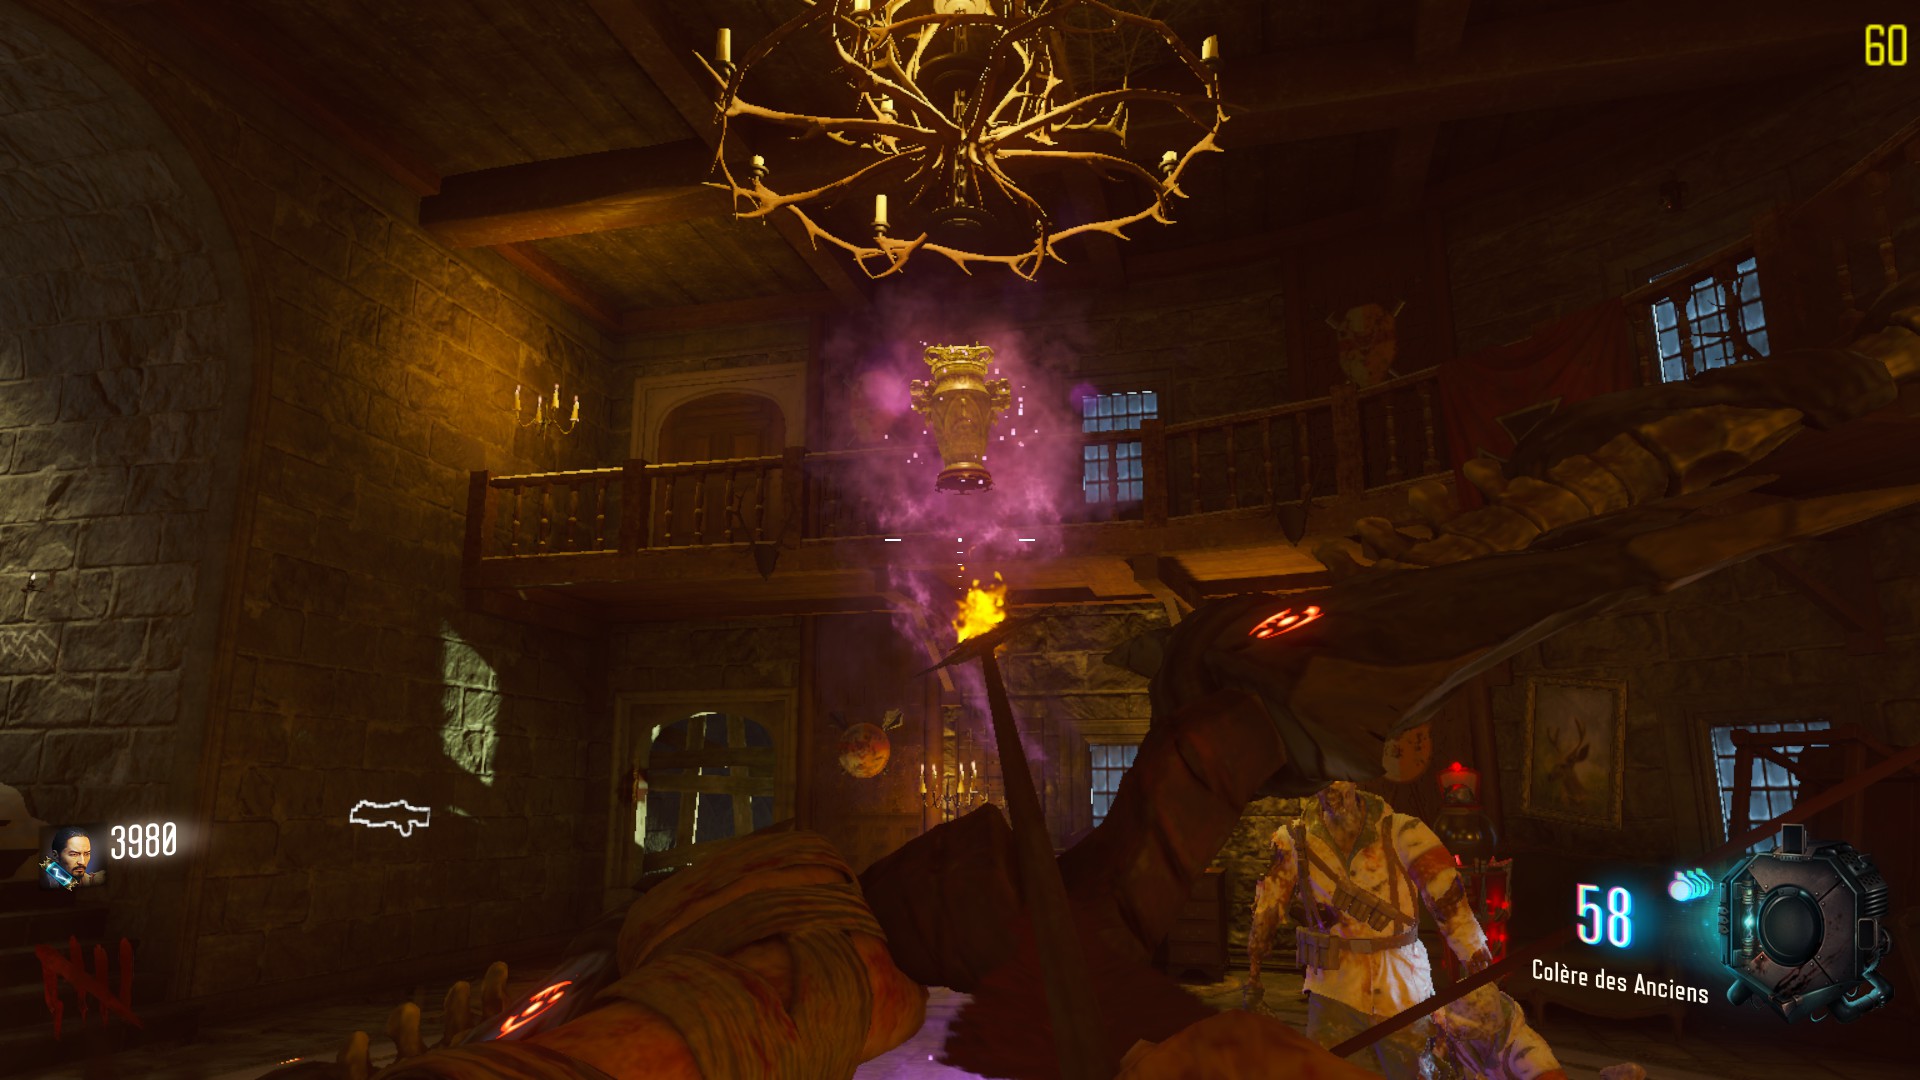
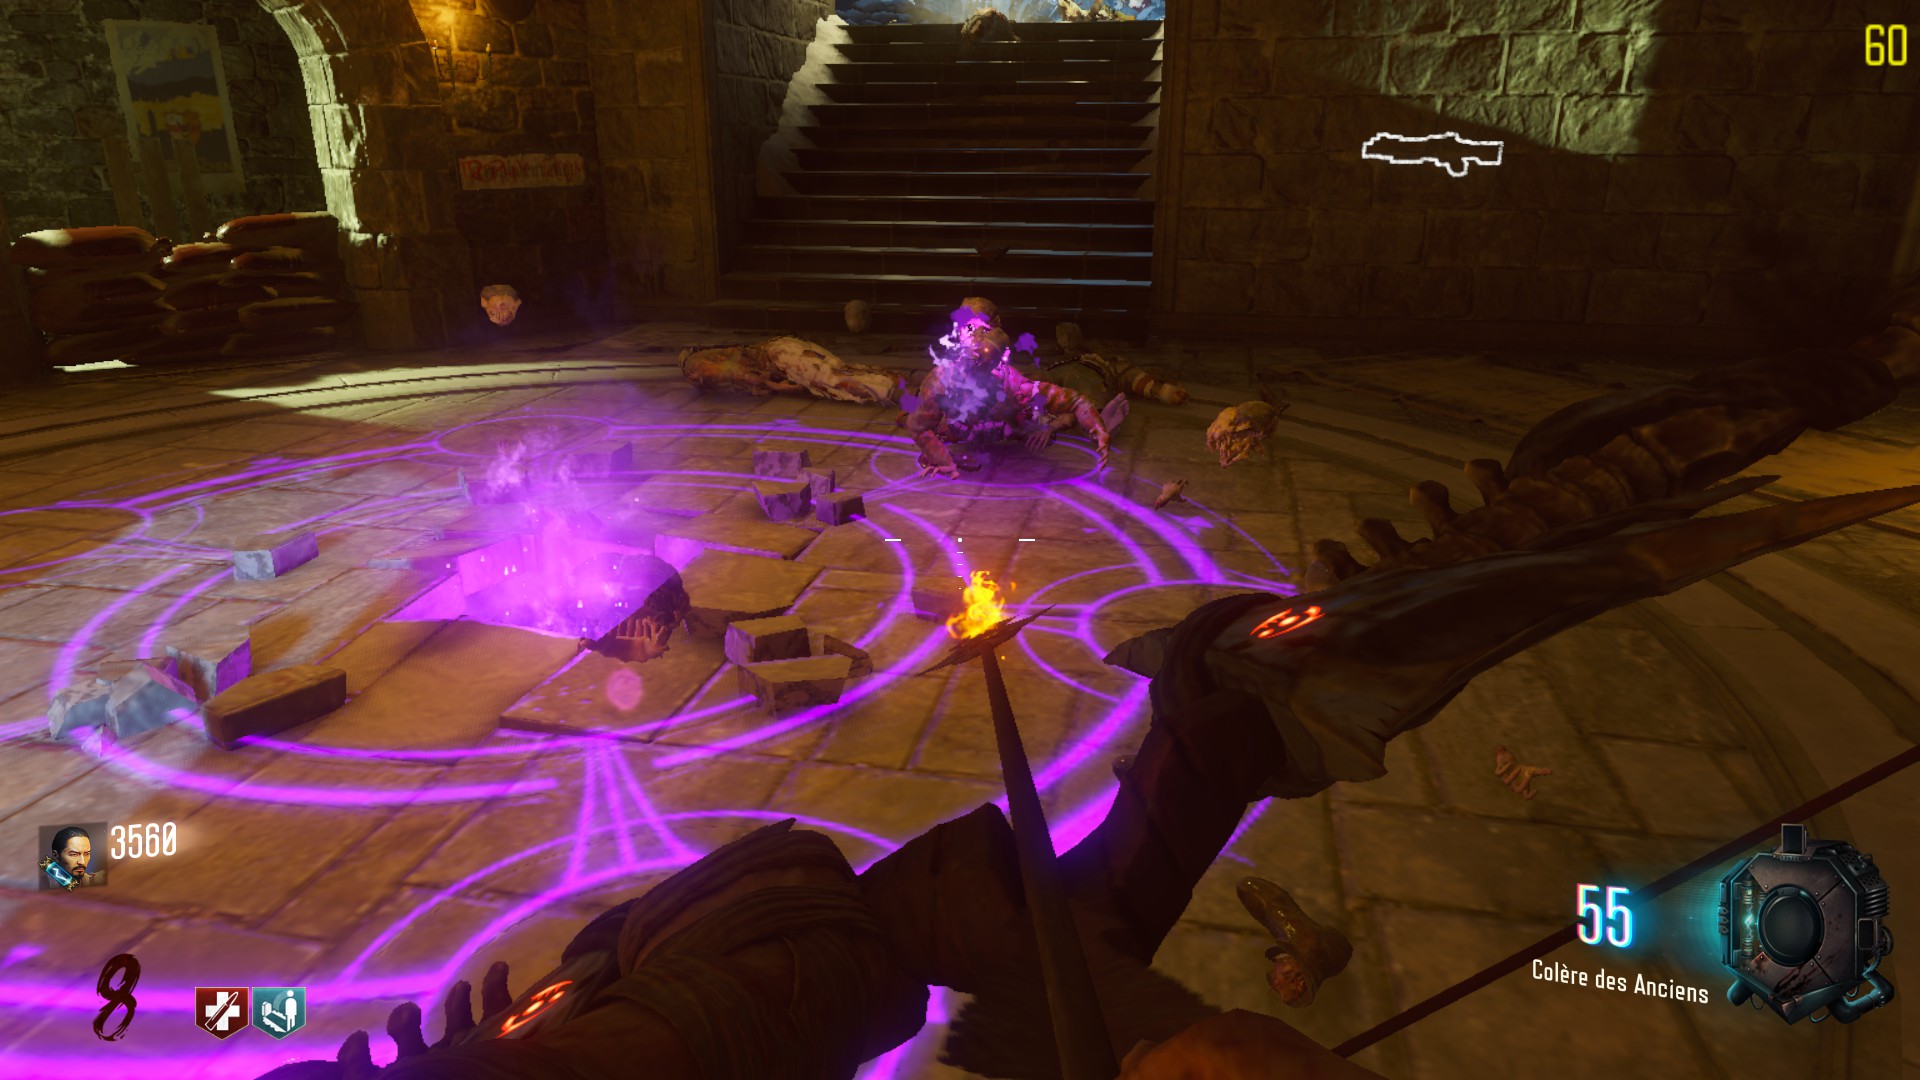
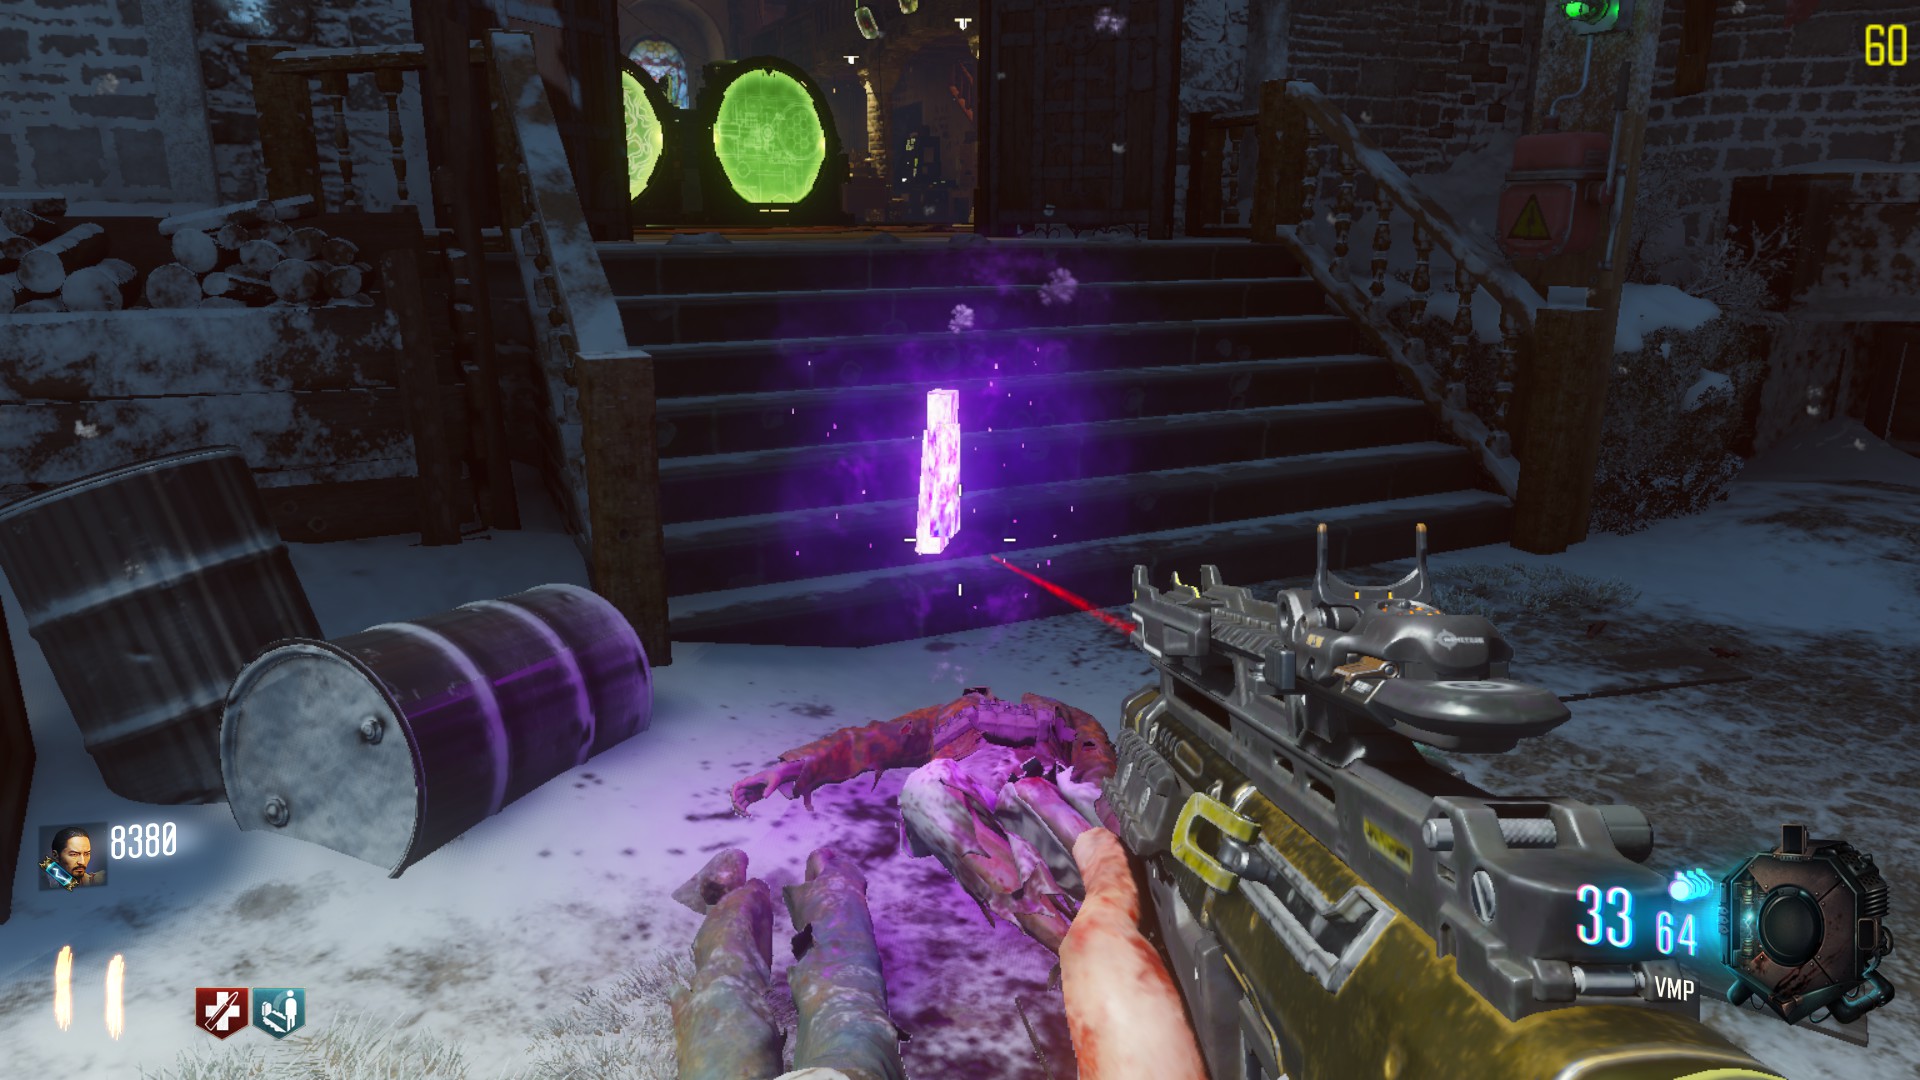
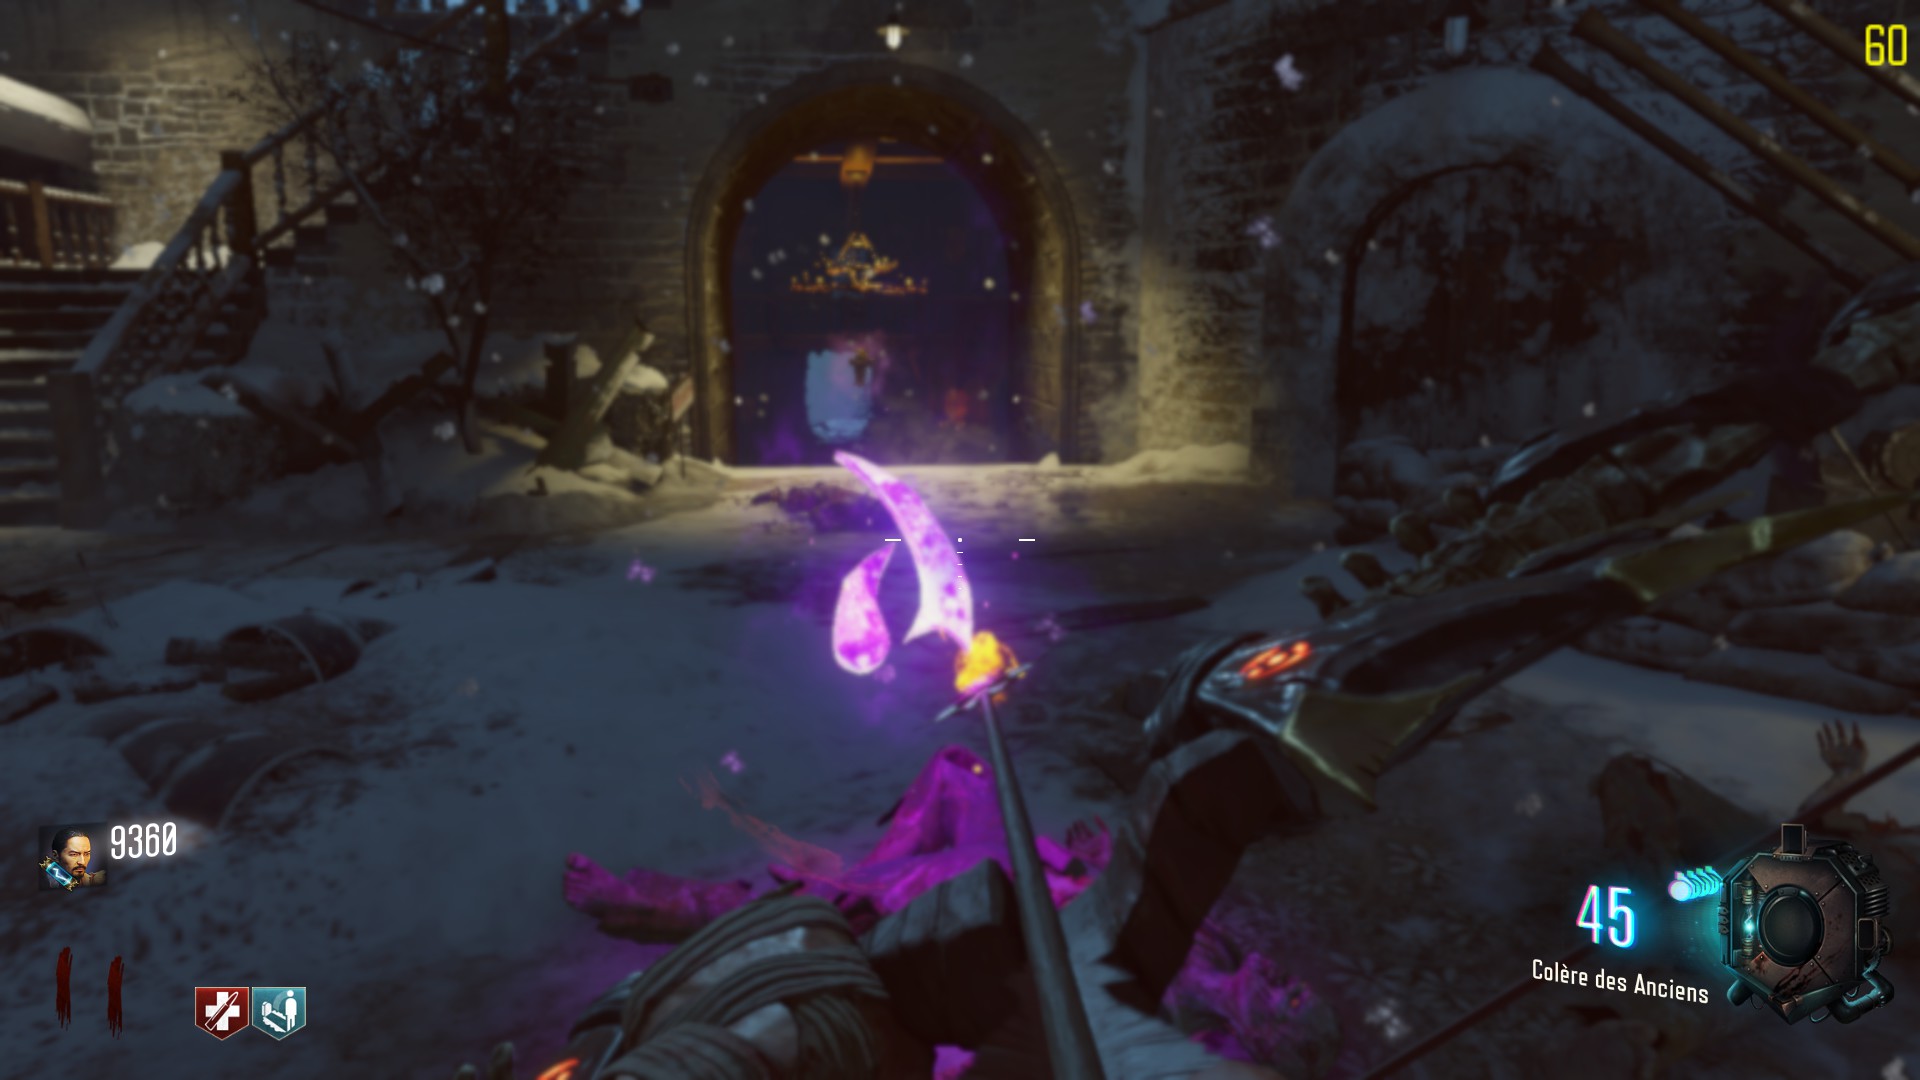
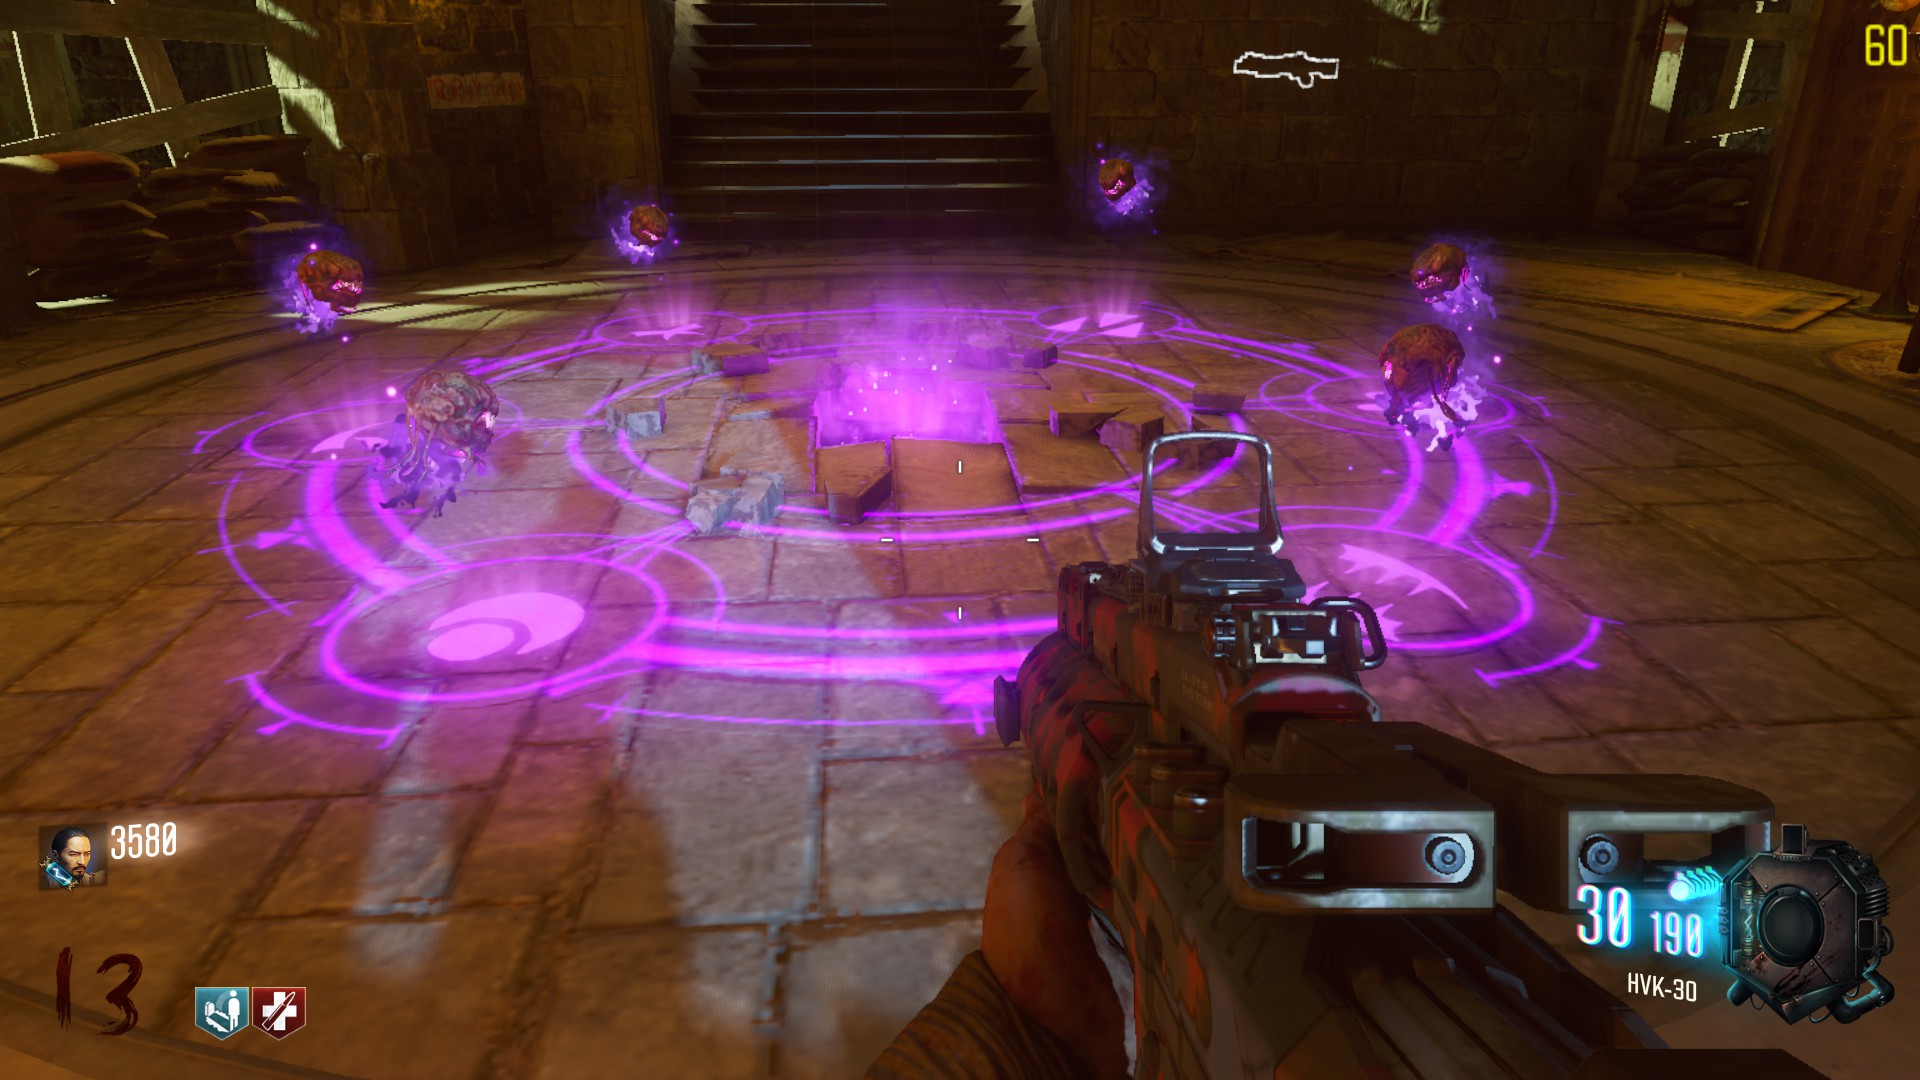
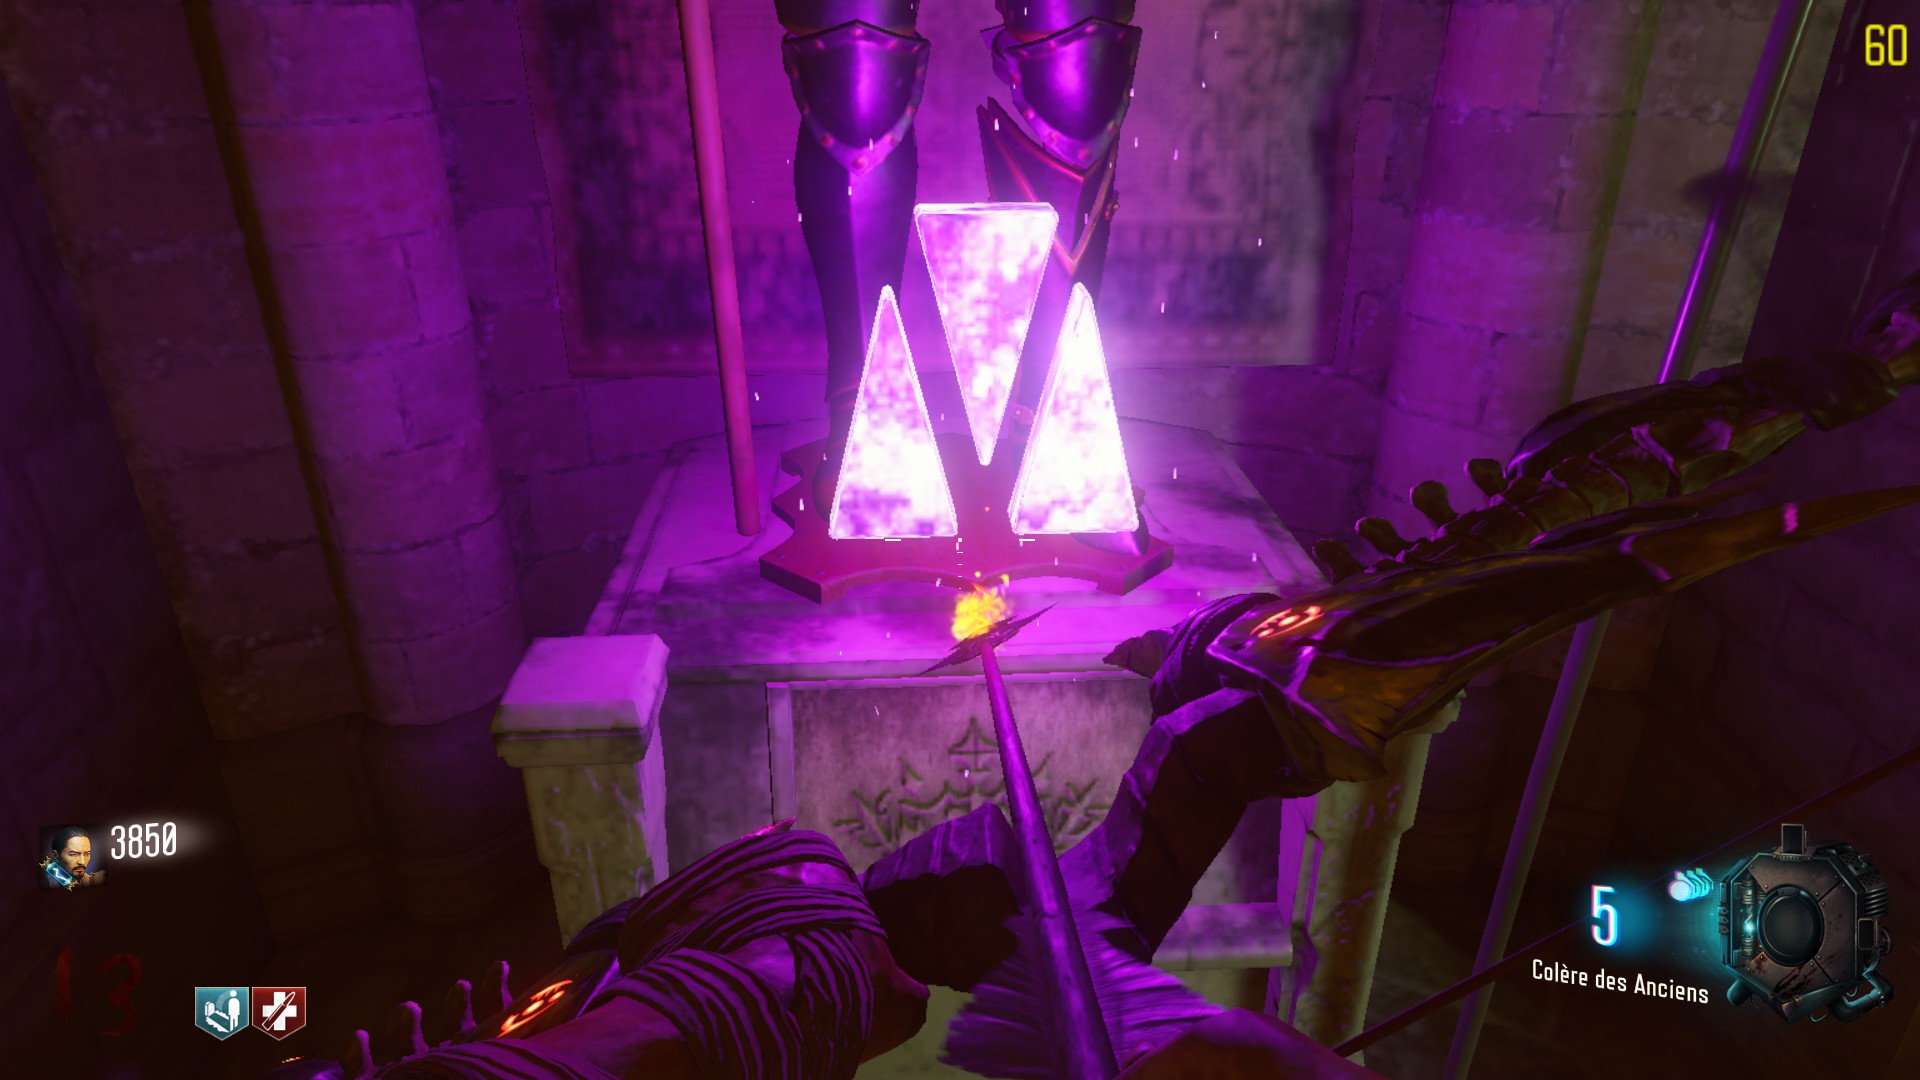
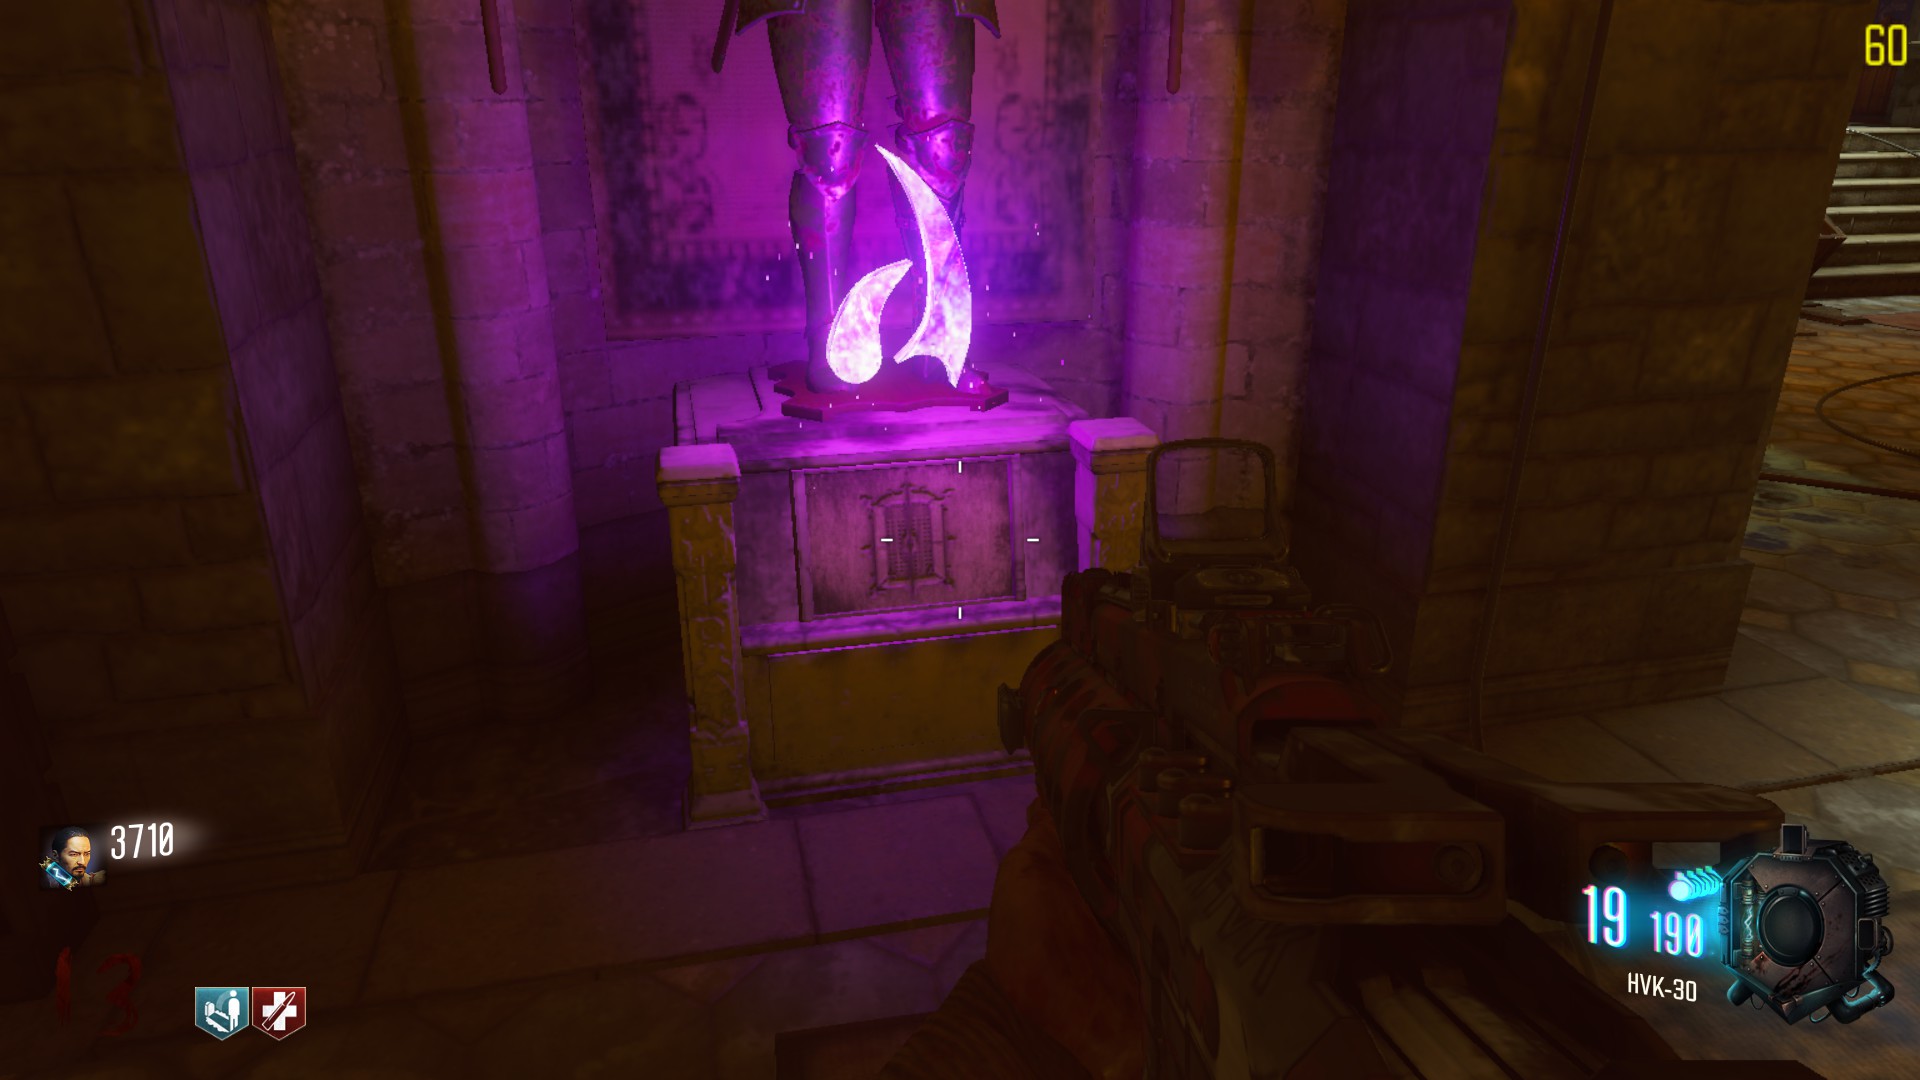
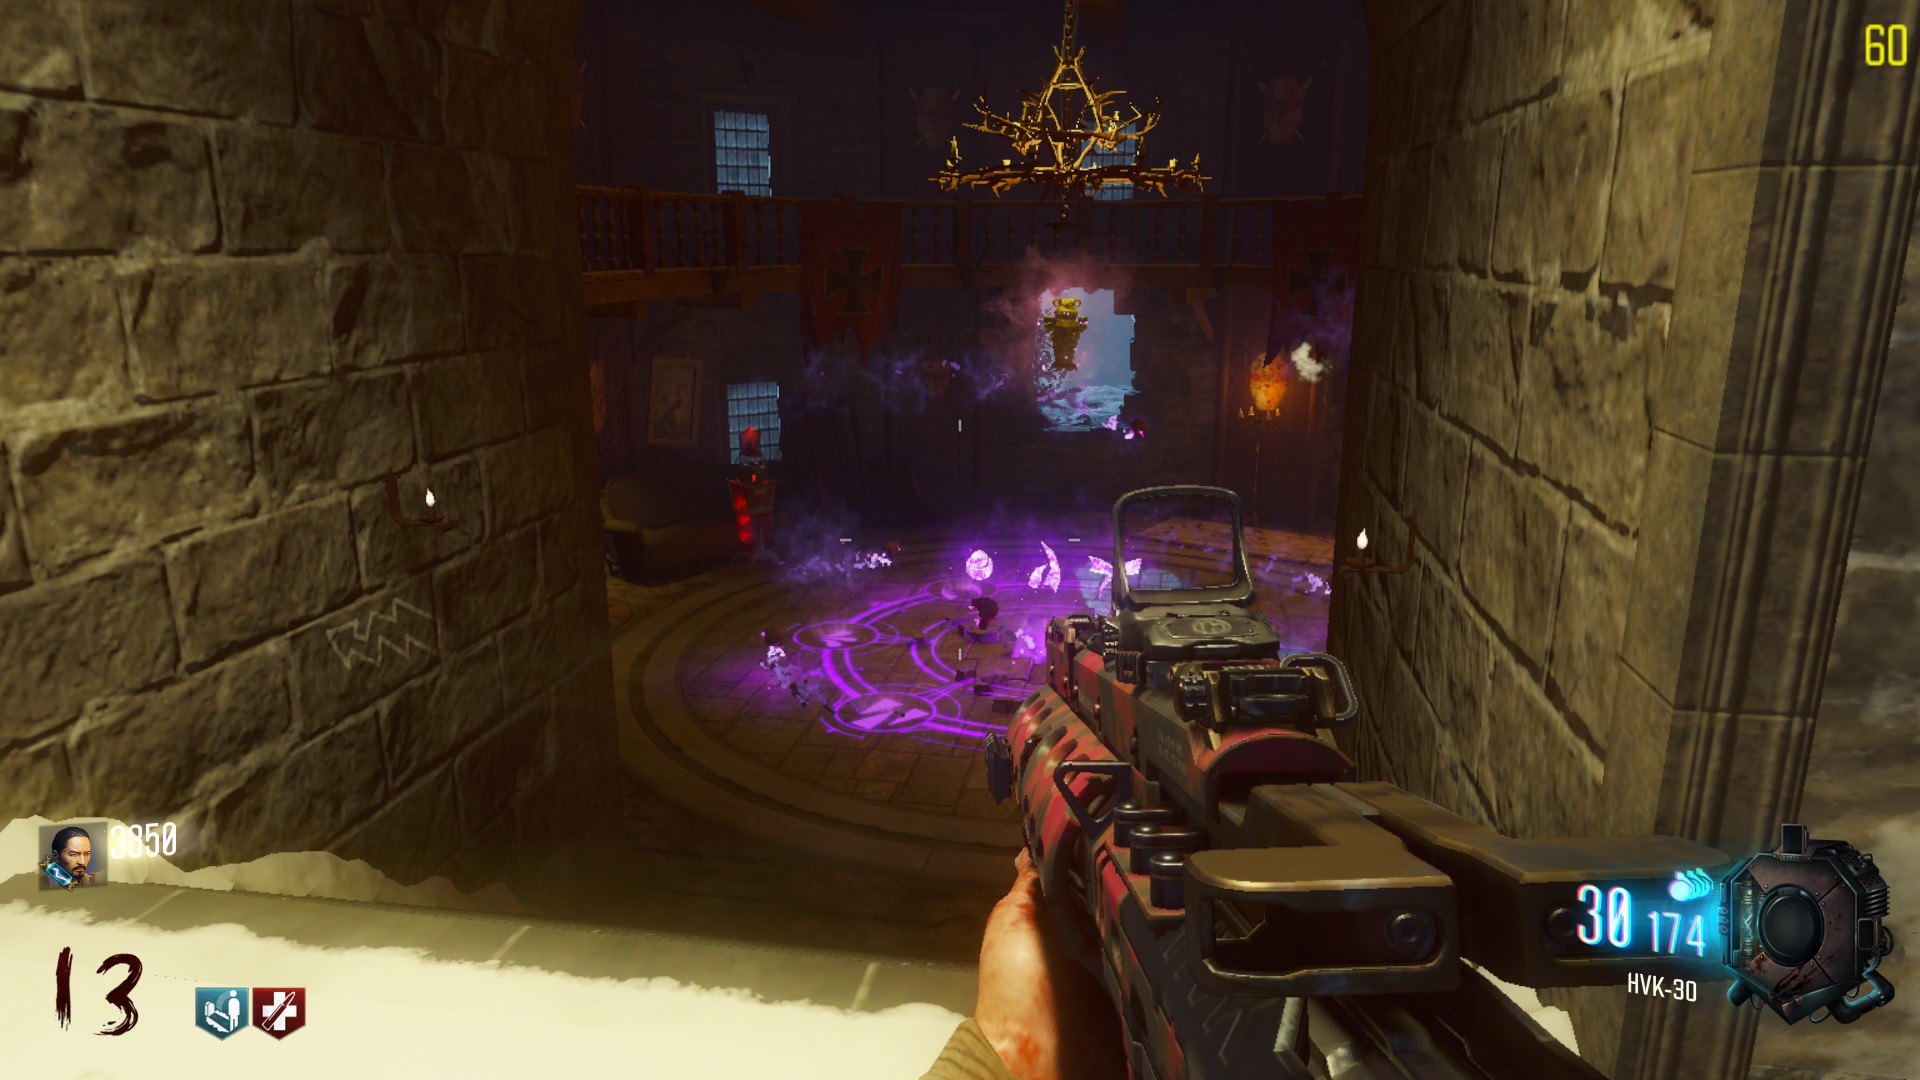
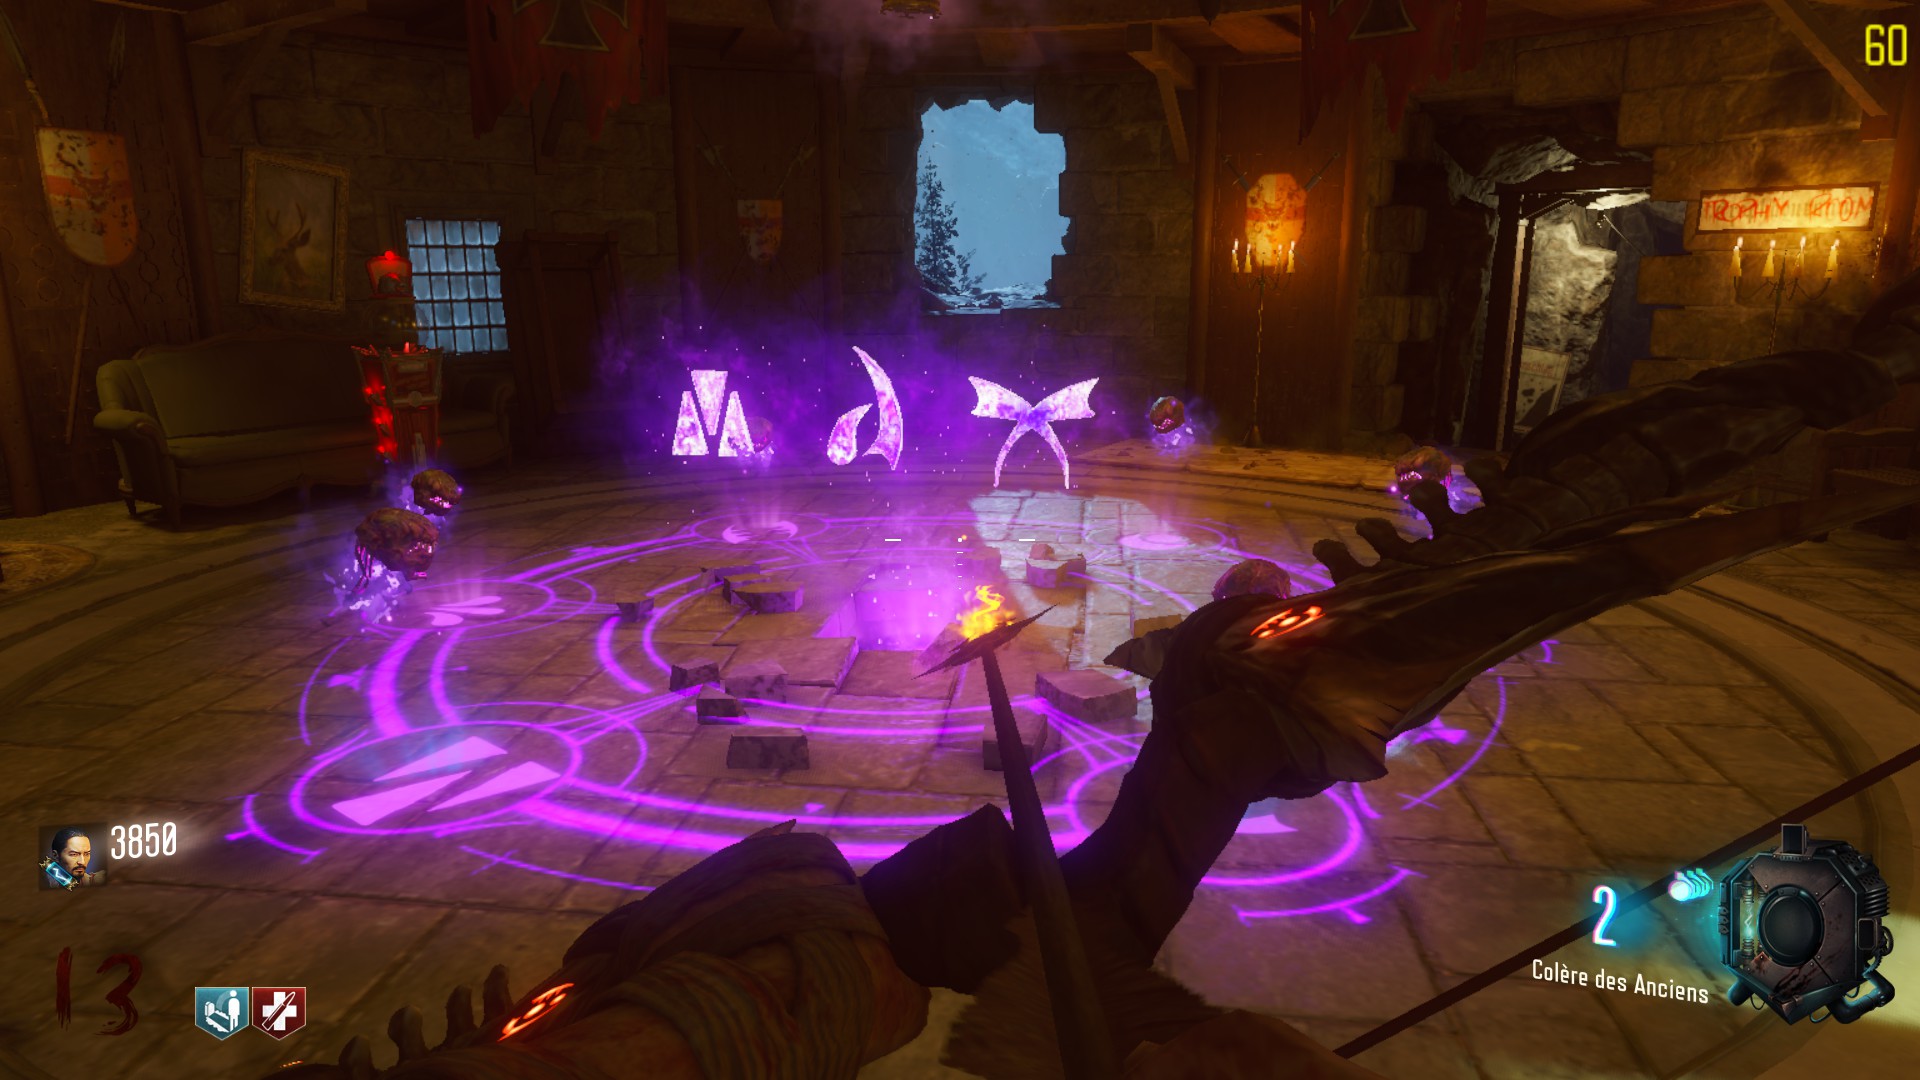
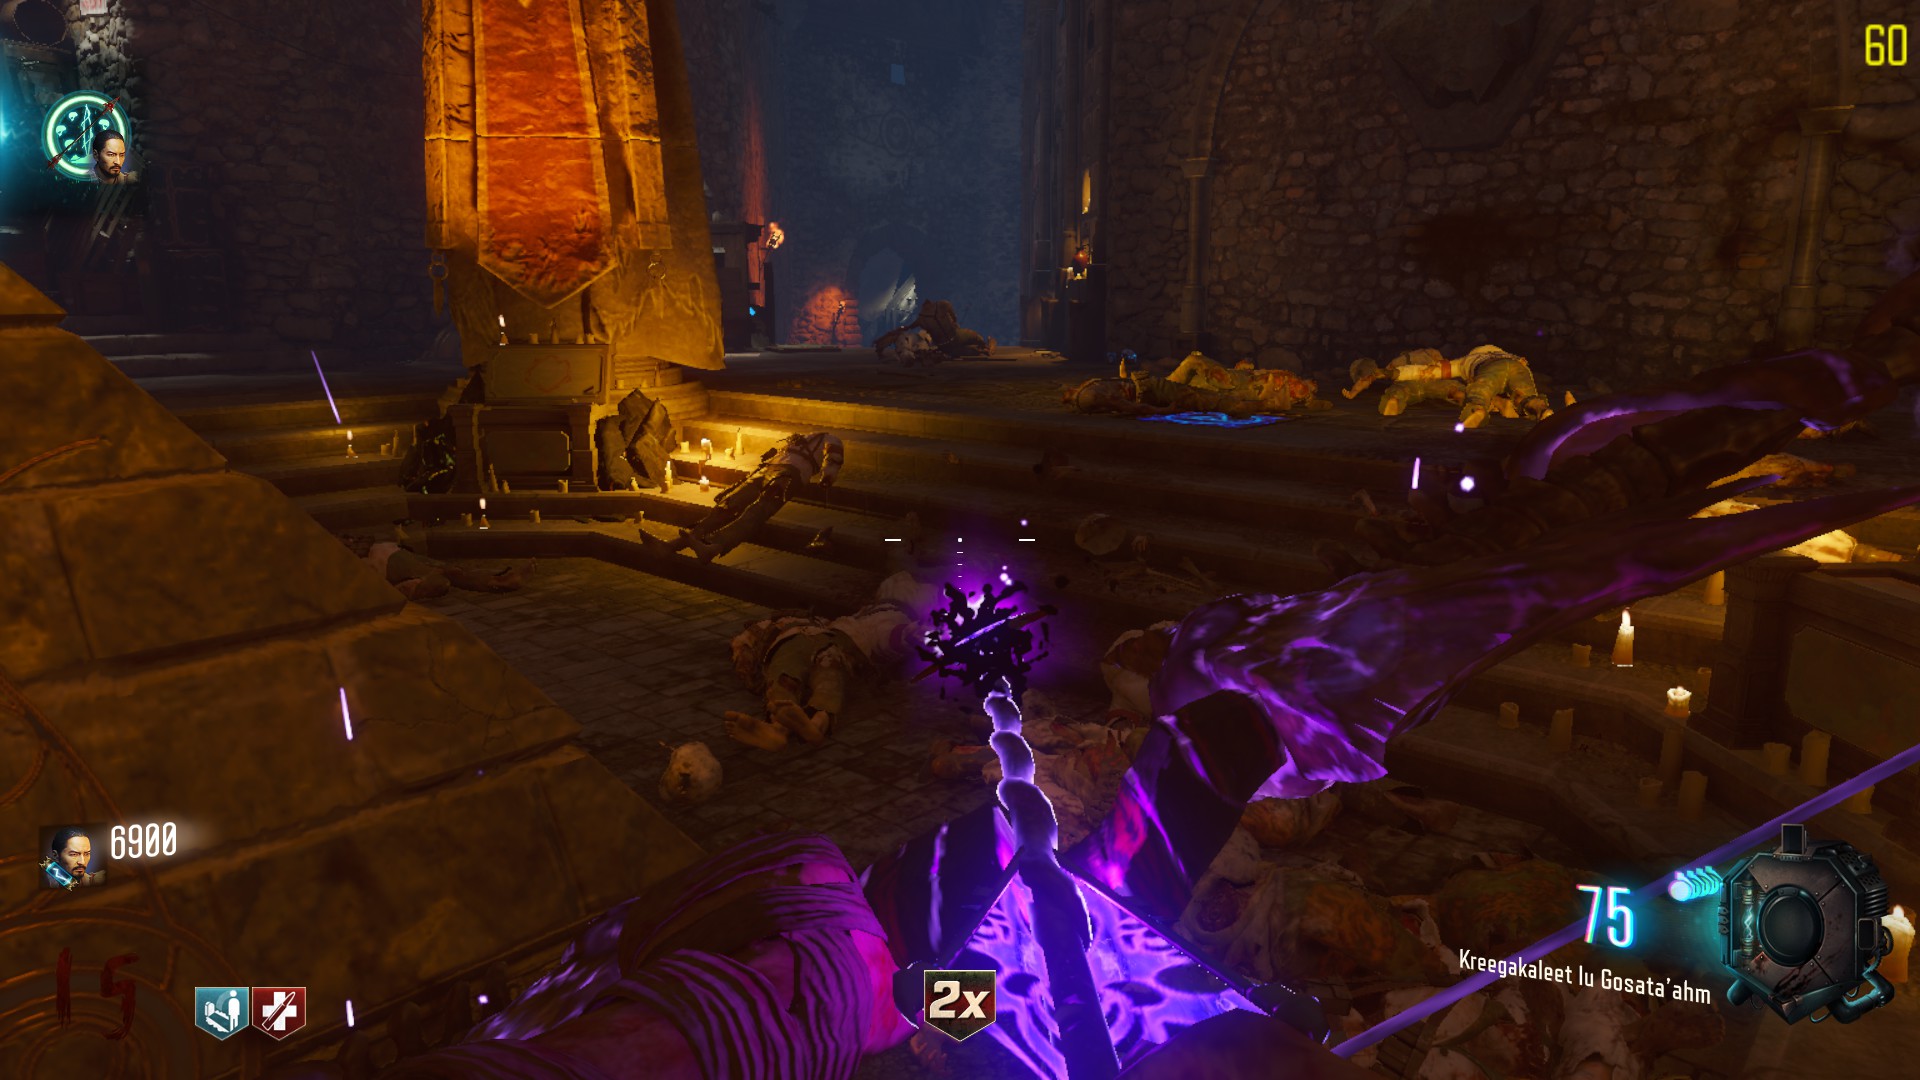
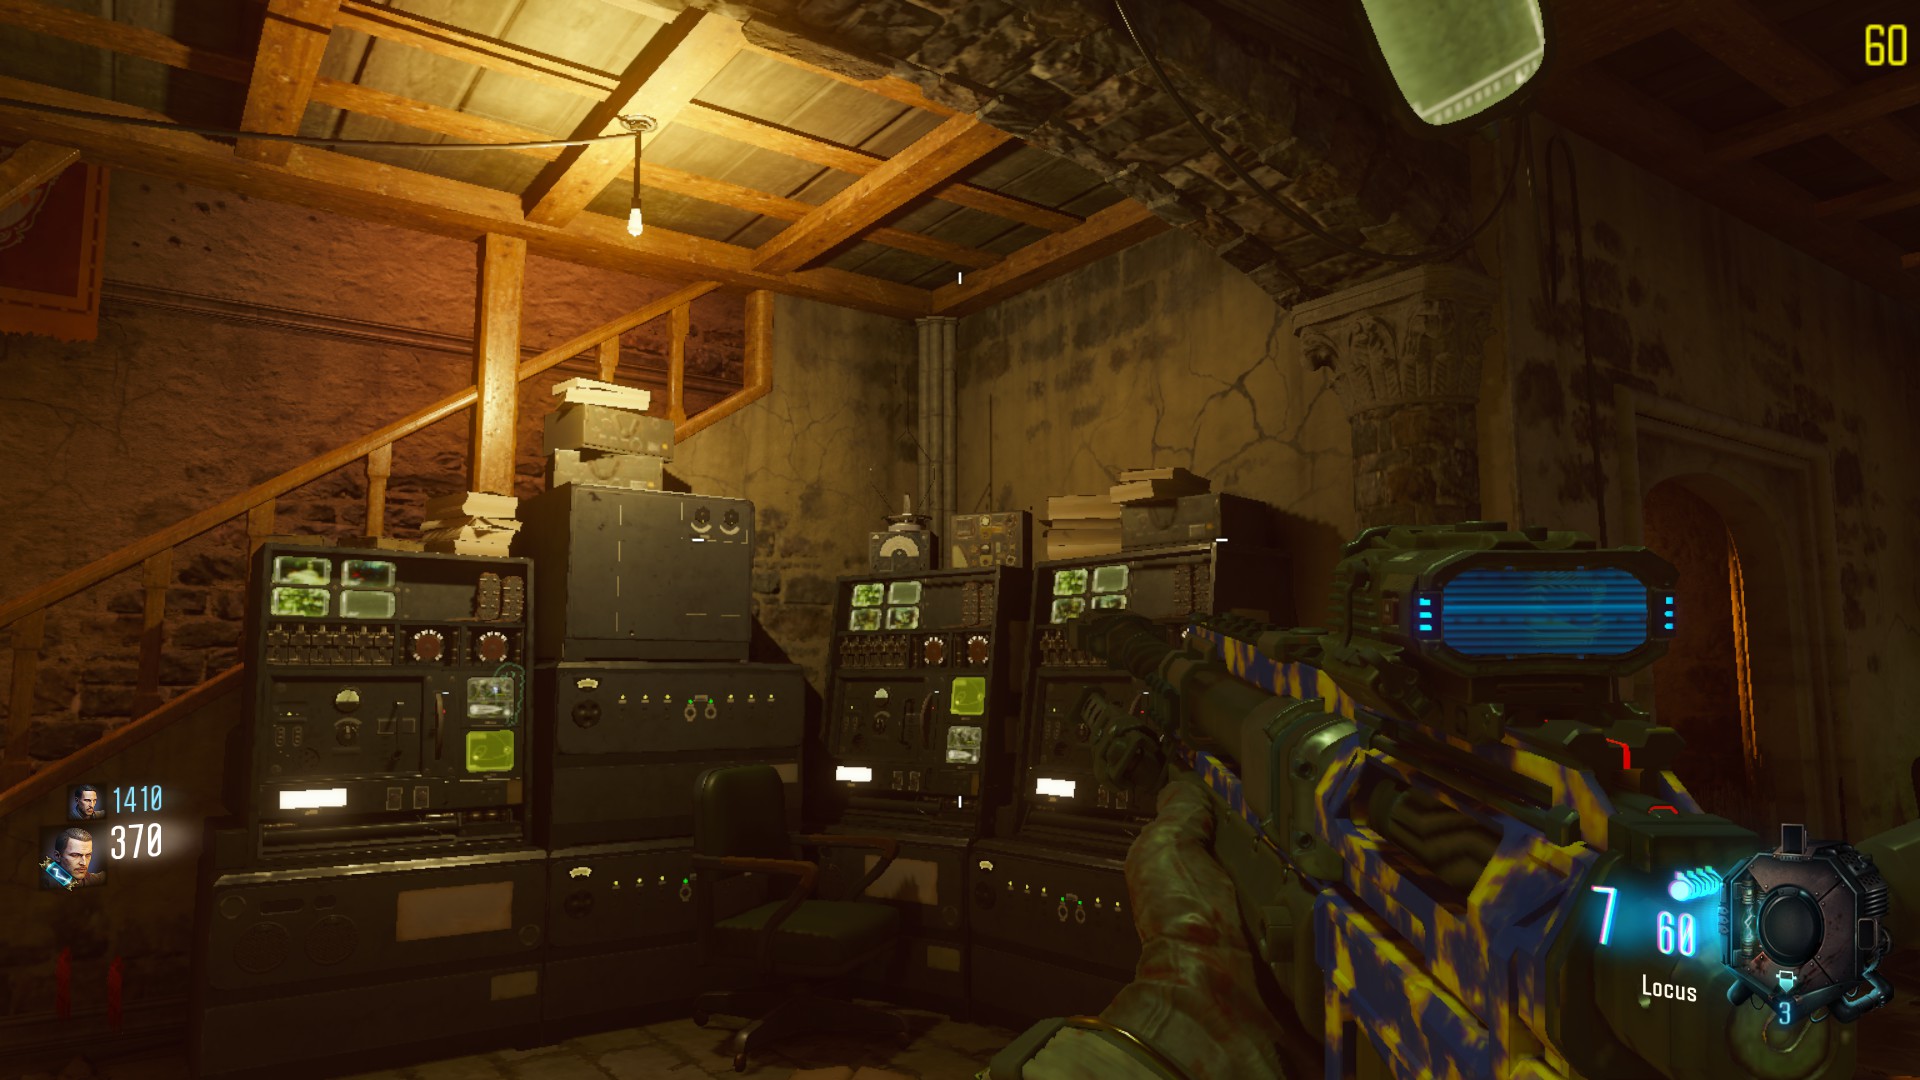
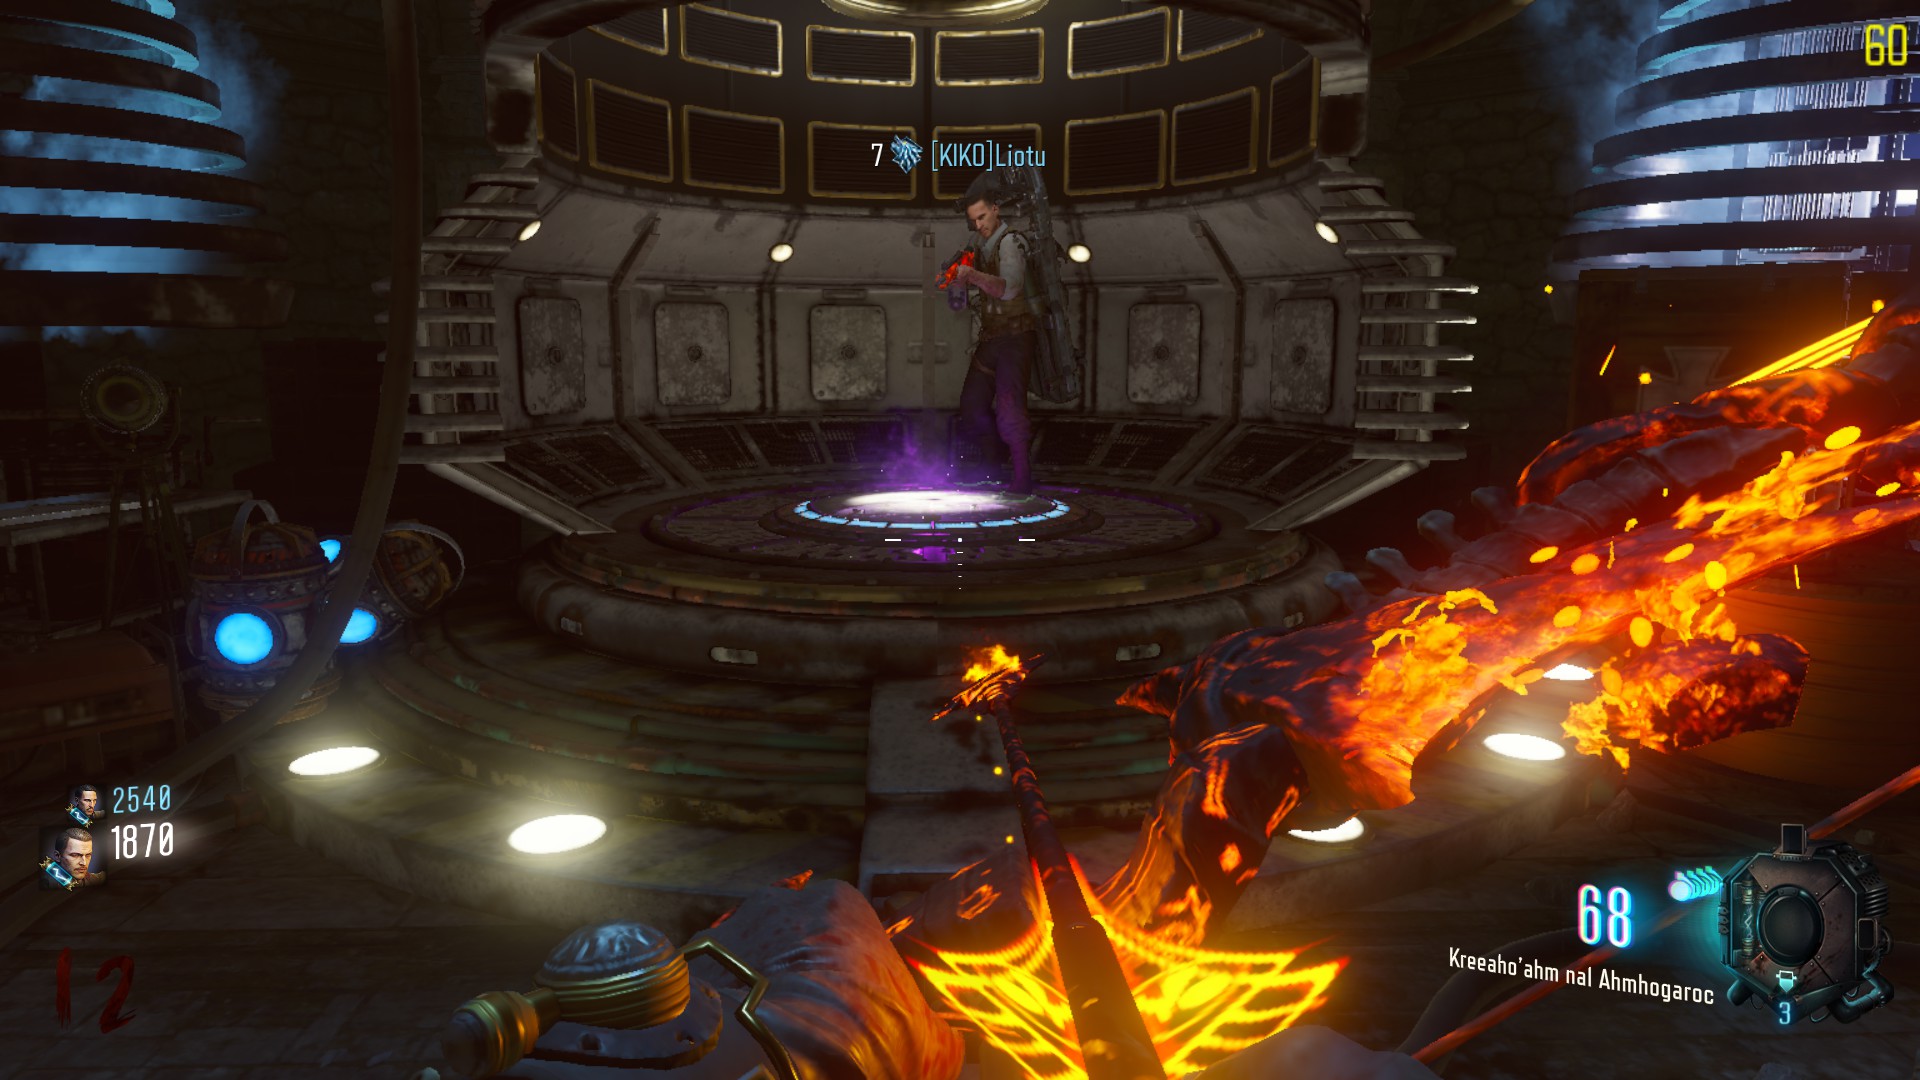
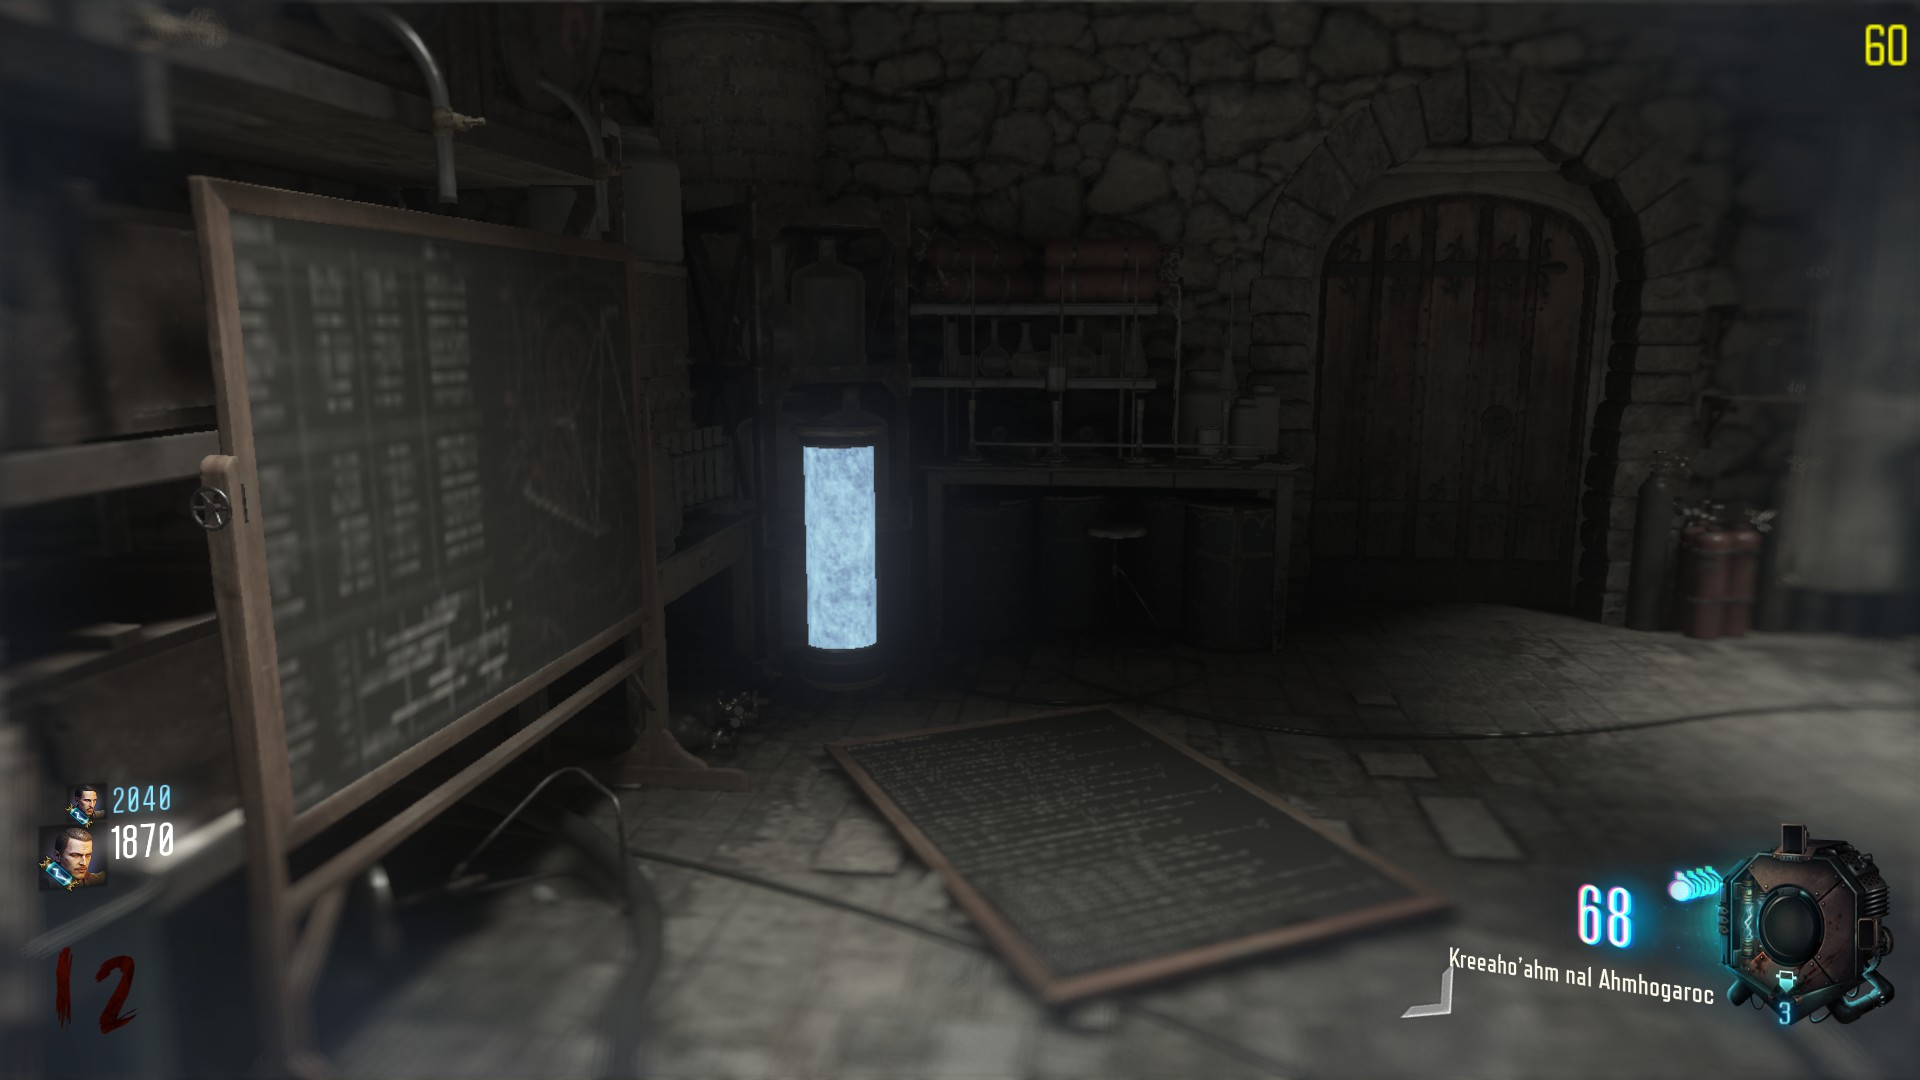
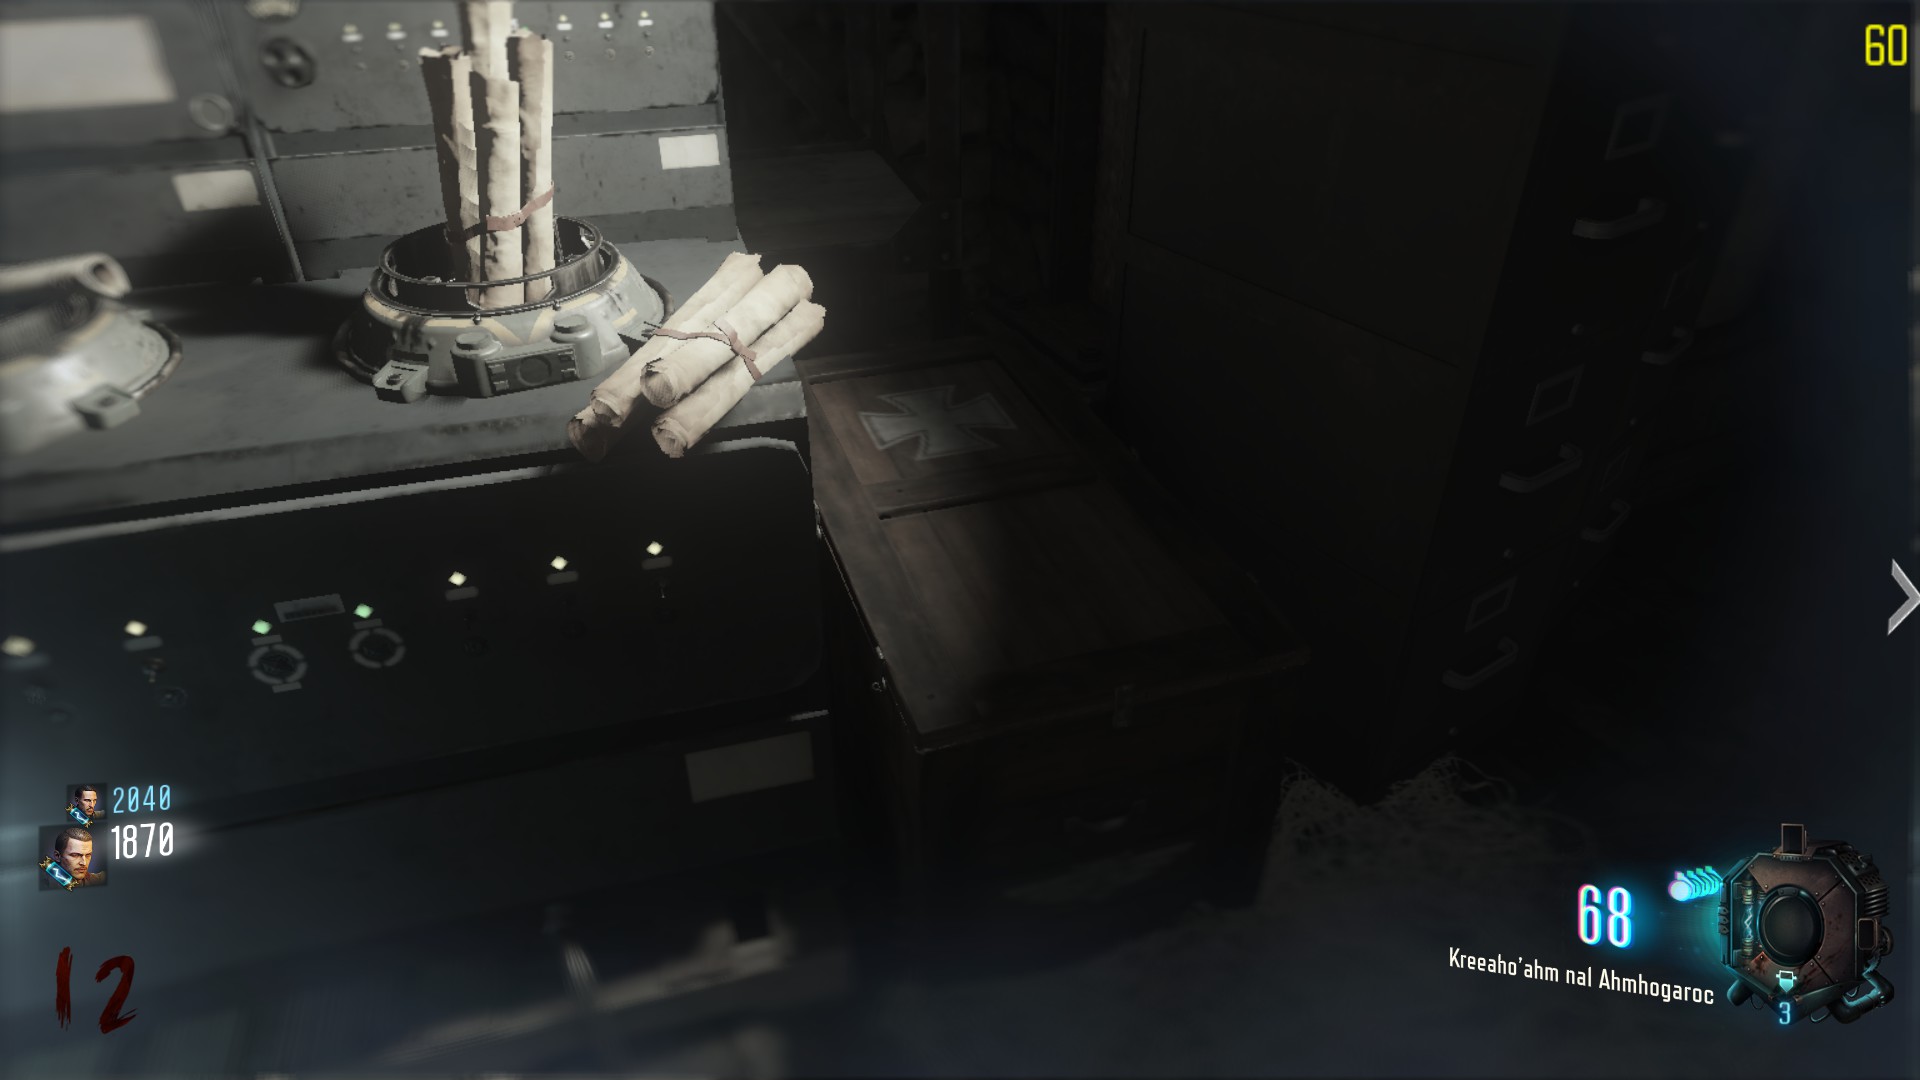
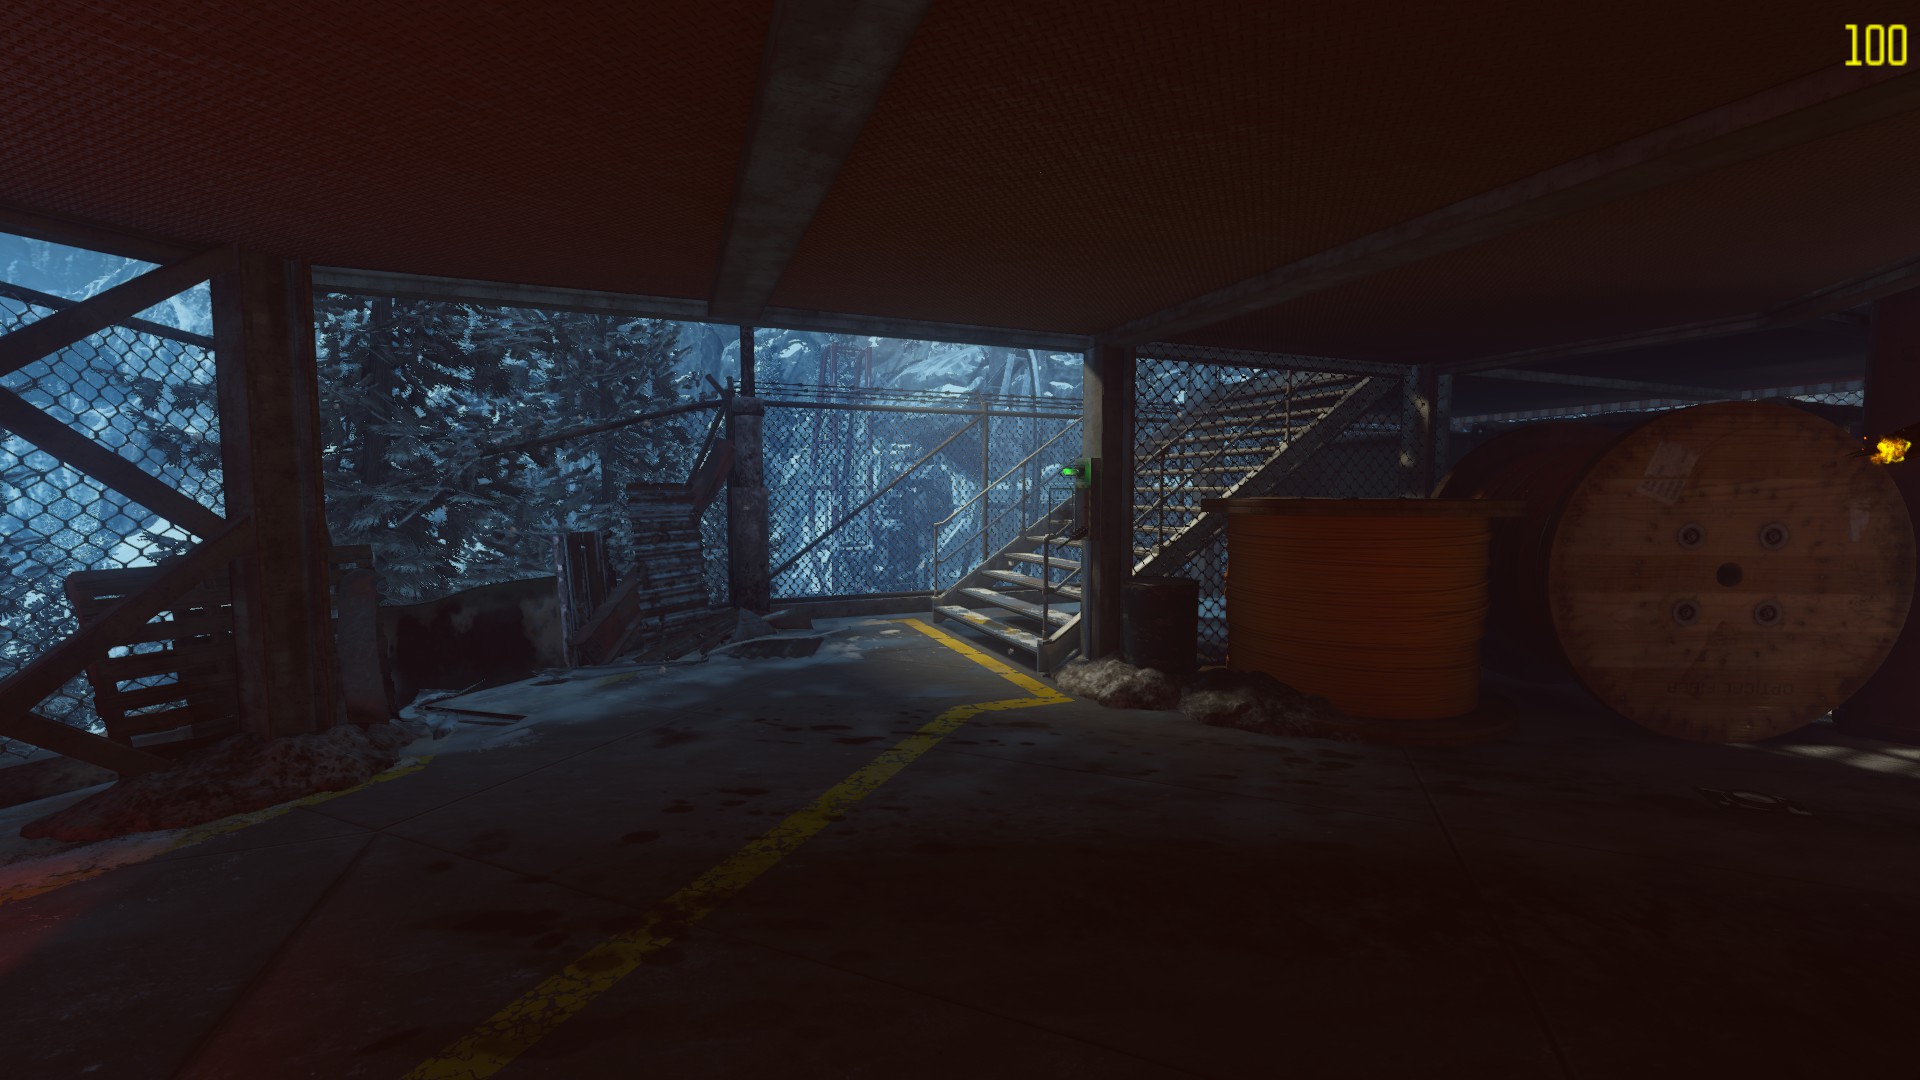
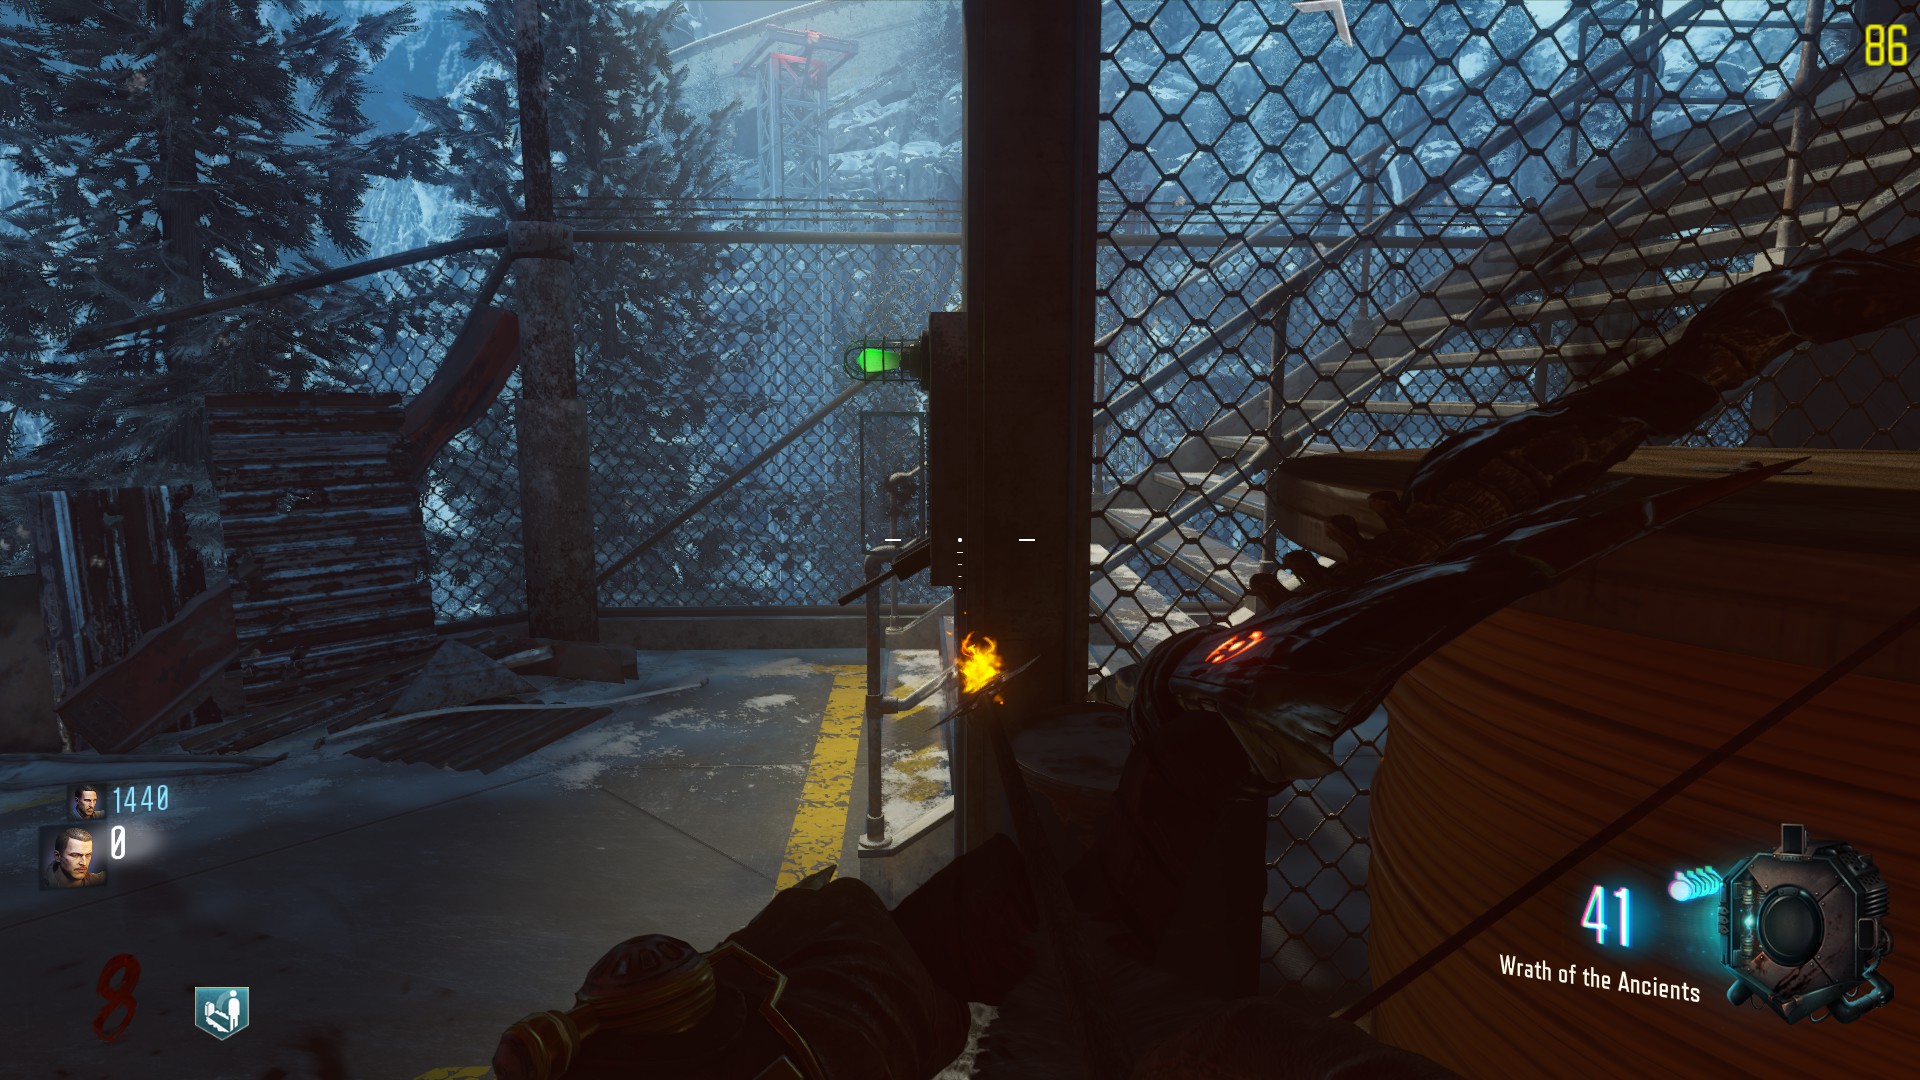
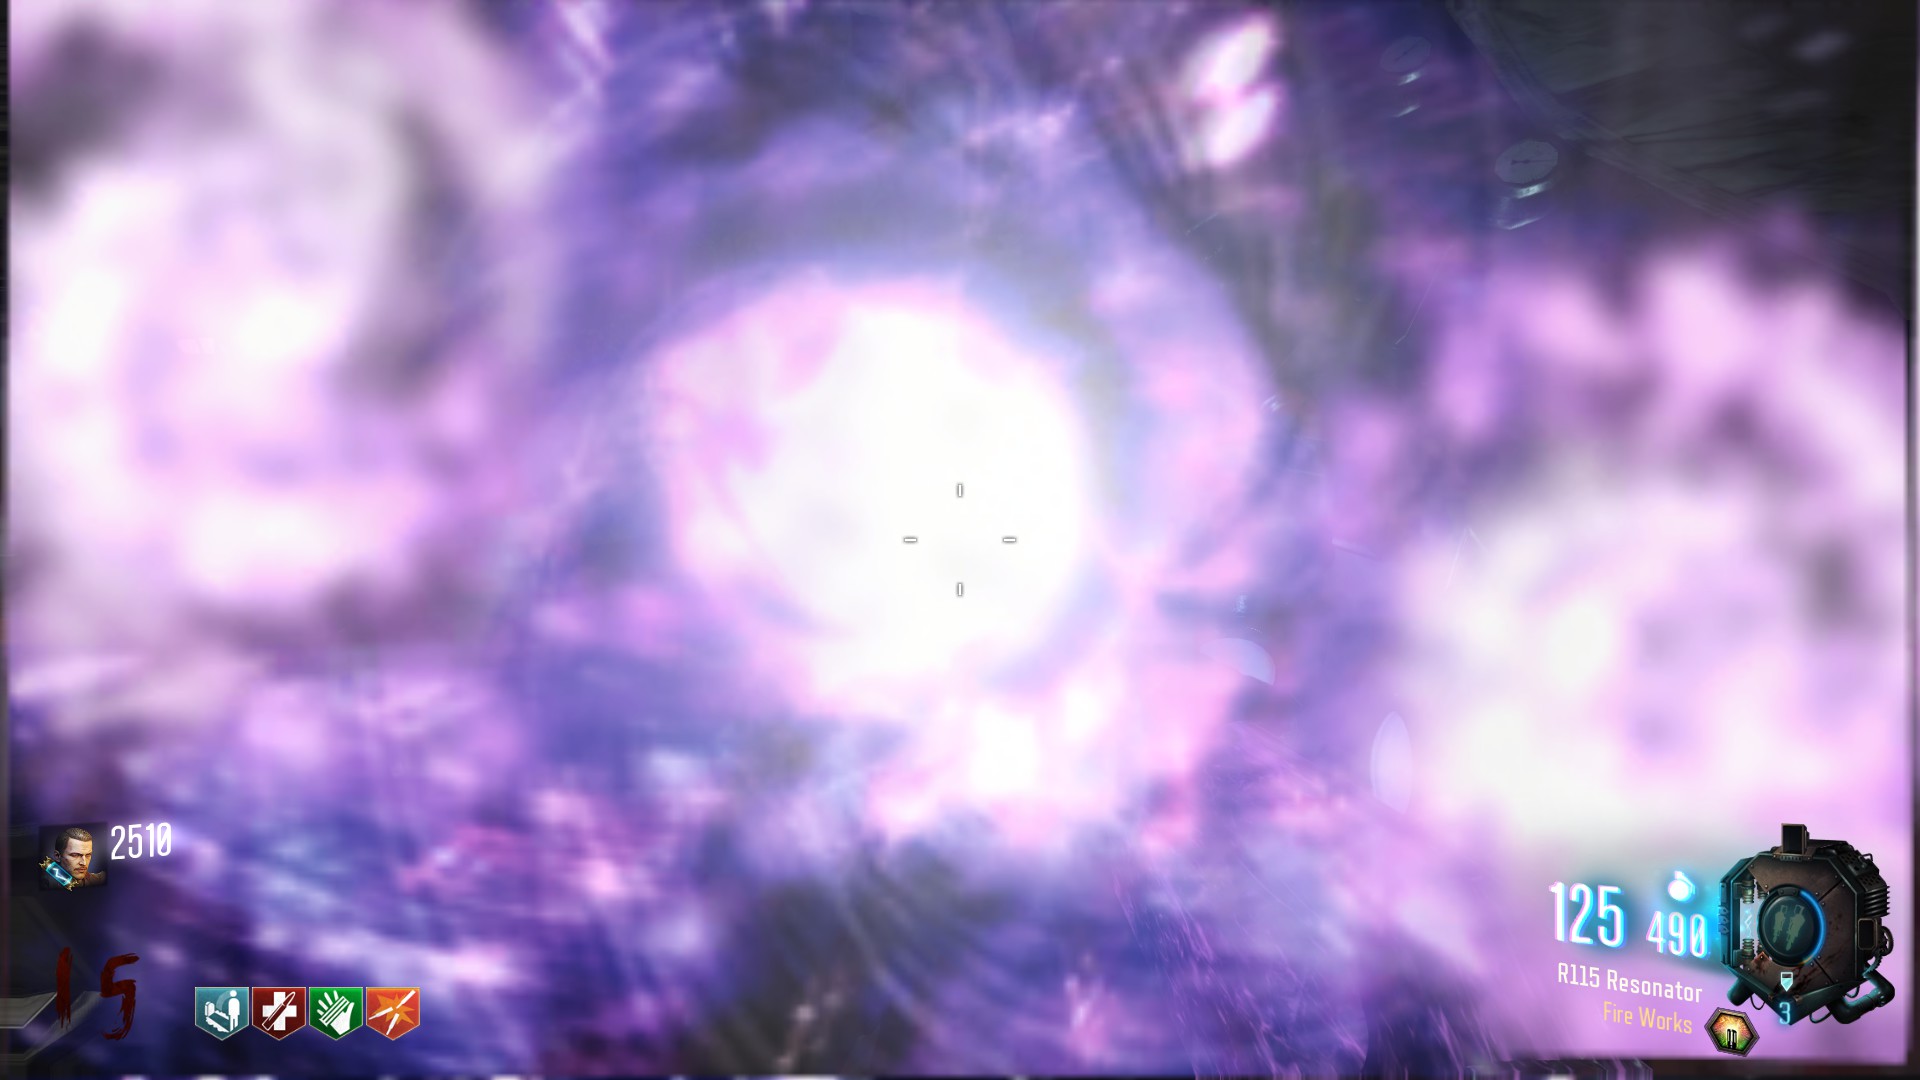
Overview
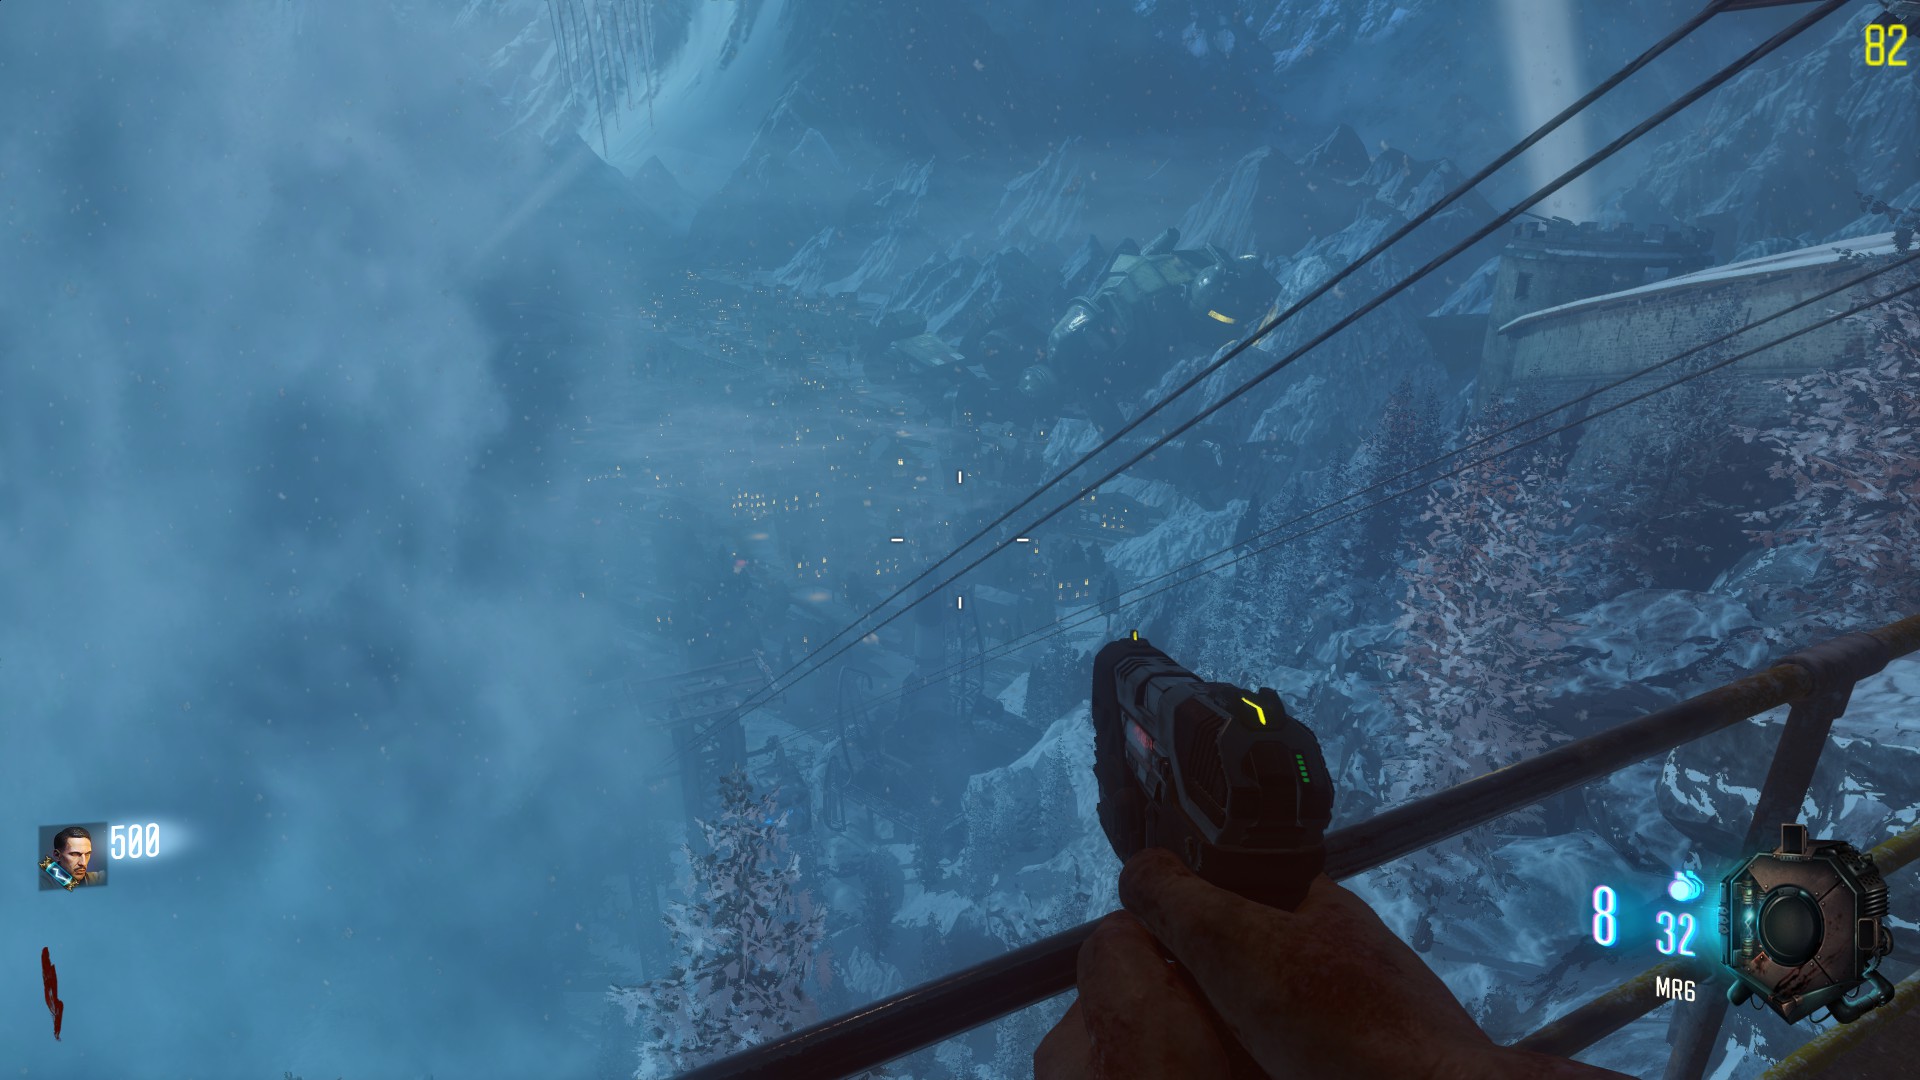
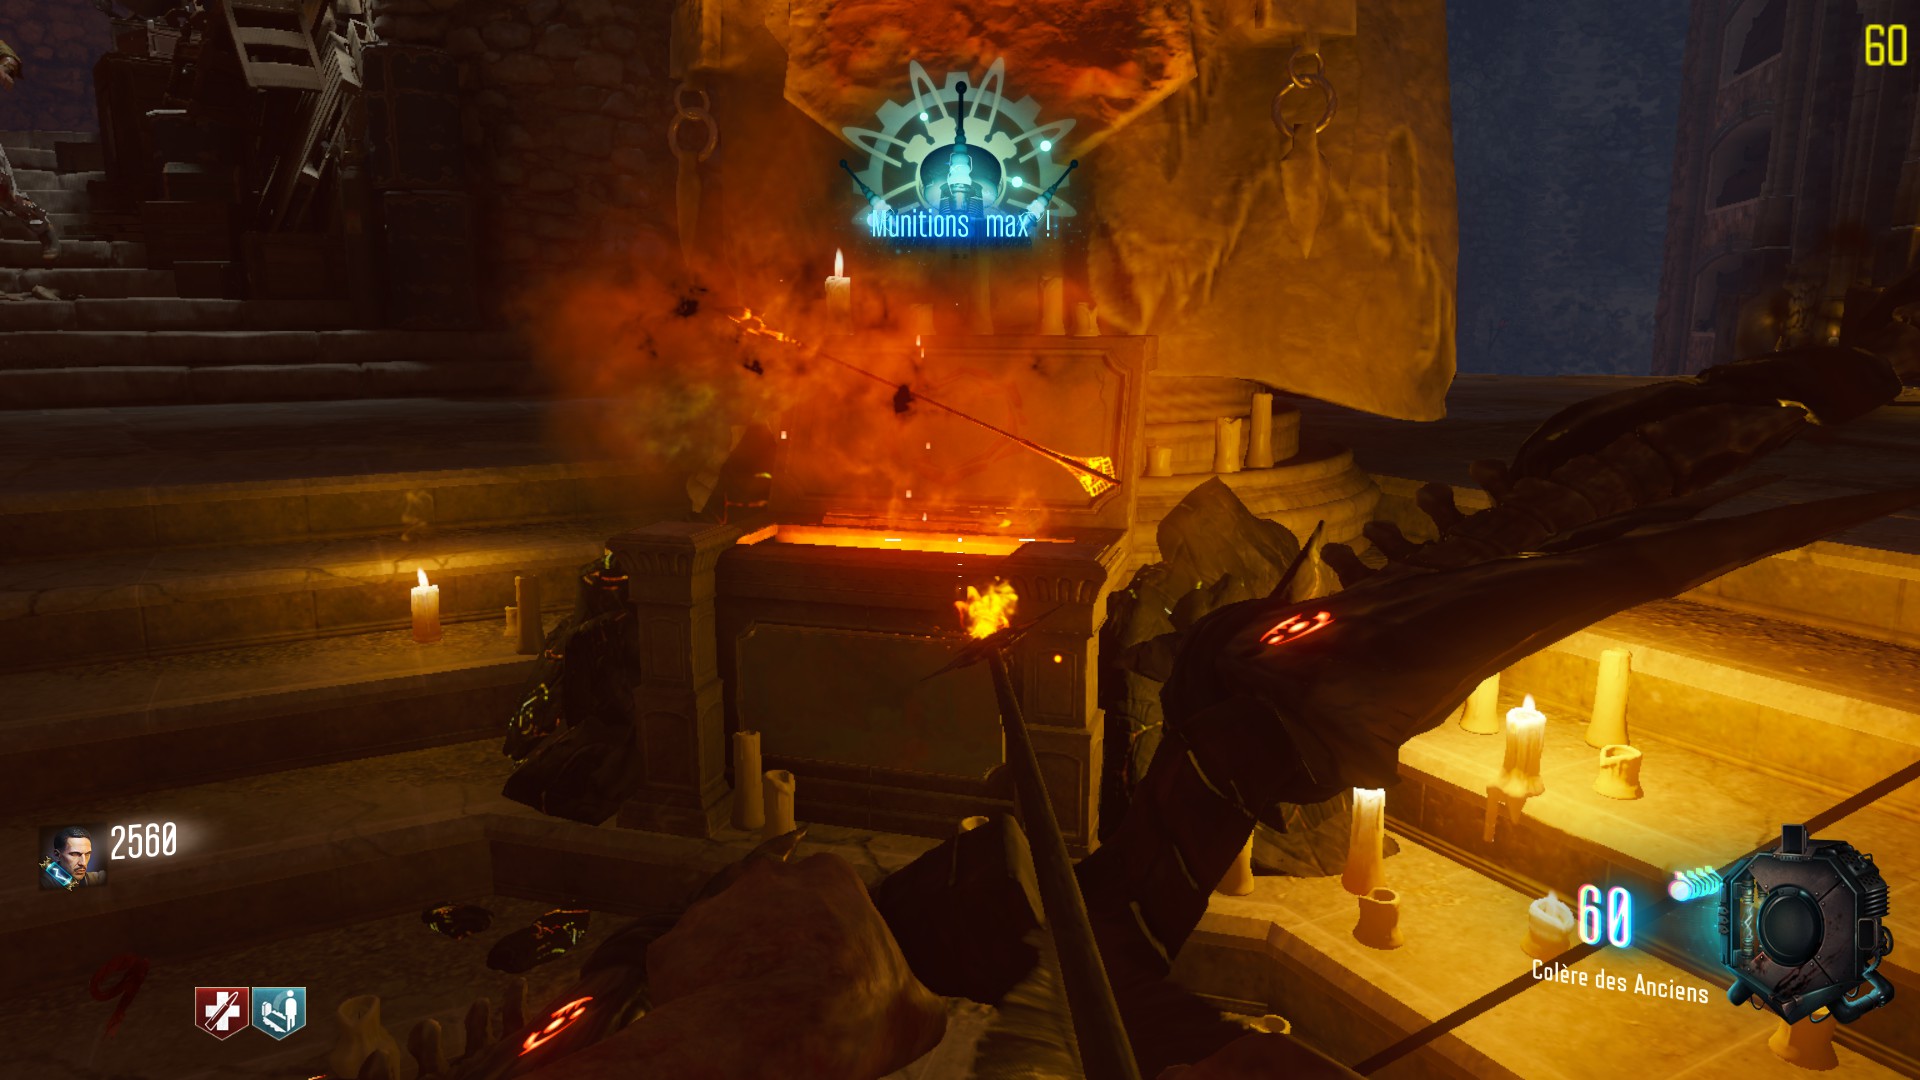
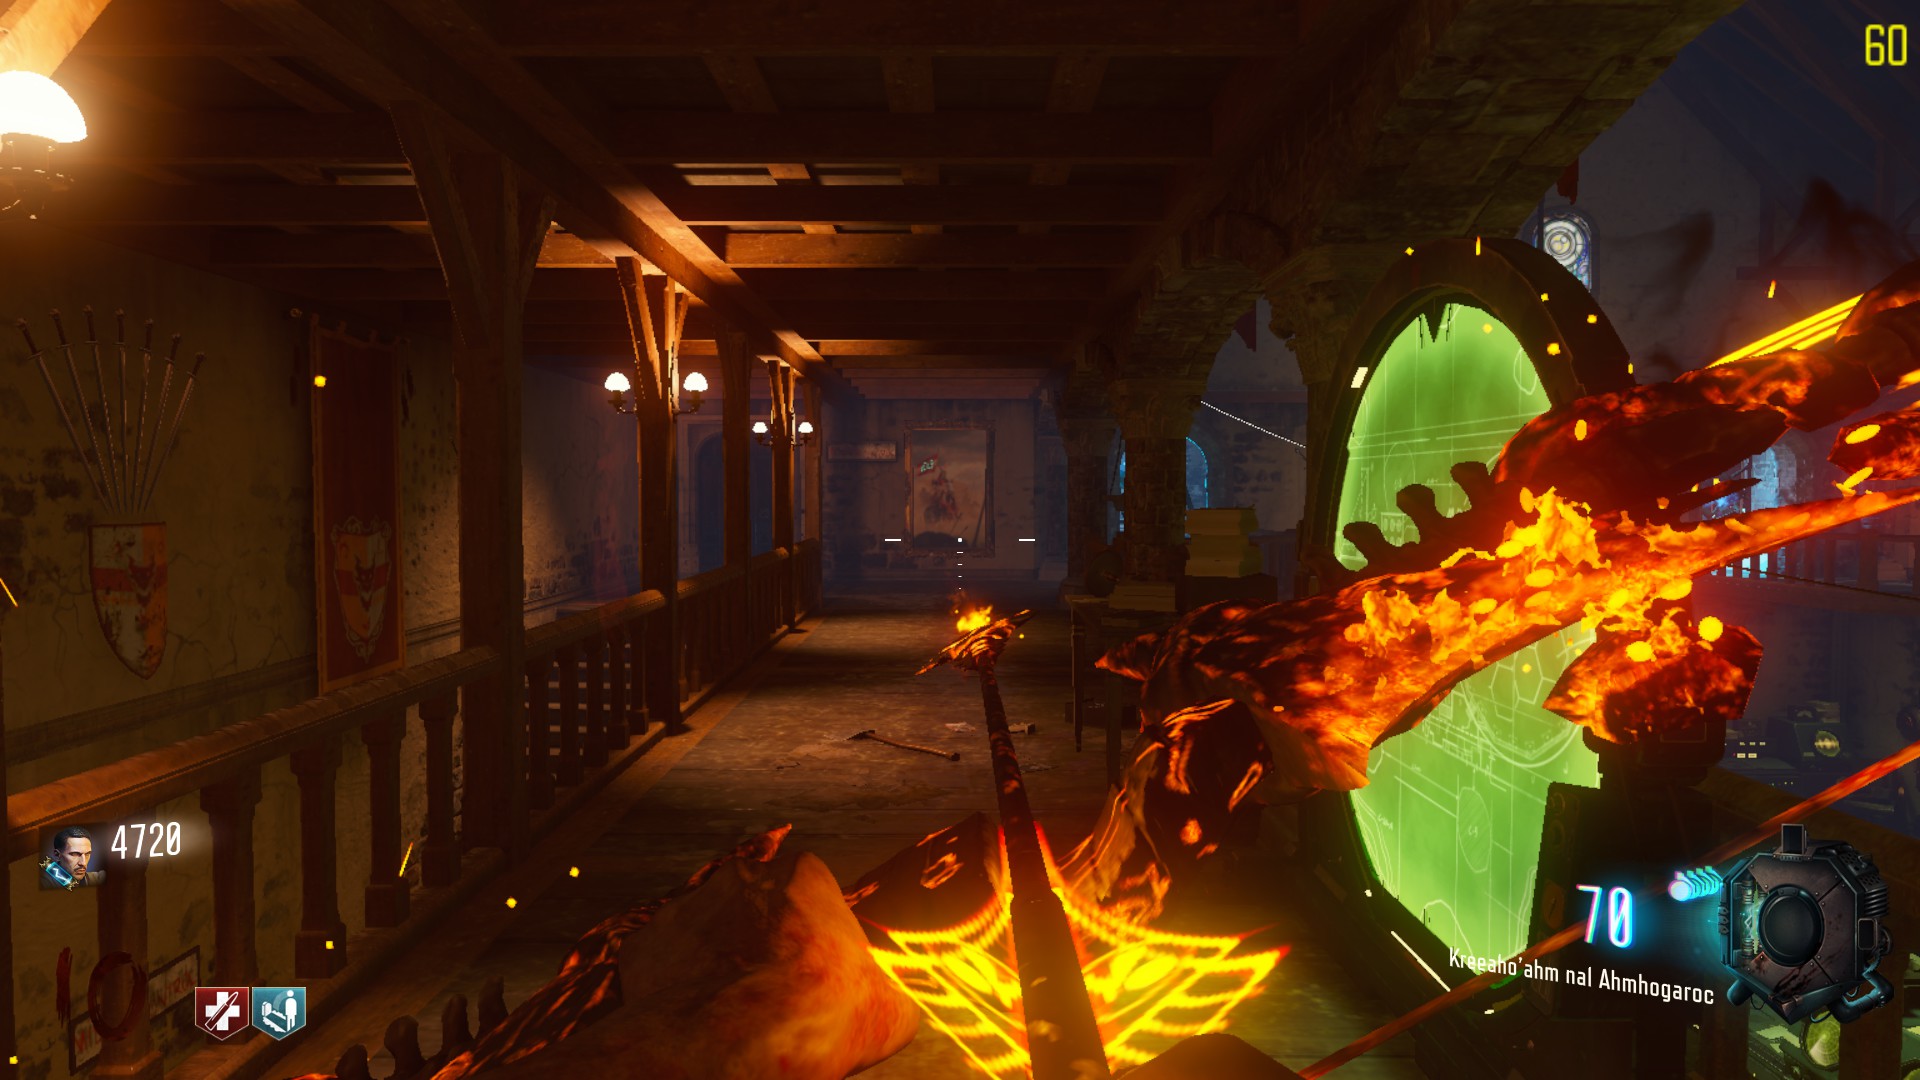
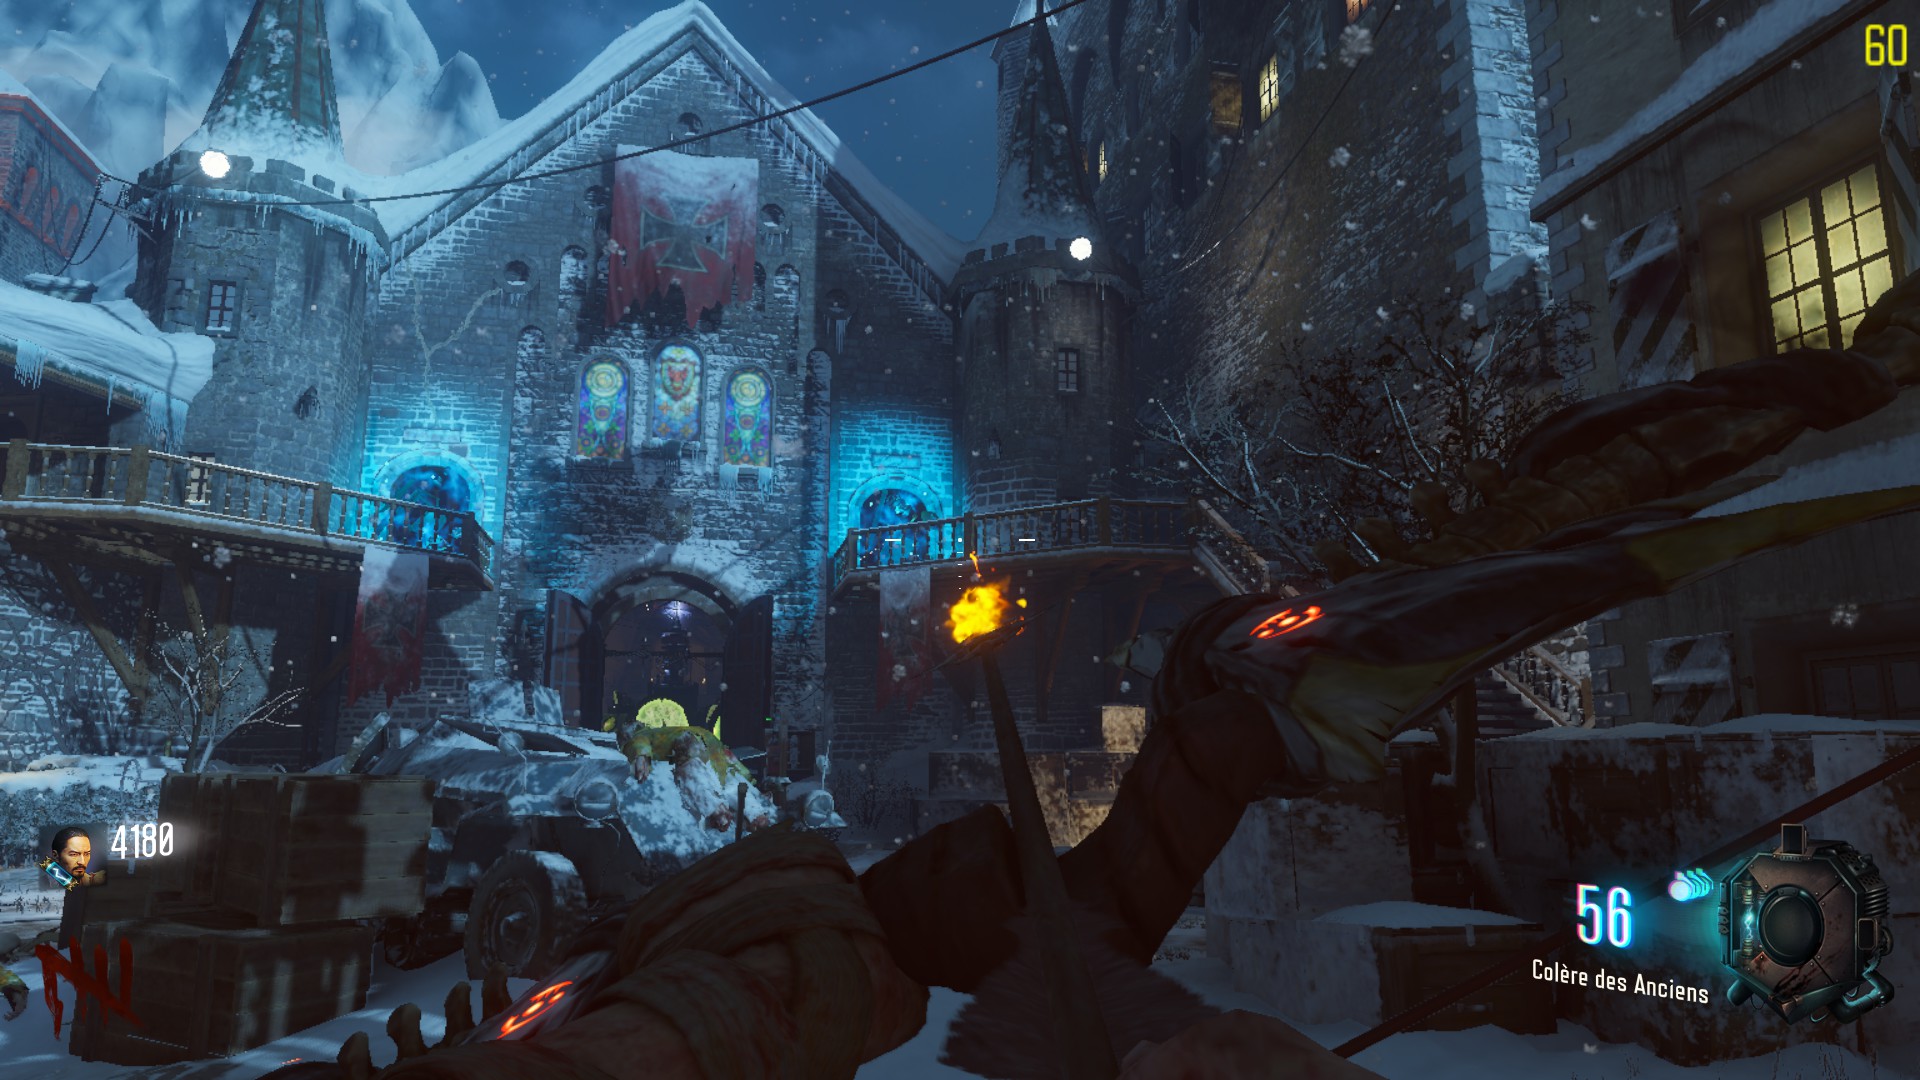
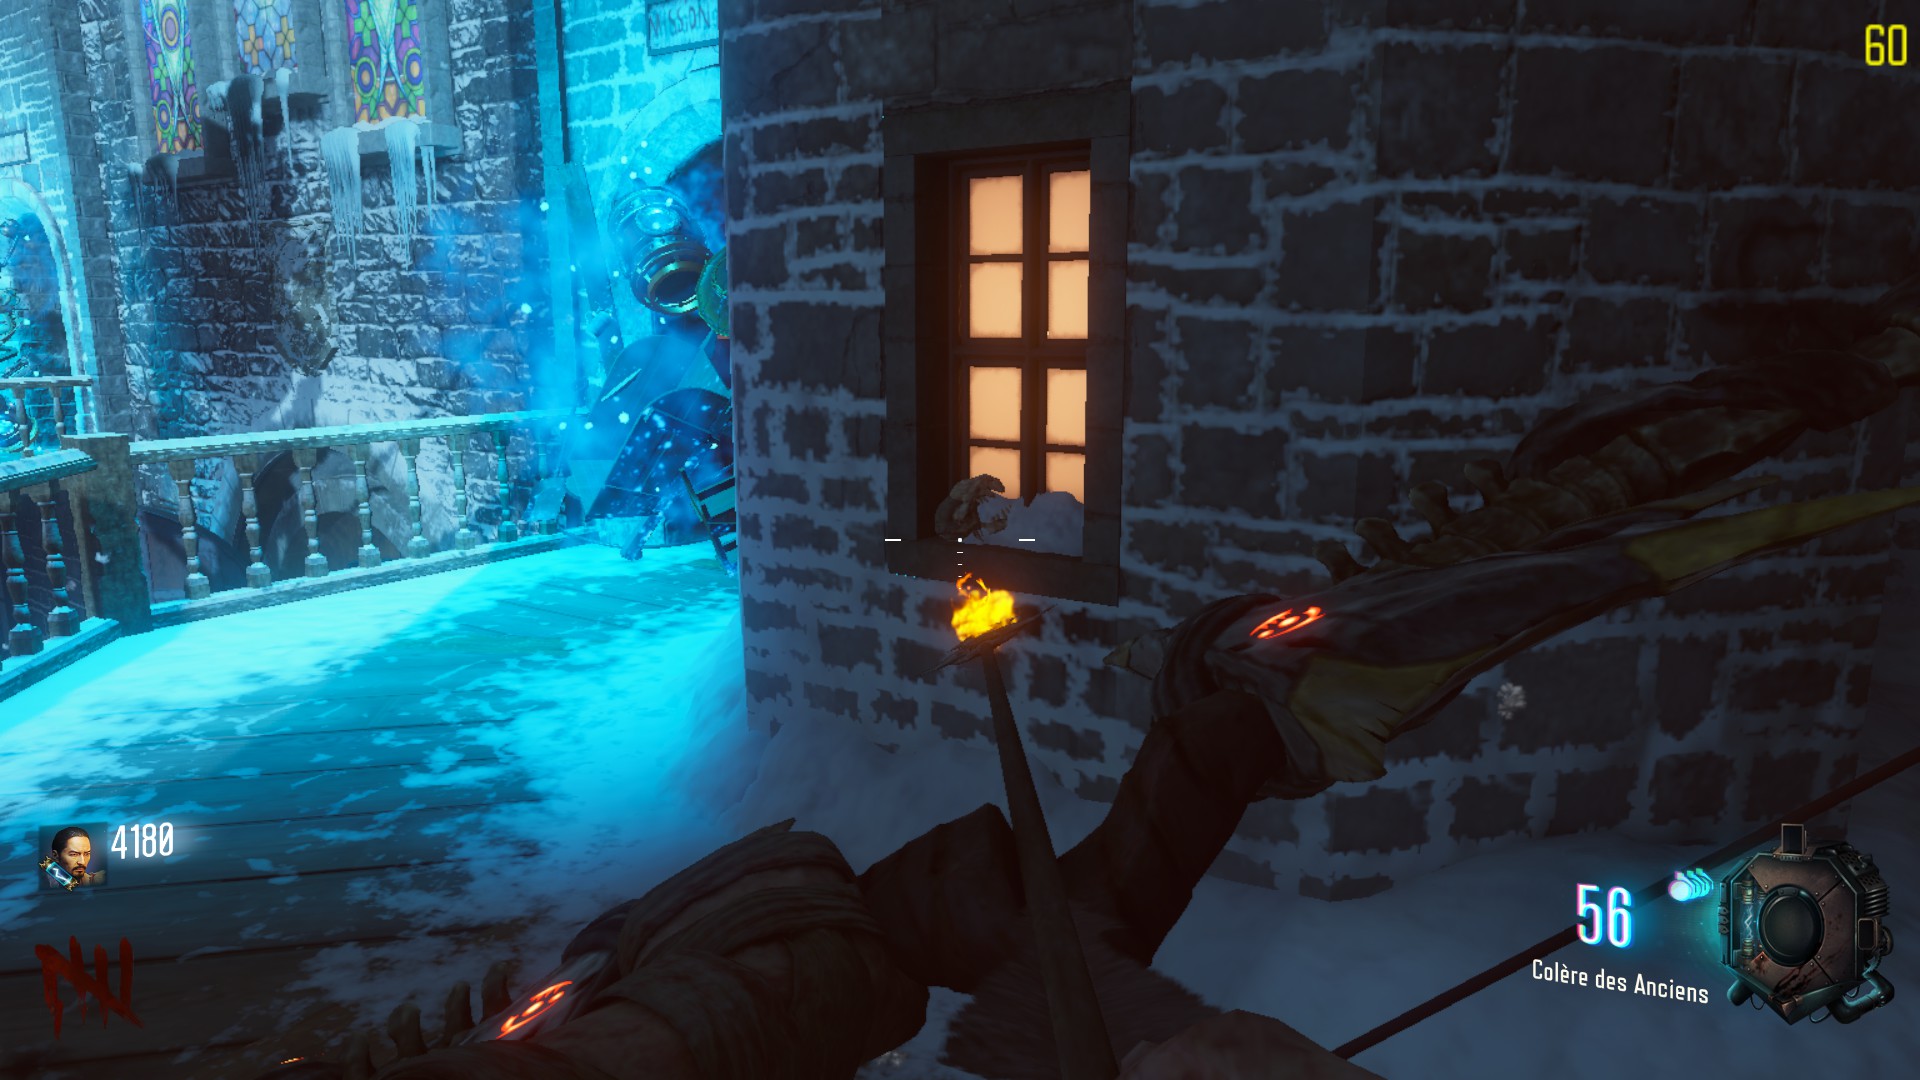
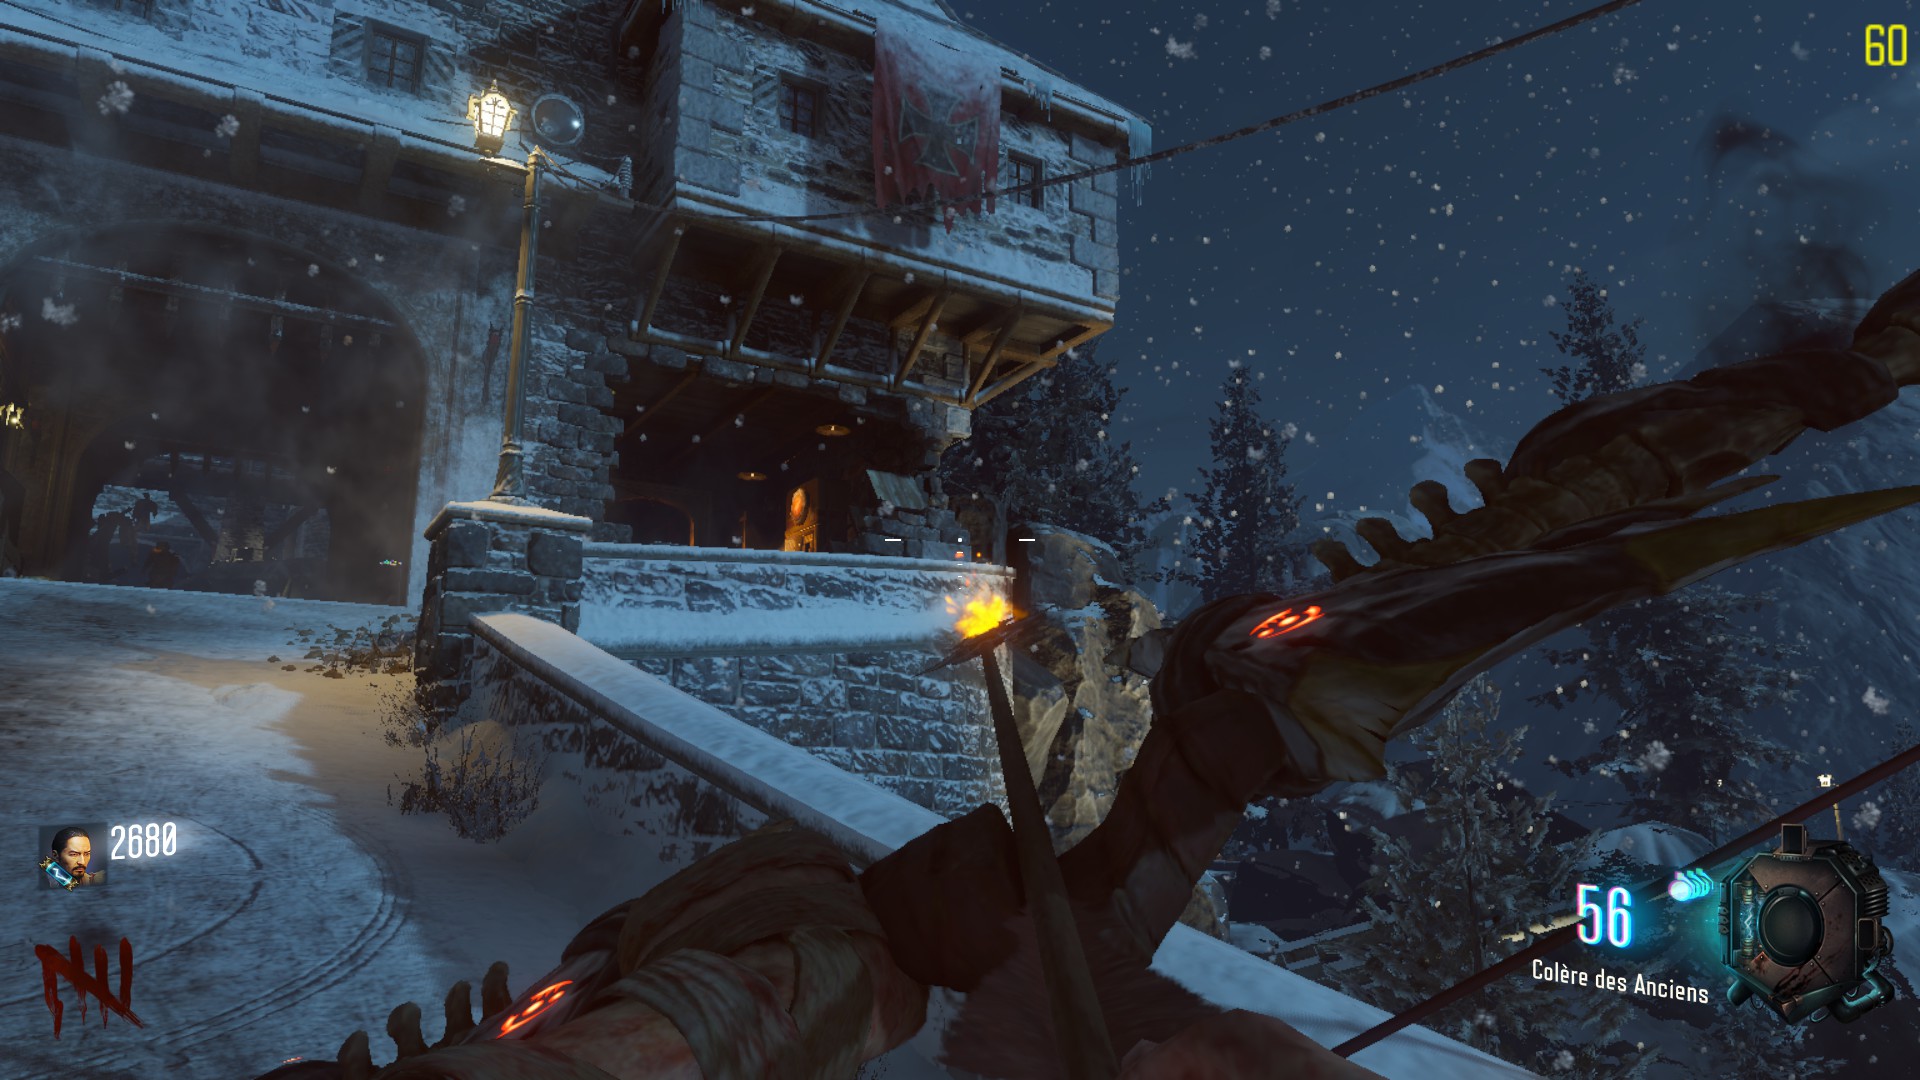
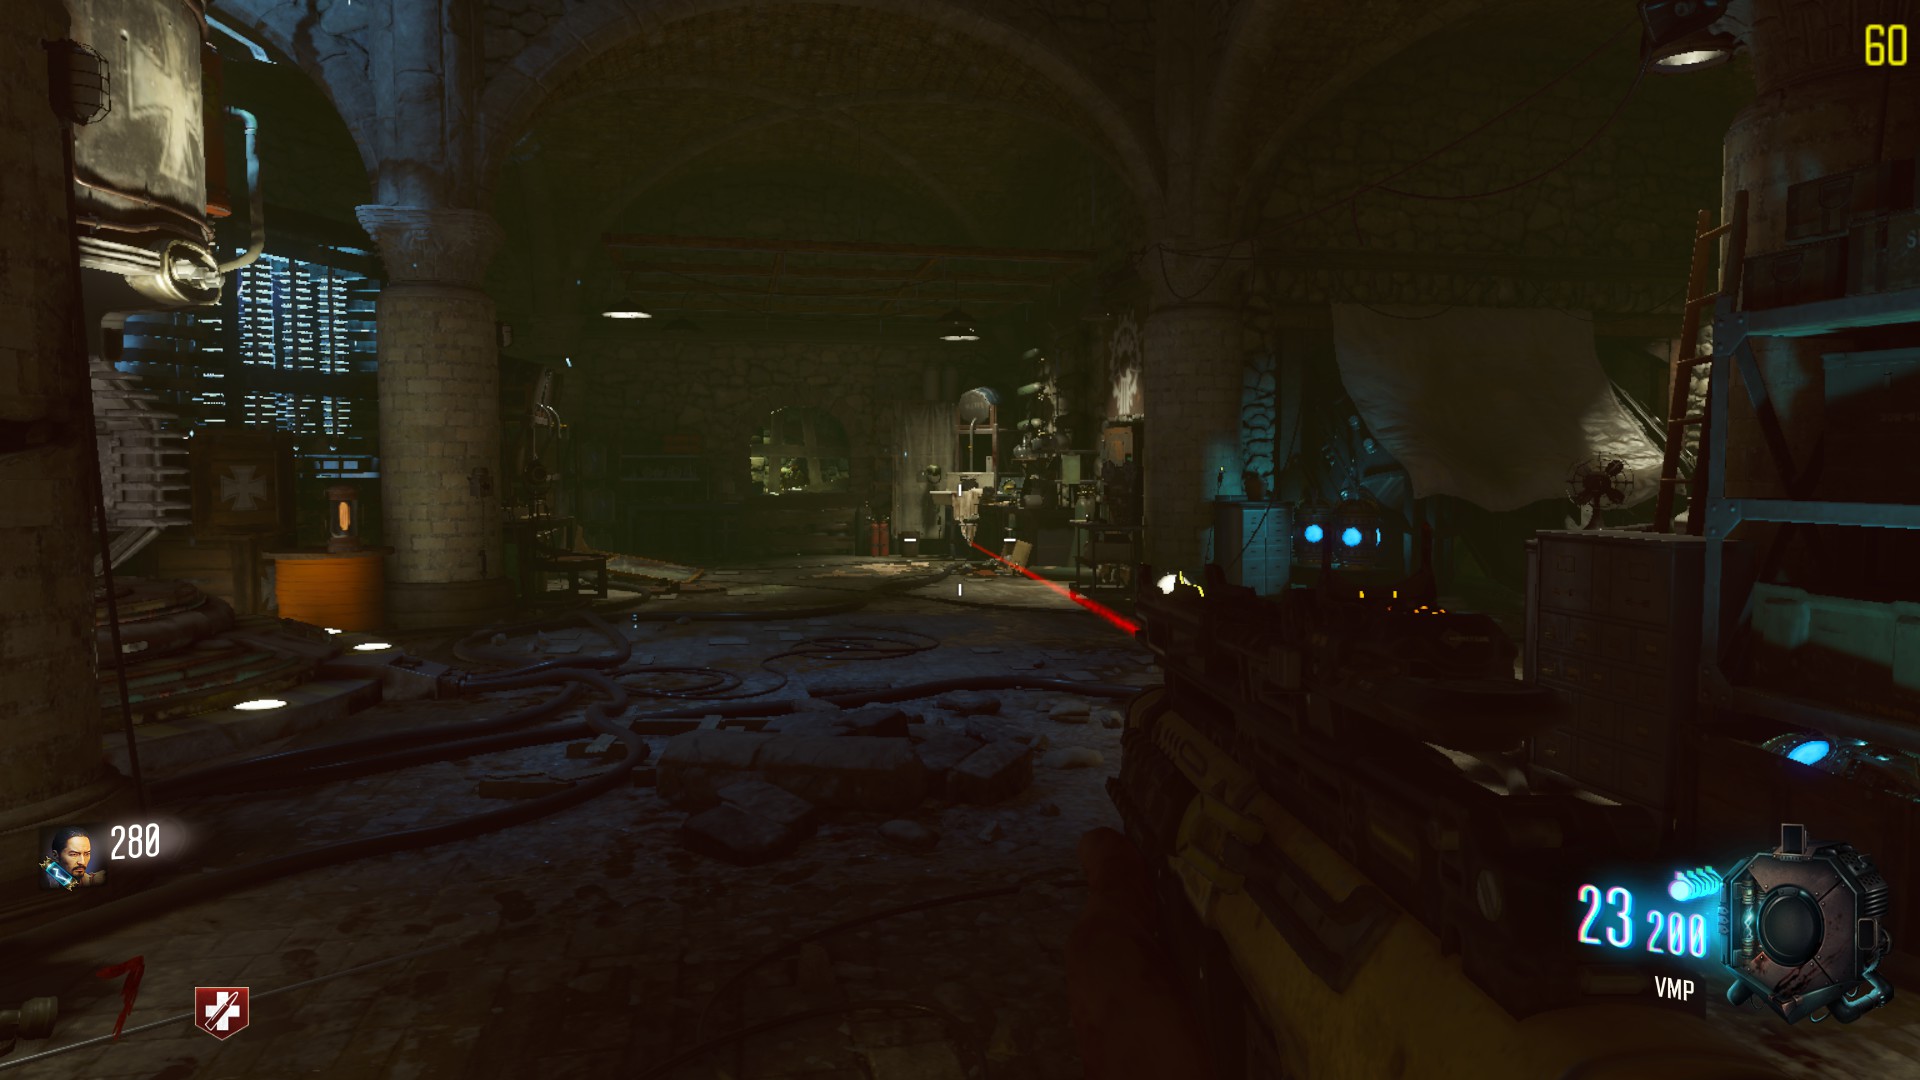
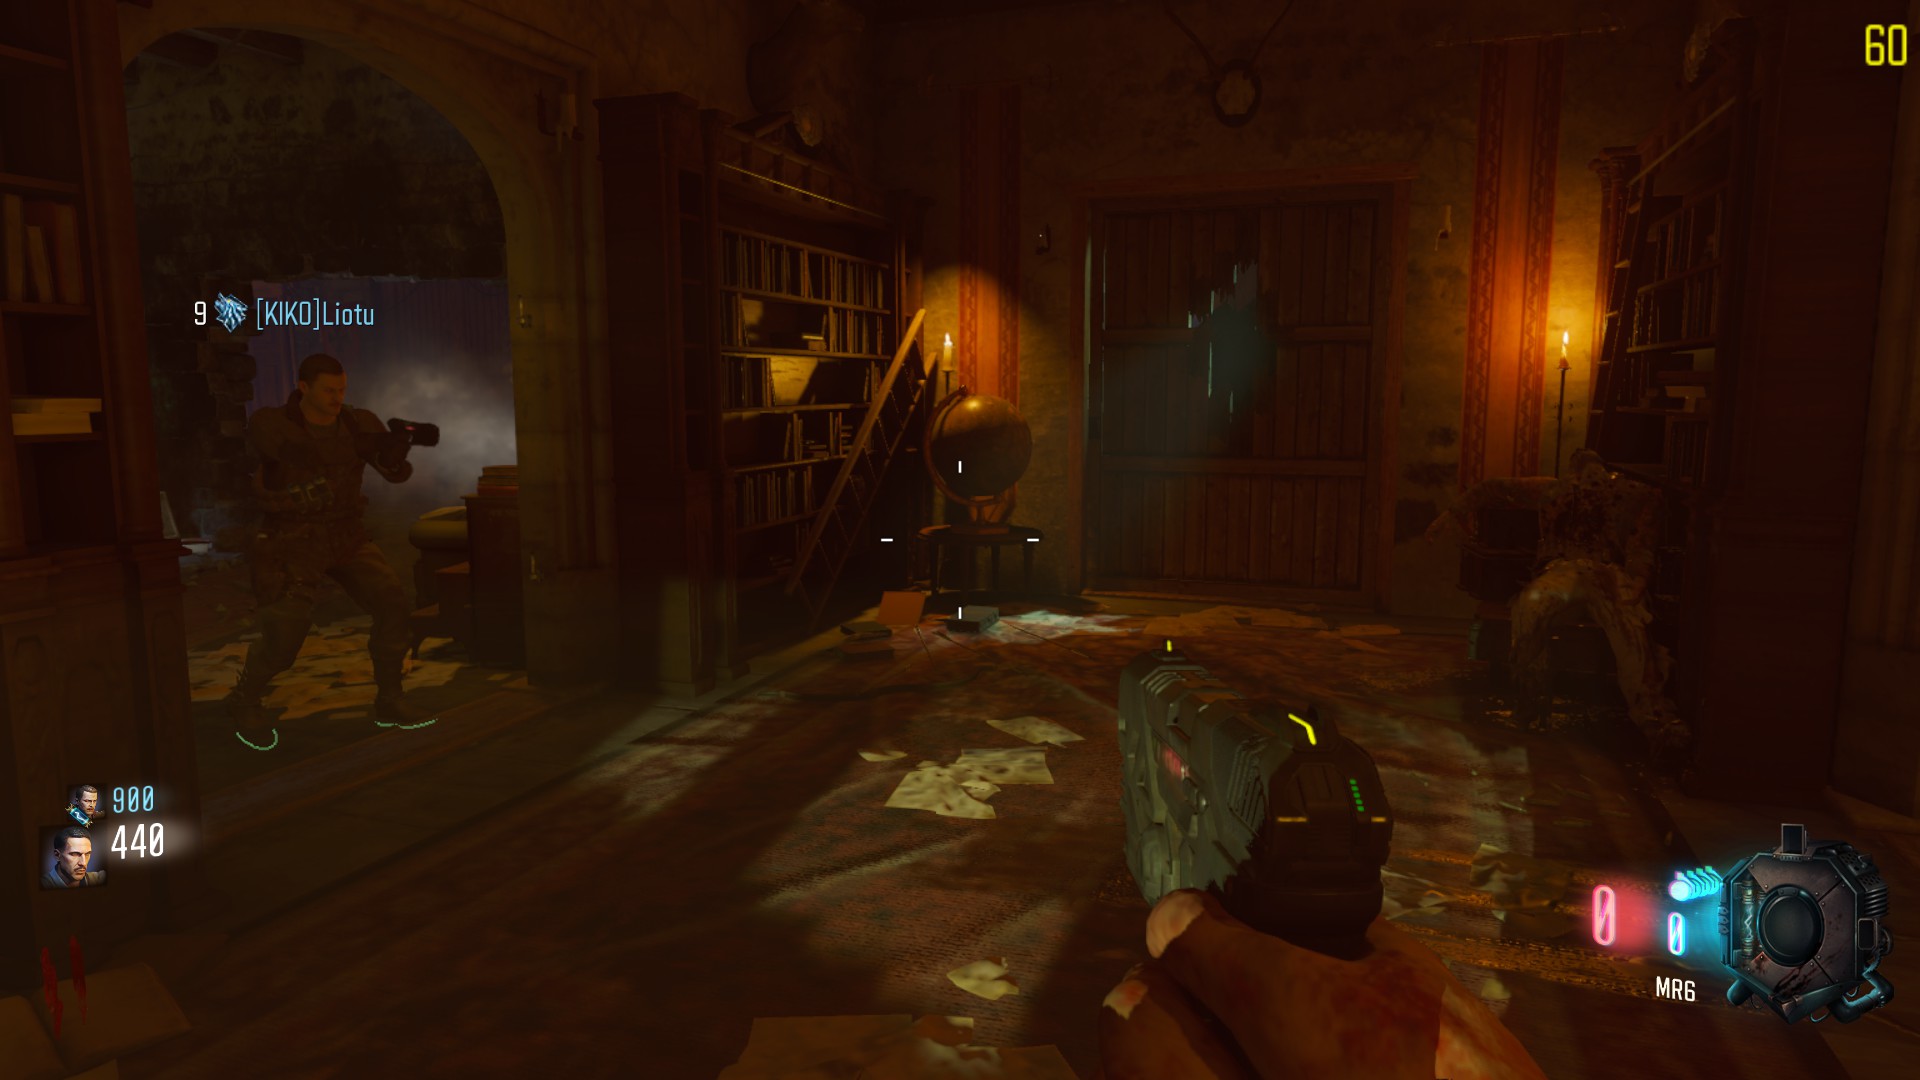
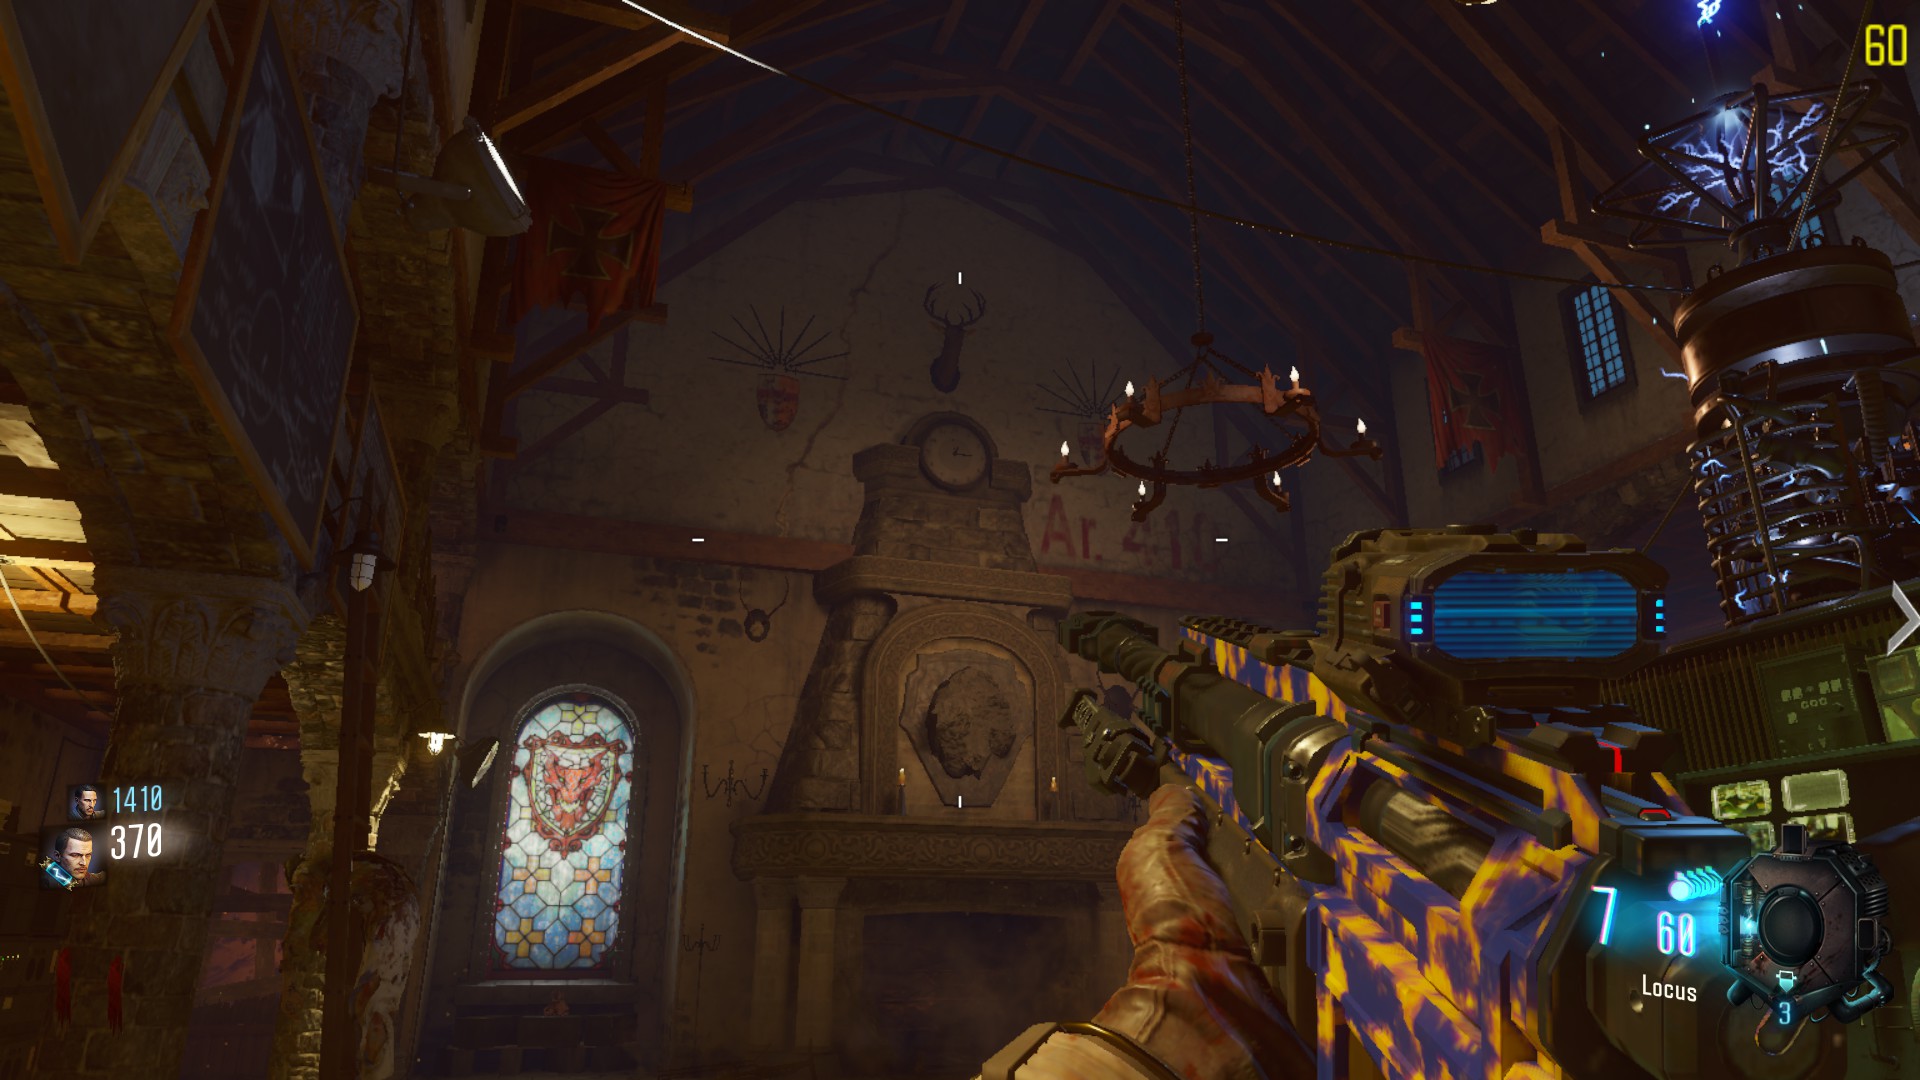
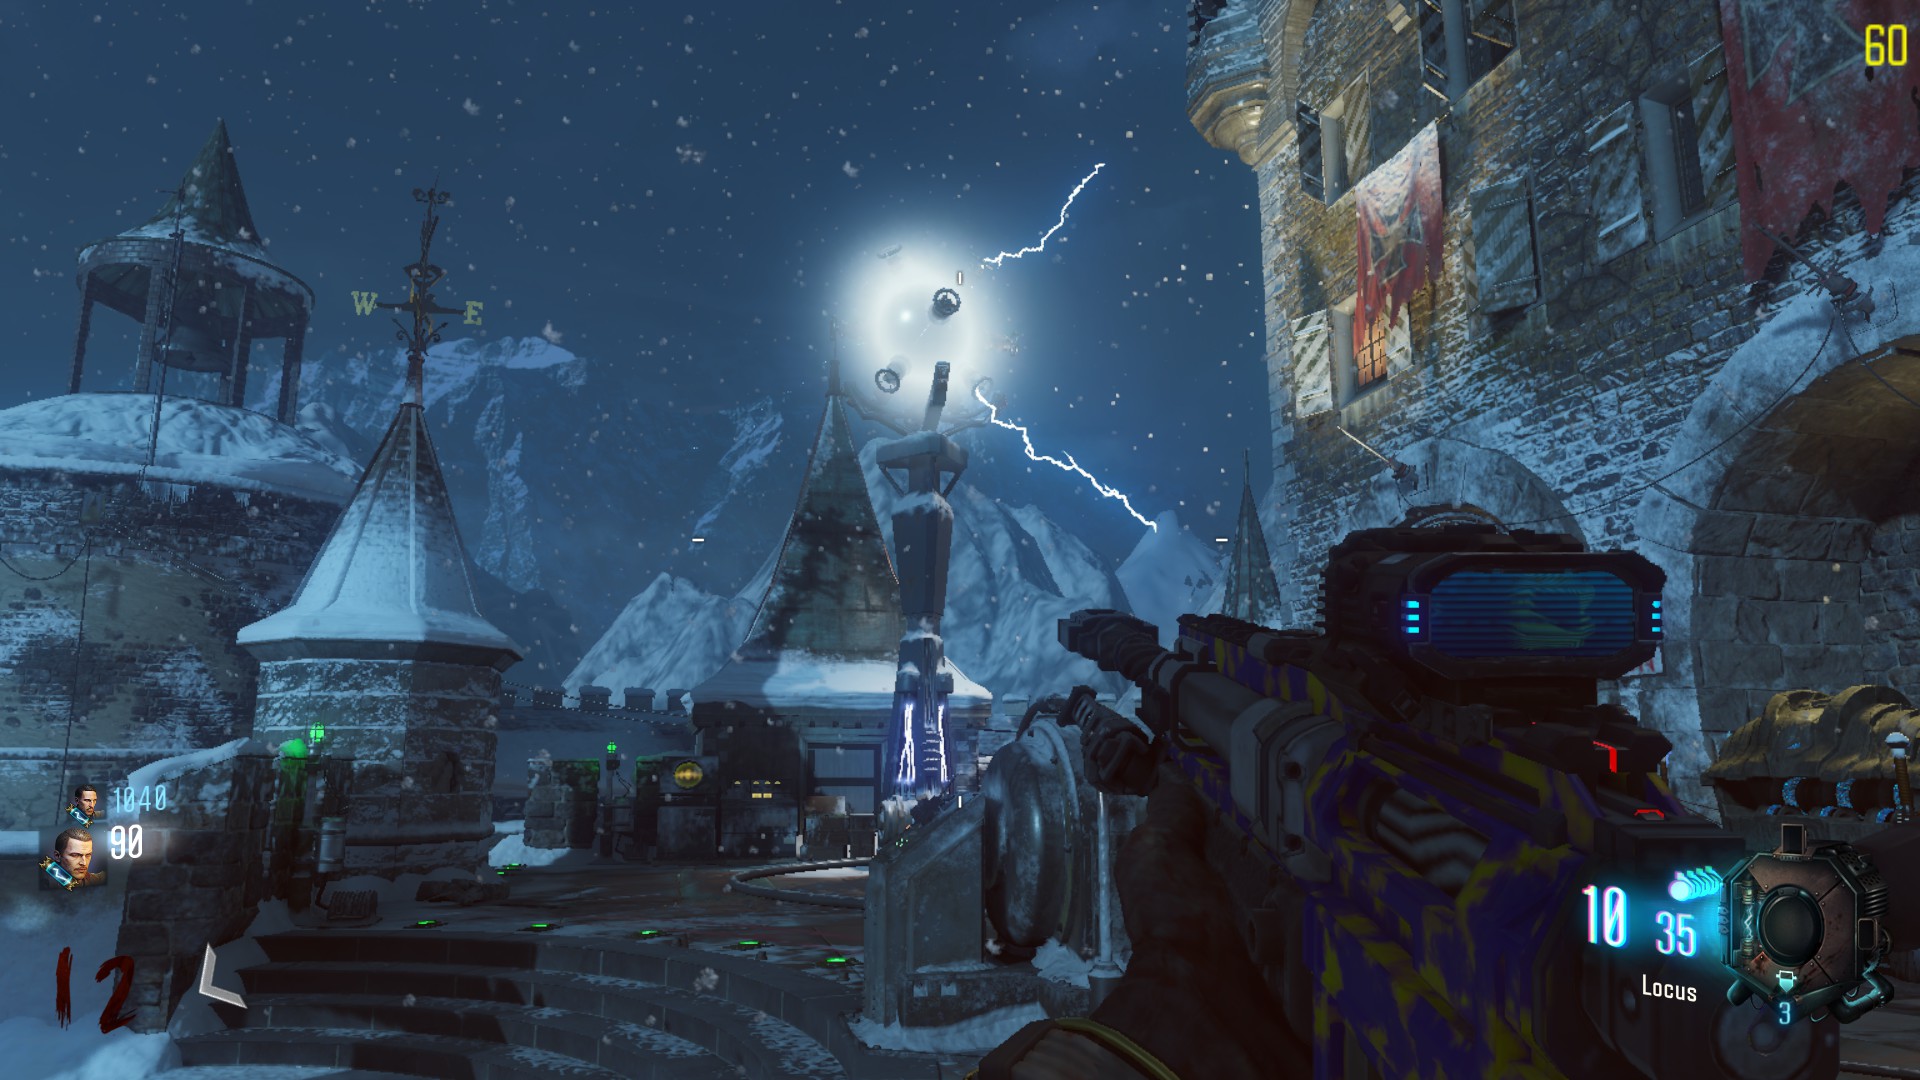
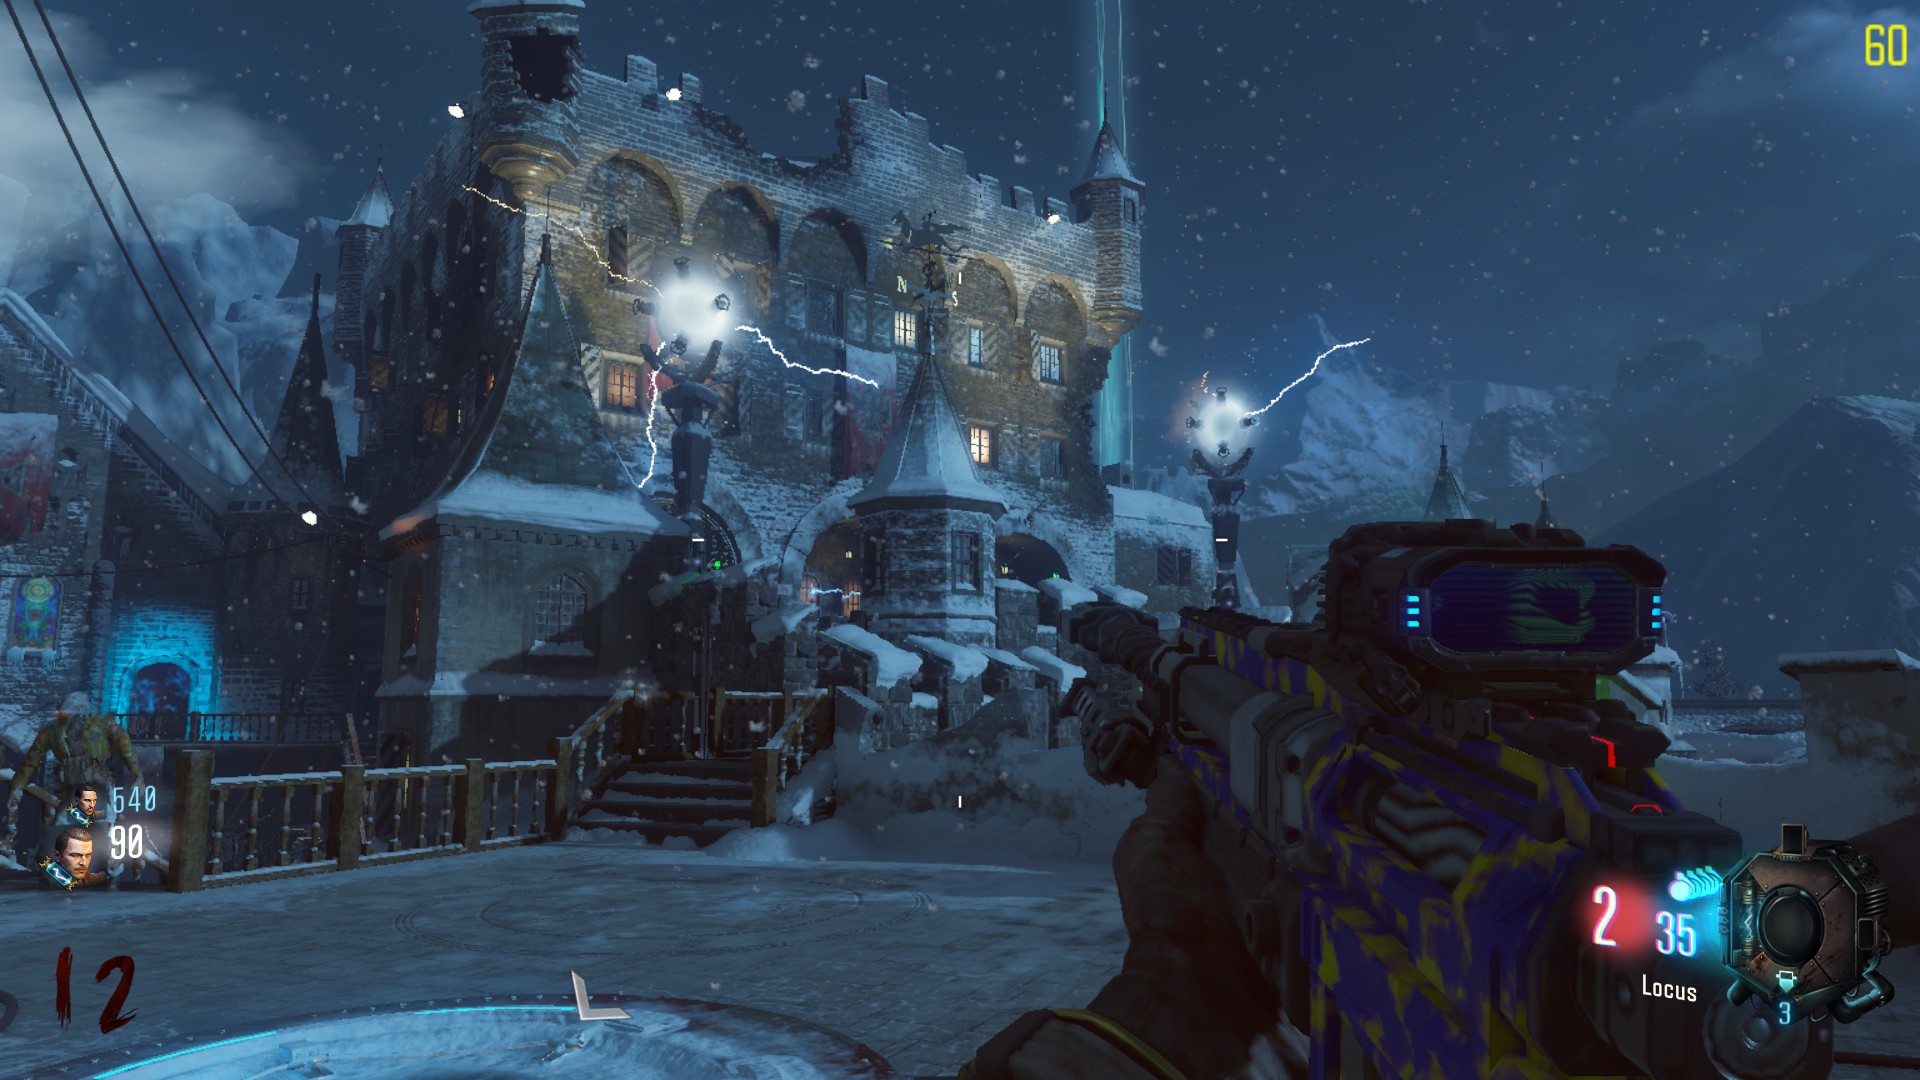
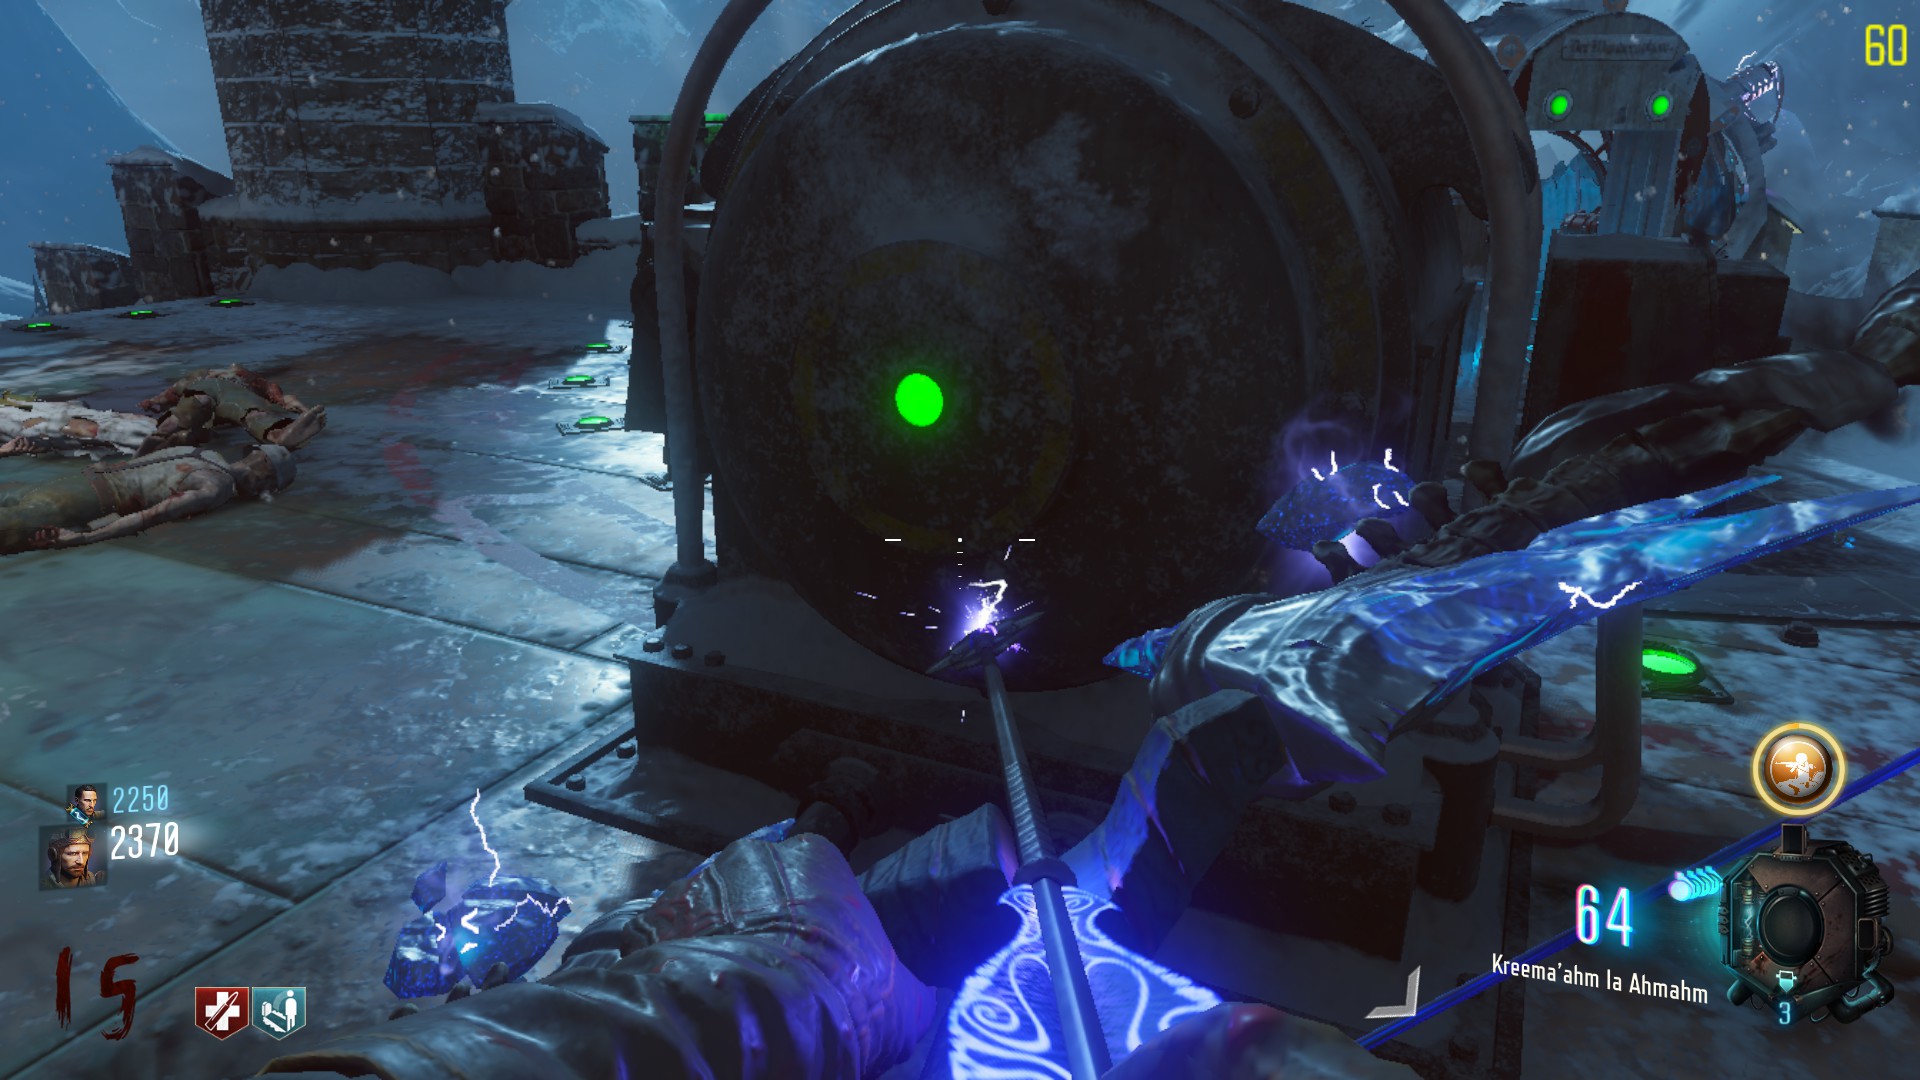
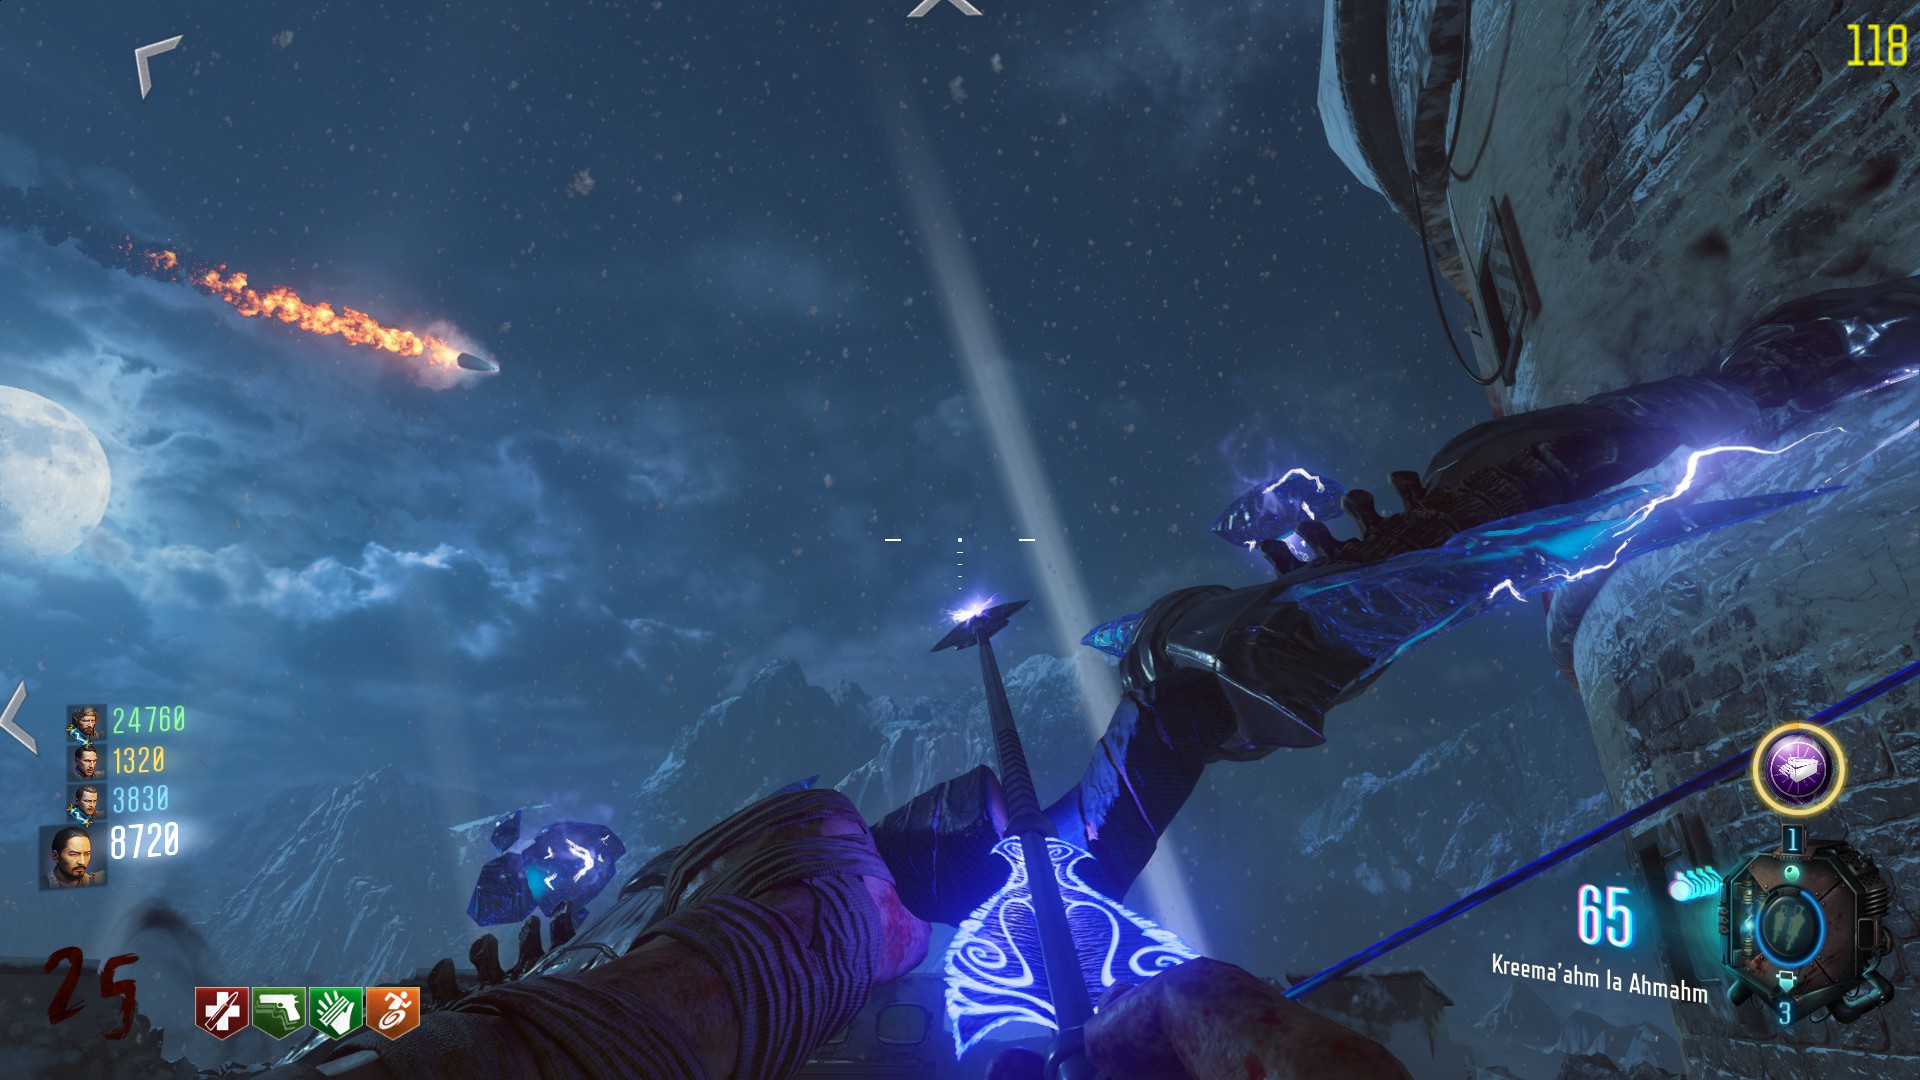
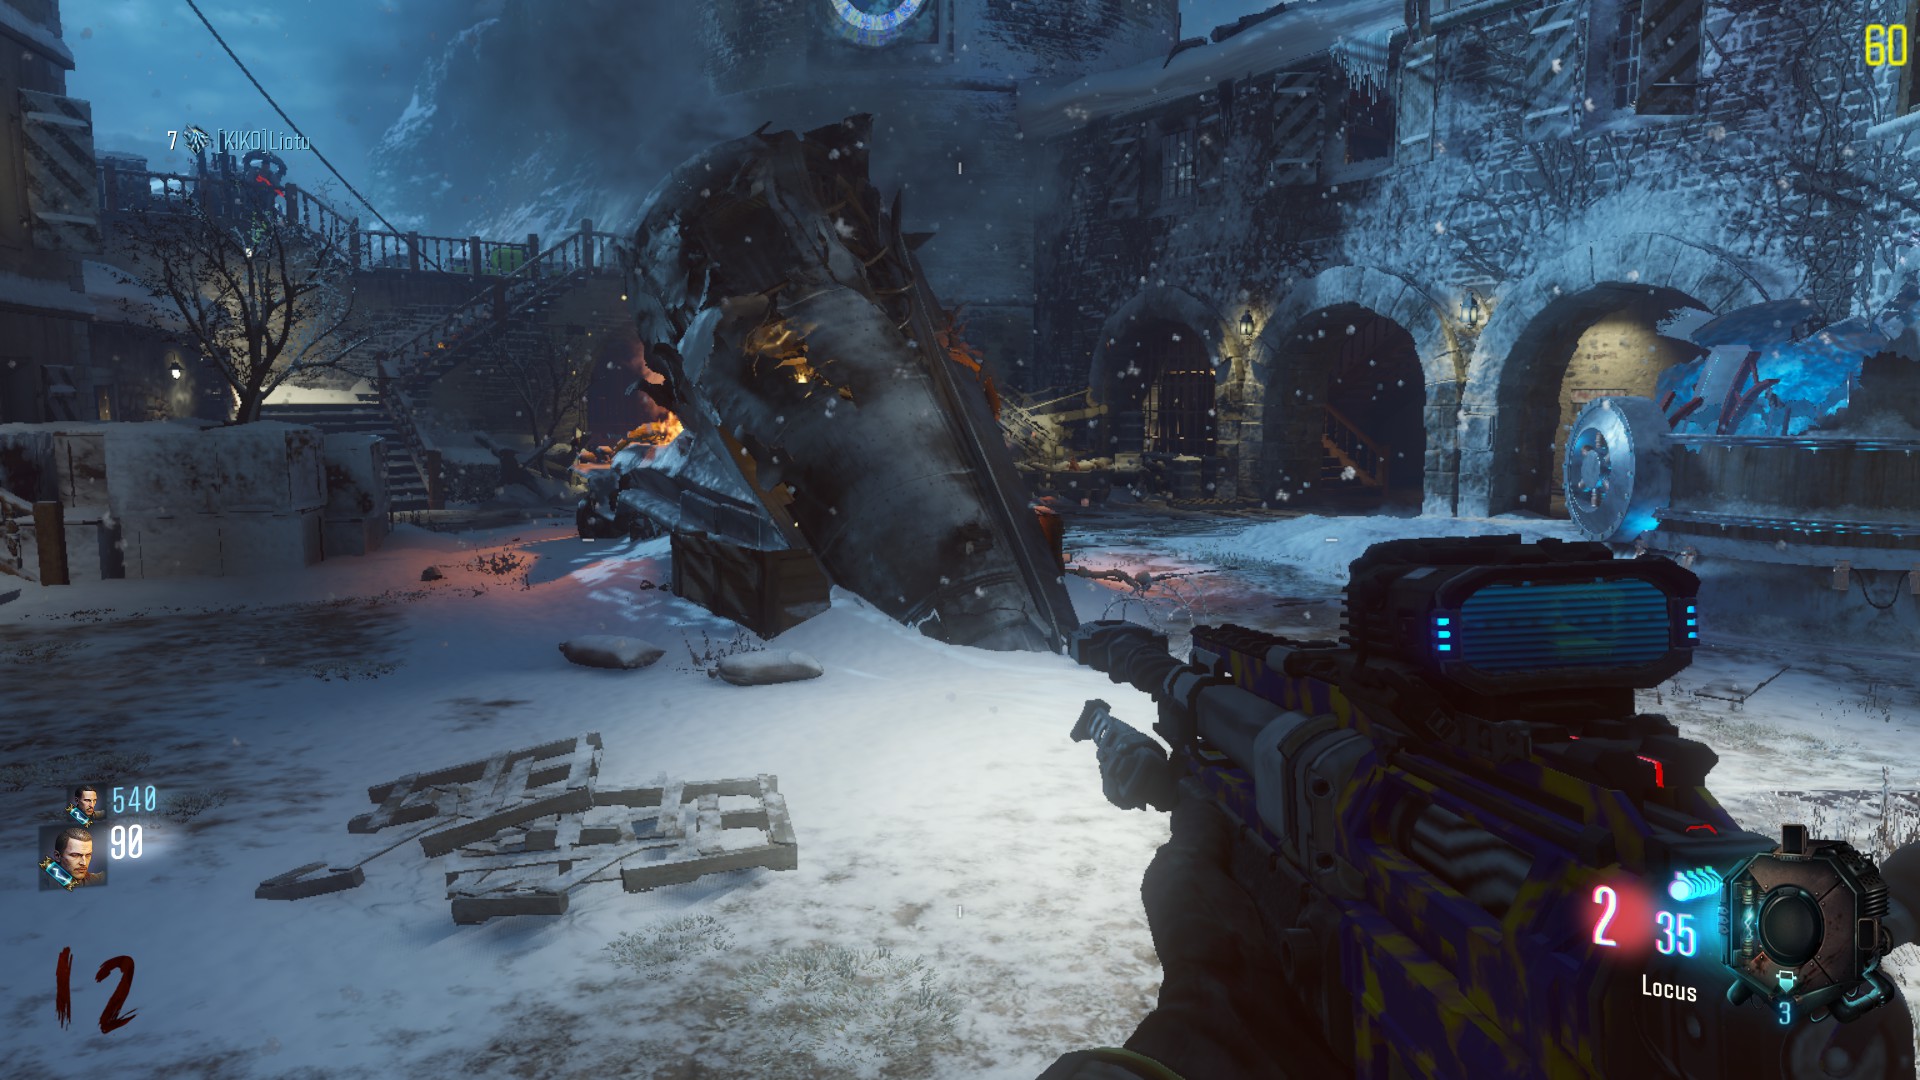
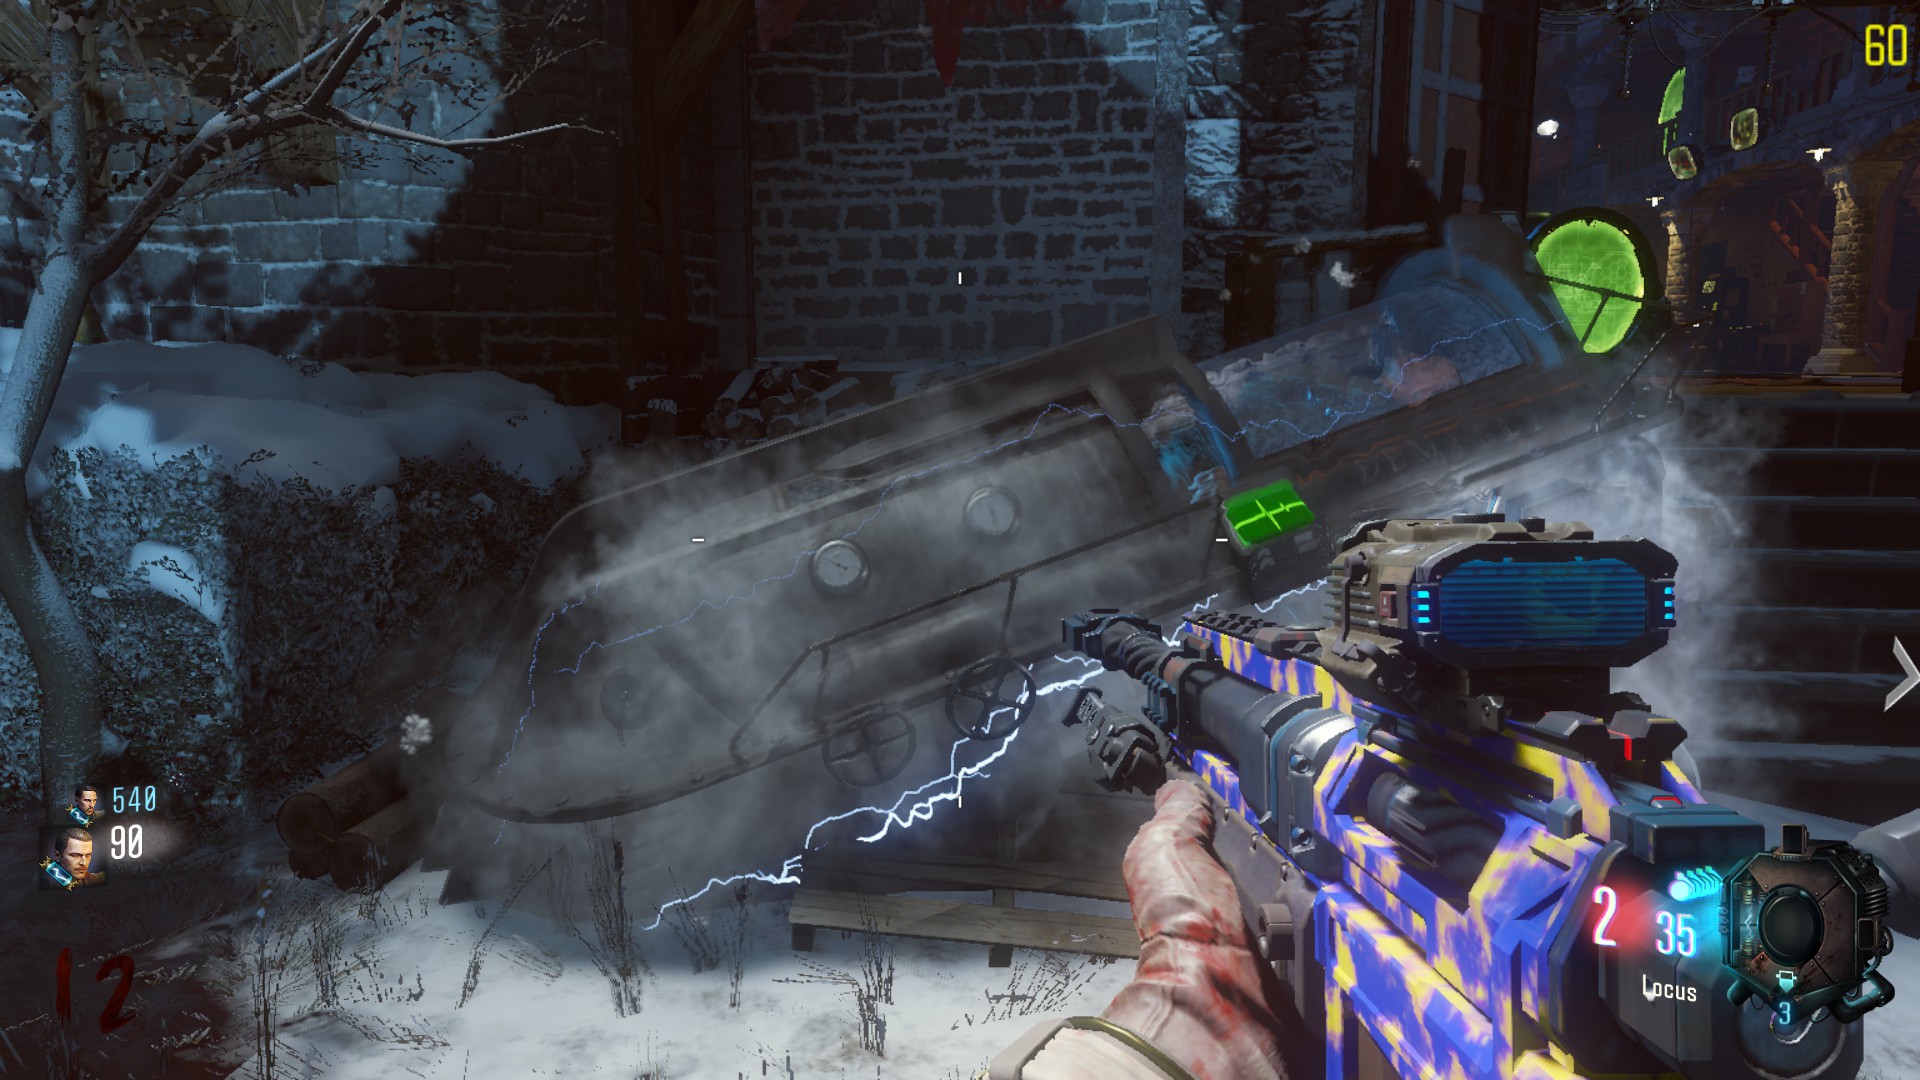
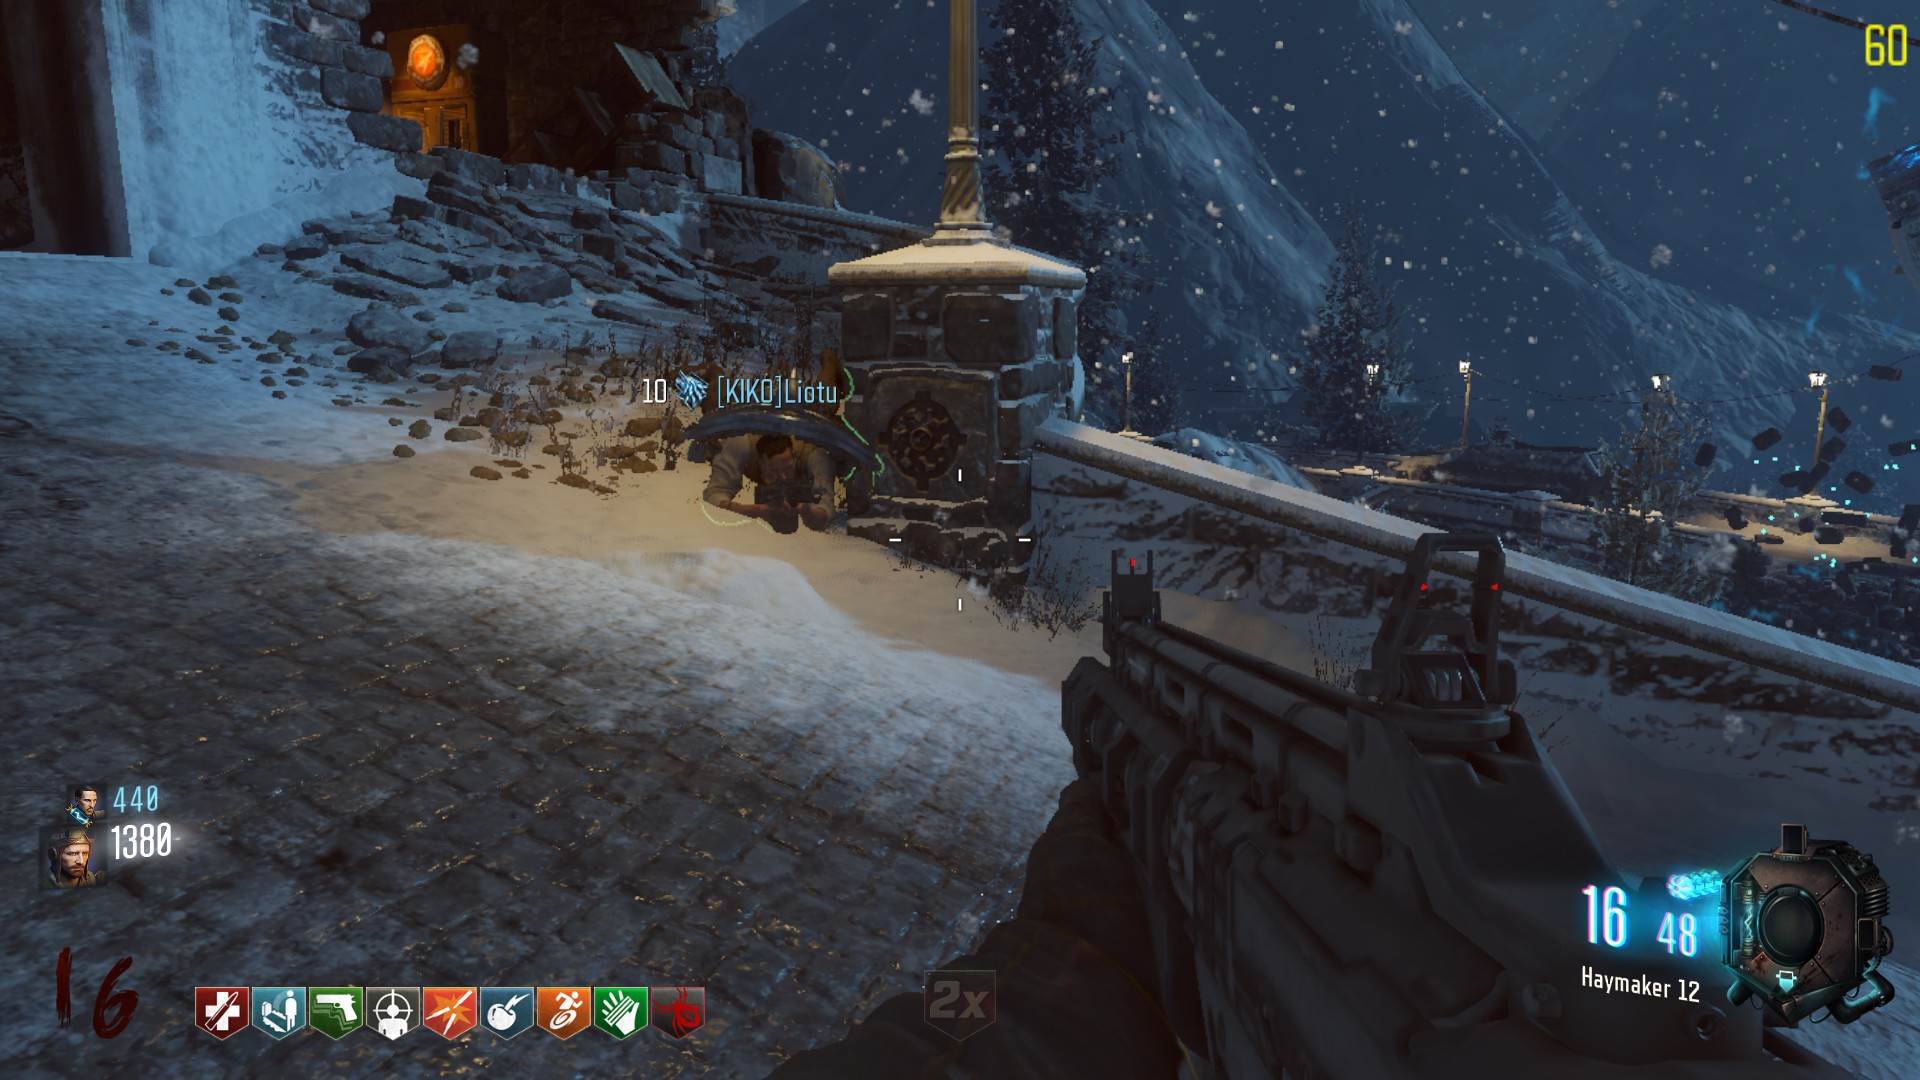
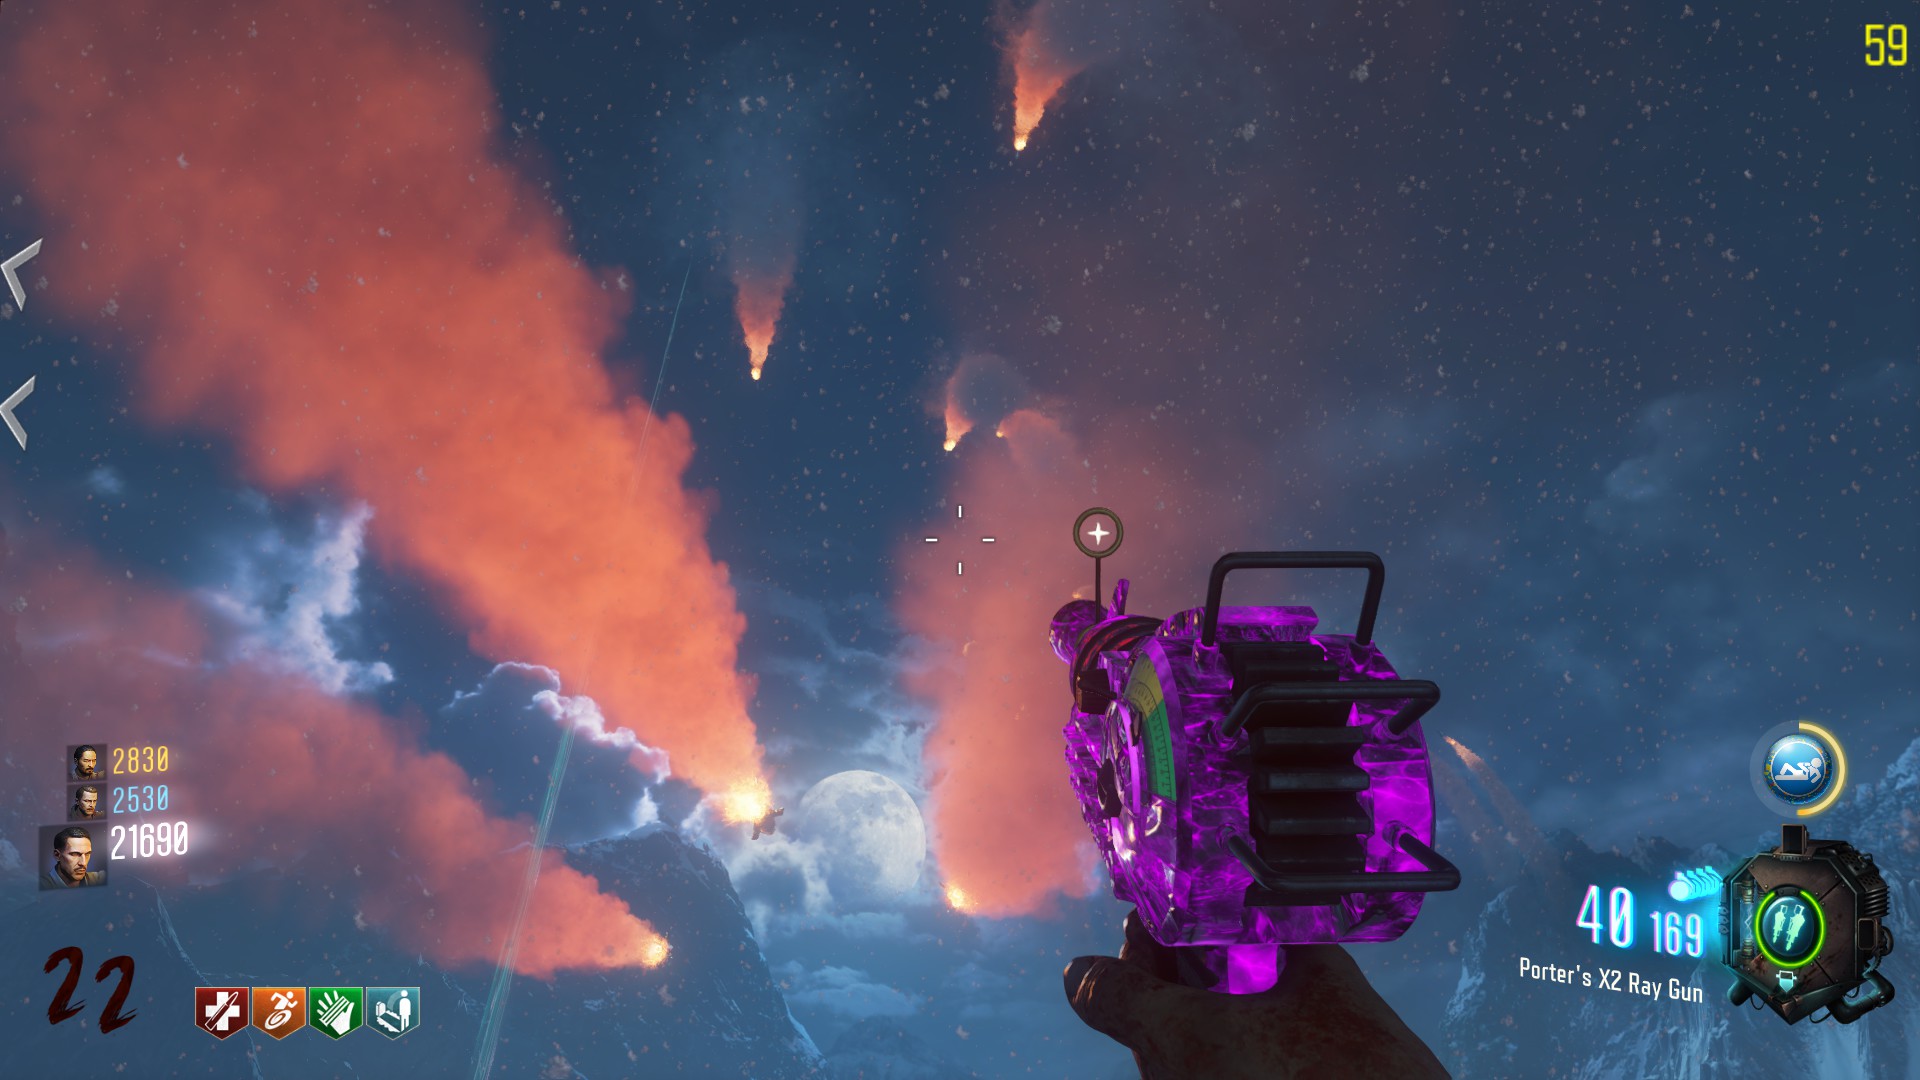
This guide will help you survive through your journey across our beloved austrian castle of Der EisendracheUpdated 2020, it does regroup every interesting things, gameplay-wise, that the community has found over the years. Heck, you’ll even find less interesting things !Have a good reading !
Introduction
Hello everyone and welcome to this guide that will help you succeed in the cold and ruthless austrian castle of Der Eisendrache
In this guide you will find:
- How to obtain and upgrade the Wonder Weapon of the map
- How to complete the Main quest
- Where to find and craft usefull equipments
- Various side easter eggs
- More or less everything the community has discovered and is relevent to know and share, especially gameplay wise. For example, i will not cover Cyphers and Secret messages relative to the lore.
This easter egg quest can be done with any amount of players from 1 to 4. Around 2 hours depending on you.
Also, the only prerequirements for the easter egg is to have the Wrath of the Ancient wonder weapon, aswell as it’s upgraded versions.
In order to complete the quest, you will need a number of upgraded bows depending on the number of players and the setting of the game.
For detailed discussion see the following link
Here is the most important thing to know :
“Solo (Ranked)- 1 bow
2 players (Ranked)- 2 bows
3 players (Ranked)- 3 bows
4 players (Ranked or Unranked)- All 4 bows
Playing on LOCAL: All 4 bows are required
Having your game on UNRANKED will automatically require all 4 bows for the Easter Egg, no matter how many players you have in the game, so make sure to switch it to RANKED before you start.”
Let’s begin !
I wont accept friend requests as i can’t add and play with everyone. If you got a problem relative to the map you can ask me, but this is not a forum to seek players.
Preparation – The Wrath of the Ancients (Wonder Weapon)
Difficulty to craft: Very easy, can be done before round 6
Bow efficiency: Great weapon to begin with until “mid game”, it is necessary to get the upgraded versions. They are way more deadly and required for the main quest.
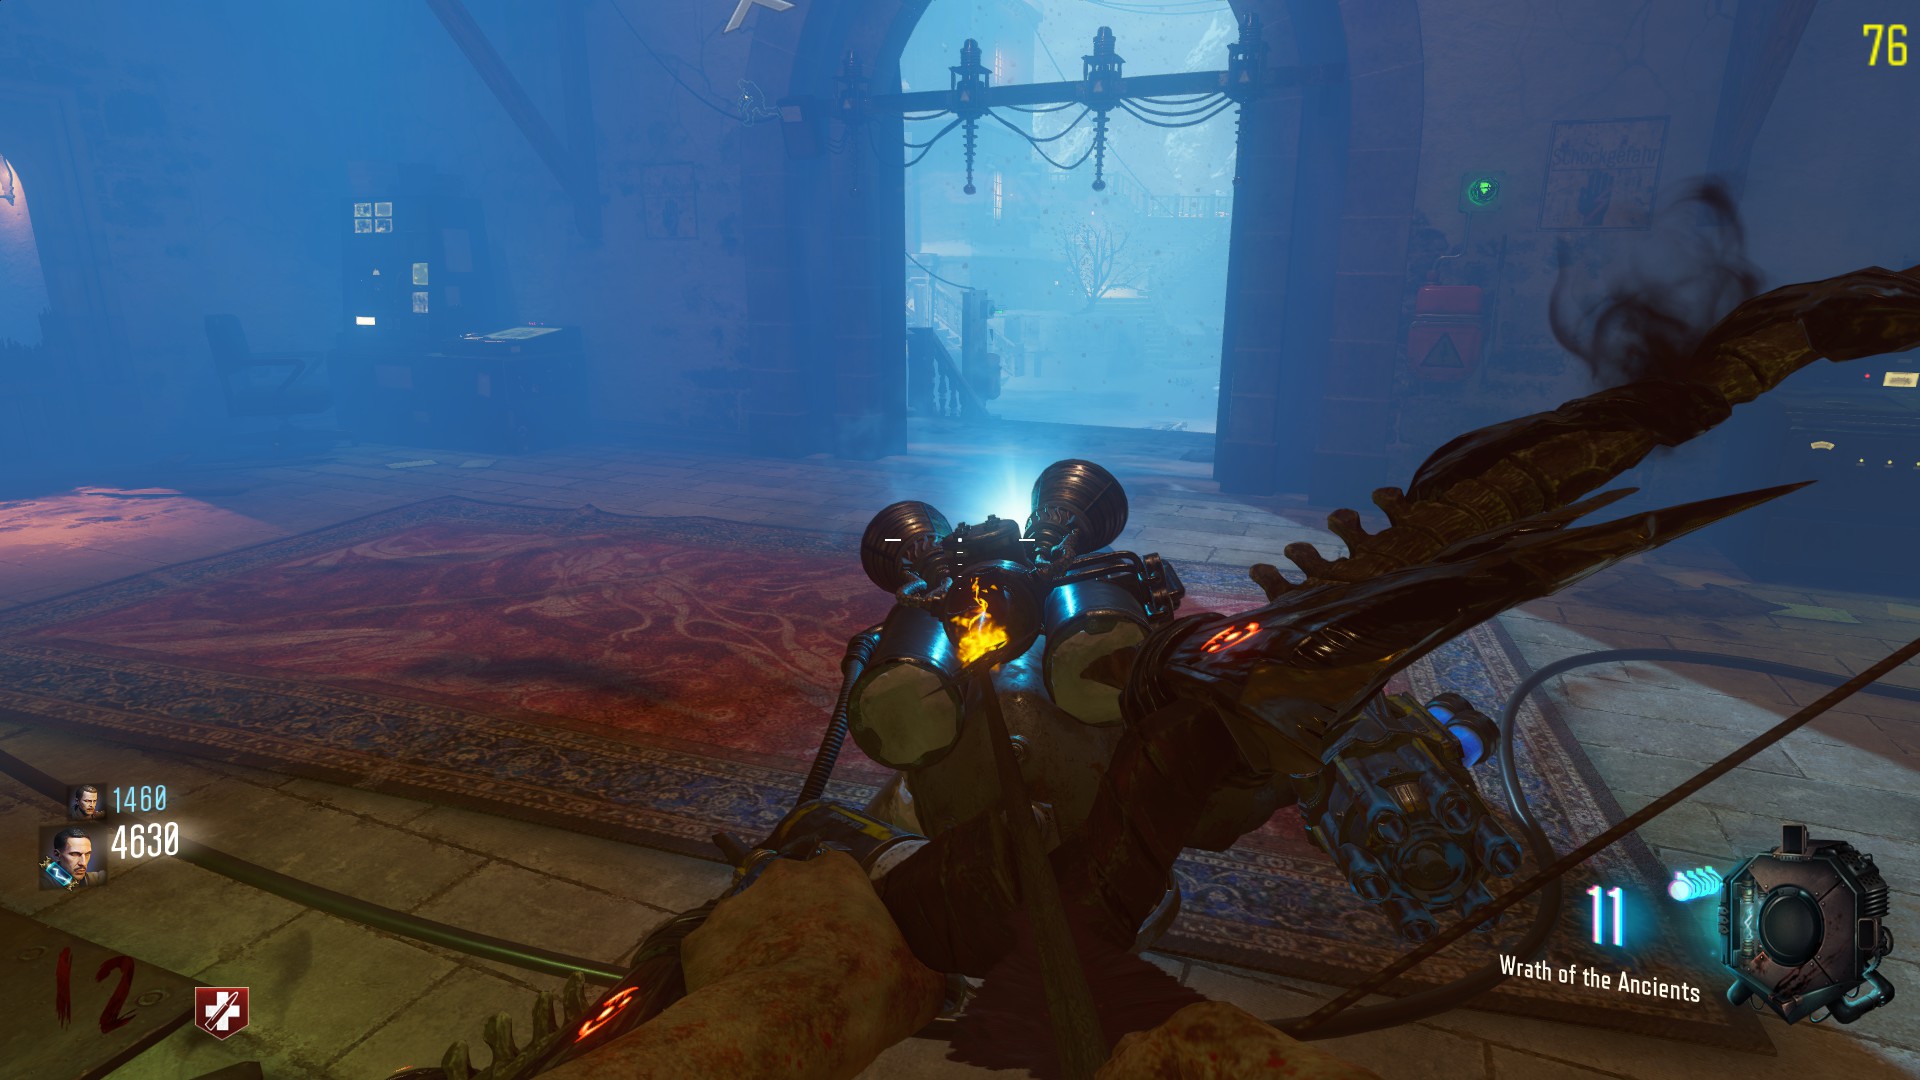
The wrath of the ancients is a bow that replaces one of your weapon, you can simply fire explosive arrows, or charge them to deal more damages. You can also upgrade it, but we will see this further.
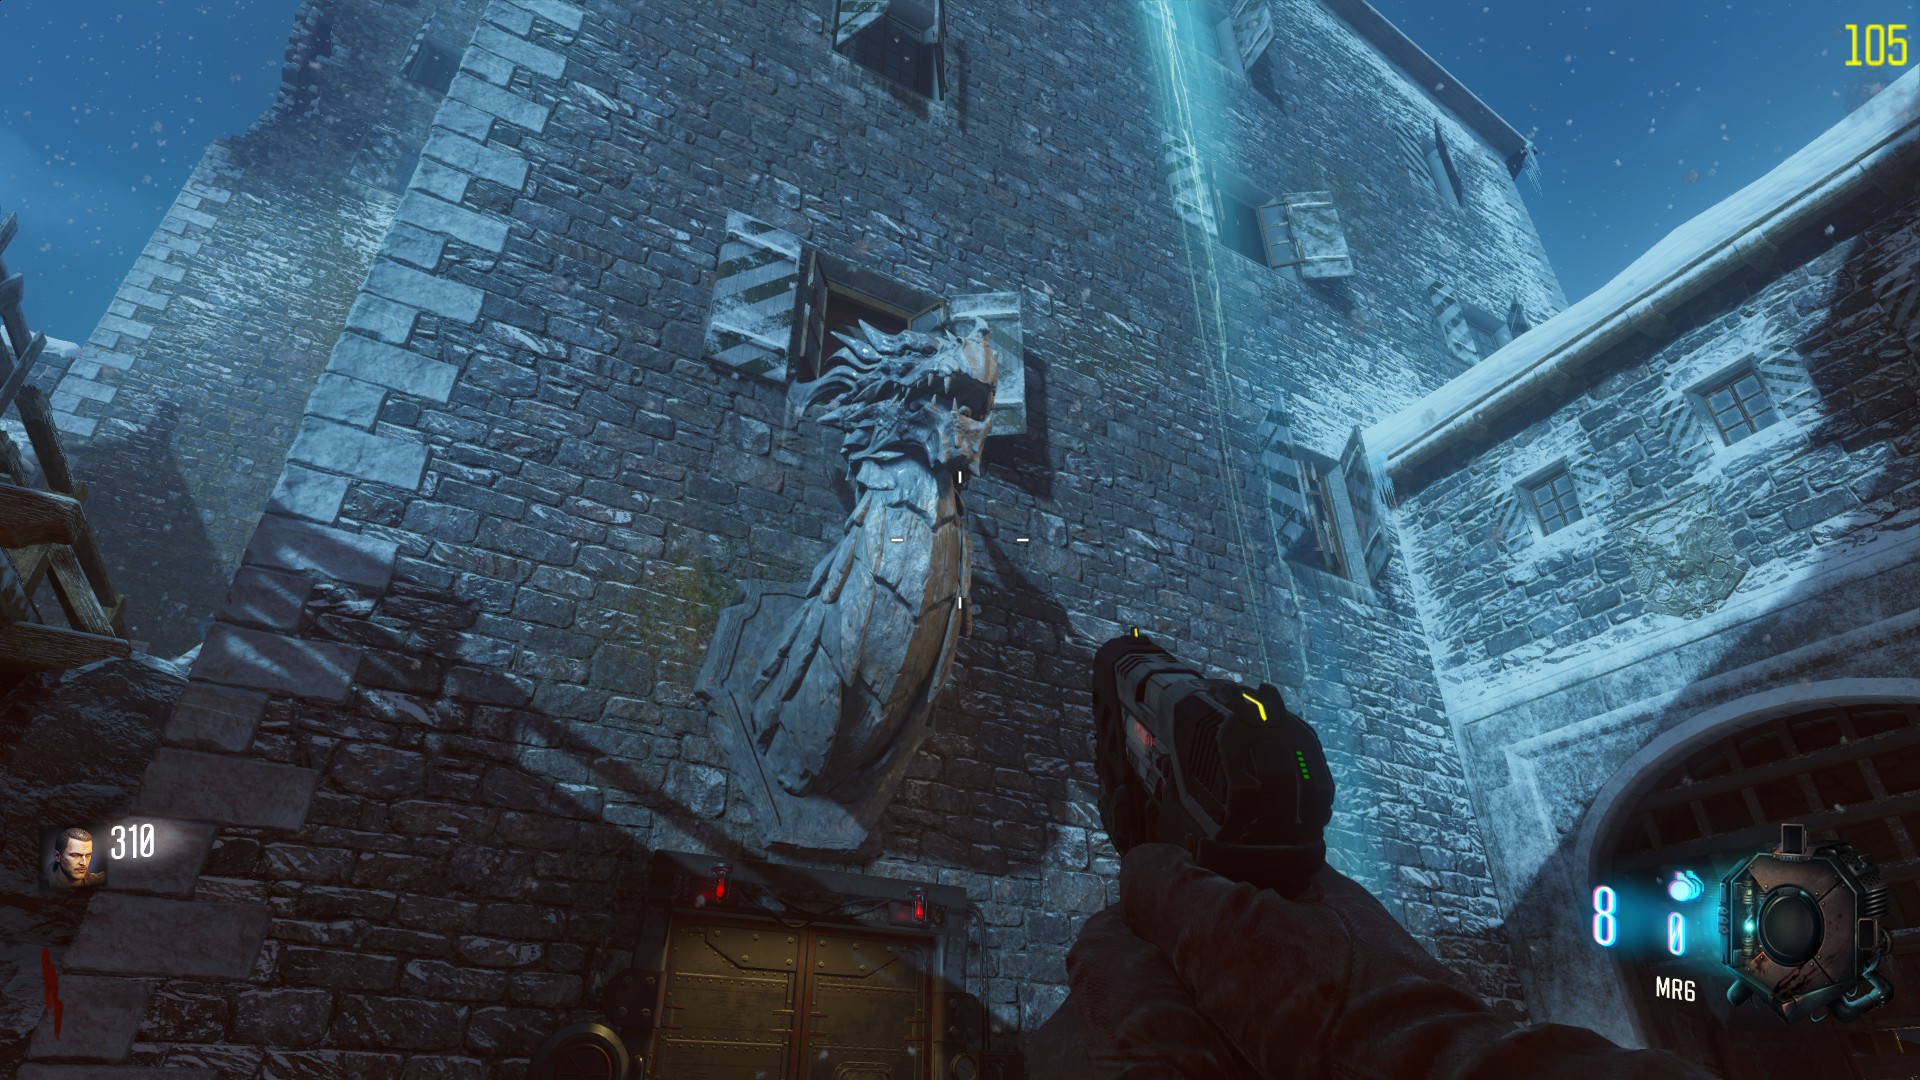
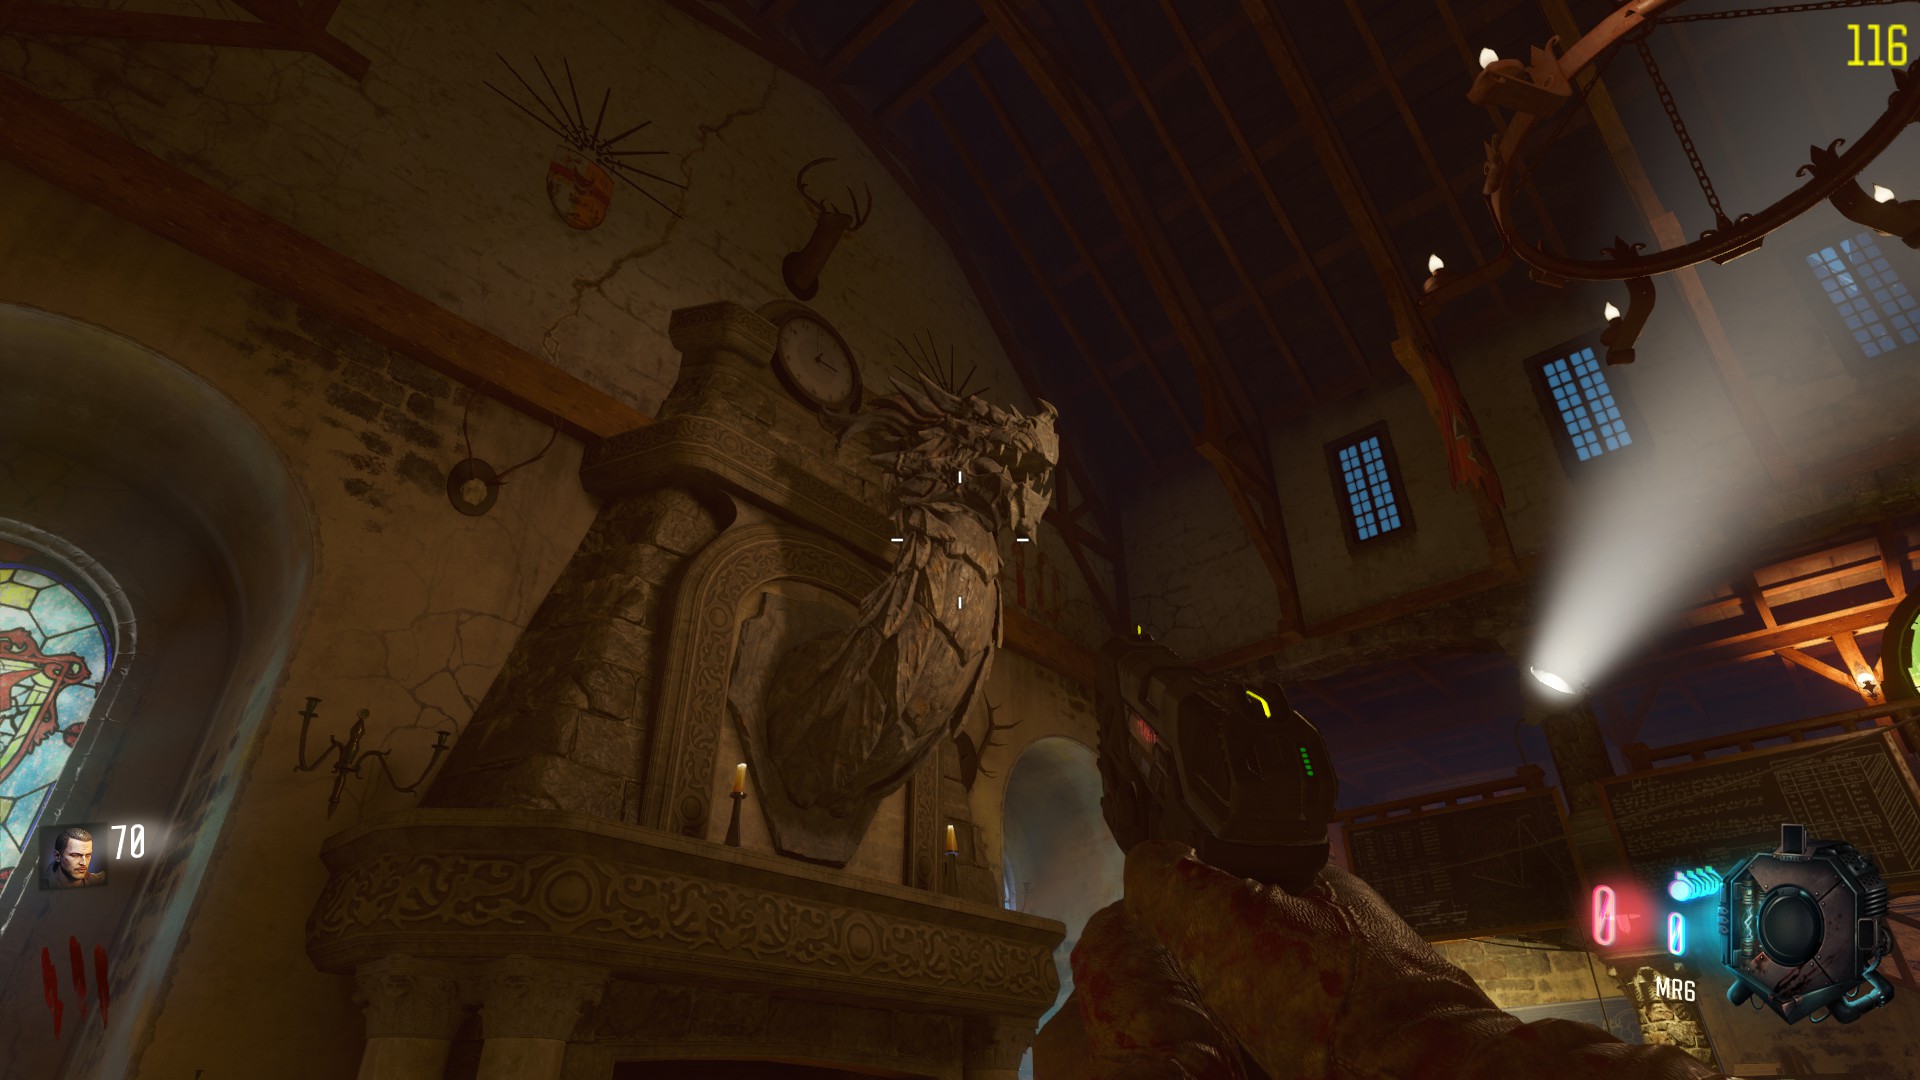
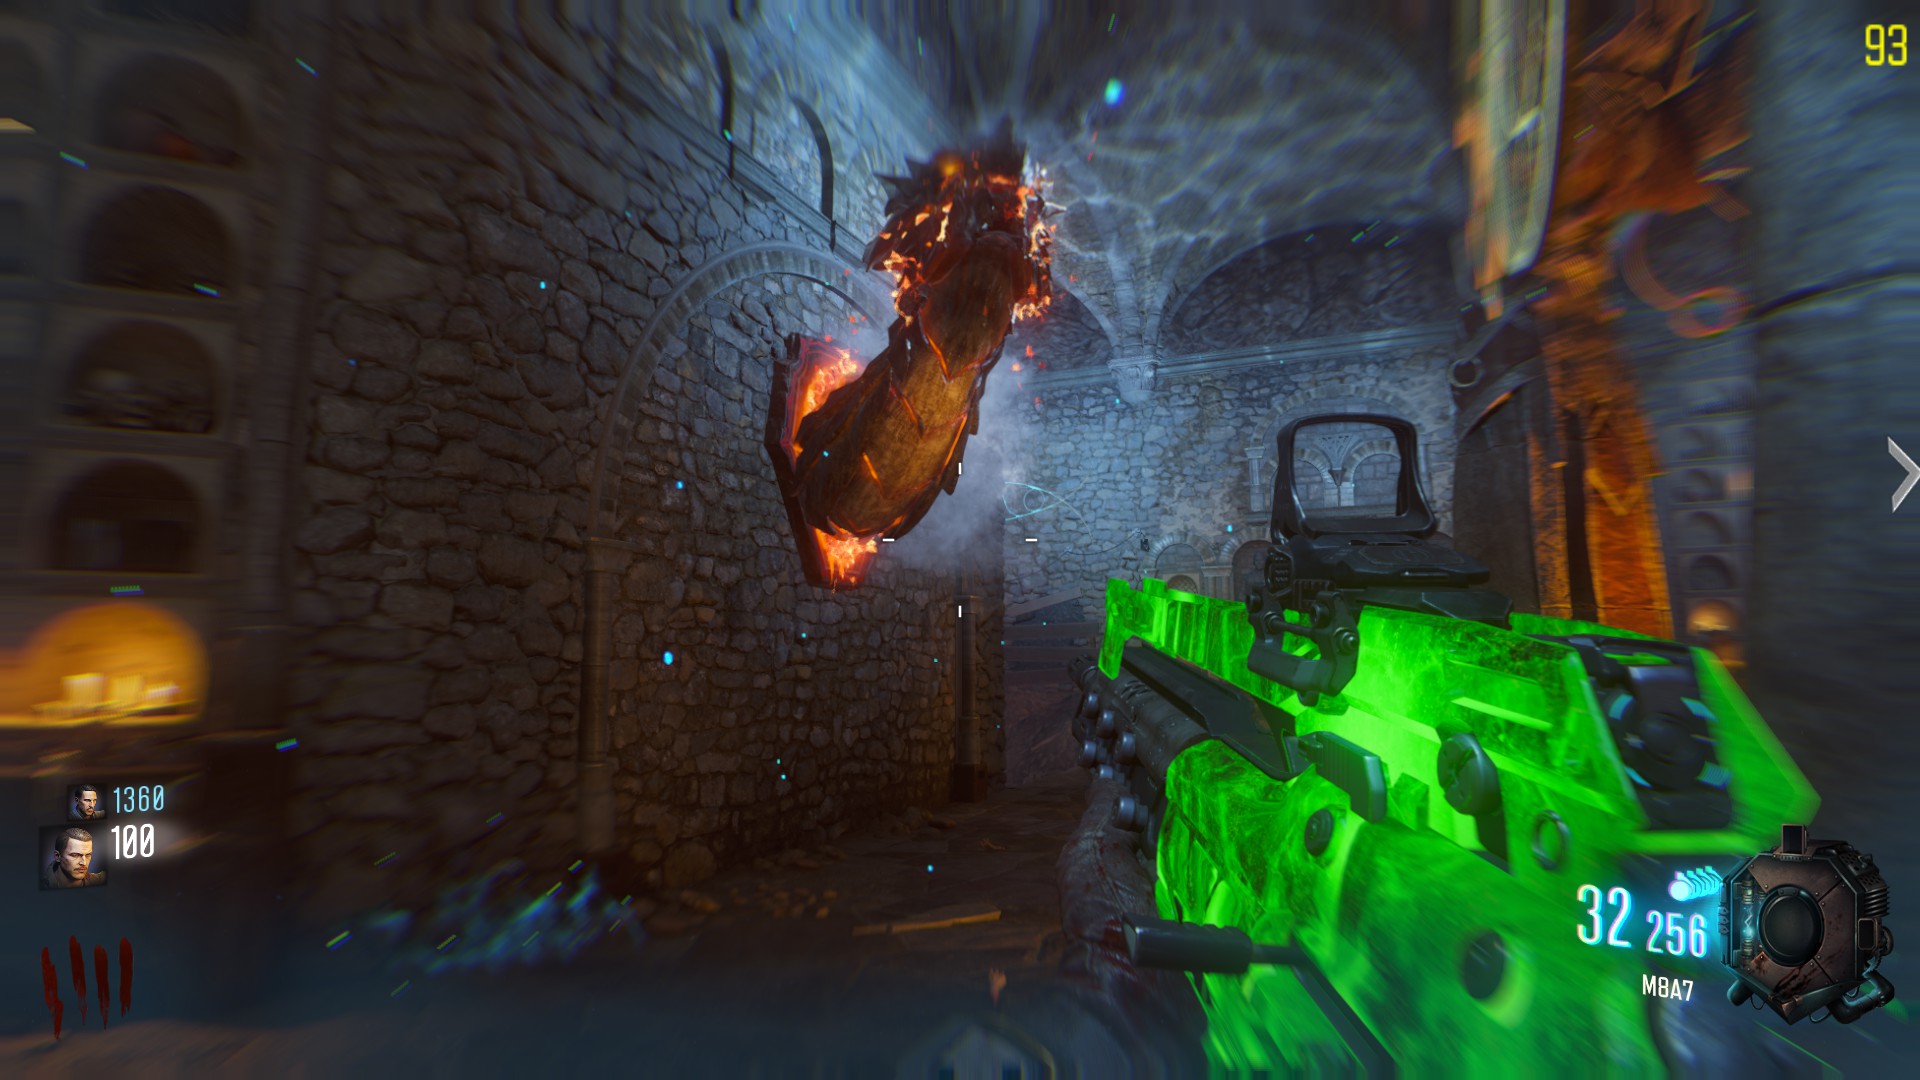
To obtain the bow, you must feed 3 dragons by killing zombies around it, just like Mob of the Dead back to Black ops 2. You must feed the dragon with 8 zombies.
Important note: You must wait that the animation of eating a zombie is over before killing another one.
When the dragon is fed, it will become a statue again, destroying itself.

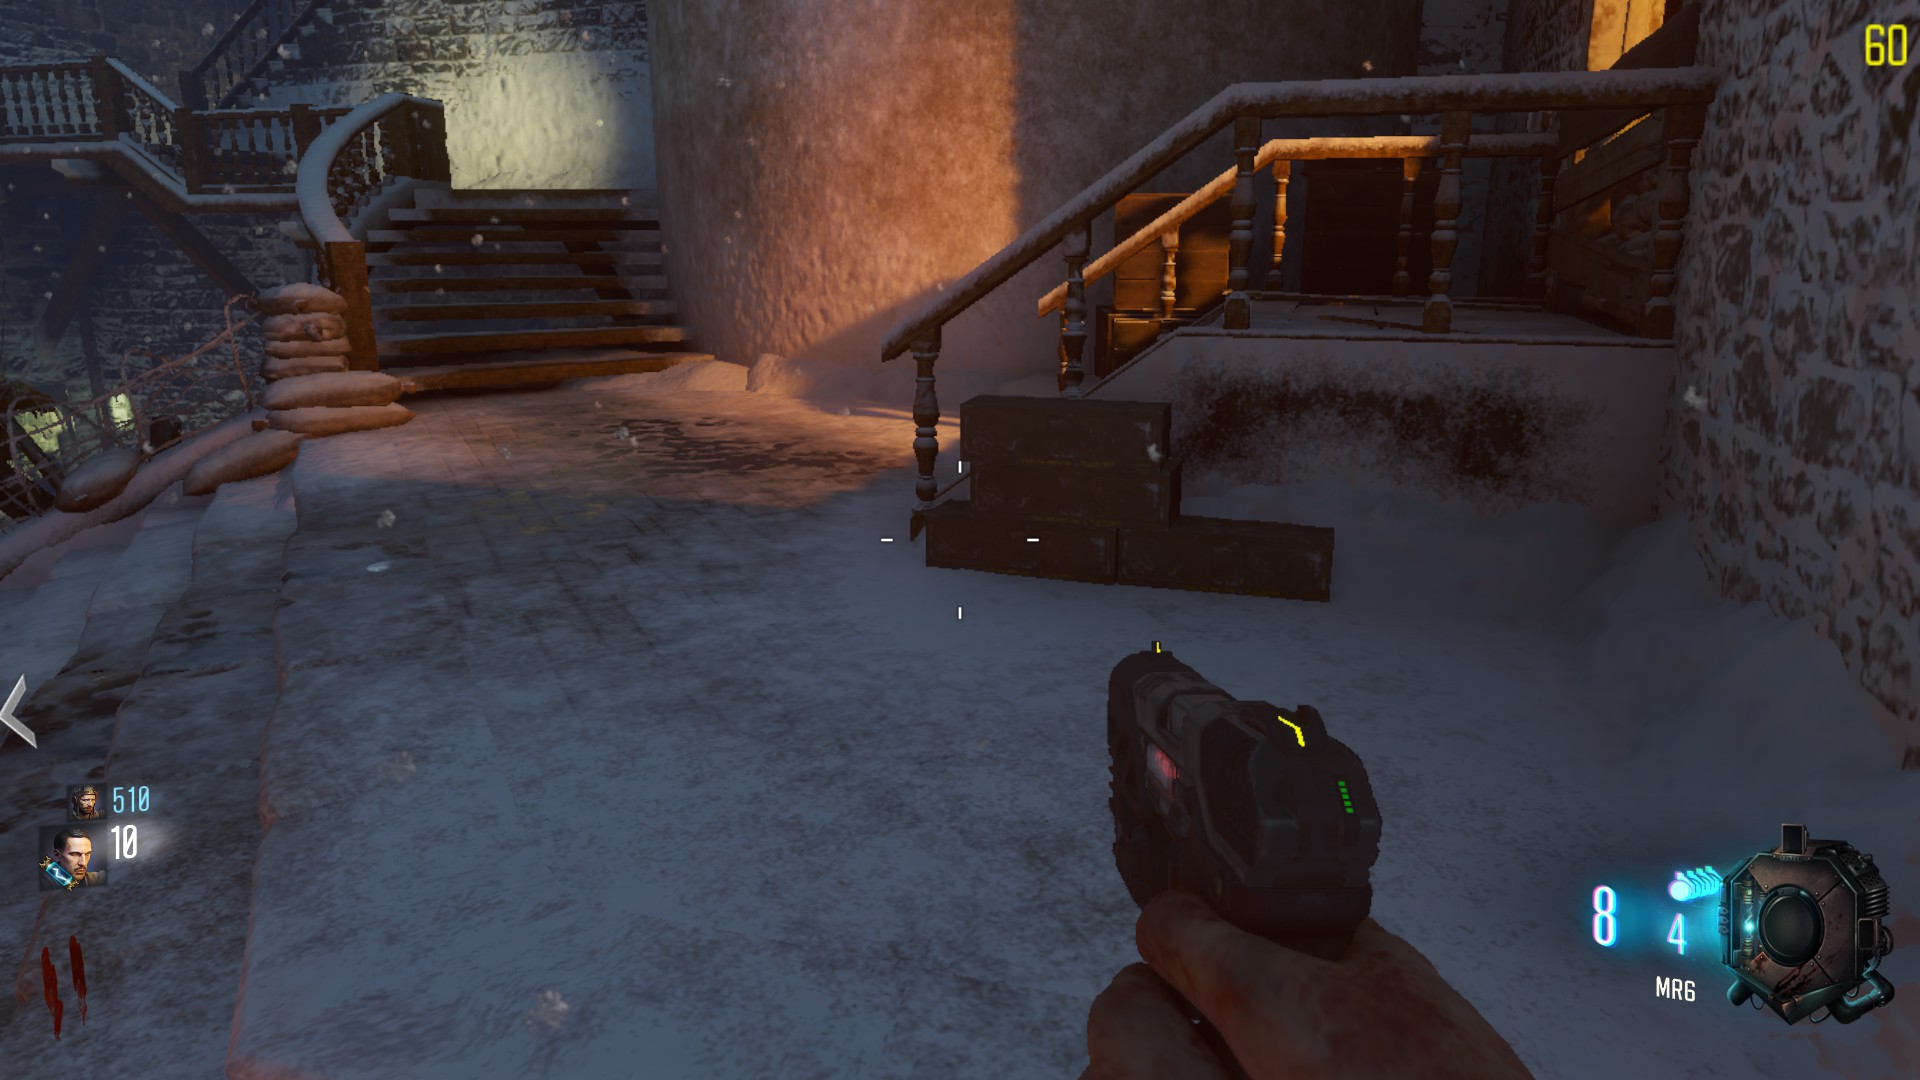
- The first dragon is in the courtyard after Double tap, near some stairs, a WunderFizz and mystery box spot.
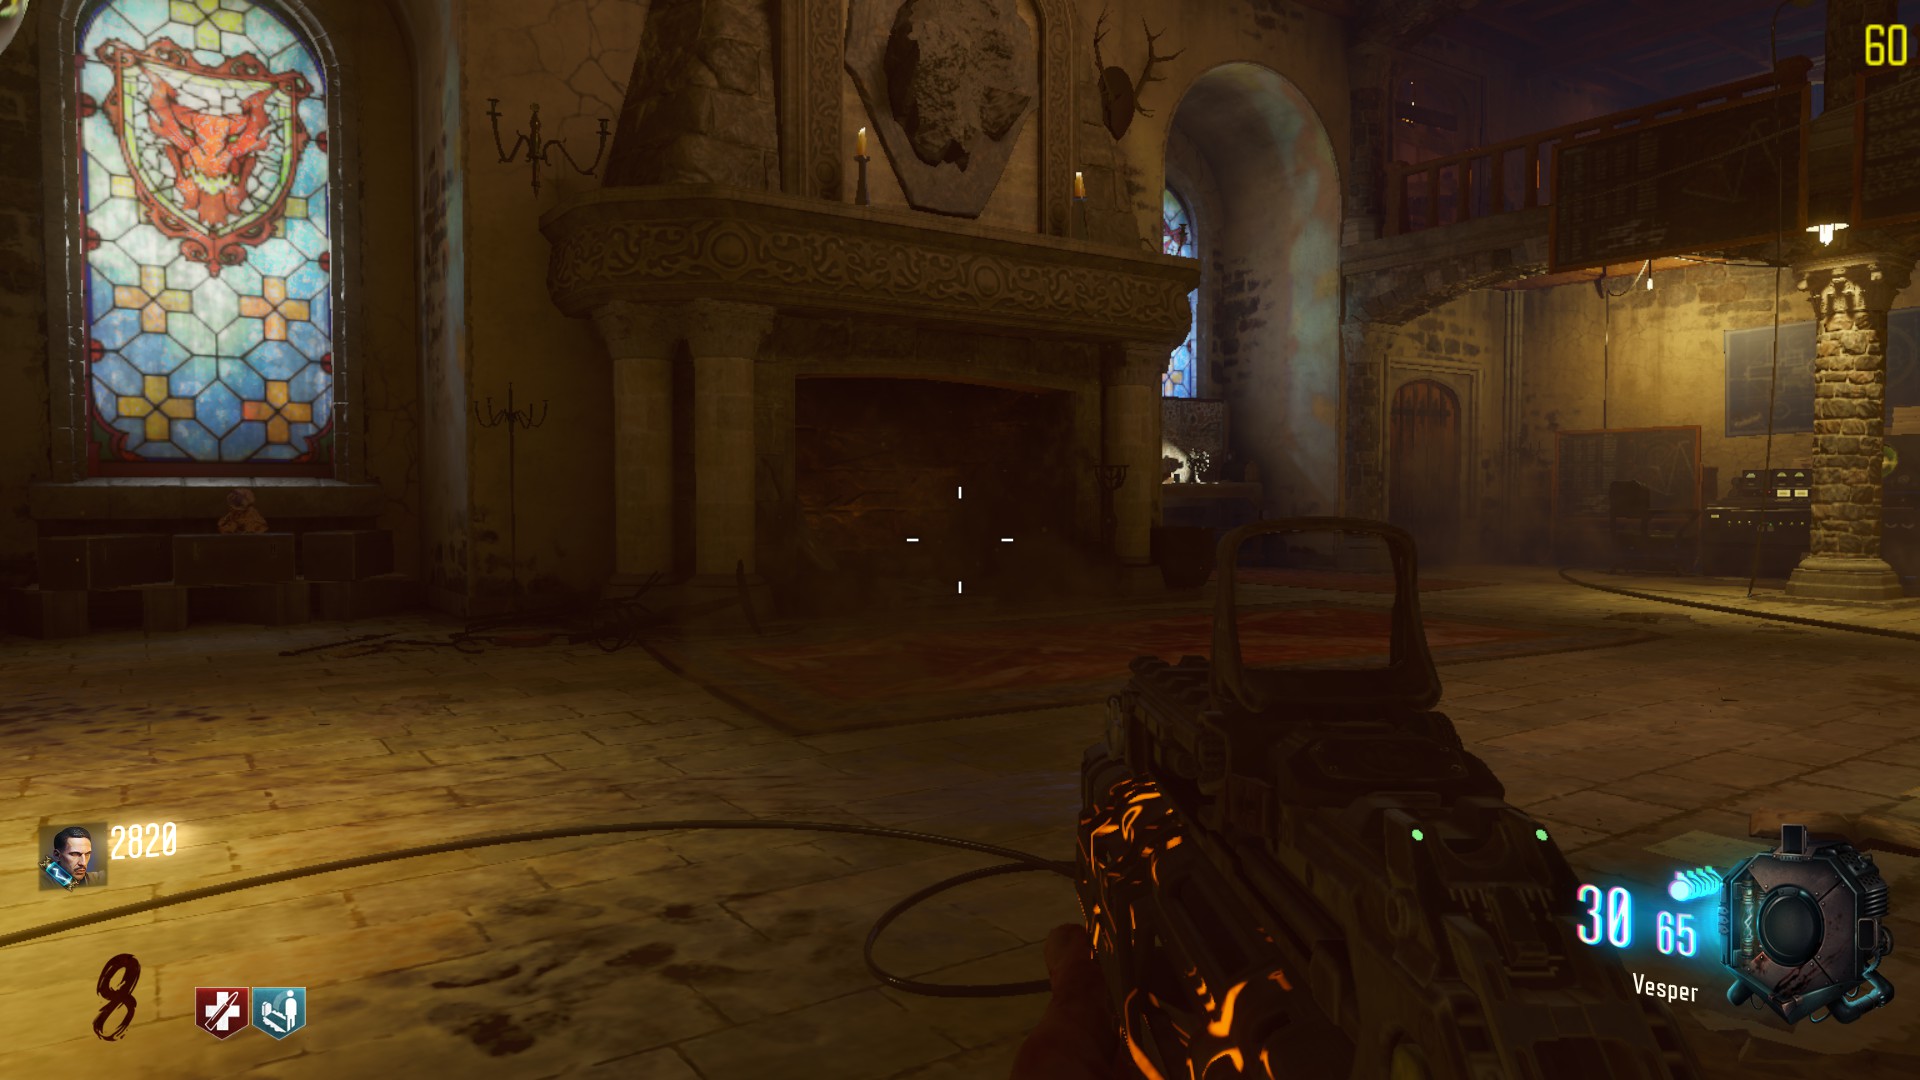
- The second dragon is in the church, above the fireplace.
- The last one is underground, near the pyramid, and the 4 altars.
Now that the 3 dragons are fed, you have to go back upstairs, towards the church. There is a room with a grave with an armor on it. The will of the ancients should be there, ready to handle.

Preparation – The Rune Prison (Fire upgrade for the Wonder Weapon)
Difficulty to craft: Medium
Bow efficiency: Medium, charged shot stunning zombies in AoE
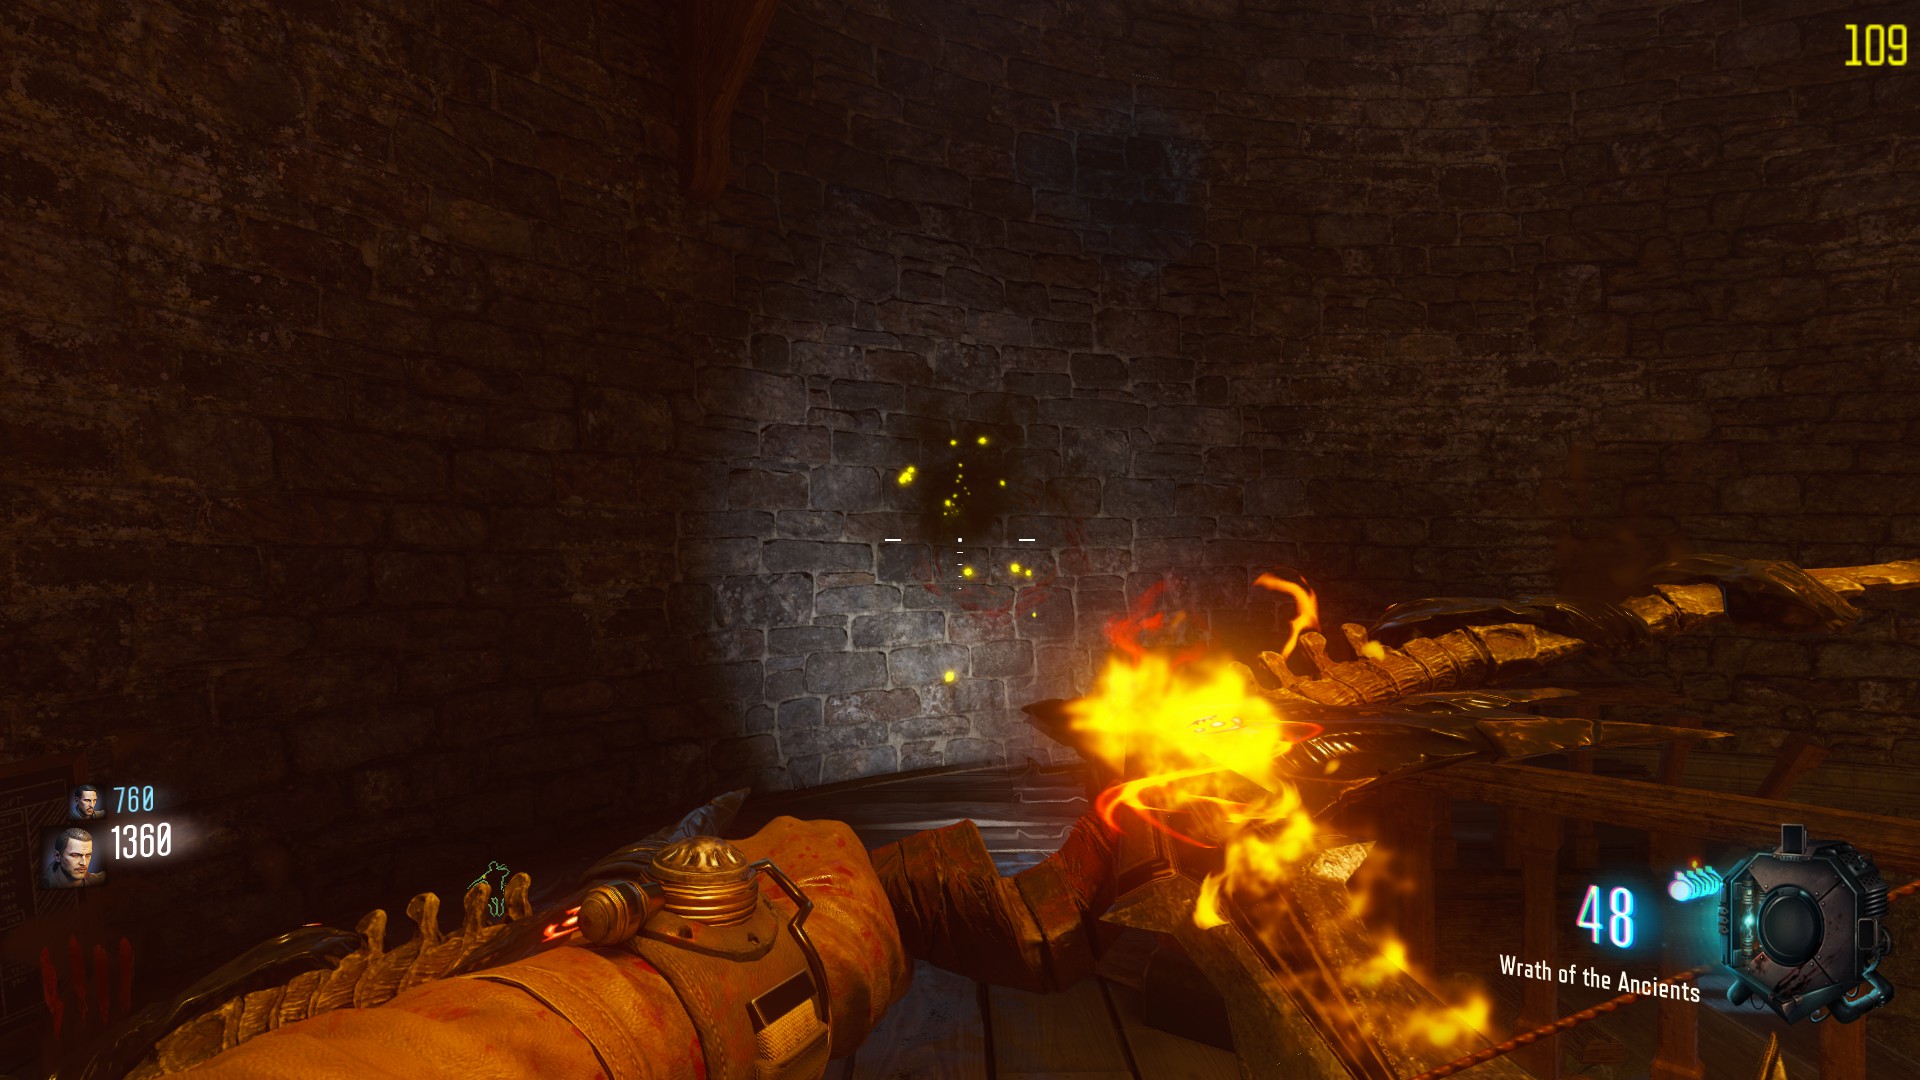
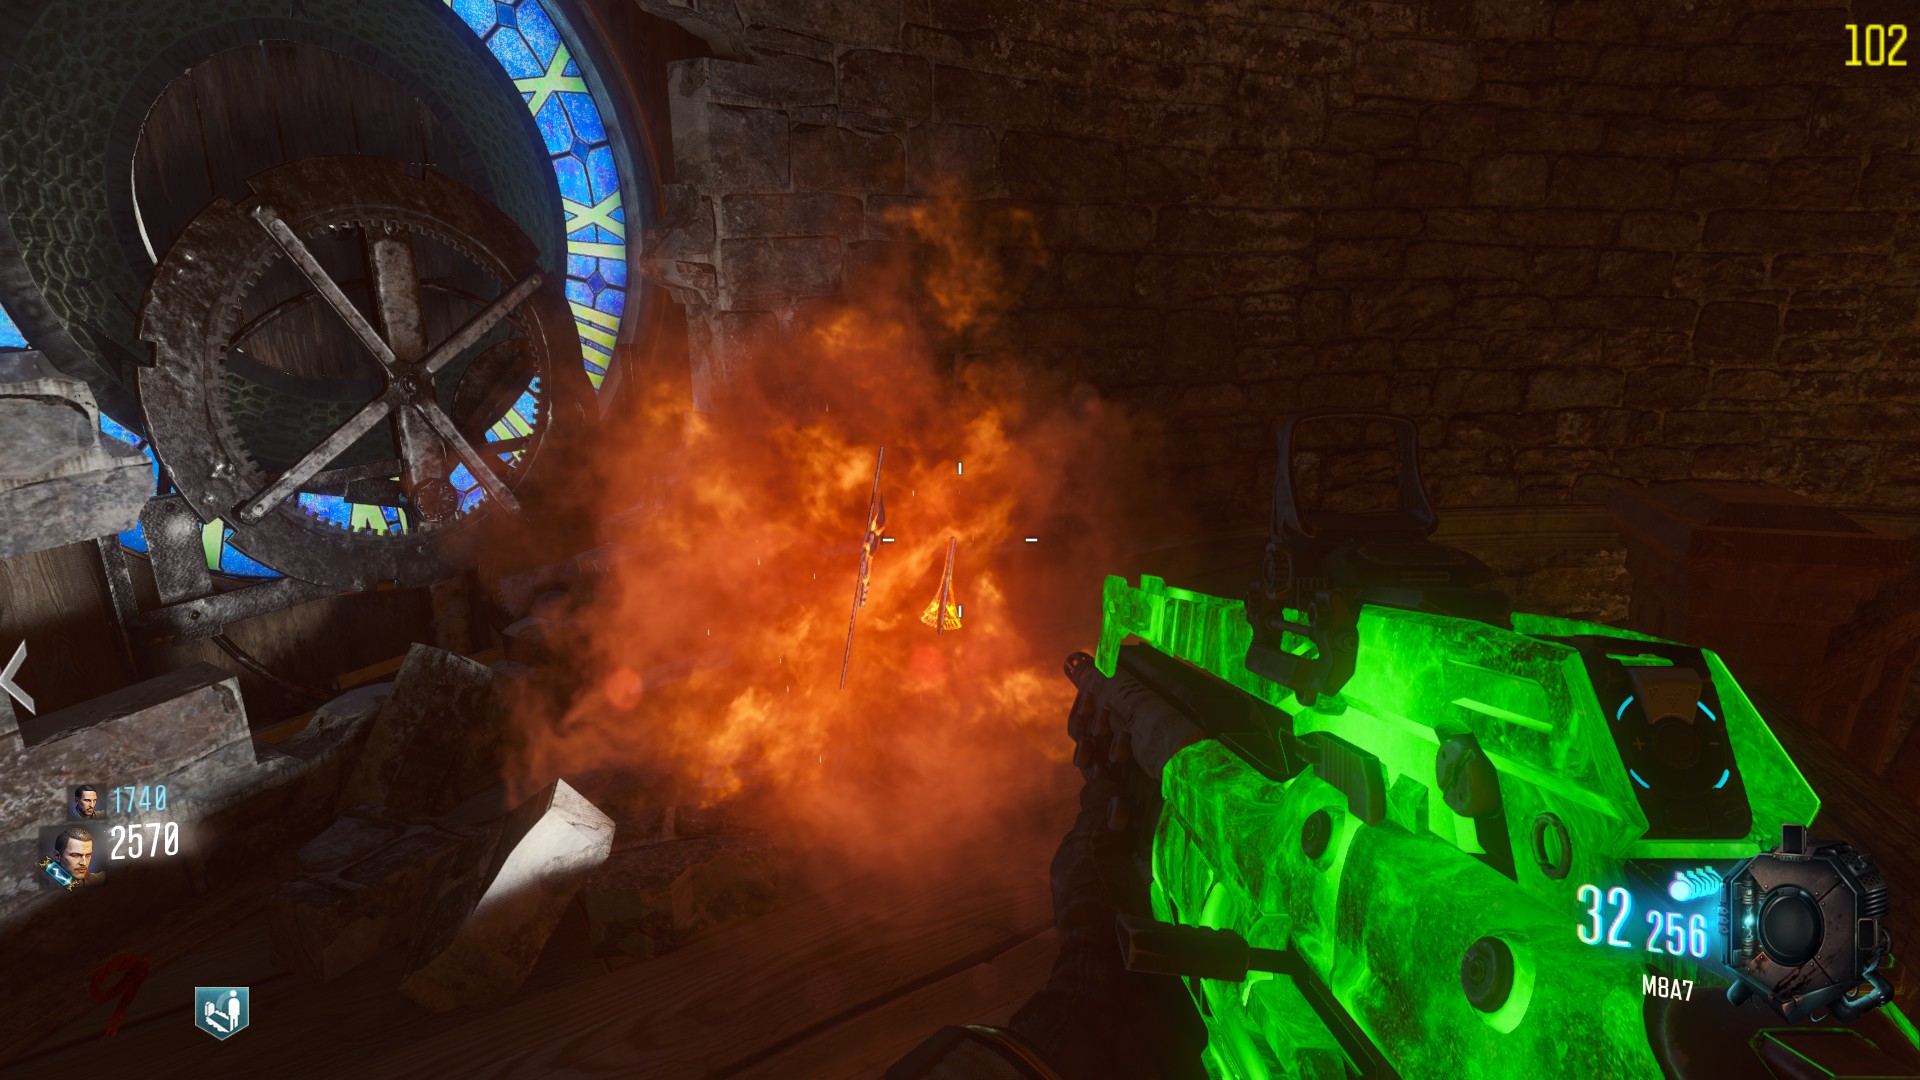
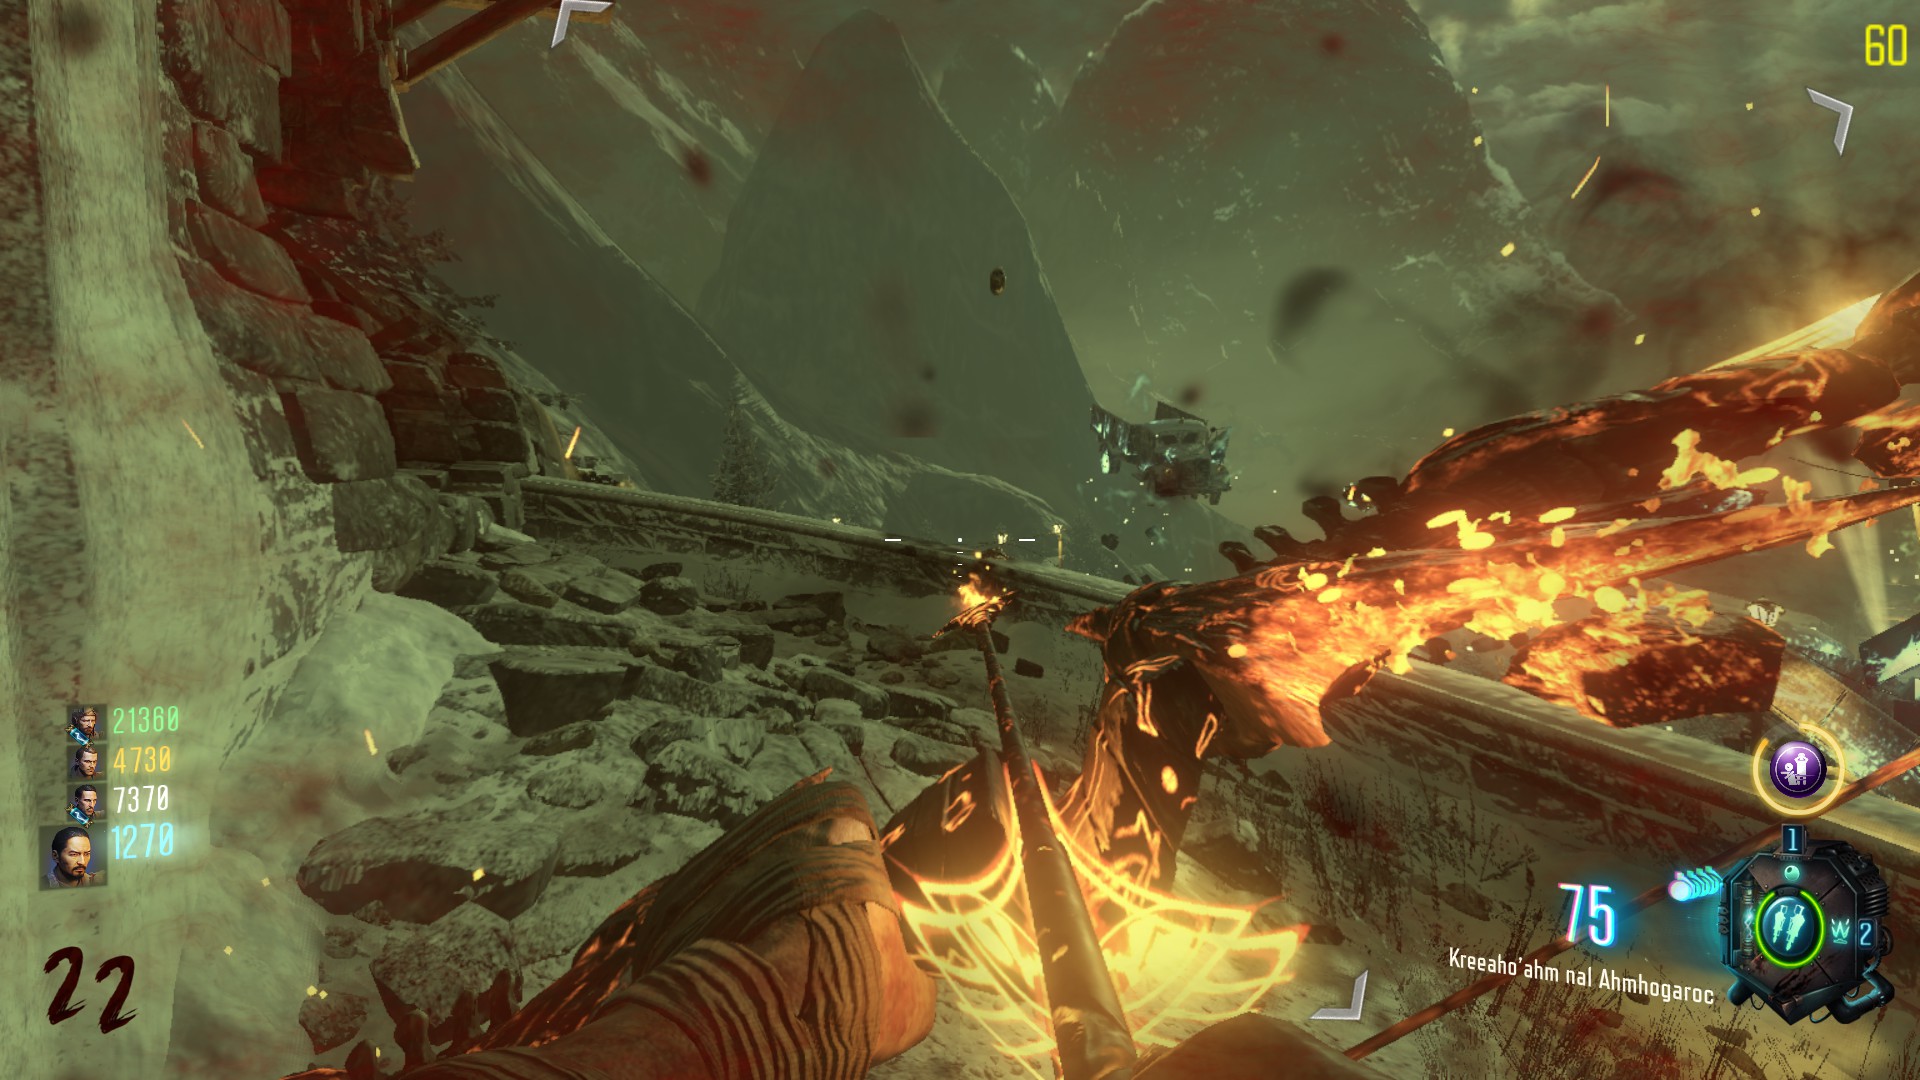
You must get to the Clock Tower, get upstairs, and shoot a charged arrow on the marked wall. This one should break down and release the “quest item”.
, you must reach the landing pad, with the teleporter. Is it located in the underground cave, past the pyramid device, when coming from the church staircase. Once down there, you must wait for a rocket test to start. A countdown will begin and the doors will be sealed. Stay in the safety of the teleporter area because the thrusters would melt you outside.
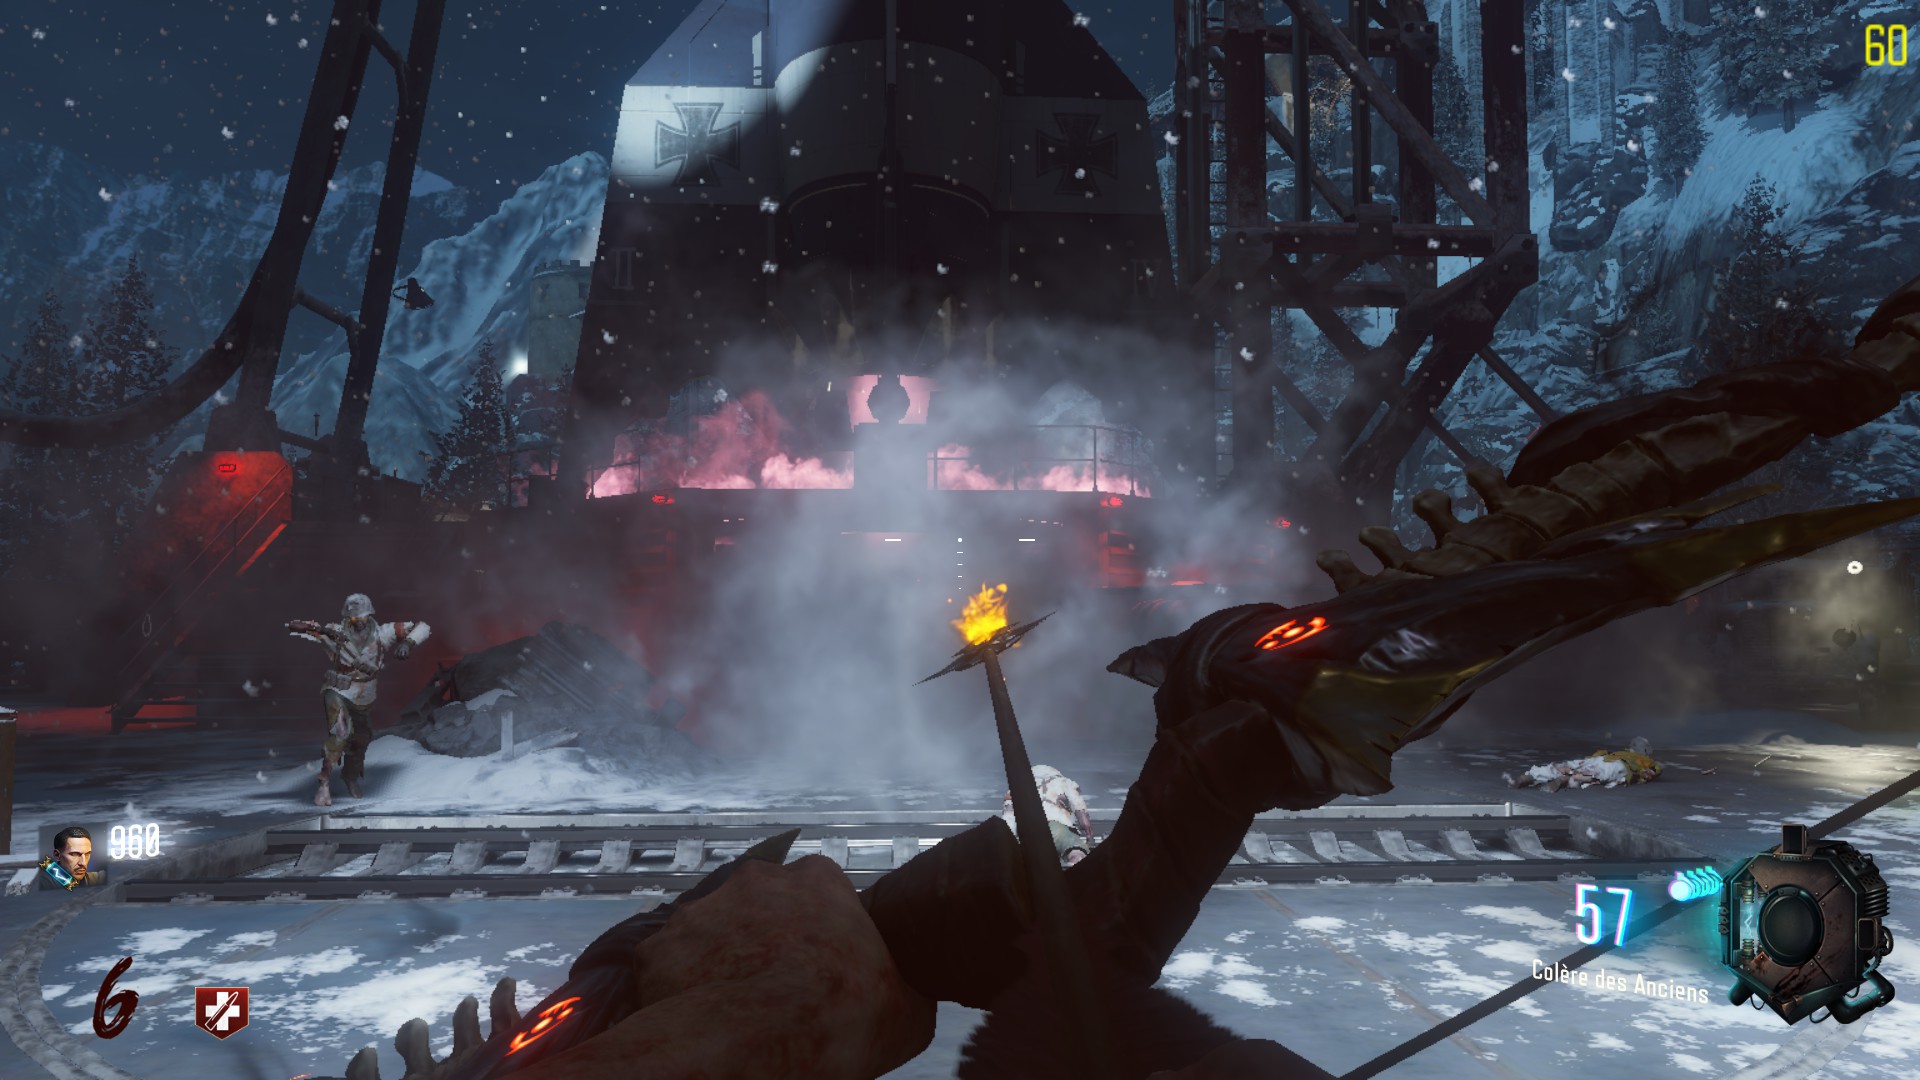
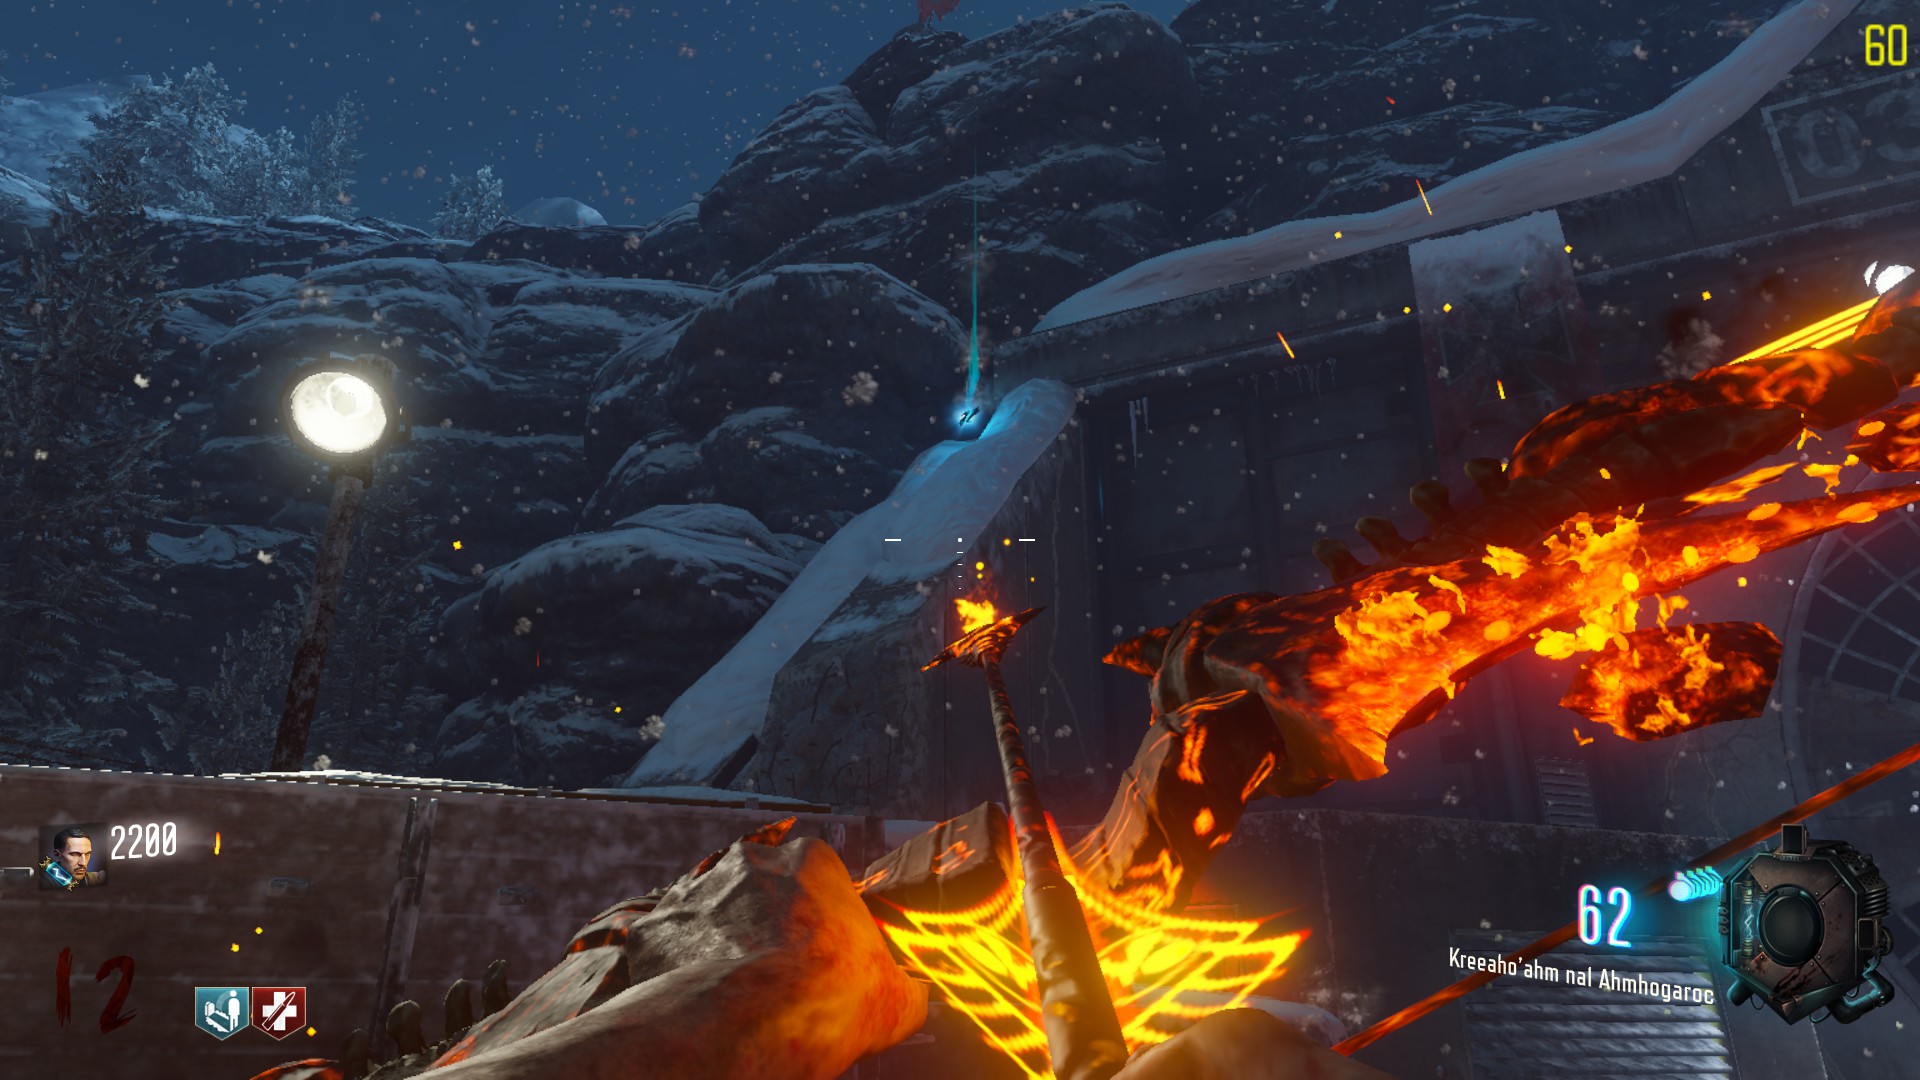
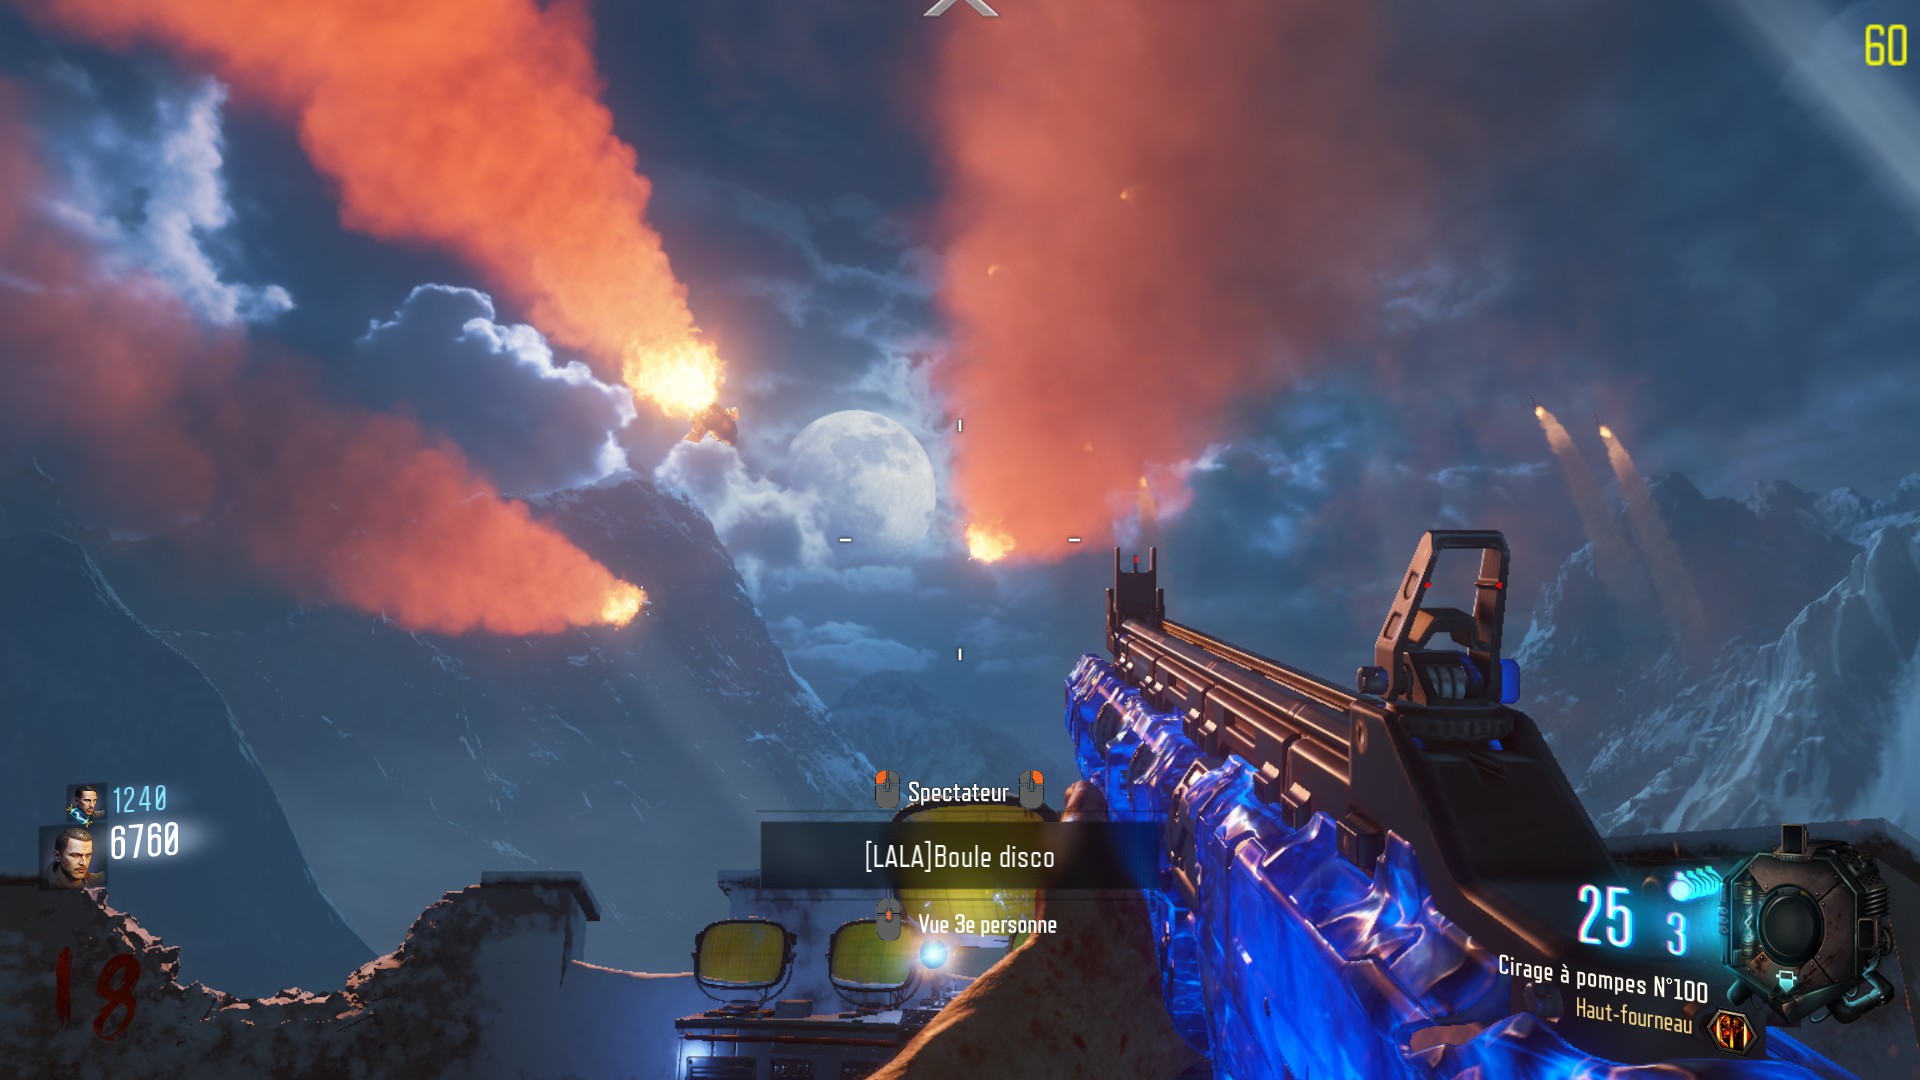
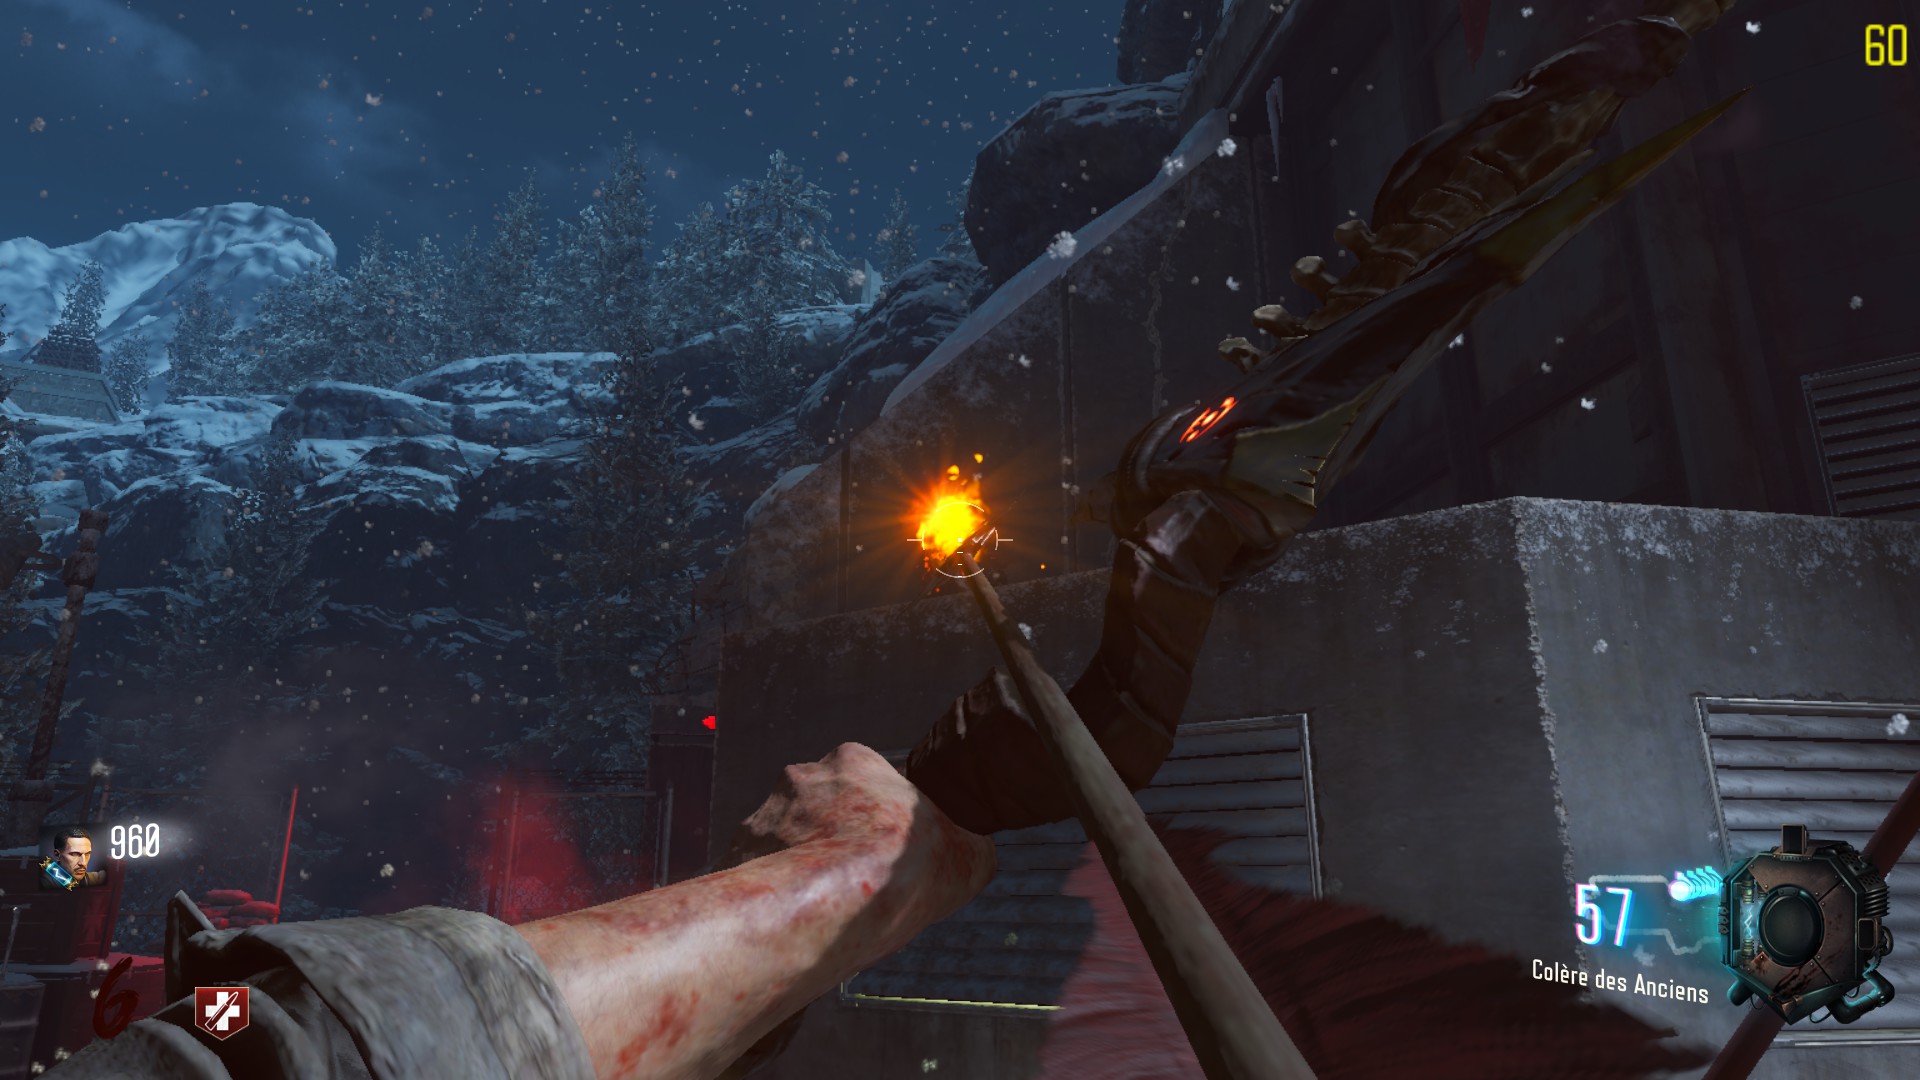
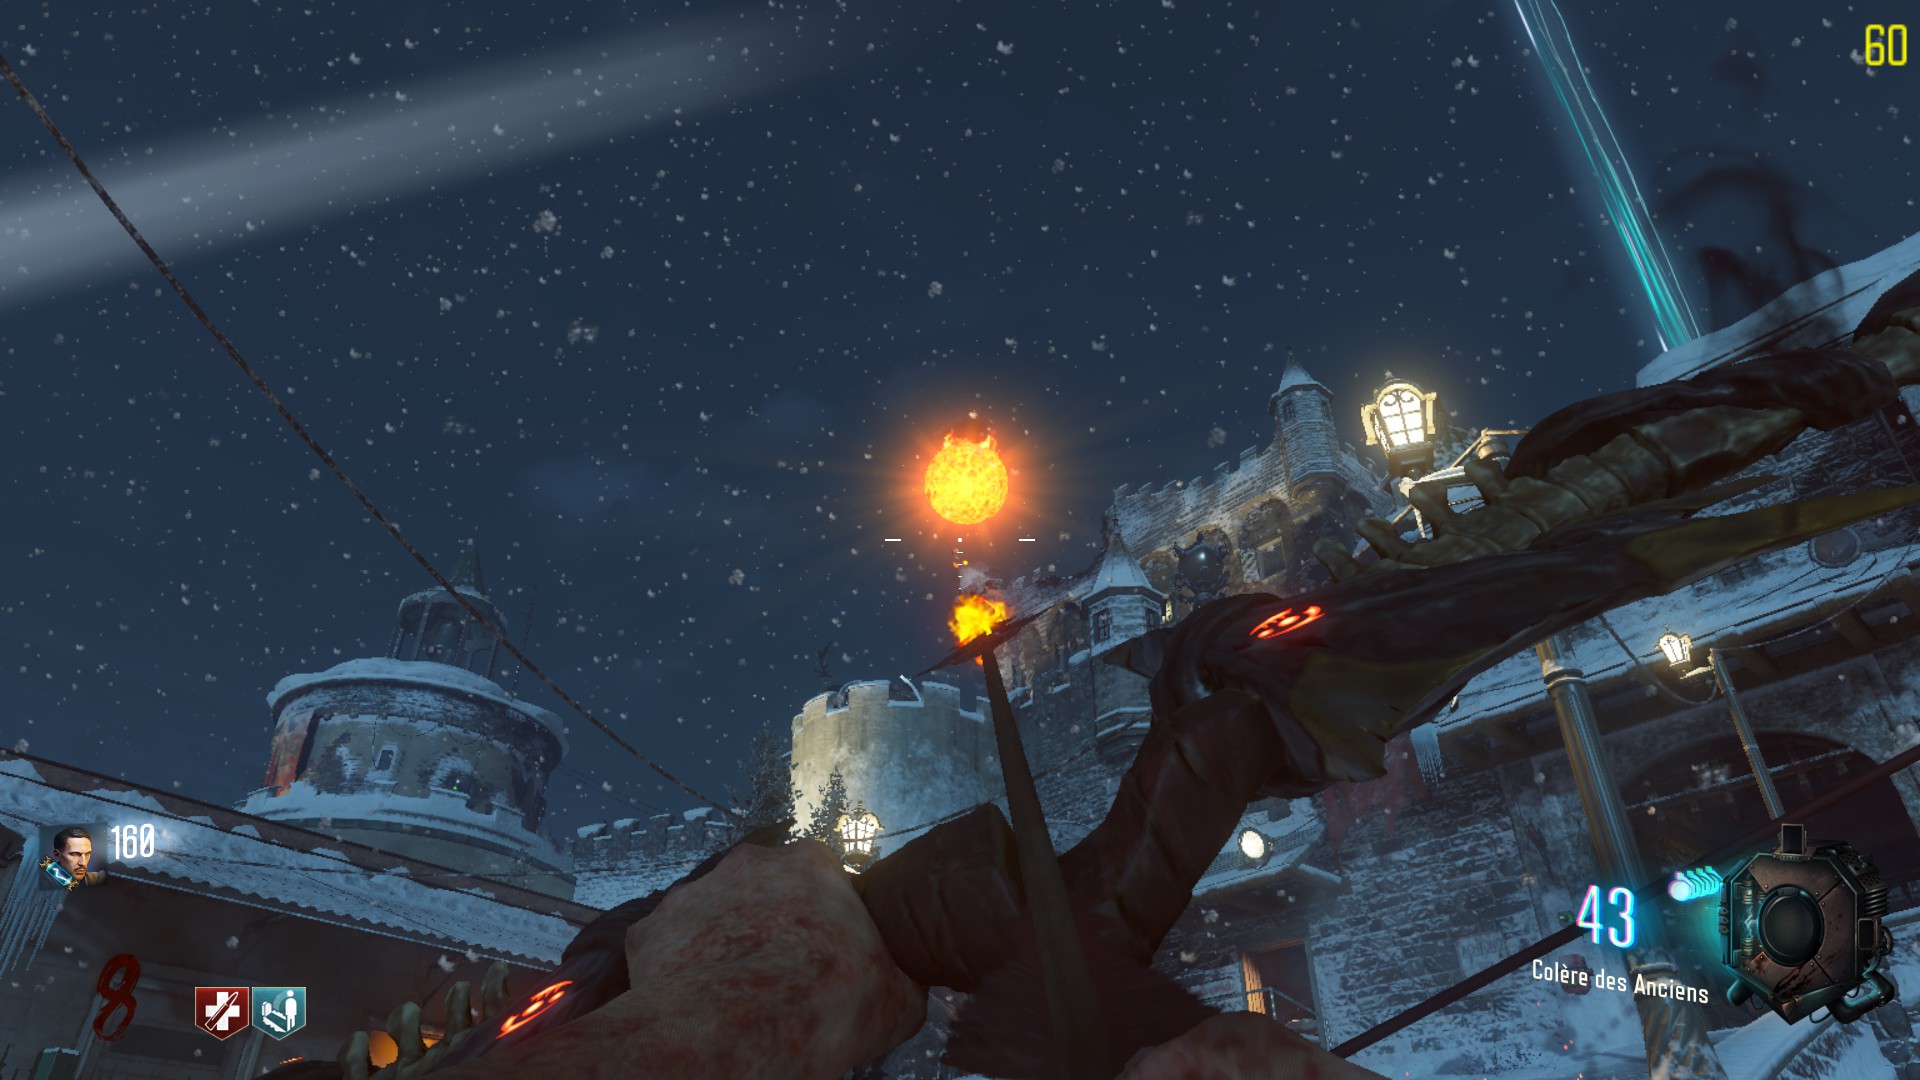
As soon as the test is over, you must run outside as the doors are still opening. Look to your right, and shoot at the glowing ball, located slightly above the concrete building.. You have approximately 10 seconds before the ball get out of range. If failed to hit the fire ball, you must repeat the process when the next rocket test occur.
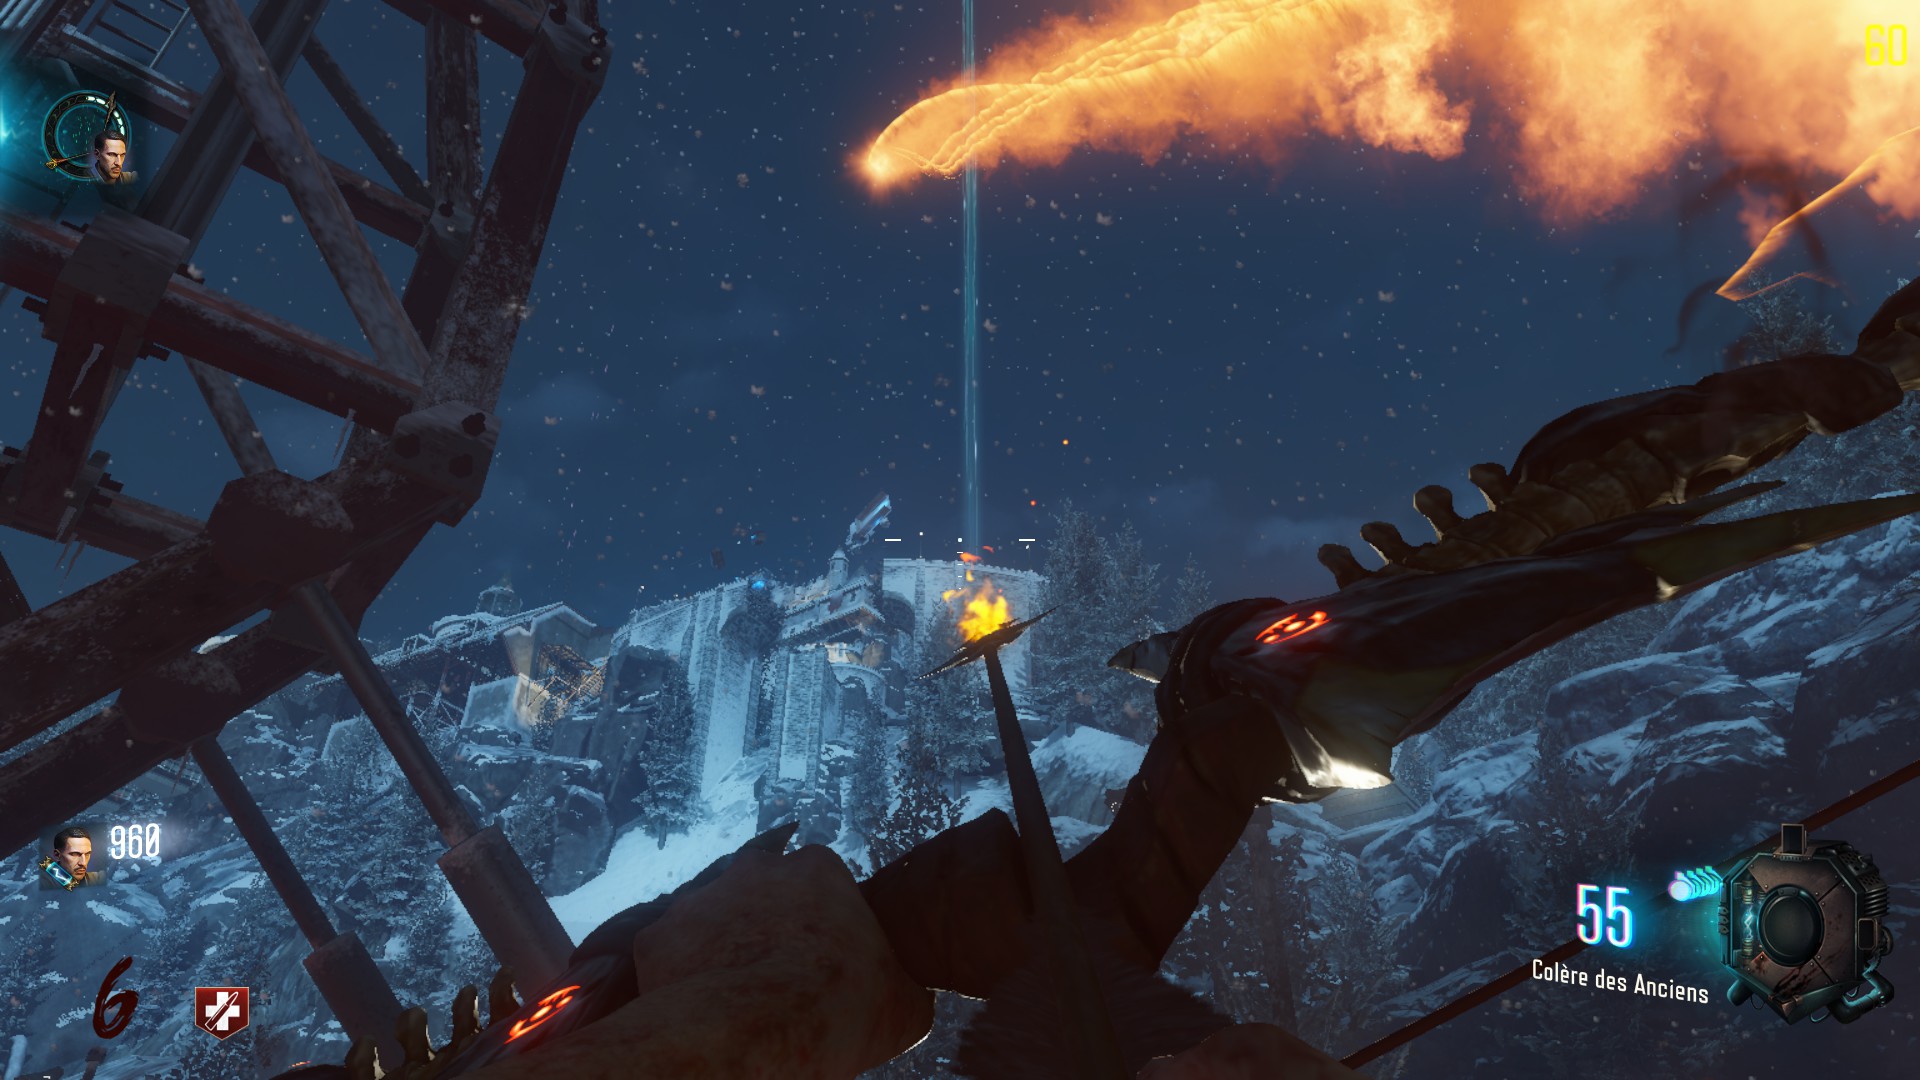
If done correctly, the ball should be flying to the castle, and a freaking sun should have been created up the map. :3
you must shoot at three red circles with a charged arrow. That sounds pretty straight forward, right ? Well you actually have to shoot them while in the air. Use the 4 wunderspheres to do that.
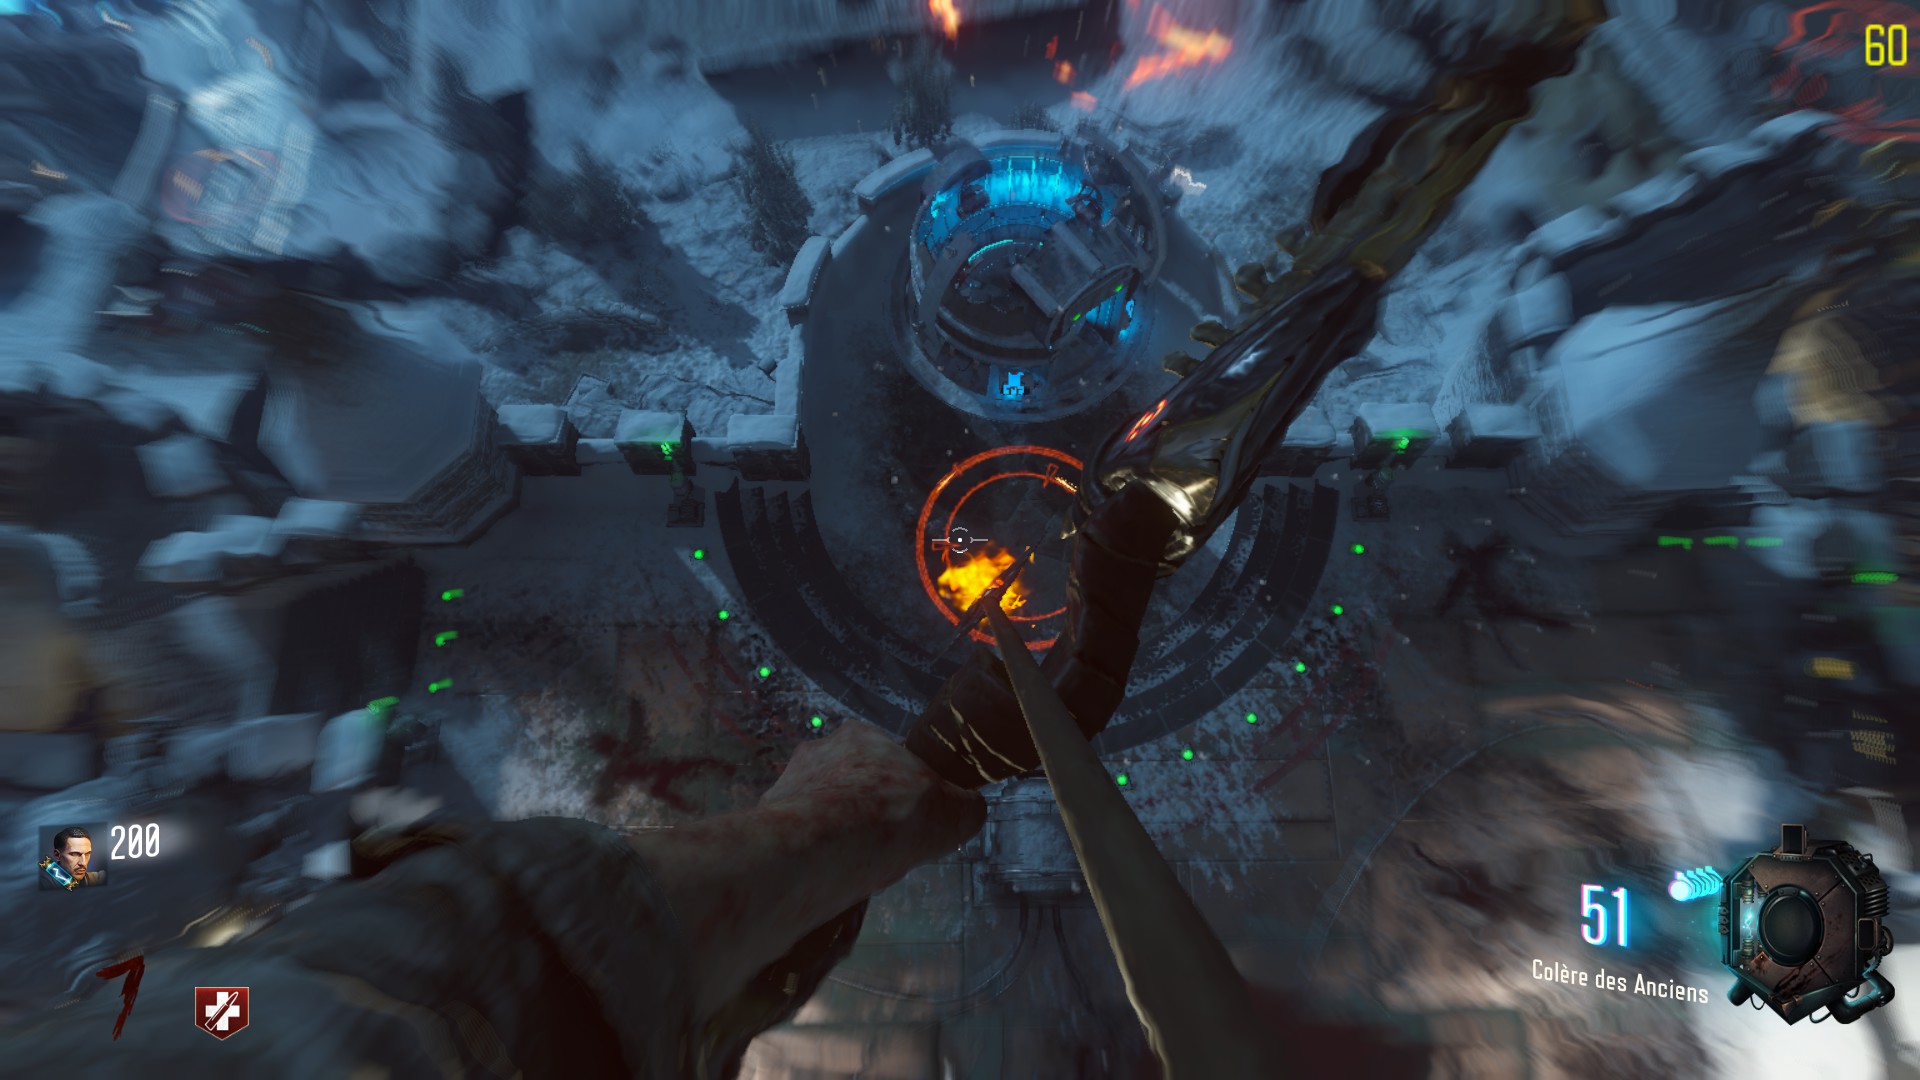
The 4 wunderspheres are:
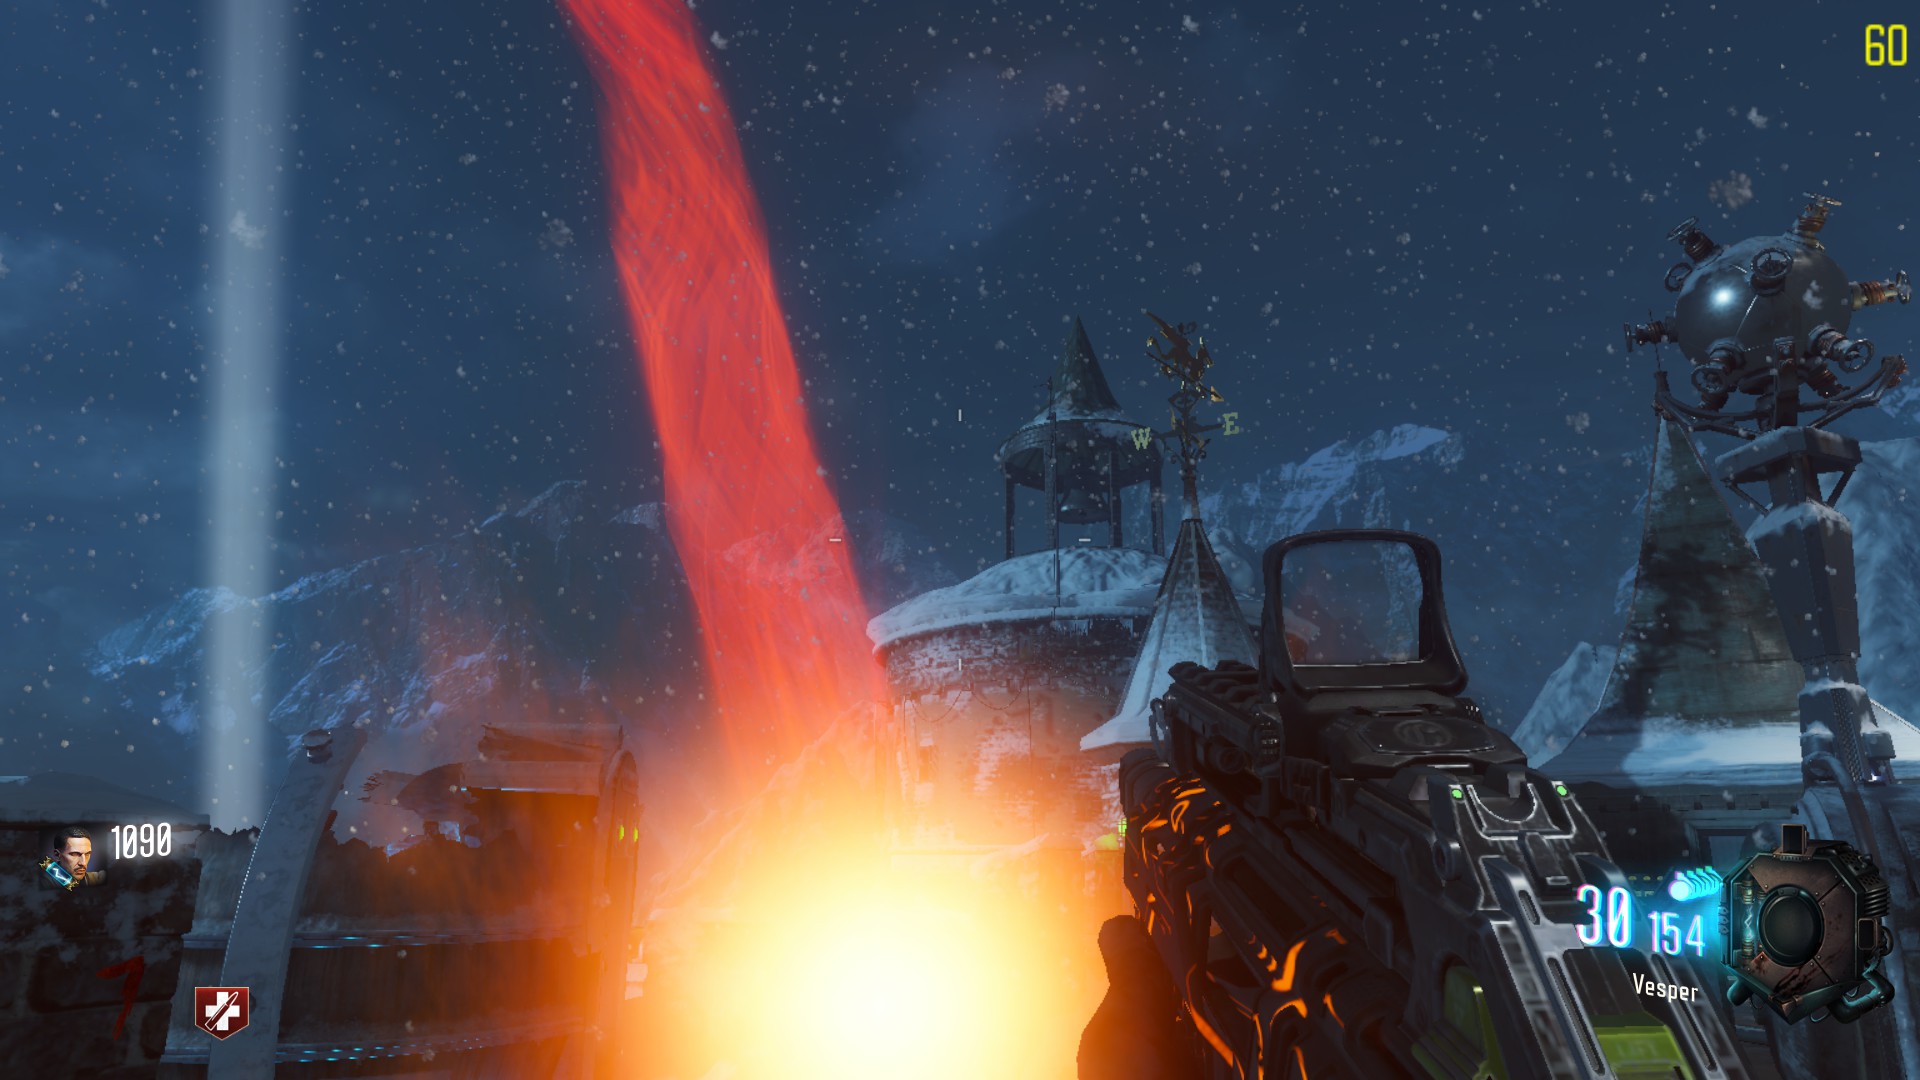
– On top of the castle, near the death ray
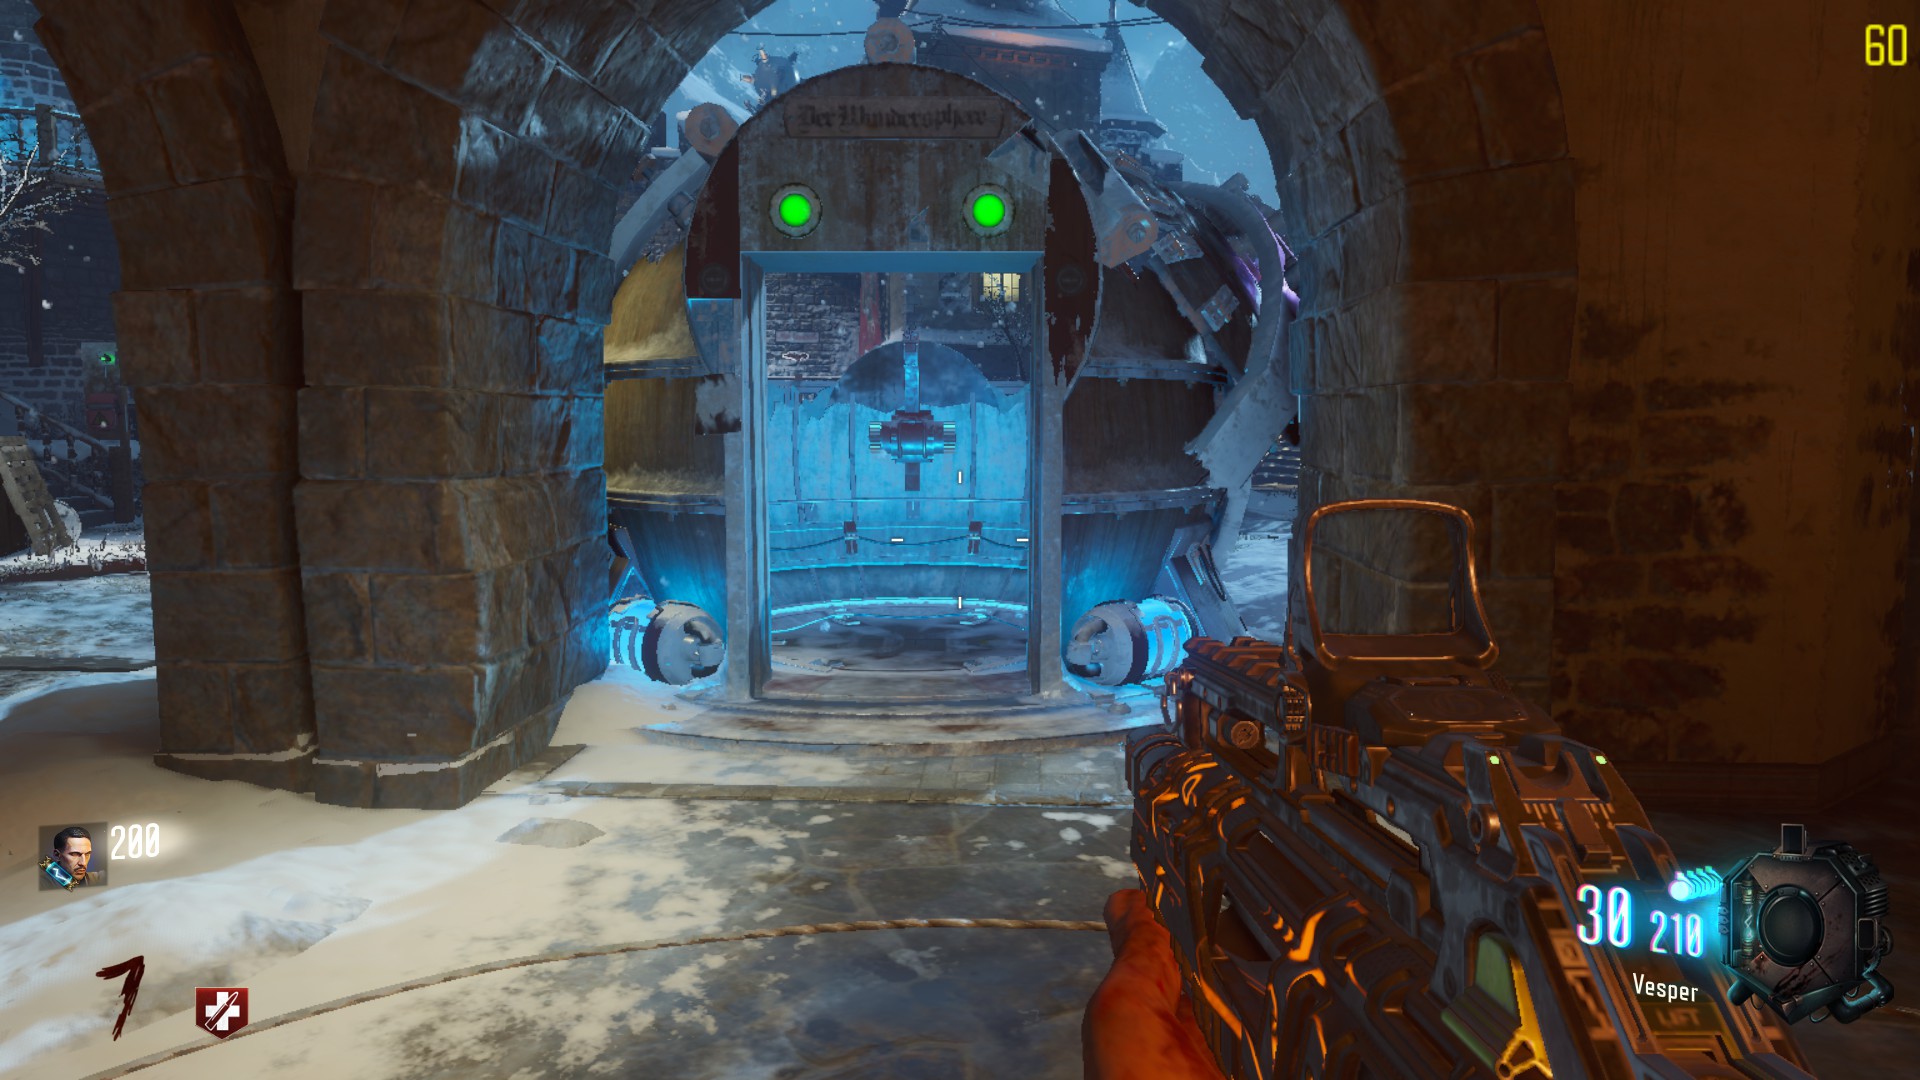
– In the main court, near the church
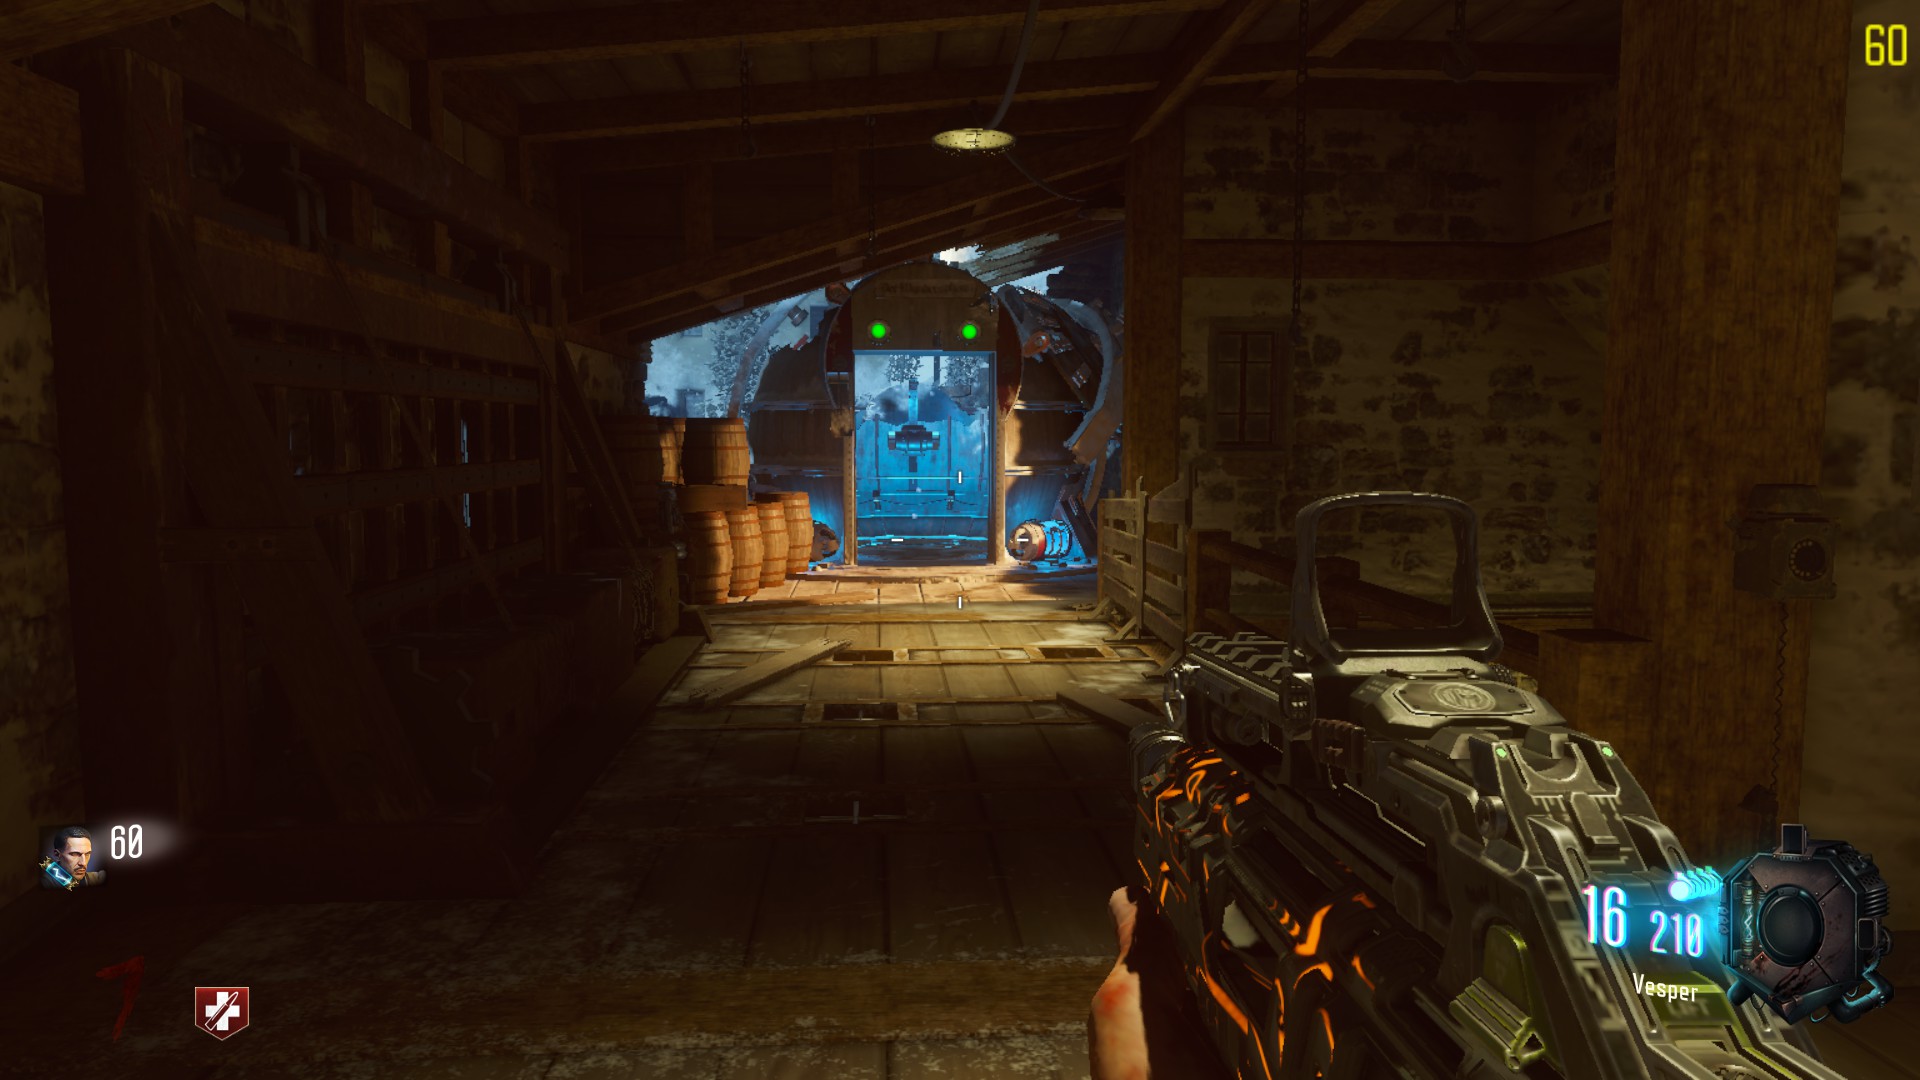
– In the room above Double Tap
– In the landing pad area.
The 3 circles are:
– On top of the castle, near the death ray, just in front of the wundersphere
– Near the previous circle, beside a wunderfizz spot
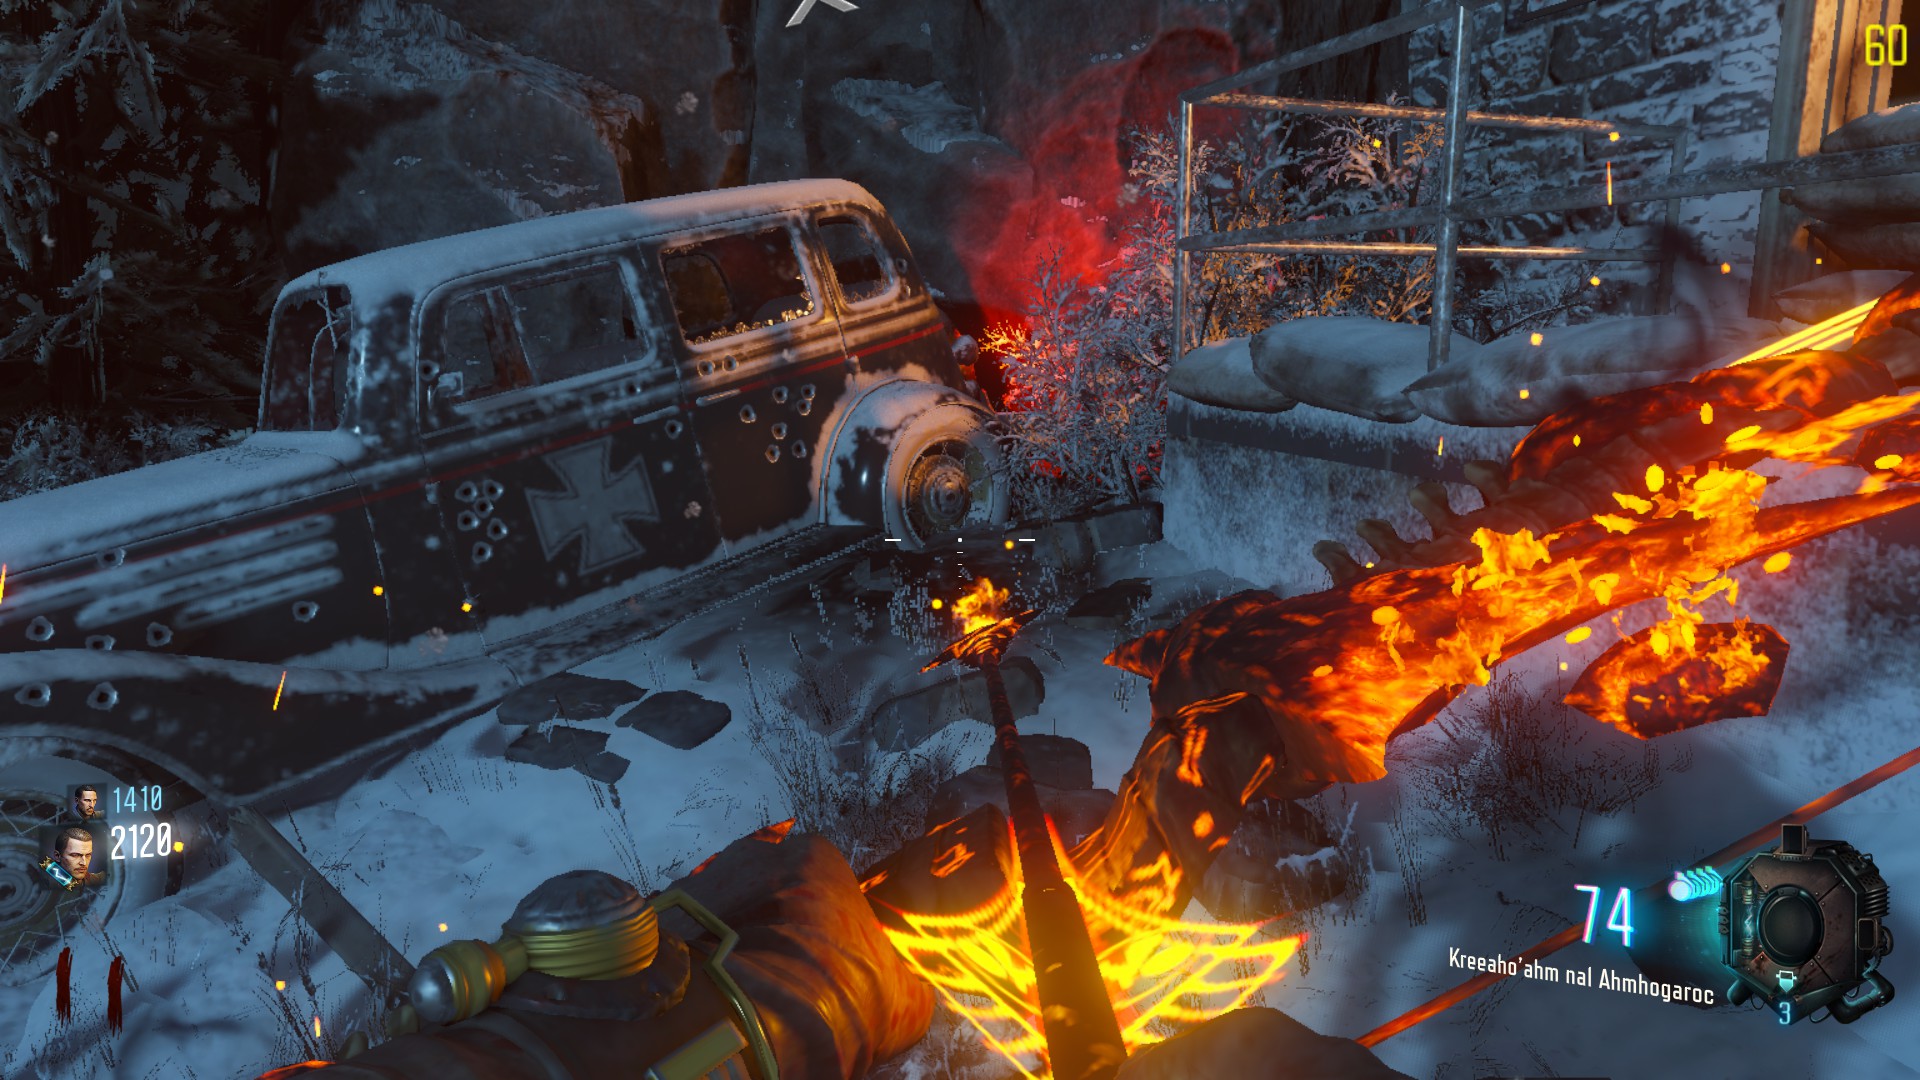
– In the upwarding alley, where there is a car, near Double Tap
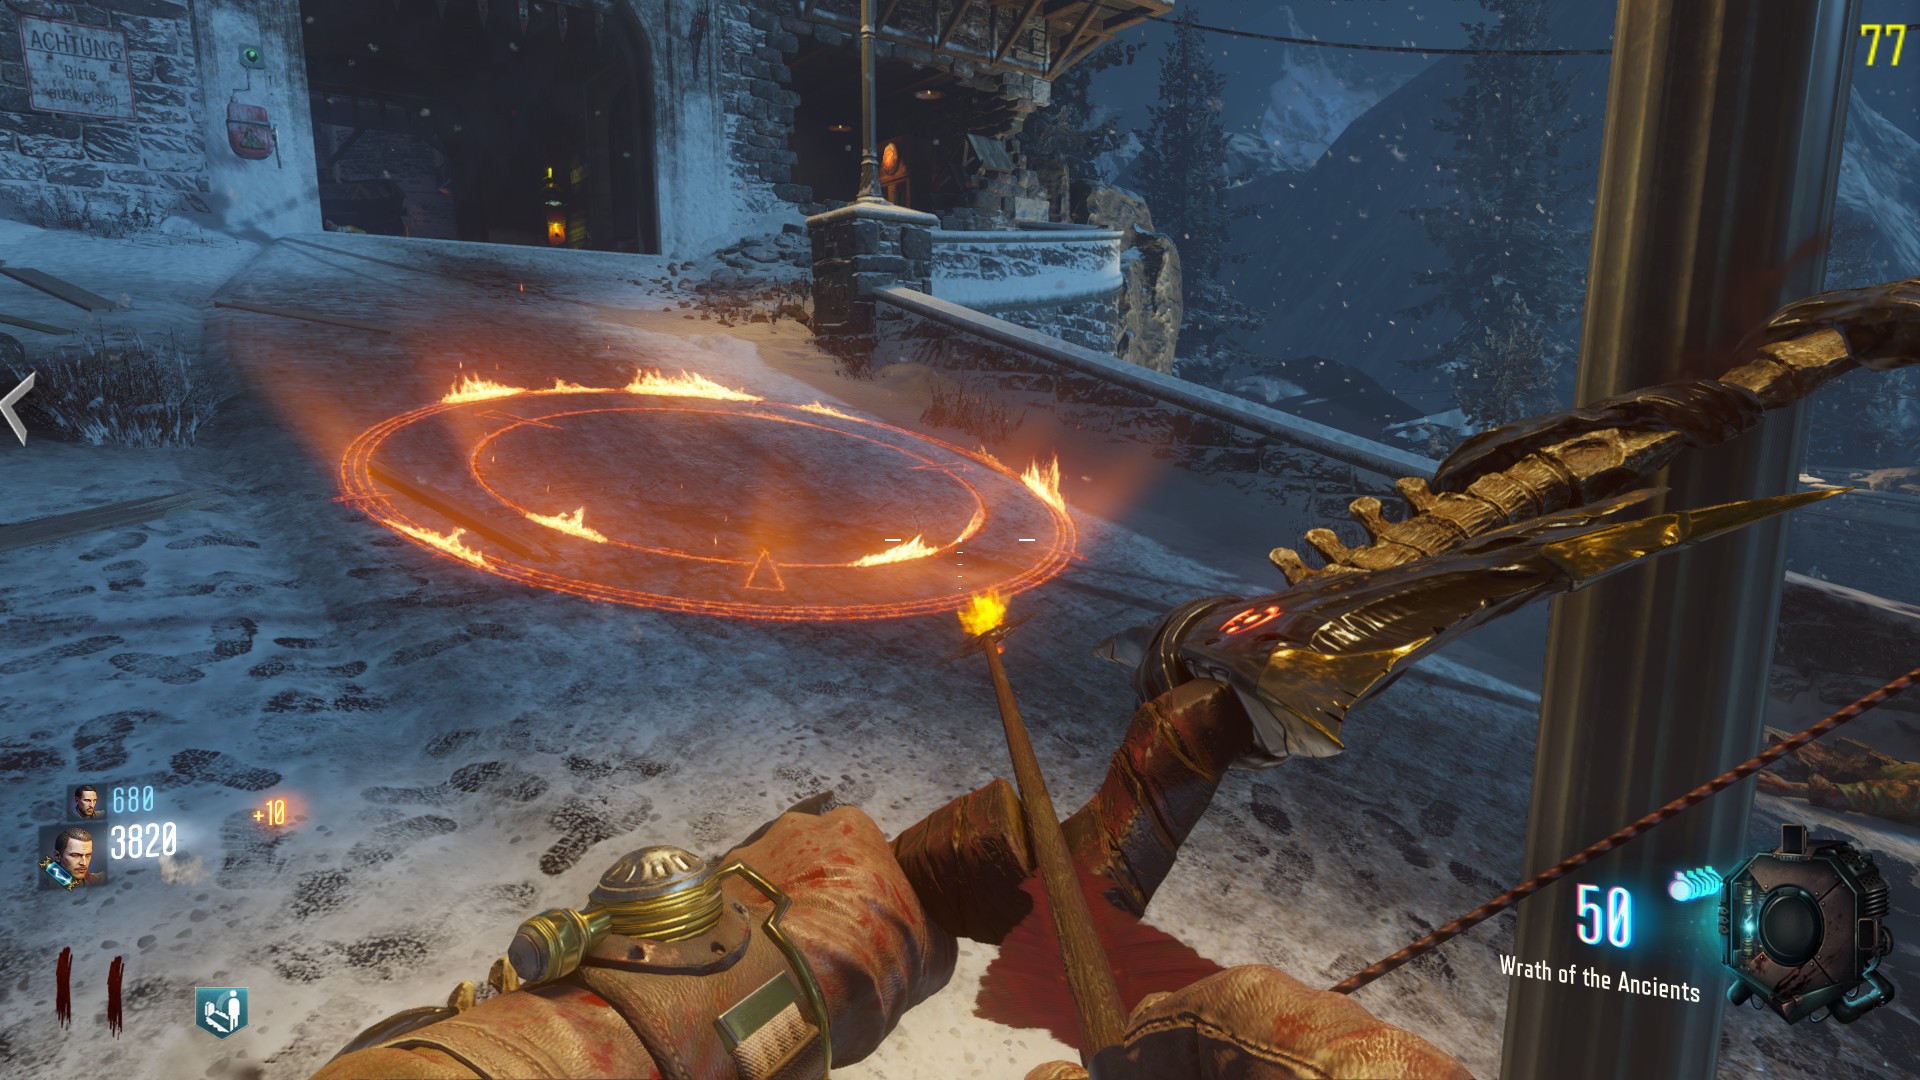
The circles are glowing while in the air. If you hit them, it remains glowing and a sound can be heard.
My advise: Use the wundersphere of the court to get the Death Ray circle, the wundersphere in the room above Double Tap to get the circle near the clock tower, and the wunder sphere of the death ray / the landing pad to get the last one.
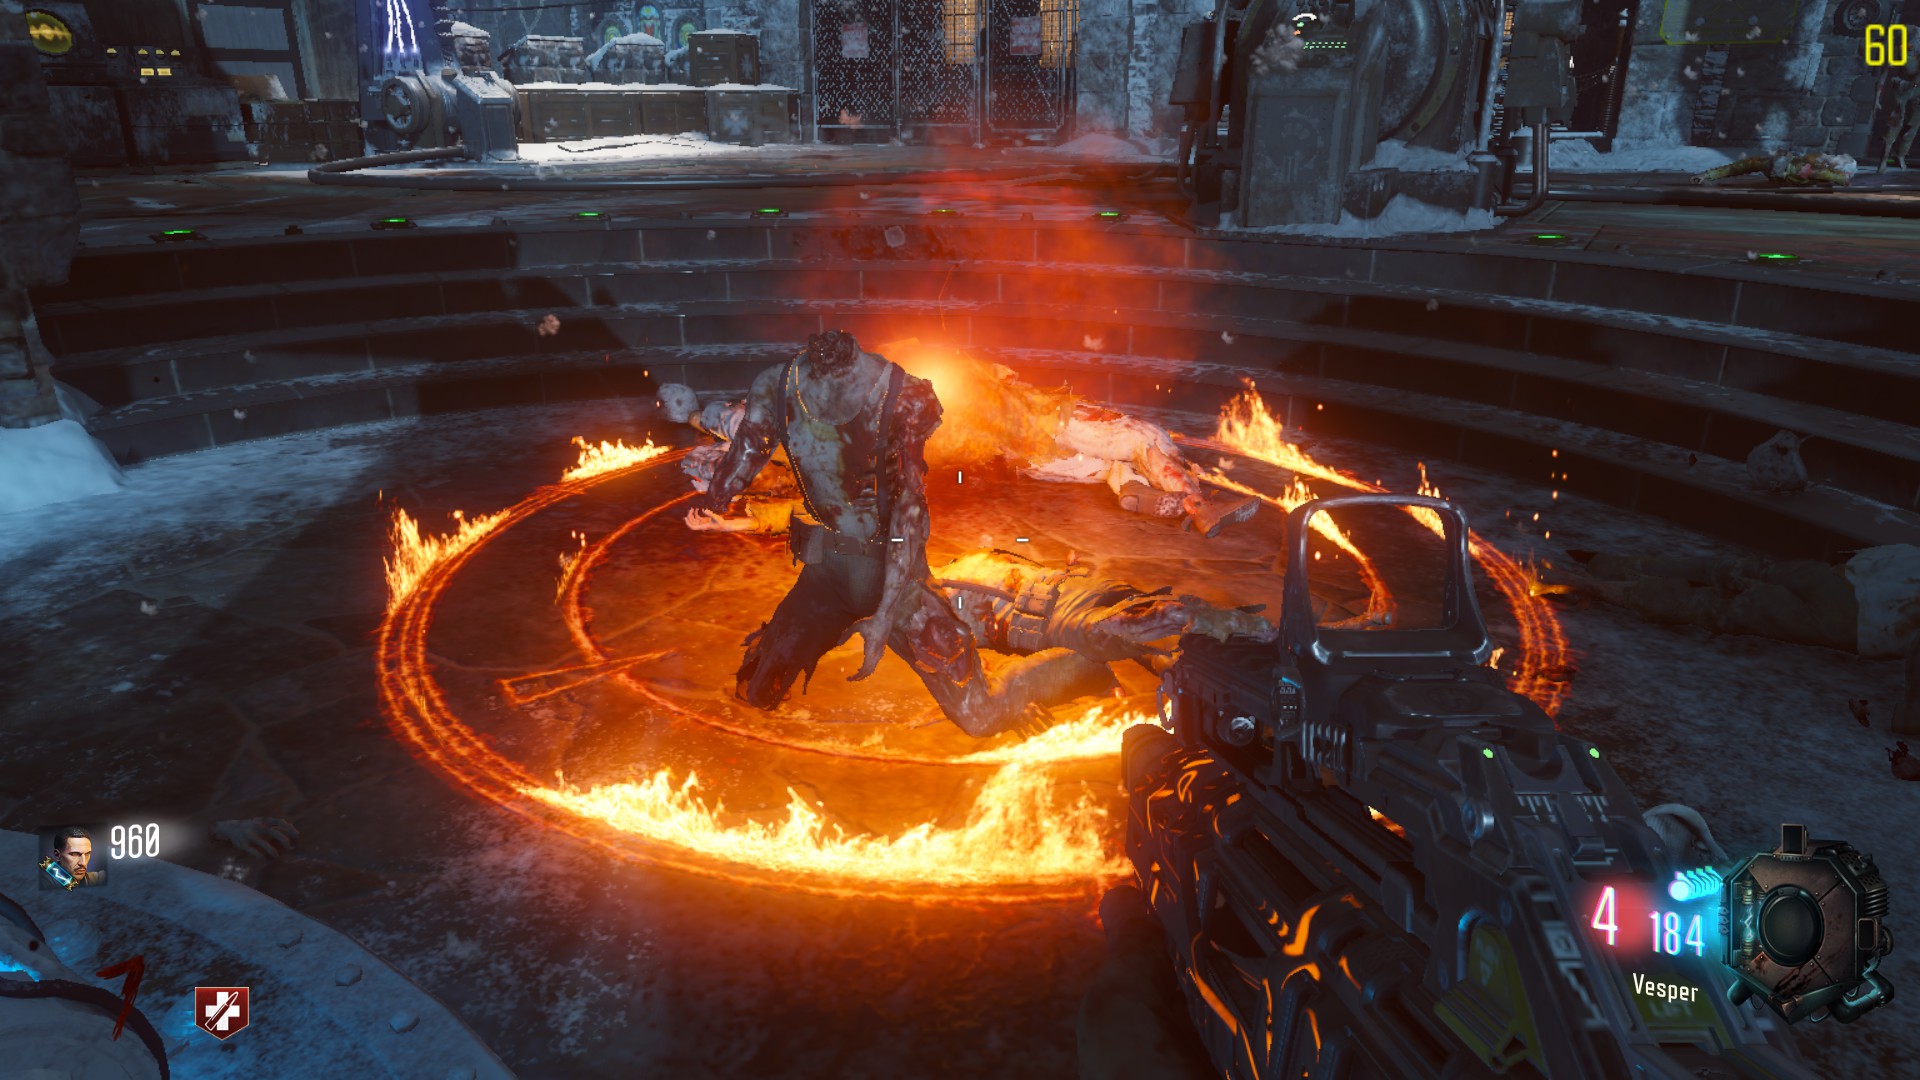
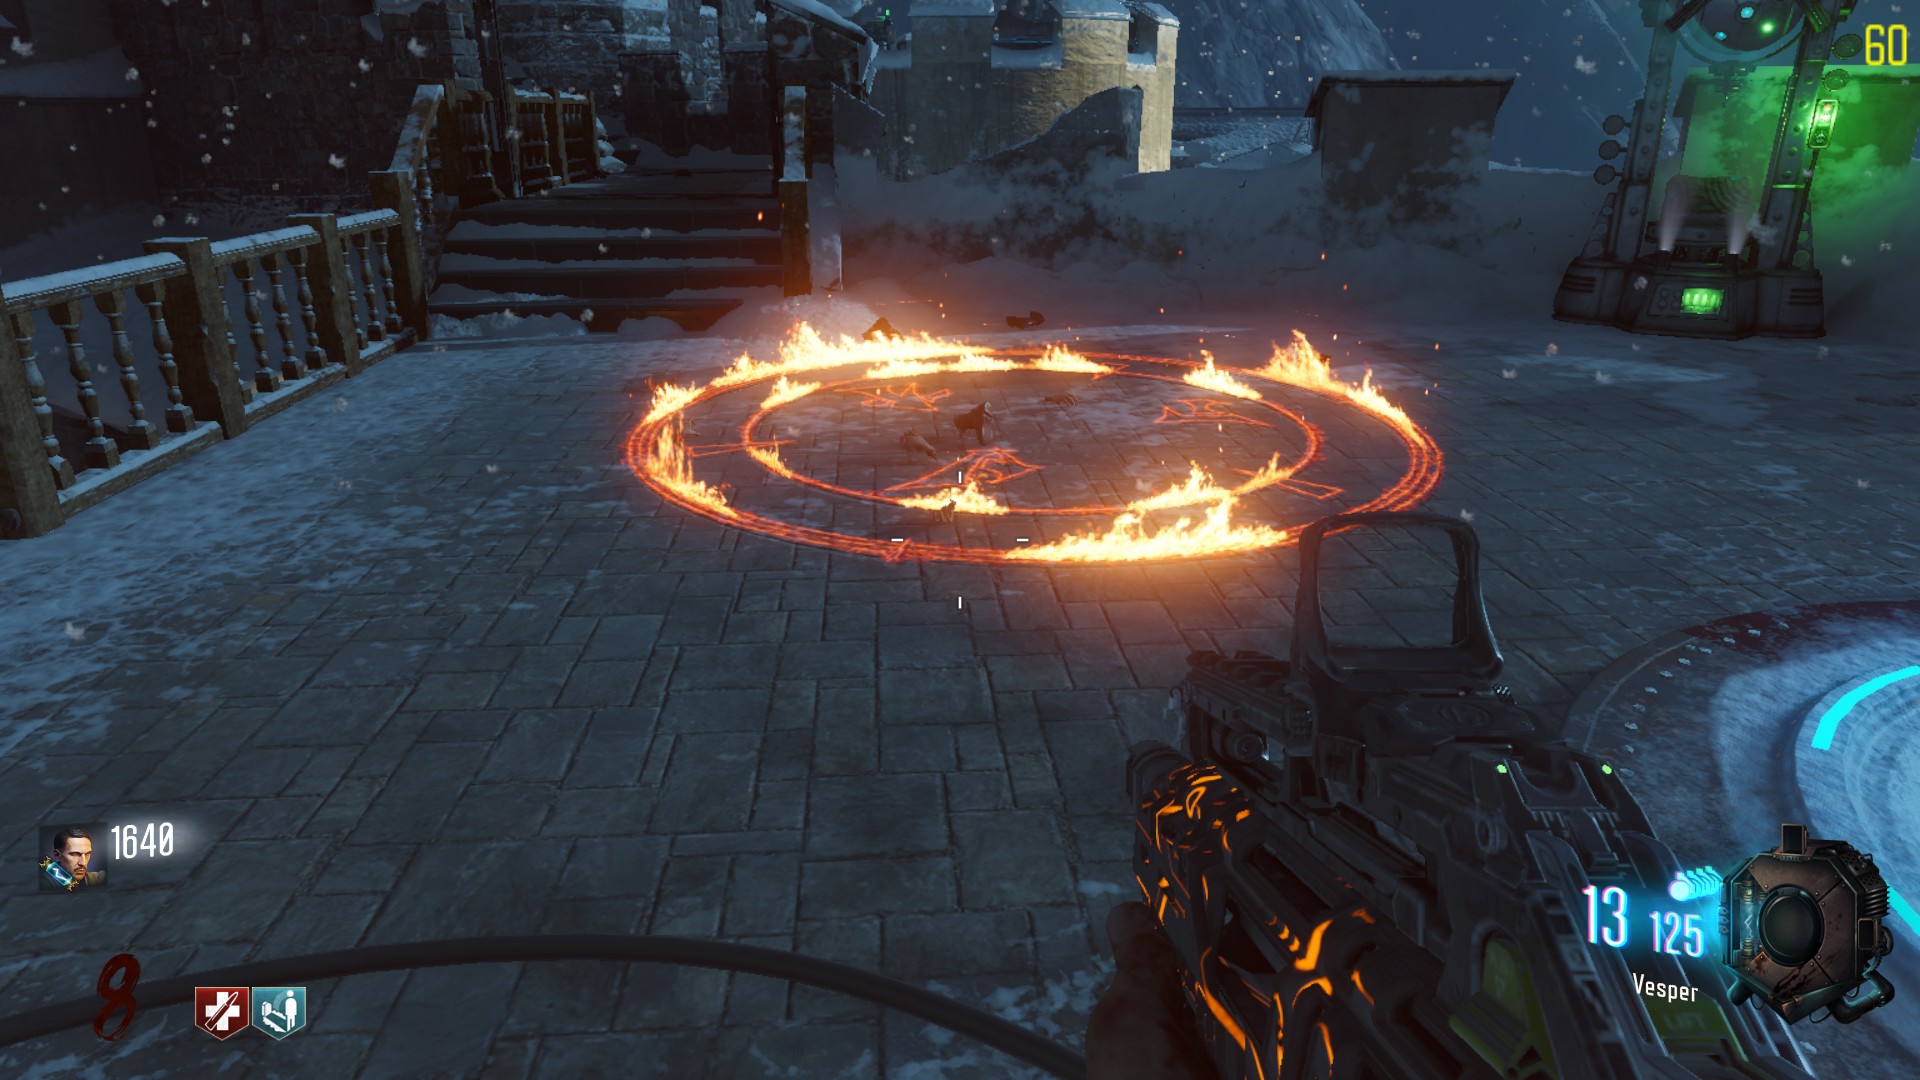
Once this is done, you must stand in the circles and kill zombies. They can be killed anywhere, you just need to be in the circle. A glowing ray of doom will reach the “sun” and a sound will be heard when fullfilled.
Do that for all of the circles, and the step will be completed.
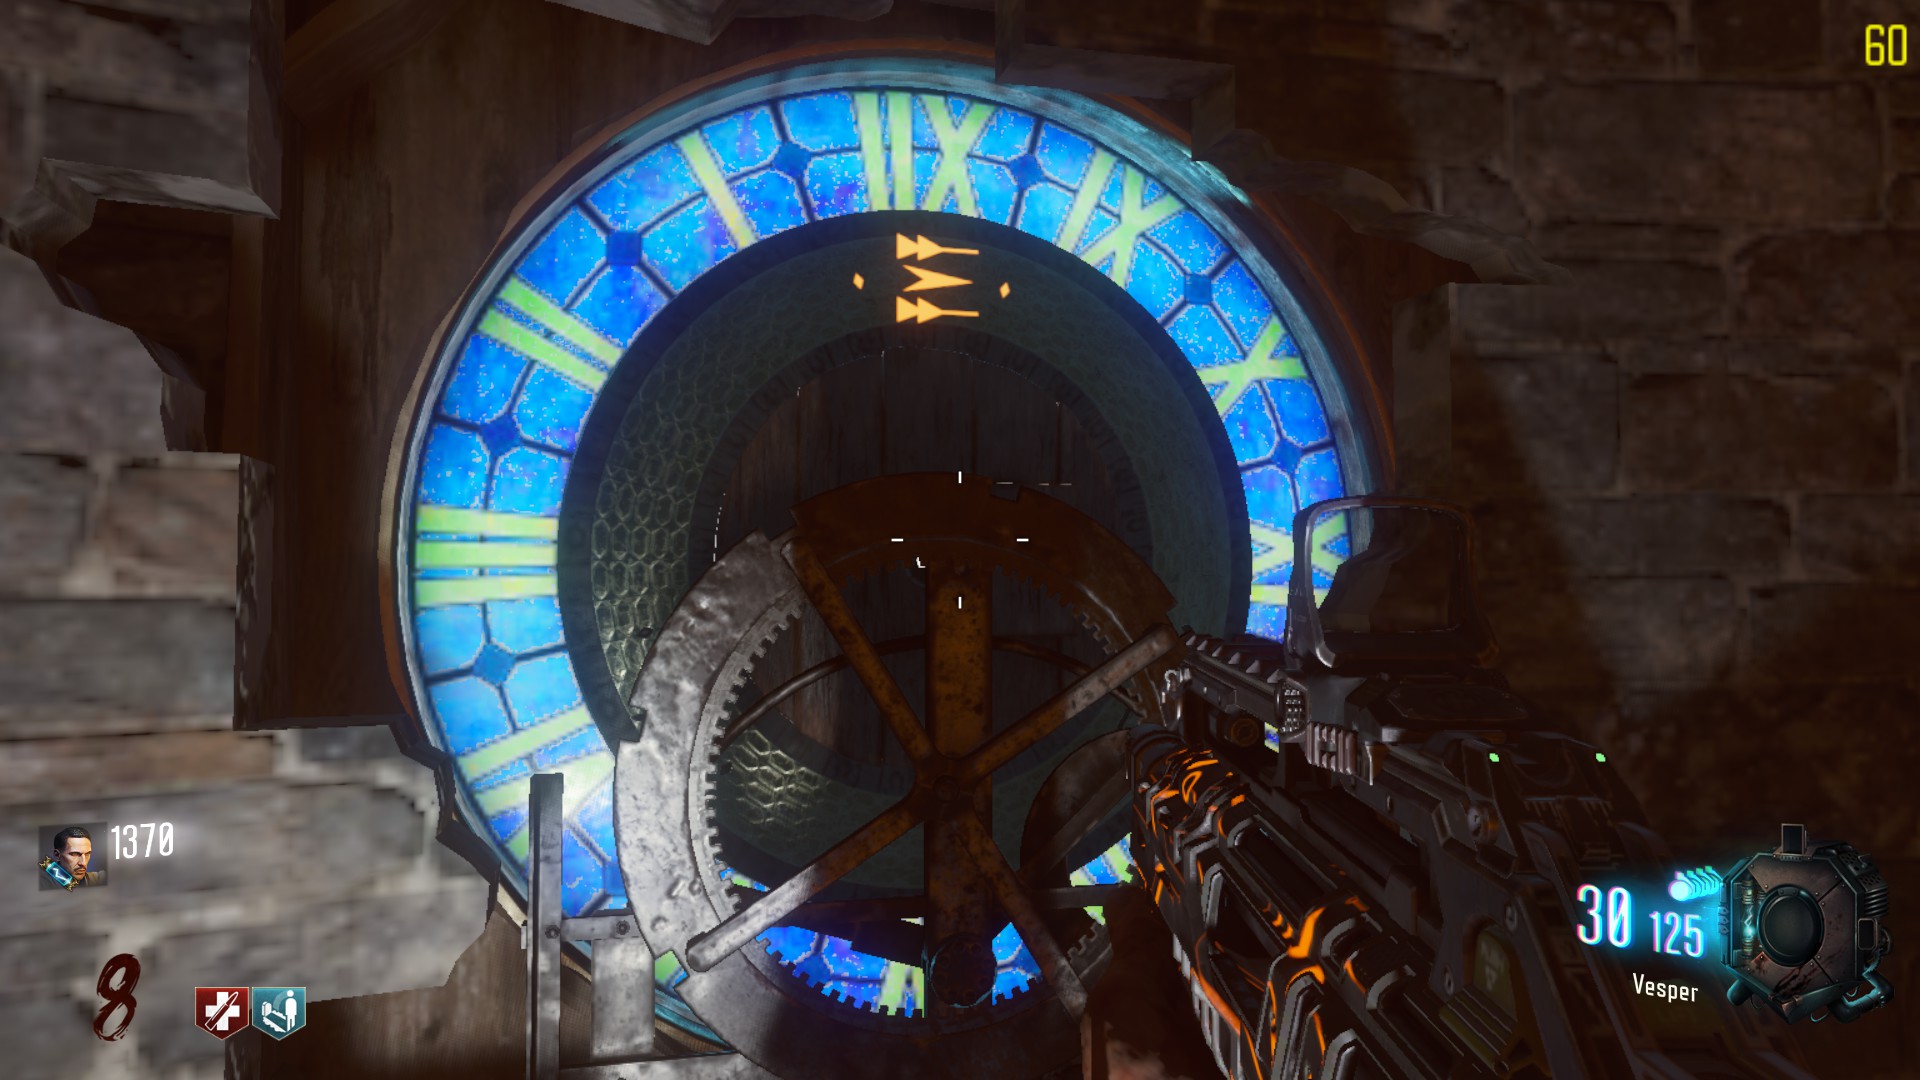
you must get to the clock tower, and Use the clock. A symbol will be highlighted, corresponding to the one in a Fireplace.
There are 3 fireplaces:
– in the church
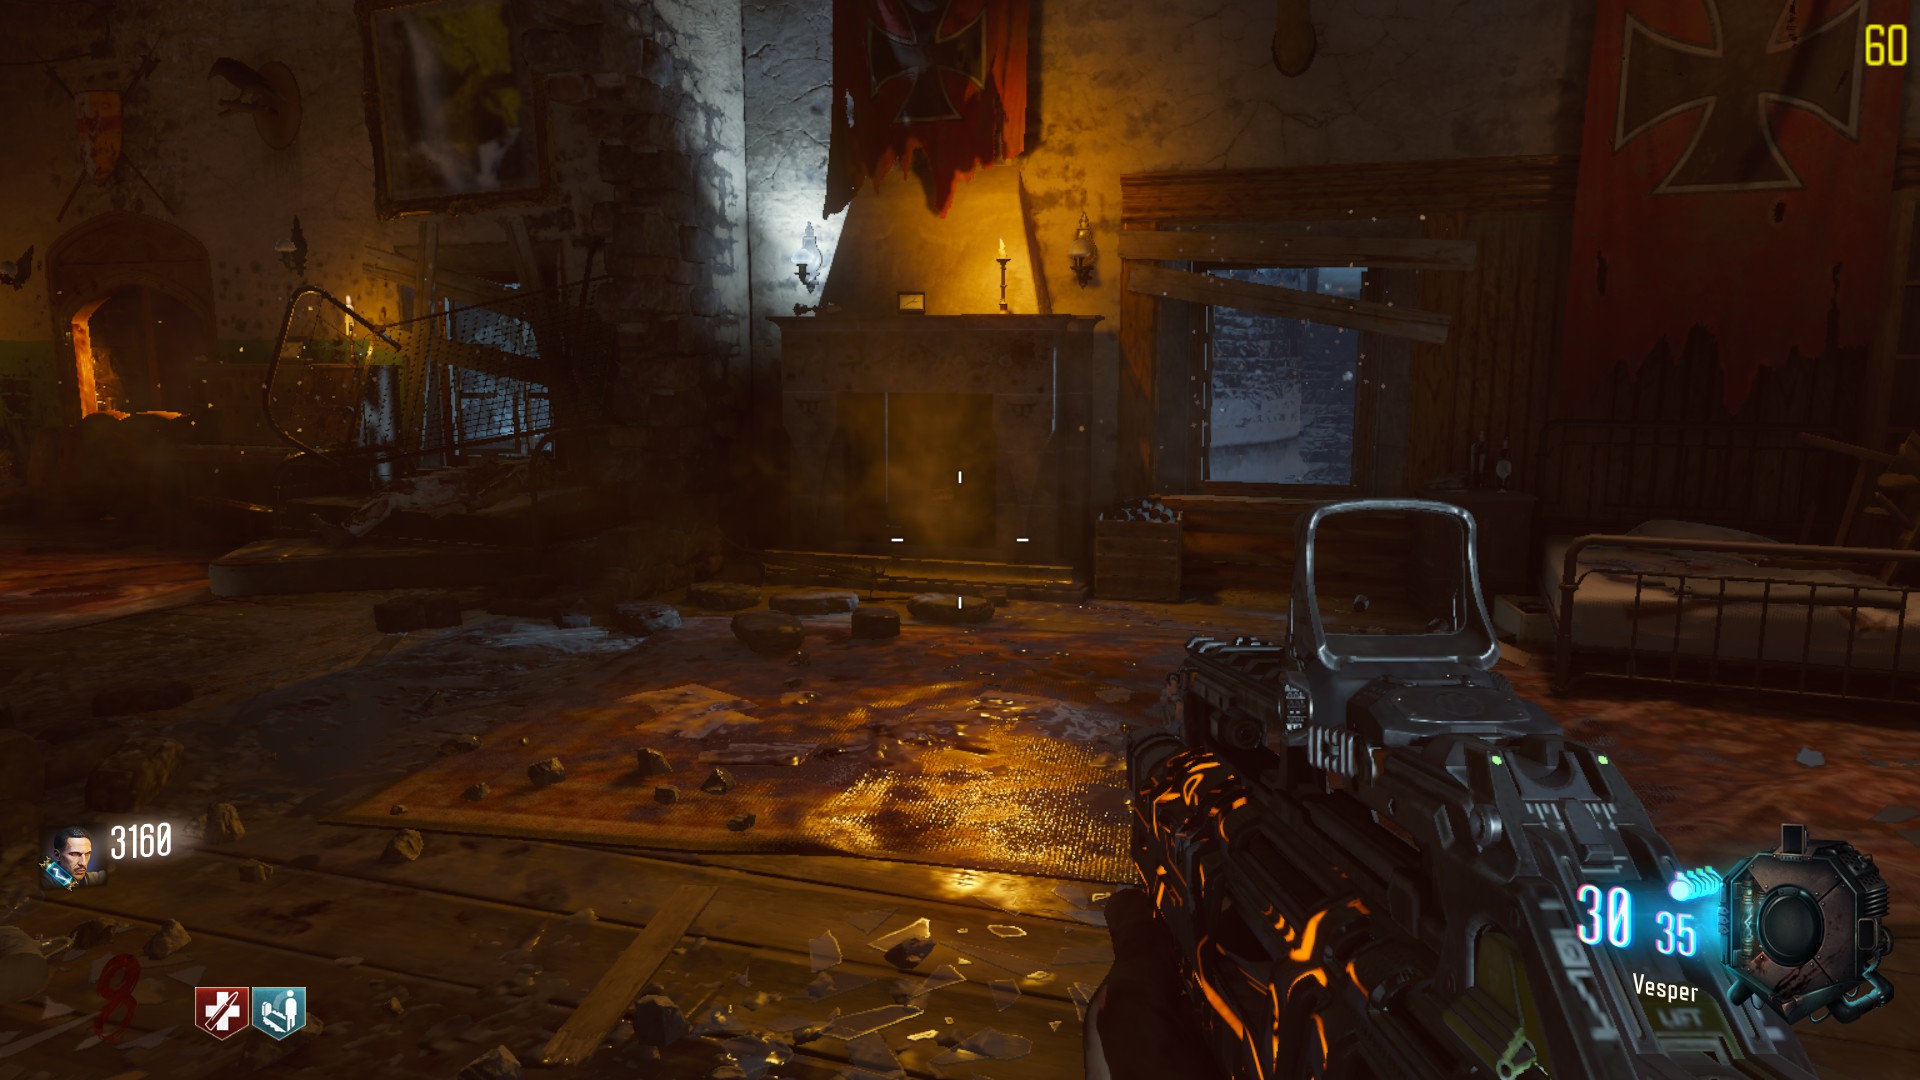
– in the room upstairs near the first dragon
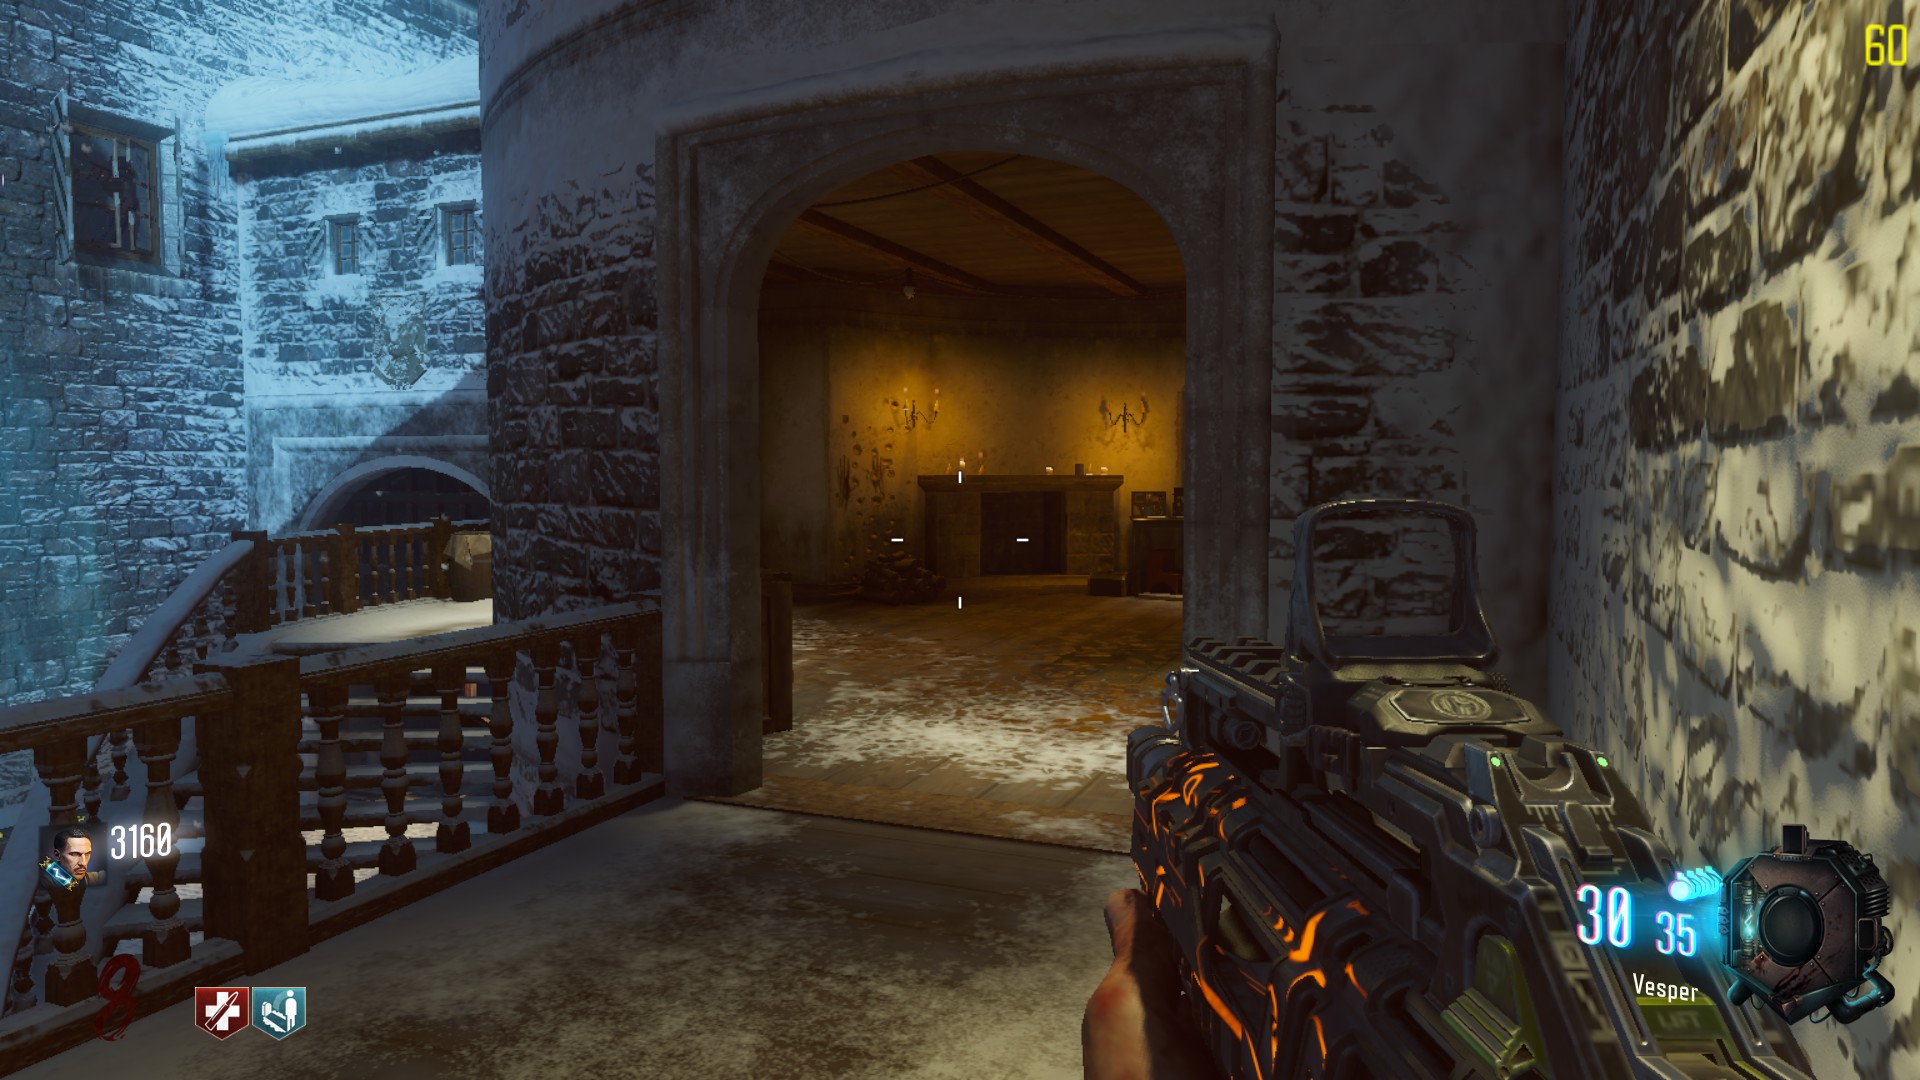
– near the room of Samantha.
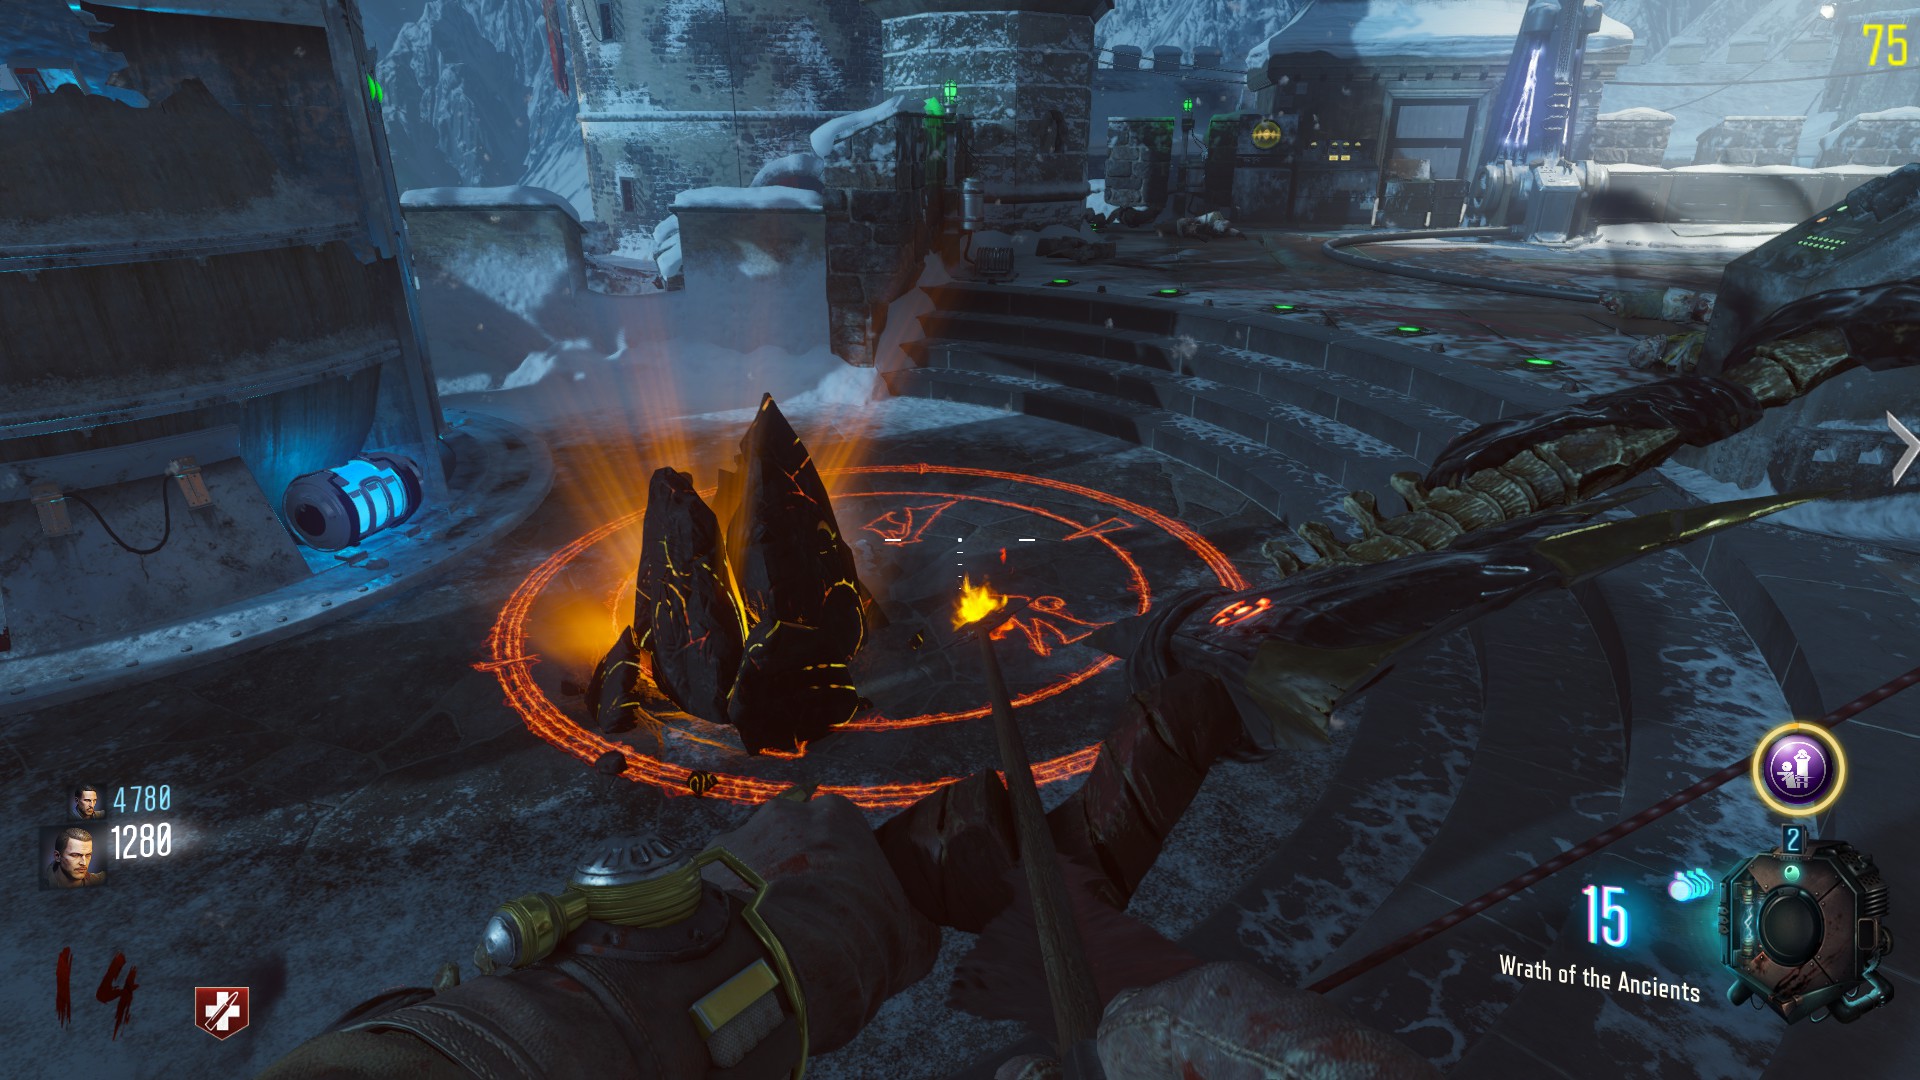
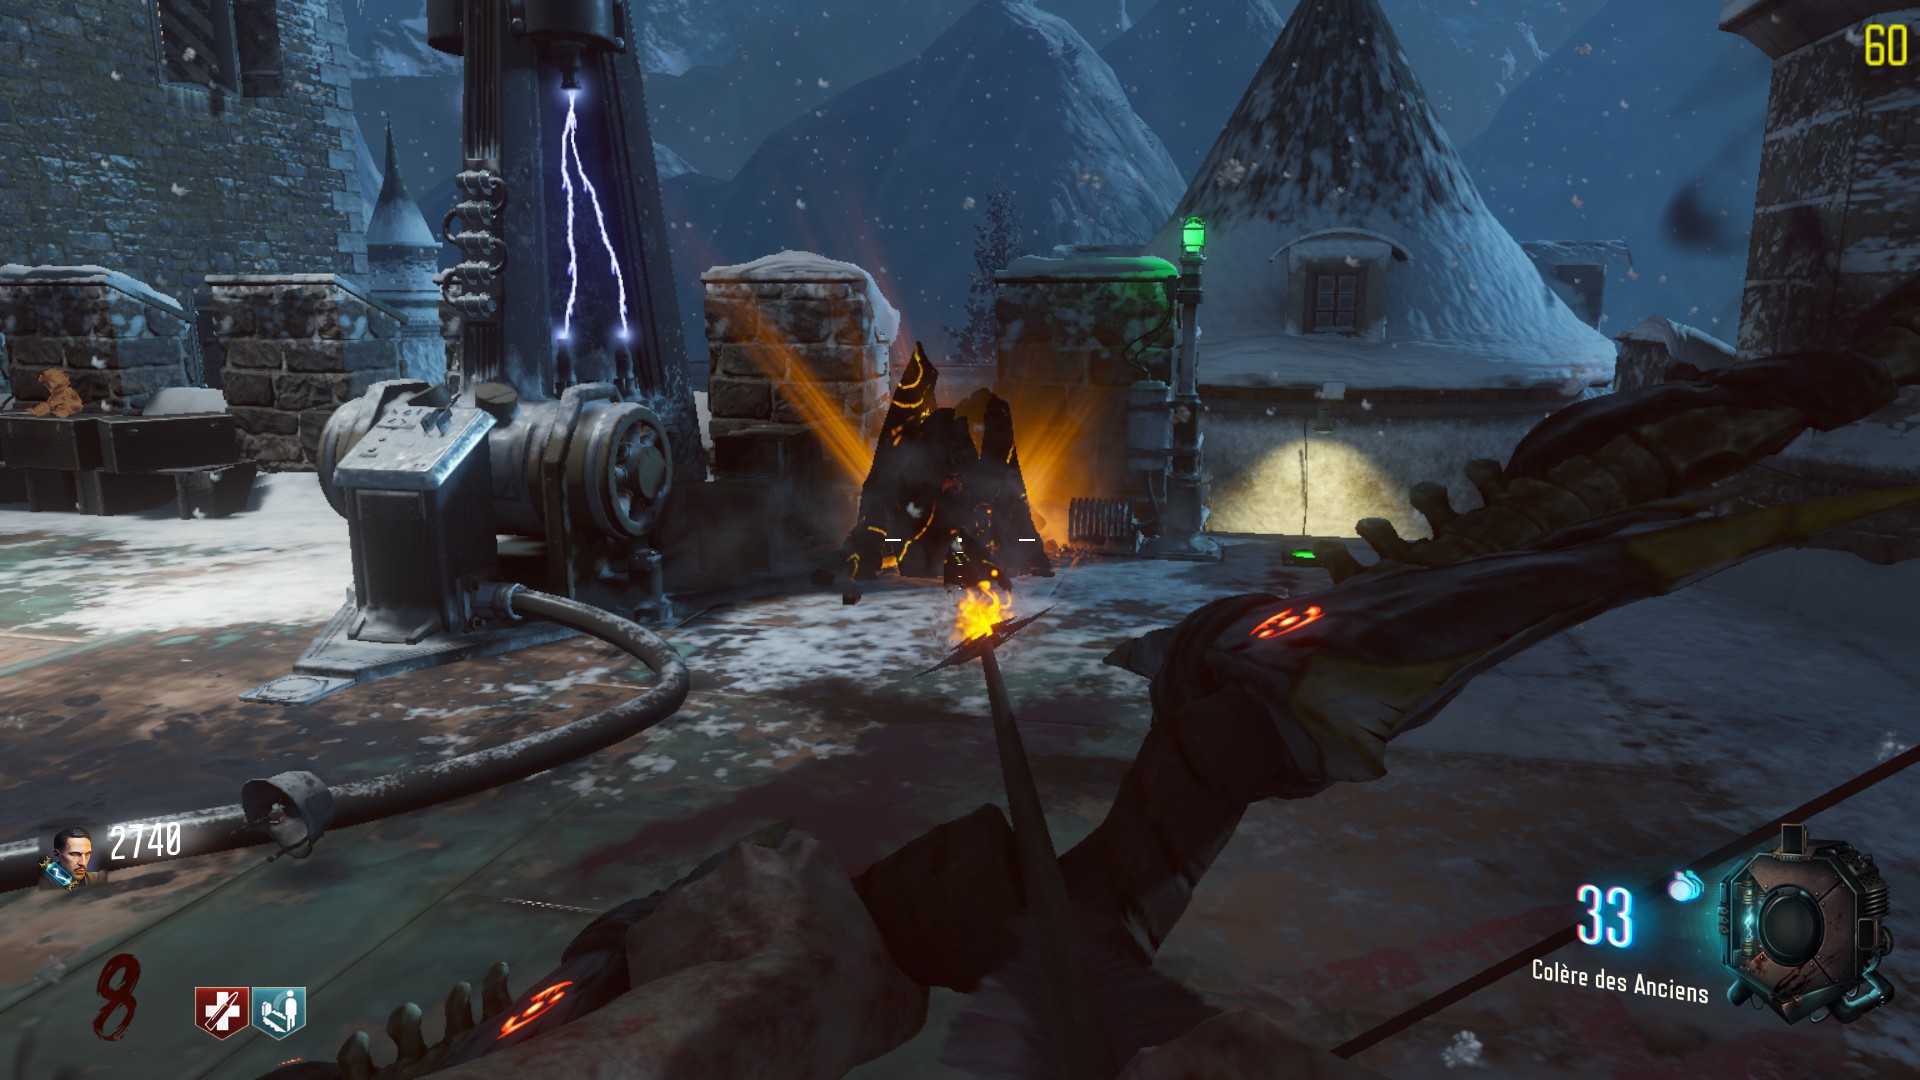
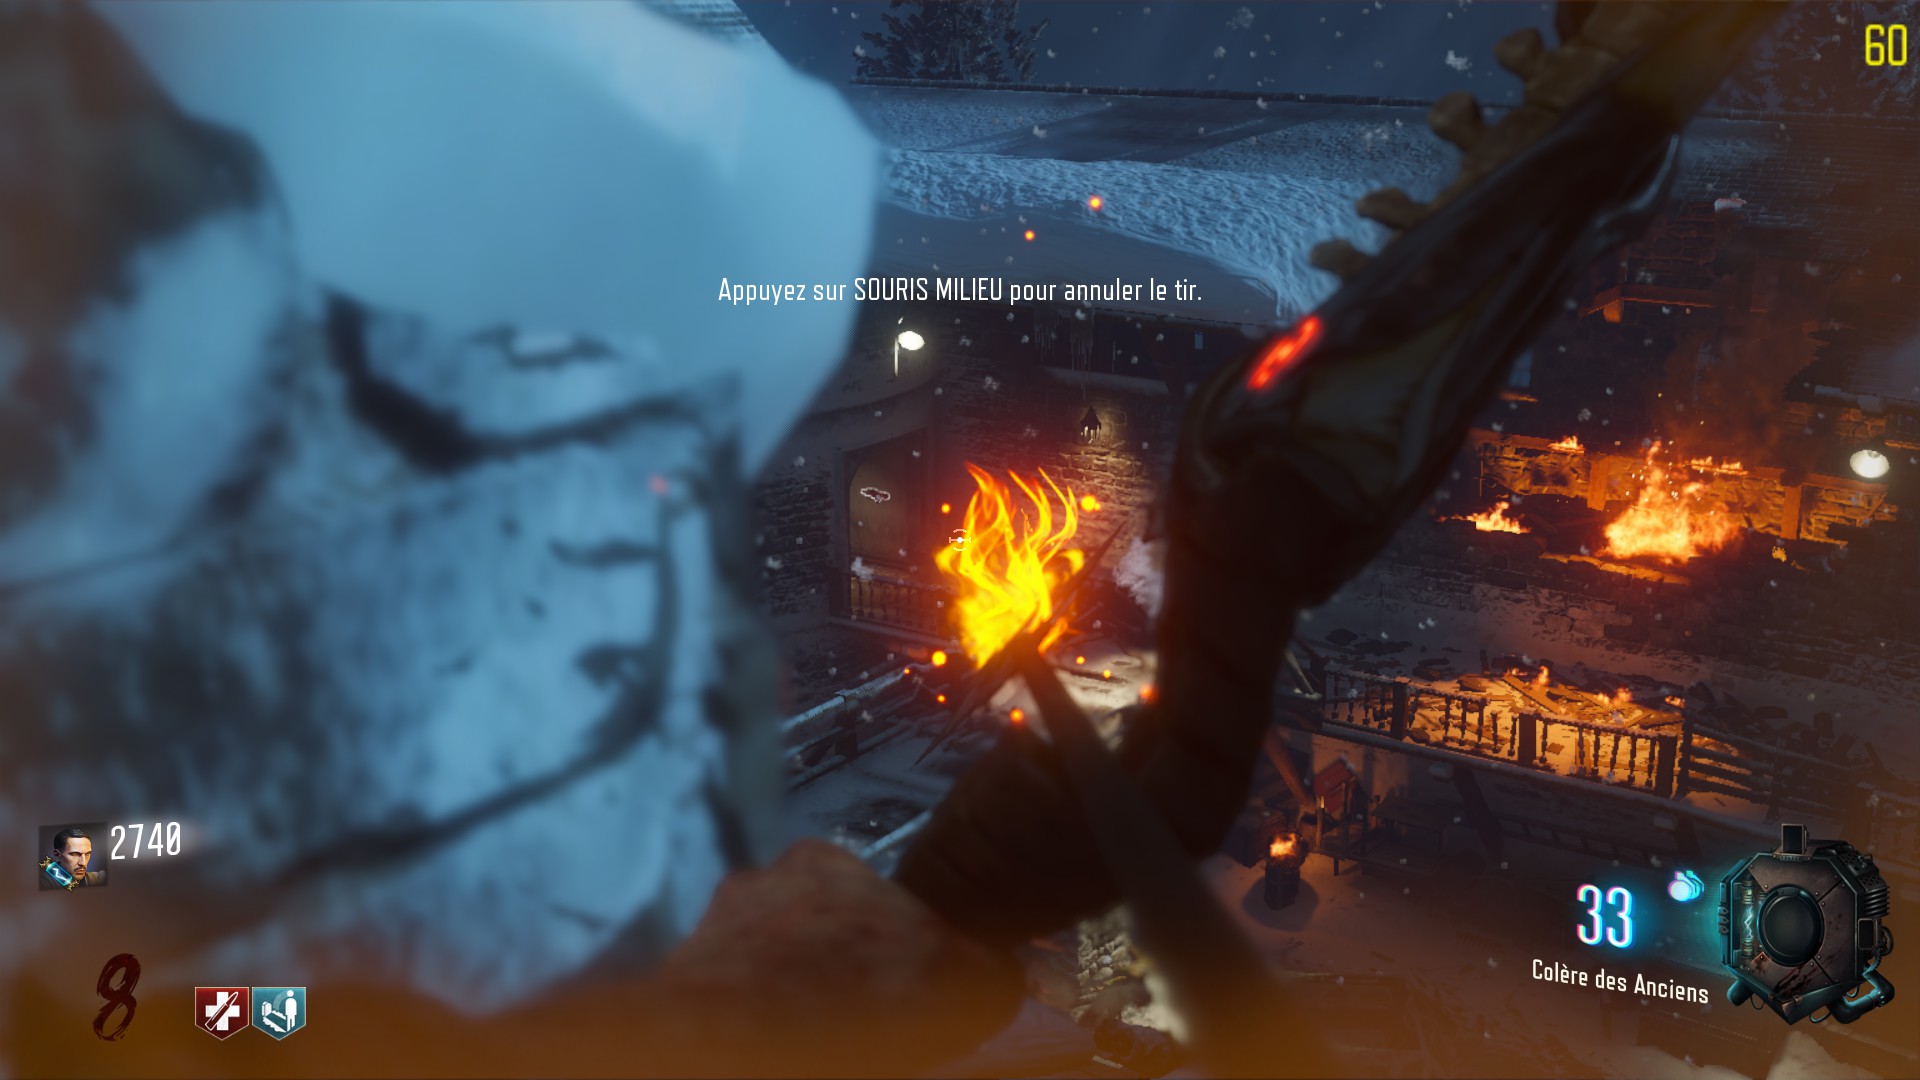
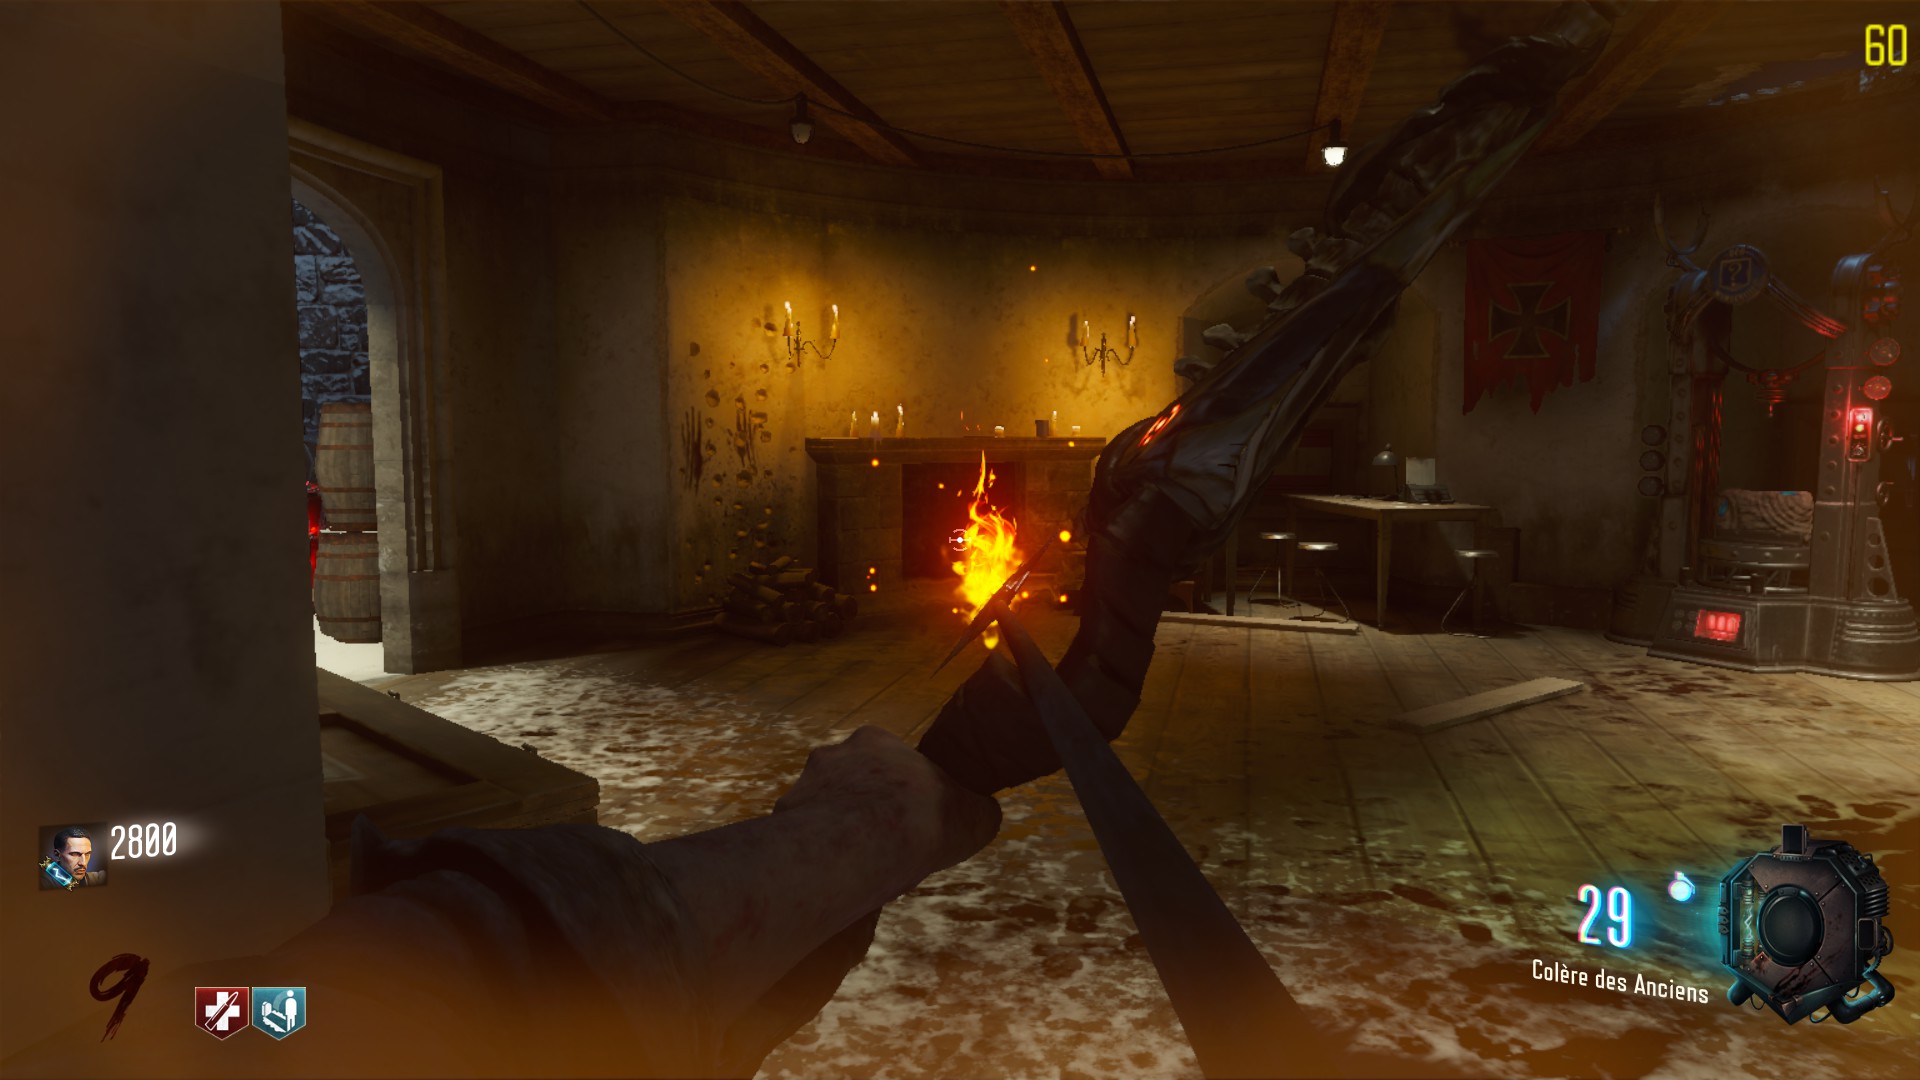
After using the clock, one of the three circles will glow. From this circle, shooting a charged arrow on the ground will spawn a blazing rock. In a total of 3 shots you must bring the stone from the circle to the fireplace. First shot is made from the circle, then stand on the rock and shoot again to move it.
Search for the concerned fireplace, the circle should be the only one lighted up.
I will show you an example for the death ray circle but as a general advise, shoot as far as possible.
Once in the fireplace, interact with the fire to pick up the arrow.
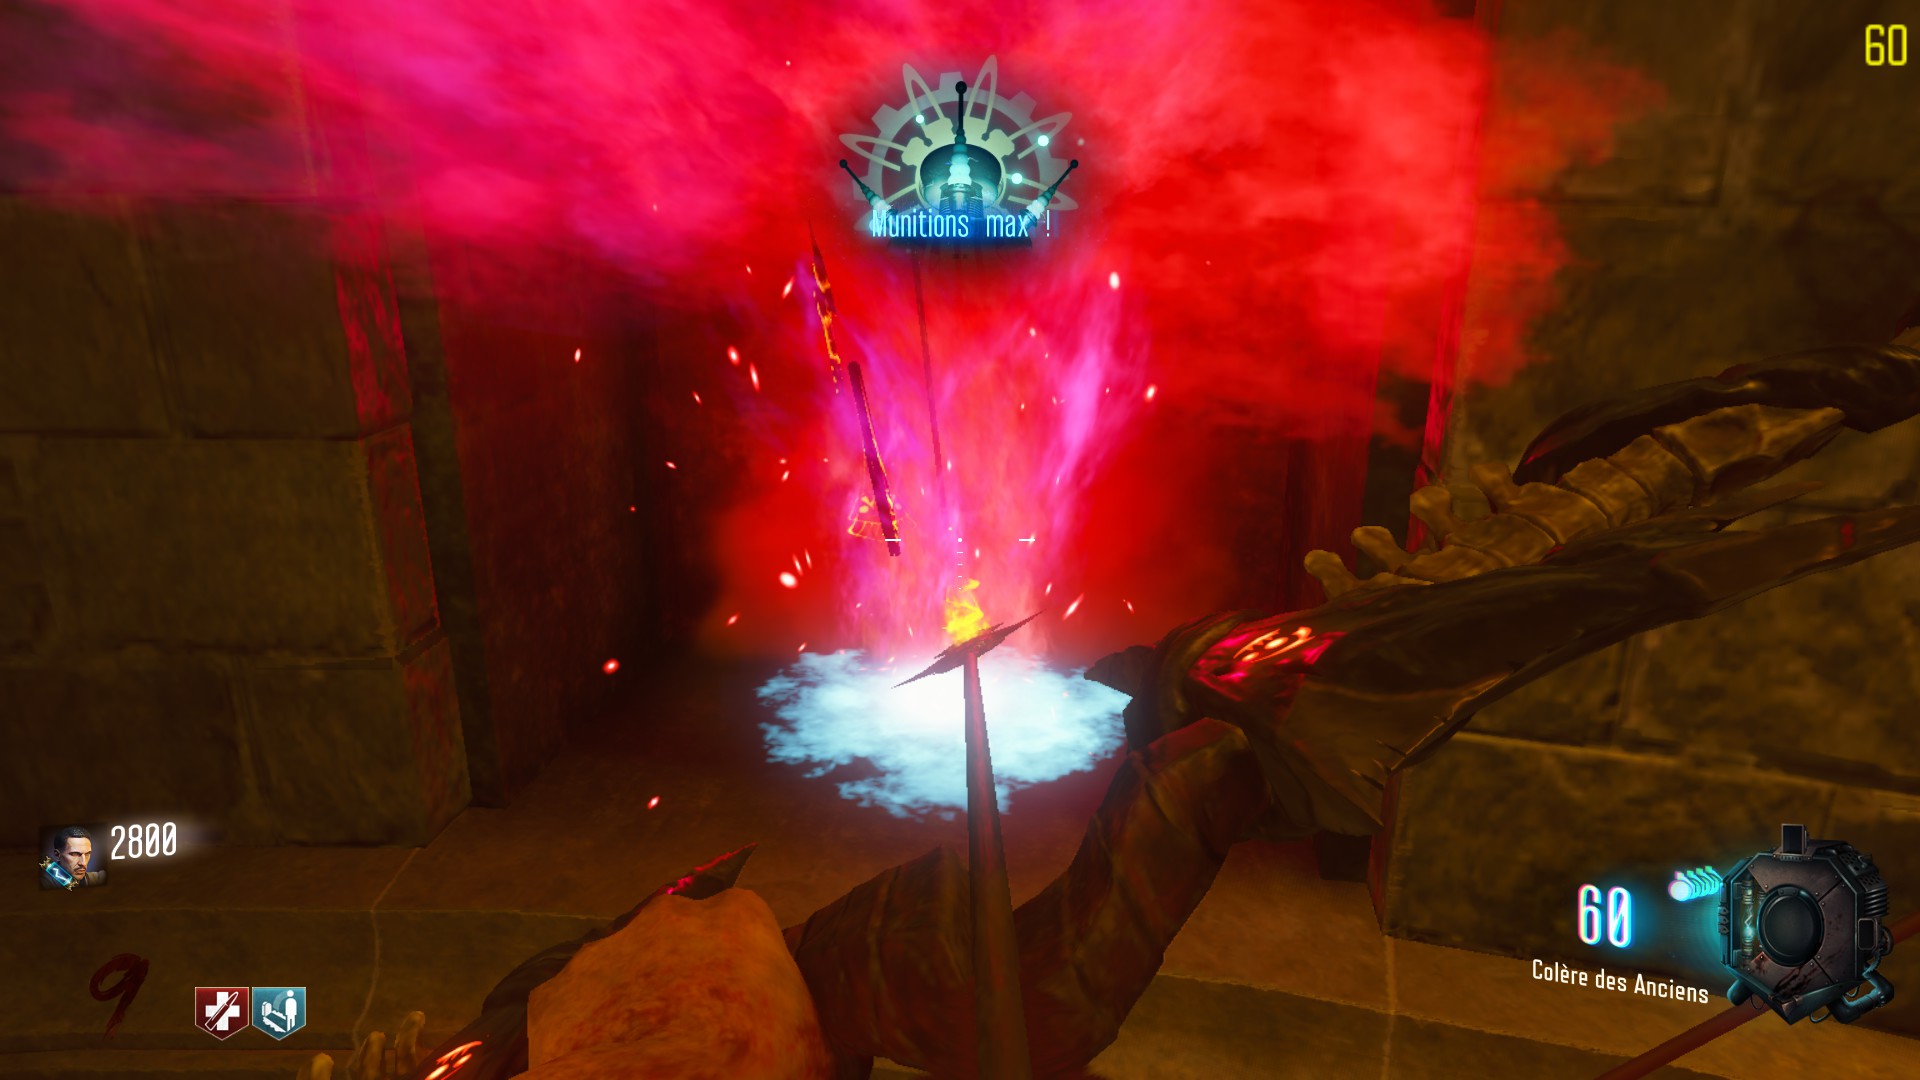
Fourth step,
you must get back to the top of the castle and interact with the “sun” that is now at the same height as you. It will rise and explode, you’ll just have to pick up the reforged arrow left behind.
you must get back undergound, and place the arrow on the fire altar. You’ll have to slaughter zombies very close to it until you hear a sound.
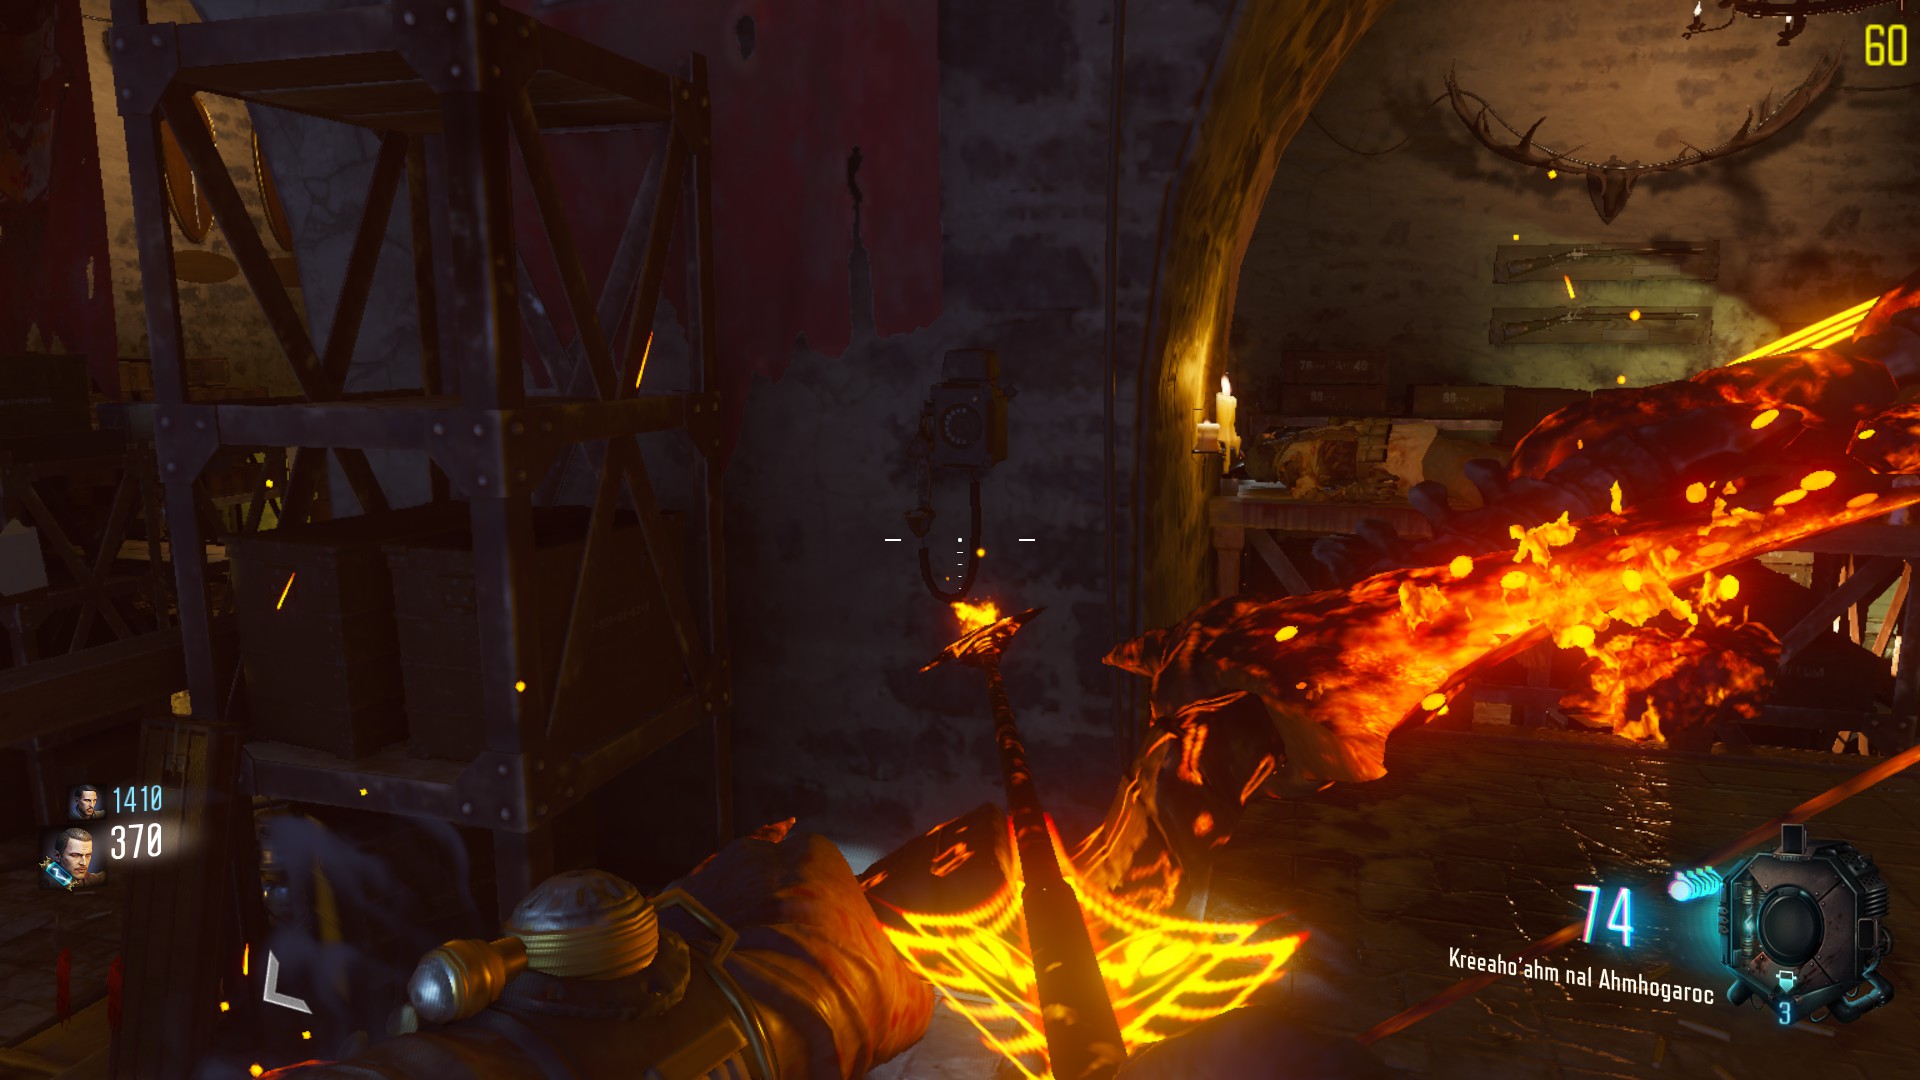
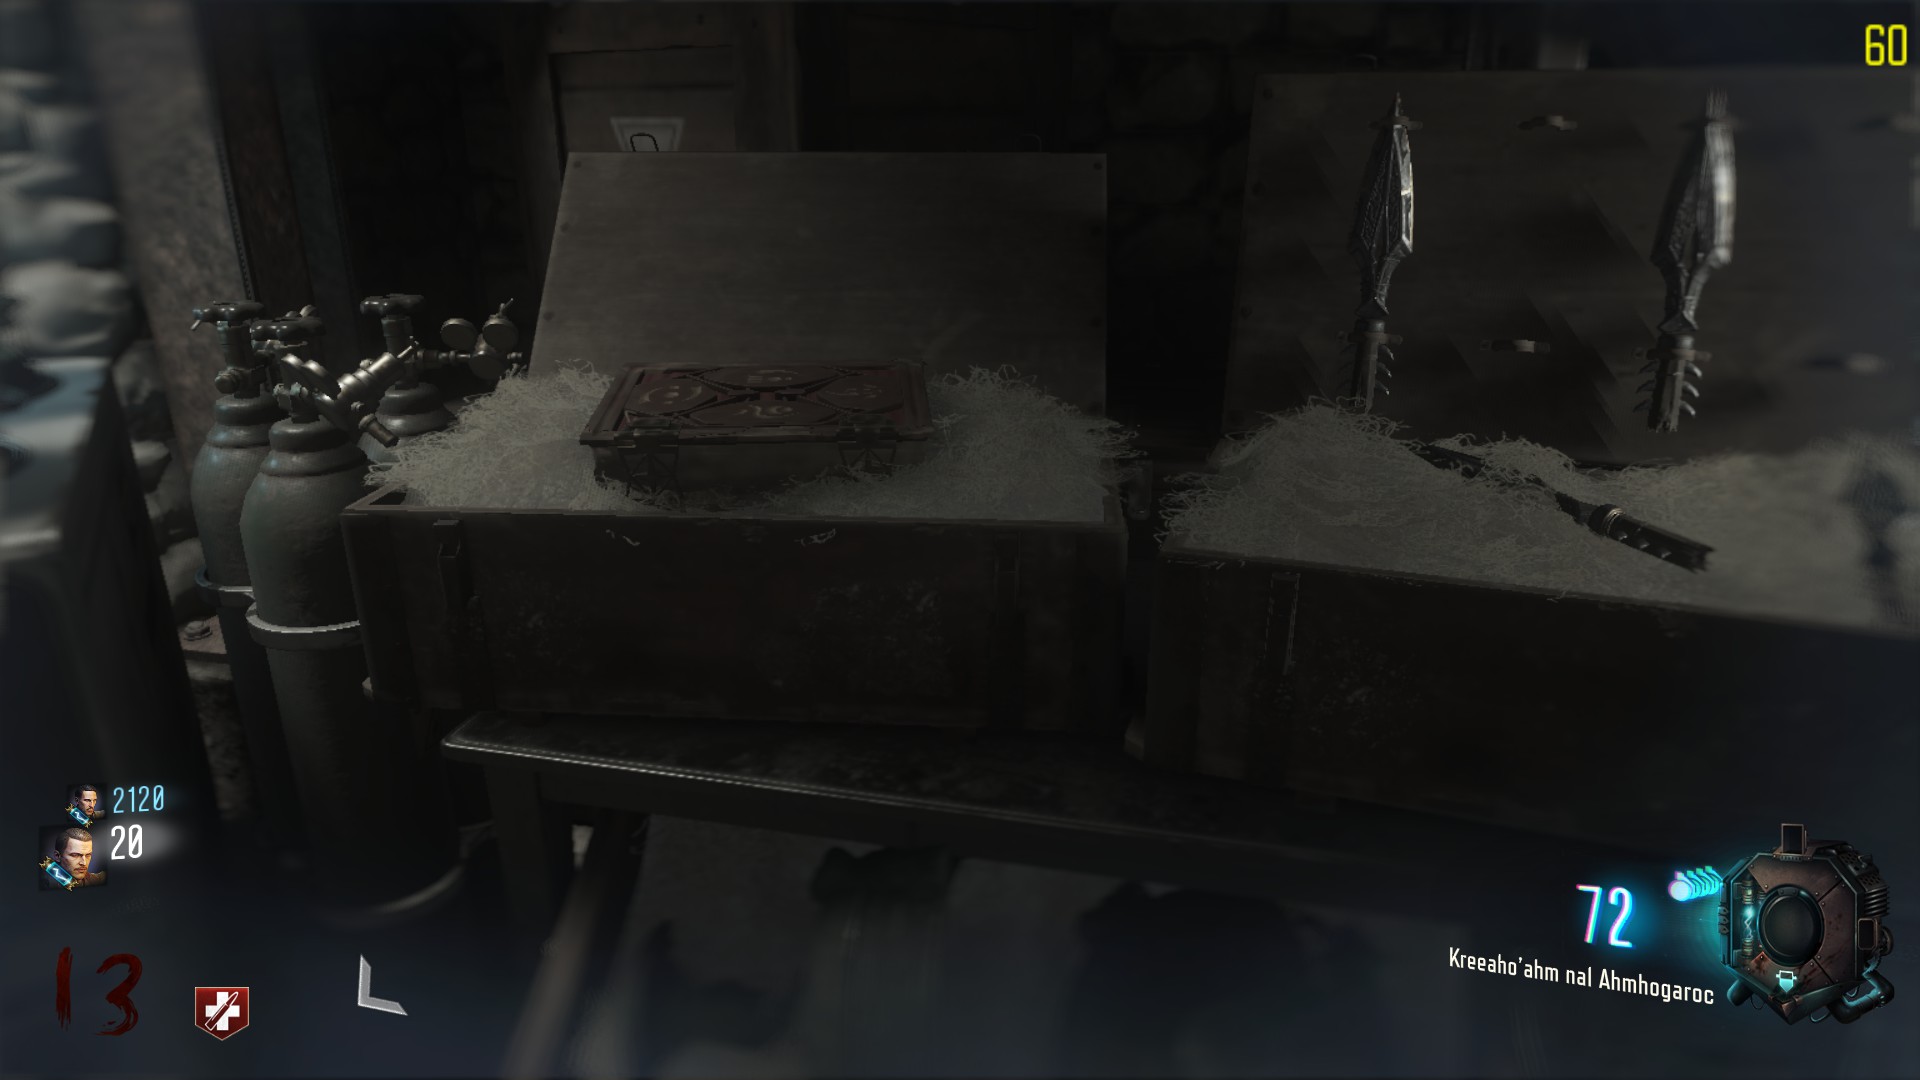
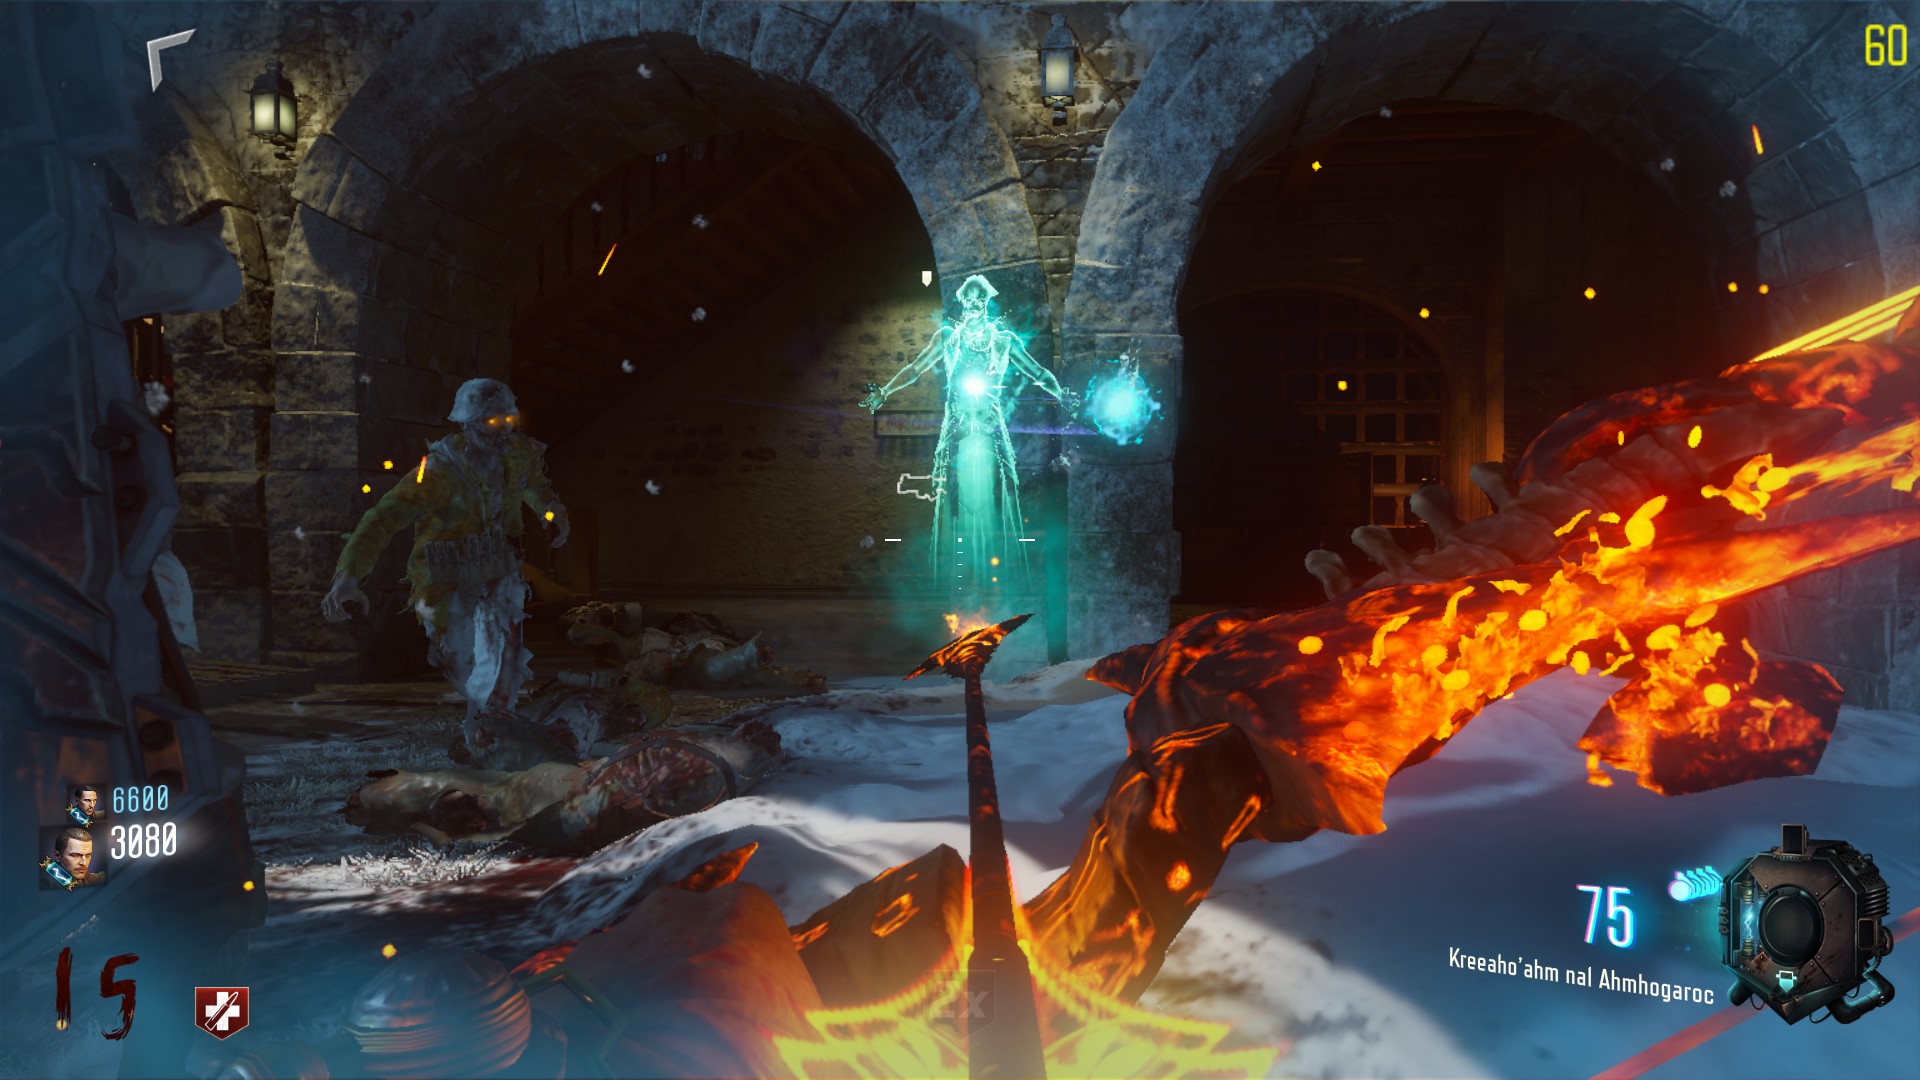
Once it’s over, use action button on the arrow, and wait for the animation to be over. A burning trail will raise, then you’ll be able to pick up Kreeaho’ahm nal Ahmhogaroc.
Preparation – The Wolf Howl (Spirit upgrade for the Wonder Weapon)
Difficulty: Medium
Bow efficiency: Medium, Mouse 1 creates a crawler when aiming a full life zombie, usefull.
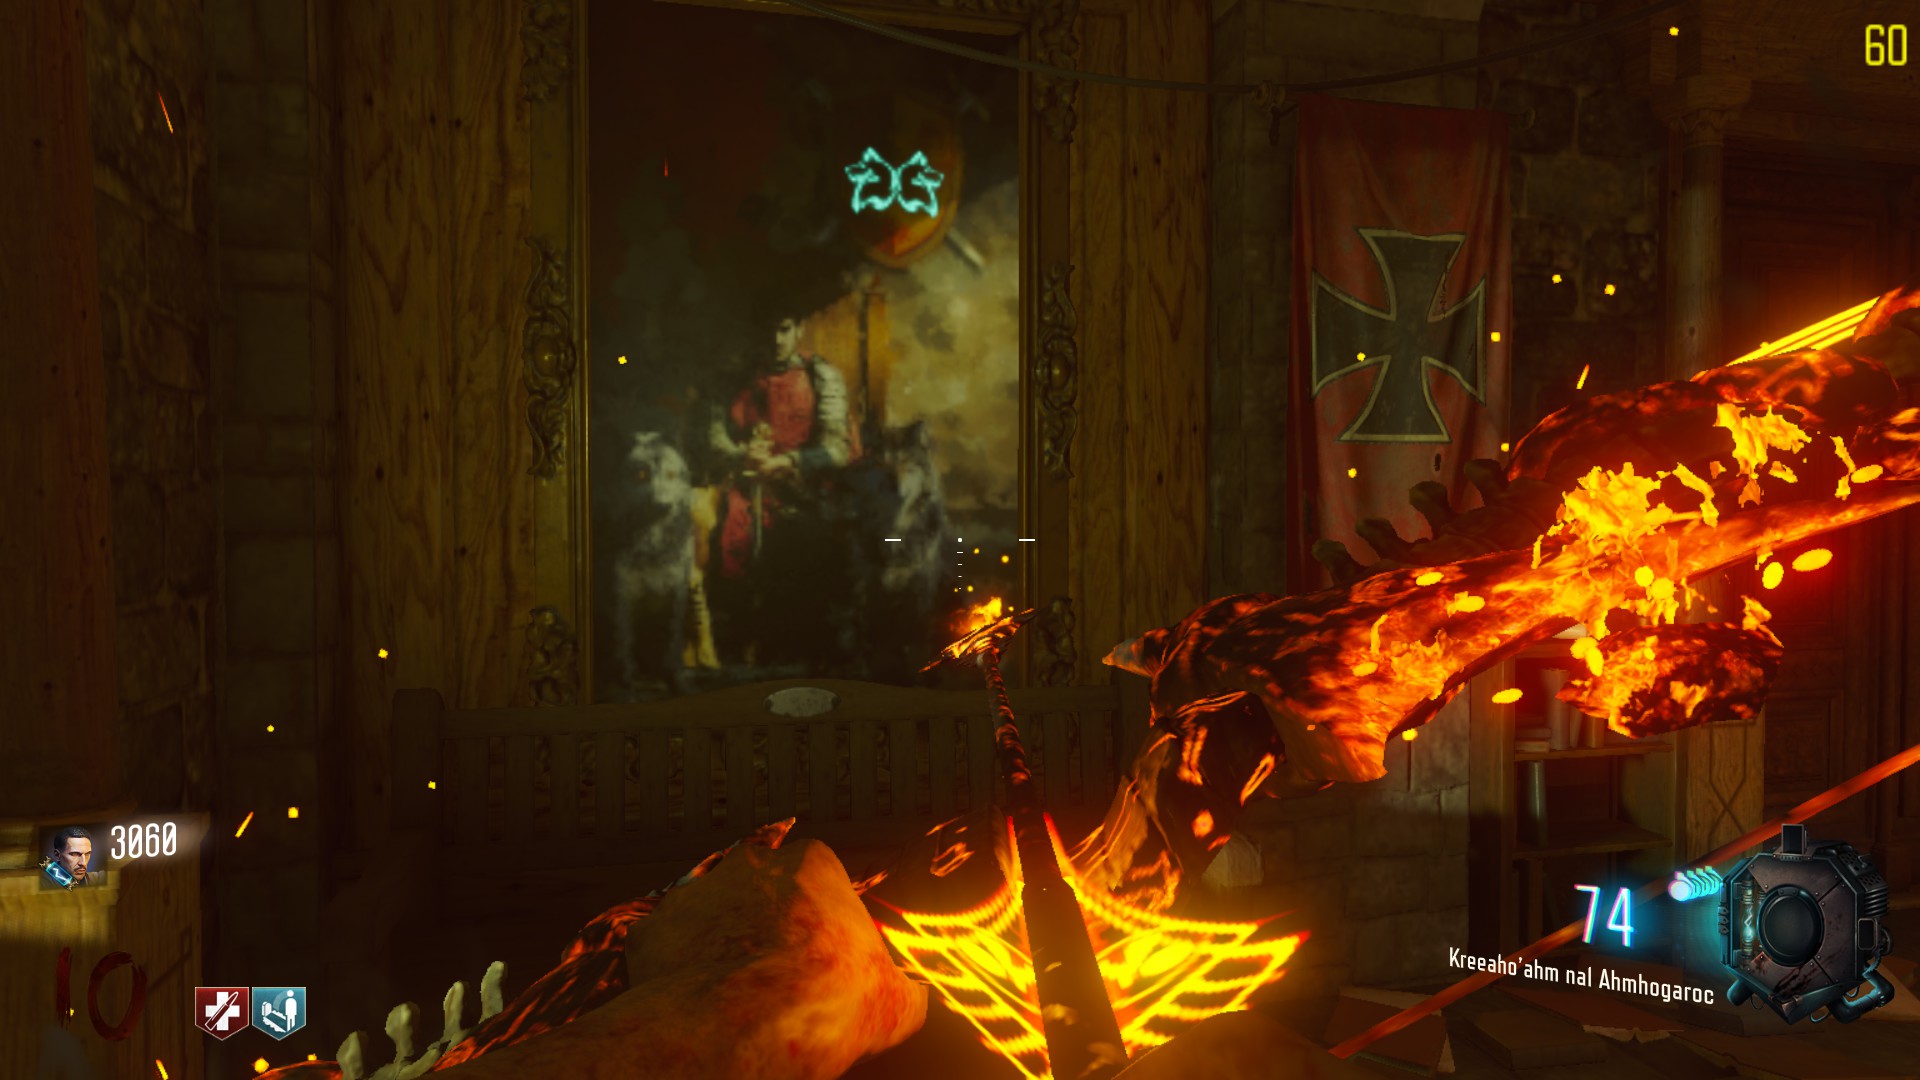
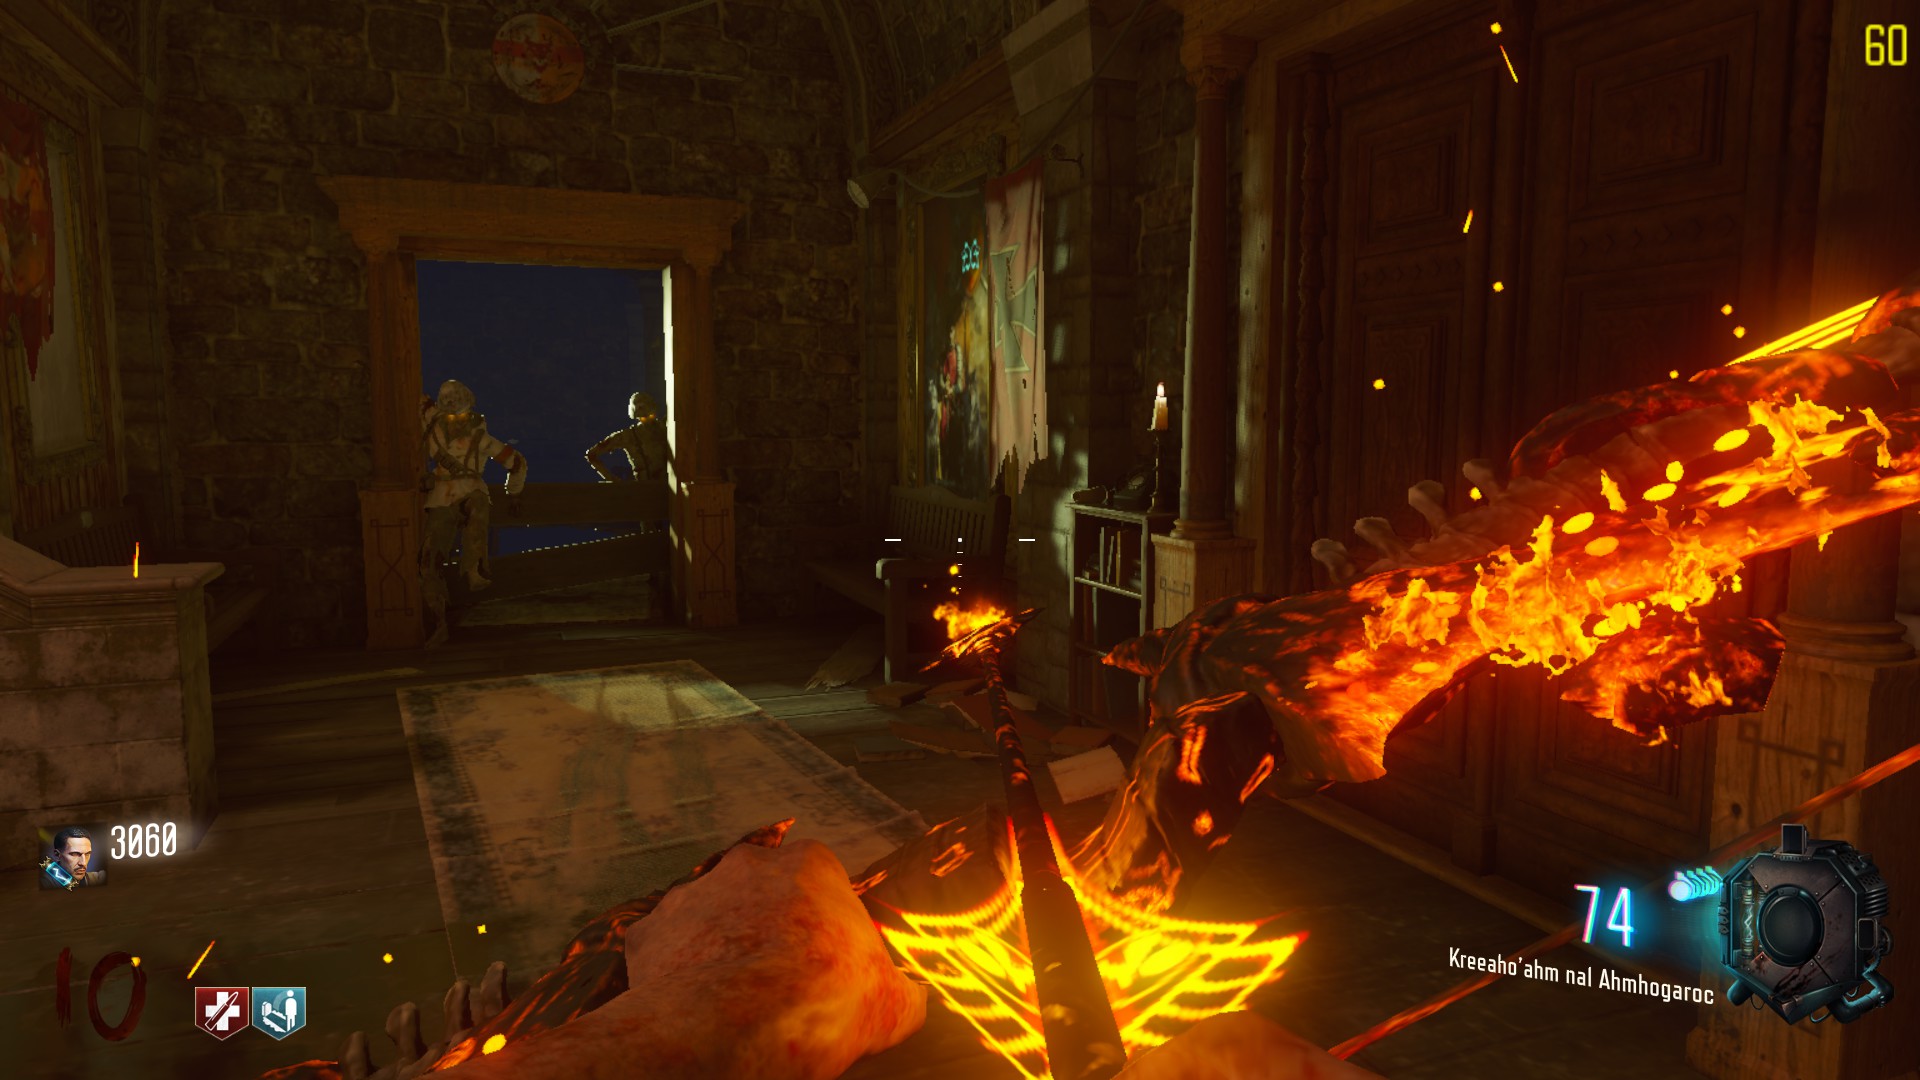
In order to begin the spirit bow quest, you have to find the right order in a serie of 4 paintings.
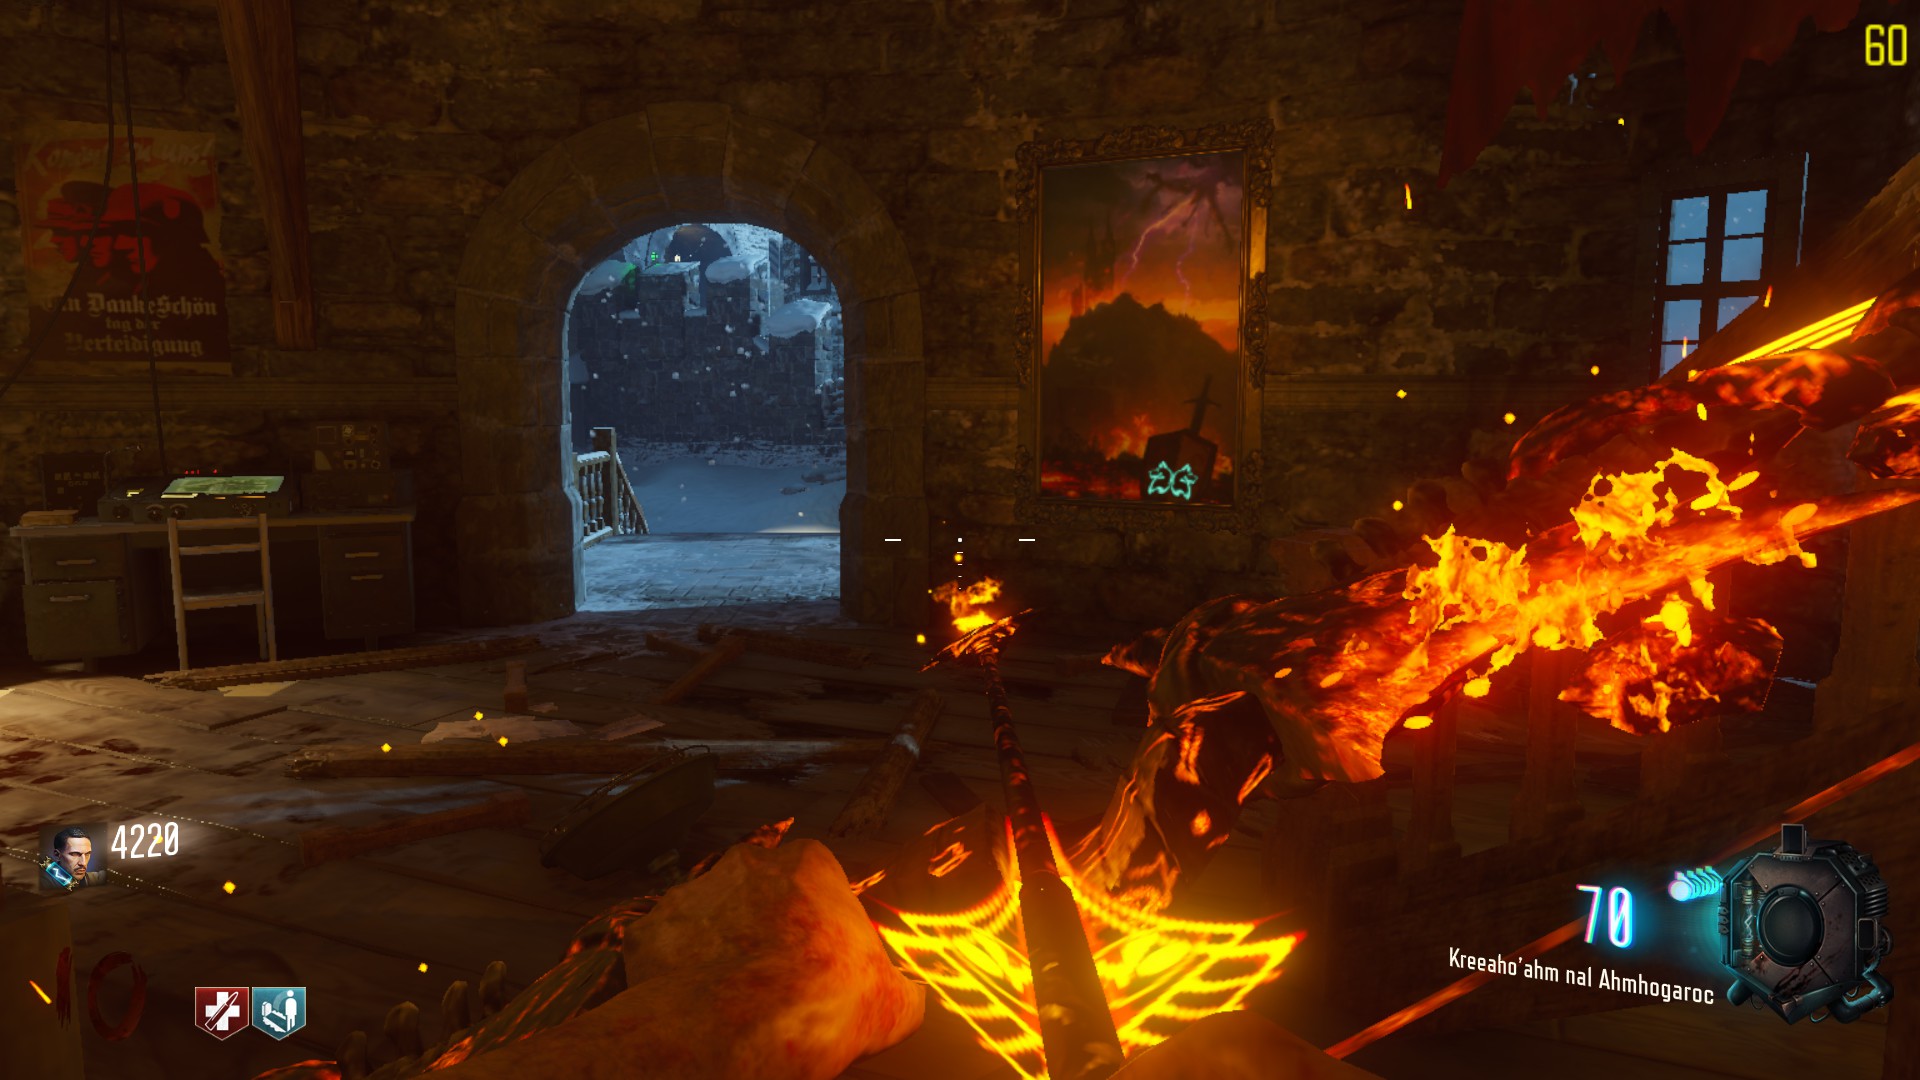
You have to interact with the painting, a green symbol will glow, if it disappear it means this is not the right painting. If it’s the right one, your character will speak, and the symbol will remain.
If at your second try you use a painting that isn’t the second one, you’ll have to re-use the first painting, before trying another one as the second one. Gotcha ?
The order of the paintings will always be :
- The king on his throne with a wolf beside him
- The king on his horse with his armor on
- The castle burning with a dark creature in the sky
- The skeleton of the king
- The 4 paints are located:
- Past Samantha’s room, near the 1500 door.
- On a balcony in the church.
- In the clock tower near the stairs.
- In the room beneath the clock tower, near Mule kick.
Once completed, go back underground. The wall right on the left after the stairs will be broken, and the item will drop on the floor.
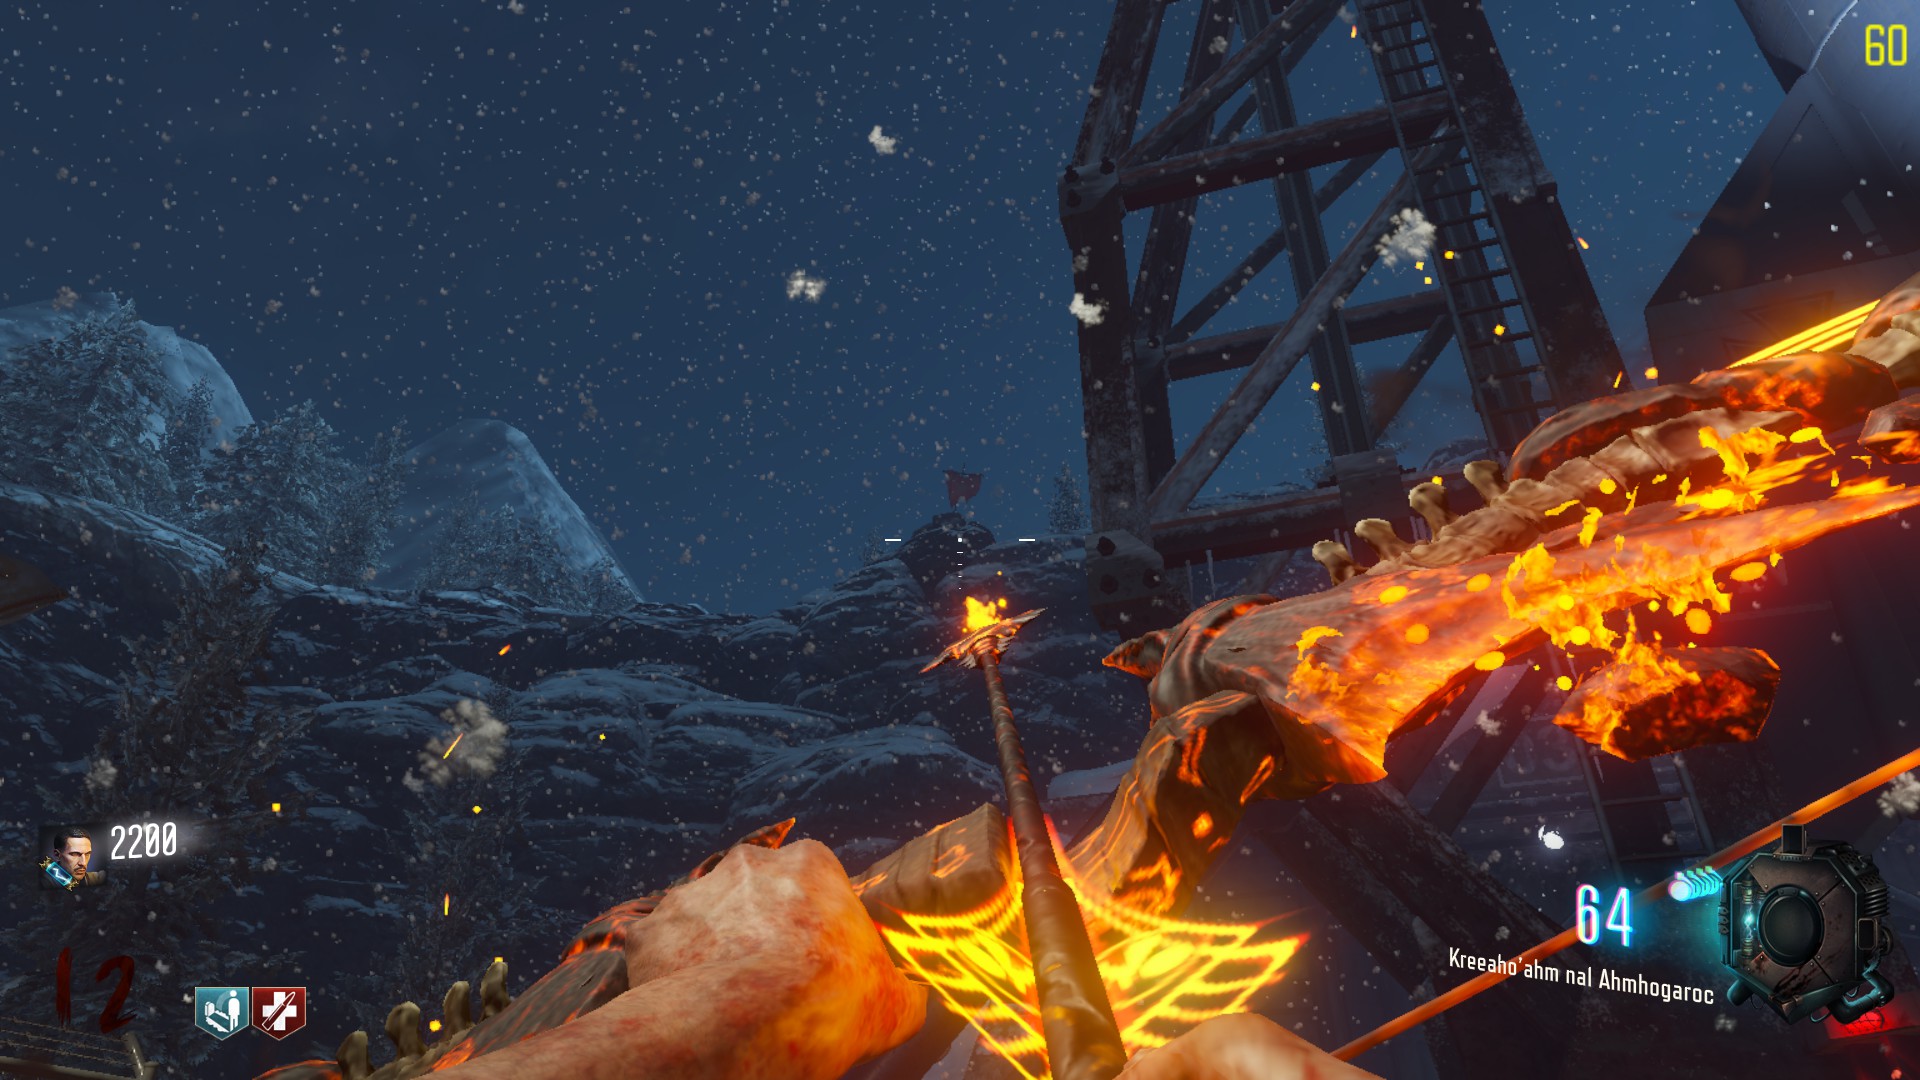
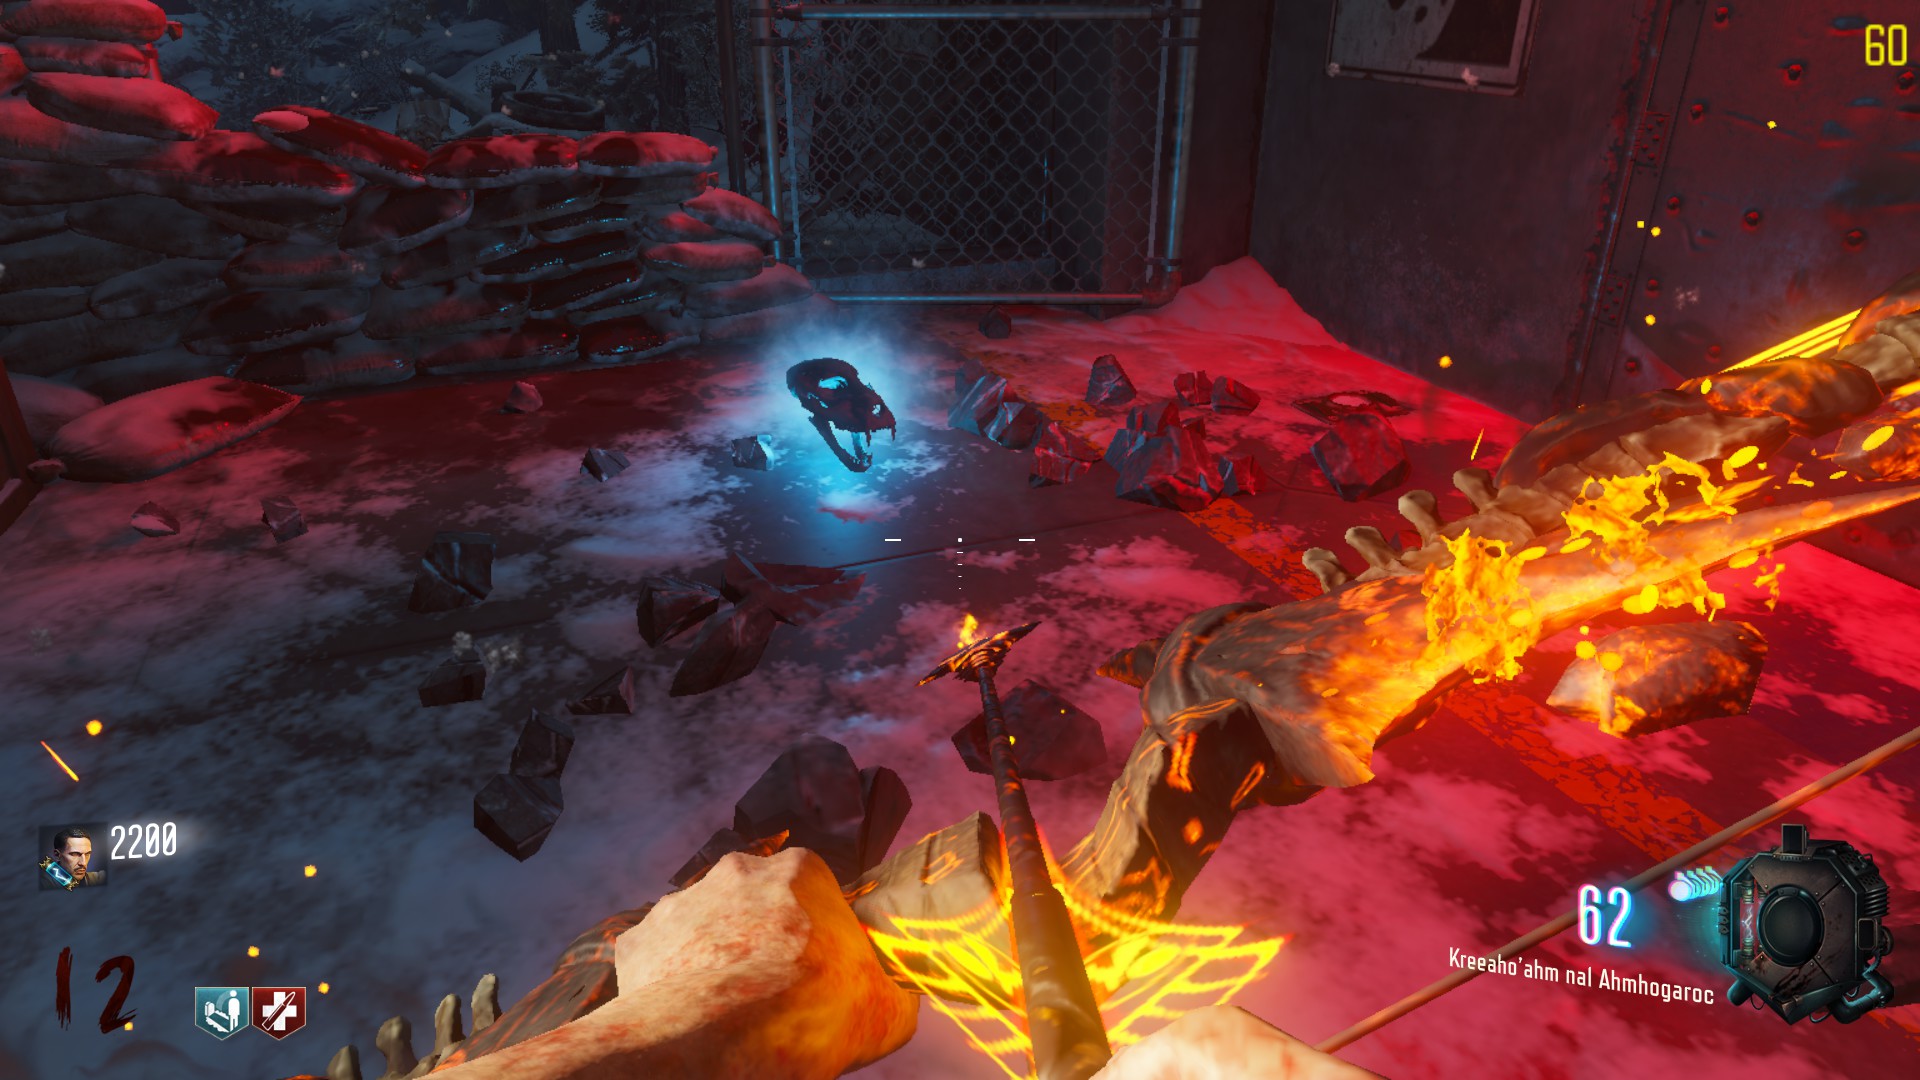
First step:Head to the landing pad and look behind you. There is a flag above the entrance, on the mountain. You have to charge-shoot the base of the flag. It will release a glowing skull, that you have to pick up once it’s on the ground.
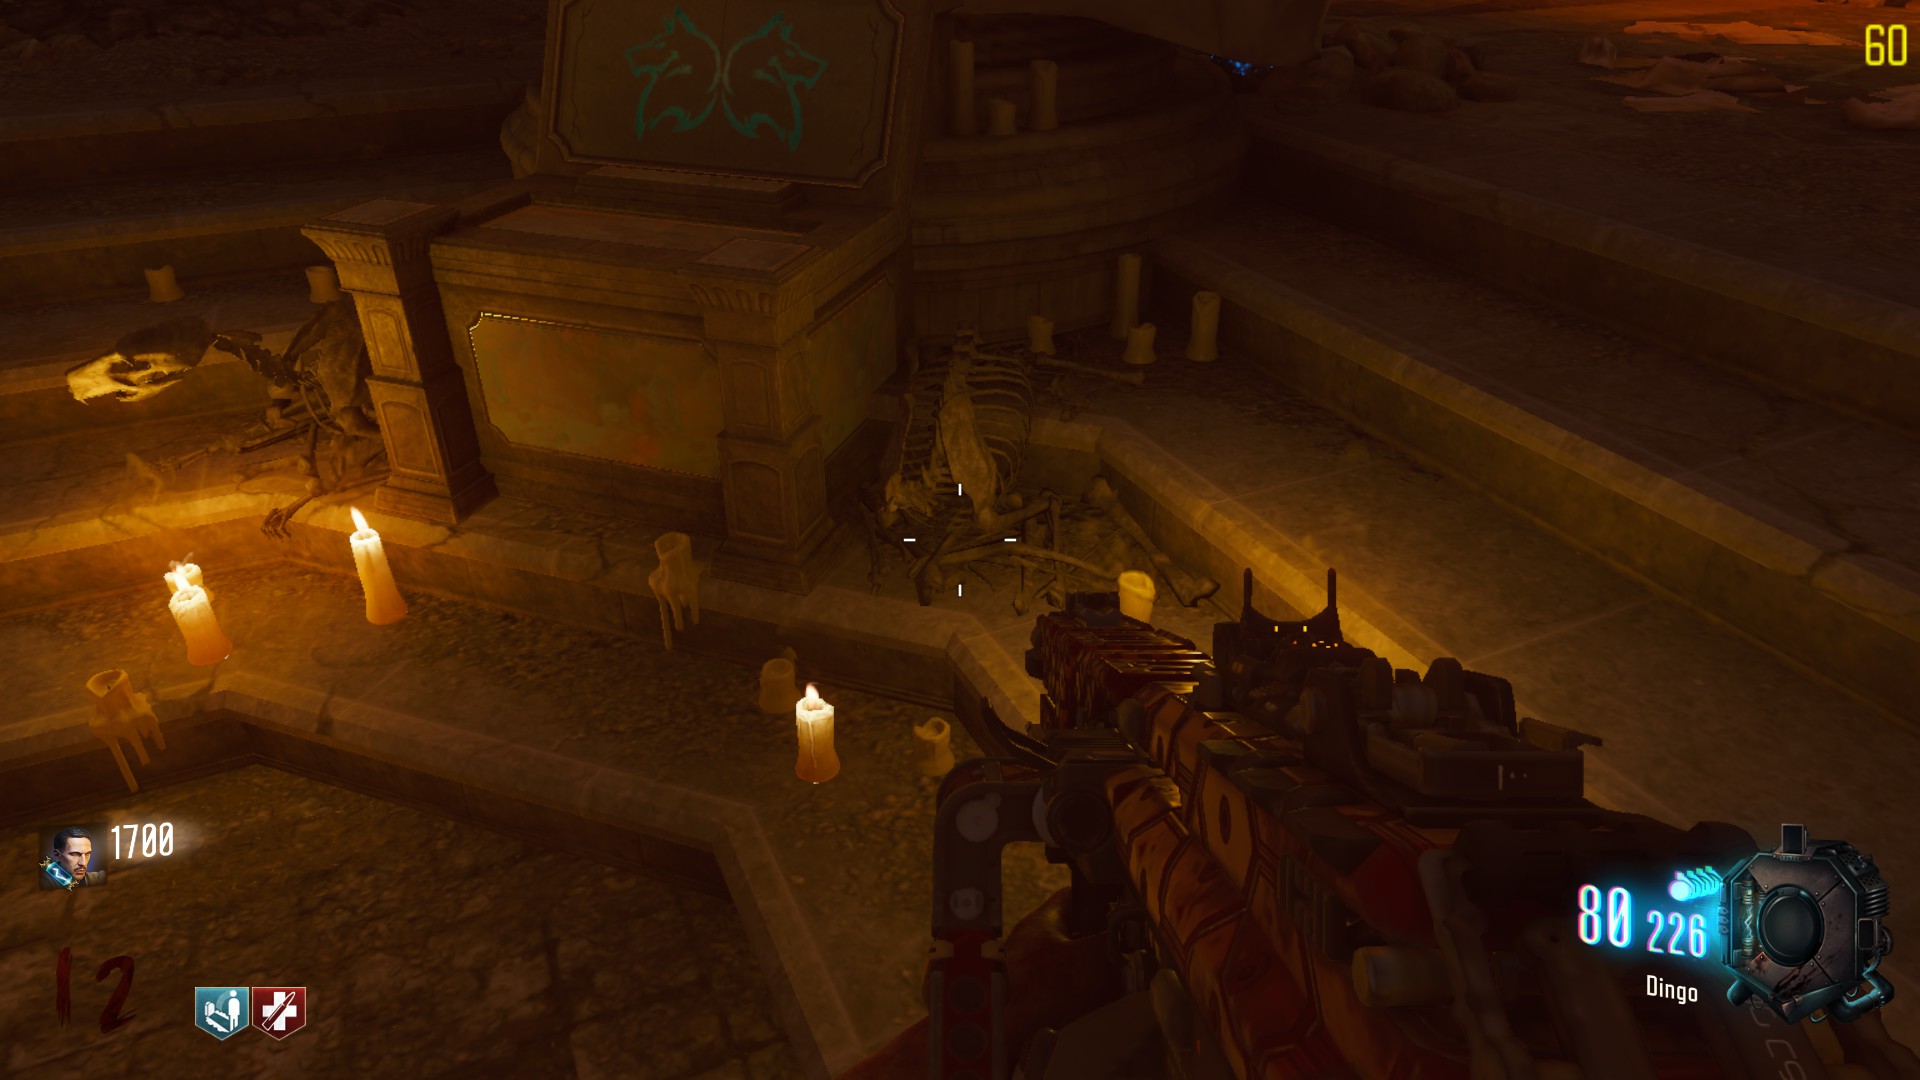
Go back to the altars room, and place the skull on the headless wolf skeleton near the spirit’s altar.
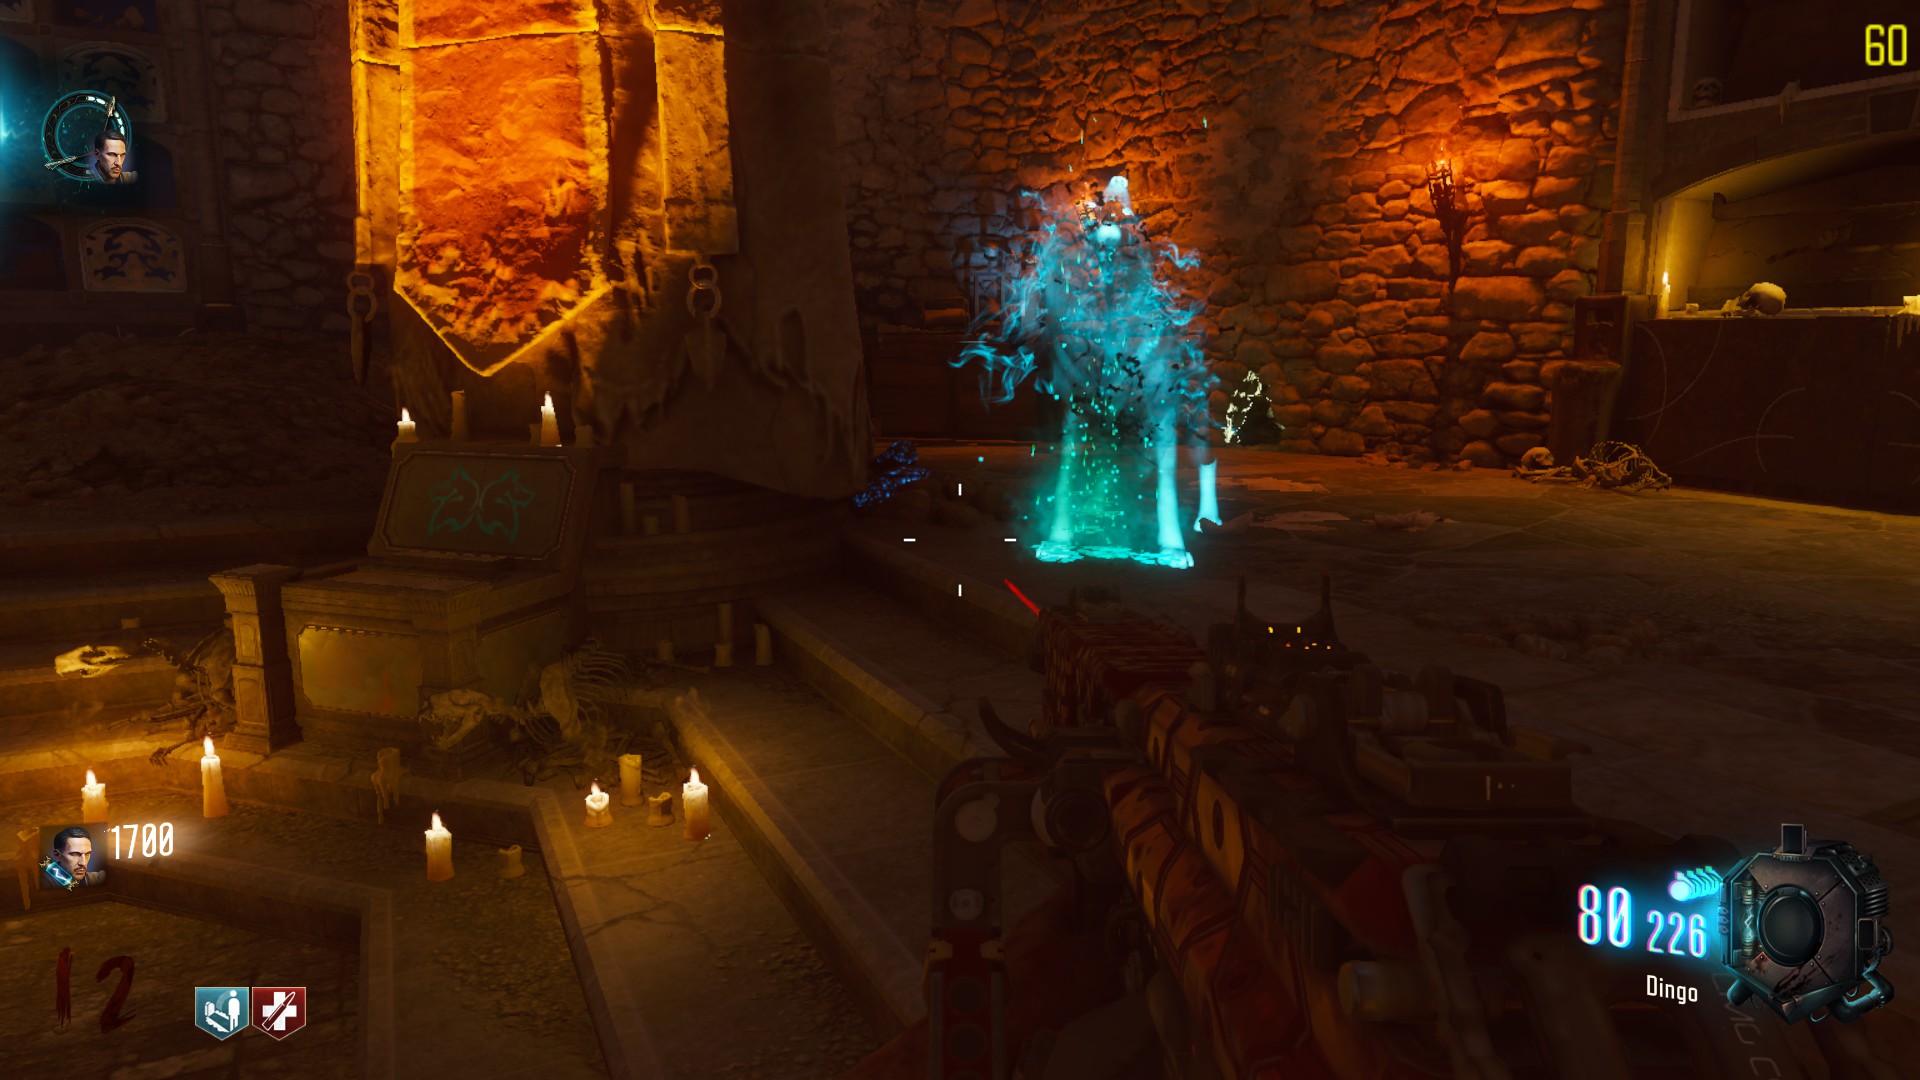
Second stepA spectral wolf will spawn, you’ll have to follow him until he stops. He will reveal a little pile of bones, you will have to kill zombies around it.
Once it’s over, the wolf will scratch it, revealing a piece that you need to pick up before continuing. The wolf will lead you to two others piles.
He will finally go and stand against a wall in the basement.
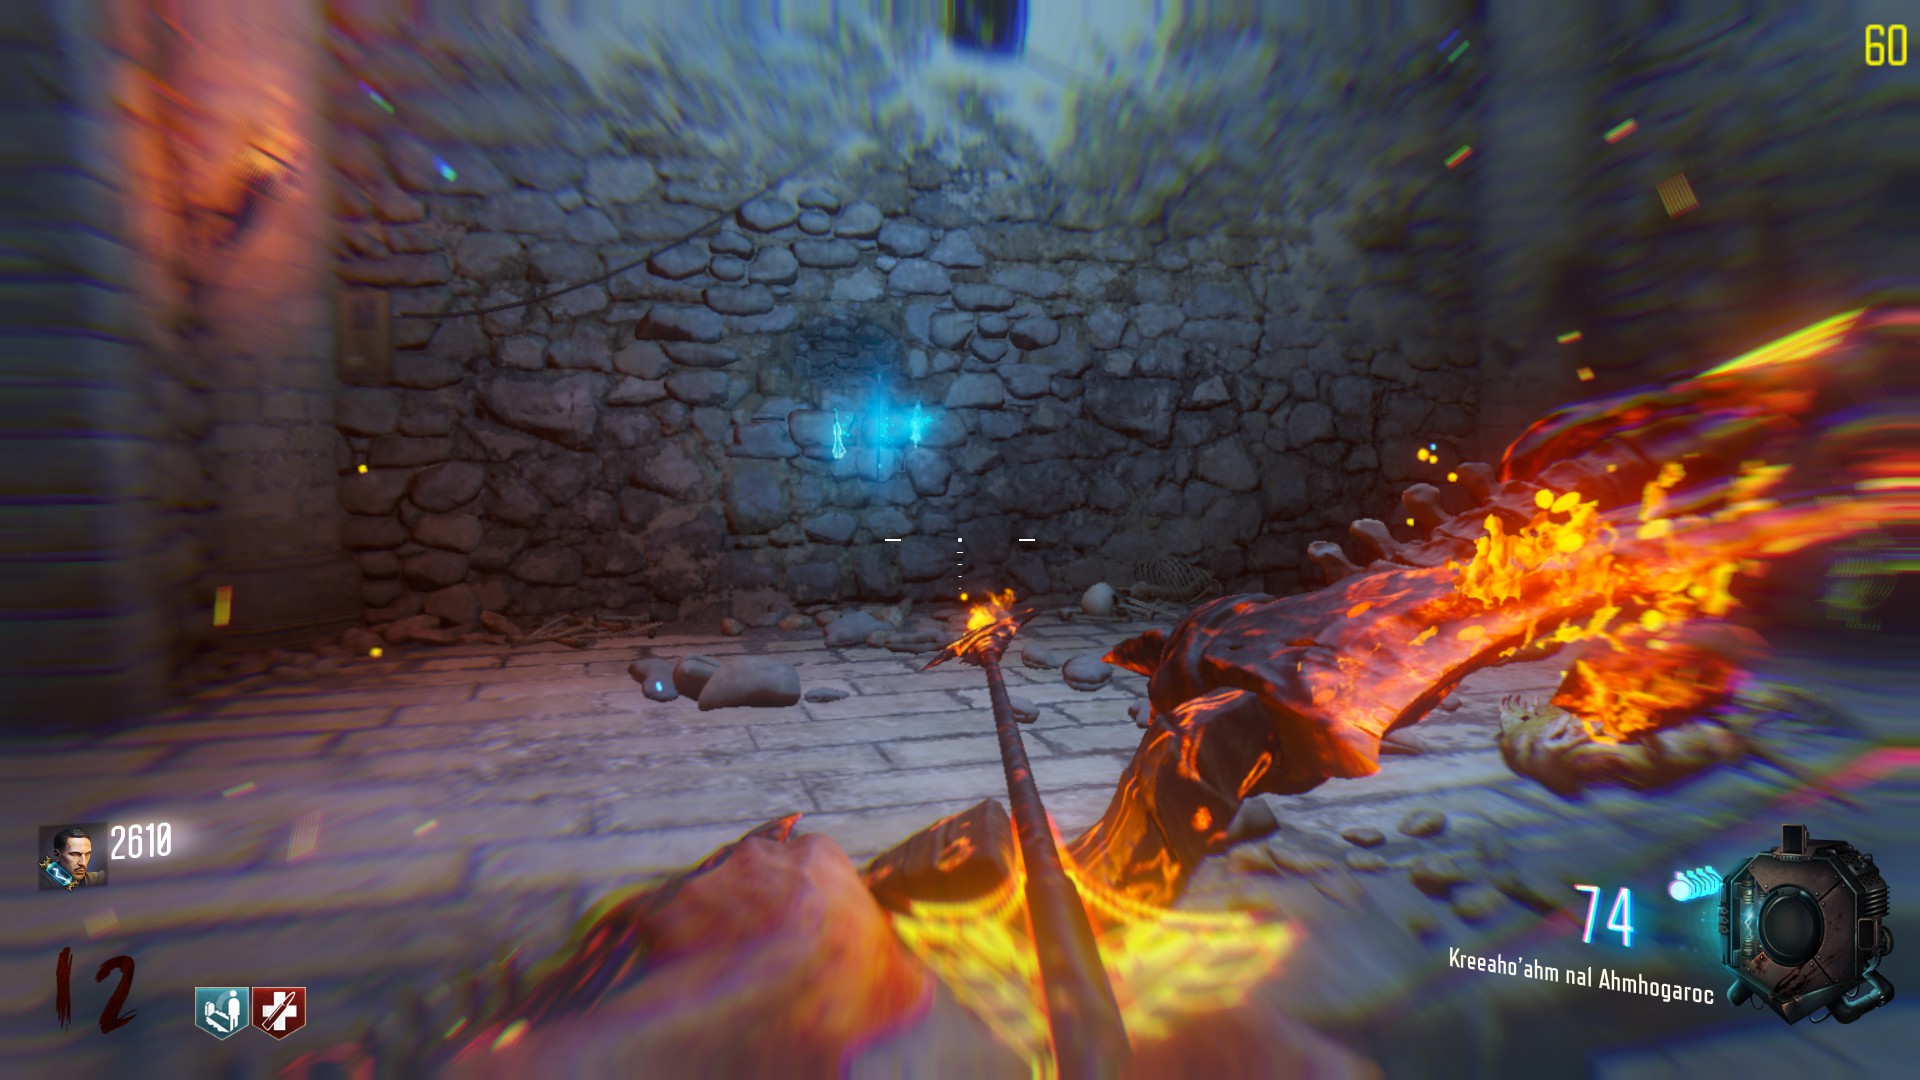
Above the wolf is a hole, with a wolf’s symbol above it, appearing when you wall-run with the anti-gravity mecanism. You have to shoot it when it is lighted up. If done correctly, a platform will rise, where you have to stand and interact with the hole. Re-interact to grab the arrow.
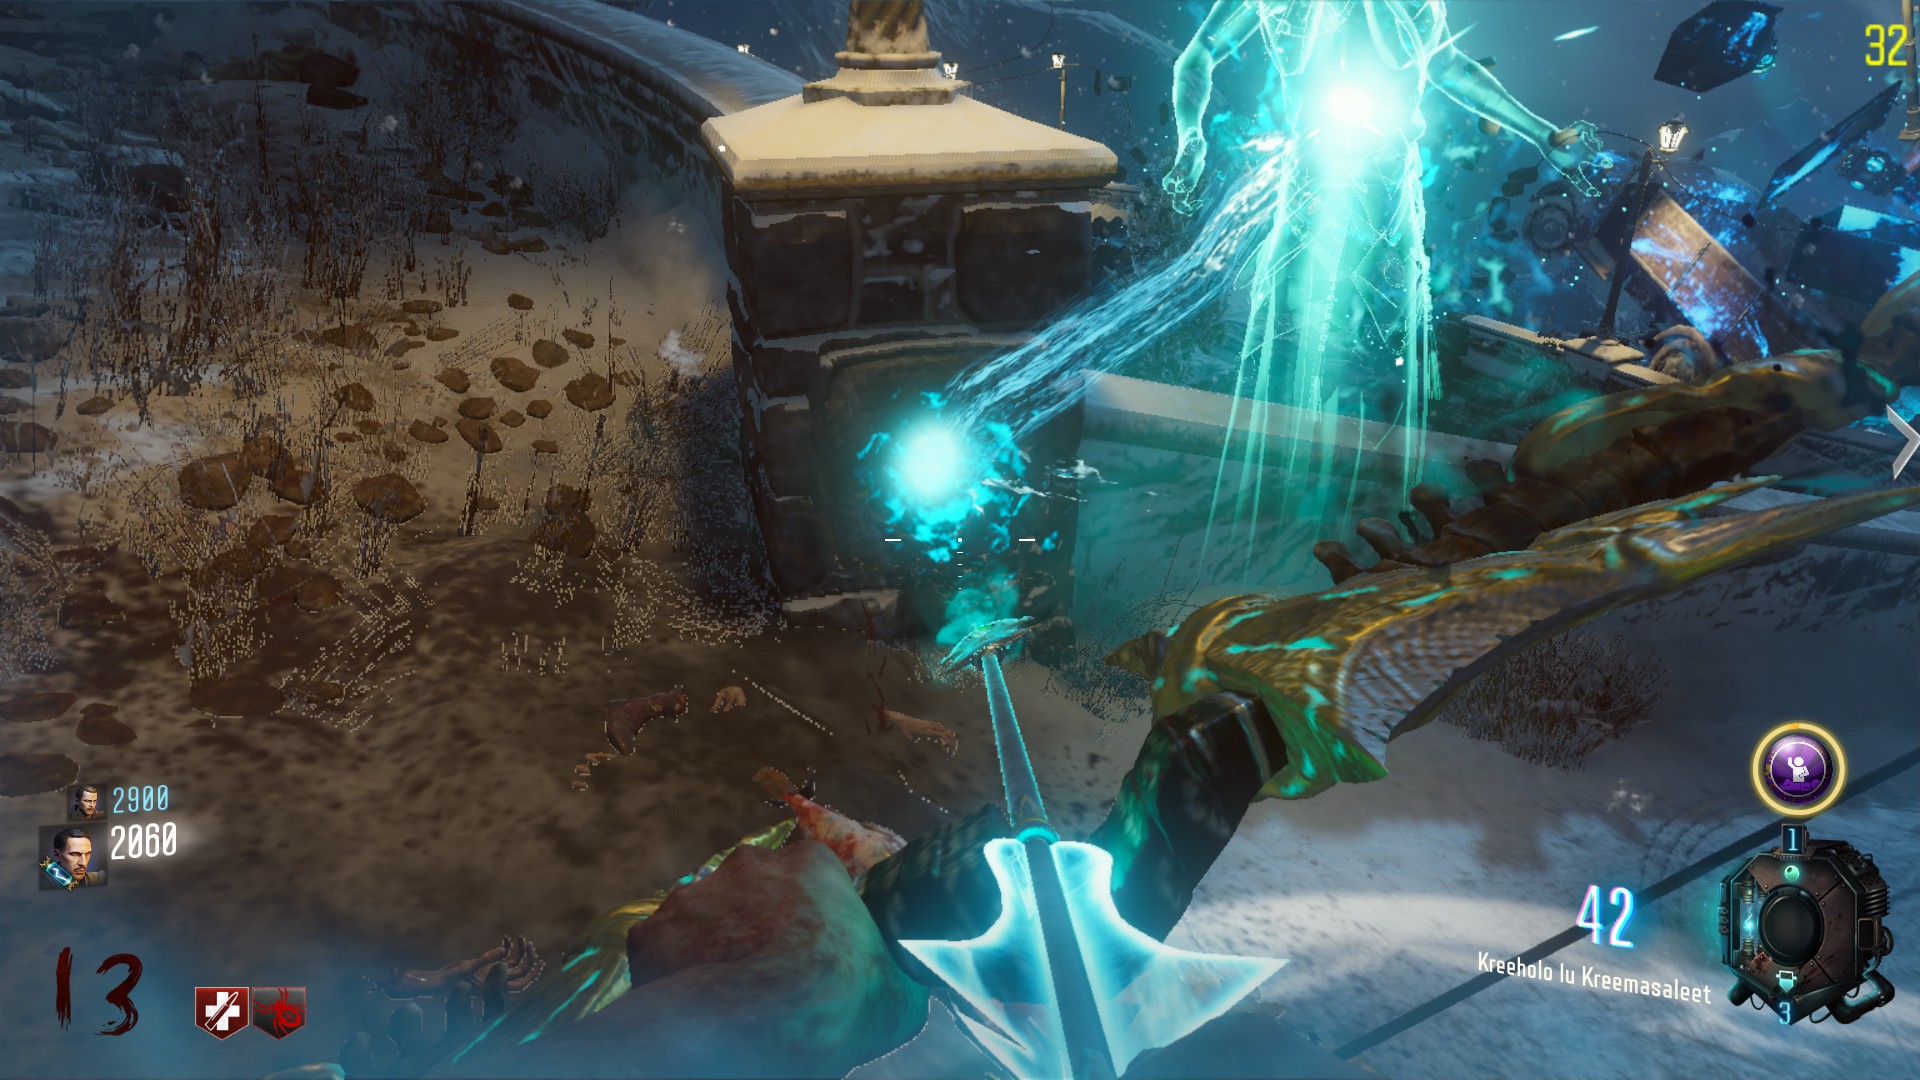
Final stepNow that the arrow is in your pocket, head back to the Pyramid and place the arrow on the corresponding altar. Kill a pack of zombies close to it until a sound is played and no more souls enter the altar on kill. Interacting with the arrow will trigger an animation, after wich you’ll be able to pick up Kreeholo lu Kreemasaleet
Preparation – Storm (Lightning upgrade for the Wonder Weapon)
Difficulty to craft: Easy
Bow efficiency: The most powerful bow (AoE attacks)
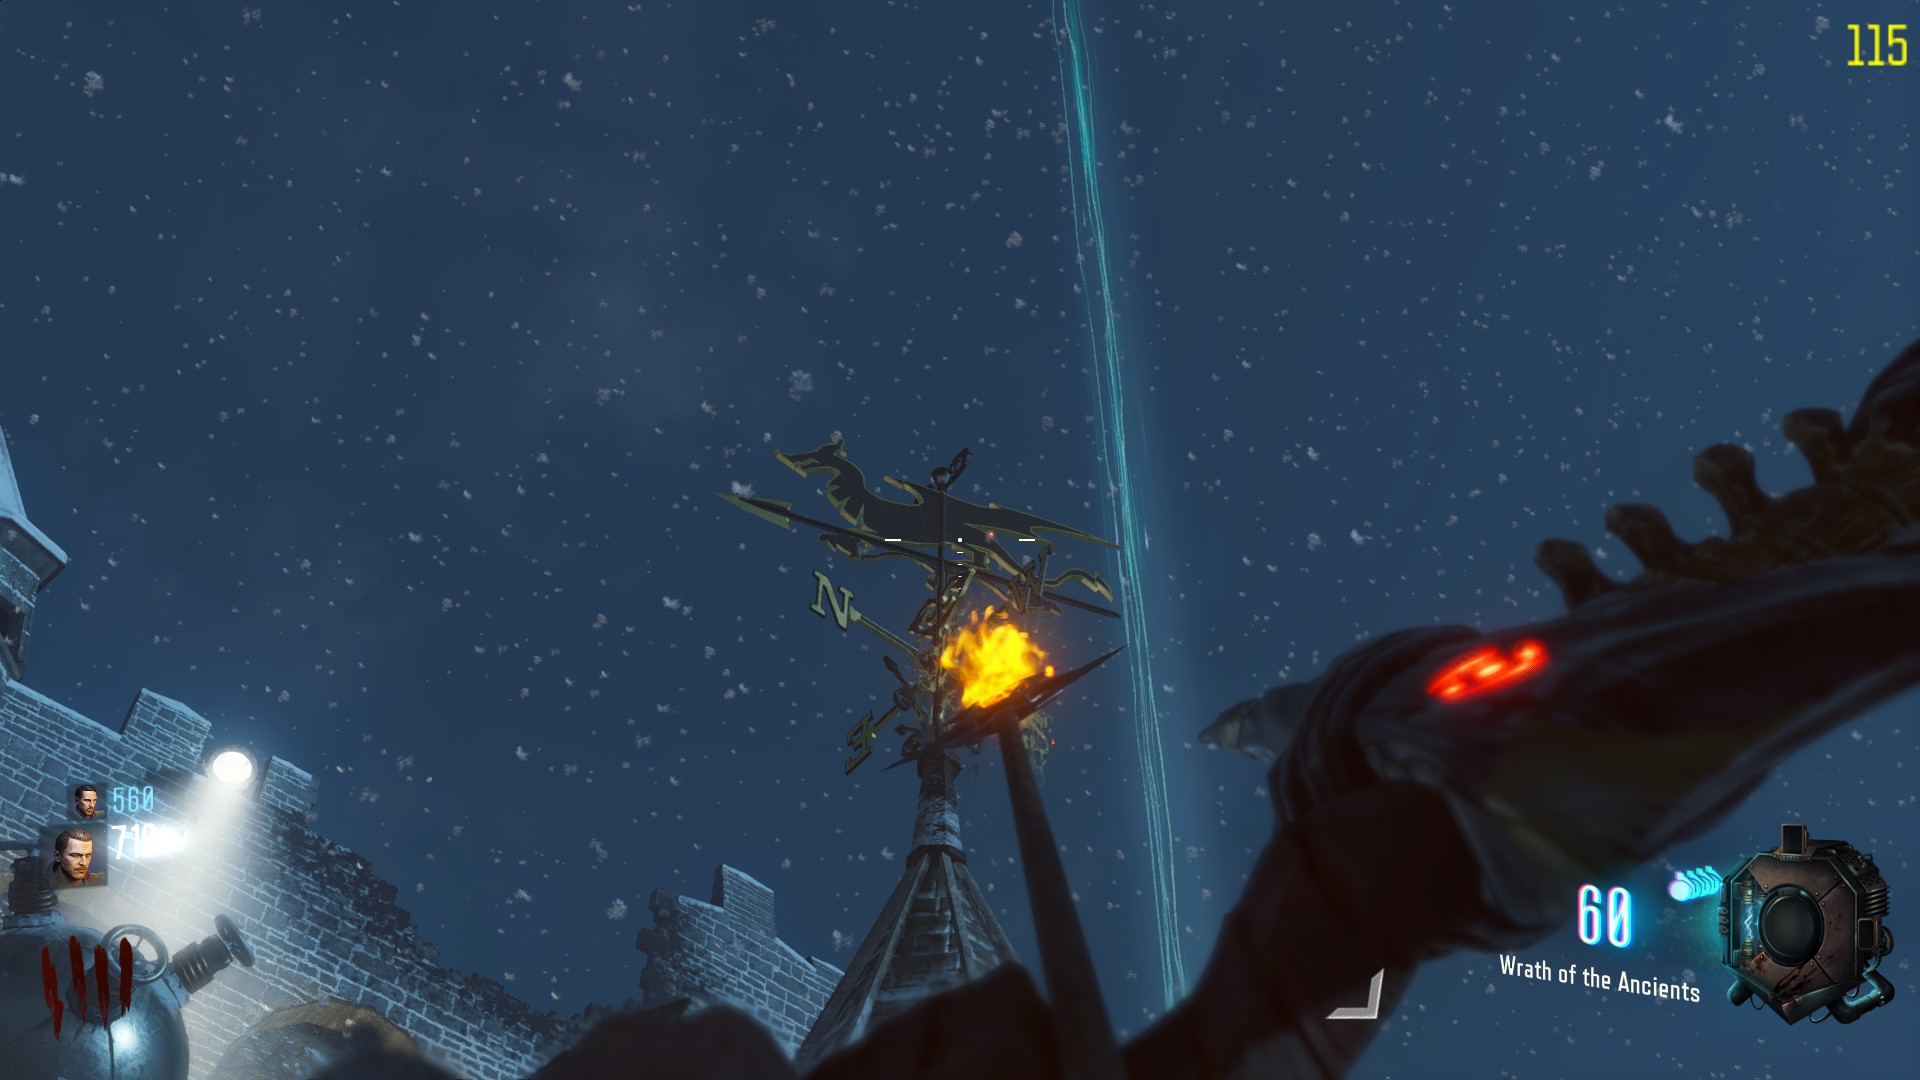
To pick up the broken arrow, you have to shoot an arrow on the weathercock, on top of the castle.
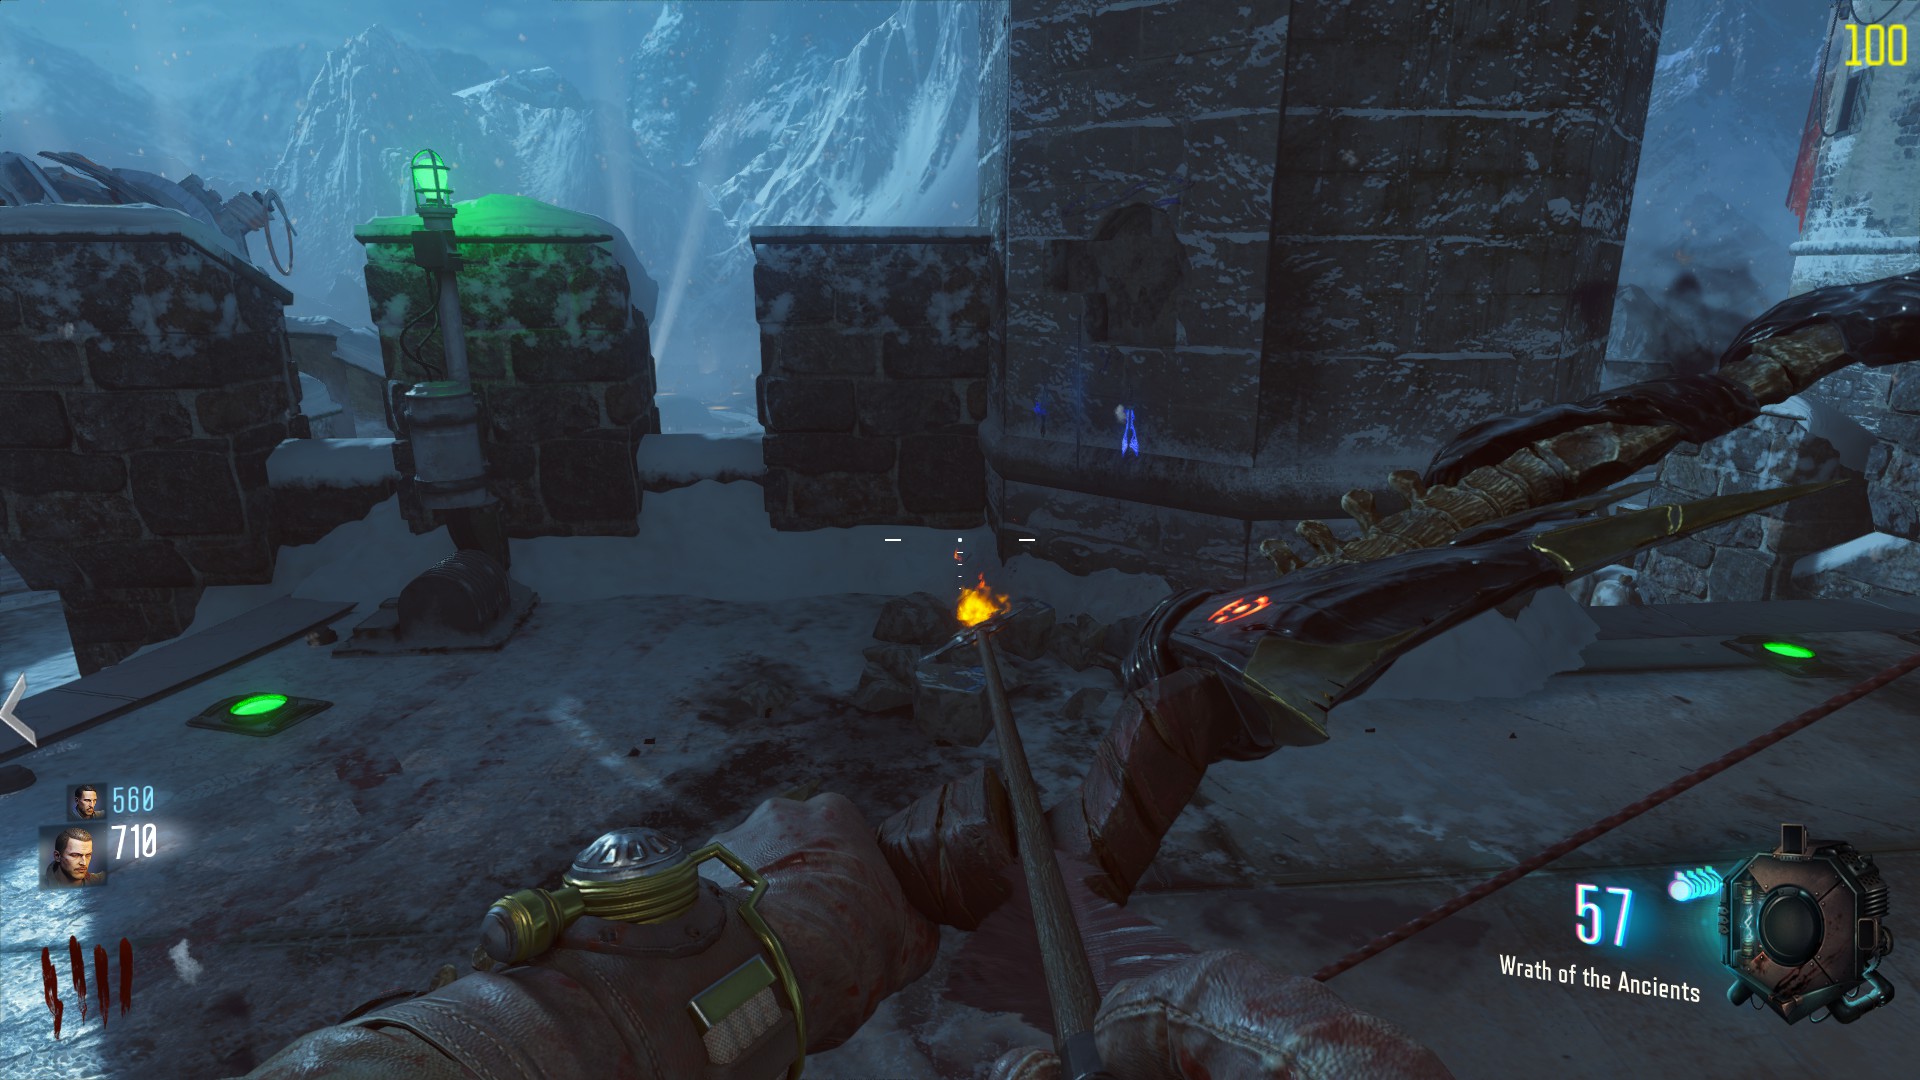
You must ignite 3 woodshed with a charged arrow.
- One in the landscape of the town bellow, on a hill.
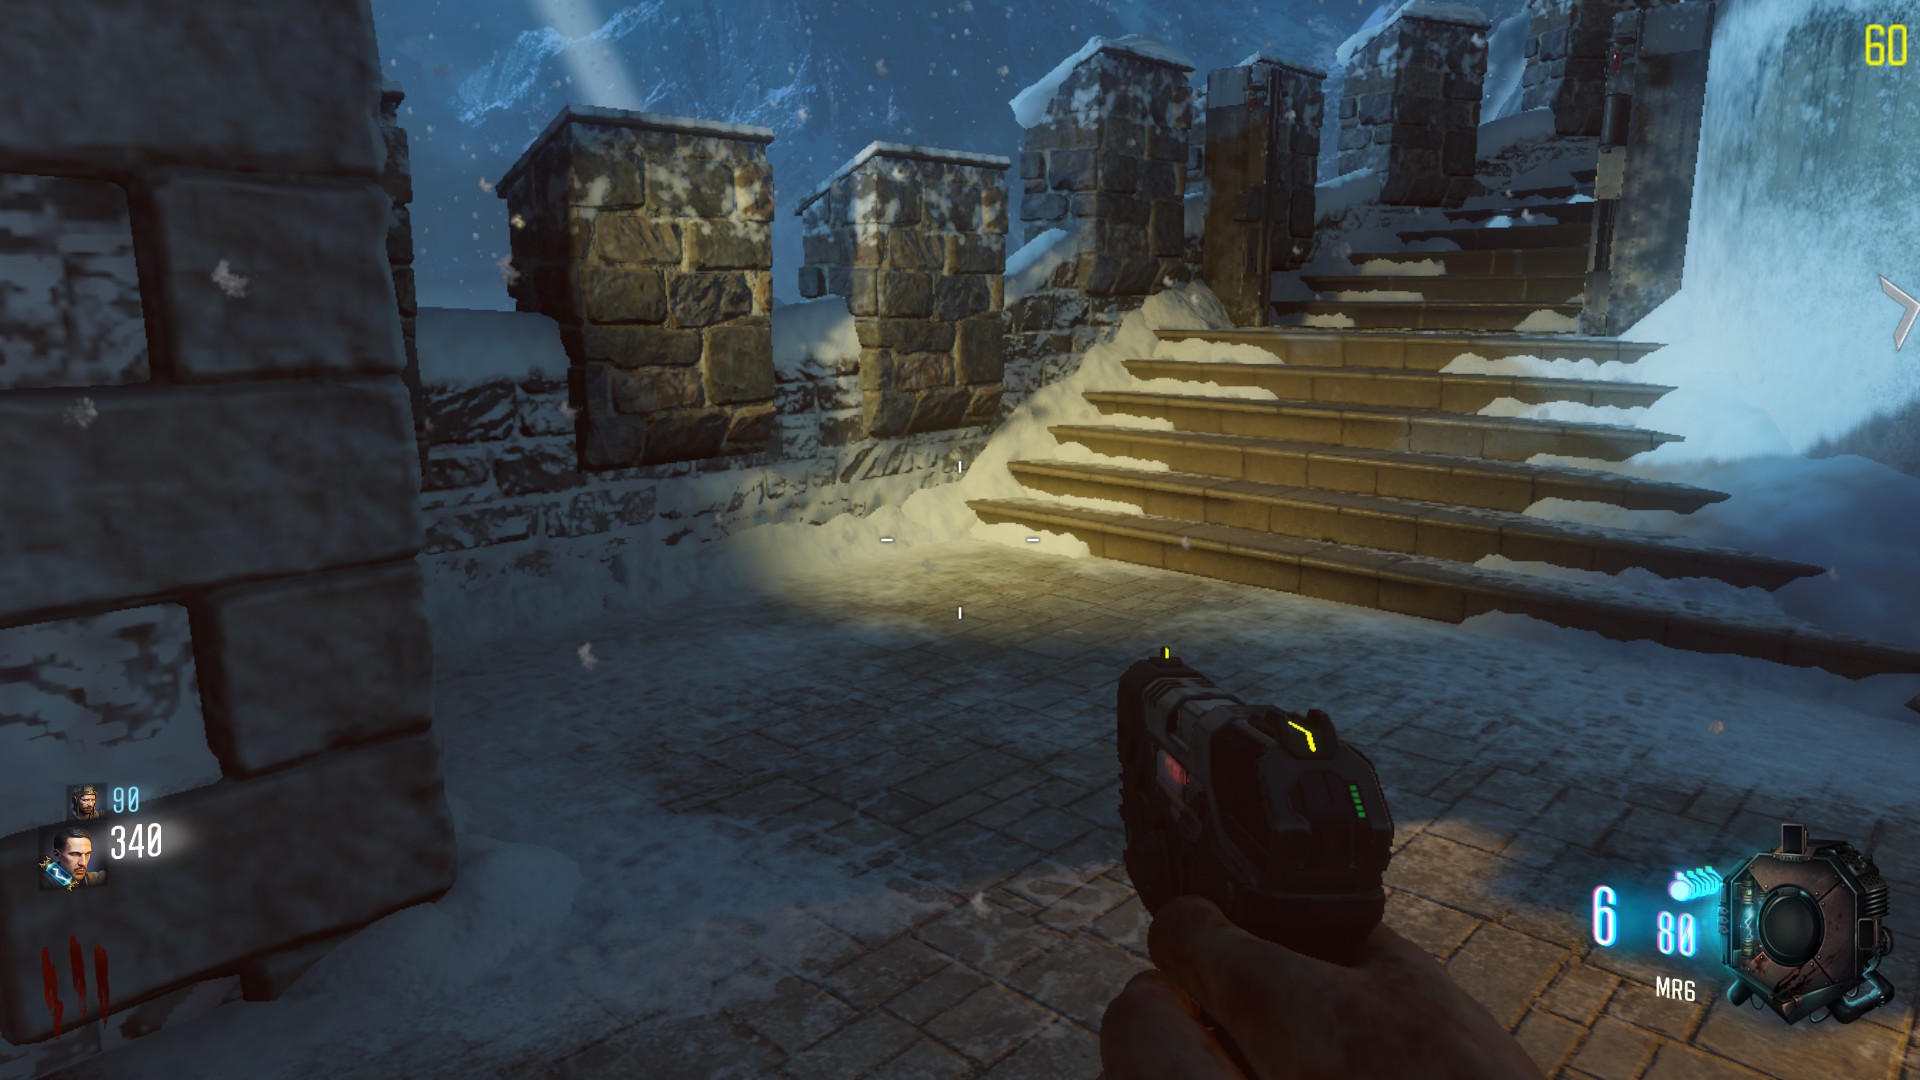
- One on the castle’s rampart, outside the map. Easily spotted when outside the clock tower, on your right.
- One on a hill above you when in the landing pad, on your right.
There are 5 blue symbols on the underground’s cavern walls:
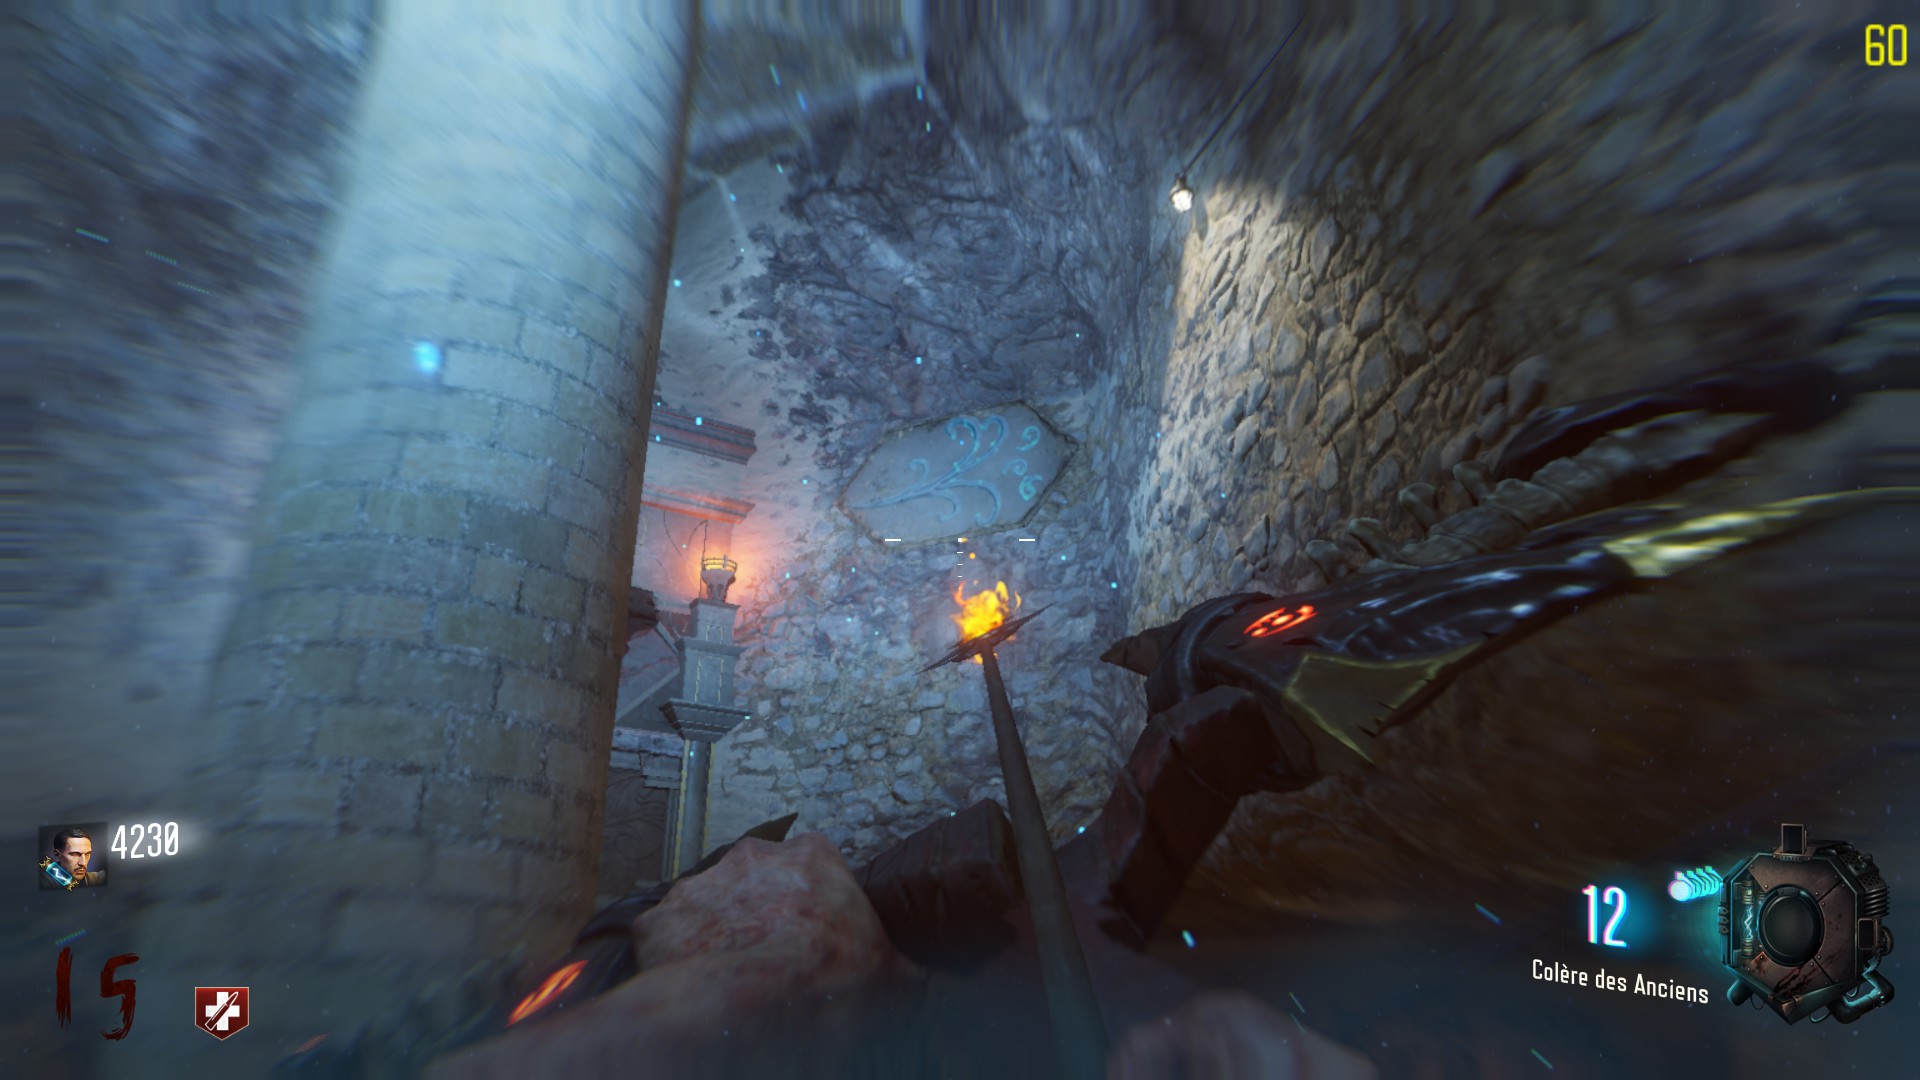
You must wait for an anti-gravity sequence to activate, wall run on them all to activate all 5 of them without touching the ground. If done correctly, they remain blue after the gravity comes back to normal.
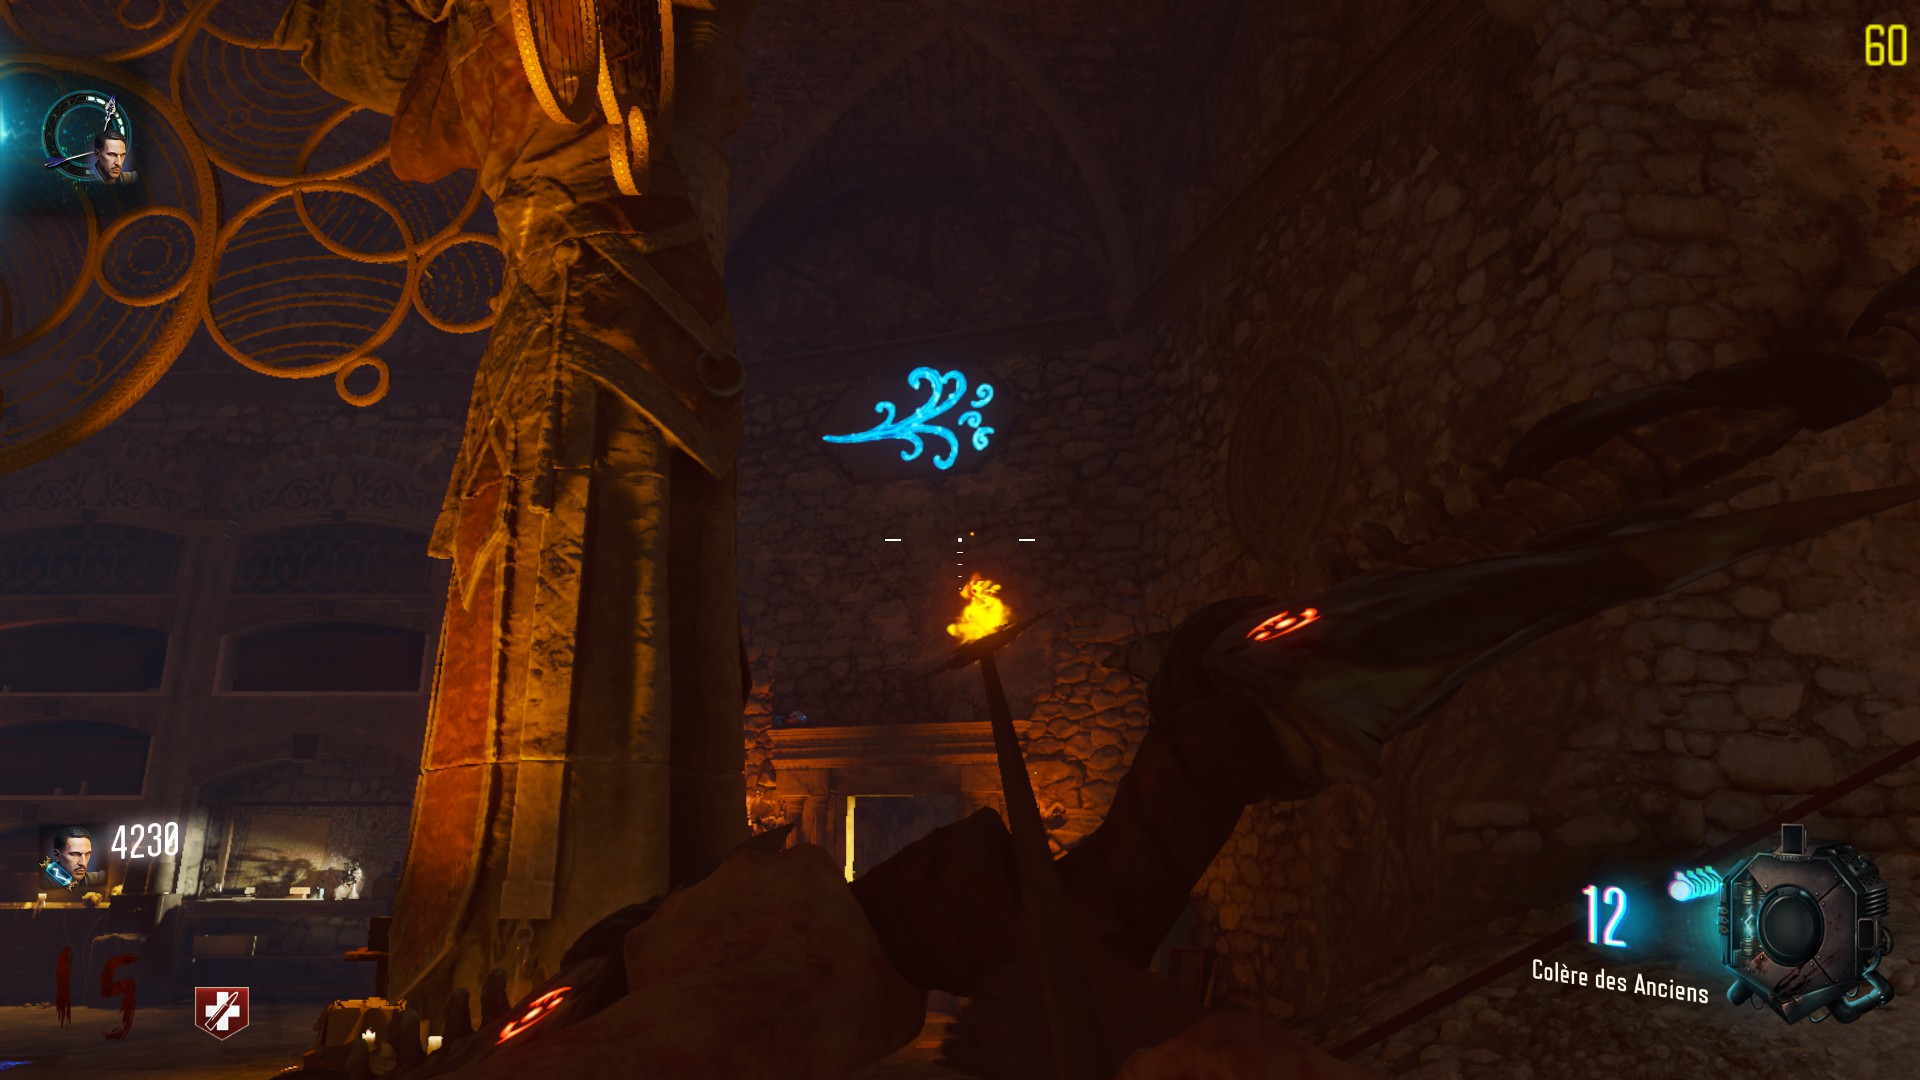
You must kill 6 zombies next to 3 electrical jars.
– One in the clock tower
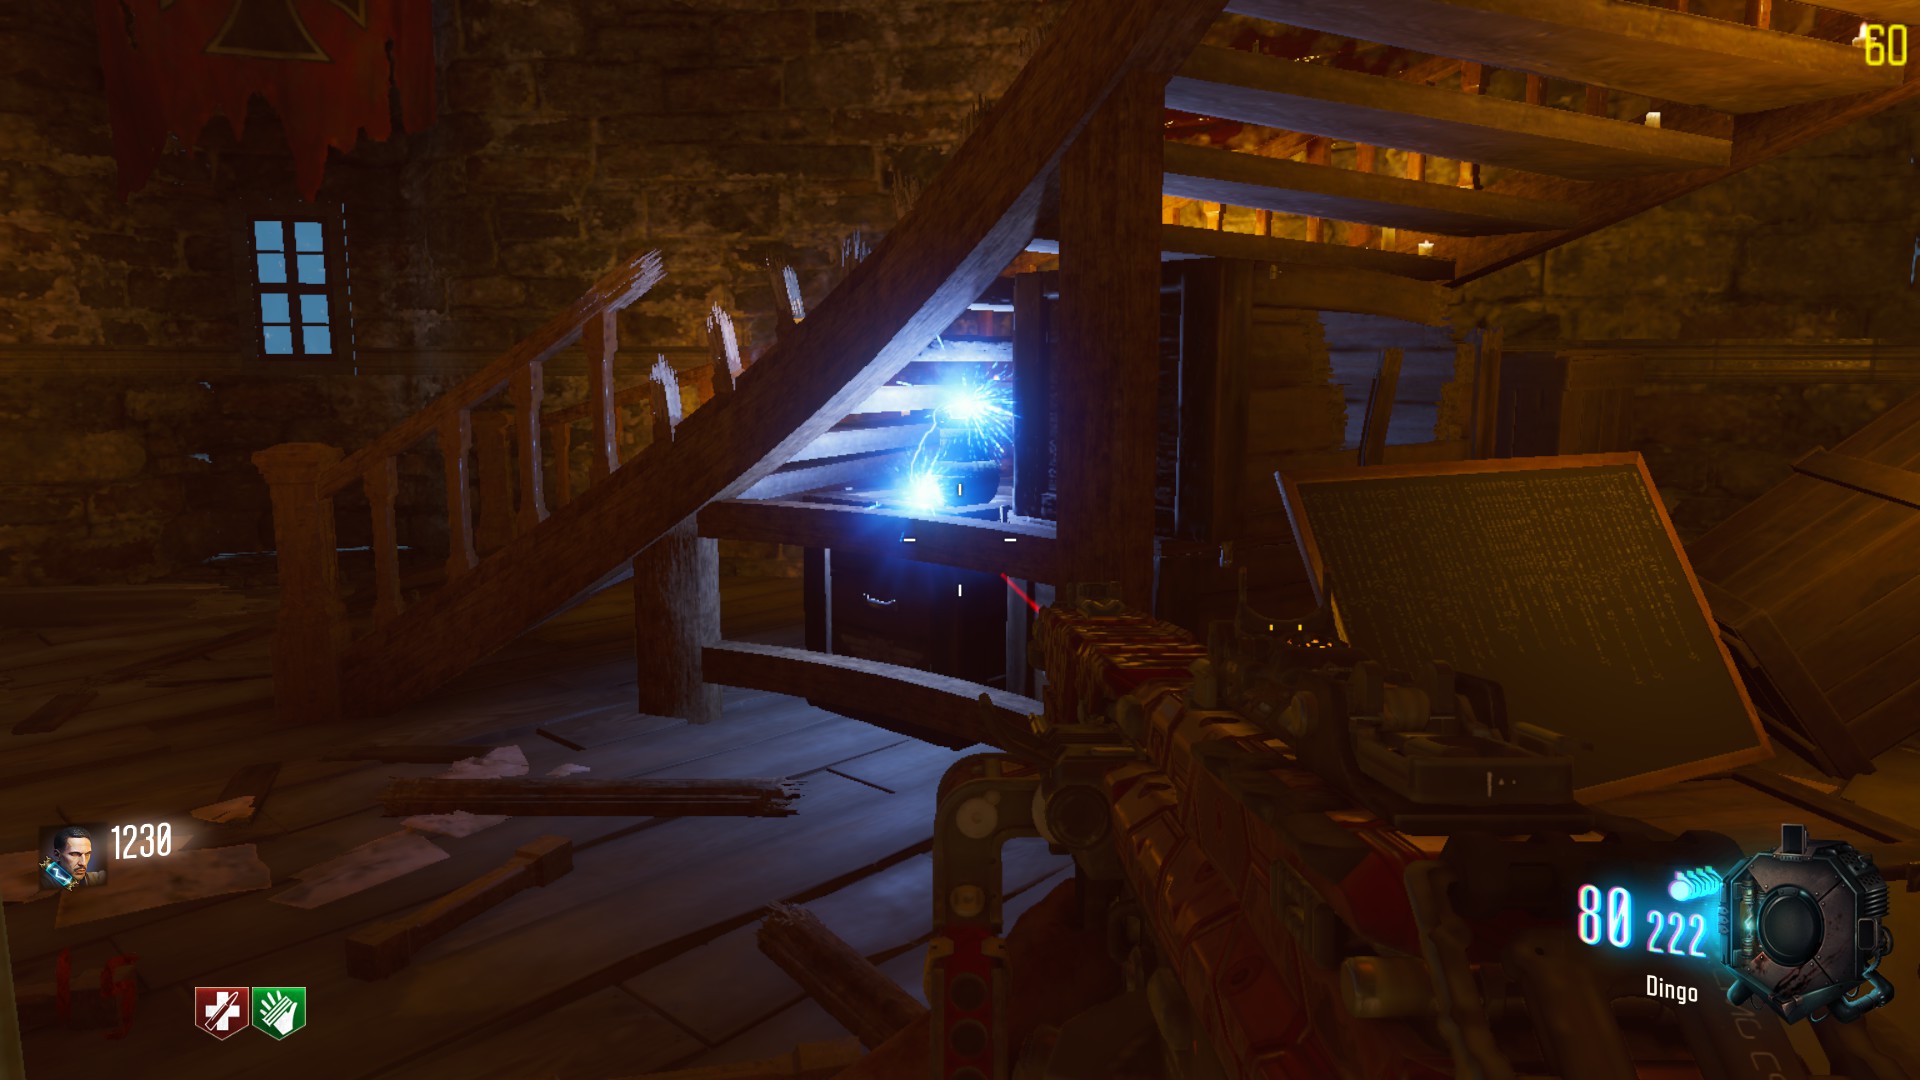
– One in the room above Double-Tap
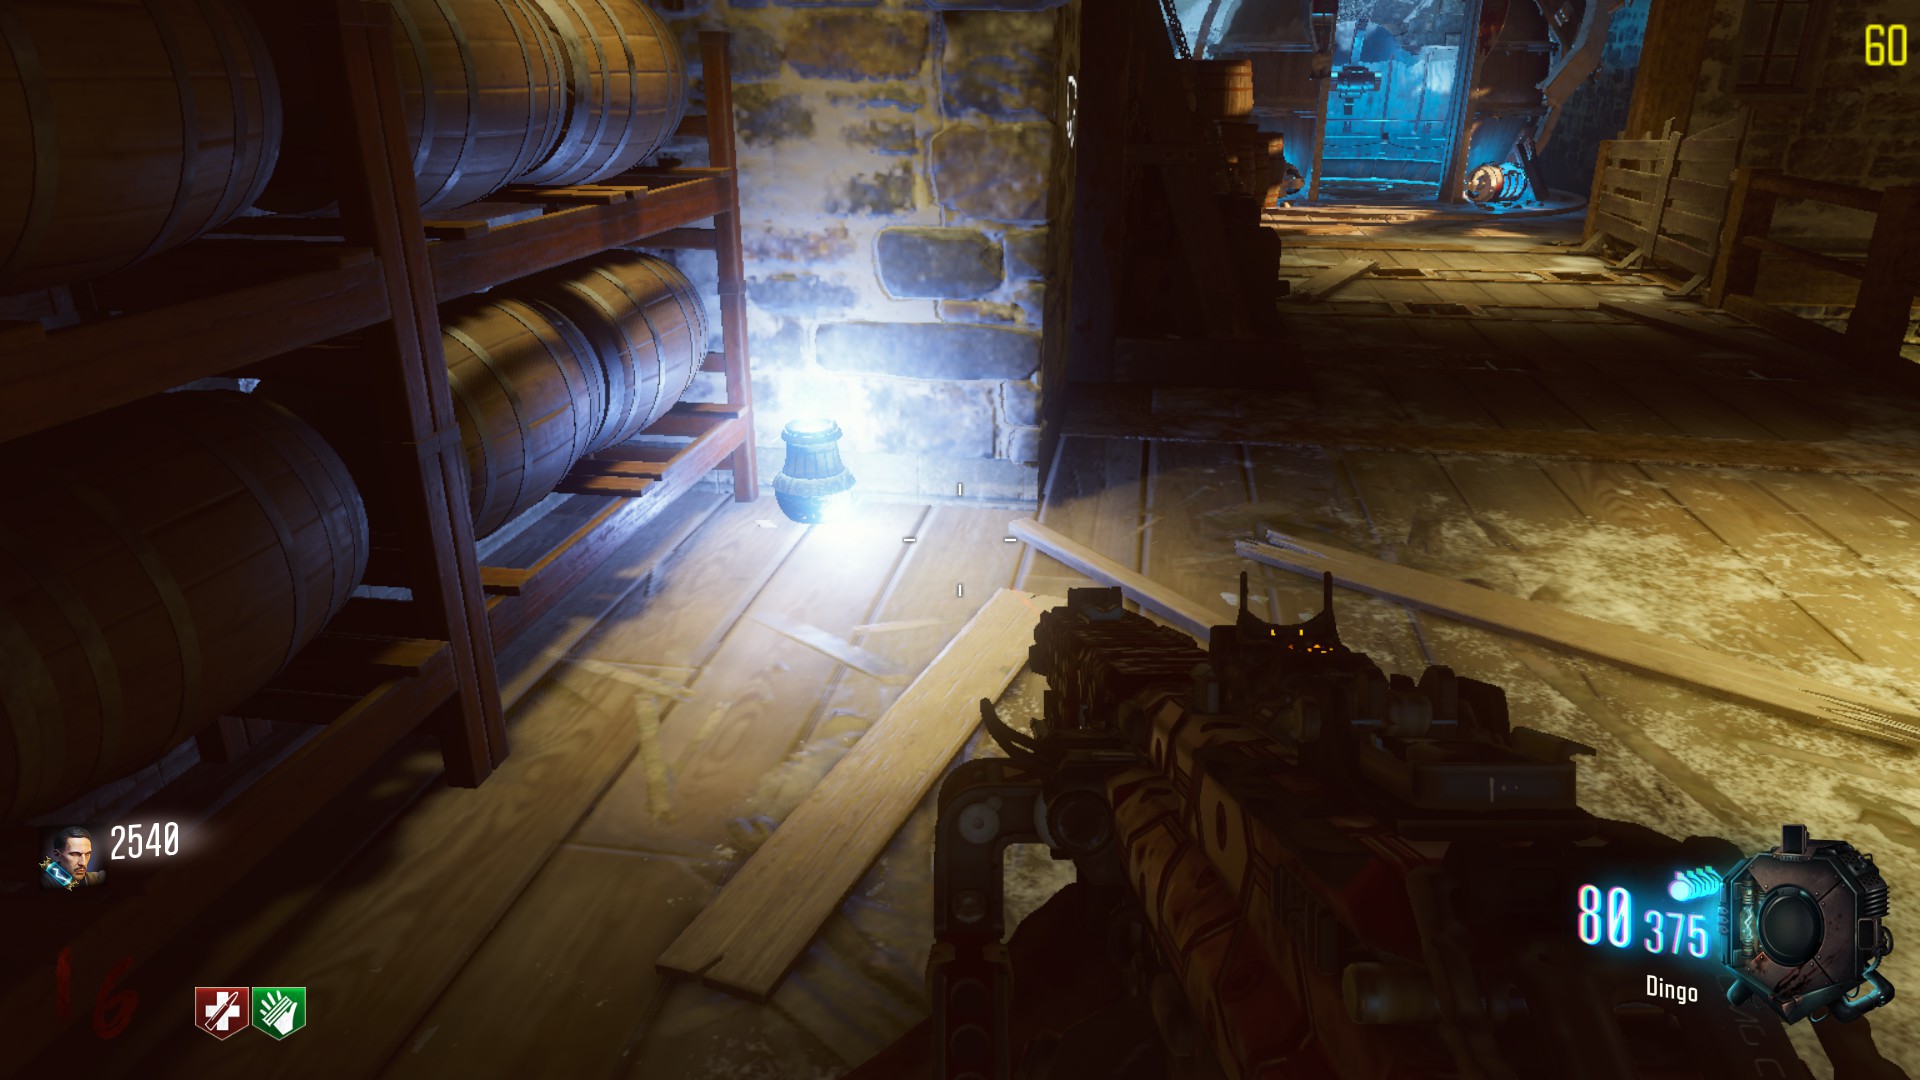
– One in the tunnel that leads rocket to the landing pad
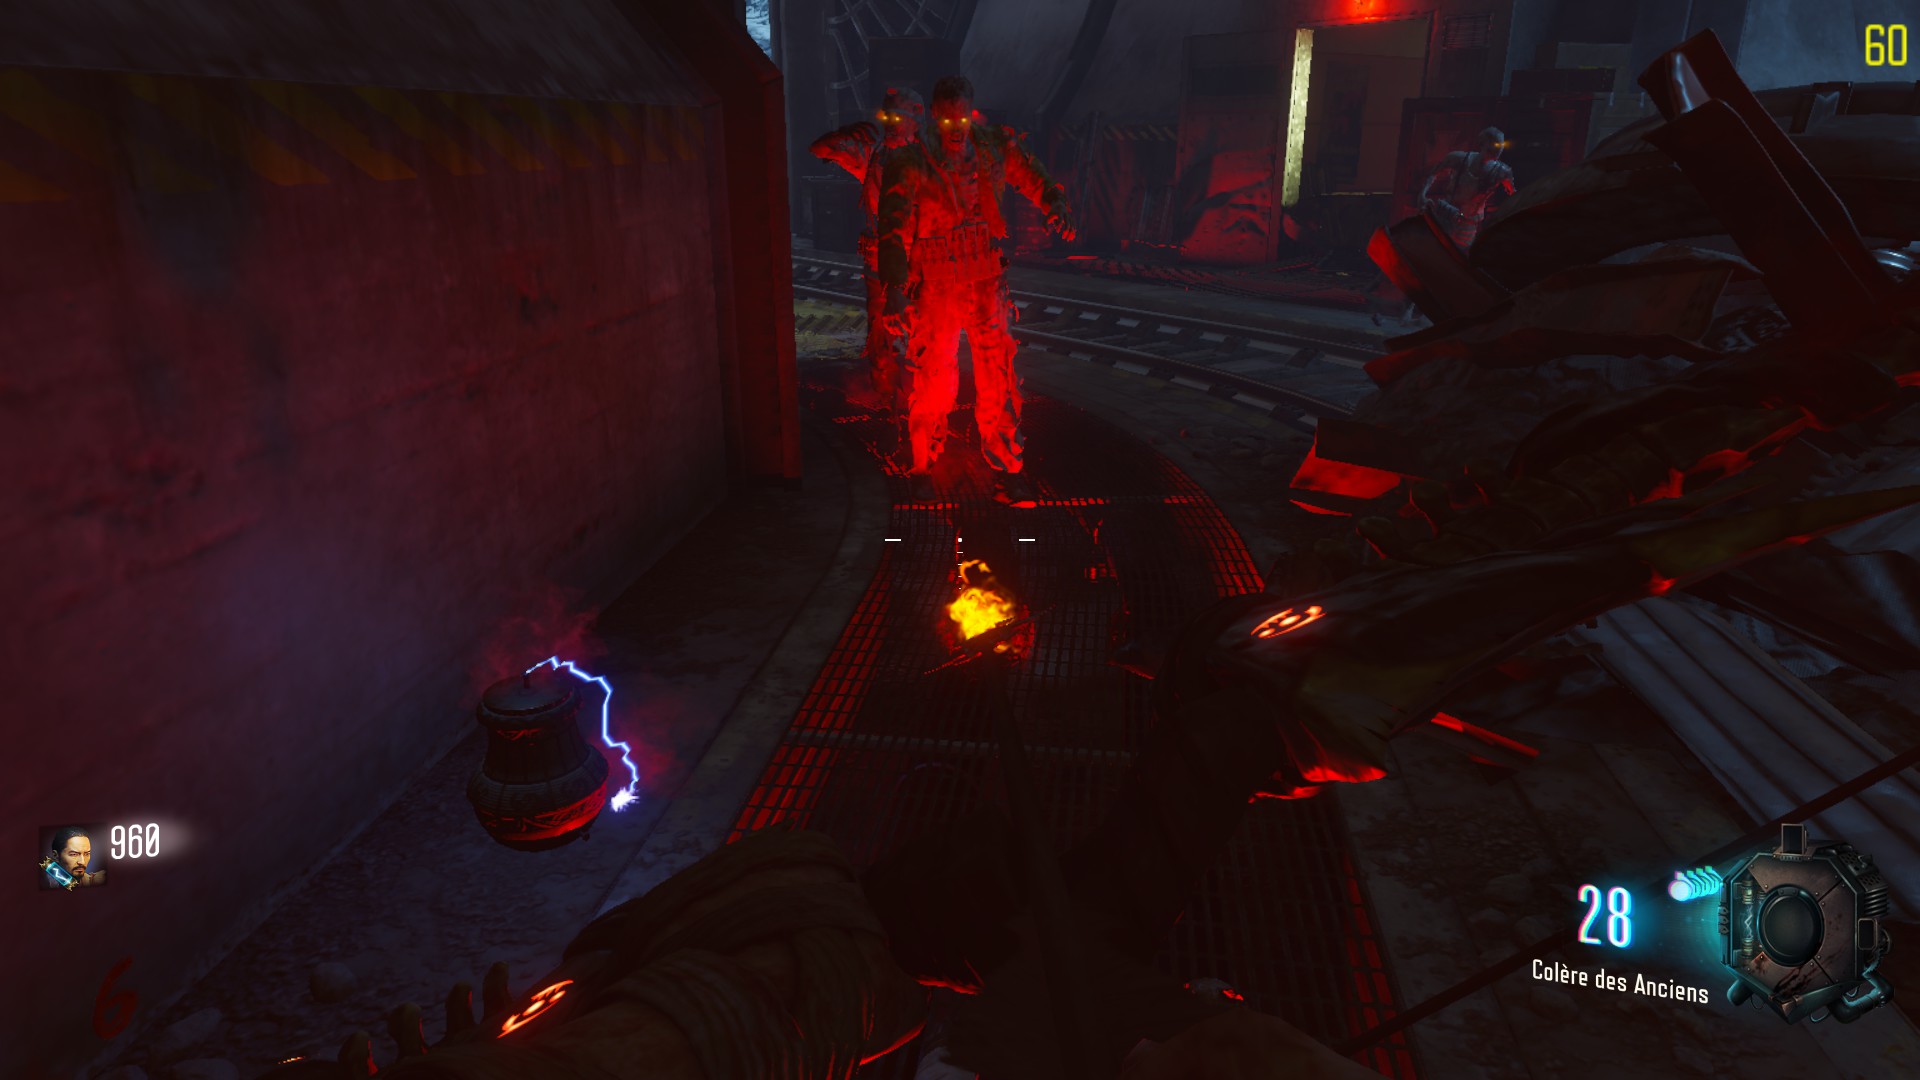
You must electrify the woodsheds you previously lit on fire. To do so, you must aim with your bow at an electrified jar in order to electrify your arrow, then shoot the woodshed. The difficulty here is that you can’t use a jar twice and that you cannot un-aim with the bow or the arrow will cease to be electrified.
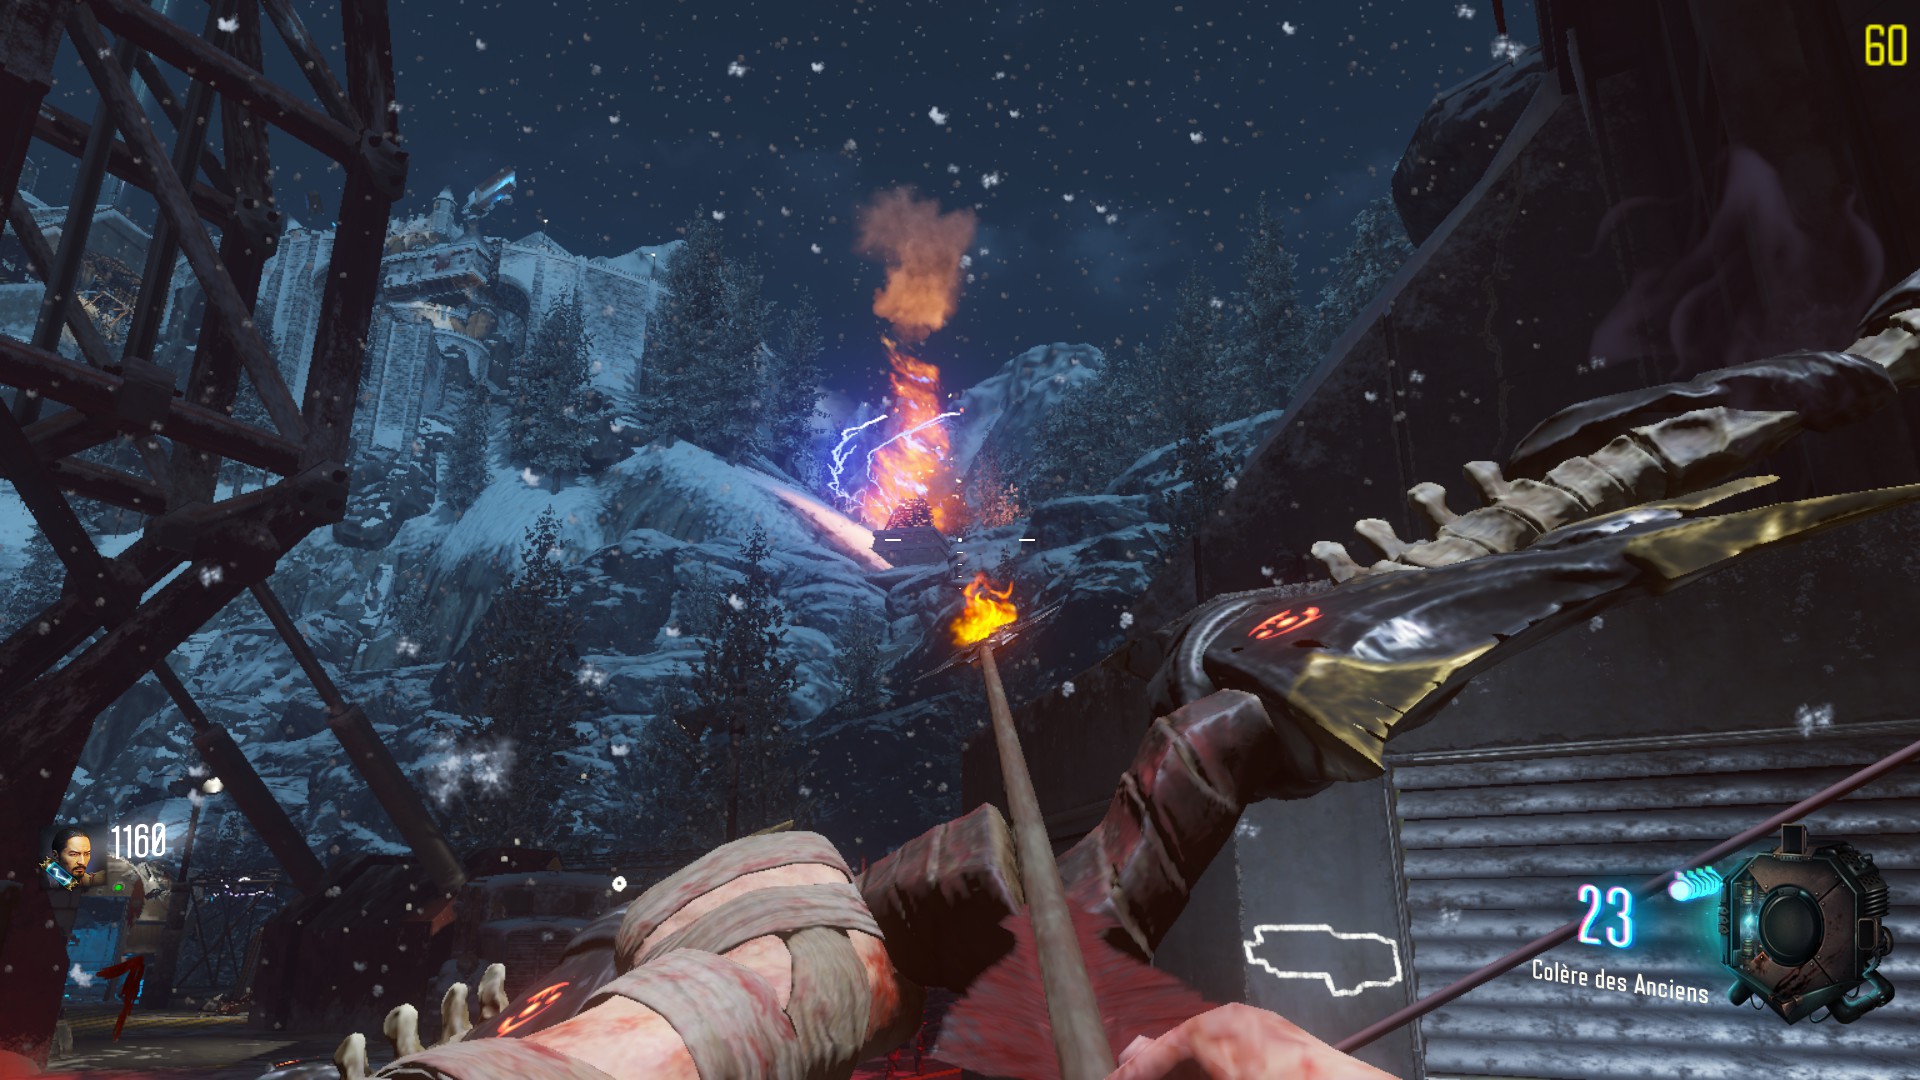
Finally, the weathercock on top of the castle should be electrified and yoloying around, you have to press Action on a blue cloud, at the bottom of this tower.
This will give you the Arrow, just like other bows, head back to the altar room and place it on the corresponding altar. Kill a few zombies around it until you can interact with the arrow. After a short animation, Kreema’ahm la Ahmahm will be yours.
Preparation – Demon Gate (Void upgrade for the Wonder Weapon)
Difficulty to craft: Not very hard, but longer than the others.
Bow efficiency: Powerful (AoE attacks)
To begin this quest, you must charge-shoot an arrow at the void symbol that is located on the roof of the tunnel near Double-Tap. Just above a 1000 points gate.
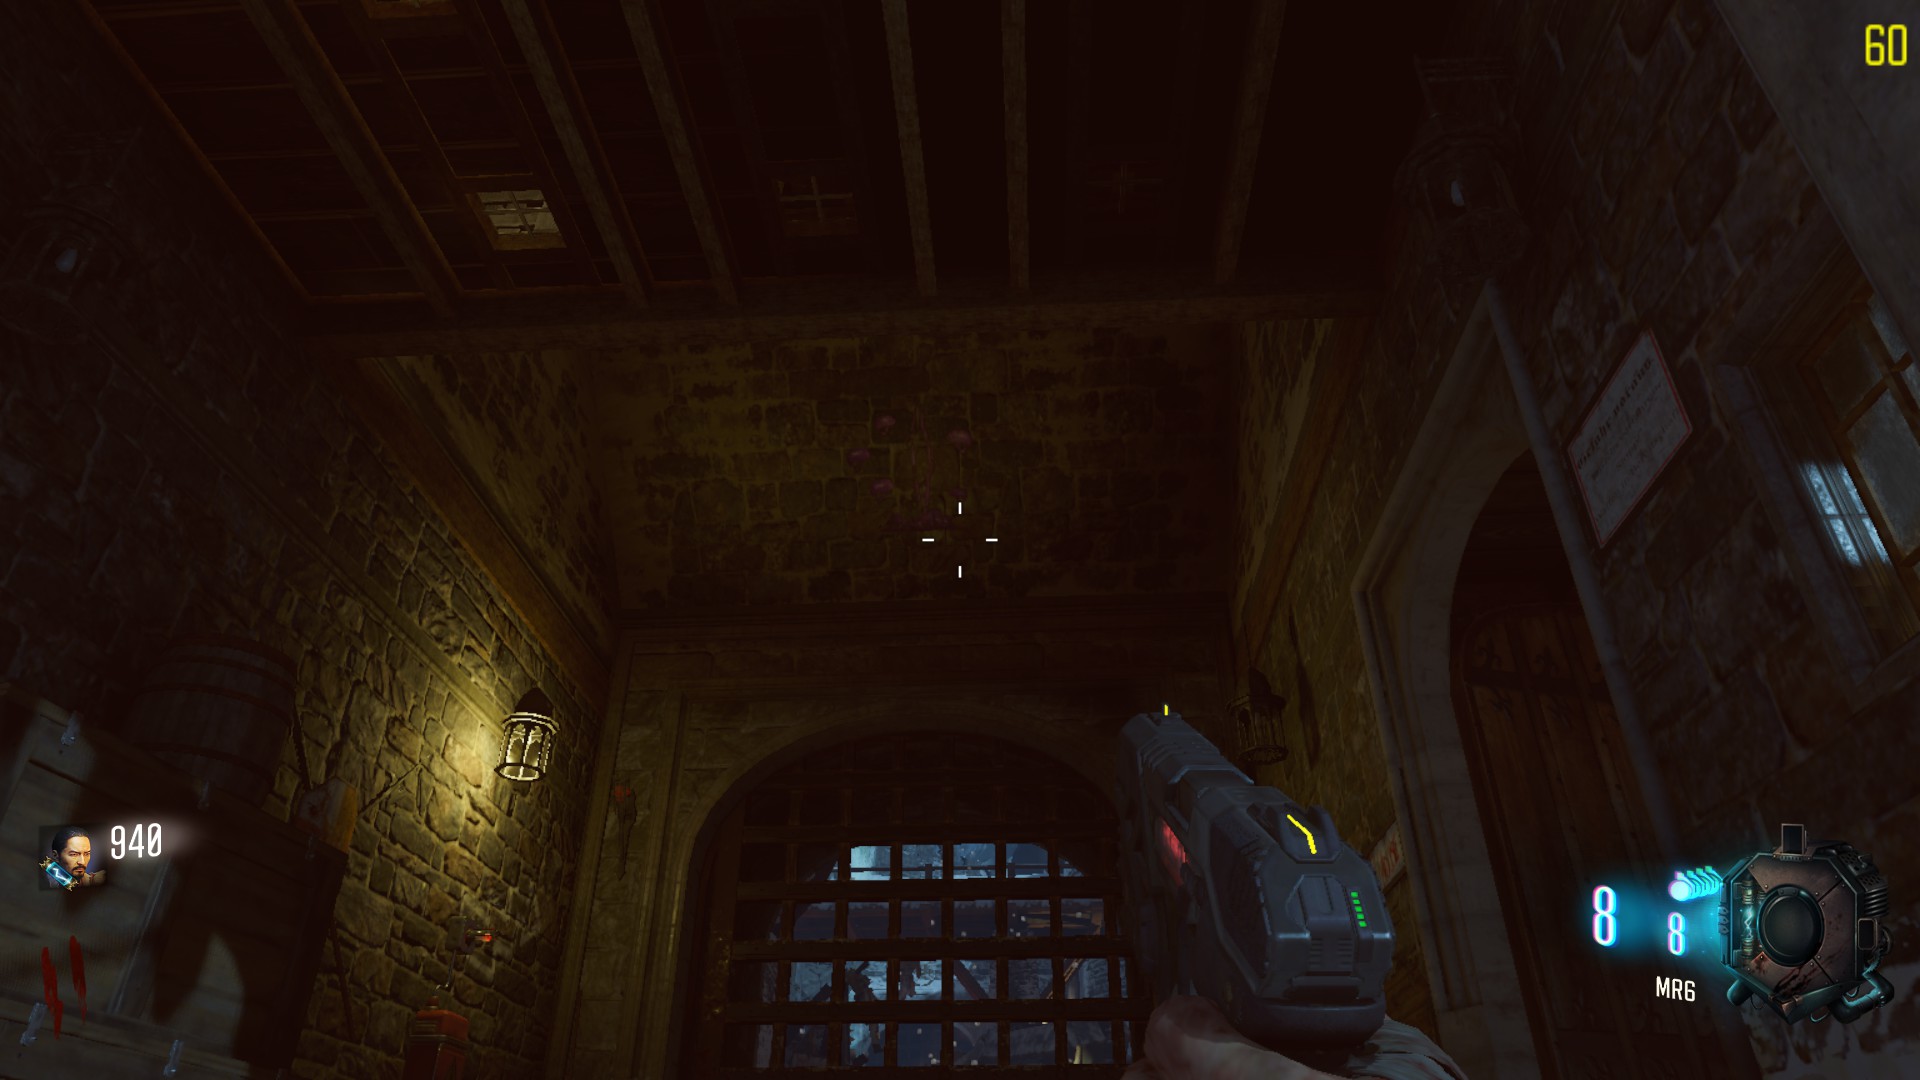
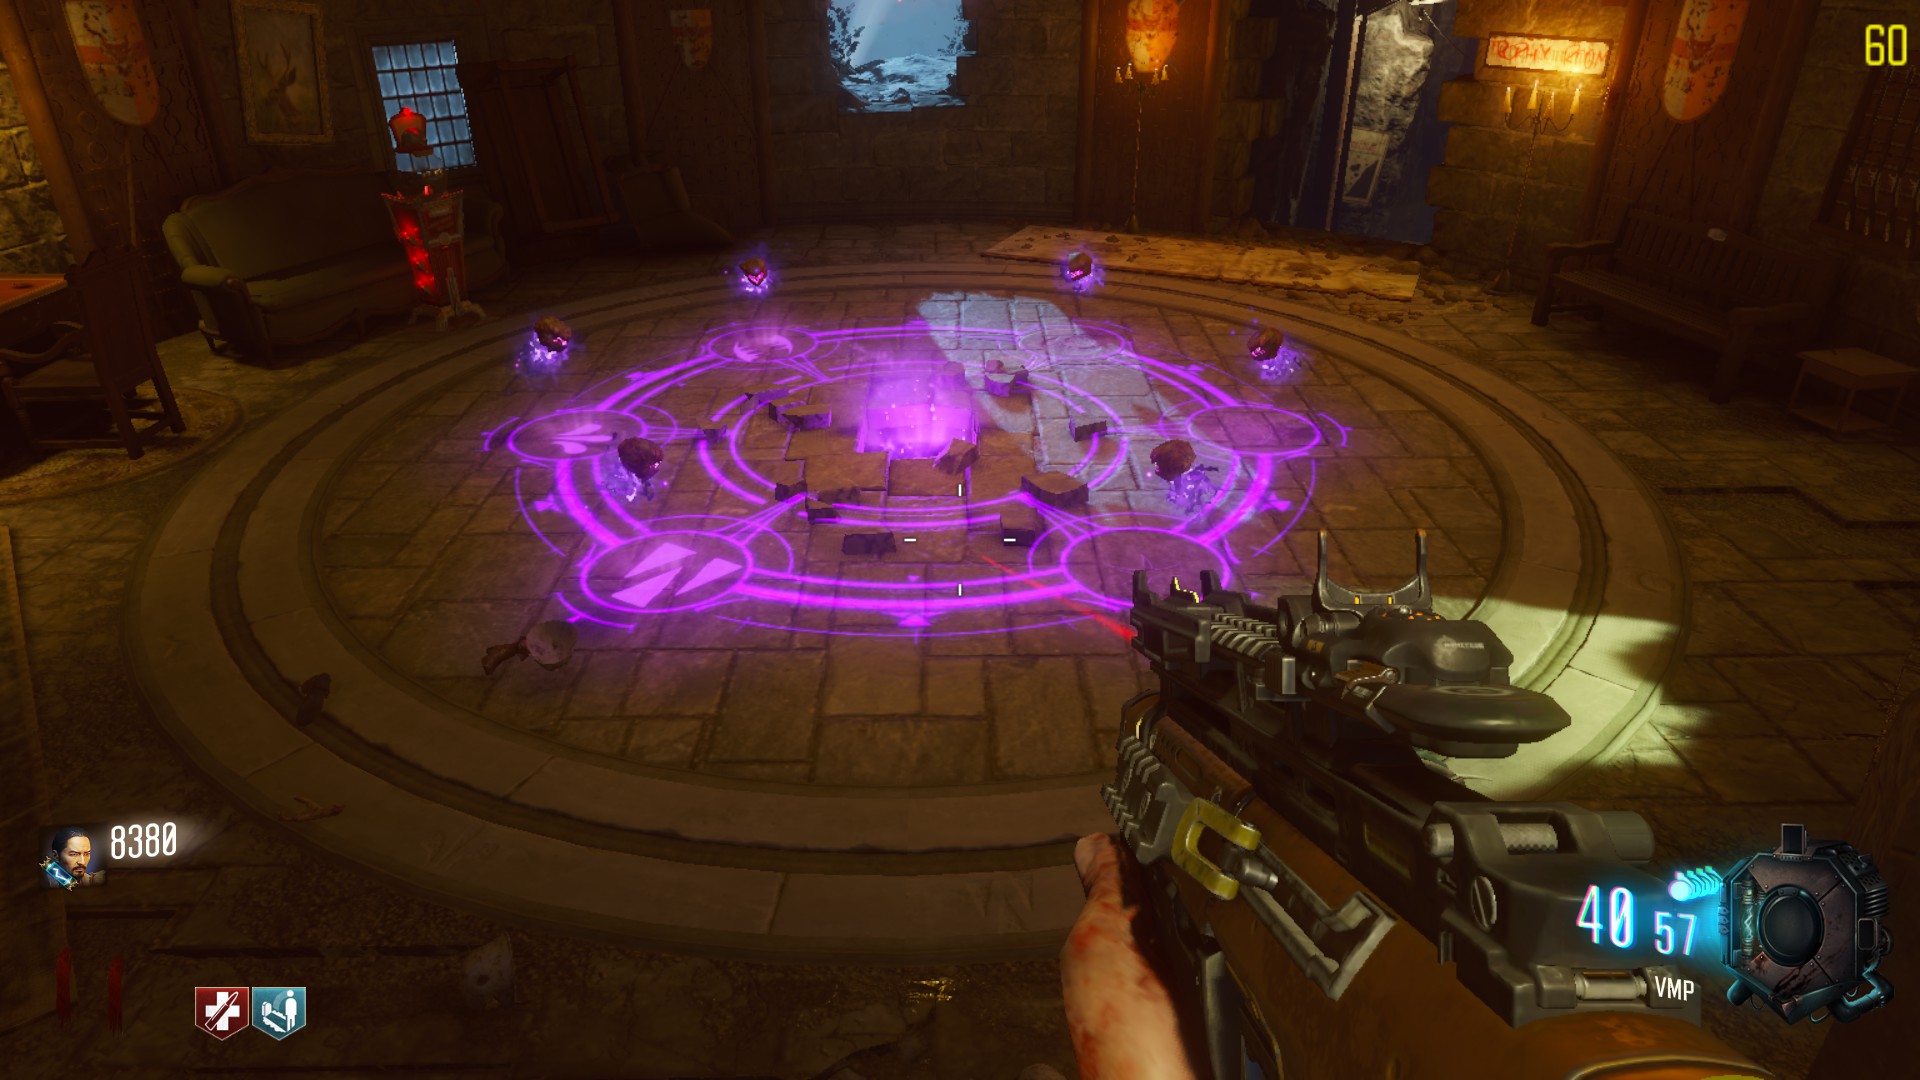
At this moment, a purple square must have appeared in the trophy room. This one is located beneath the clock tower. You”ll need to melee kill a zombie on that glowing purple square.
After doing so you must interact with the broken tile to release a jar.
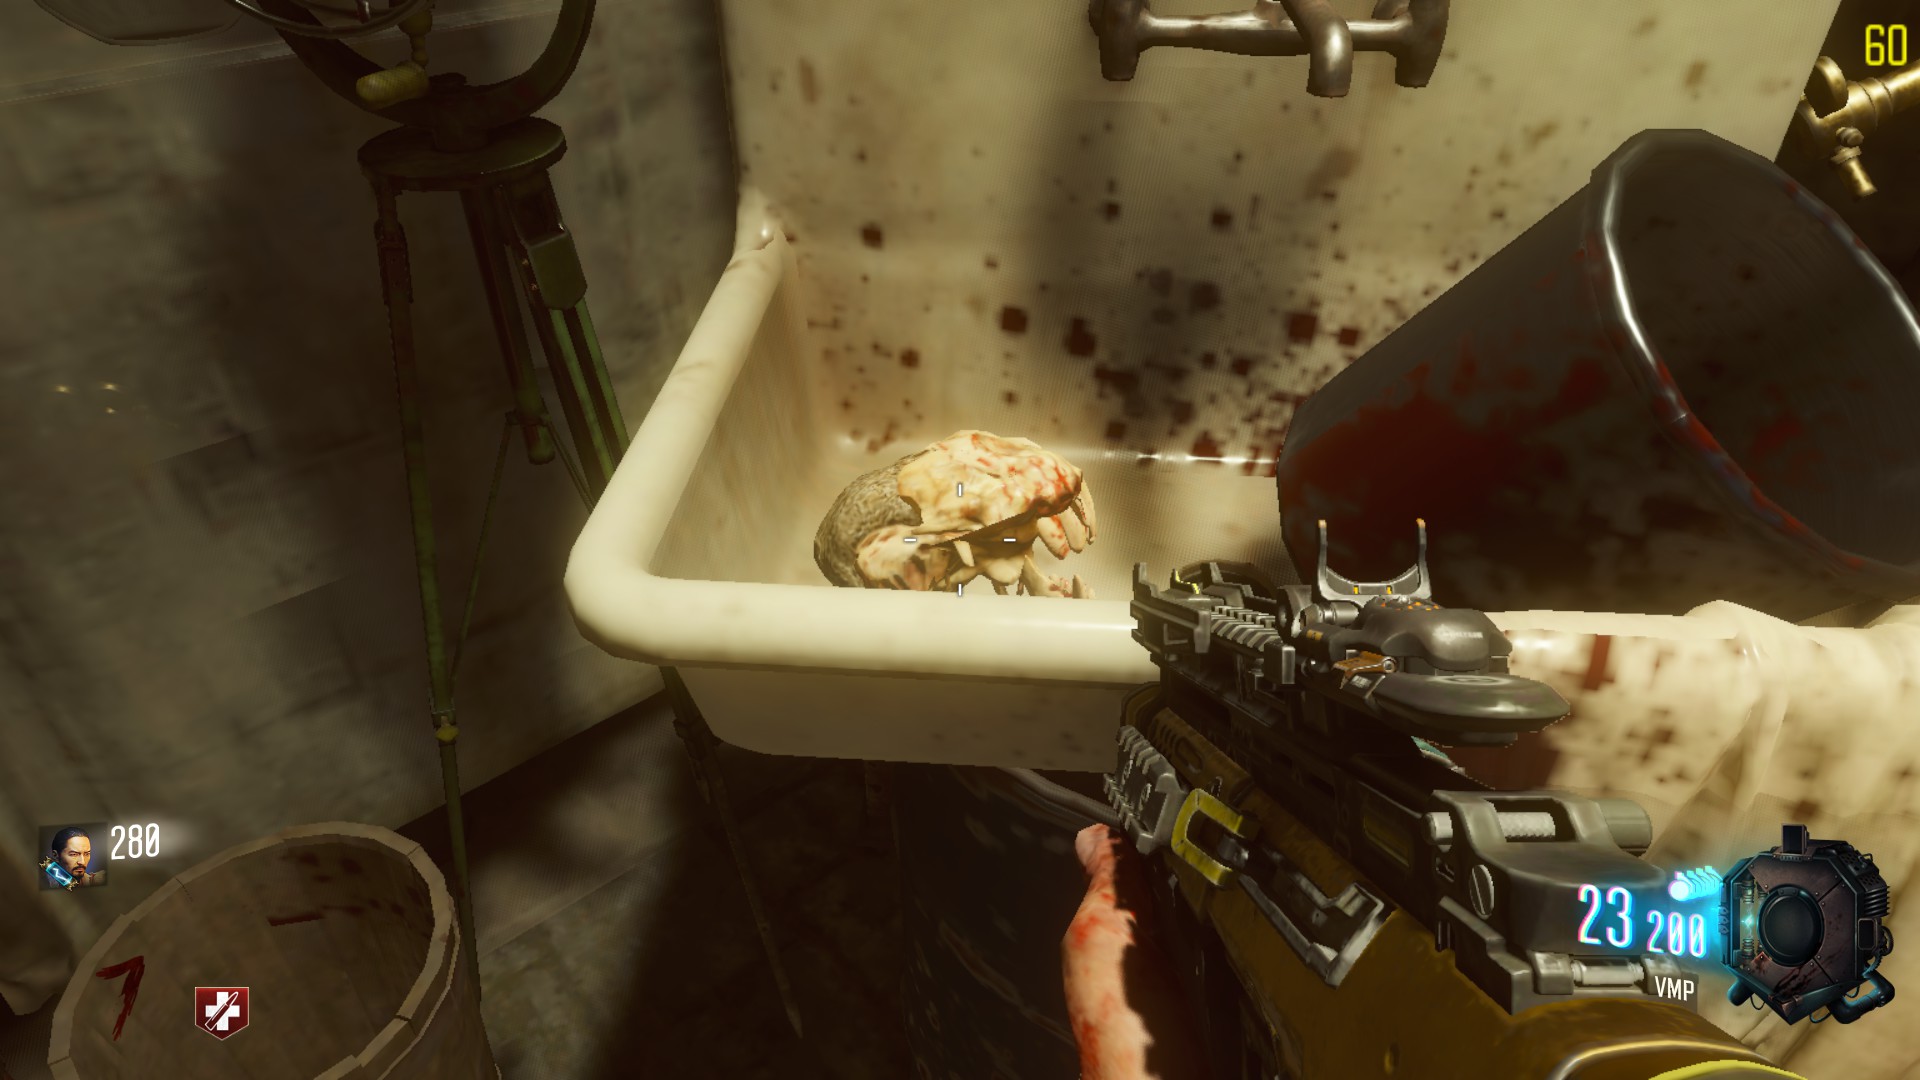
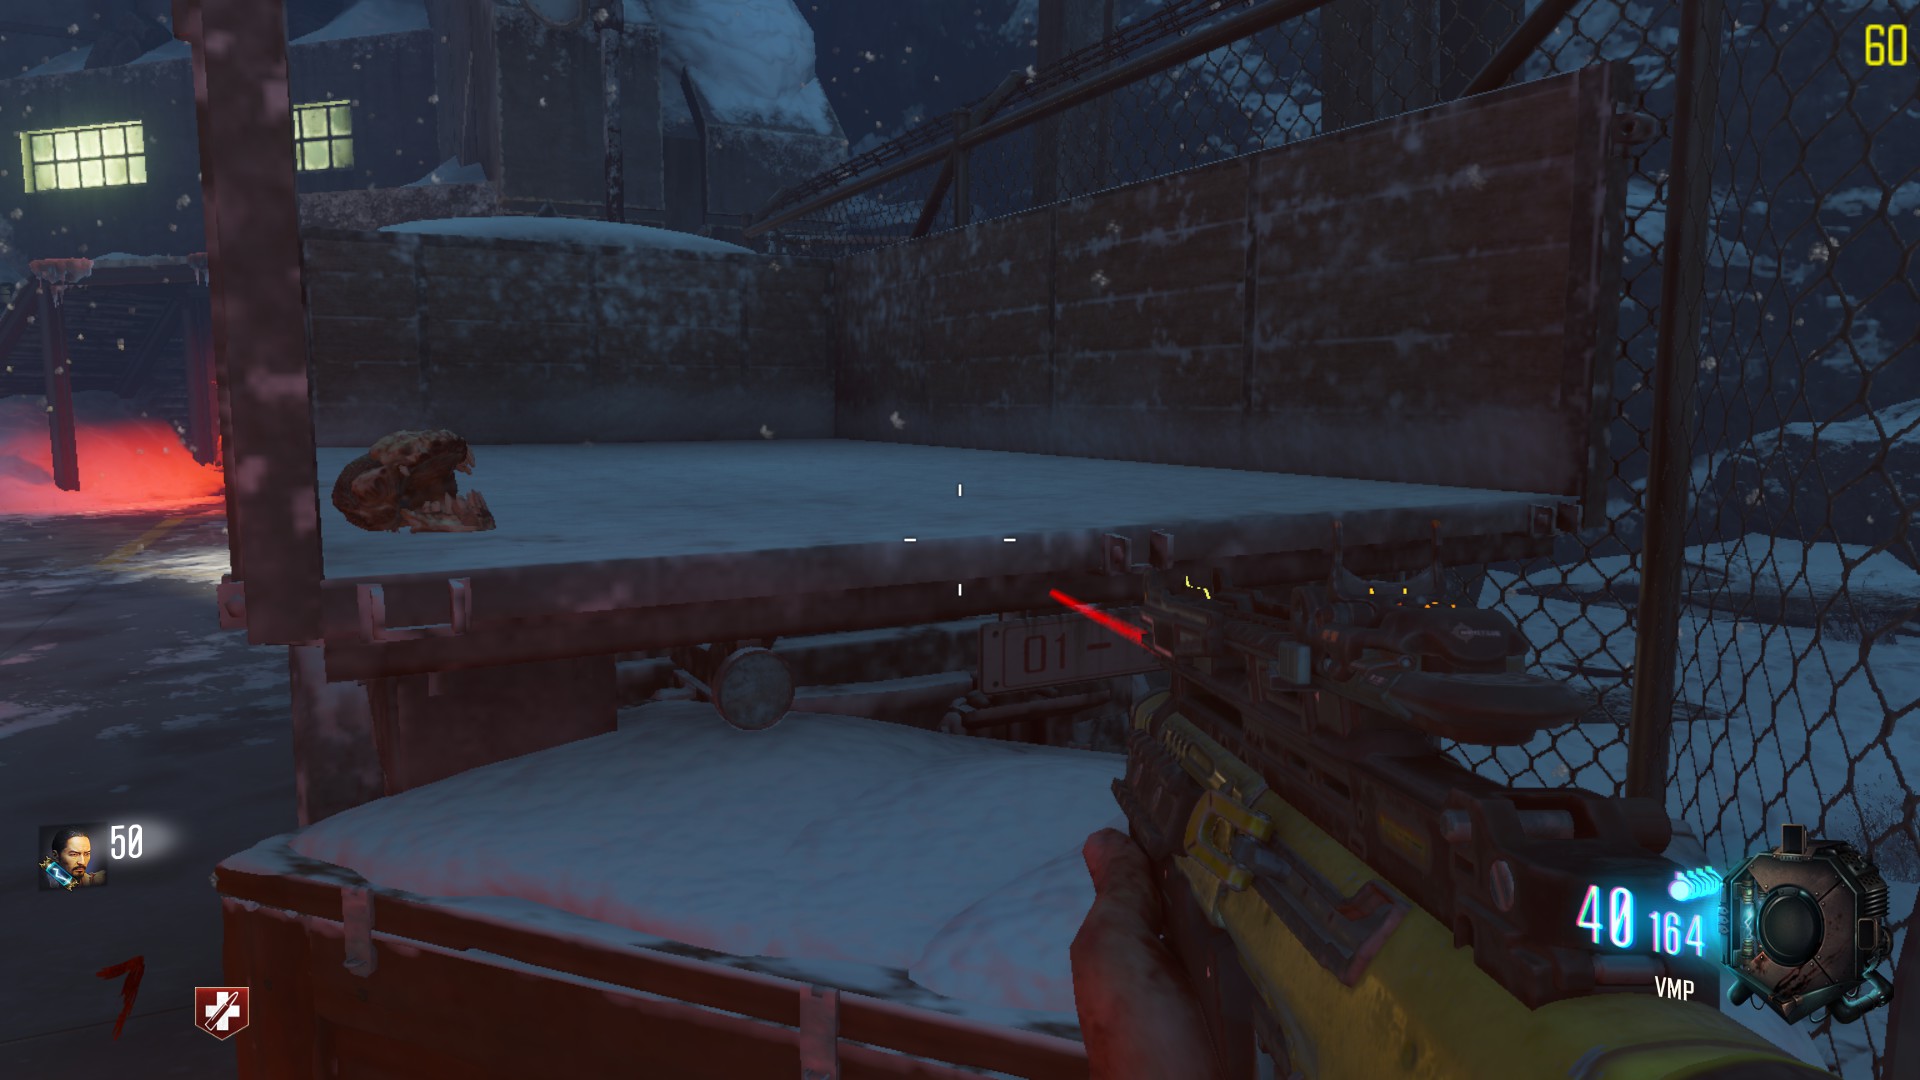
You must find six skulls around the map and interact with them. They are located:
- On a broken wall near Mule Kick perk
- On a window outside the church, at the right of the entrance
- In a toy chest, in samantha’s room
- On a wall near double tap
- In a sink in the teleporter room
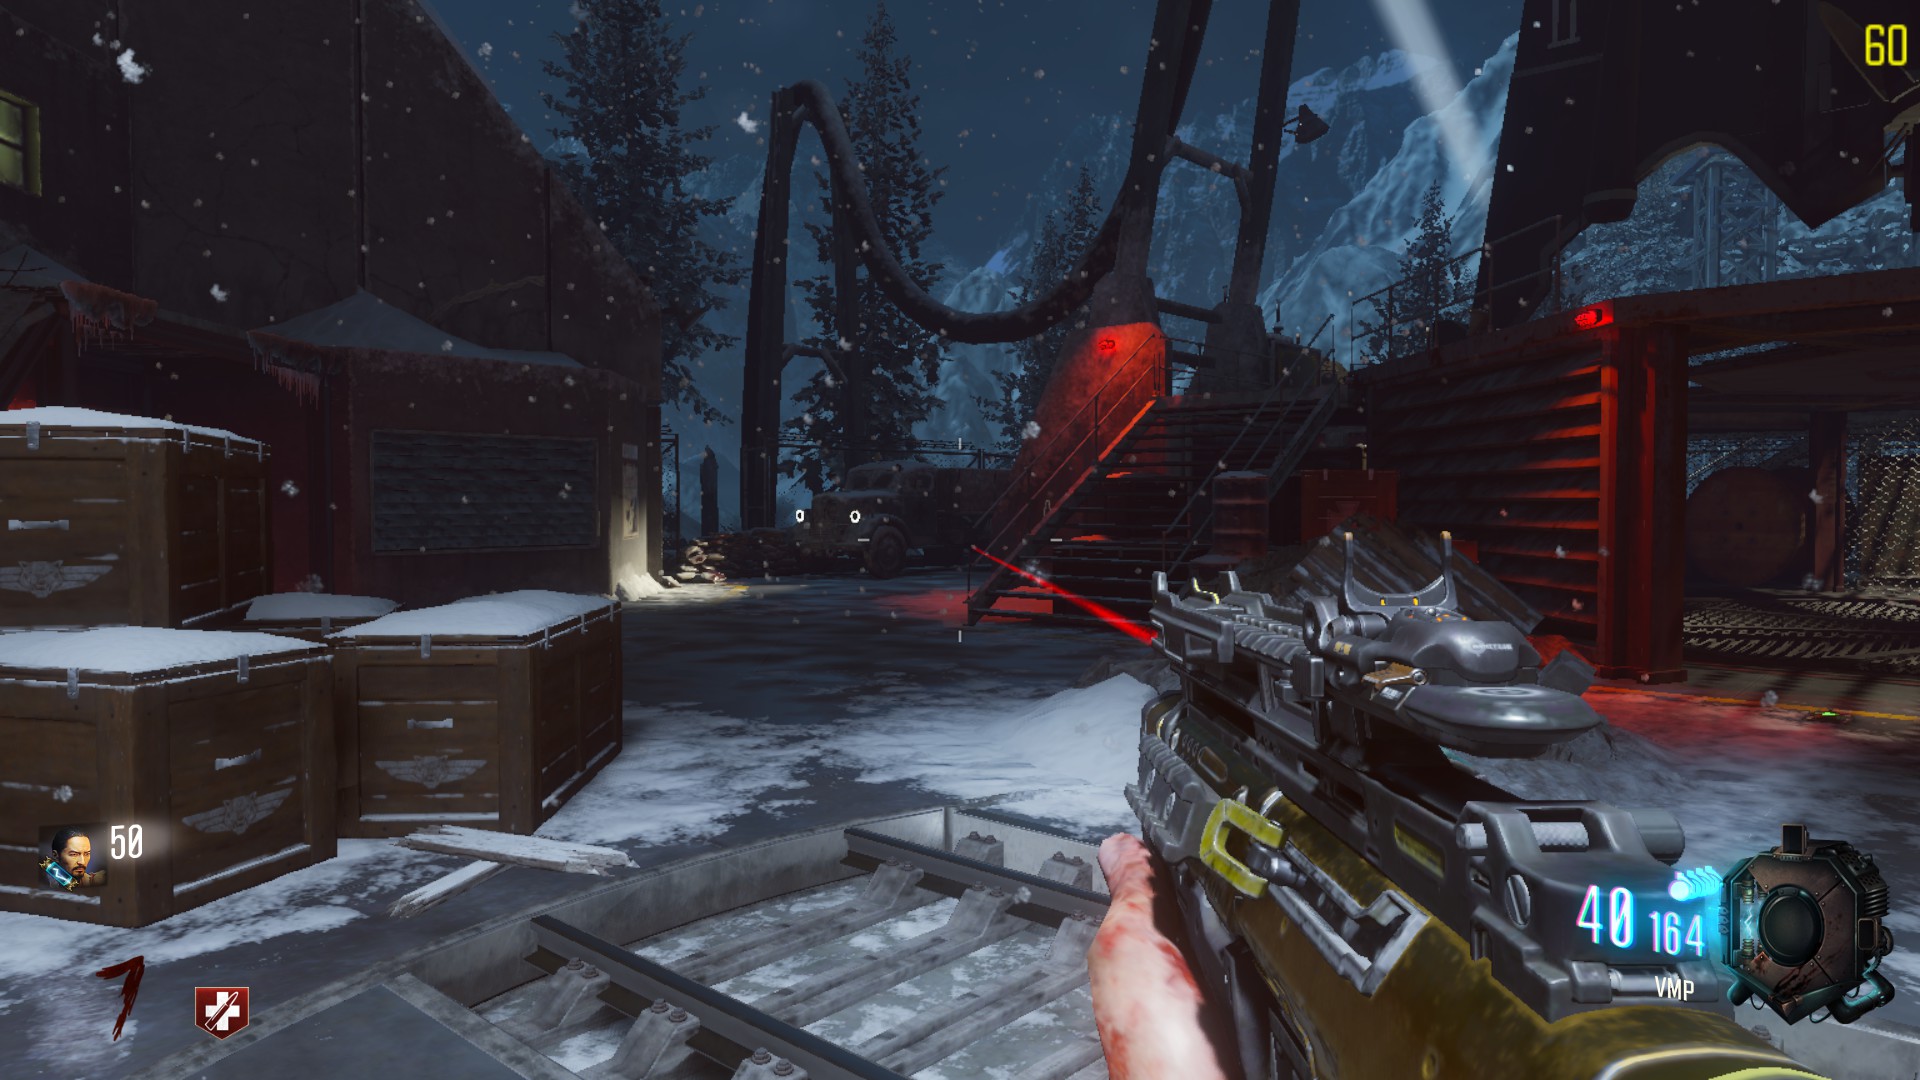
- On the truck, at the left of the landing pad
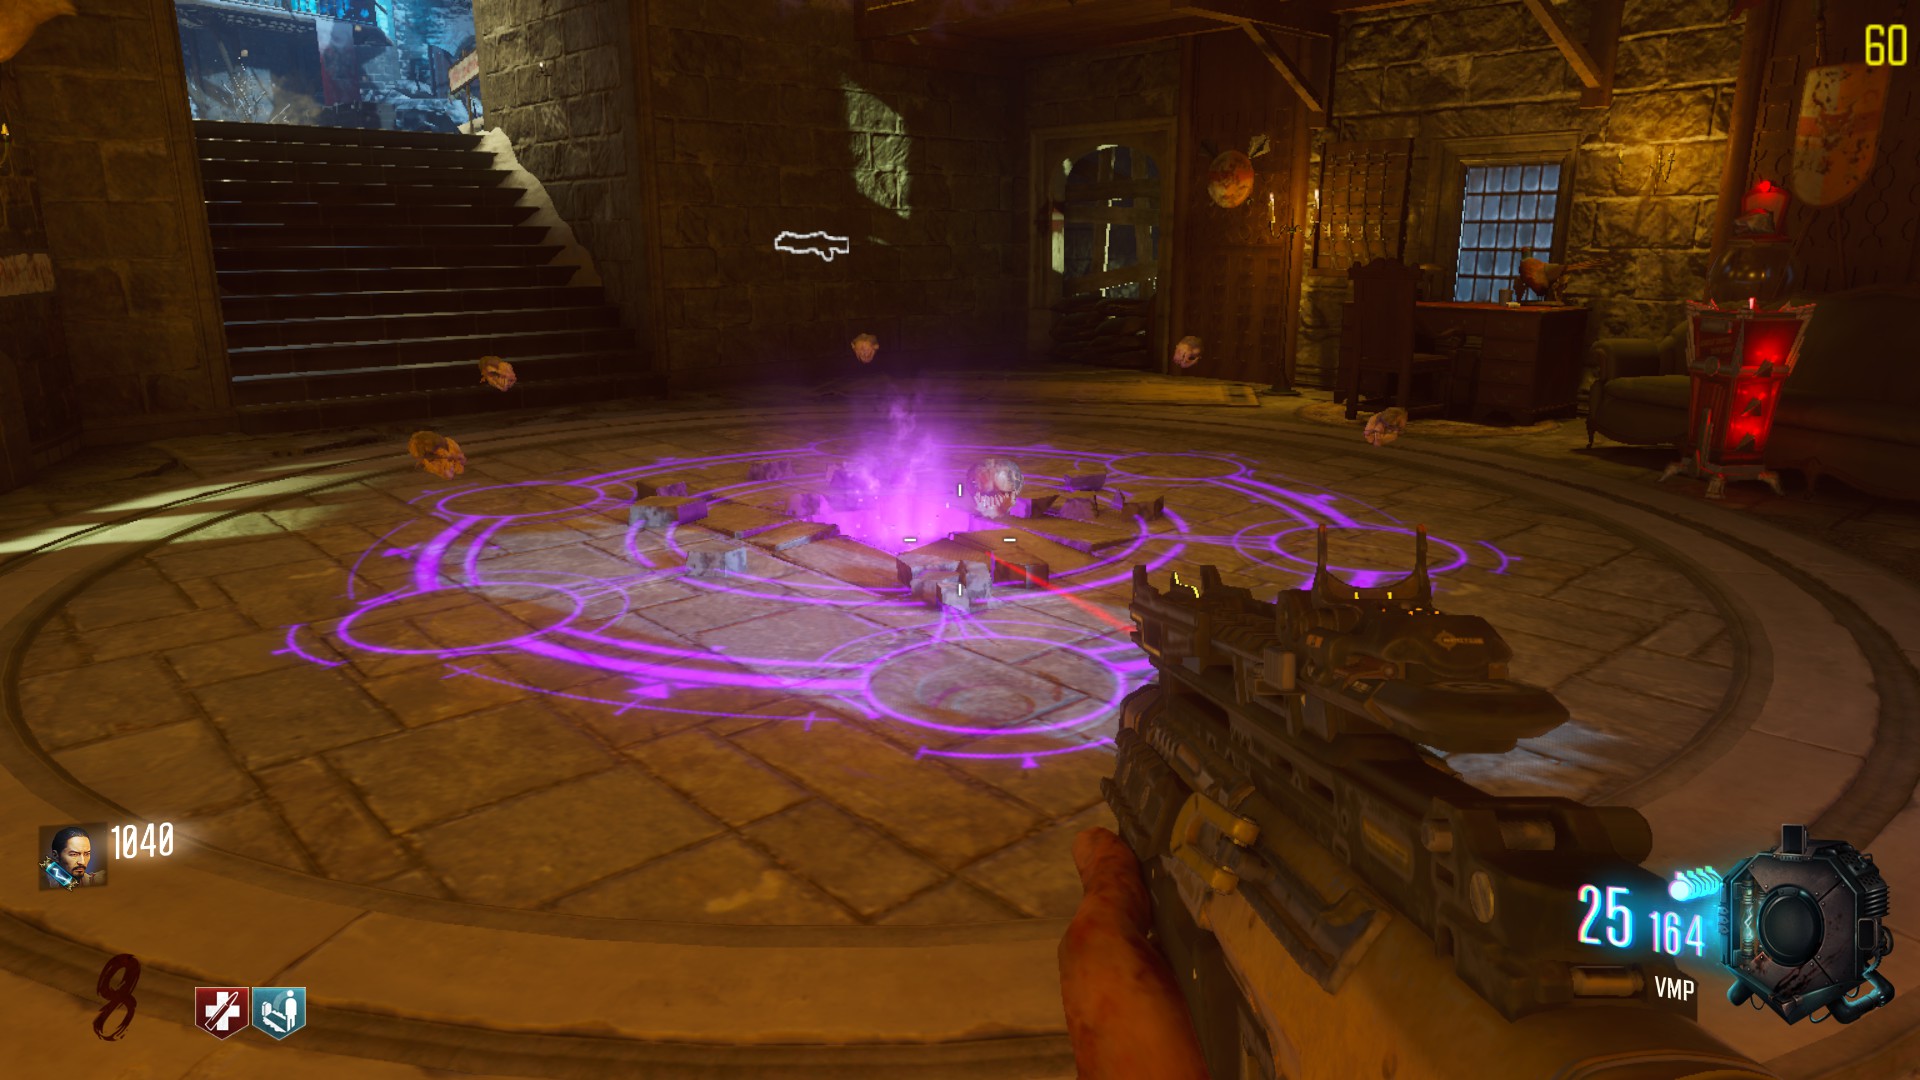
After picking the 6 skulls up, you must bring 6 crawlers into the circle in the trophy room.
Just bring the crawler into the circle and the skull will eat him, KAAA KAKAKA KAA KAAA :3Then, you gotta shoot the flying jar with a charged arrow. After doing so, a dark demonish voice will say three words. It can be DOOR, ROE, HORN, HEARTH, CROWN or GRIFFIN. You must remember the three words in the right order for a little later. Just write them down on a paper or open a steam chat with a friend on your overlay.
Third stepThis is one annoying step and what makes the void bow the longest to prepare. You have to kill zombies, no matter how or where and prey to have luck. You have to collect 6 purple symbols that are randomly dropped by the undead..
When you collect a symbol, it goes on the purple circle but pay attention, the symbol will remain only 5 seconds if you don’t take them ! You can see how much symbols you’ve got, in the purple circle.Fourth stepOnce all 6 symbols have been collected, you must head to the corridor between the power lever and Samantha’s quarter.
There are 6 armors, each one with a symbol in front of them. You must remember the words the dark voice said before and have to use action in front of the three armors with the same symbols. Doing so will spawn purple symbols, that you must remember. The order of the input matter because they change the order of the output.In my case i got Crown, Gate and Griffin. Remember them with simple words like, Teeth, Fang, Bow Tie etc ..
Go back to the purple circle and shoot at the glowing symbols, in the right order.
If the wrong code is entered, the skulls will attack ( and kill you) if you stay over there. Get out of the room and try again.
If done correctly the dark voice will said, it is my name.
To continue, just interact with the tile until you get the arrow. Go back to altars room undeground and place the arrow on the corresponding altar. Kill zombies close to it until you can pick Kreegakaleet lu Gosata’ahm up.
Main easter egg quest – Part 1
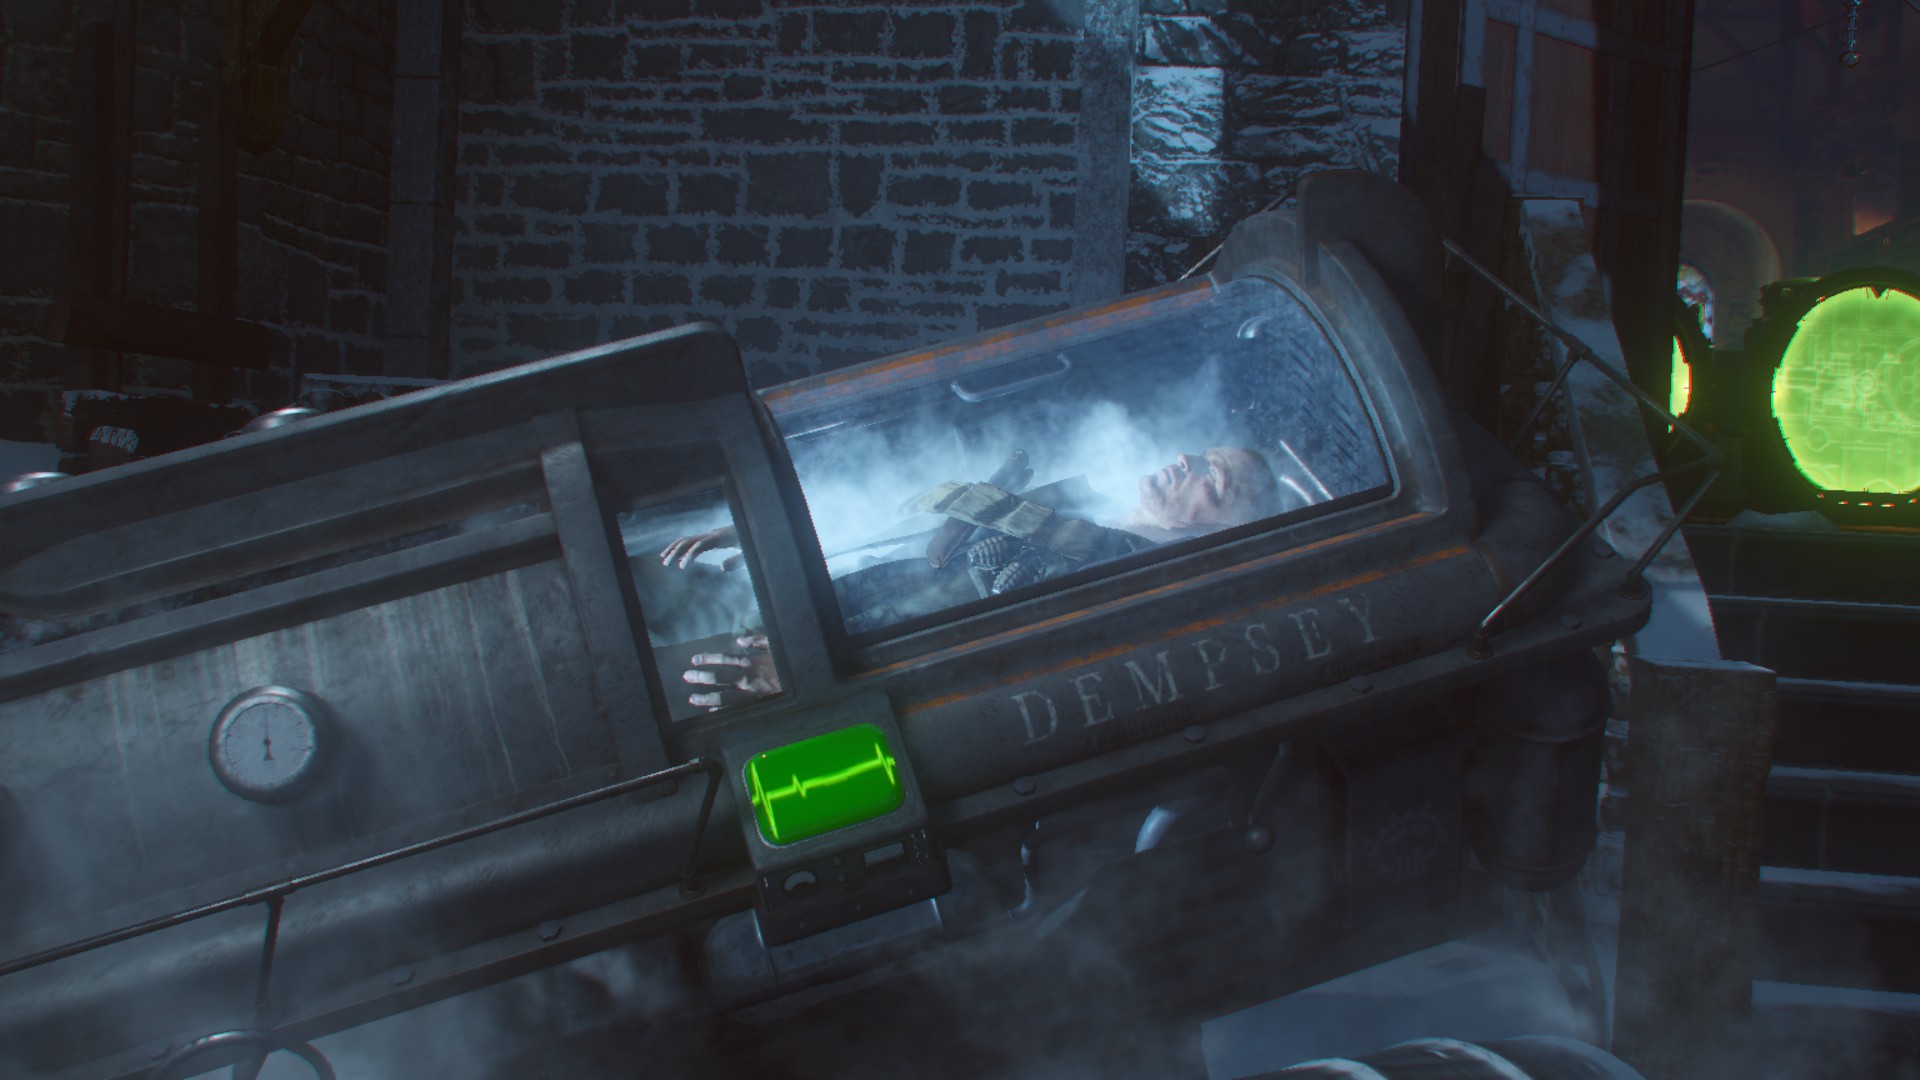
The goal of the easter egg is to kill the older version of Dempsey (Ultimis crew). Problem, he is currently cryogenetically held in a rocket heading towards the lunar base on the Moon.
Average time: From 2 hours to 2 hours and a half
Can be done from 1 to 4 players.
I advise you to read the 2 / 3 next steps before starting this one.
You must take the basic bow. If you got an upgraded one, just interact in front of its altar to drop it. You can then pick up the wrath of the ancients where you found it previously.
Head to the teleporter room and shoot a charged arrow on the 6 blue glowing ball on the teleporter. If done correctly, the balls on the teleporter will turn to a golden – yellow colour.
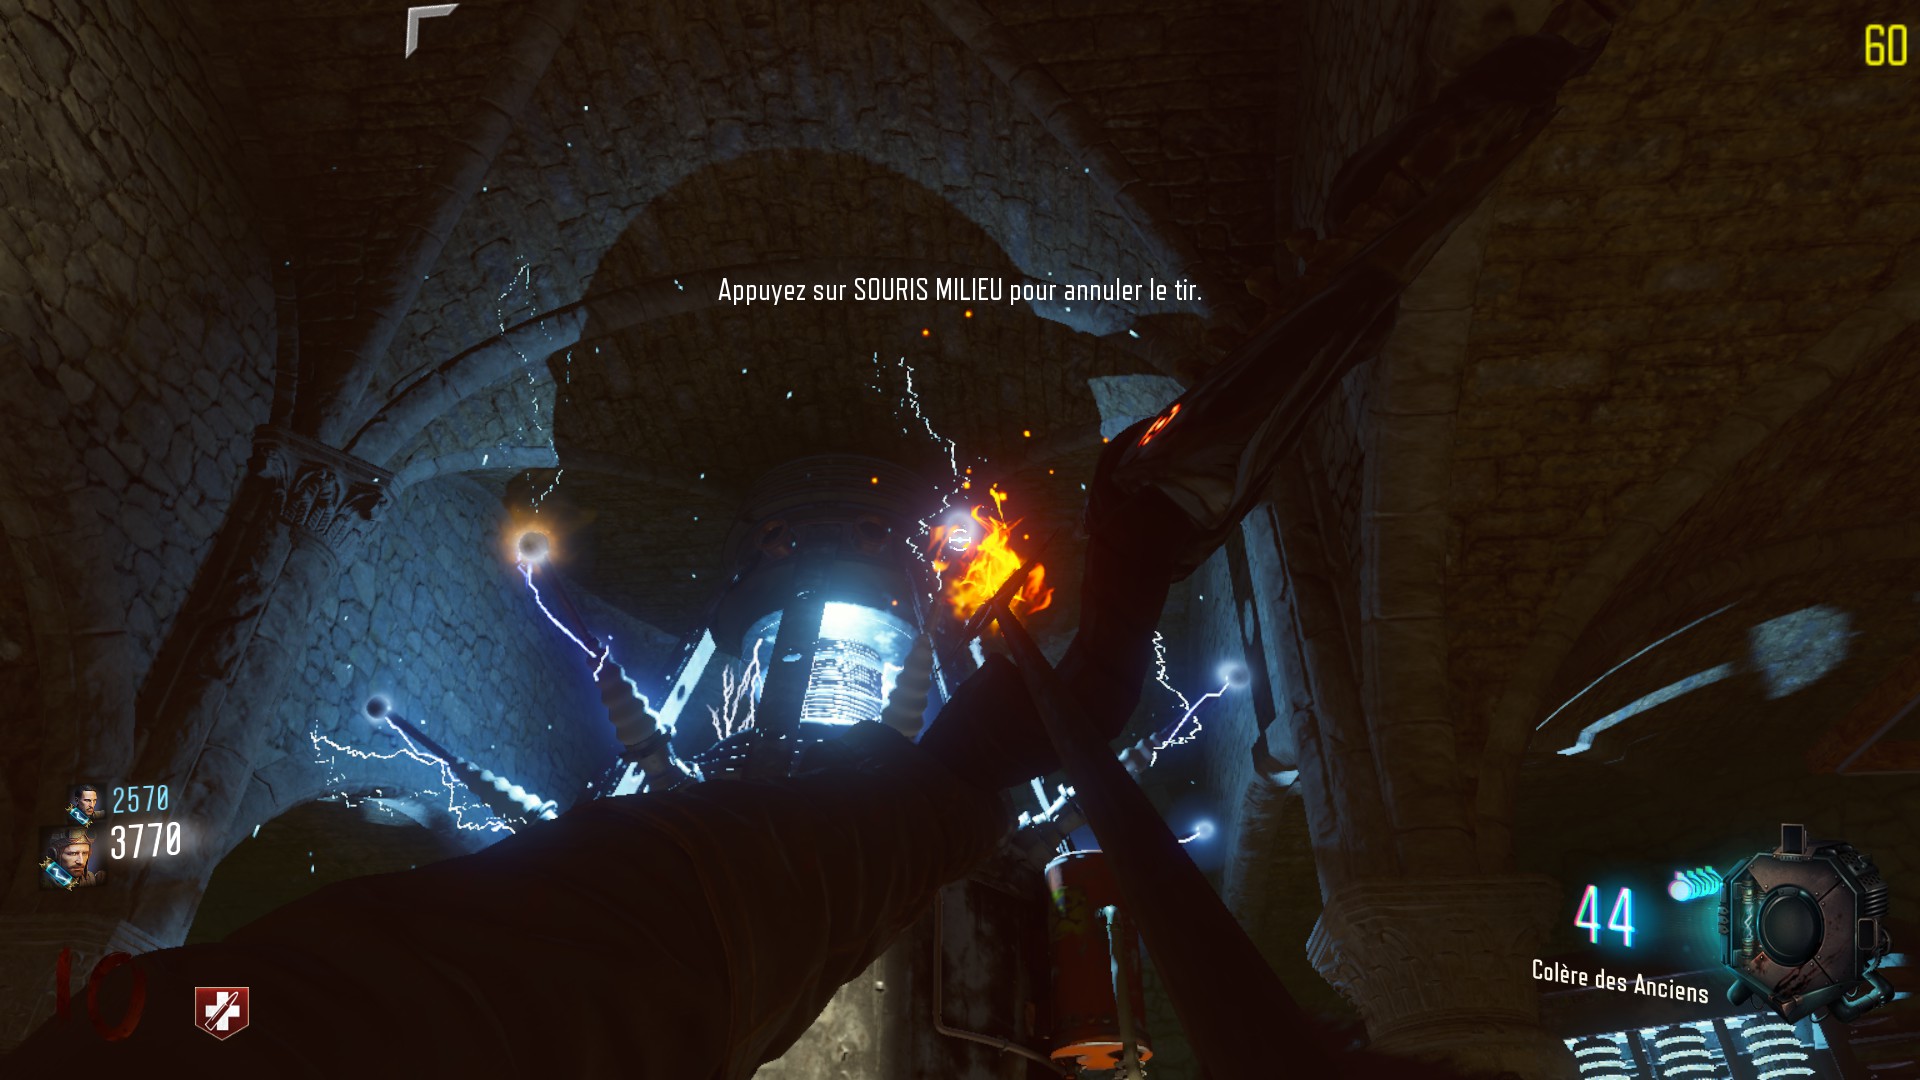
Now you will hear a margwa roar. It means that somewhere on the map, an item has been electrified. You must find this item and shoot it with an upgraded bow. Once done, after a couple of seconds, another roar will be heard and with it, another electrified item. You must shoot 4 items in a total of 8 possible.
- A car’s wheel near double-tap
- A phone near Quick-Revive
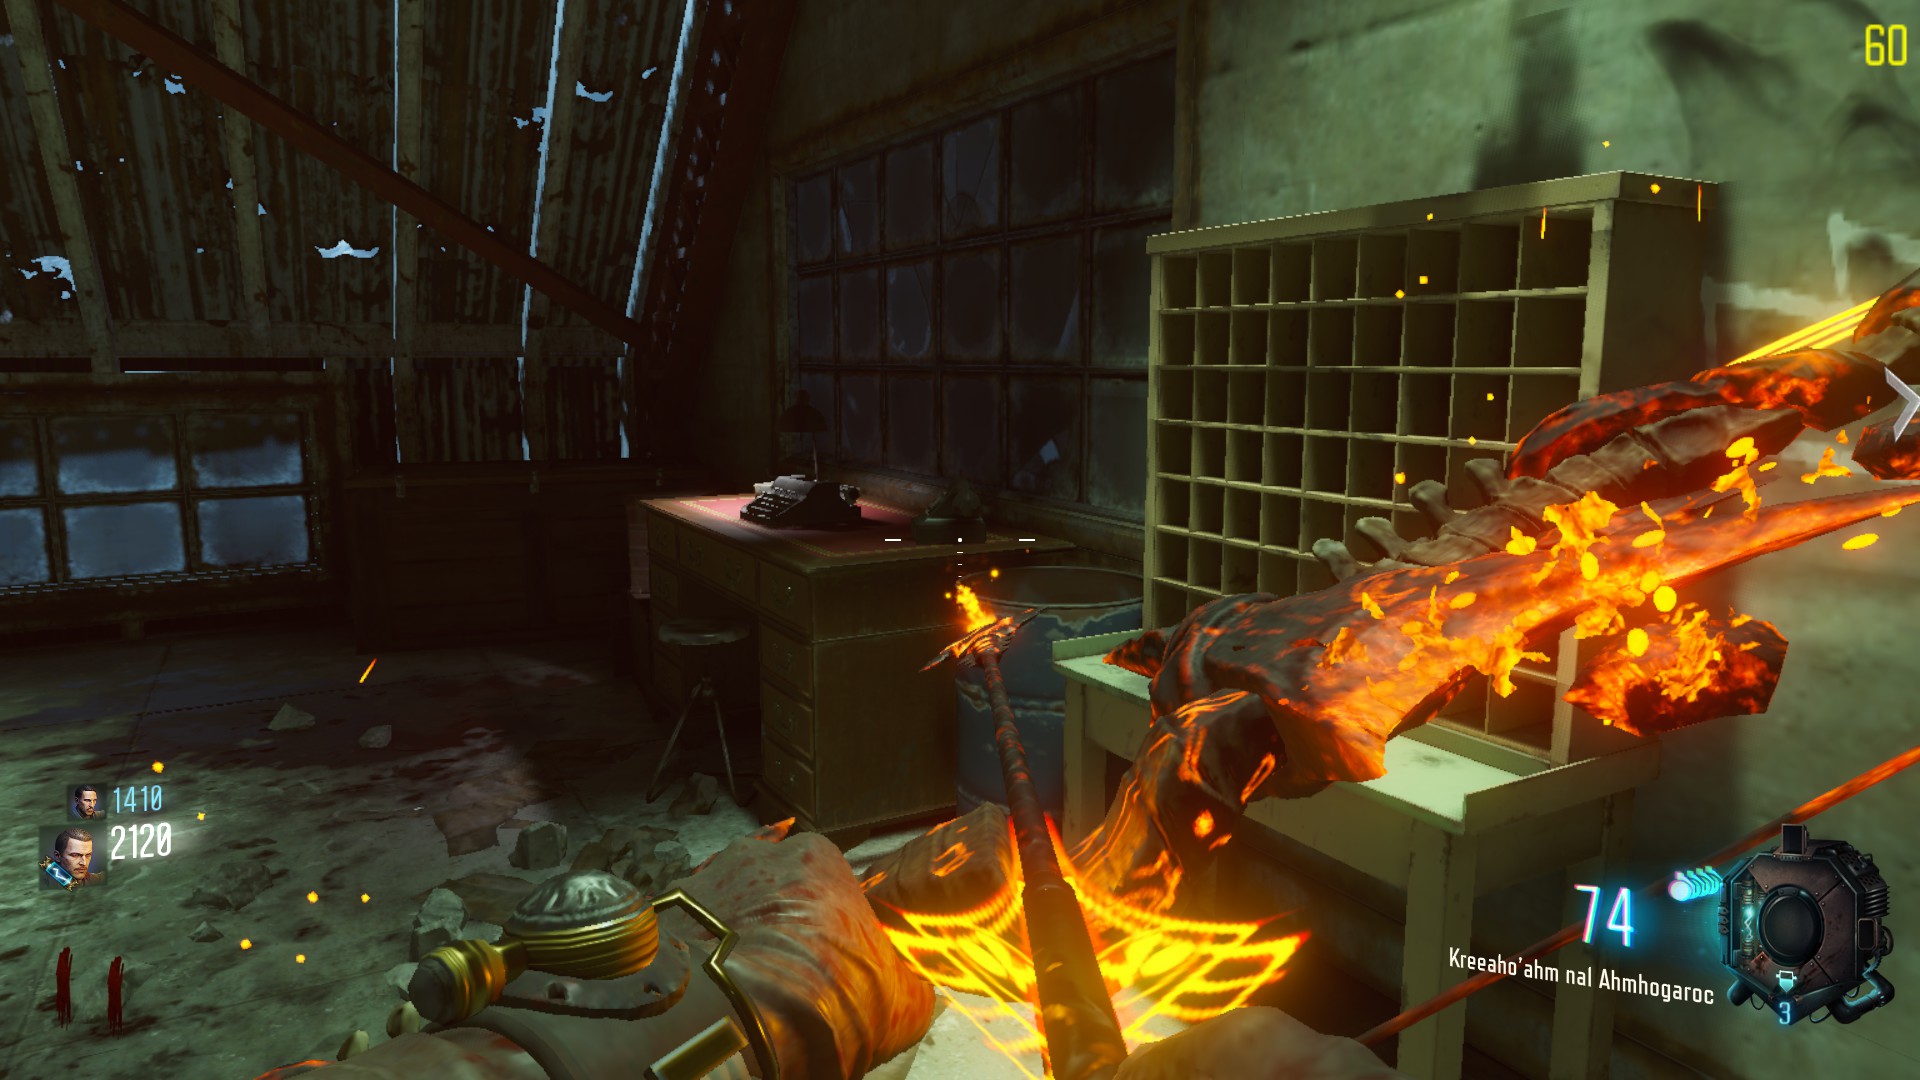
- A box in the room above double tap
- A globe near Samantha’s bedroom. Be careful, there is another globe in the fireplace’s room.
- A Phone on the wall near the power lever.
- A clock in the living quarters, near the clock tower.
- A clock in the church, above the dragon.
- A radio in the church, on the other side from Speed Cola.
Roughly until step 10, you will need to do this step each time you skip a round. This step actually allows you to travel back time when using the teleporter, thing that you want to do in steps 3 and 9.
Third StepAt this point the teleporter should be charged with a glowing purple light on the pad. All the crew must stand on the teleporter to use it.
By doing so you will be teleported back in time you’ll be in the same room but in the past. No zombies, no weapons, no problems.
You must do three things before getting teleported back automatically:
- Pick up the soul canister at your left
- Pick up the two fuses at your right, on a box. (The screen has been taken after taking the fuses, so you won’t see em’ ;3 )
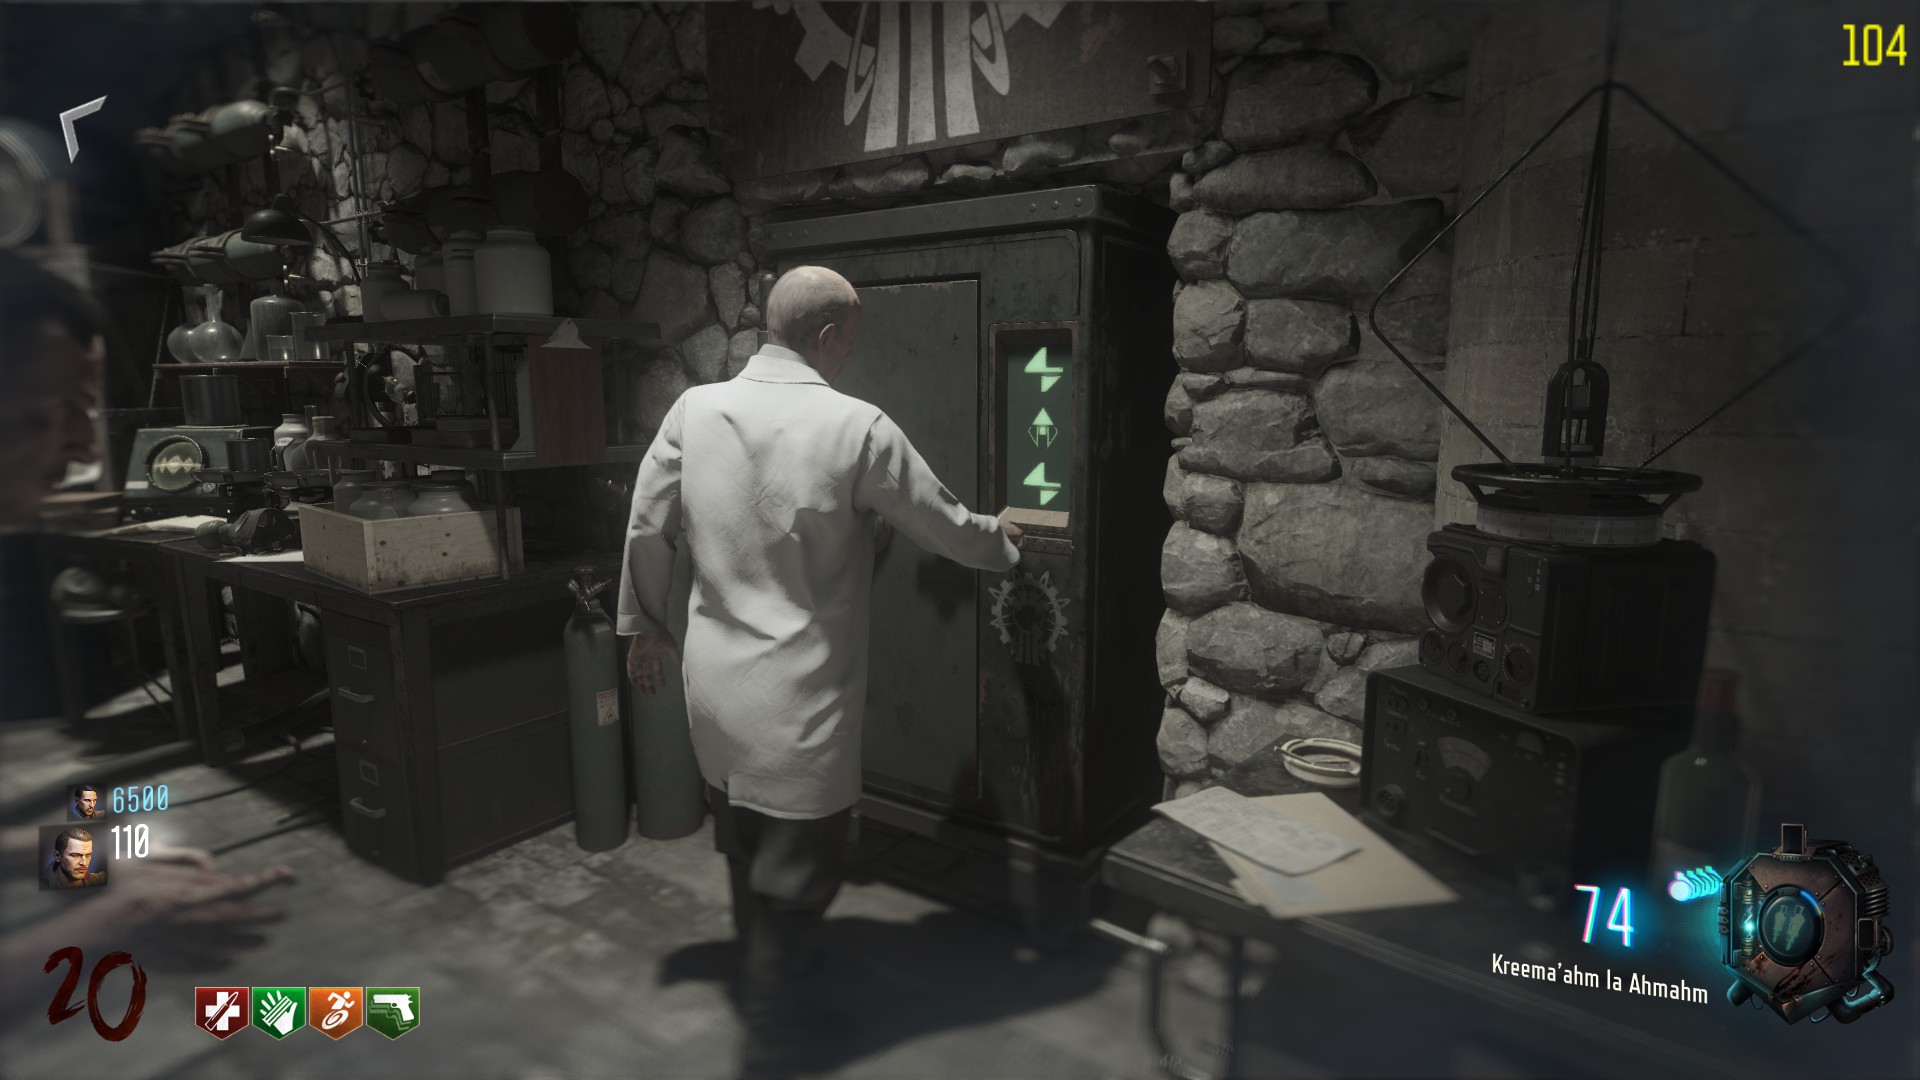
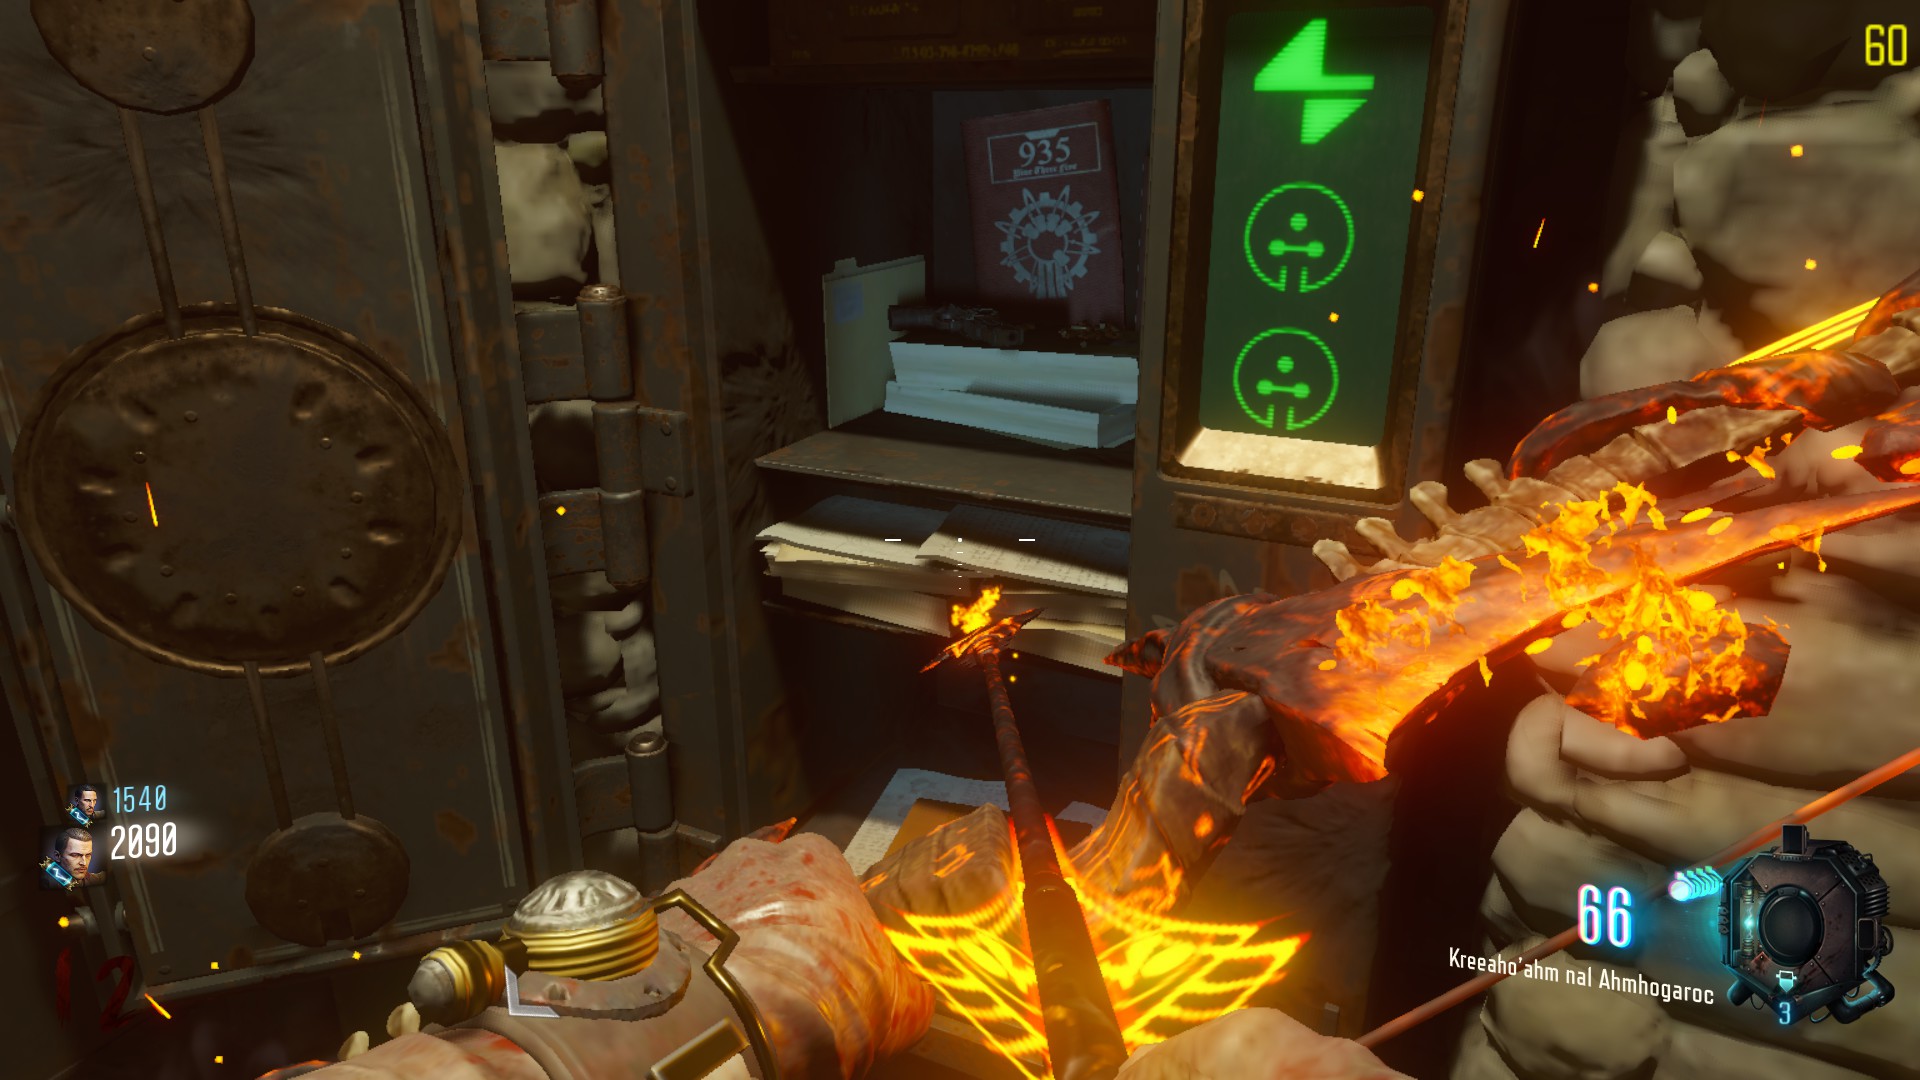
- Remember the password that Dr.Groph will enter on the digital screen to lock the safe. There are 4 different symbols ( an arrow, a circle , a card and a lightning) but the code is composed of 3 symbols, with repetition.
Fourth step
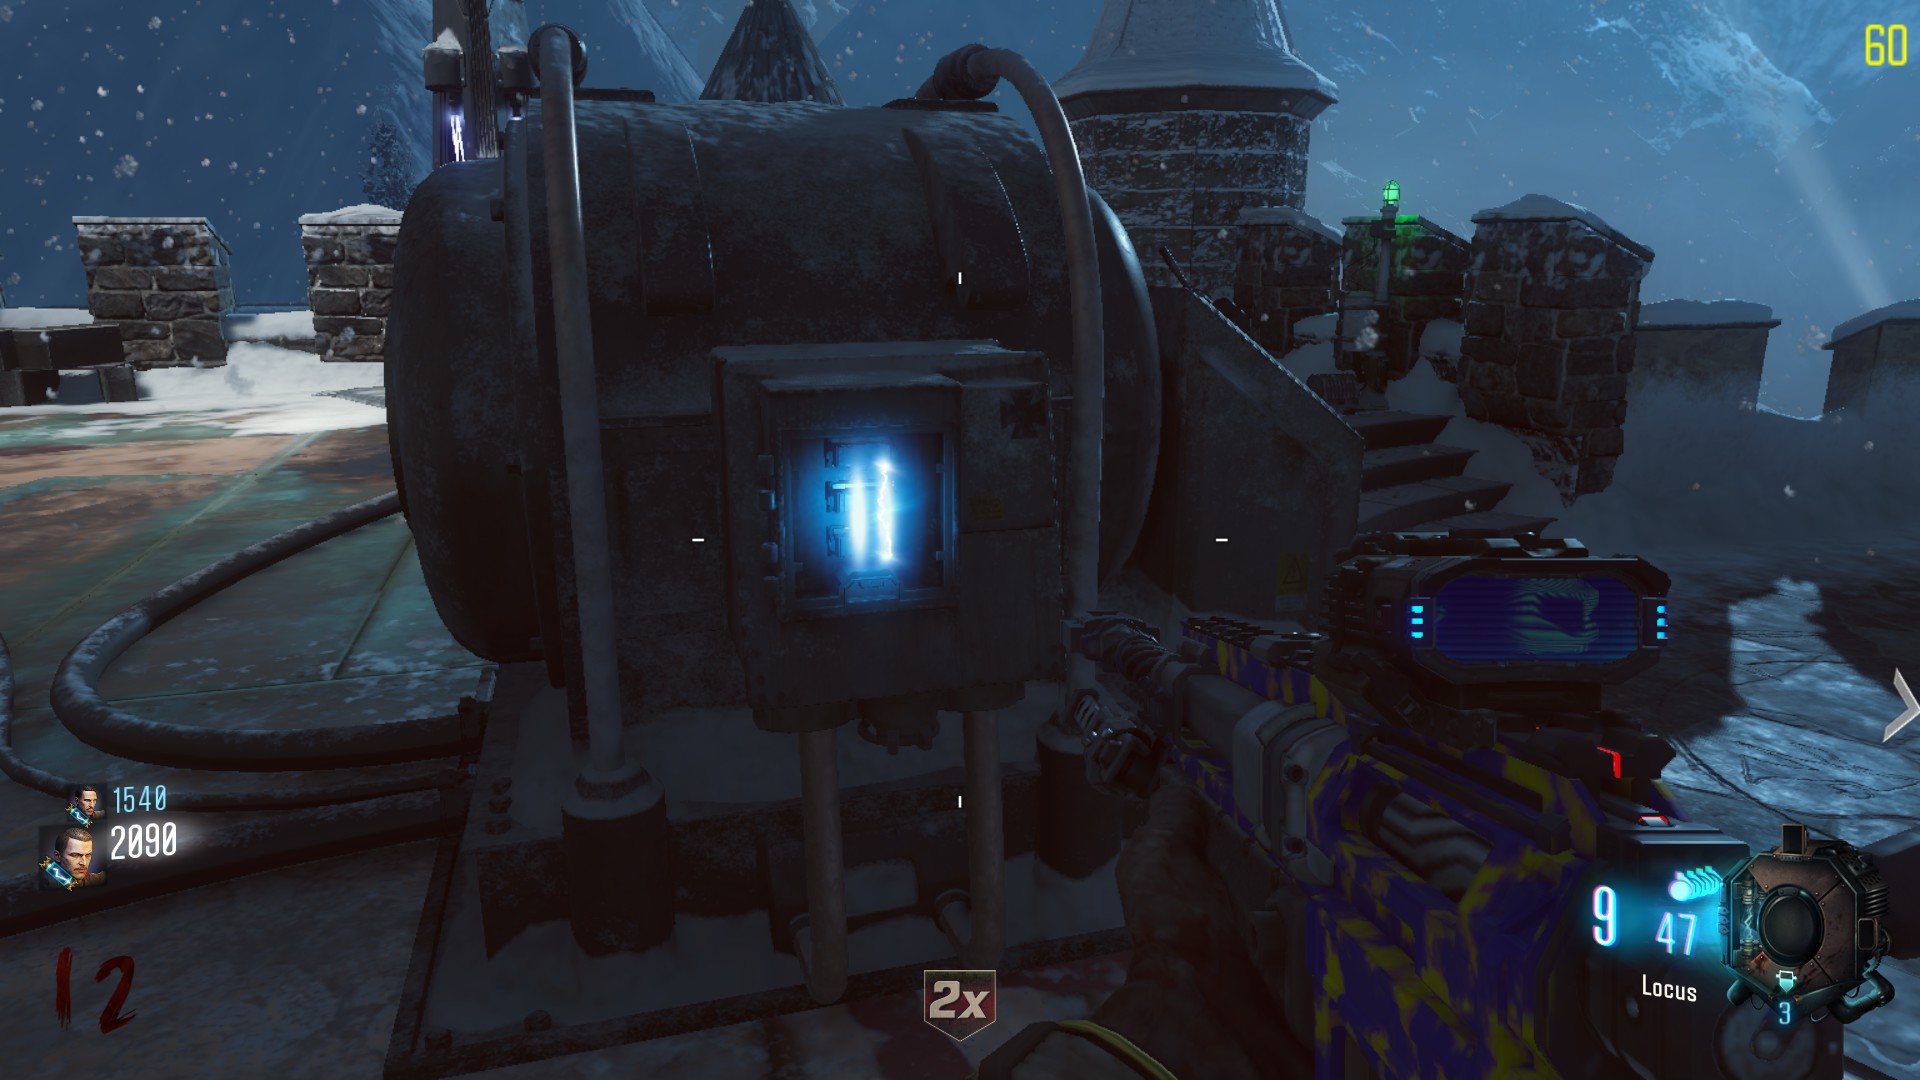
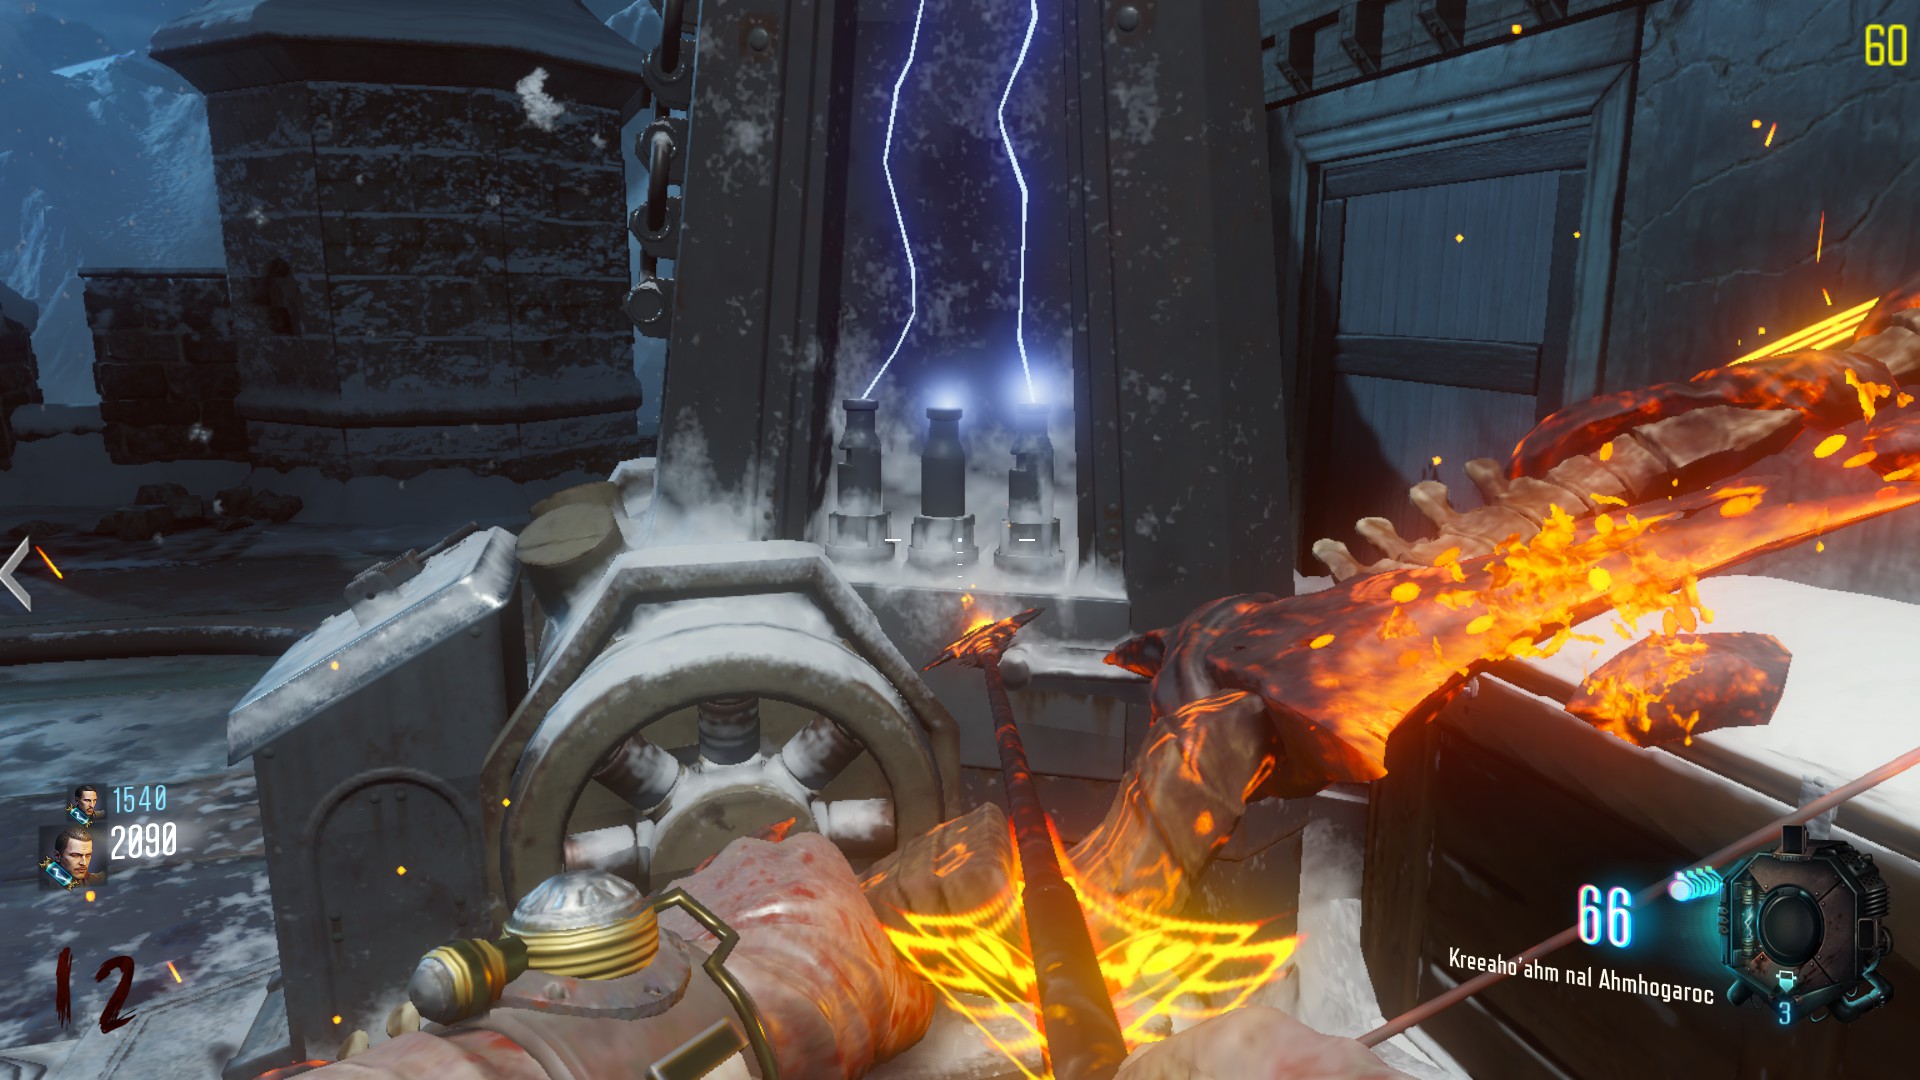
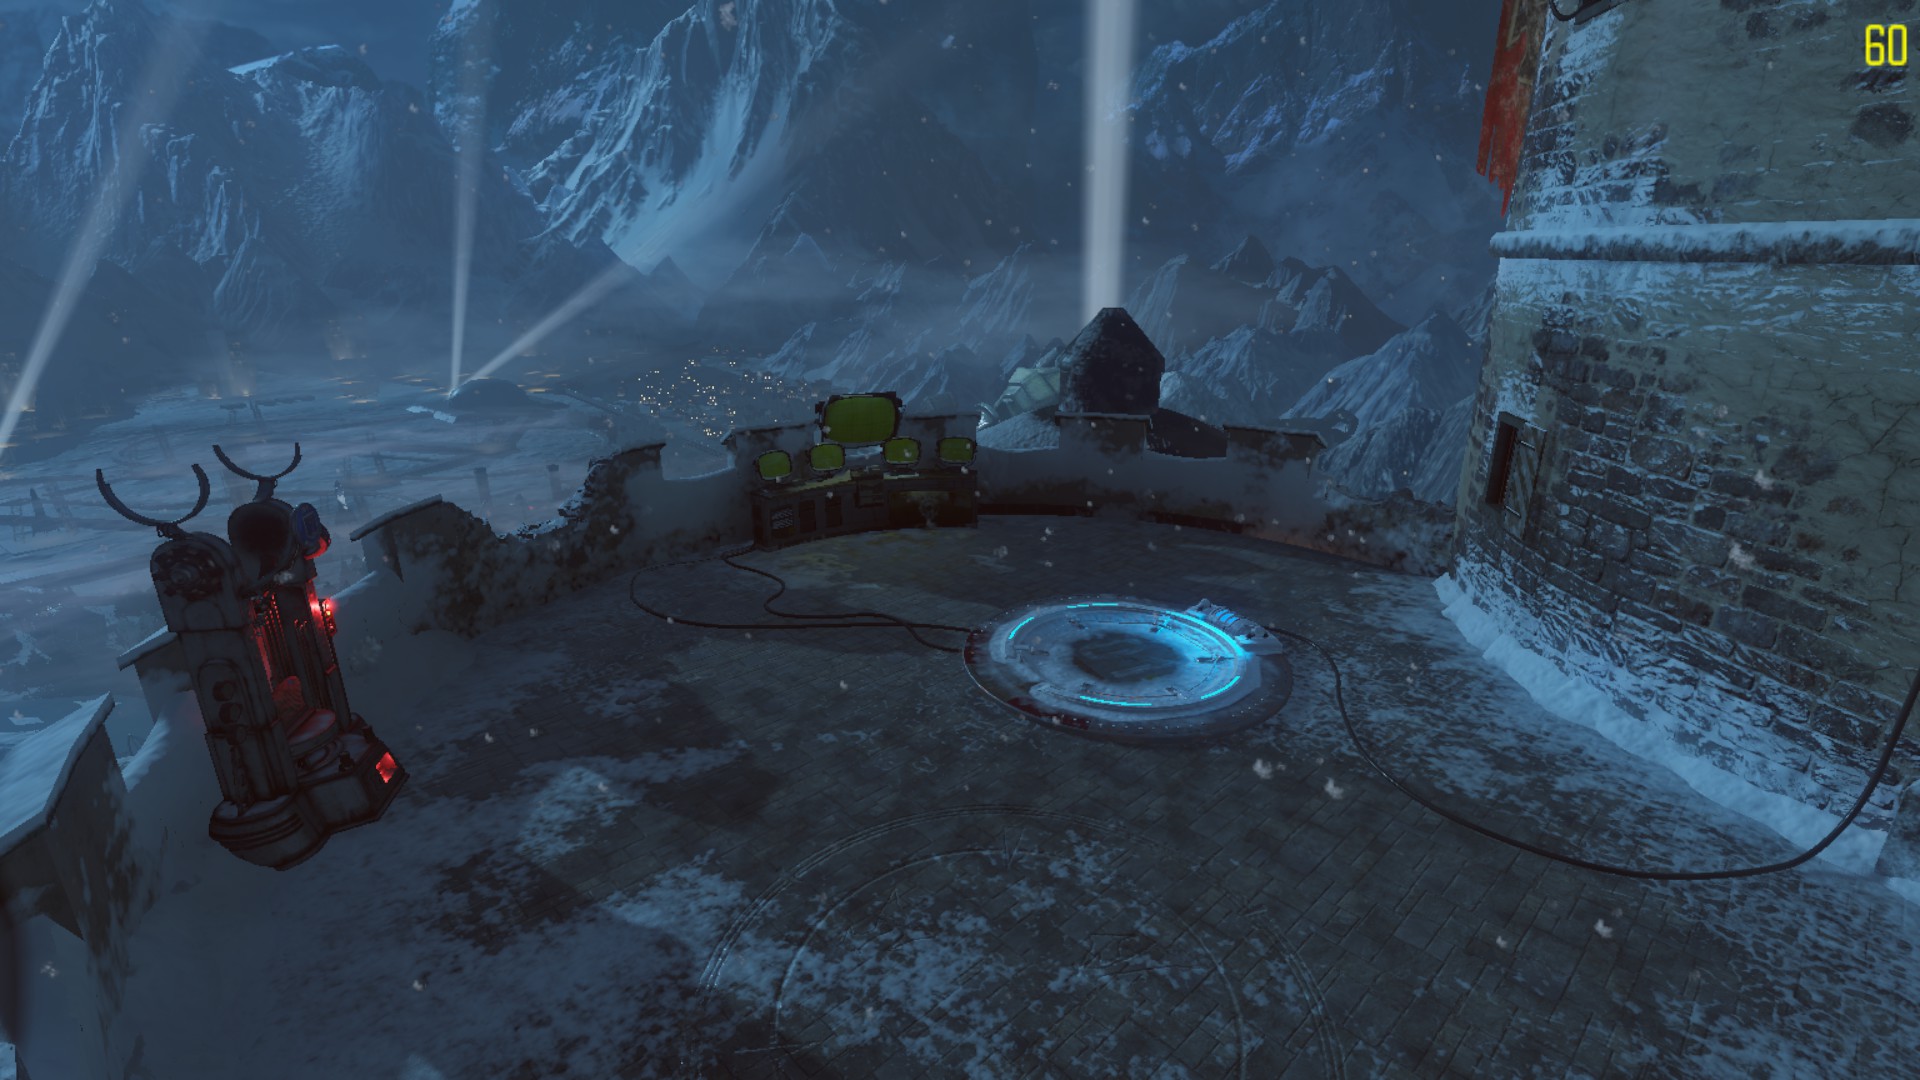
Now head to the roof of the castle, you must insert one of the fuse you picked up earlier, in the central machine.
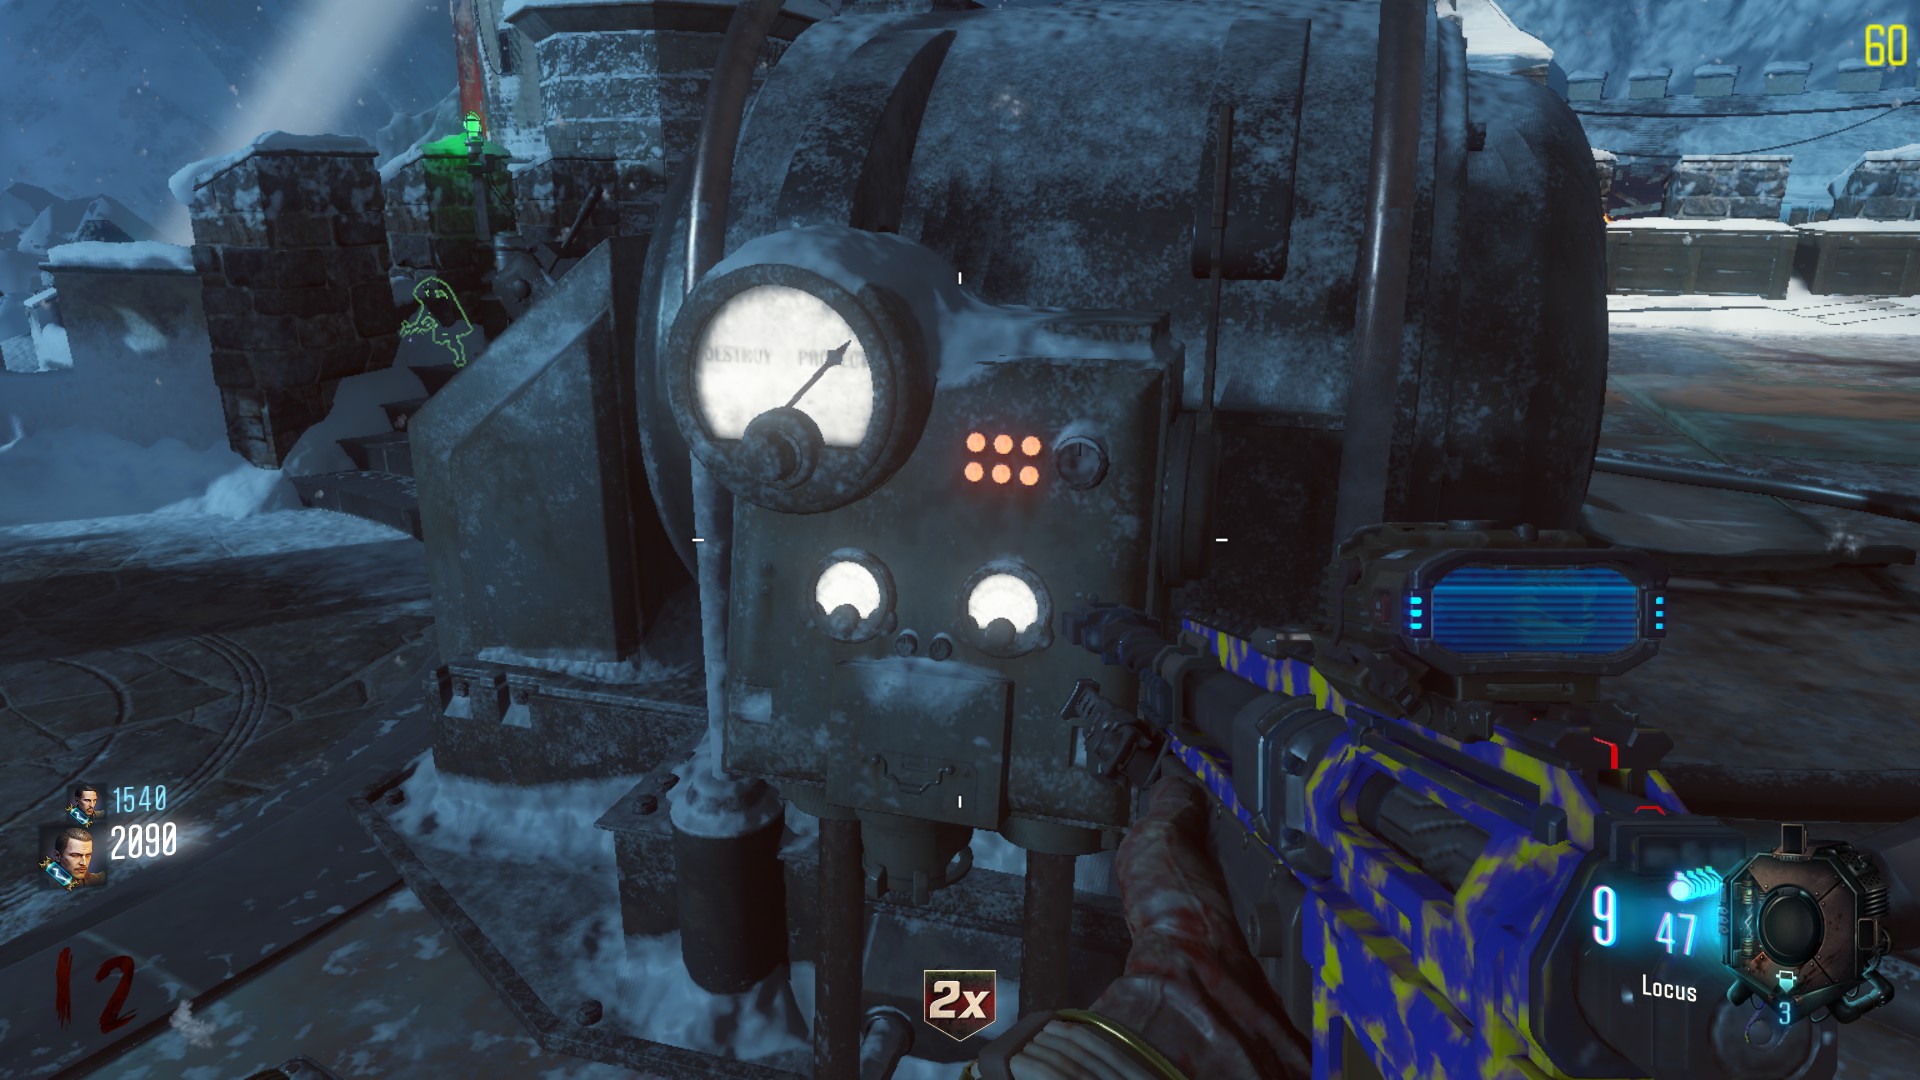
Head to the other side of the machine and interact with the display to set it to “Protect”
Fifth stepHellhounds should appear and a console near the clock tower should be turned on. If not, make sure you used at least once the Death Ray during this game.
Symbols will display, you must enter the code you remembered steps ago, from top to bottom.If you enter the wrong code, you must go back to the teleporter and do the time travel again.
Sixth stepHead back underground in the teleporter’s room, the safe should have been opened now. You have to take two fuses and a card in it.
Go back again on top of the castle and put the two fuses in the two Tesla coils. On the sides they’ve got 3 fuses, on one of it there is a missing fuse. Place it.
Now, you must reset the death ray back on “Destroy”.
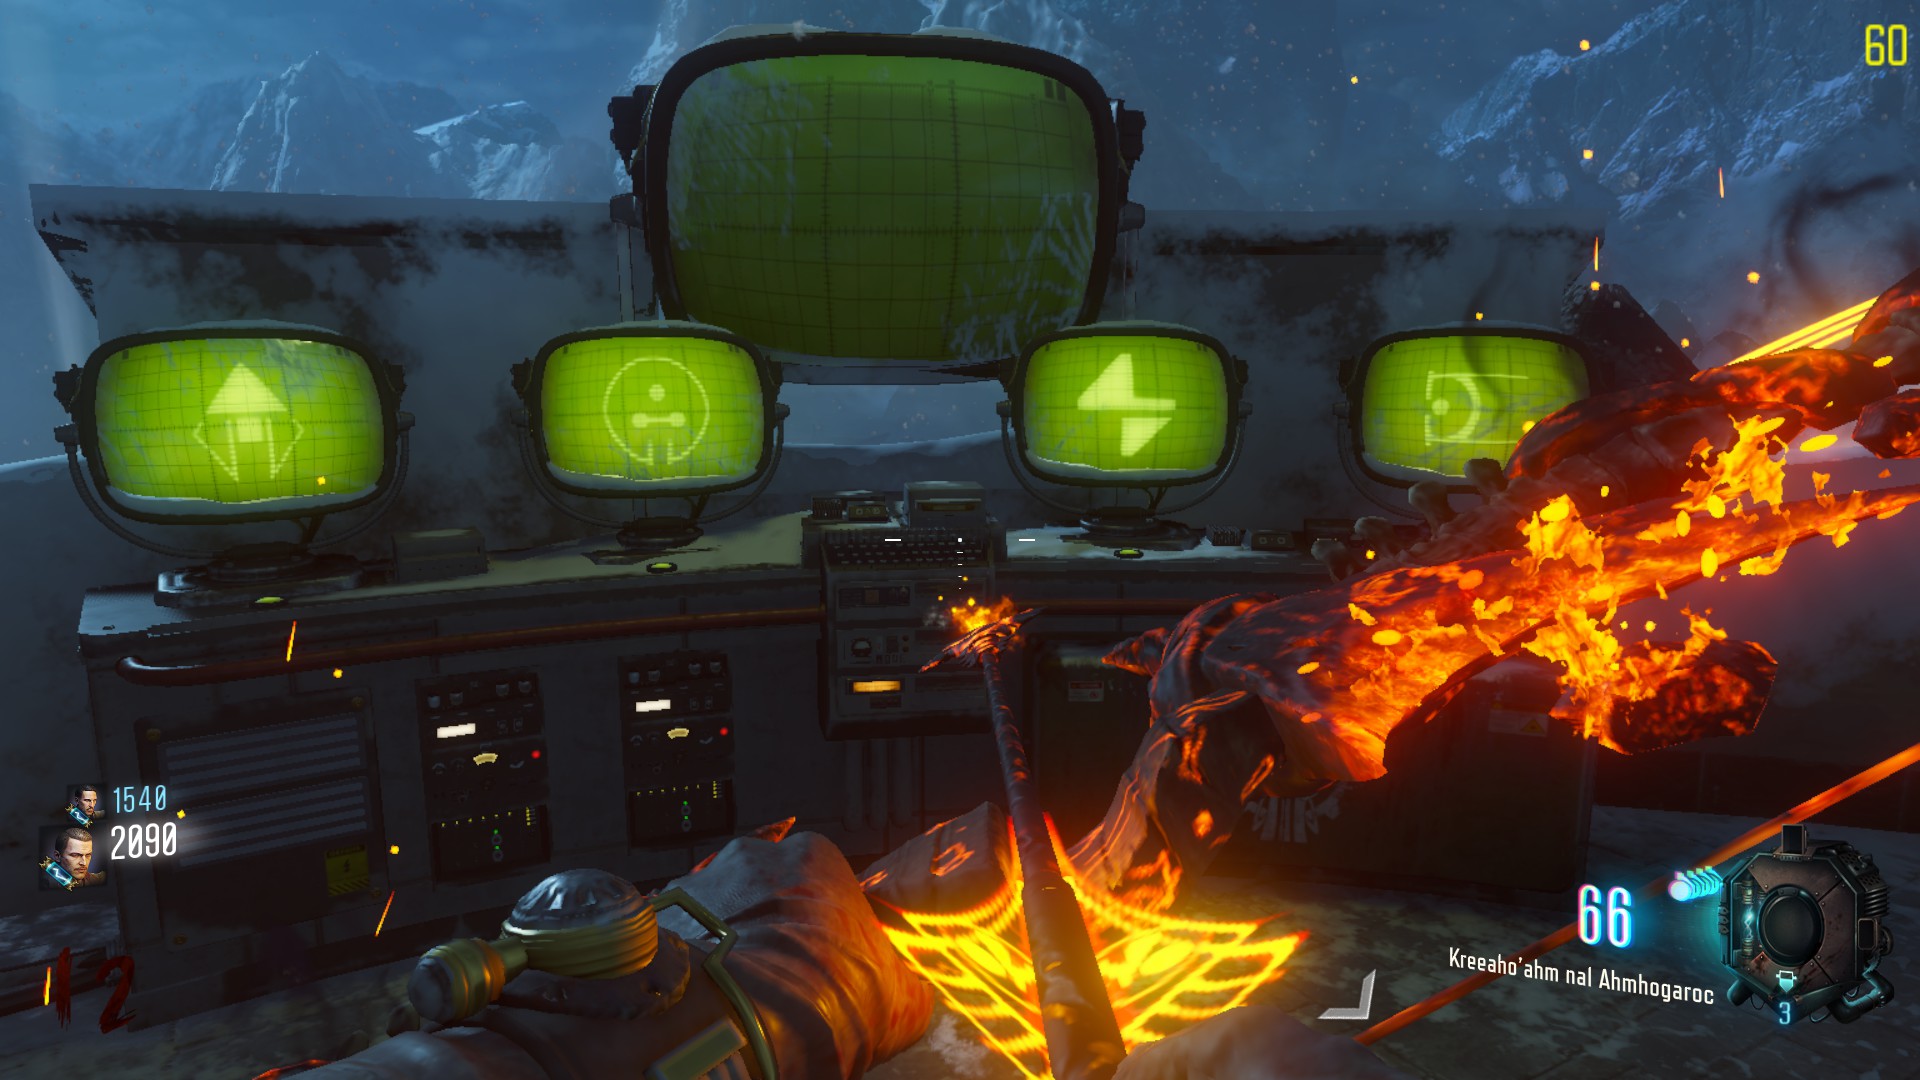
Seventh stepFor this step, you must play two memory games on two consoles on the map. When activating the console, 4 symbols will display, an Arrow , a Circle, a Card and a Lightning.
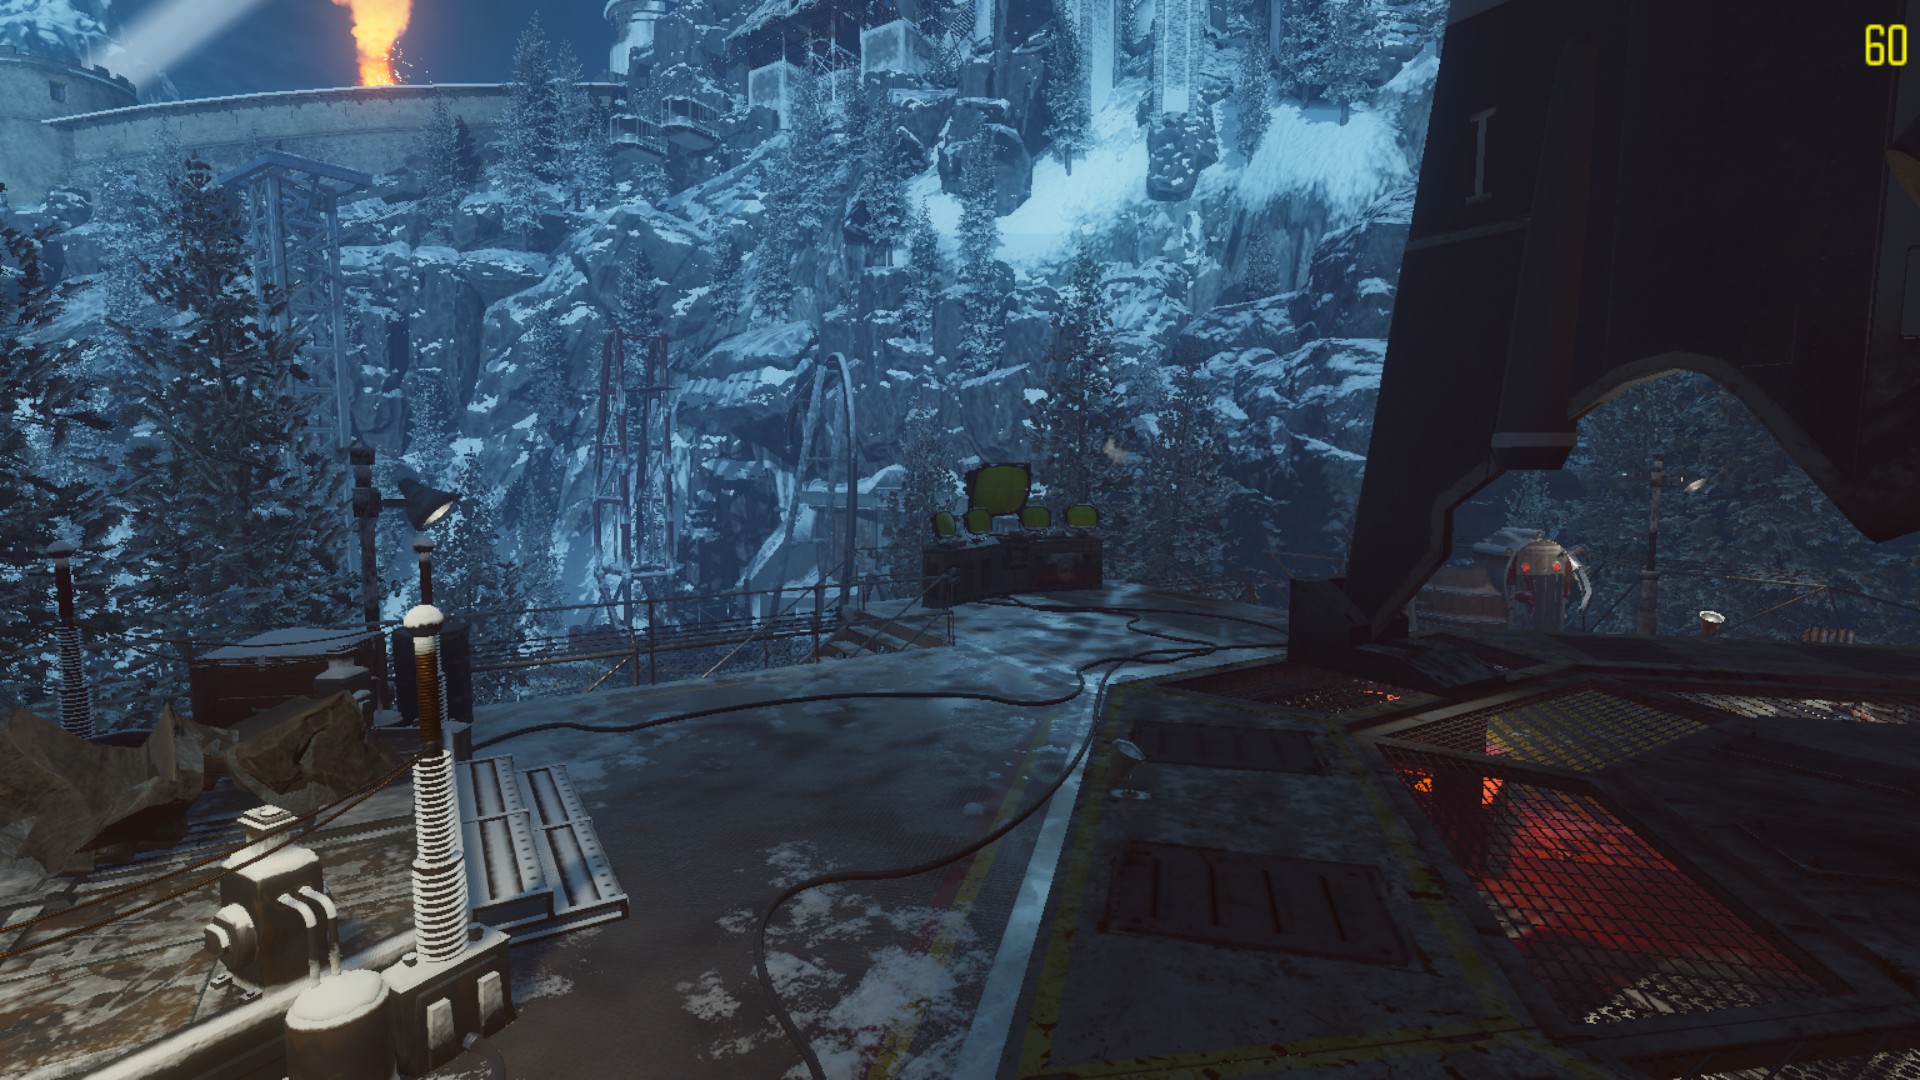
After some seconds, they will shut down and a symbol will display on the main screen. You’ll have a couple of seconds to interact with the screen that was showing this symbol.– The first console is near the clock tower:
– The second console is on the landing pad:
If done well, each time you finish a memory game, the tesla coil should be glowing white.
Be careful as since you activate the memory game until you finish it, unlimited hellhounds will spawn and rush at you. Oh, and if you fail the second memory game, you must restart the first one.
My advise: Care about not killing the last zombie. To easily beat the memory game, repeat in your mind the order of the 4 symbols that you’ve seen at the beginning.Eight stepHead back to the roof, again, and set, again, the death ray on “Protect”. Interact then with the green button behind the machine, and stay far from the second courtyard. :3
The coils will hit the rocket that will crash in this courtyard, releasing Dempsey’s cryo cell.
Come closer and pick up the Vrill generator near the crash.Ninth stepReach the teleporter and use it to travel through time again. If the teleporter isn’t glowing anymore, you’ll have to skip the round and do the second step again. :>
Once teleported, you have to use a book at your right, that will open a crate near the exit (wich is closed by a dark wall). In the crate, grab the ornemented stone.
Tenth stepRead first
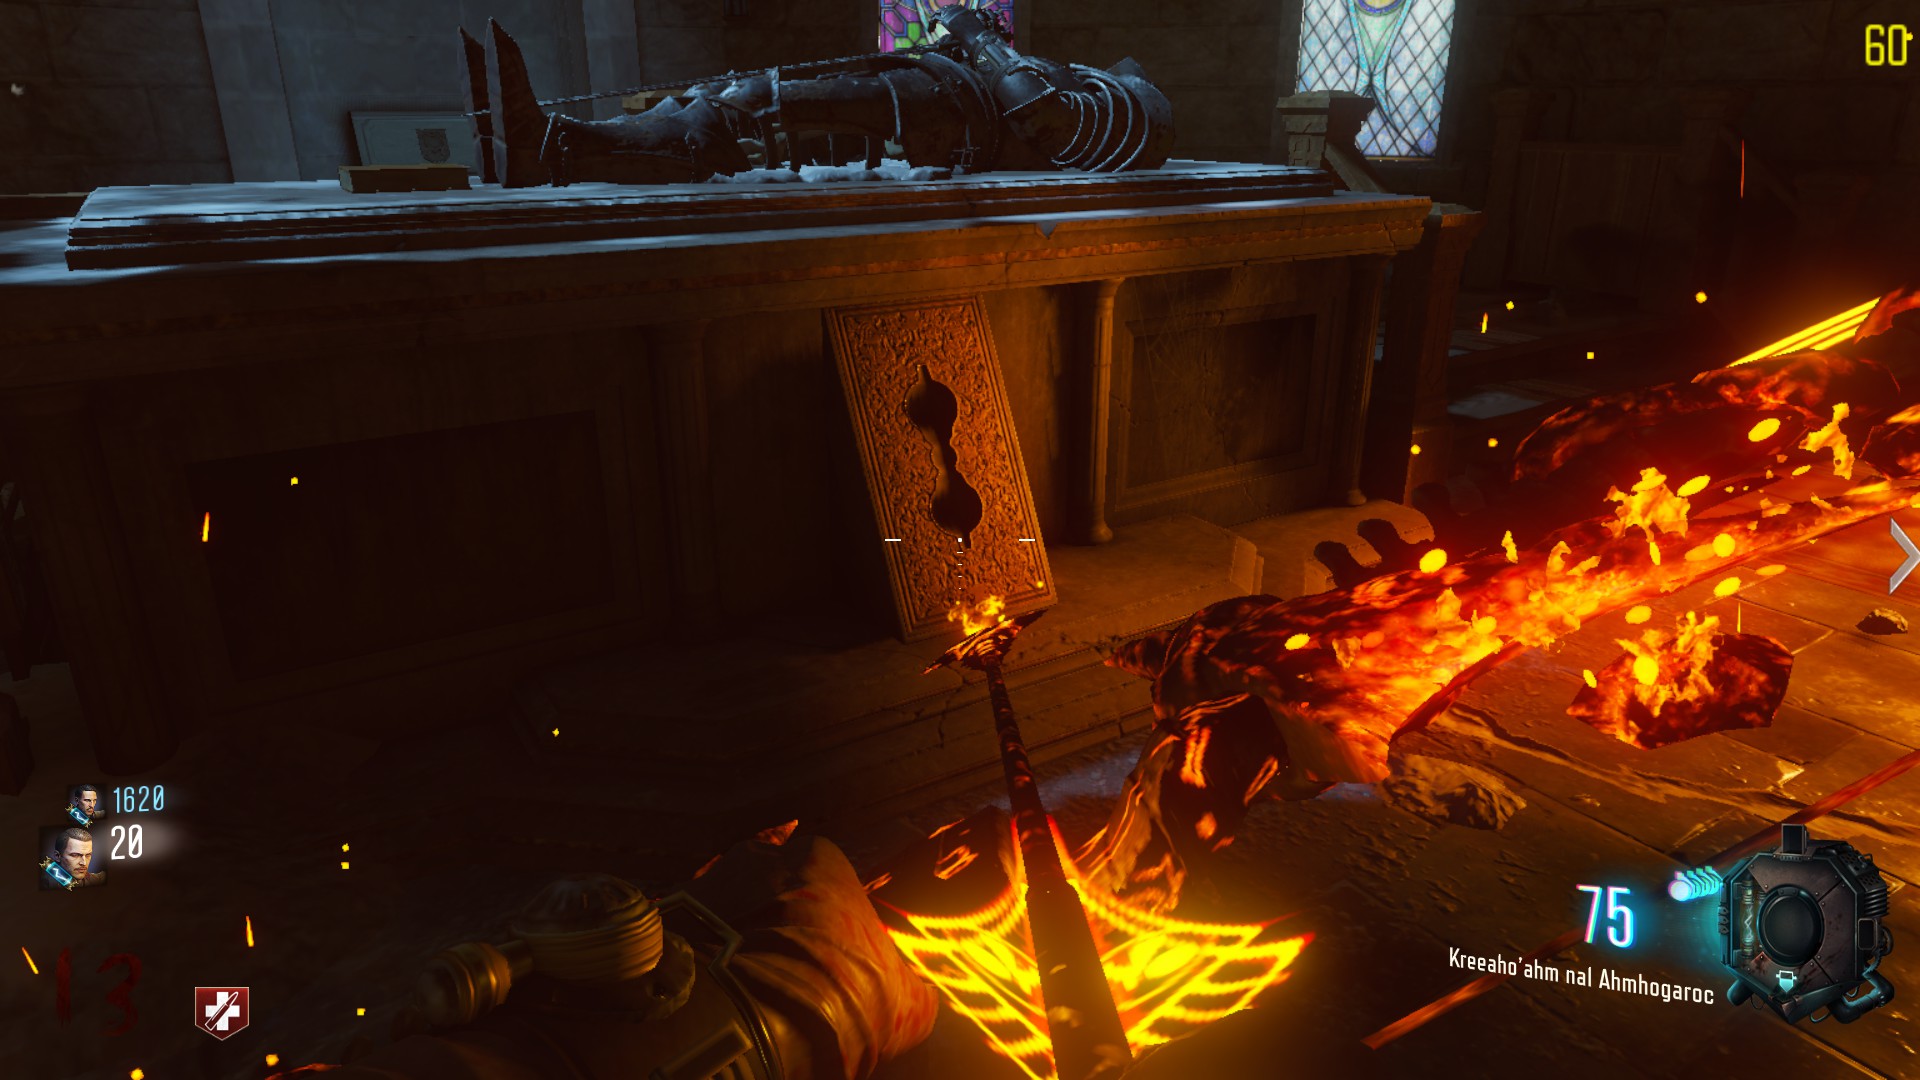
Head underground, where you picked up the wrath of the ancients. Insert the golden rod in the grave.
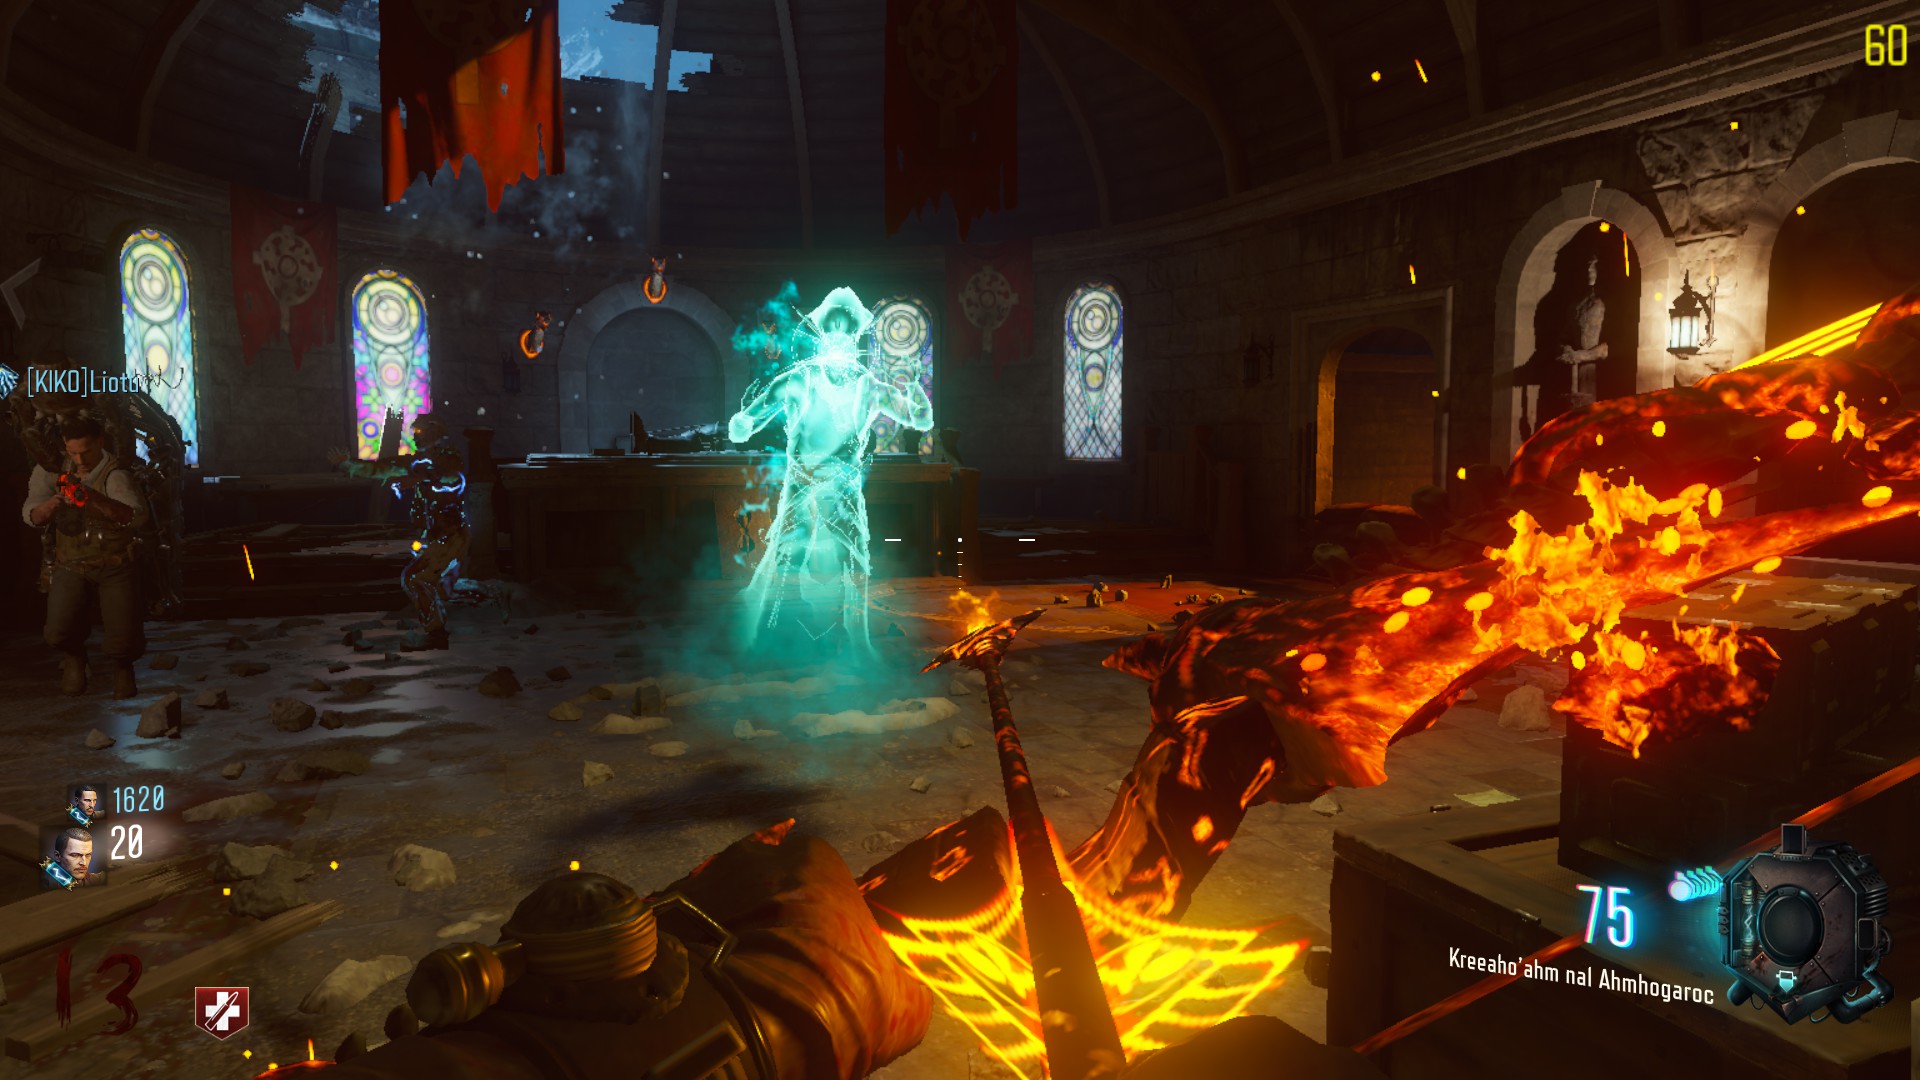
Doing so will spawn a ghost that will move on the map. He will stop at 4 spots and you will have to kill zombies while standing in a circle, with a particular bow.Oh and, infinite hellhounds will spawn until it’s over.
- Pick up the soul canister at your left
Main easter egg quest – Part 2
When you stand in the circle, your screen will shine in a color that correspond to a bow (Check the third picture bellow), you must kill zombies with it. Just try to kill zombies with it and if a glowing ball leaves the dead this is the bow.
My advise: Just freaking spam your charged shot, until the ghost move.PanzerSoldat will come.
Another advise: If you are only 2 players, you can do it with 2 bows, but for the 4 spots, there will be 2 requiring bow A and 2 requiring bow B. You’d like to always have the lightning bow, as the charged shot is very, very powerful.
Don’t forget to place the stone in the slot, near Double-Tap.
If you are reading this buddy, congratulations, you’ve done a great leap forward. Now follow the ghost underground and place the blue glowing can picked up before near the pyramid.
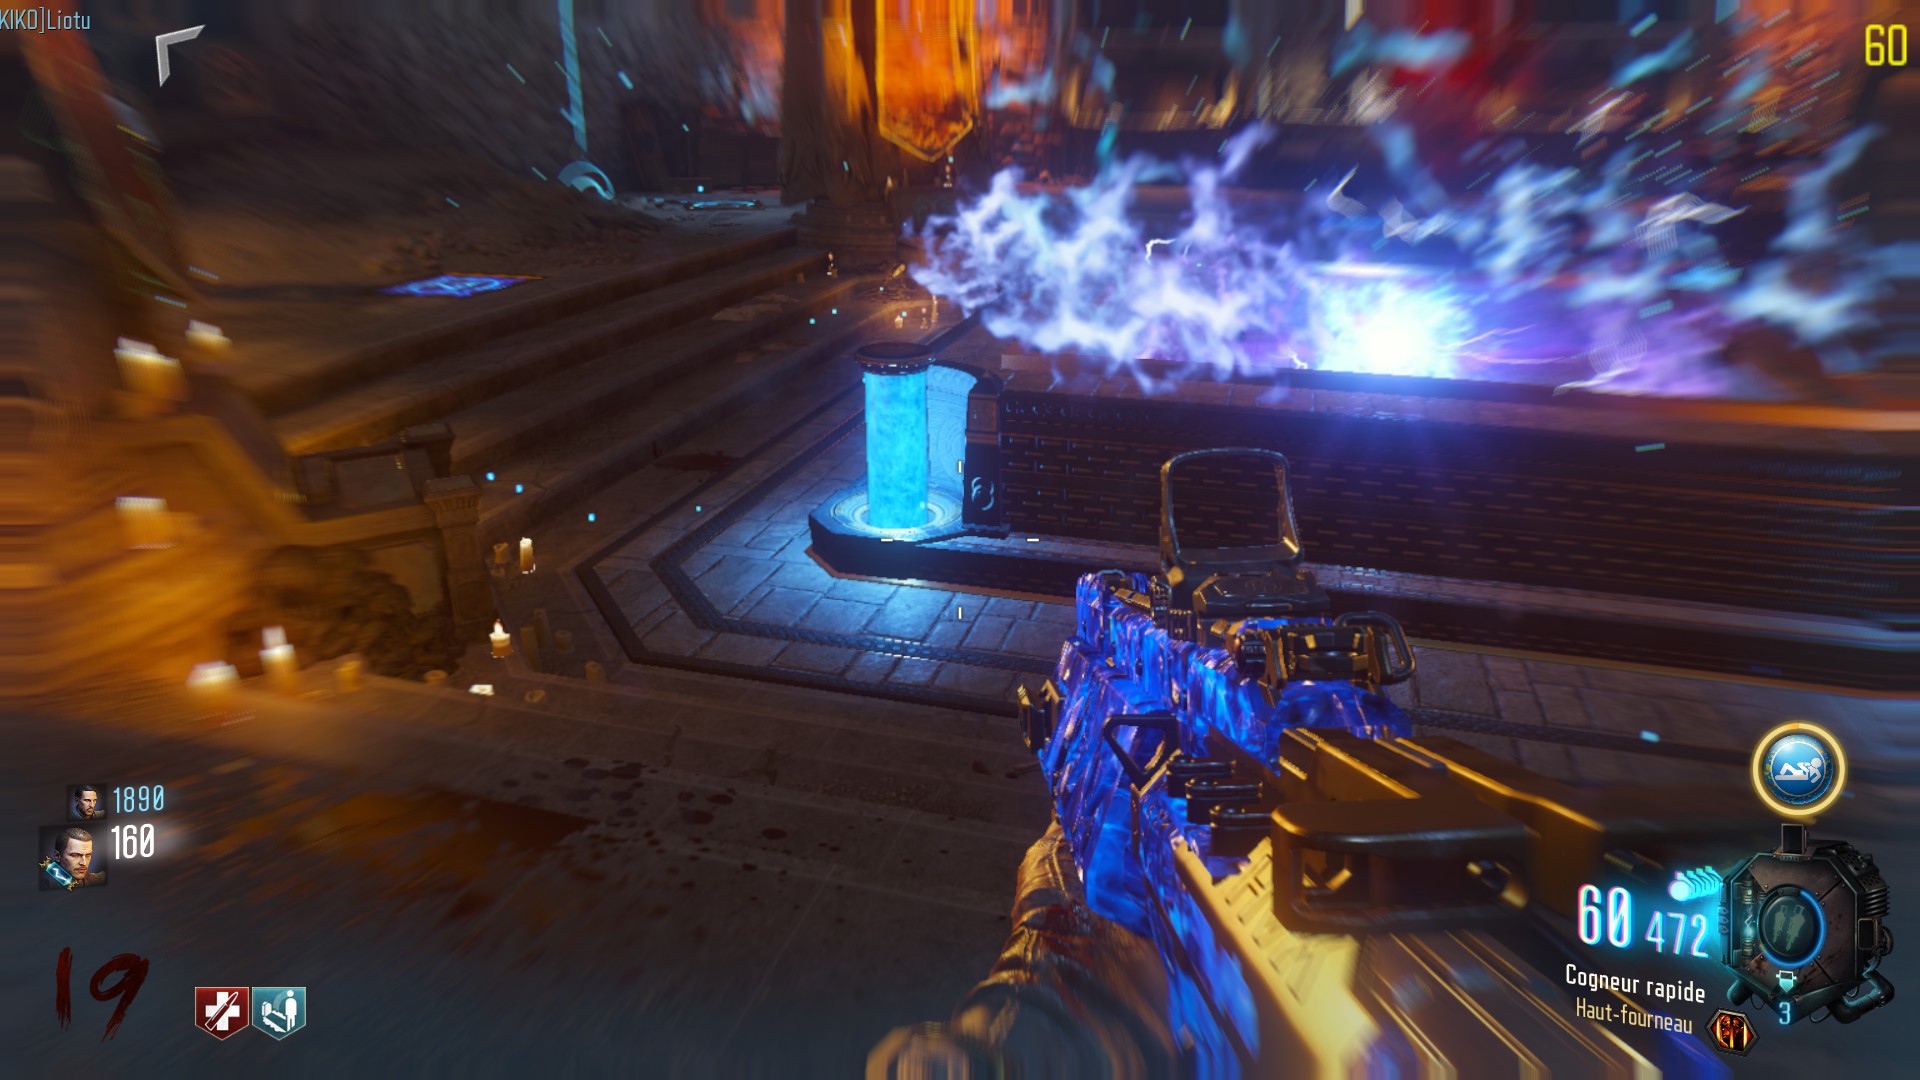
Now you should wait before continuing as you’re about to step in the last battle. Grab a good weapon, your bow, Jugg. / Quick-Revive, fresh shield, ammos, and gubblegums (most likely after-taste)
To reach the boss room, every players must place their Ragnarock DG-4 on the glowing blue tiles, that activated the anti-gravity earlier.
You will be teleported in a dark red closed circular room. For the moment, only skeletons (zombies with another skin), will spawn, just turn around and avoid them.
The boss will meanwhile attack you and sometimes he will teleport in the middle of the room. After doing this, he will cast a very powerful electrical attack, that will (when released) kill everyone in the room.
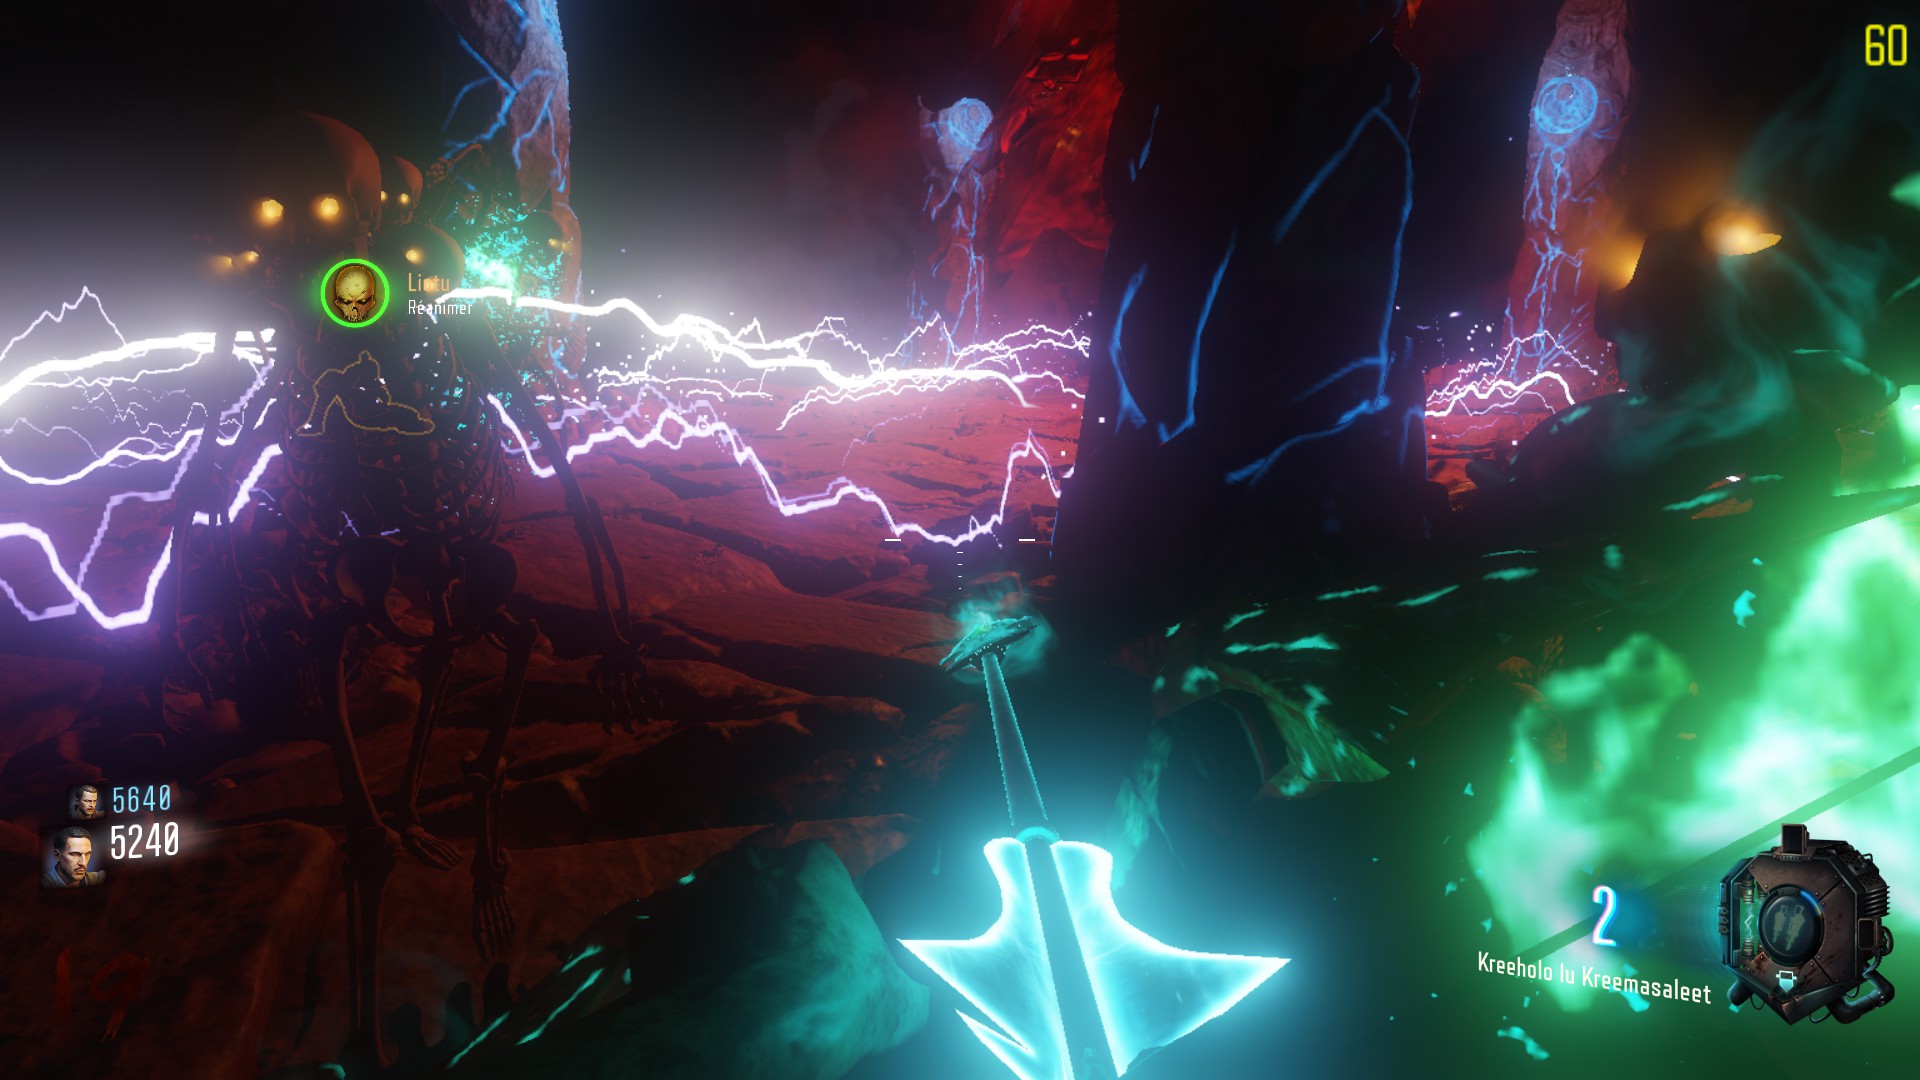
To avoid this attack:
– You will not die if you are hidden behind a pillar.
– When he casts the attack, a glowing ball will appear in the center of the little hole. You’ll have to place a Ragnarock DG-4.
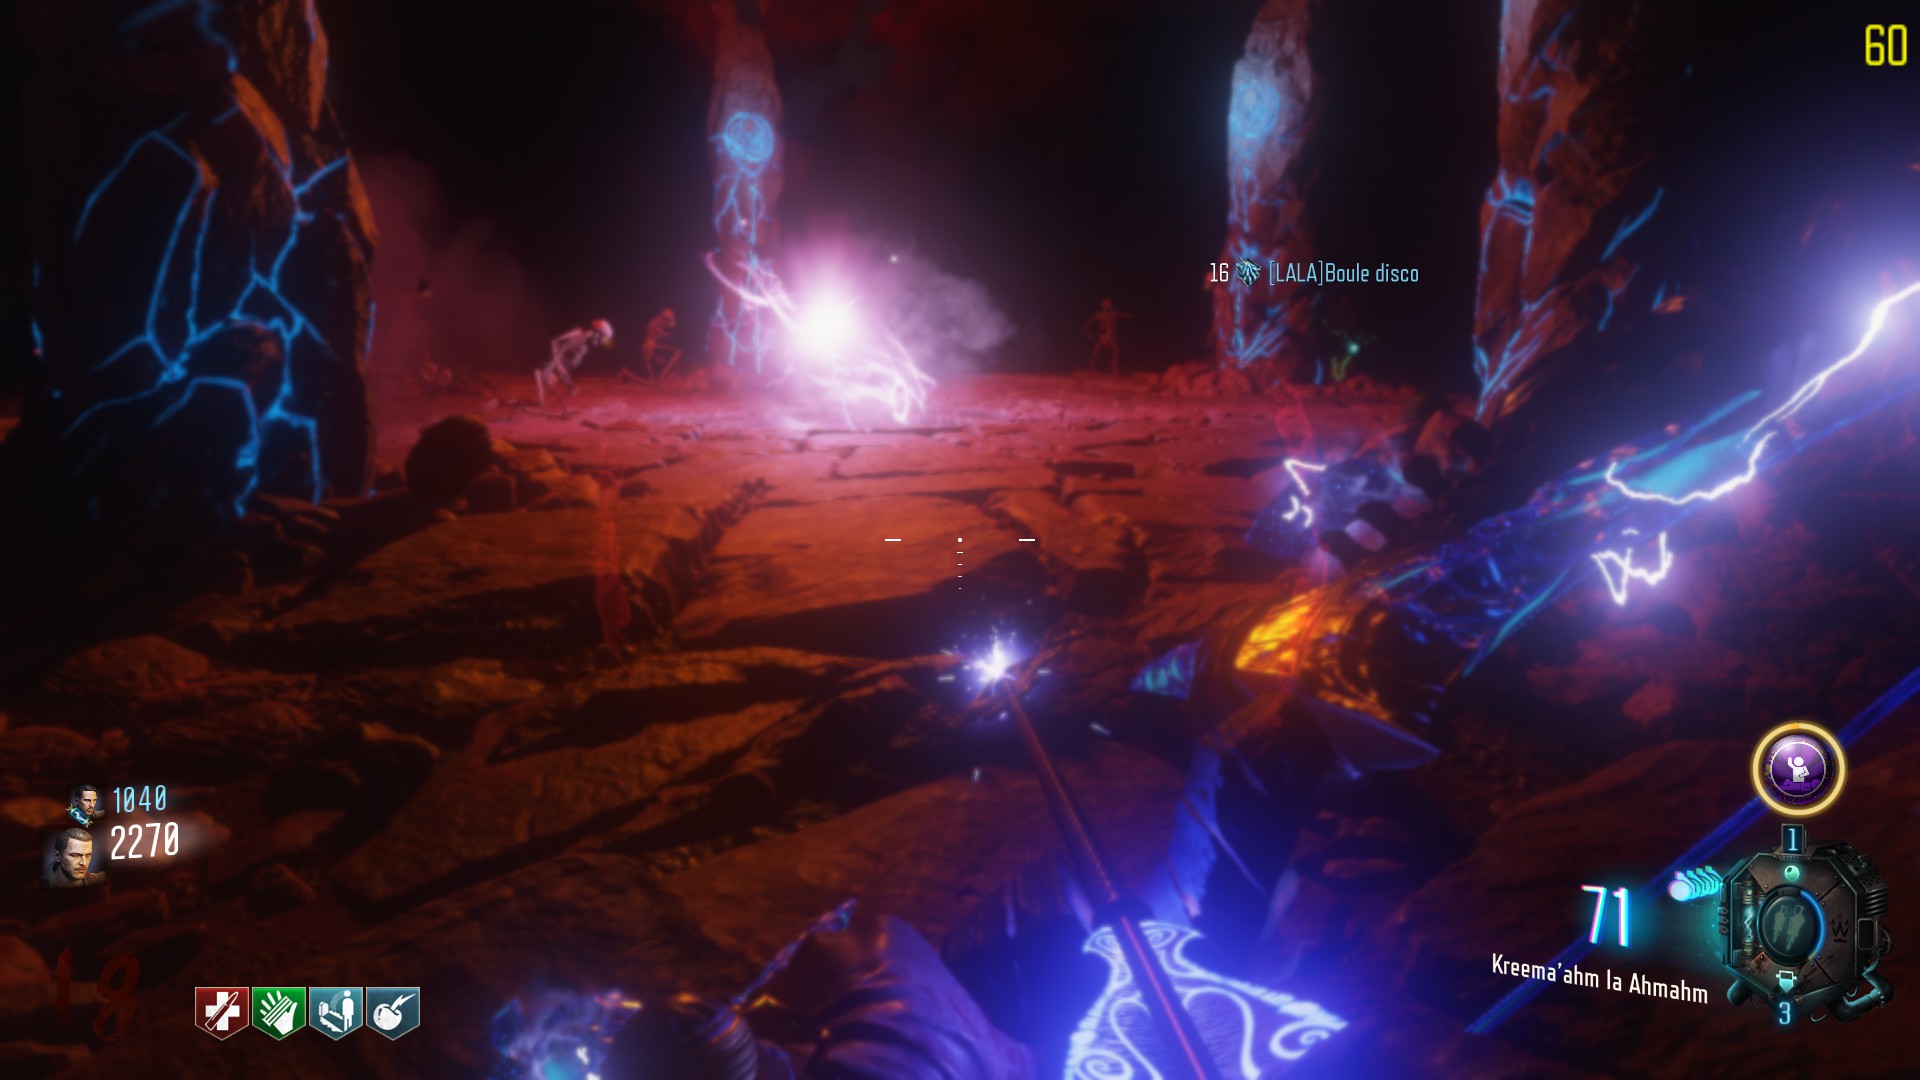
By placing the ragnarocks, the boss will be weaken and the symbol of his chest will glow. At this moment you can attack it.
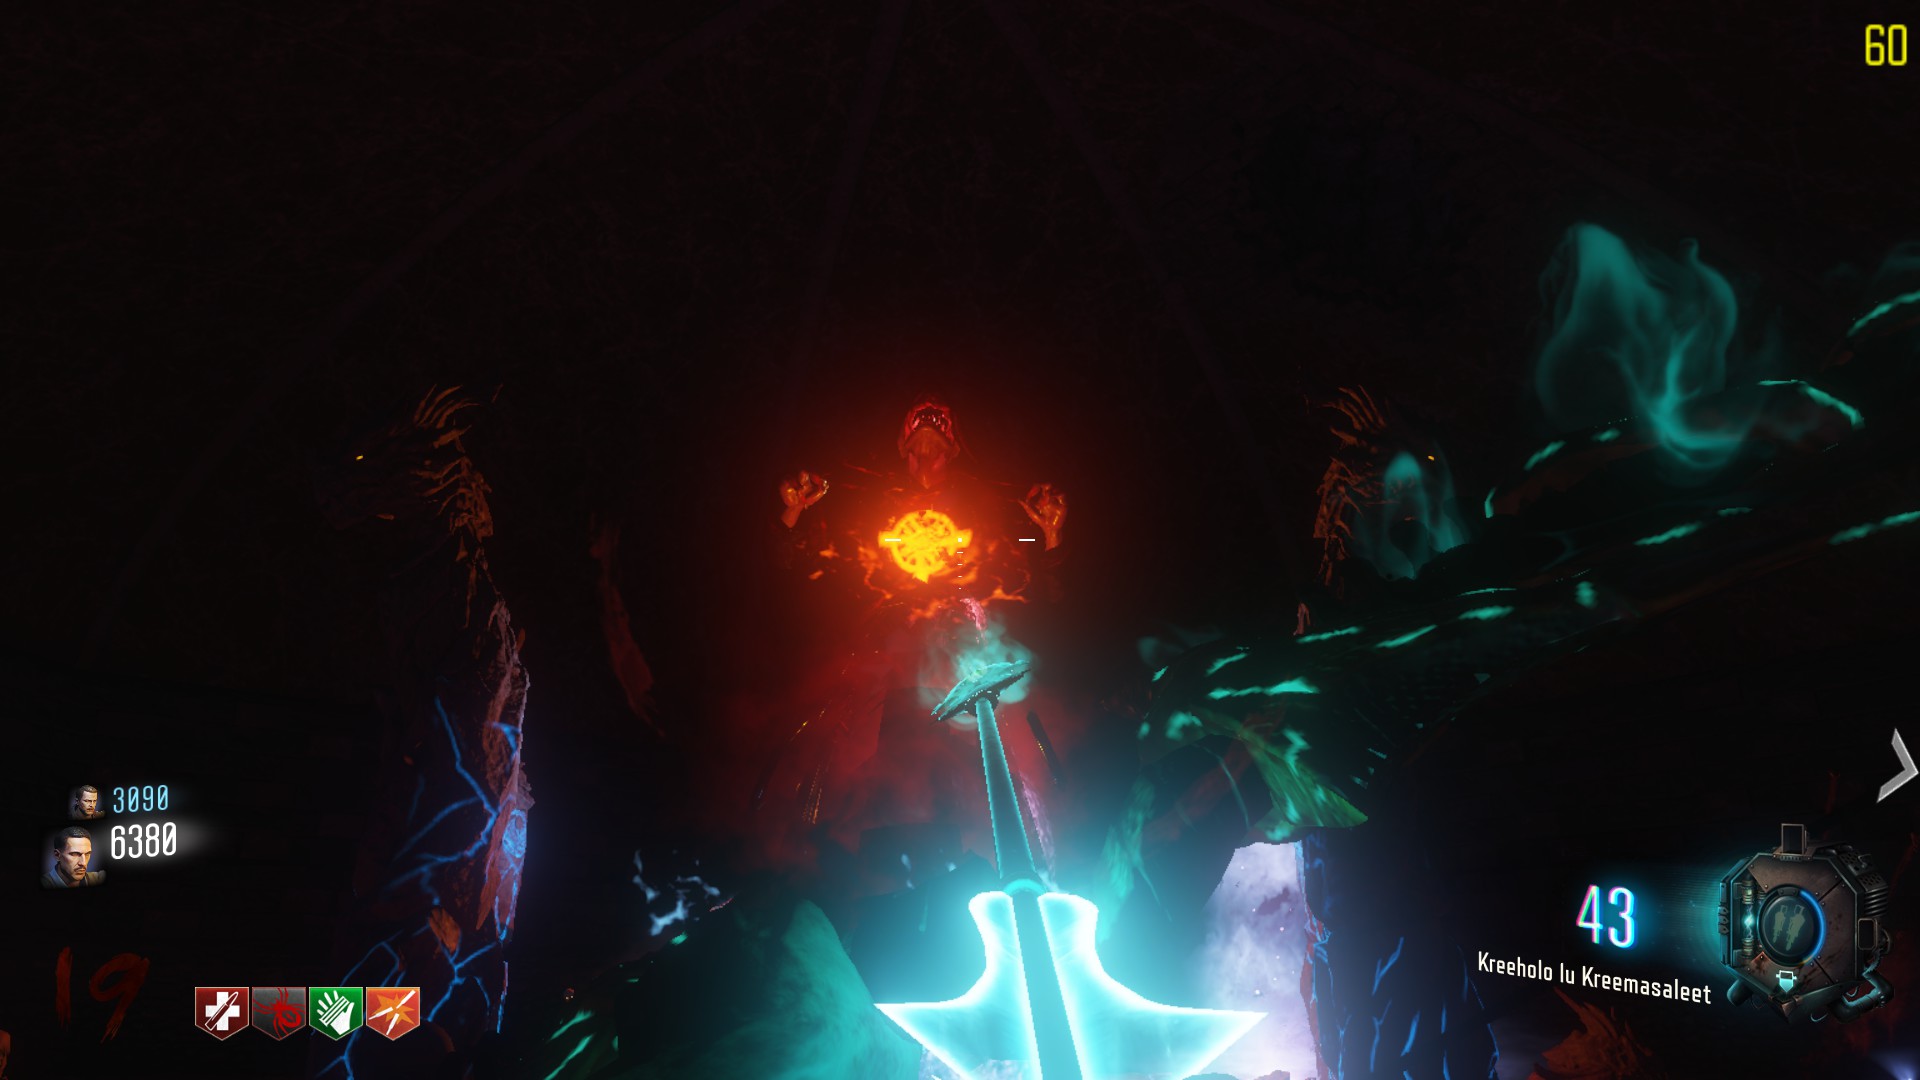
My advise is to spam basic arrows instead of charged ones, as you will deal a higher amount of damage.
When you dealt enough damage to the boss he will disappear and some PanzerSoldats will chase you. When killed, the boss will come again.
Do this until he dies in a white flash, before being teleported again. This is easier to say, than to do. 😉
Place the summoning key from Shadows of Evil in the pyramid, then pick it back up.
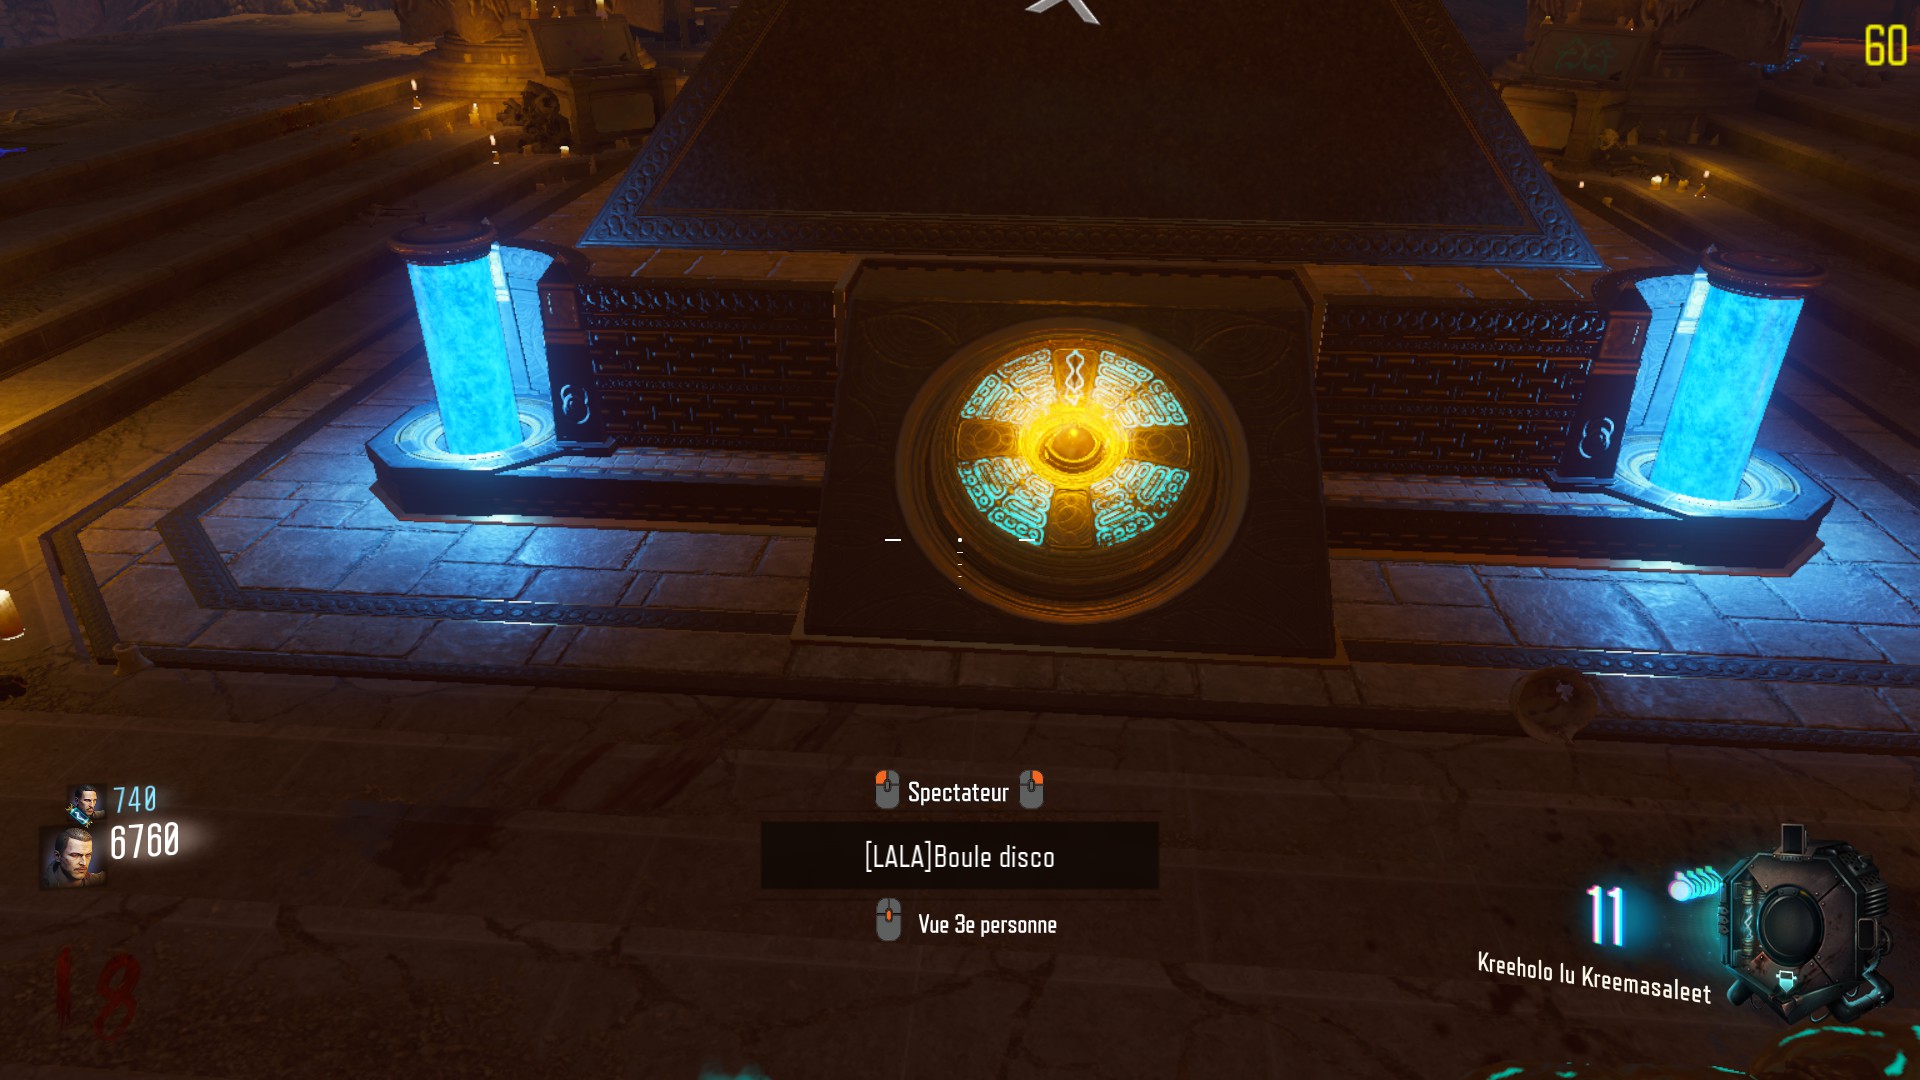
Climb up the stairs near the clock tower and place the key in the consoles where you entered a code earlier.
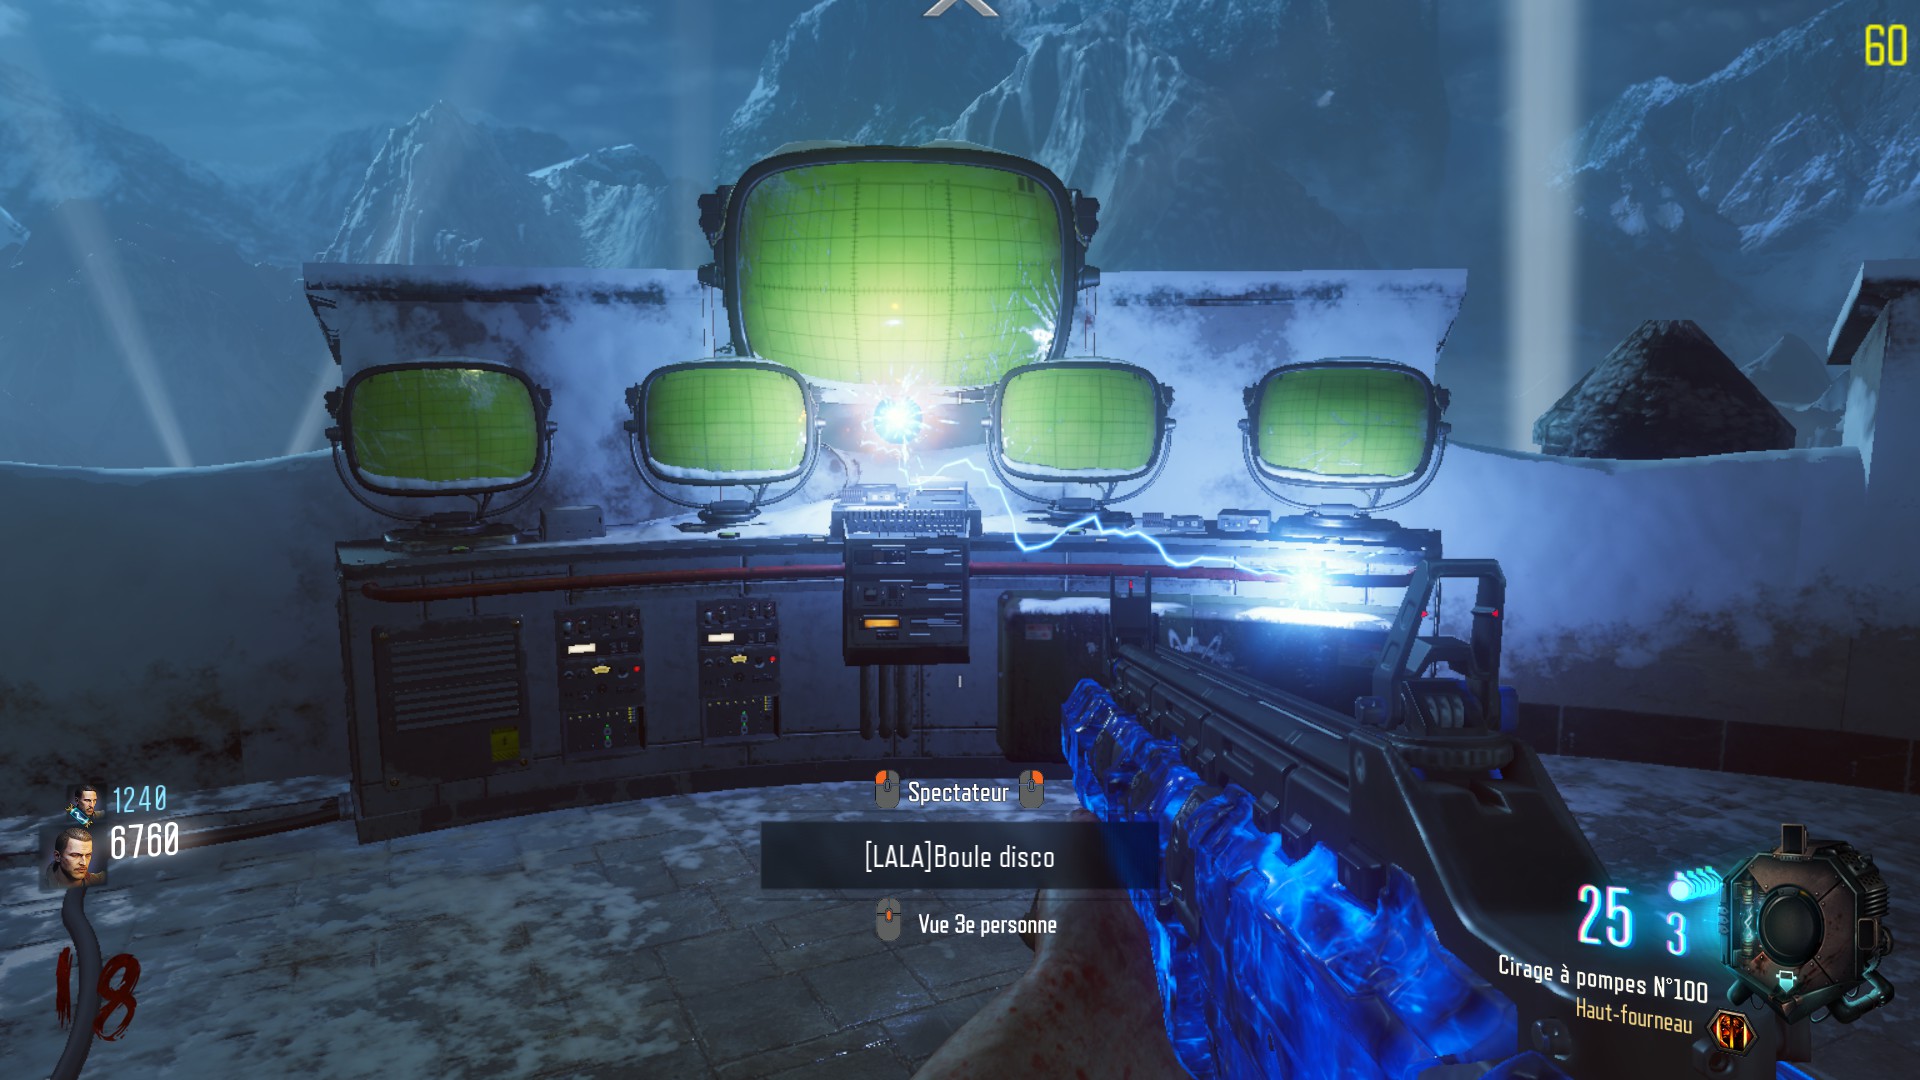
Doing this will unleash hell on the moon, cya Dr.Groph, enjoy the cinematic.
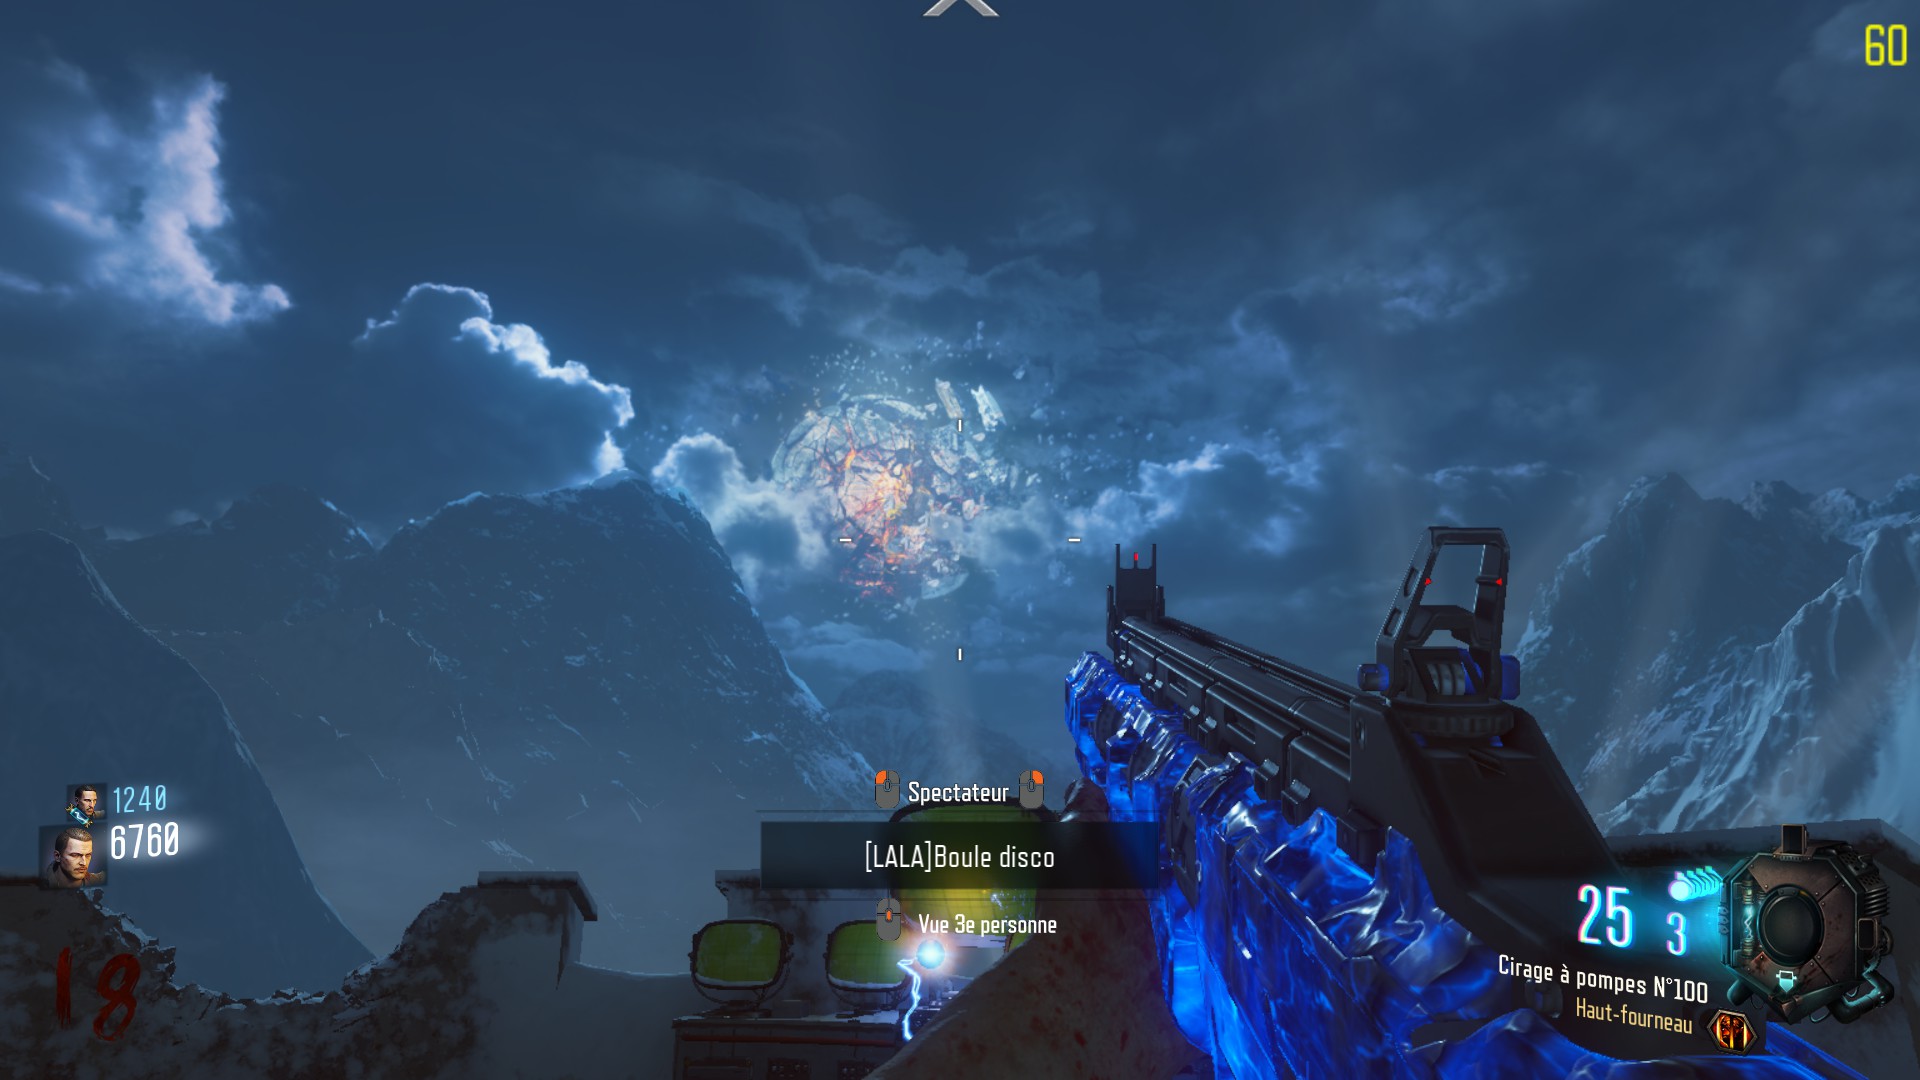
ooh Sweet relief
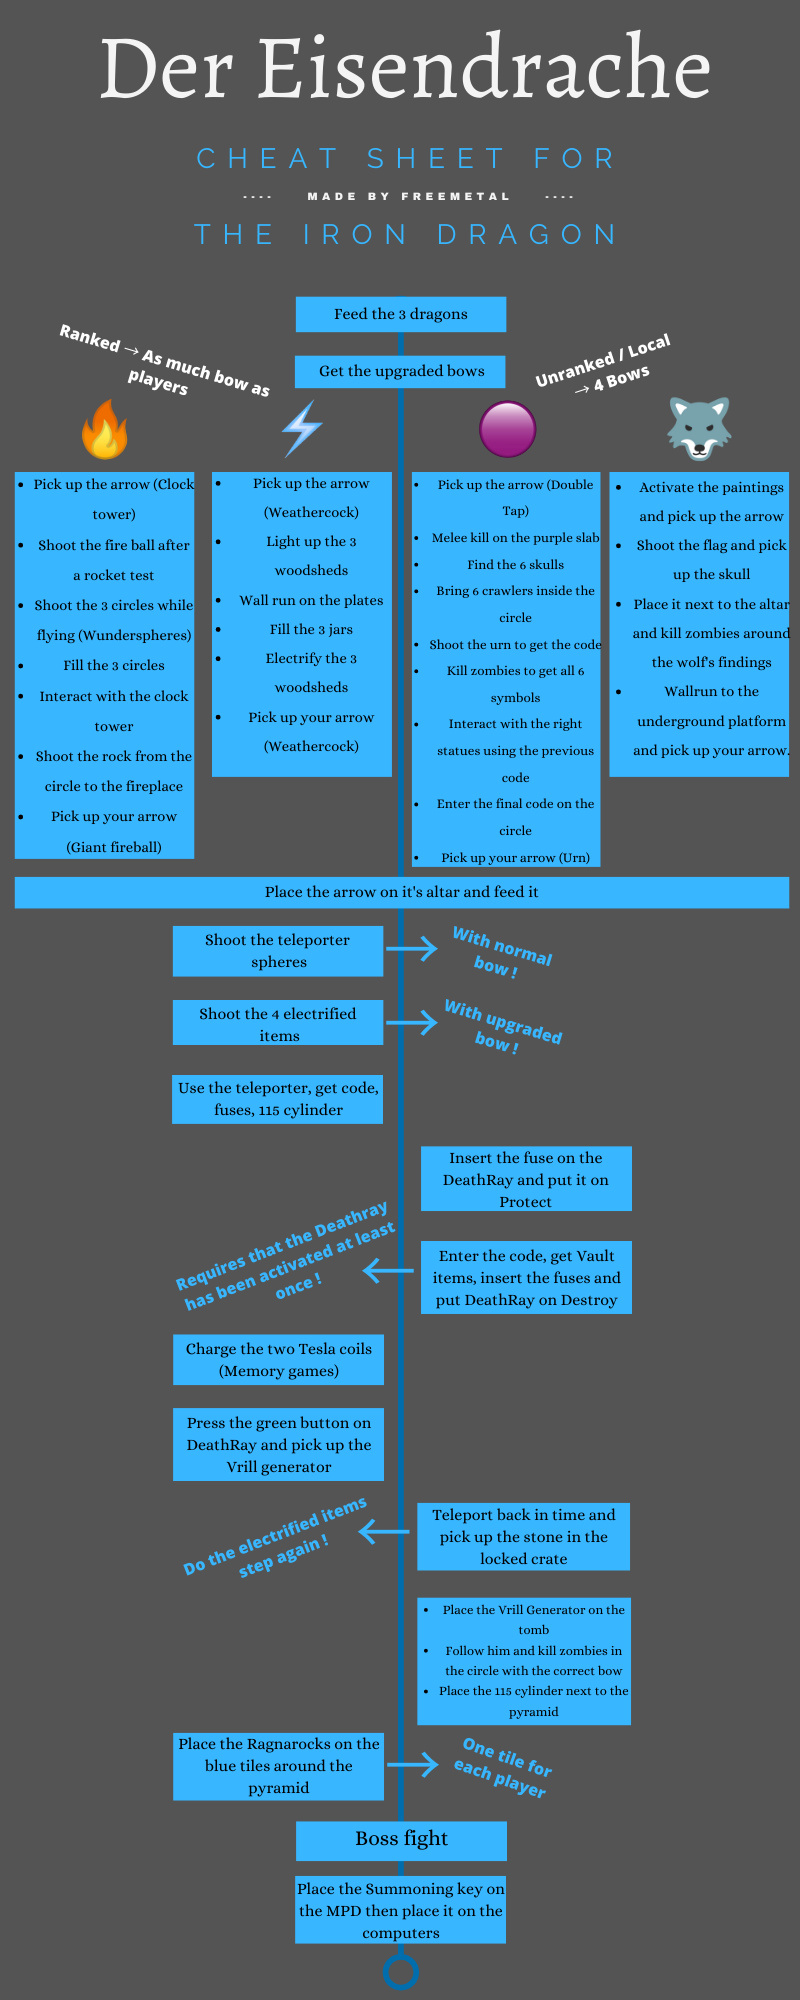
TL;DR Cheat sheet for the main quest
If you already know the steps, this can help you remember the order of the things you have to do.
Equipment – Rocket Shield
To craft the Rocket shield, you must find 3 parts in the map.
The first part is a double pipe item. You can find it around the first courtyard, at 3 different locations:
- On the crates, right after the entrance, at your right.
- Near the stairs, on the left after the entrance.
- Next to the fence that opens when you activate power on.
The second part is a metal plate with a griffin figure on it. It is located in the second courtyard, in front of the church.
- It can be by the stairs coming from the clock tower.
- Near the entrance of the church
- In the clock tower, near a dead zombie.
The third part is a frame wich stands in the underground. You must wait the anti gravity to activate.
- On the decoration underground, near the crafting table.
- Above the teleporter door
- Above the PaP teleporter pad
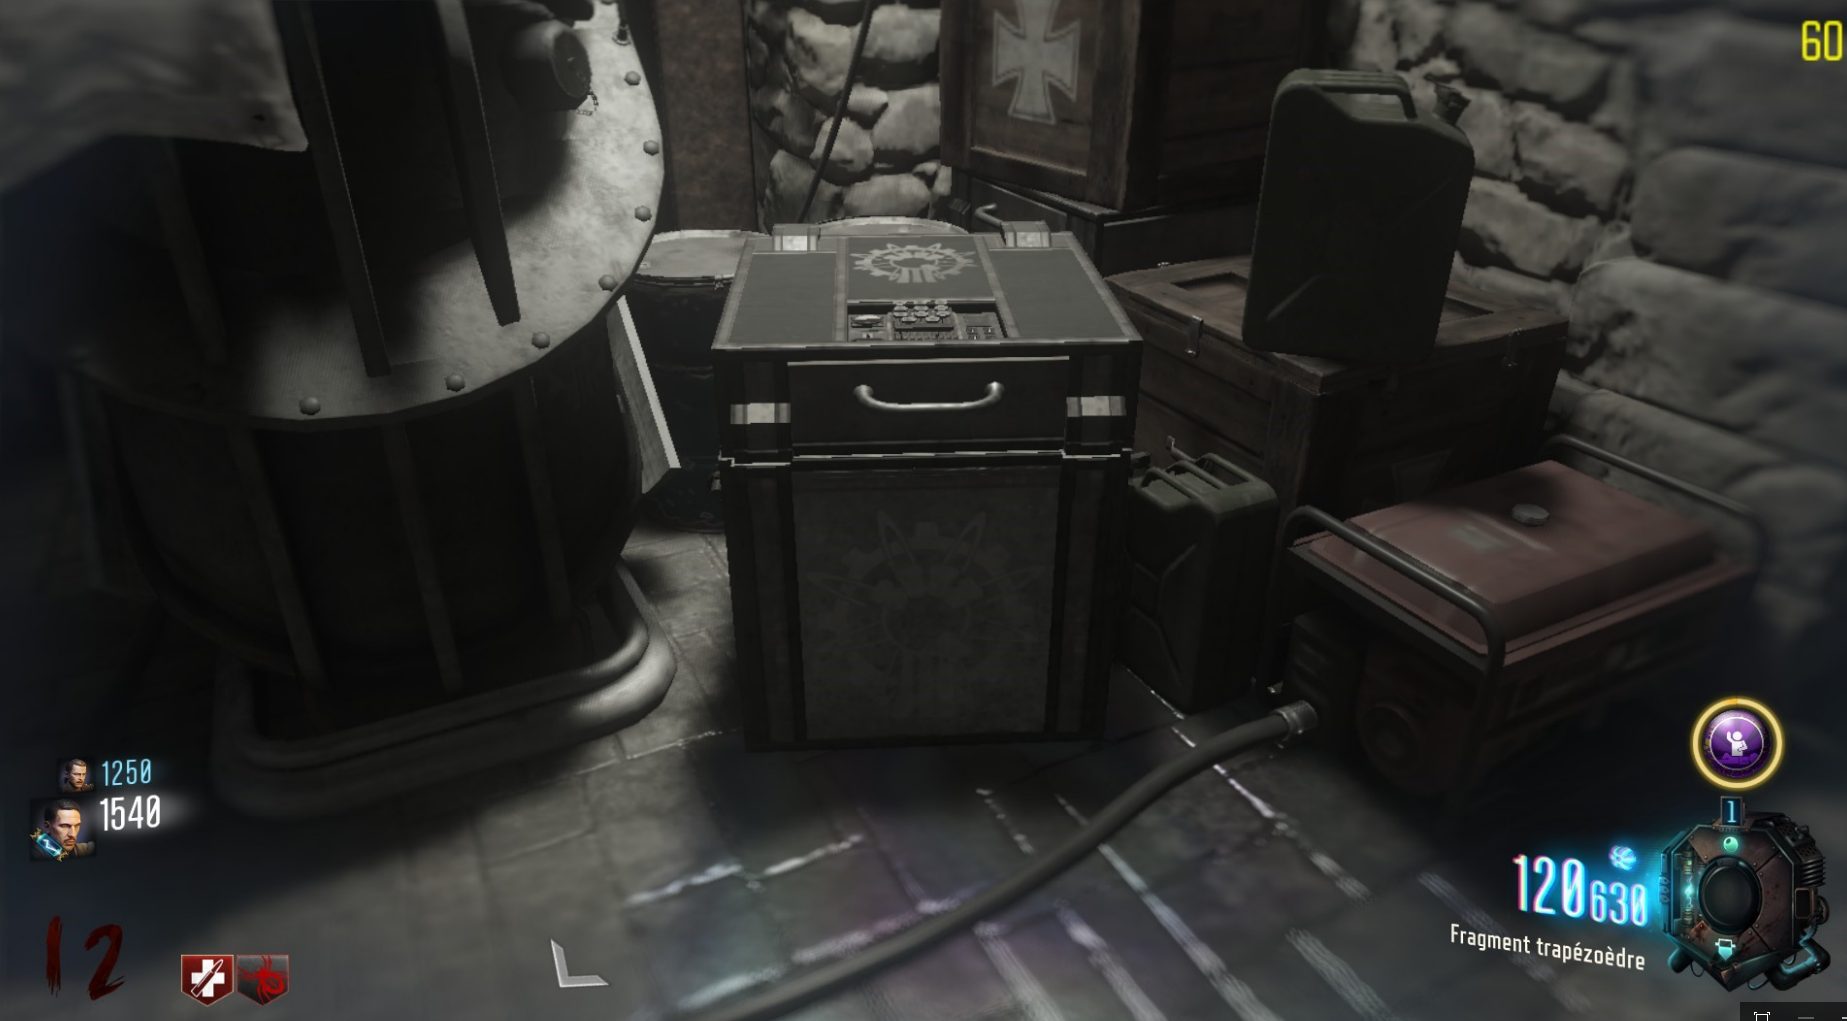
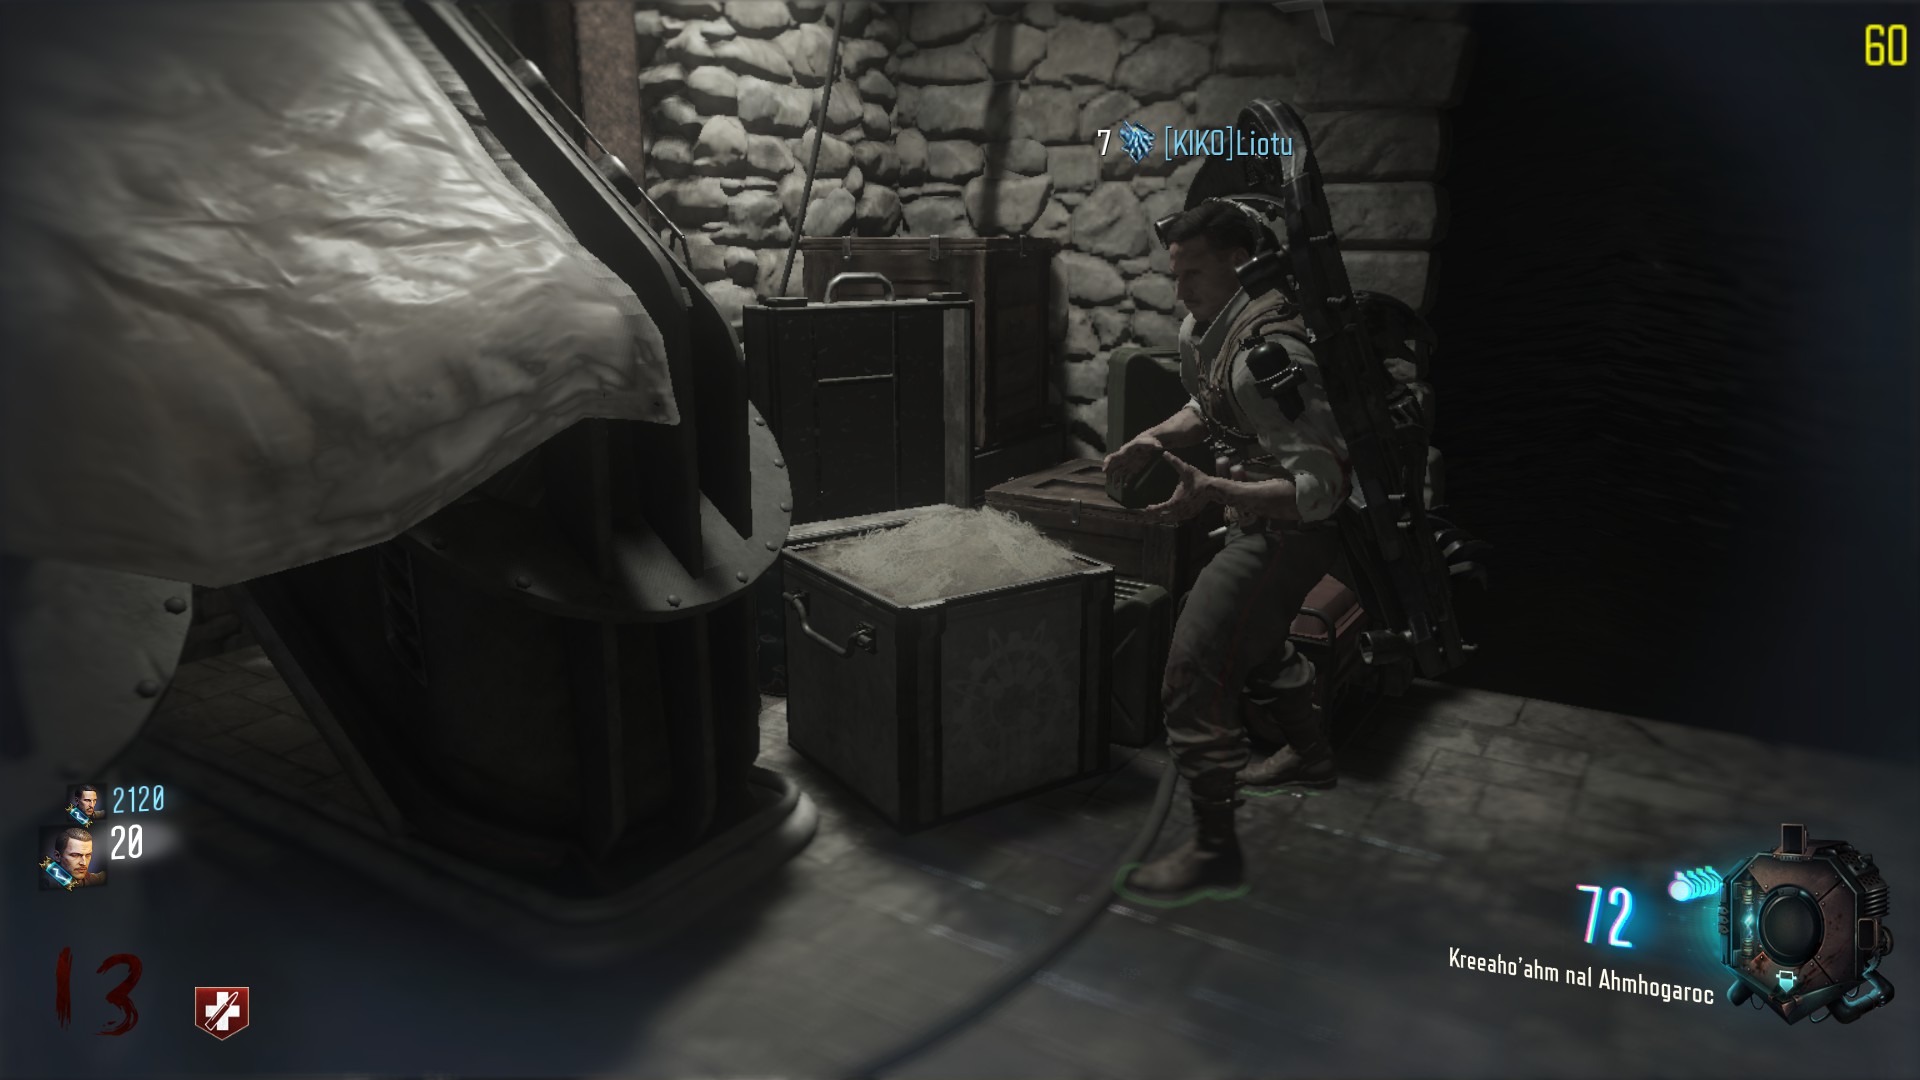
With the parts in your pocket, head to a crafting table, Underground near the Pyramid or above Double tap perk.
Equipment – Ragnarok DG-4
Specialist weapon of the map they are very powerful weapons. You can also place them on the ground to generate a strong force field allowing you to revive your fallen friends easily. Don’t forget to pick them back up tho.
- For the first piece you will need to wait for the Panzer to come on round 12, after defeating him he will drop the Ragnarok piece instead of a power up.
- For the second piece, you have to turn on the Death ray. If you look up you will see the Ragnarok piece in the air. To get it you will have to use the Wunder Sphere above Double tap, or the one in the second courtyard, if the part is upside the death ray. The piece will despawn if you take too long
- The Wunder Sphere you need to use if the piece is above the spawn room:
- The Wunder Sphere to use if the part is above the death ray:
- The Wunder Sphere you need to use if the piece is above the spawn room:
- For the last piece you will need to go to the Rocket launching site and wait for the rocket test to begin.
Next to the left staircase there will be a lever that pulls down, you will need to flip it as the voice announces that the test phase is active
After turning the switch go into the safe area and wait for the test to be over. Next to the Teleporter there will be a box with 3 lights on it. They will begin as red but slowly turn green, as soon as they all turn green you will have to interact with it by pulling the lever on the box down. The Ragnarok piece will be inside the teleporter and all you have to do is pick it up.
Finally, simply craft on a table the Ragnarocks and pick them up.
Side easter egg – Disco ball
A secret Disco ball can be activated in the Church’s command room, turning on a light and a disco music.
There is a Globe on the ceilling of the room, with a moon and a rocket orbiting it. You must shoot the moon to make it stop rotating, then shoot the rocket when it is besides it.
DAAAAANCE

Side easter egg – Death machine powerup
Pretty straight forward to do. Go to the pyramid’s room and wall run on the blue square facing the Pack-a-Punch machine. A Death machine powerup will appear above the crafting table in the same room.
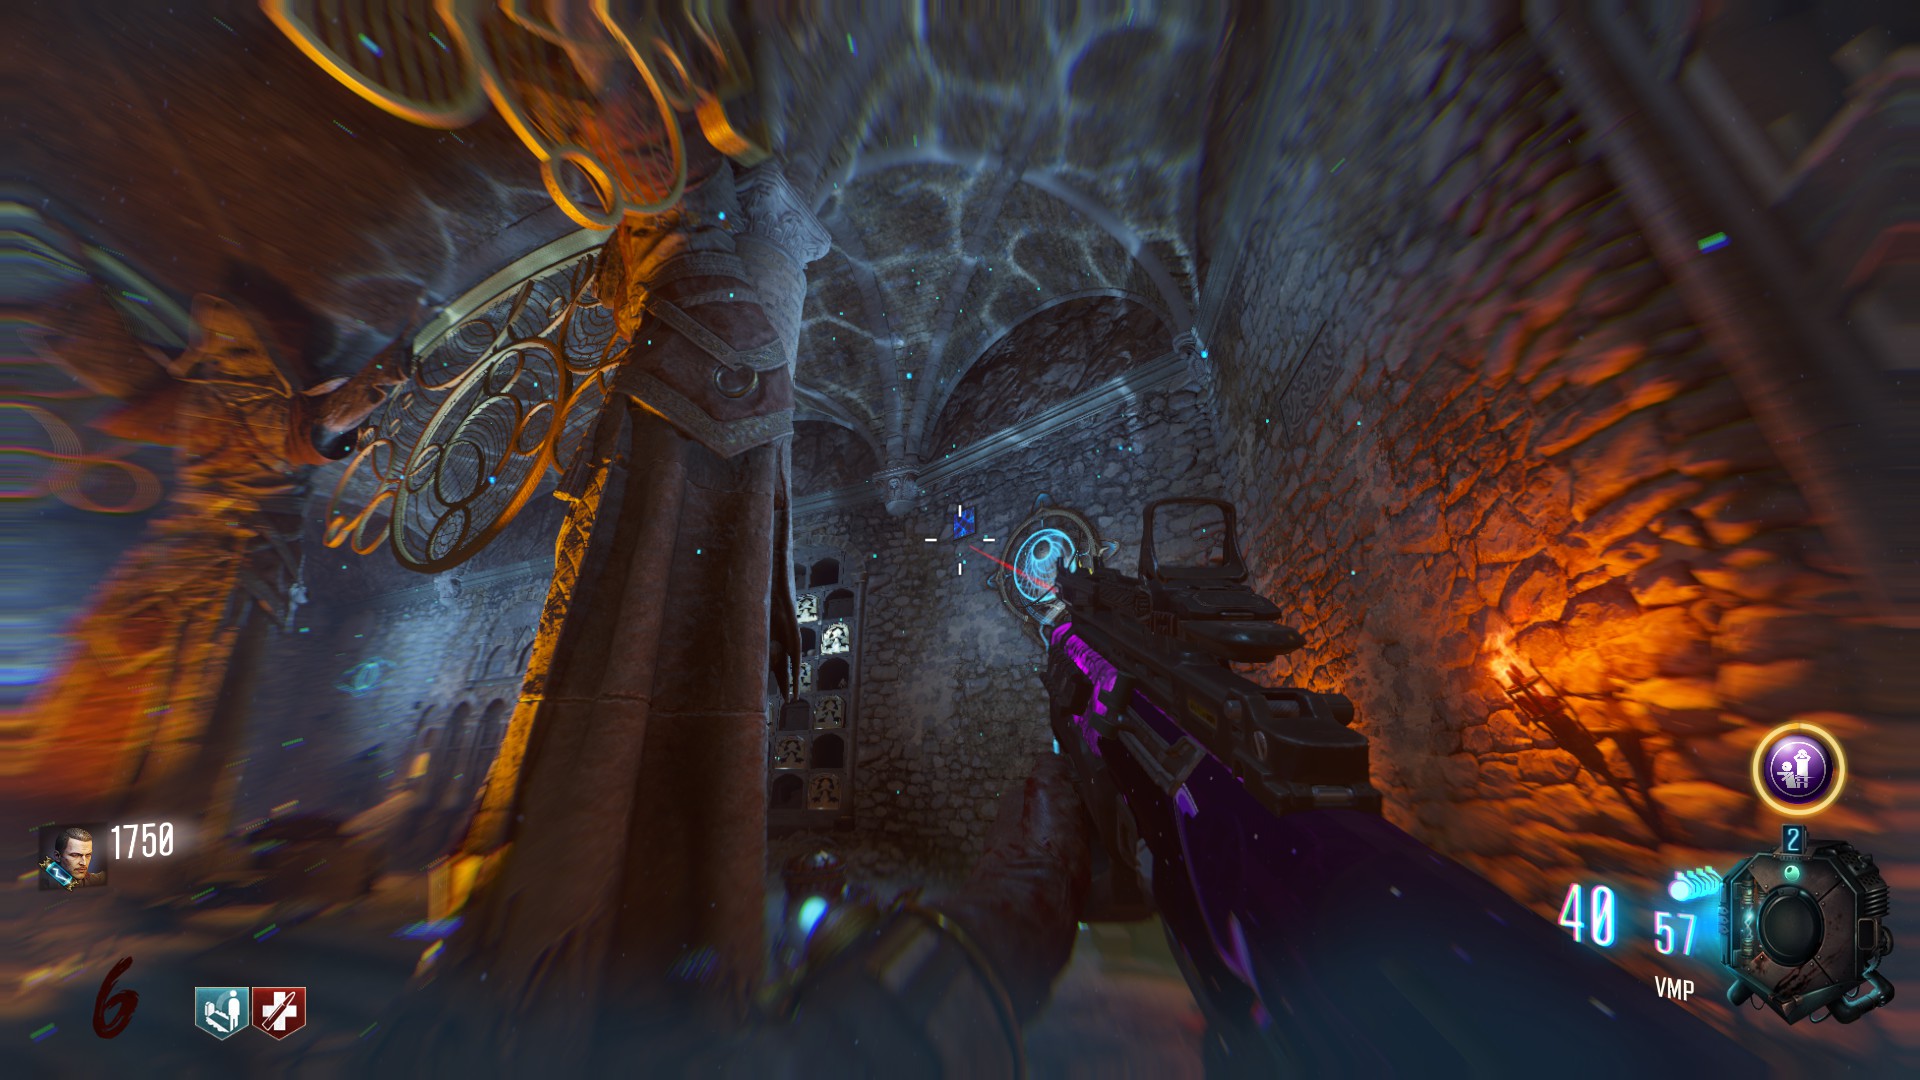
Side easter egg – Free mega gobblegum
Just like in Shadows of Evil, there is a quick little easter egg giving you a random mega gobblegum.
First thing to do is to head to the teleporter room, accessible from the Pyramid underground. There is a plant on a shelf that you must pick up.

Second step requires you to go back in the time. Either do the main easter egg step number 1 and 2 or follow the Plunger steps. (See corresponding parts above and bellow) Once back there, place the plant on the shelf where you picked it up. Simply go back to the plant once in the present time, it will have grown and you will be able to interact with it to get your gum.

Side easter egg – Panzer Soldat Helmet
You can unlock a PanzerSoldat Helmet, reducing damages taken from those bad boys.
To get this, you must kill 3 of them with metal claws hidden throughout the map. The claws are hidden on the ceiling in 3 different locations, you will have to shoot them to make them fall, then shoot another time when a Panzer is coming in front of it. The claw will fly forward, killing incoming panzers.
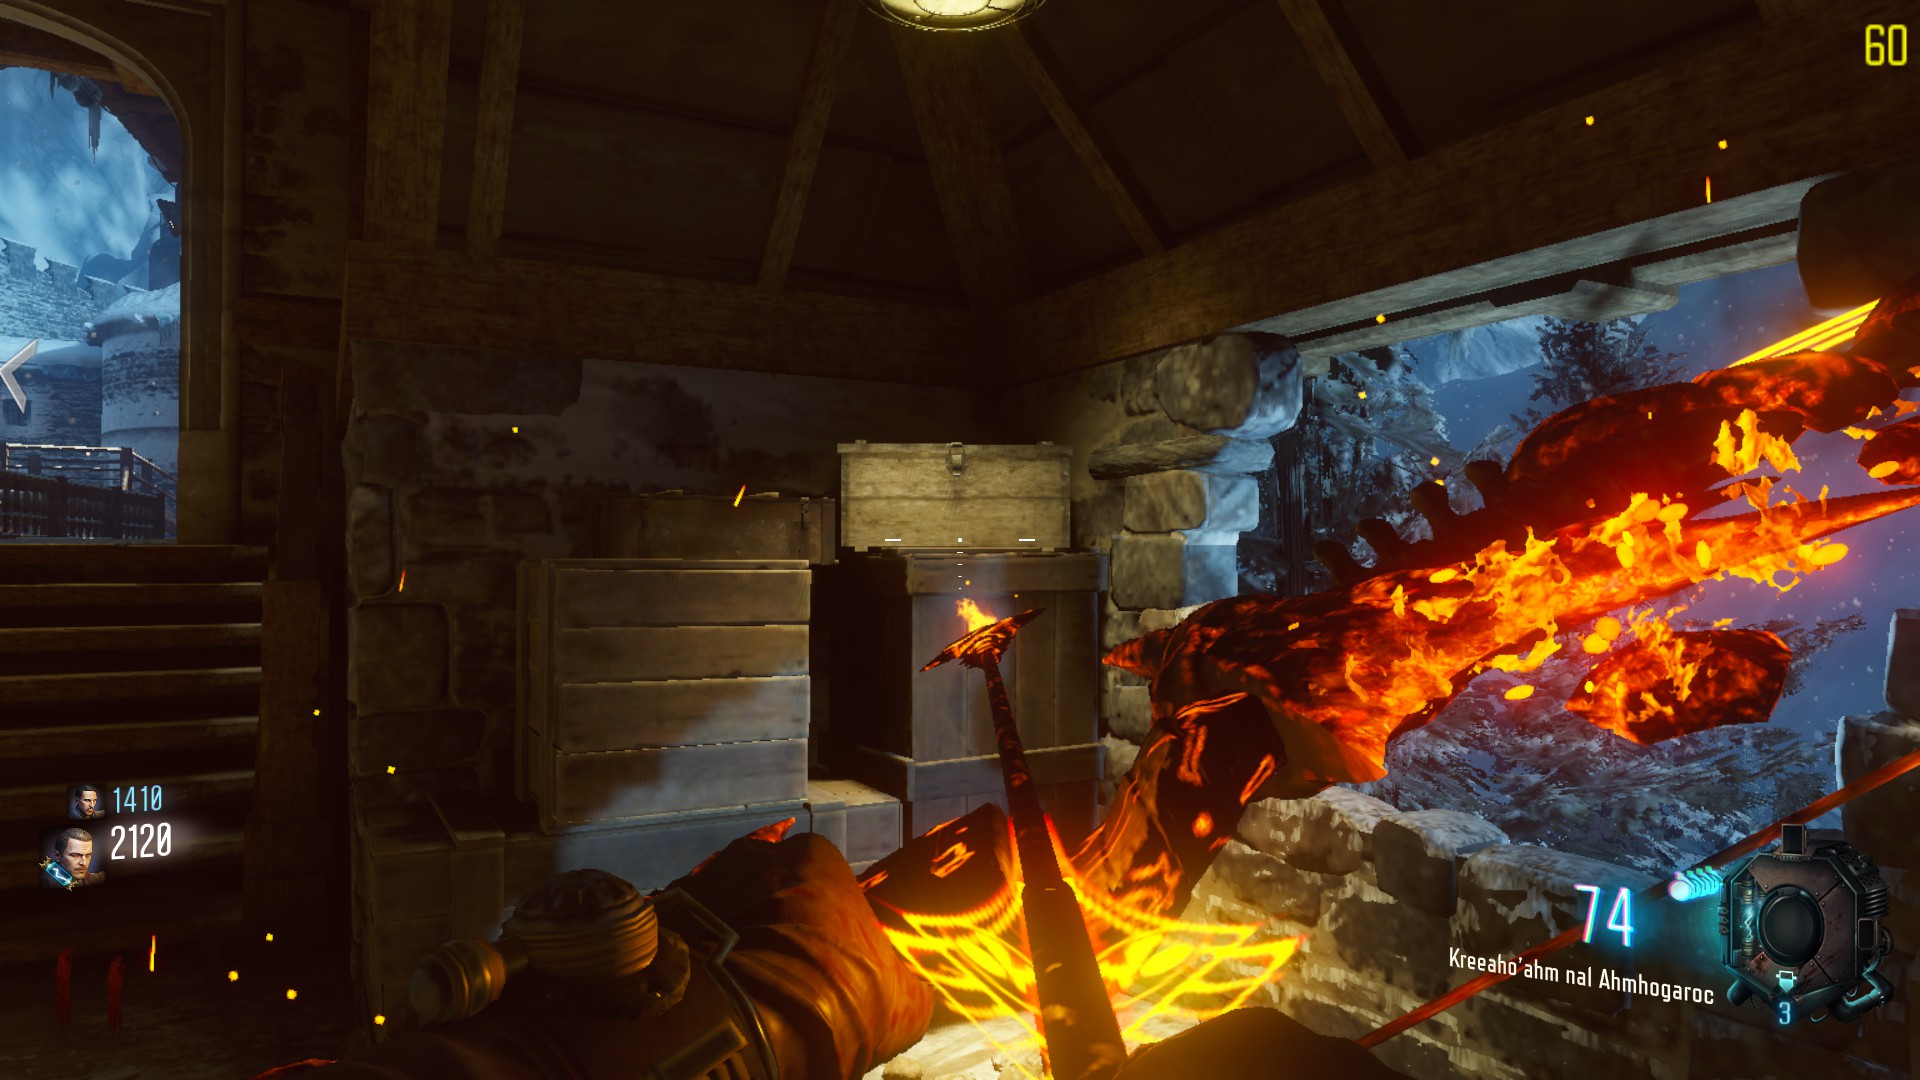
– The first one is on the wooden balcoony, near the first dragon:

– The second one is in the armor’s corridor, in the right corner.

– The last one is in the stone tunnel, beside Quick Revive.

Congratulations, now you are ridiculous. 😀

Side easter egg – Plunger as a melee weapon
A new melee weapon is obtainable in the map, a Plunger, wich can be upgraded to one-shot Panzer soldats.
You must first make sure the fire quest wall has been destroyed, in the clock tower. Then, place the Ragnarock DG-4

Then, head back downstairs and interact with the little lever, next to the door leading to a Wundersphere landing point.

This will make the clock ticking. Interacting with the lever will stop it or restart it. You must stop the clock to 9:35. If done correctly, it will stop on 9:36. Easier in co-op, in solo you should stop the clock at around 9:00 – 9:15. Then reactivate it aand careful count in your head the seconds left. Stop the clock while you are almost done with saying “9:34”. Use gobblegum to slow zombies or use a crawler.
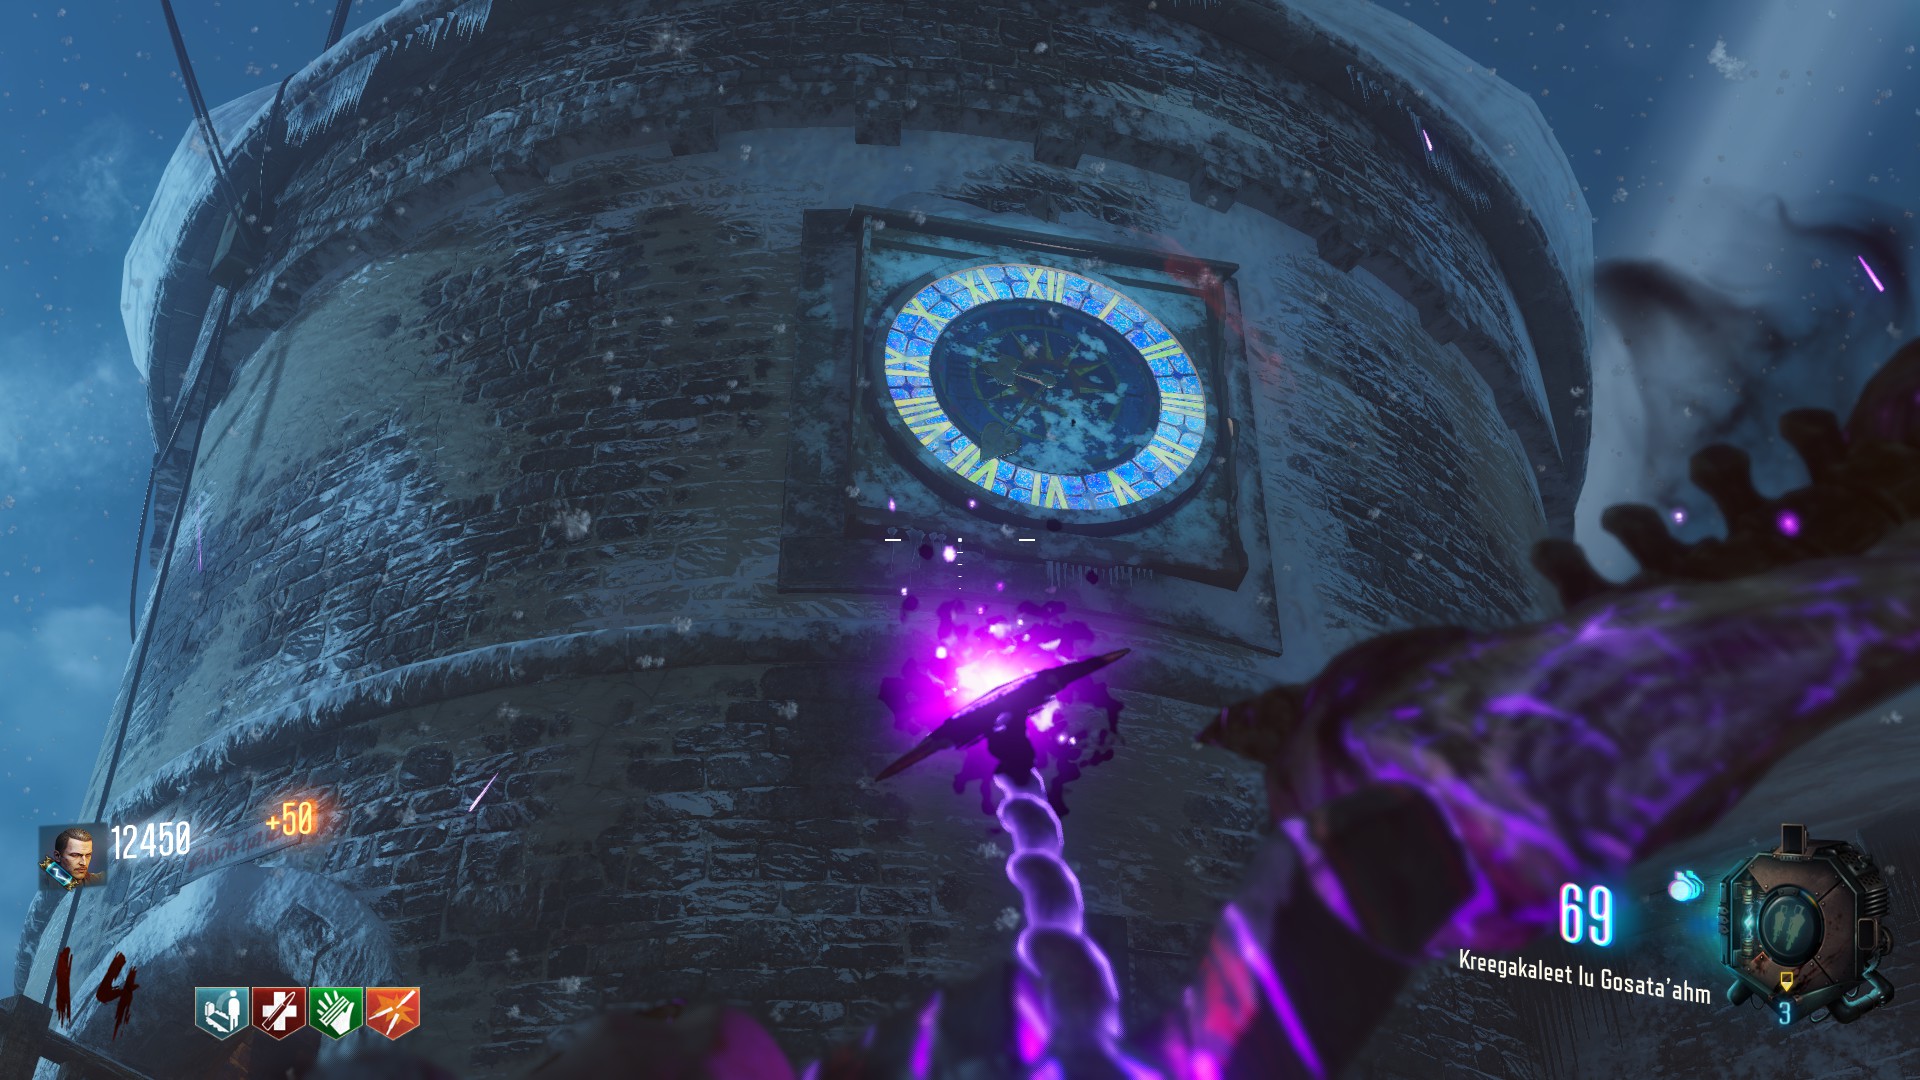
Once done, go downstairs in the pyramid’s room, if correctly done, a glowing energy ball should be above the pyramid. Wall run a few time on the symbol on your right when coming down the stairs. You will eventually be teleported in time.
Just pick up the plunger, in the table at the left of the teleporter.

You can aswell upgrade the plunger in a FLAMING PLUNGER OF APOCALYSPE. Hum, sorry.
To do so, simply kill a Panzer. No matter the weapon. Your plunger will be burning (and one shotting panzers) for 4 minutes.
Side easter egg – Second cable car gondola
When you place a fuse in the spawn’s pannel, you will be able to call the gondola, giving you a small powerup.
There actually is a way to summon the second one, wich gives you much better supplies.
To do so, you must throw all our grenades inside the gondola, before it is leaving, in the beginning of the game.
Following this, you must insert fuses as you would normally do multiple times. The fifth fuse should instead summon the second gondola.
Side easter egg – Secret song 1
The song Dead Again from Kevin Sherwood / Elena Siegman can be played by interacting with three Teddy bears.
- The first Teddy is Samantha’s room sat on a chair.
- The second is at the Rocket launch site. It is inside the truck near the Wunder Sphere.
- The third Teddy is above spawn, next to Juggernog, in the connector leading to the underground room with the pyramid.
Side easter egg – Secret song 2
Another secret music is enabled by interacting with three gramophones. A part of a requim made by Anton Reicha.
They are located:
- By the stairs, between the pyramid and the grave’s room.
- Besides Speed cola in the Church.
- On a shelf in Samantha’s room, on your left when coming from the first dragon.
Side easter egg – Secret song 3
Another secret music can be triggered by interacting with a music box in Samantha’s room. It is a modified version of Samantha’s Lullaby.
The box is located in her room, on a table next to her bed.

Side easter egg – Skeletons instead of zombies
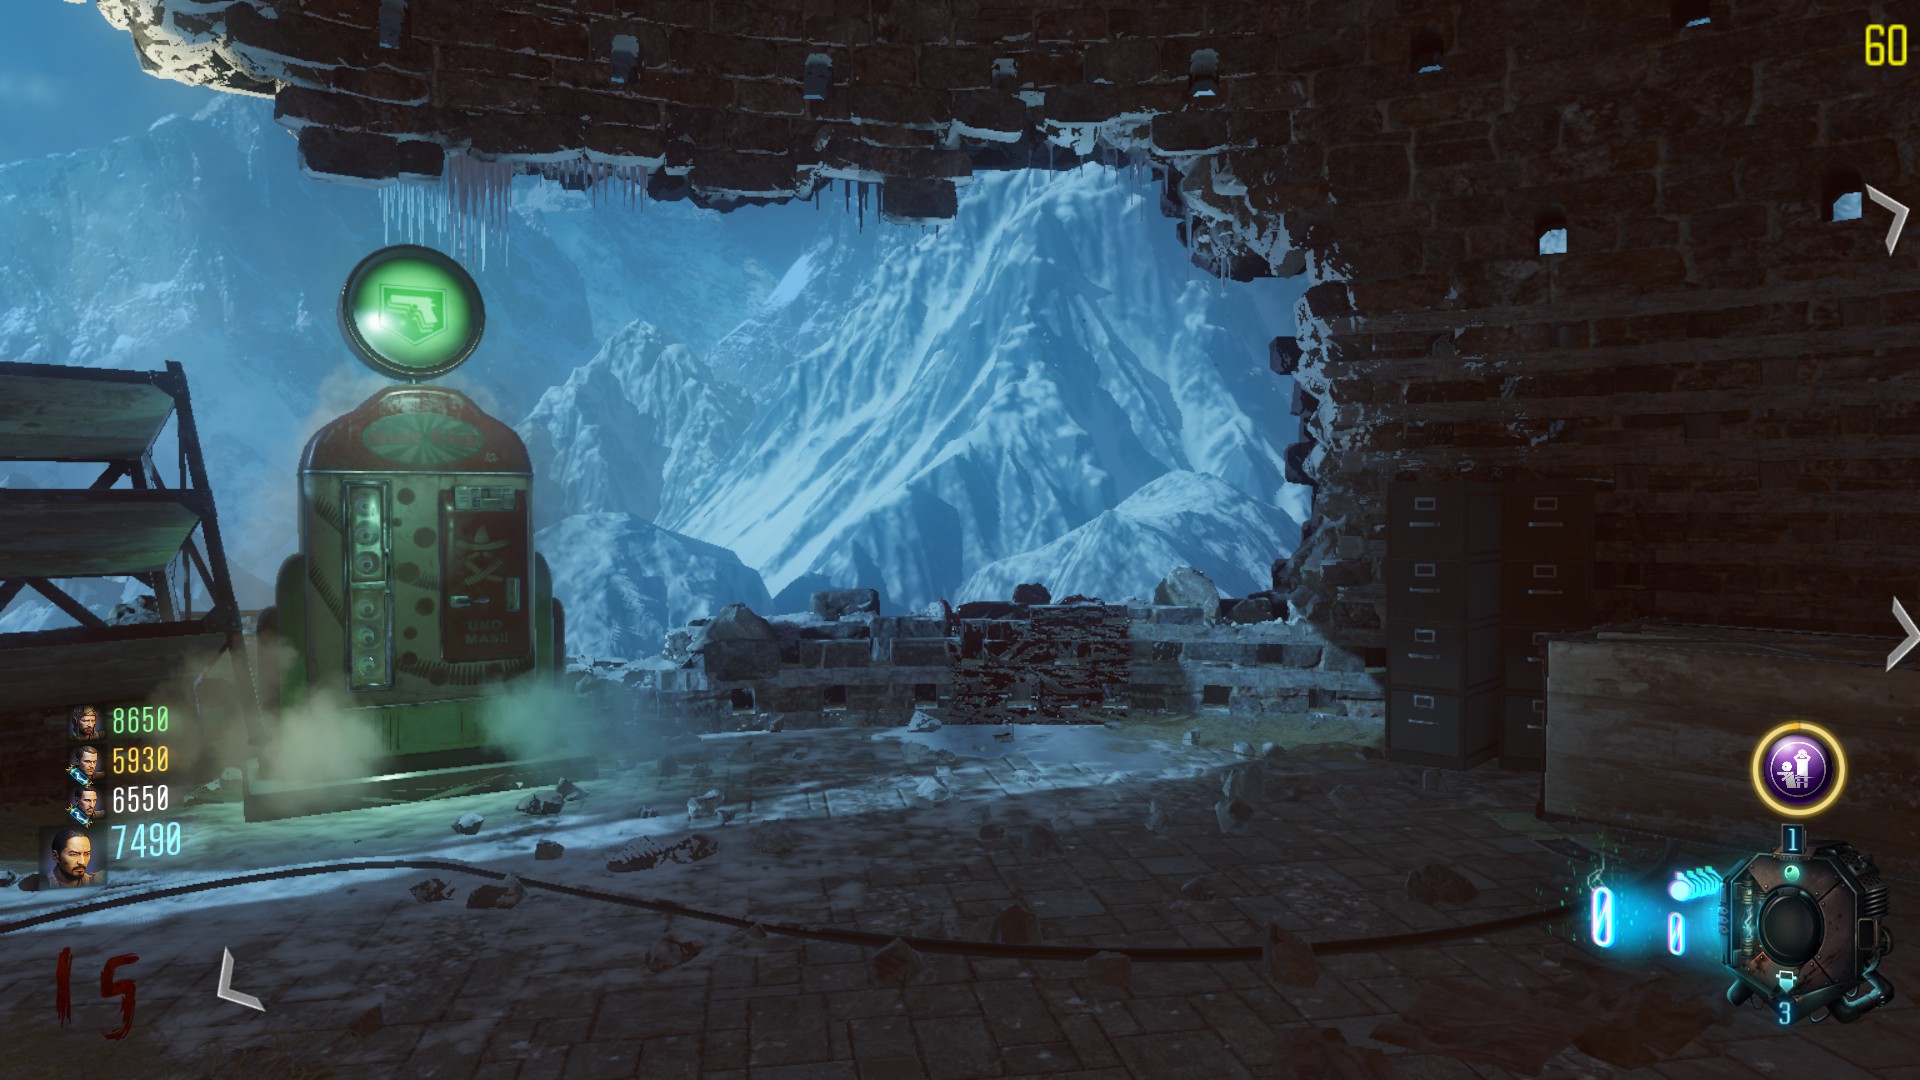
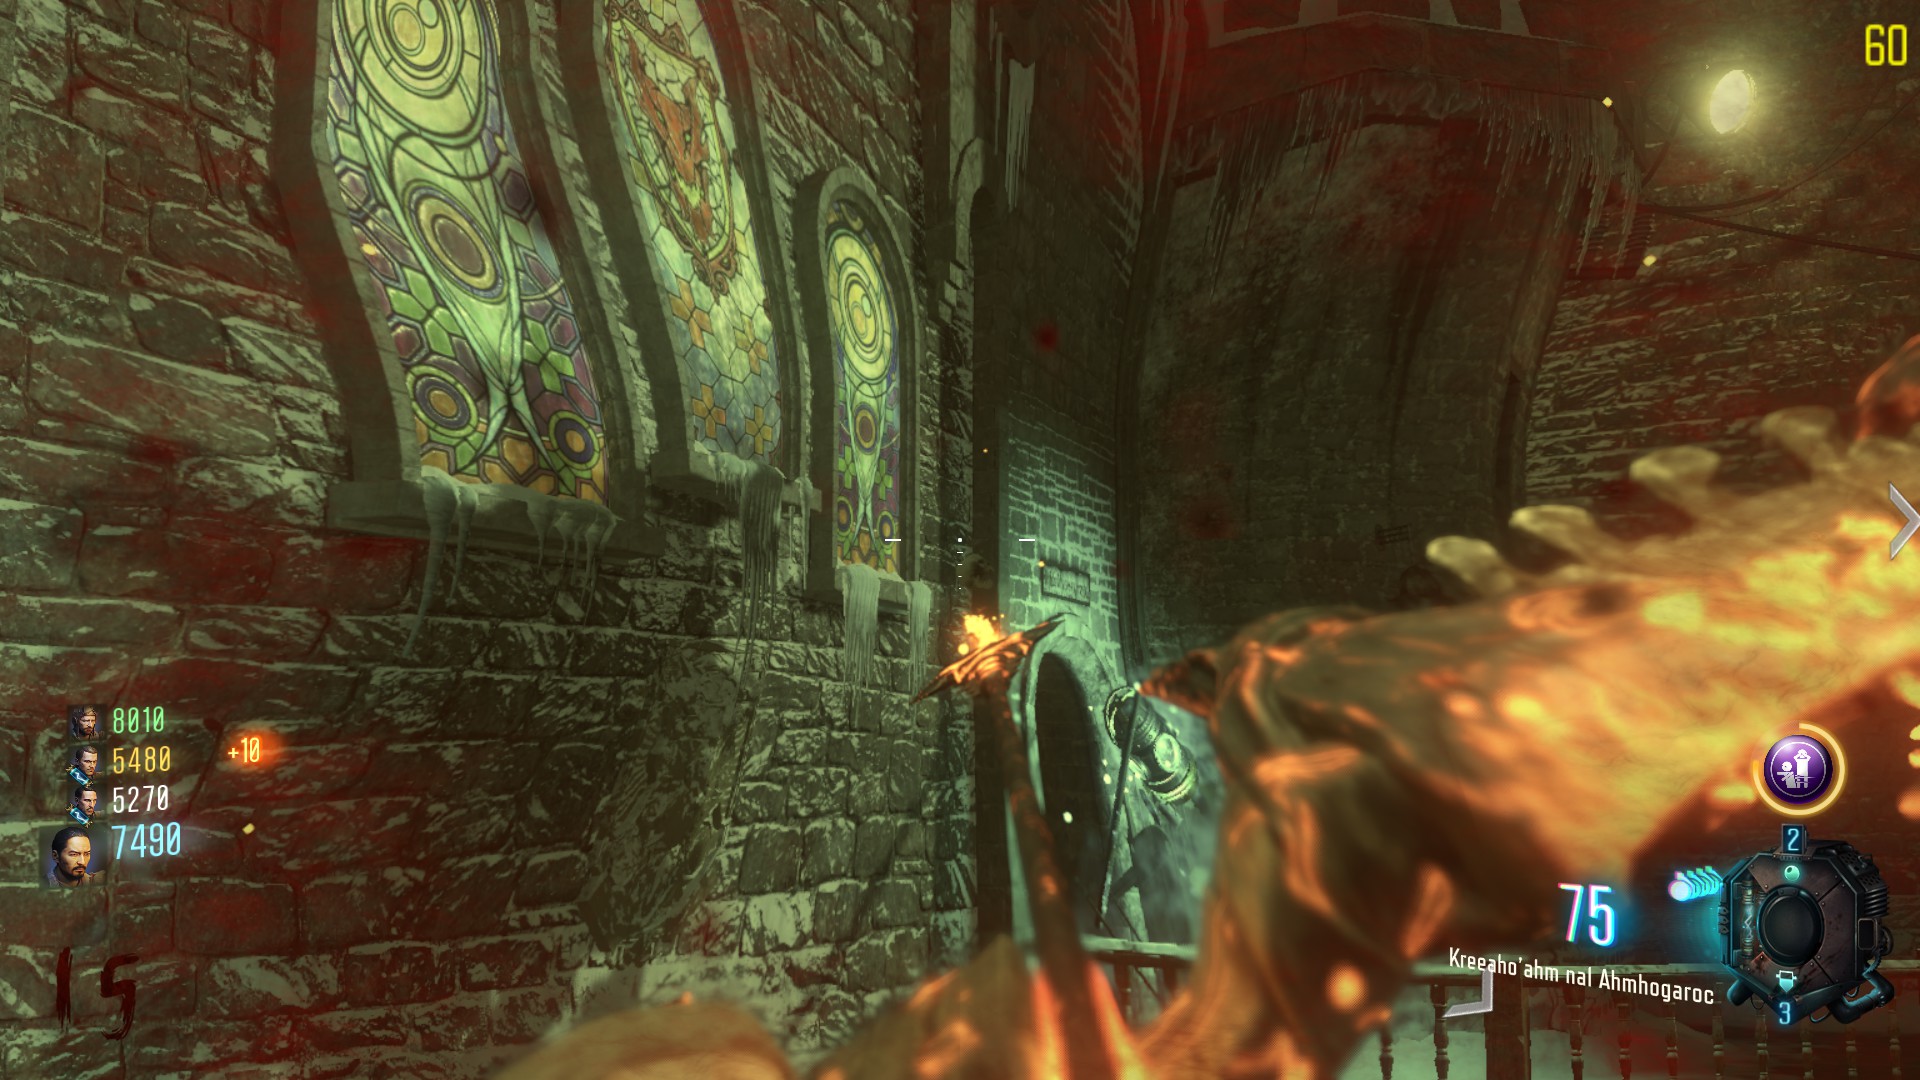
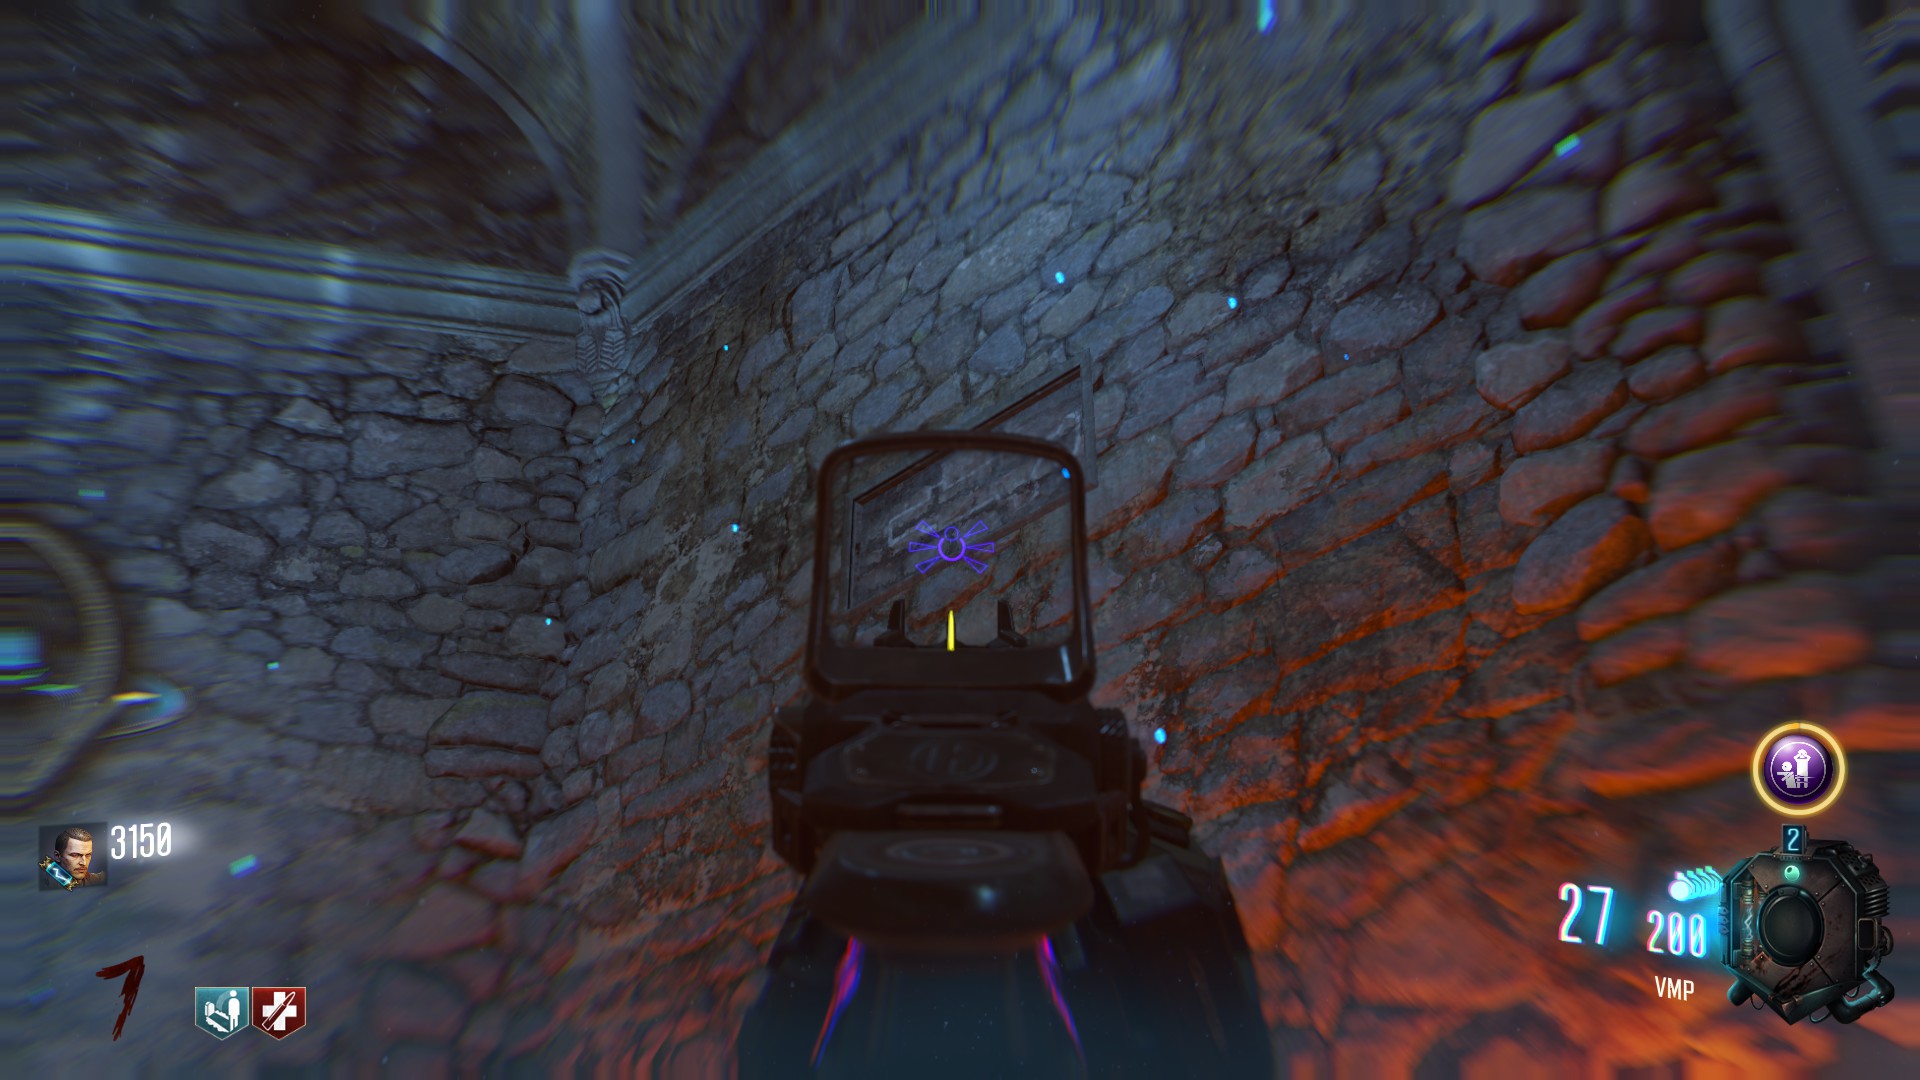
You can in Der Eisendrache, replace the zombies with skeletons who are normally seen during the boss fight. You must shoot 3 skulls with the wrath of the ancient, but you can see those skulls only while using the gobblegum “In plain sight”.

The first skull is right next to Mule kick perk:
The second one is in front of the central stained glass of the church:
The third one is on the wall next to Double-Tap:
Once you’ve taken the three skulls, all the zombies will now spawn as skeletons with brand new skins and sounds. This is useless but funny. 😀

If you want to stop it and have zombies back, just head to the church and interact with the three skulls that are on a chair, in front of the dragon. If you want to have them back again, just go find the skulls once more.

Side easter egg – Unlock the BRM wallbuy
Light machine gun purchasable from the wall for 1800 points. You’ll have to do a little job first tho.
Head underground where the anti-gravity device is located. Once activated, you will have to wall run on every Blue squares on the walls. You can actually fall and touch the ground in the process.
Once done you’ll be able to wallbuy it in the same room, next to the crafting table.
Achievements

Difficulty: Easy
On early rounds, head to a wundersphere, while being followed by zombies. Prepare a grenade and throw it right before using the wundersphere. The zombie should blow up, while you’ll be in air.

Difficulty: Medium
Check the part of the guide above, you must craft every upgraded bows. Then, just pick them up.

Difficulty: Easy
Just activate and use all the 4 Wunderspheres, two times each.

Difficulty: Hard
You “simply” have to finish the entire easter egg of the map. (See parts above)
Difficulty: Easy
You have to kill in a single game, a zombie, a Panzersoldat, an electrified zombie and a burning zombie with a Death machine. Hit round 12 (Where the first Panzer will spawn) and train without killing as much as possible. When he tries to attack you, the Panzer will electrify and burn some zombies. When you think you’re good, activate the secret Death machine powerup (See part above) and kill everything.
Difficulty: Medium
Trap a panzer with the « right click » of your Ragnarock DG-4, then burst him down before he can free himself.

Difficulty: Easy
The wallbuy is unlocked after a short step and costs 1800 points. (See part above)

Difficulty: Easy
Described in the first parts of this guide above.

Difficulty: Easy
You can either use traps, the Death Ray or the Storm bow.
Difficulty: Easy
Craft the Ragnarocks, have two friends, let them die in the same place, then use right click with the Rag’ on the ground and revive your buddys.
Last Thoughts
Hope this guide overall helped you. Somehow.
If you seek assistance for the other zombie maps as well, i wrote guides for every Black Ops III / Zombie Chronicles maps. Here are a few links ! 🙂
Thank you very much for reading.
Updates
01/07/2020: Creation of the Updates section. No records before that time 😡
02/07/2020: Complete overhaul of the guide, everything has been properly rewritten, from guide’s description to the end. English and content mistakes corrected. Section names renamed for a better ergonomy.
Added following sections:
- Side easter egg – Disco ball
- Side easter egg – Death machine powerup
- Side easter egg – Free mega gobblegum
- Side easter egg – Second cable car gondola
- Side easter egg – Secret song 2
- Side easter egg – Secret song 3
- Side easter egg – Unlock the BRM wallbuy
07/07/2020: Added Last Thoughts section with links towards other guides.
21/07/2020: Added a delicious Cheat sheet infography for the main quest
29/07/2020: Added all missing screenshots

![Guide for Der Eisendrache [2020 updated] for Call of Duty: Black Ops III](https://steamsolo.com/wp-content/uploads/2021/07/guide-for-der-eisendrache-2020-updated-call-of-duty-black-ops-iii.jpg)
