Overview
This guide serves as a beginner guide for players familiar with the Megaman series, but new players not experienced with the Megaman series can also use this guide as an orientation of sorts.
Guide Introduction
I made this guide because I was funneled to 20XX after the disaster that is Mighty No. 9, but was a little confused by 20XX. You will find many comparisons to the Megaman X series which should really help you understand the game and its rich content.

Beyond the basics, I have also included some strategy that you can employ for the game, which should be useful for MMX veterans and people not experienced with the series alike.
Introduction to 20XX
The Megaman and Megaman X series has traditionally been a story-driven series. You’re given a bad guy, you choose a character, and you fight your way to him to save the world. There isn’t much replay value, unless you just want to try out different weapons on different bosses to see if they’re weak to the weapons.
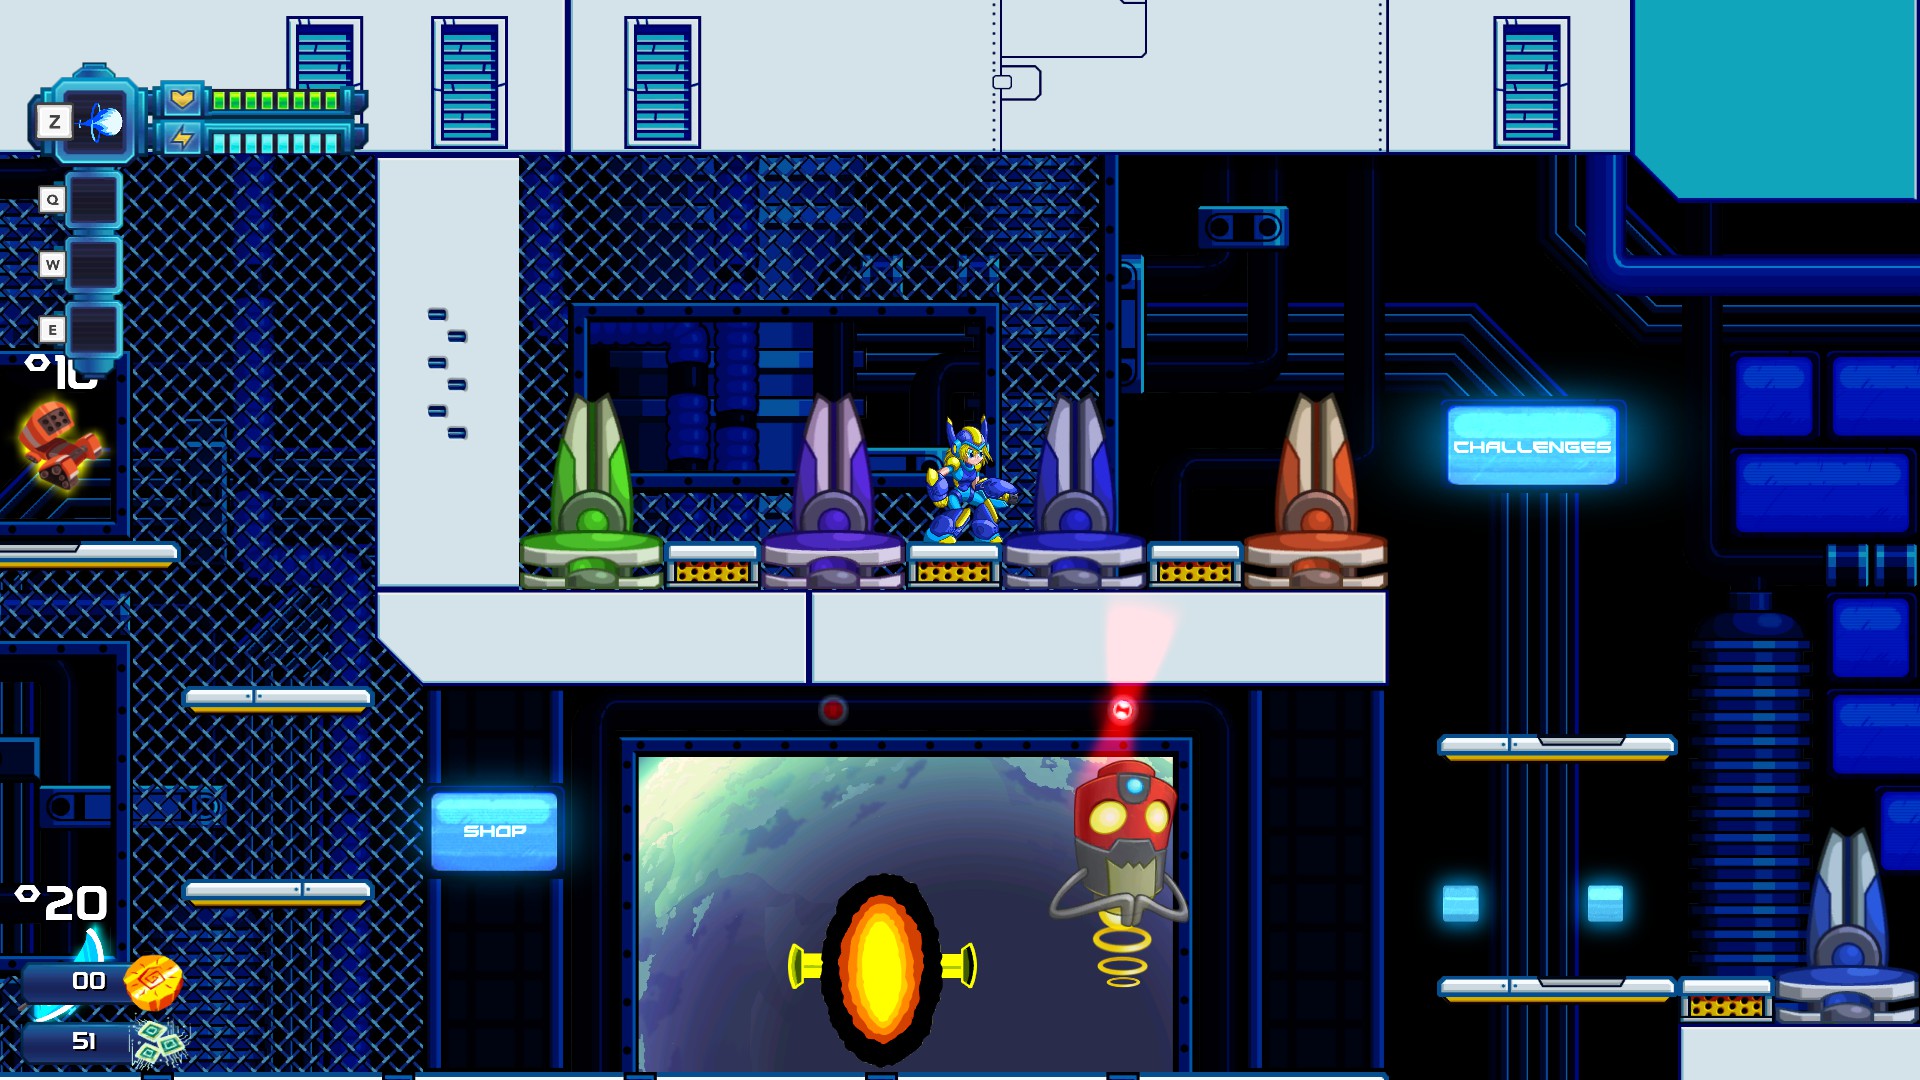
Enter 20XX. 20XX is a roguelike game, which means it is specifically designed to provide massive replay value. When you’re not on one of your runs, you will be in The Ark, which is where you can make your unlocks and view items that you have already unlocked.
You can change between Nina and Ace any time between runs.
You can choose between doing a normal run, a casual run, or a challenge run. If you want, you can even select special options to make the game more difficult.
You can view the items that you have unlocked so far.


Characters of 20XX
Where the Megaman X series has X and Zero, we have Nina and Ace.


Both Nina and Ace control very similarly to their counterparts. Nina has her long-range buster that shoots energy shots at enemies, while Ace has his short-range saber that swings in a 45 degrees in front of him.
However, Ace has gained the ability to charge up his A-Saber, which, as you would expect, gives his opening slash increased damage.
Powers and Weapons
20XX uses a combination of the abilities system present in all the Megaman and Megaman X games, as well as the weapon system present in Megaman X8, where Zero can equip different weapons with different range, damage, speed, etc.

Items of 20XX
Currencies
Soul Chips


Otherwise, Soul Chips can also be used to purchase Augments that you have already unlocked for a (usually) lower price, which lasts for the entirety of your next run. I recommend only buying these if you have any leftover Soul Chips after purchasing the unlocks, or the unlocks do not fit your playstyle.
A typical full-run should net you 40-50 Soul Chips, depending on your luck. The difficulty modifier Endless Mode is a great way to farm Soul Chips. Once you gain enough traction through sufficient upgrades (and ideally with a full set of Dracopent Core Augments), you can blow through levels very quickly. Going above level 20+ should net you at least 200 Soul Chips.
Nuts

Tokens


Tokens are a secondary currency that are rarer than nuts. These give you the option of playing a slot machine that appears in between levels sometimes.
The slot machine will net you even more Nuts, health, energy, Augments or even Core Augments.
Pickups[20xxwiki.batterystaplegames.com]
Pickups are similar to the health and energy drops you get in the original series. A new addition in 20XX is armor drops, where picking them up will give you armor points. Getting damaged will remove your armor points first before your health. Other than these, you also get currency drops.
Augments[20xxwiki.batterystaplegames.com]


Stores will also spawn with a green machine that lets you convert 3 nuts to 1 HP in most cases, so if you’re in danger of dying, make sure to visit the machine when you come across the store.
While most Augments give straight-up benefits, some also debuff you in certain ways. For example, Glass Cannon gives the following:
You can have too much jump height and movement speed, as they stack infinitely. Do not pick up too much of these as they make your character much harder to control.
Core Augments[http//20xxhttp]
Core Augments are similar to the armor pieces you used to find in the MMX series. They behave more similarly to the armor pieces from X1 to X3, in that you do not need the full collection to gain the benefits of the part.

Core Augments can also be found from Slot Machines or in stores.
In the original series only X gets the armors while Zero gets nothing. However, both Nina and Ace can use the Core Augments.
Using 4 parts of a set will also grant you a set bonus unique to each set, with the set bonus adhering to the general theme of the armor.
Notably, there is no Core Augment for the arms that lets you charge up powers. The closest you get is the Owlhawk set bonus (see below).

The Armatort set makes the player immune to spikes, lava and lasers. This is the defensive armor.

The Dracopent set makes all normal attacks become a level 1 charged attack. Attacks can be charged to the second level still, but don’t do so any faster. This is the offensive armor.

The Owlhawk gives powers extra effects that differ for each power. These powers are referred to as “juiced up”. This is the armor specializing in attacking using powers.

The Oxjack set gives infinite airdash. This is the armor specializing in speed.
Check out the video below to see how the powers evolve with the Owlhawk set bonus.
Prototypes

You will very rarely come across a System Restore Augment, which will remove all the negative effects of Prototypes that you have picked up.

Powers of 20XX
[deprecated until impending changes to powers are made as at 17/07/2016]
Enemy Strategy for 20XX
Take note: There are two names for each map
Agnisort: Superhot Facilty
Frostor: Arctic Datacore
Skytemple: Stonetemple Skycity
Vaculab: Jungle Station

Pattern: Dashes slowly in any of the 4 directions depending on your position relative to them.
Comments: A fun homage to the original Chill Penguin! Very easy to defeat, but you may find them in very annoying areas (read: narrow vertical passages), especially if a Soul Chip variant is involved. Bid your time and let them get out of there before fighting them.

Pattern: Just follows you around like the buggers they are.
Comments: Cannon fodder basically. They don’t have any attacks, but will keep flying towards you. Can be annoying when you are trying to jump platforms, so clear them beforehand.

Pattern: Runs around and explodes if it gets near, resulting in a straight 4-way attack, a diagonal 4-way attack, or a 10-way (?) attack.
Comments: These guys have little health, but make up for it with their difficult-to-dodge explosions. Ace players will need to have their attack ready.

Pattern: Shoots 3-way projectiles in set intervals. Red variant shoots homing projectiles.
Comments: Fairly annoying as their projectiles are very big. These guys also have a ton of HP, which makes things worse. Keep your distance while dealing with other enemies if possible.

Pattern: A vertical or vertical + horizontal screen-wide beam attack if you get above or below them.
Comments: These floating guys are pretty straightforward, but can quickly get very annoying if you’re dealing with multiple of these or with other enemies, especially in higher levels of Skytemple. I prefer to aim for these guys first.

Pattern: Does a 3-way attack in front at set intervals.
Comments: A very unique enemy that ranges from trivial to annoying to deal with depending on the variant you encounter. The black-red variant has no solid neck, so all attacks have to be directed at the head. Nina will have to jump to hit it with uncharged shots; charged shots will hit the head on level ground. Ace should have no issues, but be wary of the attacks. All other variants have a solid neck which will allow you to dispatch them very quickly.

Pattern: Homes on you and shoots projectiles. Black variants shoots a LOT of bullets at you.
Comments: Fairly easy to defeat (especially as Nina), but the attacks may be difficult to dodge. Ace players are out of luck if they meet the black variant in a corridor.

Pattern: Divebombs and suicides when you get below them.
Comments: Negligible enemies. These are great to have spawn when you’re in a Glory Zone that requires you to clear the enemies swiftly.

Pattern: Rolls around (no, really!). Some variants will split into multiple smaller tyres like high level Rollster.
Comments: Fairly easy to defeat. Ace players need to look out for the splitting variants in case you get caught with your pants down during the delay after the last hit of your 3-hit combo.

Pattern: Shoots 1-way or 3-way projectiles that follow an arc. They also switch between 3 angles. Comments: The projectiles are fairly slow-moving, so predict their movement and avoid accordingly. They can be very difficult to deal with on high level Skytemple, and they tend to be placed on very narrow platforms, so you have to kill them from other platforms before you can advance. Ace has a slightly easier time with these, especially if you have hoverboots.

Pattern: Brings up a shield that reflects your attacks in various forms.
Comments: These are the worst. They are very predictable, but if you’re playing Nina and you’re trigger-happy like me, good luck. Bonus points if you’re in a no-damage Glory Zone. Don’t use AoE powers if there are any on the screen, unless you’re confident you can dodge the projectiles. The blue variant is very dangerous in some situations because their icicles are very fast.

Pattern: A 1-way or 3-way short-range attack if you are near them.
Comments: These guys are straightforward to deal with for Nina, since she can simply shoot from afar (unless you’re using the Scatterblast), while Ace has to move in to melee them. At lower levels when Ace doesn’t have as much damage, these can be annoying, especially as Soul Chip variants have very high health. Take note that you can attack the tongues that these guys attack with.

Pattern: Shoots projectiles that shoot up from the ground in a wave motion at set intervals.
Comments: These guys are very predictable, but have surprisingly high HP, so don’t overcommit with your attacks (especially with Ace) and jump away if you expect them to attack soon.

Pattern: Brings up a shield that reflects your attacks in various forms. Periodically drops his shield to do a long-range attack.
Comments: Another one of my favourite to hate on. Very predictable, but you end up taking a lot of damage if you’re not careful. Calm down, wait for them to bring their shield down, start attacking and prepare to jump out of their attack. Take note when their attack is still out, standing in front of him and touching the wire of the spike will not damage you. Take this time to deal heavy damage to them. The red-yellow variant has a screen-wide counterattack which is fast, but the hitbox is a little iffy. Depending on your position, you may not get damaged even if a part of you is in the beam.
Boss Strategy
Recommended Boss Order
As with the original Megaman and MMX series, bosses are weak to certain powers. Below is a table of weaknesses, lifted lovingly from this awesome guide.
Having said that, I don’t recommend following the order based on their weaknesses. We also need to take into account the level difficulty and the difficulty of the bosses at a high, as well as a low level.

Firstly, here is my recommended order. Think of it as a priority list, because you may not be able to get the same boss sequence. The order is also malleable to an extent, depending on your own perceived boss difficulty. For example, I personally find Perforater extremely annoying, but Kur to be very easy, regardless of level. That is how I arrived at the final order.
- Eternal Star
- The Perforater
- Vile Visage
- Rollster
- Death Lotus
- The Twins
- Shatterbeak
- Kur
Eternal Star comes first because he is very, very, very cheap on higher levels. You are essentially playing a bullet hell game, except there’s also a guy who is specifically homing on you. The sooner you can get this guy out of the way, the better. Eternal Star is also here to knock out 1 of 2 Skytemple levels early in the run. Skytemple is much easier at a low level, with lesser enemy density, lasers and moving platforms.
The Perforater is a fairly simple boss if you are able to consistently dodge the bullet hell-like projectiles. I always get too engrossed in doing damage that I mess up my dodges and take damage. If you’re like me, you will find The Perforater to be very annoying, especially when he gains a soft enrage at high levels (he turns red and attacks very quickly).
Vile Visage is a multi-layered boss that I personally find difficult on higher levels not because of his attack patterns, but because he seems to gain so much health that it becomes very fatiguing to fight him. His red-eye weak spot comes up too rarely to counter the health increase.
Rollster splits after you kill him once. At higher levels, he splits again. If you’re not careful with which copy you’re attacking, you end up having to fight 4 of them at the same time. I prefer not having to deal with that. At the recommended level of around level 4, I believe he only splis once.
Death Lotus’ main difficulty comes from dodging his barrage of projectiles as you platform upwards. This in itself is not actually that difficult, but it does makes the fight a little prolonged. If you prefer to fight him at a high level, feel free to do so. He just has higher health and does the barrage more often.
The Twins is another bullet hell-esque boss, but at a very more manageable level than high-level Eternal Star. Projectiles can and will dissipate after travelling for a set distance. They also move slowly, which is the reason why The Twins is ordered so late. Take note that at higher levels, you need to defeat both twins within 10 seconds of each other. Otherwise, the dead twin will revive to the health of the living twin (to be confirmed).
Shatterbeak’s difficulty doesn’t change much as he levels up. He just goes faster, there are flying spike projectiles (like the one you find in Arctic Datacore that don’t do damage until they shoot out) laid around the room, and his wind-ice blocks phase increases from 2 times to 3 times.
Kur’s difficulty also doesn’t change much. His speed increase is more noticeable though. If you took Vera, he becomes a walk in the park. Otherwise, just beat at him while dodging. Just remember to default to the middle two top and bottom platforms while dodging his horizontal screen-wide attack (a little hard to describe; you’ll know which one it is once you see it). Skytemple at a high level can be a little overwhelming for those newer to platformers. If this is too difficult and/or you don’t have enough movement upgrades, feel free to bump Kur upwards.