Overview
A guide for creating an output template for total war so that you can properly export textures from Substance Painter. I did not come up with these parameters, but seeing as no pictorial guide exists, I figured I would make one.
Introduction
This guide assumes you know how to use Substance Painter, and know how to convert and add the texture files to a pack file. With this tutorial I am using a custom model, but if you want to use an ingame model and modify those textures using substance painter you can do that too. Special thanks to Phazer for testing and getting the model ingame and for the development of the RMEditor tool.
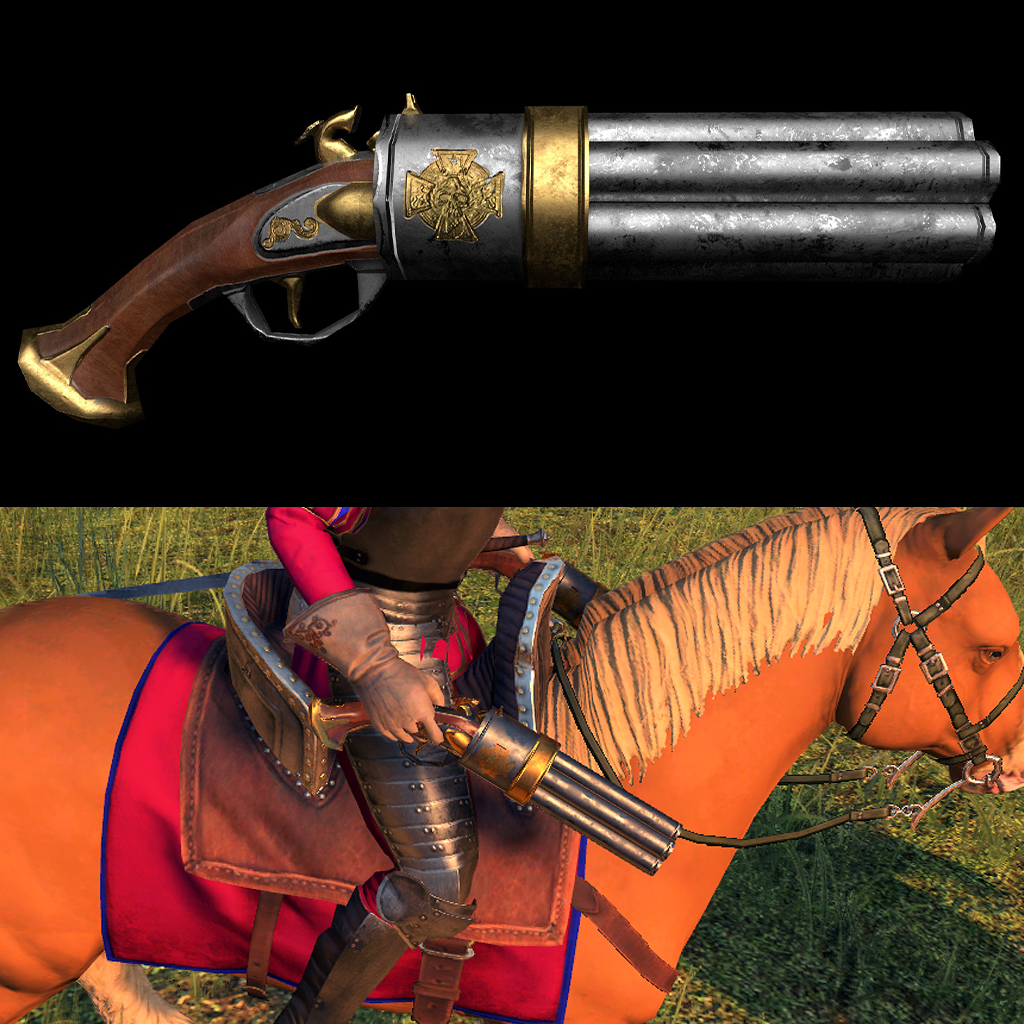
Render of the Model
This is a render of the model in Substance painter, this is what we want to replicate in the game engine.

Navigate to the Output Templates Section.
Locate export textures in the file tab.
Switch to the output template tab.


Create a new preset and name it Total War.
Press the plus symbol circled, then click on the new preset and rename it.

Add the Diffuse map.
Press the RGB+A button to create a new map, name it $mesh_diffuse. Drag the diffuse section from converted maps to the RGB icon, when given the option press “RGB channels”, not “From Diffuse”.
Drag the Opacity section from input maps to the A icon, when given the option press “From Opacity”.

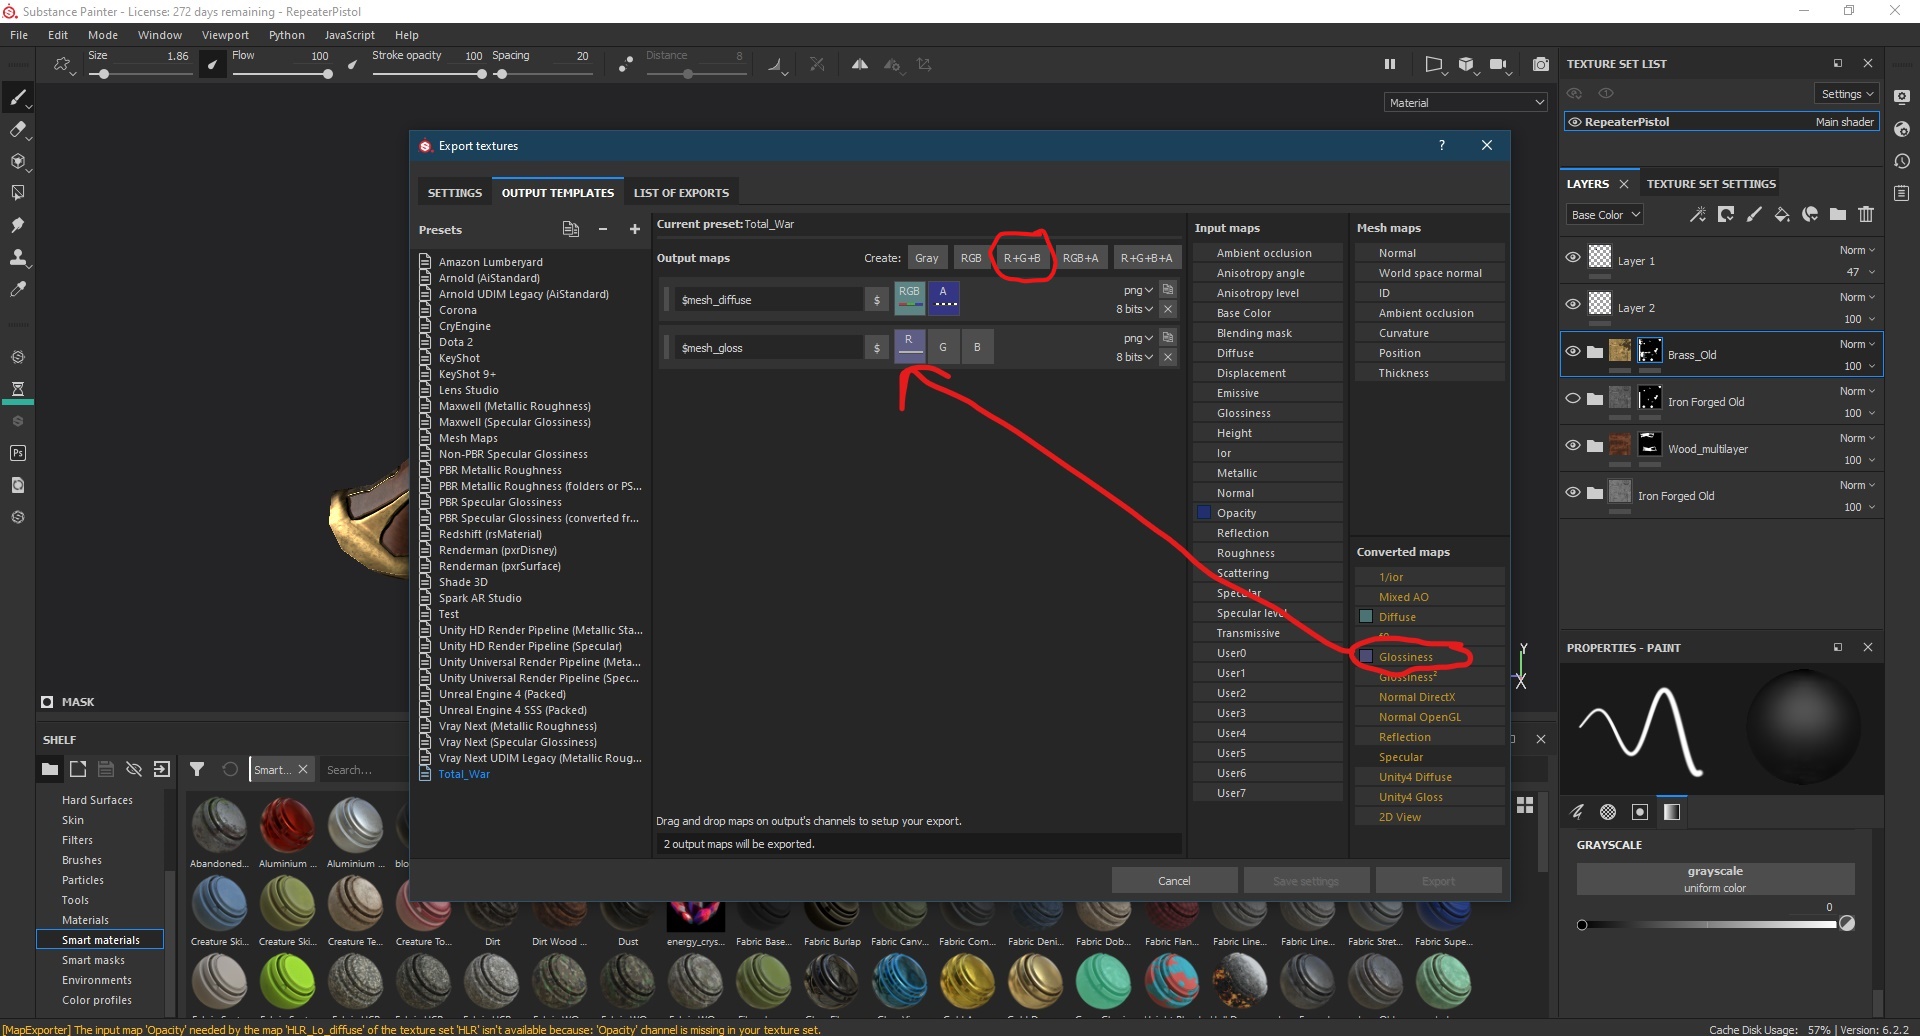
Add the Glossiness Map.
Press the R+G+B button to create a new map, name it $mesh_gloss. Drag the glossiness section from converted maps to the R icon, when given the option press “grey channel”.
Leave the G and B channels empty.
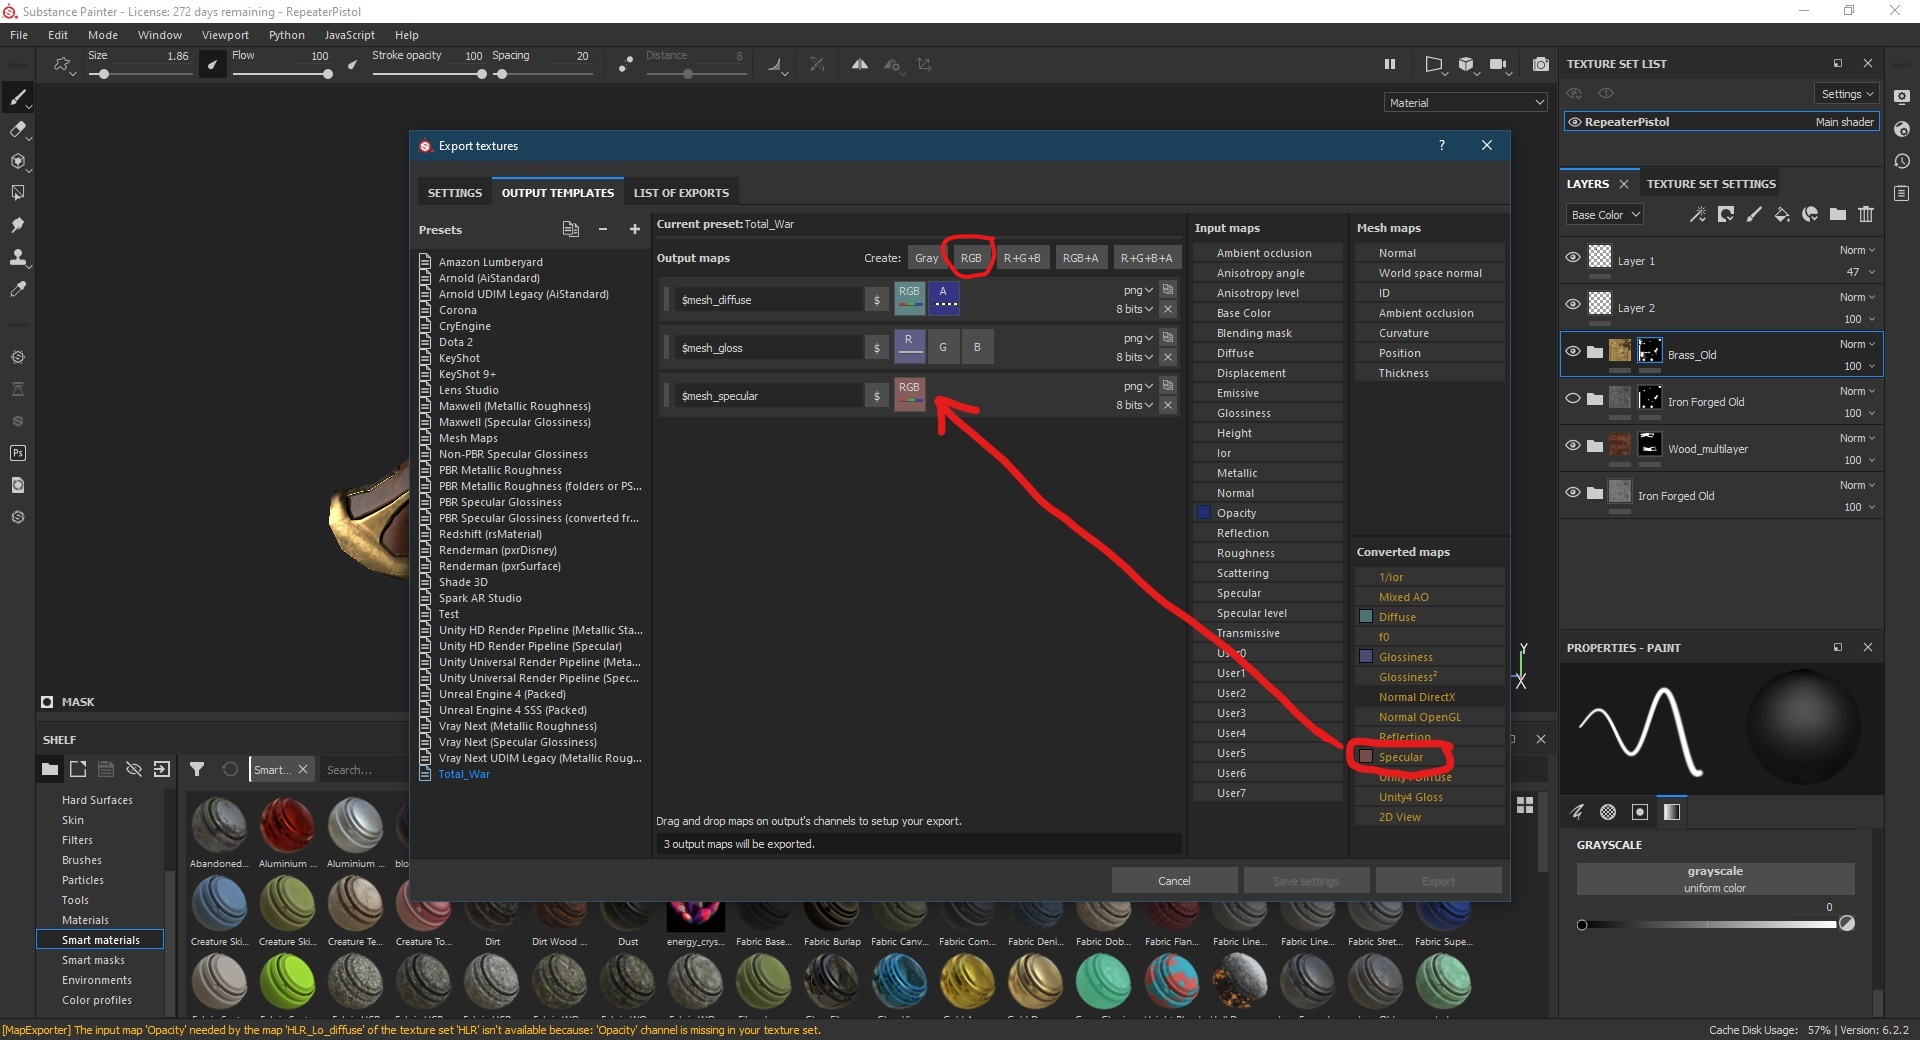
Add the Specular Map.
Press the RGB button to create a new map, name it $mesh_specular. Drag the specular section from converted maps to the RGB icon, when given the option press “RGB channels”.
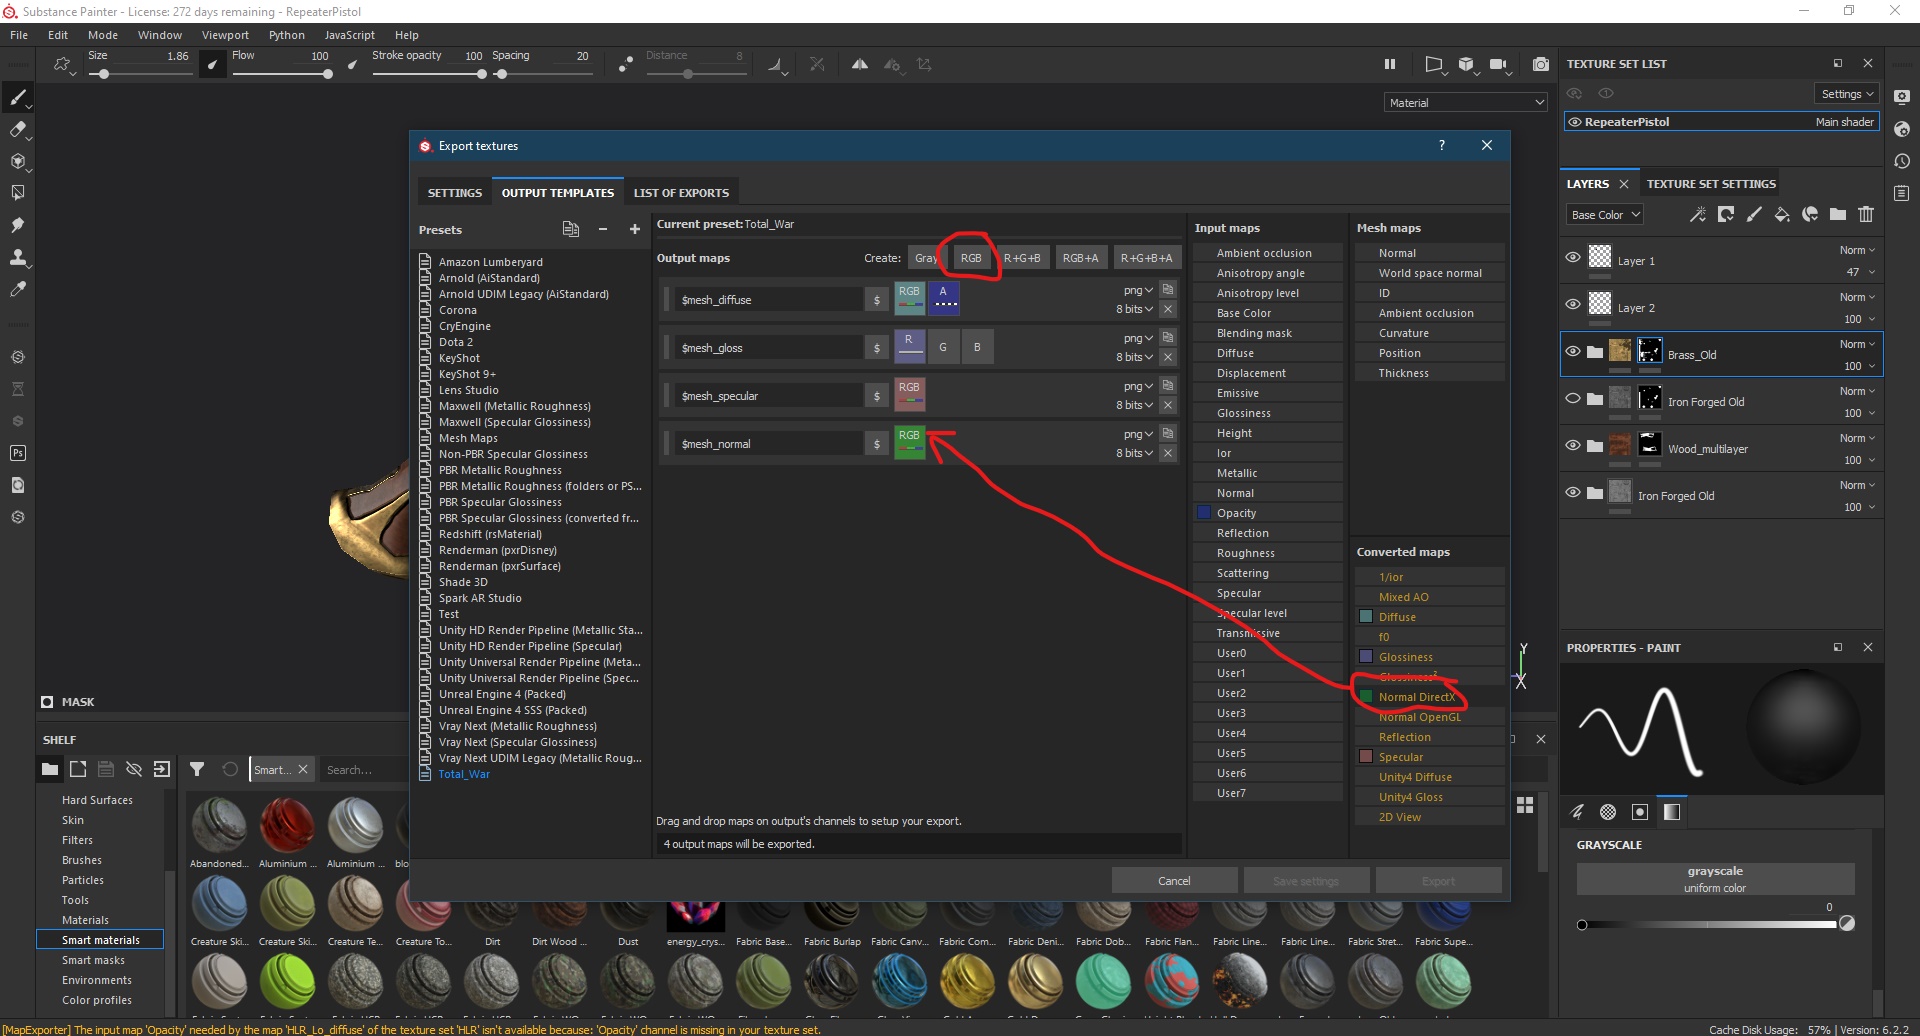
Add the Normal Map.
Press the RGB button to create a new map, name it $mesh_normal. Drag the Normal_DirectX section from converted maps to the RGB icon, when given the option press “RGB channels”.
Because CA does their normal maps differently, you will need to convert this map to their style. This can be done with the RMEditor or manually in photoshop, plenty of tutorials exist for this.
Export the Maps.
Save your settings. Return to the settings tab and select your preset from the Output template section and export your maps.
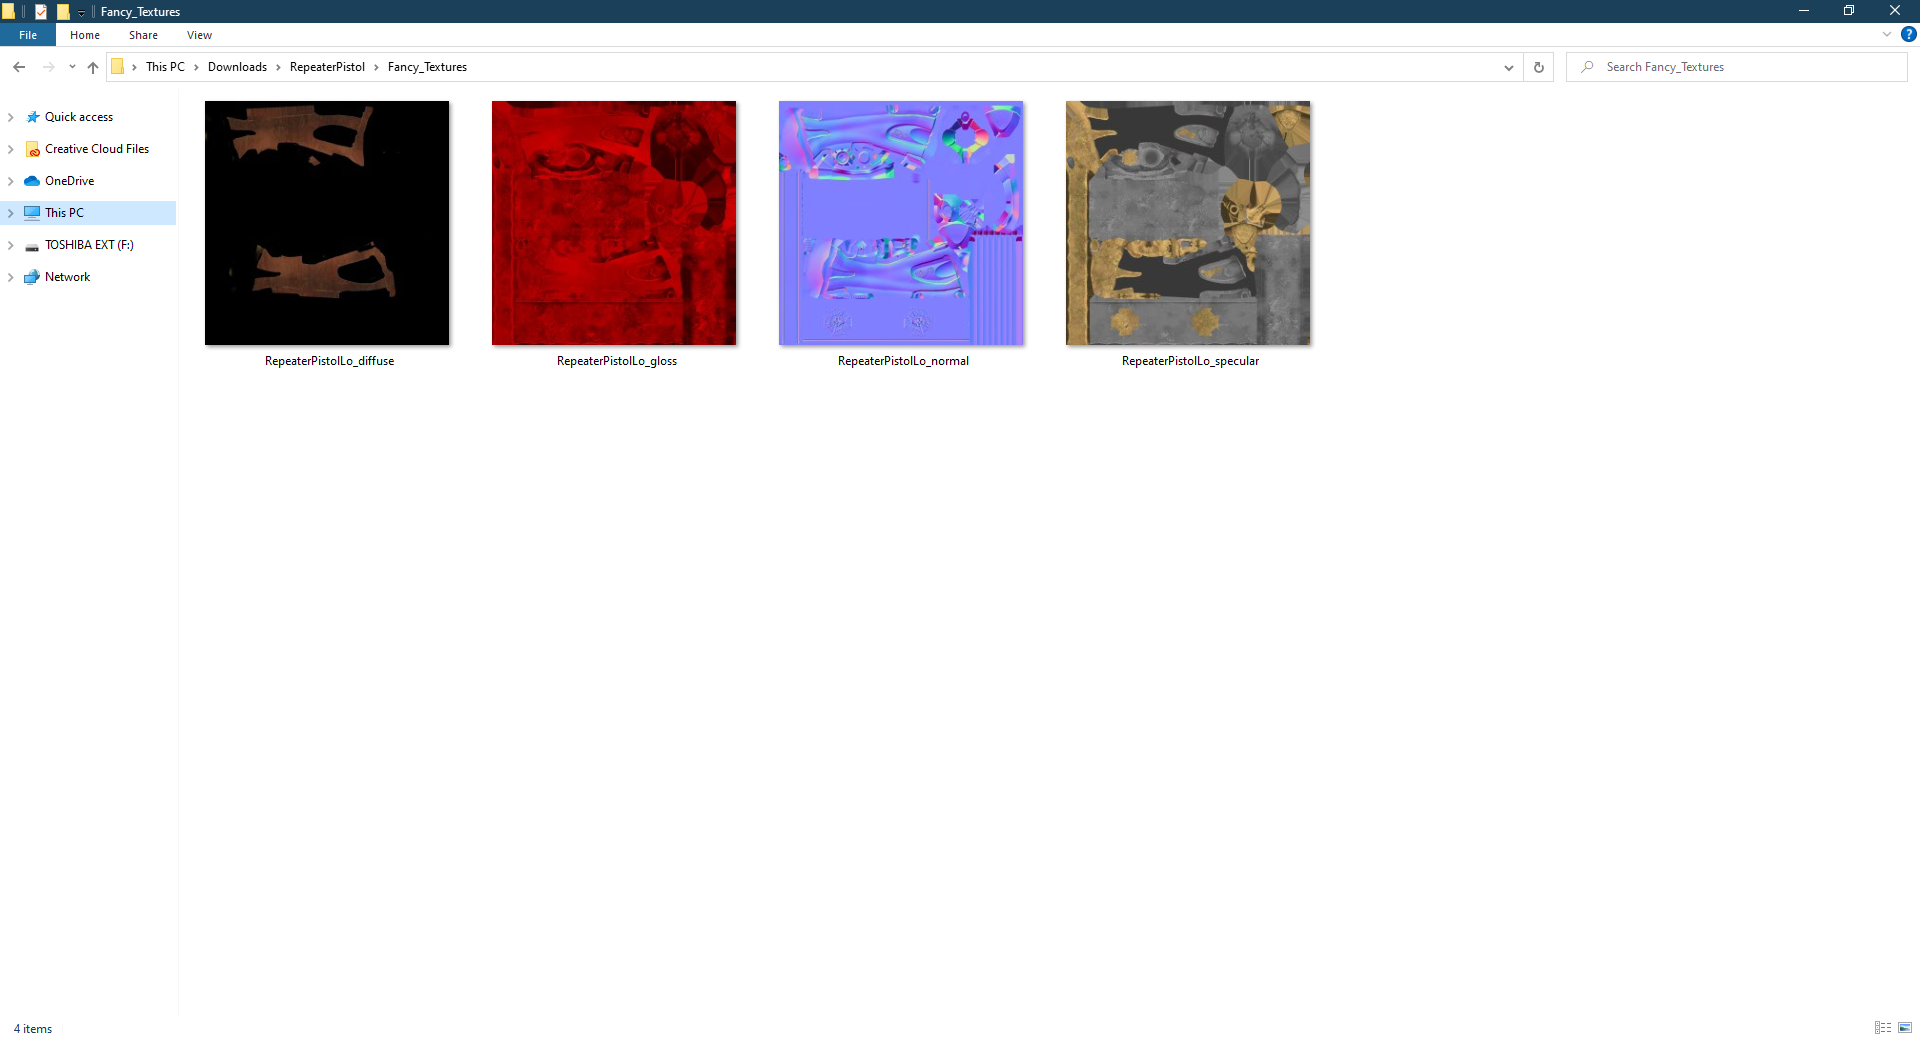
Your maps should look like this in the folder.

You will still need to convert to dds and make the changes to the normal map, and then they should be game ready!
Results
The maps still need to be converted to .dds and the normal map needs to be further modified, as mentioned in the normal map section. Once that is done you can use a tool like RMEditor to put them in a pack file and preview them. This is what they look like in RMEditor:
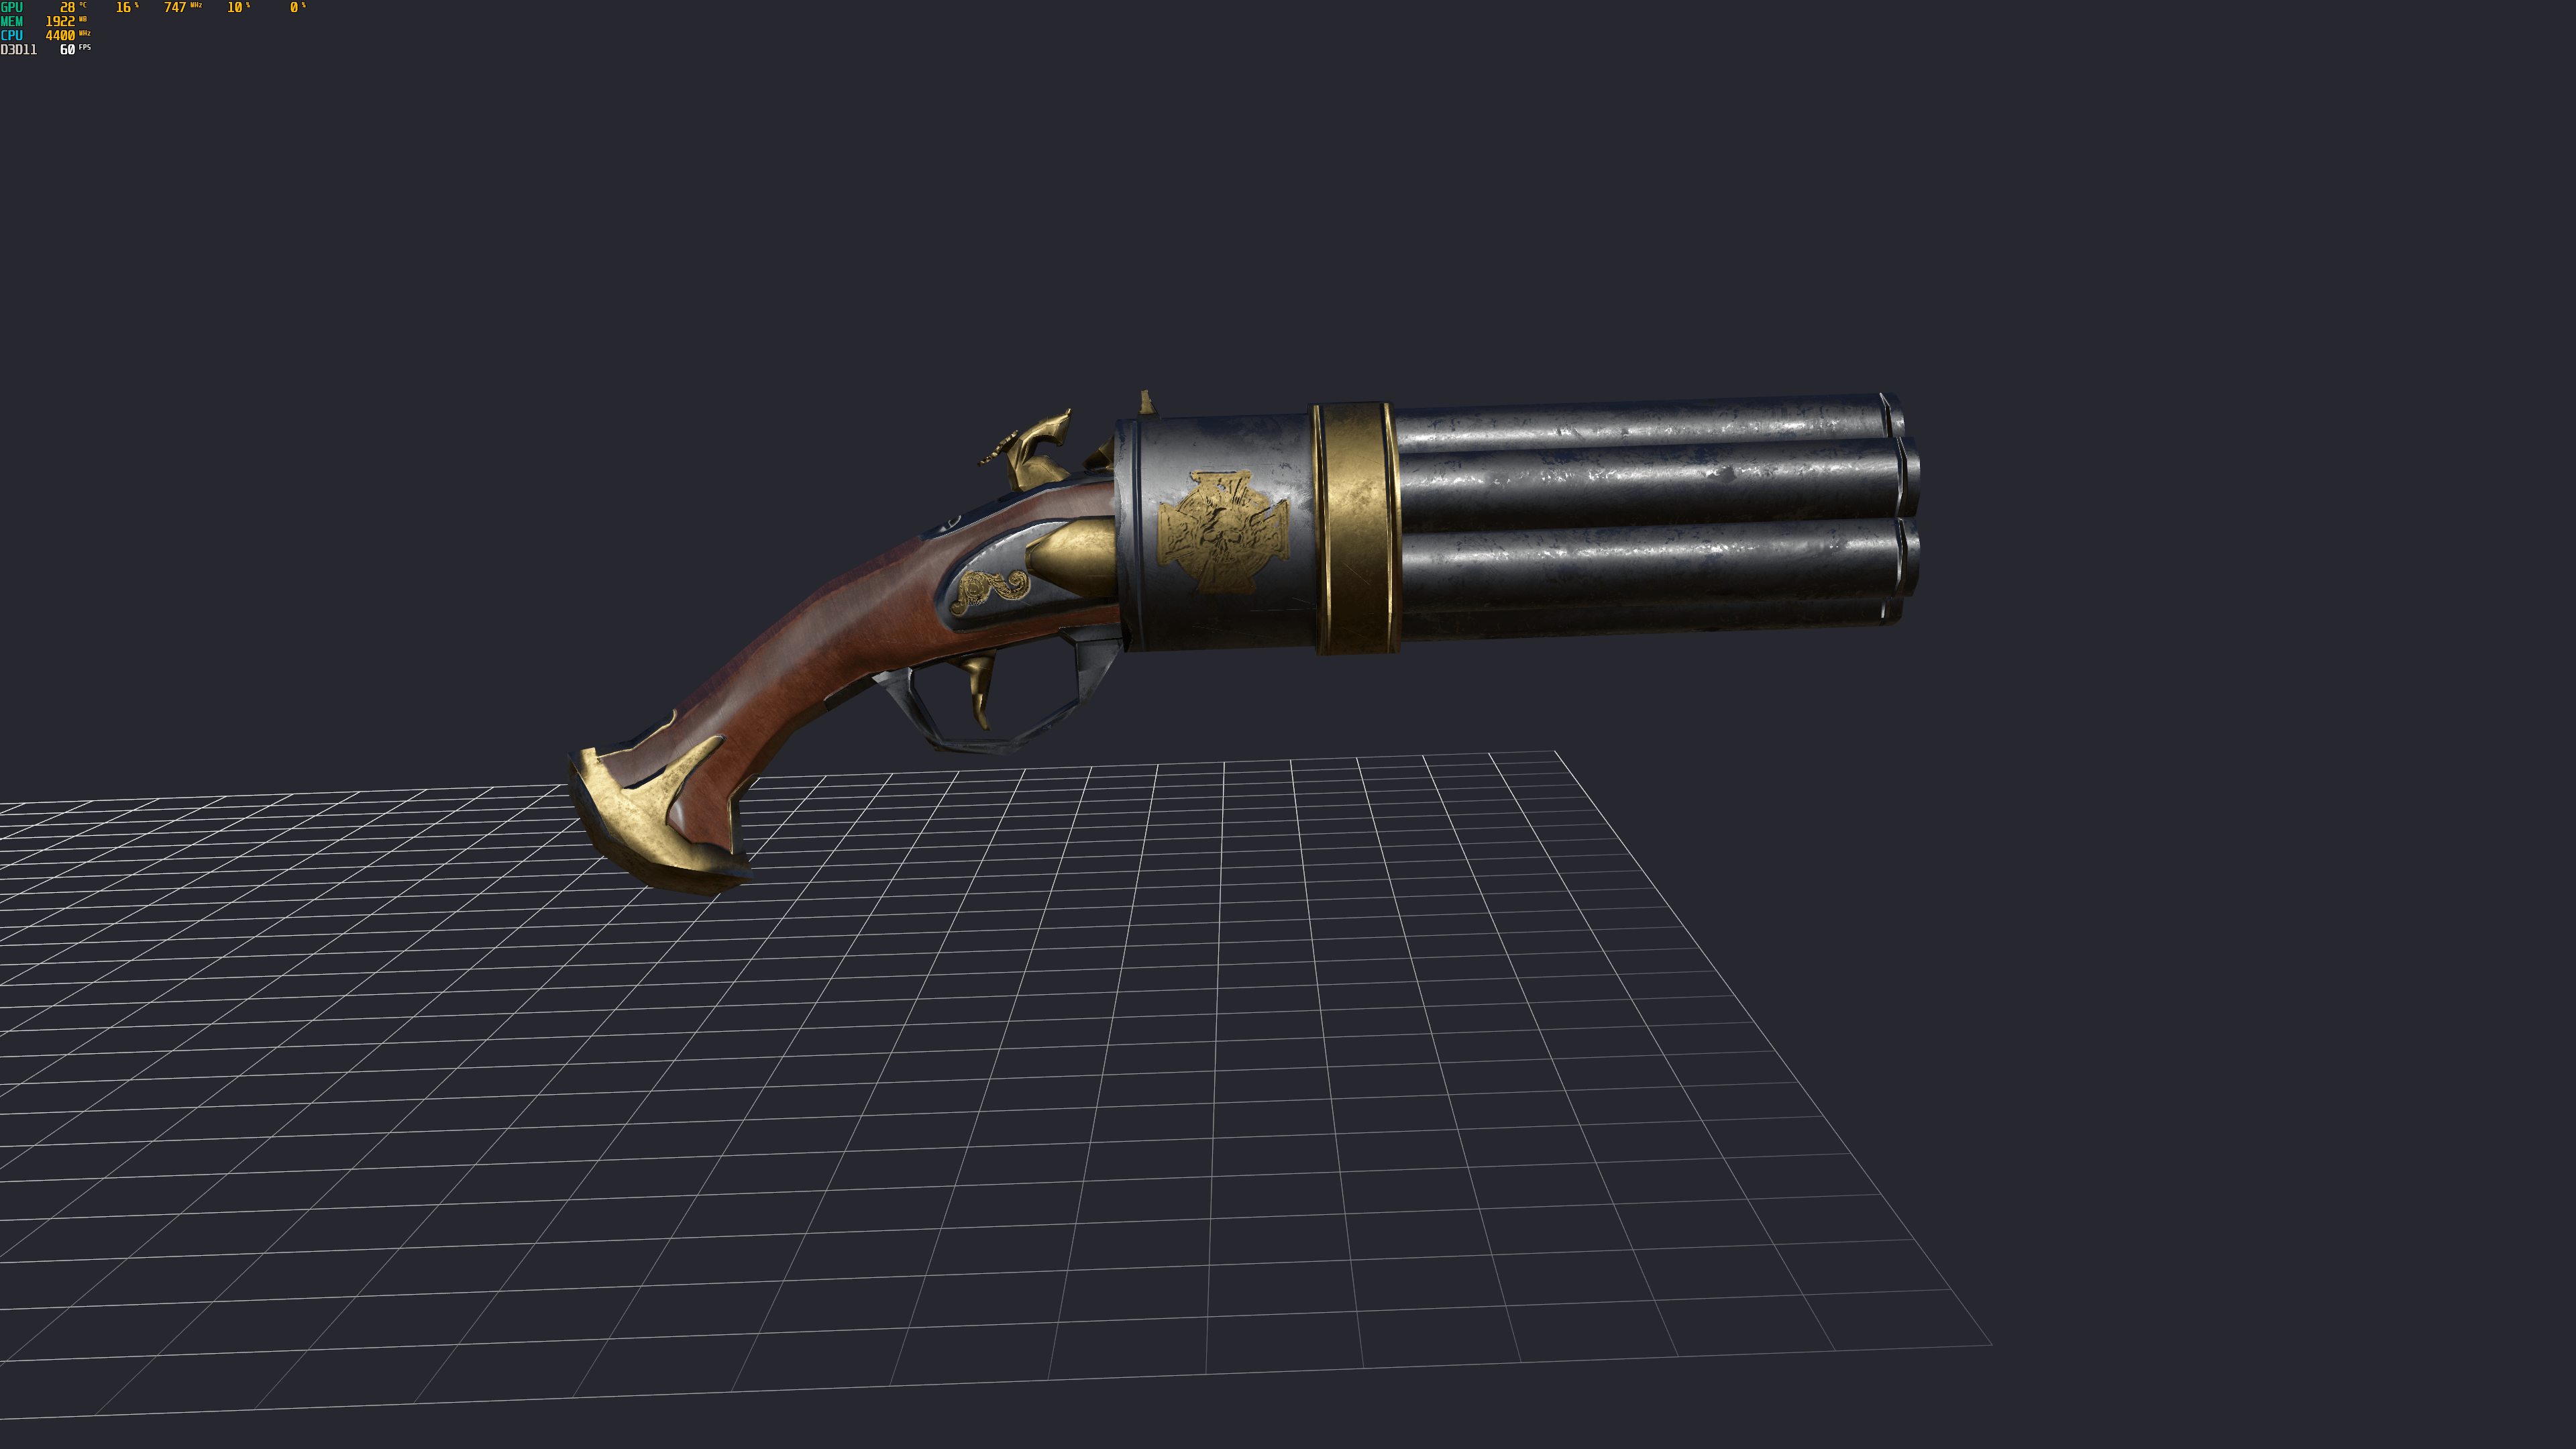
And this is what they look like ingame:
As you can see they look very close to how they look in Substance Painter!
