Overview
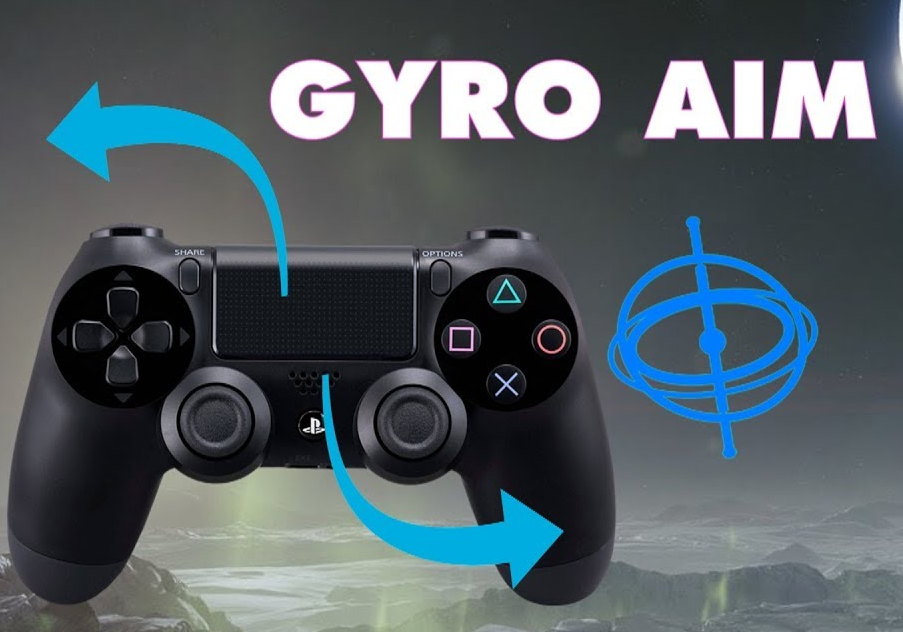
With this tutorial you’ll be able to have a very smooth and precise aiming in Spellbreak, using a PS4 controller. You can choose to enable the Flick Stick too.
Introduction
With this tutorial you’ll be able to have a very smooth and precise aiming in Spellbreak, using a PS4 controller. You can choose to enable the Flick Stick too (“Real World Calibration” was calculated based on a 1920×1080 screen. You can calibrate for yourself. I’ve explained it below.)
I chose not to use Flick Stick, just gyro. And I’m hitting some nasty shots with Frostborn 😎
If you too have some nice settings or button mapping that makes things easier and/or better, please comment bellow 🙏
- First you need to setup the Ryochan7’s build of the DS4Windows software[ryochan7.github.io]. After you install it and your DS4 is being correctly emulated as a Xbox controller, continue to Step 2.
- Enable Xbox controller support inside Steam settings.
- Test too see if it’s working with Spellbreak.
- Open DS4Windows and edit your profile settings to match the following:
🔄 To enable Gyro
Gyro tab
- Output Mode: Mouse
- Triggers: “Always On” or choose a button. Choosing a button allows you to enable or disable Gyro with the press of a button.
- Toggle: Enabled (Check this option if you chose a trigger button. Otherwise, leave it disabled.)
- Gyro Sensitivity: 30 (This my preference. Tweak it to yours)
- Vertical Scale: 100%
- Deadzone: 40 (Also just my preference, but I recommend, because it makes the aim more stable when hitting the triggers)
- Min. Threshold: 1
- Smoothing: Enabled (very recommended)
- Weighted Average
- Smooth Weight: 1
⚠ IMPORTANT: Since the gyro acts as a mouse, you have to tweak the in-game mouse settings to your preference. That’s gonna control how fast your gyro aim is. See my preferences in the end of this tutorial.
Touchpad tab
- Output Mode: Controls (just to avoid accidental touches. But you can choose whatever you want)
Other settings
I found that if I setup all the movement controls to the L & R stick + Gyro, then I’d be always ready to shoot while moving. So I made a few tweaks to their button mapping:
- L3 = A (jump/levitate)
- R3 = B (use rune) – This is useful for runes that are used during combat and are related to movement. Since I don’t crouch much in this game.
- Down Button = R3 (crouch)
- Share = L3 (to Ping the map)
Touchpad
- Right Touch: Start
- Left Touch: Back (opens map)
🕹 To enable Flick Stick
Axis Config tab
- RS – This is the Right Stick. Scroll down to find this settings.
- Output Mode: Flick Stick (if you want to enable Flick Stick. Otherwise, leave it as it is)
- Real World Calibration: 4.95
How to calculate “Real World Calibration”?
In-game, use your mouse to fix your aimer precisely on a small target in front of you. Press your right stick forward, and rotate it until you’ve completed a full turn, releasing the stick once your aimer is in the same position it started before you pressed the stick.
If the aimer did not reach the starting point, increase the number. If it went beyond the starting point, decrease the number. Do that until you find the right calibration.
If you want to be even more precise, you can do more than one turn. For example, you can do 3 or 4 turns in a row without releasing the stick in order to check for any imprecision.
🎮 My in-game preferences (just for reference)
Toggle Crouch: Enabled
Mouse Settings
- X Sensitivity: 42
- Y Sensitivity: 42
- Zoom Sensitivity: 40
Controller Settings
- Horizontal Look Speed: 70
- Vertical Look Speed: 70
- Zoomed Scale: 30
- Levitation mode: Hold
- Aim Assist: Enabled
You’ll still need Aim Assist, probably. Gyro is not as precise as a mouse. But very experienced players may disagree.Advanced Settings
- Look Deadzone: 10
- Look Sweep Deadzone: Maximum possible
- Move Deadzone: Minimum possible
- Look Boost Threshold: 90
- Horizontal Look Boost: 200
- Vertical Look Boost: 200
- Look Boost Ramp Time: 0.2
- Look Input Curve: Exponential –> 3.2
Again, if you too have some nice settings or button mapping that makes things easier and/or better, please comment bellow 🙏
🎯 How to practice your aim
After all this setup you have to practice and tweak some settings to your style.
The best way I’ve found to practice (other than really playing with other people) is doing the Tutorial.
After you complete every instruction (it takes about 2-3min) you have a moving bot that keeps running from side to side. Pick your gauntlet of preference and practice your aim in many different situations.
- Running
- Jumping
- From far away
- From very far away
- 180º Turn & Shoot
- Close your eyes, spin in any direction, use the Featherfall rune, open your eyes, aim and shoot.
- Try to shoot every bot as fast and as effective as you can. Repeat from different places in the map.
- …
🎉Have fun! And comment here if this tutorial helped you 💪


