
Overview
A walkthrough of Half-Life 2: Episode Two that focuses on obtaining all of the achievements, sorted by chapter for easy navigation.
Introduction
This guide focuses on obtaining all 22 achievements for Half-Life 2: Episode Two as quickly as possible. It is possible to obtain all achievements in one playthrough, although you may have to reload an earlier save occasionally. To speed things up, set the difficulty to Easy. There are no difficulty-related achievements, so it makes your playthrough significantly easier. This guide is meant as a walkthrough, unlocking all of the achievements in the process. This unfortunately means I cannot mention all the specifics for certain achievements that take time, such as Little Rocket Man, Get Some Grub and Neighborhood Watch. If you have trouble obtaining any of these, please refer to other guides available elsewhere.
Before we start it is worth stating that cheating will disable achievements. Before you start you should make sure you set sv_cheats to 0 via the developer console. If you do cheat, you will not be awarded achievements!
1. To The White Forest

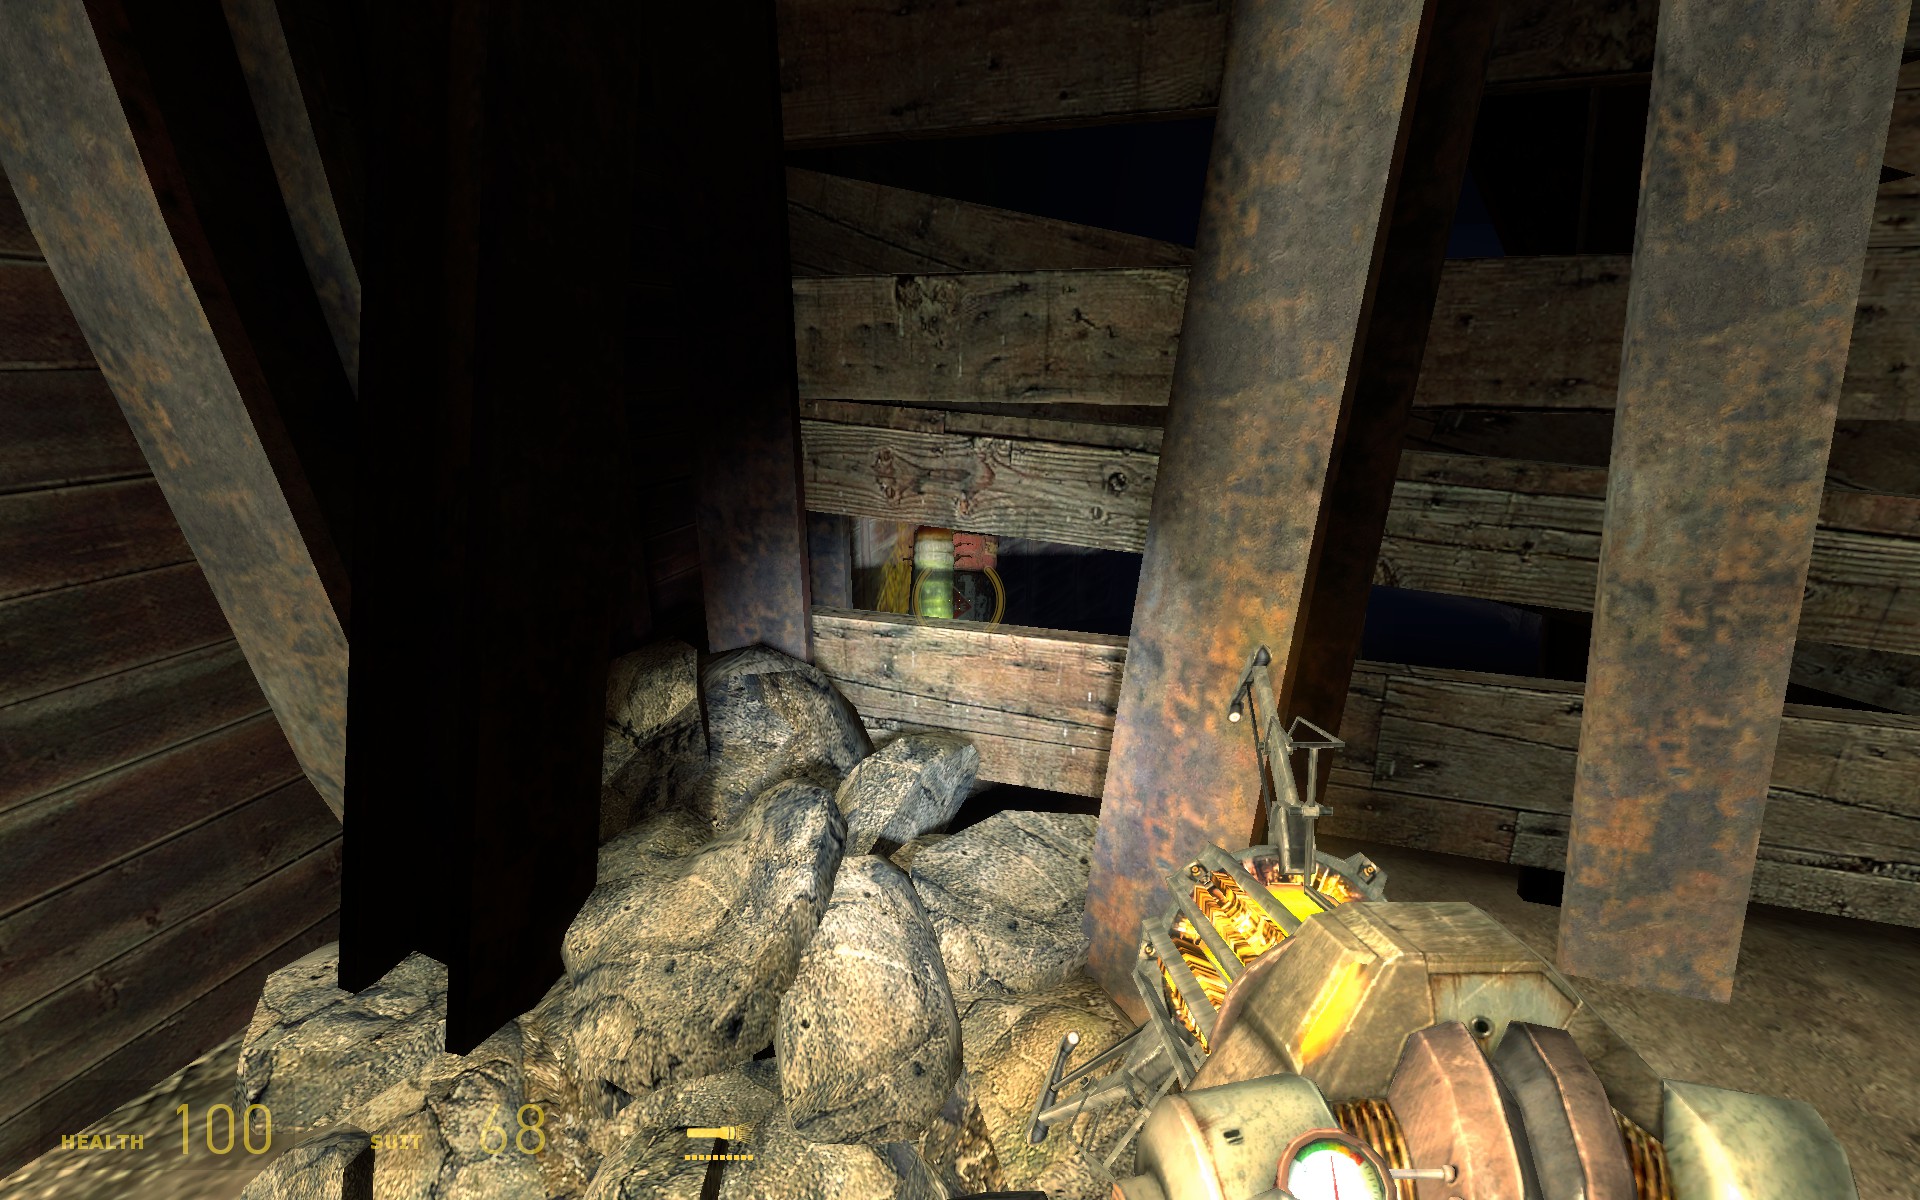
Steal a Zombine’s grenade.
Upon crawling through a hole in a tunnel you will turn right and come to a large hole in the ground where some zombies are waiting. When you go outside at the end of the tunnel, there is a single Zombine who will pull out a grenade. Use your Gravity Gun to pull it towards you and the achievement will unlock. You may punt it back to the Zombine for an easy kill. Don’t worry if you didn’t get it, there will be plenty other opportunities later on.
Episode Two features the Little Rocket Man achievement, that requires you to take the garden gnome you find in the communication room at the very beginning all the way to the rocket at the end of the game. The gnome can be found below one of the bunk beds in the communication room. Escorting him toward the rocket is not really hard, but mostly just tedious. The gnome can fall in places you cannot reach him, forcing you to reload to an earlier save. That said, be sure to save often, so that in case you have to reload you don’t have to redo large parts of the game.
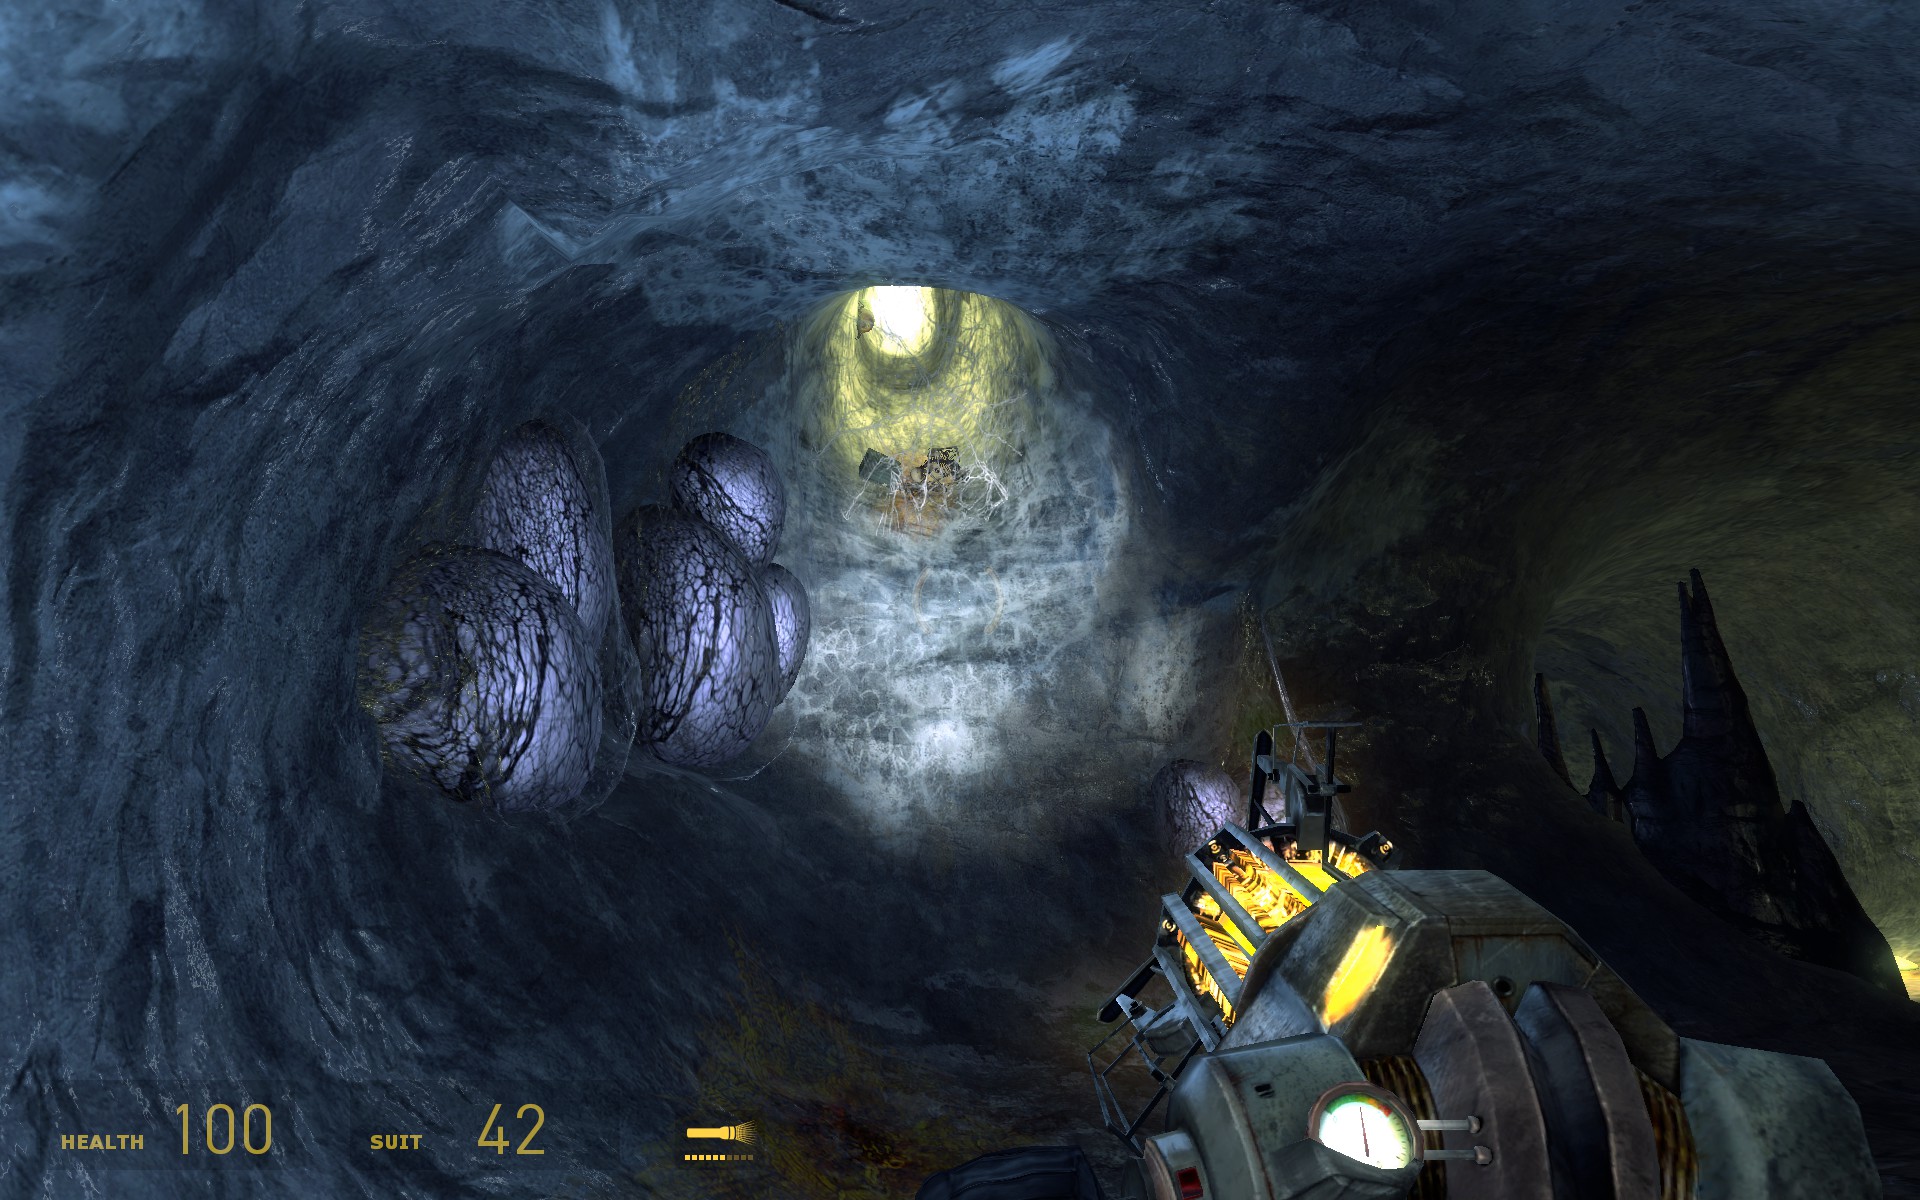
After you ride an elevator up, you will soon drop down into a pool of water leading you into a maze of tunnels. In these tunnels you will encounter glowing larvae called Antlion Grubs. The Get Some Grub achievement requires you to kill all 333 of them in the entire game. You need to do this in one entire playthrough. Saving and reloading is fine, but starting a new game from a point where you missed one is not. During this guide I will provide you with updates to the number of larvae you should have by that time, so you can reload an earlier save to make sure you find any grubs you might have missed. During your hunt, be sure to look in every nook and cranny for grubs. They hide in high places, and even in metal lockers and web caches, so check your surroundings thoroughly.

Kill an acid antlion worker.
Just after you come out of the tunnels with the Antlion Grubs in them, you will be attacked by an Antlion Worker. This is an Antlion that will shoot acid at you. Just kill it any way you see fit and the achievement will unlock.
Turn around after killing the Antlion Worker to find three more grubs. These make 26/333. Go around the corner to find two more Antlion Workers in the back. You’re supposed to go through a tunnel near the place you found the shotgun and grenades. Before you jump in, kill the grubs on the wall, including the one hiding in the lockers. Pass through the tunnels and come out at the other end, finding a Magnum .357 and killing grubs along the way. You should have 32/333 by the time you get to the caves.

Progress through the caves until you come to an undergound lake. In this lake is web cache #1 (the first of 9 you have to open for Piñata Party). Break the web using your Crowbar or Gravity Gun and loot the contents. During the course of this walkthrough I will point out the various web caches found throughout the game.
After an open area with a lot of Barnacles and several Antlions, you get back into a tunnel. Before entering this tunnel you should have 70/333 grubs. Press on and kill a few more Antlion Workers while you make your way through these tunnels. Soon you’ll be in a circular area with a spire in the center and being attacked by Antlion Workers. Once you kill them and move on there is a tunnel to your left with two more grubs. Shoot them and once you enter the tunnel you will load the next chapter. These two grubs should make 93/333.
2. This Vortal Coil
As soon as you get back to the Vortigaunt healing Alyx you are asked to help fend off an Antlion invasion. You should put the gnome in the lower area to make sure you do not lose him.

Kill an enemy by planting a hopper mine.
There are two dumpsters full of hopper mines with Lambda logo’s on them on either side of the area during the invasion. Place a few of them in front of the tunnels and wait for an Antlion to step on one. When the Antlion dies your achievement will unlock.


Help Griggs and Sheckley hold off the antlion invasion inside the mine shaft.
Story related so you can’t miss it. The achievement should unlock once the three newly arrived Vortigaunts have finished killing Antlions and help heal Alyx.
Once the Antlion invasion has been dealt with, the Vortigaunt asks you to follow him to get the extract from the nest. This section can be done without having to bring the gnome with you. You may just leave the gnome in the lower area near Alyx and it will still be there once you return with the extract (thanks to Protonski and kincaid7777cp for confirming this). From here on out you will encounter more Antlion Grubs. Shortly into the tunnel you will find web cache #2. Don’t forget the grub inside the cache. Soon after you will find web cache #3, right around the time the Vortigaunt warns you about Acid Lions (Antlion Workers).
You will now get to a somewhat more open area with a chasm in the center where you will be attacked by several Antlions and Antlion Workers. Once the coast is clear, head into the tunnel on the other side of the chasm and you will find web cache #4 above you with two grubs inside. This should net you 134/333 grubs.
Just a few feet away is web cache #5, next to two grubs. Be careful when opening it, because the Zombine trapped in the cache will pull out a live grenade. Make sure you get the upper webbing too since there is a grub above it.
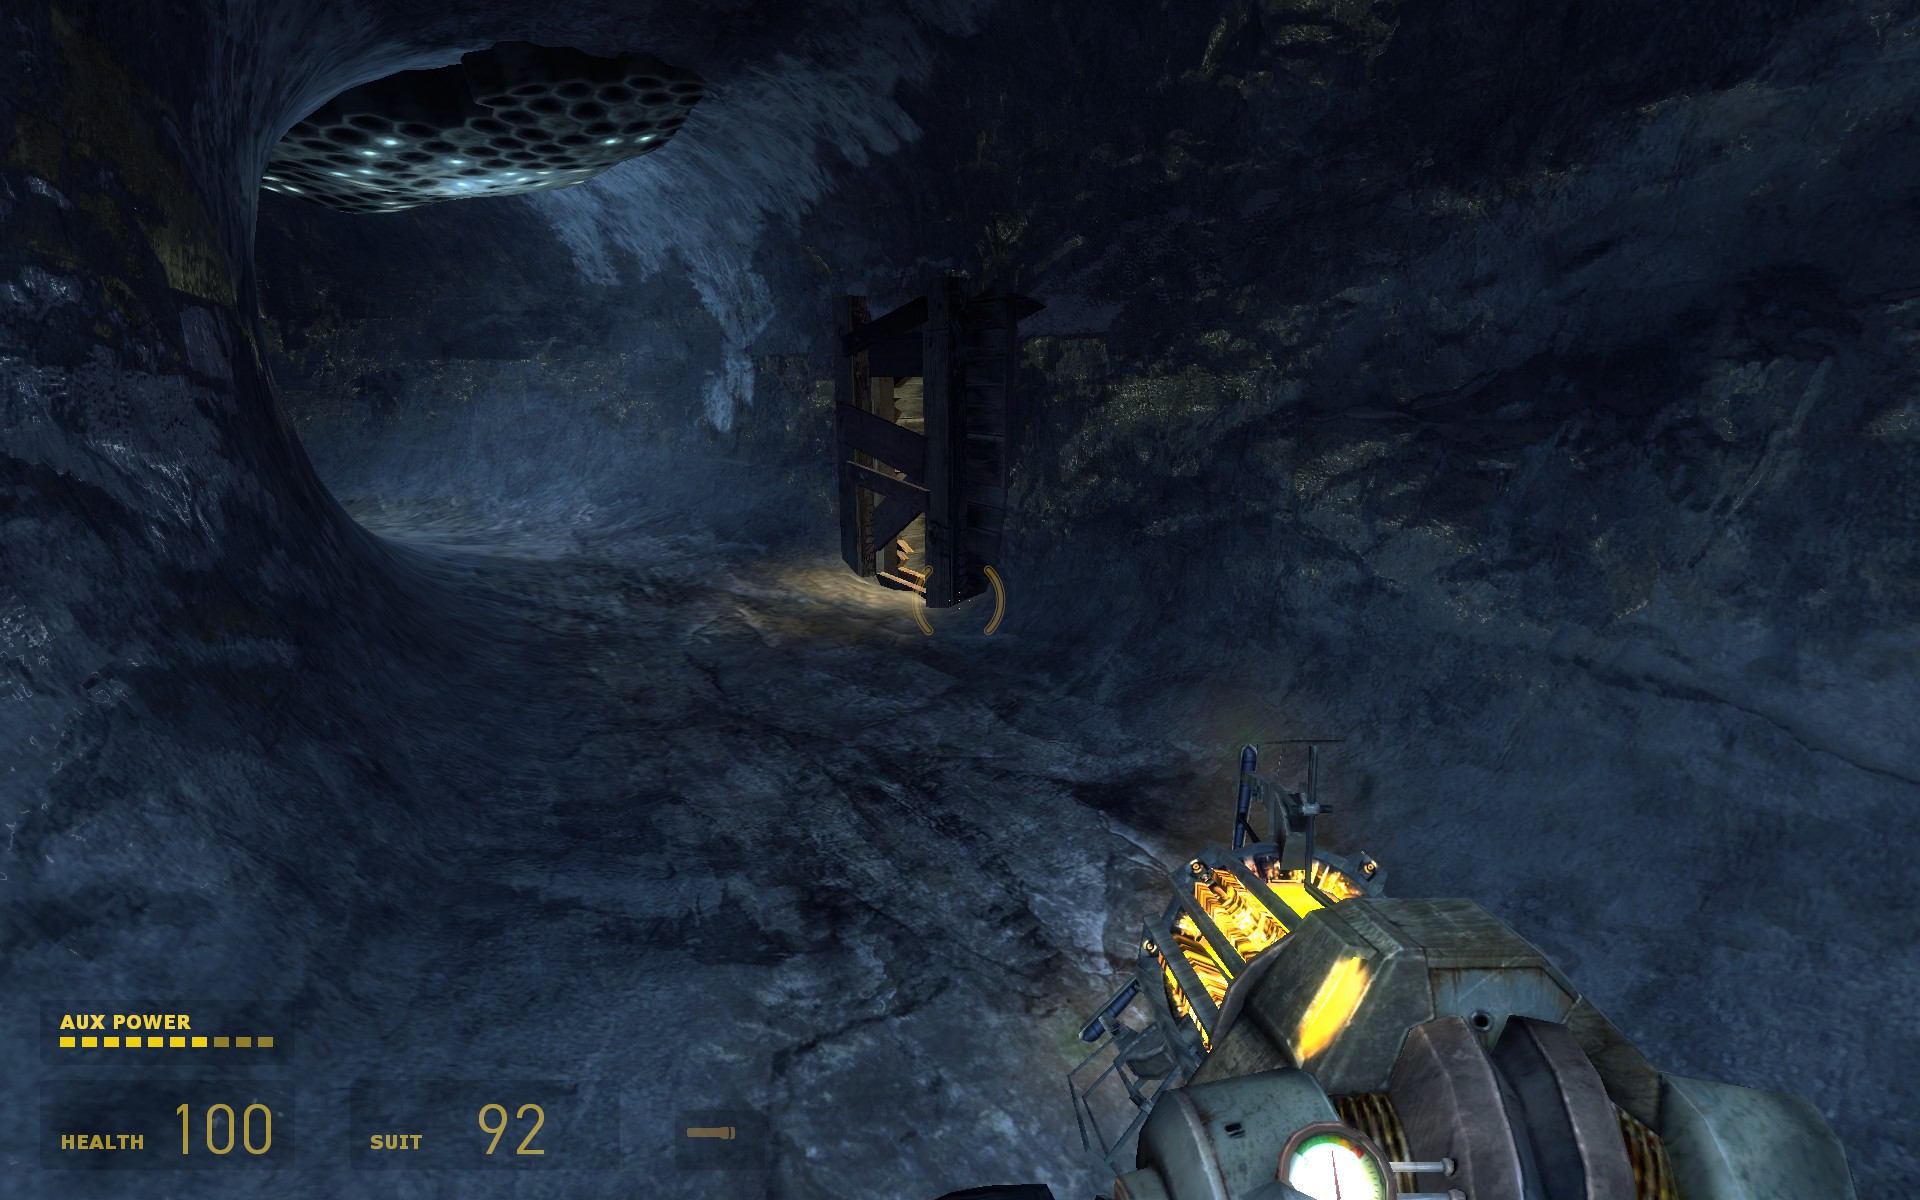
You will drop down through a hole into a large chamber. Continue forward and solve the puzzle to allow the Vortigaunt to pass through the gate, after which he will zap a generator to return the favor. Once you pass through the door, first shoot the grub on the train. If you get too close to the train it will start moving and fall into the abyss, causing you to miss the grub and having to redo this section. Follow the train to the edge and look up to your right to find four more grubs, which should make 176/333. Continue back up and to the right. You will come to another train cart up a hill, this time with grubs in front of it. Kill the grubs before the Vortigaunt shoots the cart and it comes running down. If you did not kill all of the grubs before the train moved, start over since you likely missed one or more. You should have 185/333 by the time the train comes toward you.
Once you speed down the mining shaft in the next train cart you come across, you will see some grubs along the way. Don’t worry about them for now. You will get a chance to kill them soon. You drop down in a pool of water with a ladder. Climb up this ladder and kill the grubs along the way. Continue through the caves until you come to an area with an Antlion Thumper. Once you reach the Thumper you should have 226/333.

Kill 30 enemies with thrown physics objects.
The quickest place to do this is the elevator area where you get swarmed with zombies, Zombines, Antlions and Antlion Workers upon calling the elevator. Grab a barrel or a brick and punt away at the enemies. You do not have to finish it here and now, but it is nice to have it out of the way.
Exit this area via the elevator and press on until you reach a fan pipe with a bench stuck in the fan. Remove the bench and twist the fan so you can pass under it. At the end of this pipe will be a few more grubs (239/333) and some webbing to fall through into the water below. Go through the underwater tunnel, and soon you will get to a yellow coated tunnel with two grubs in front of it, which indicates you are getting close to the hive. Before you enter the tunnel you should have killed 256/333 grubs.
After a little while you will encounter the Antlion Guard you saw earlier. You cannot do anything to kill him since that would ruin the extract, as the Vortigaunt will point out to you. You will have to outrun him and make use of the various alcoves filled with grubs to avoid his attacks. When you start this sequence you should be at 263/333. There will be quite some grubs in these tunnels. The first alcove should net you 272/333, the second 272/333, and by the time you have cleared the third alcove of grubs (the one with two levels) and kill the grubs on the wall just outside of it, you should have 286/333 grubs.
After somemore alcoves with grubs you will face the Antlion Guard again. Lure the Guardian to take the right path and sprint past it via the left path. Pick him up and repeat, until you reach the next alcove. Keep doing this for the long sprints that come up, until you reach a boarded up room. Get inside, stand back and wait until you fall through. By now you should have 311/333 grubs.

Find and break every web cache in Episode Two.
Right upon entering the next large area web cache #6 is to your right. Kill the grub too. Just next to this is web cache #7 with a living poison headcrab inside.

In the center of the area, in the ceiling near a Barnacle is web cache #8 along with some grubs. Still in this area, near the other Barnacle is web cache #9. You should now have unlocked Piñata Party.

Squish every antlion grub in Episode Two.
Find the cogwheel and place it on the generator. Call the elevator to meet back up with the Vortigaunt. He will open the door for you. Here you find three more grubs, which should make 332/333. The last one will be after you heal Alyx with the extract. Once you exit the elevator the Antlion Guard will smash into the tunnel walls. Through the cracks you can see an explosive barrel. On that barrel is your last grub. If you managed to kill all 333, the Get Some Grub achievement will now unlock.
3. Freeman Pontifex
There is only one achievement in this chapter, but it’s a long chapter nonetheless. Just follow the story and you’ll eventually get to two Antlion Guards.

Defeat both antlion guards outside the White Forest.
Story related so you can’t miss it. The easiest is to save all the explosive barrels until the two Antlion Guards come out of the tunnel and pepper them with the barrels. A couple of barrels each and they should be down in no time.
4. Riding Shotgun
During this segment, you’ll have to drive carefully while escorting the garden gnome. There is no fixed place in your car where you can put it, so it will roll around a lot in the car. If you’re not careful, you may end up losing it somewhere along the road and be unable to find it. Save often during the car driving parts to make sure you don’t have to redo large parts. Often, when you exit the car to open a gate or do something else, you can leave the gnome in the car where he won’t get lost.

Run over 20 enemies with the car in Episode Two.
A fairly simple achievement. Just run over 20 enemies of any kind. This achievement will unlock eventually, just keep an eye out for easy targets. The only thing to watch out for is the fact that you have to keep the garden gnome with you. You cannot drive too fast or make too sharp corners, or you might lose him. You will probably not get all 20 kills in this chapter, but there will be more opportunities later on.

Survive the Hunter ambush with Alyx.
Story related so you can’t miss it. After you turn the power back on in the basement of the first house you come to, you will get ambushed by three hunters. Killing all three unlocks this achievement. Keep in mind that another group of two Hunters will come shortly after, but they aren’t a part of this achievement.

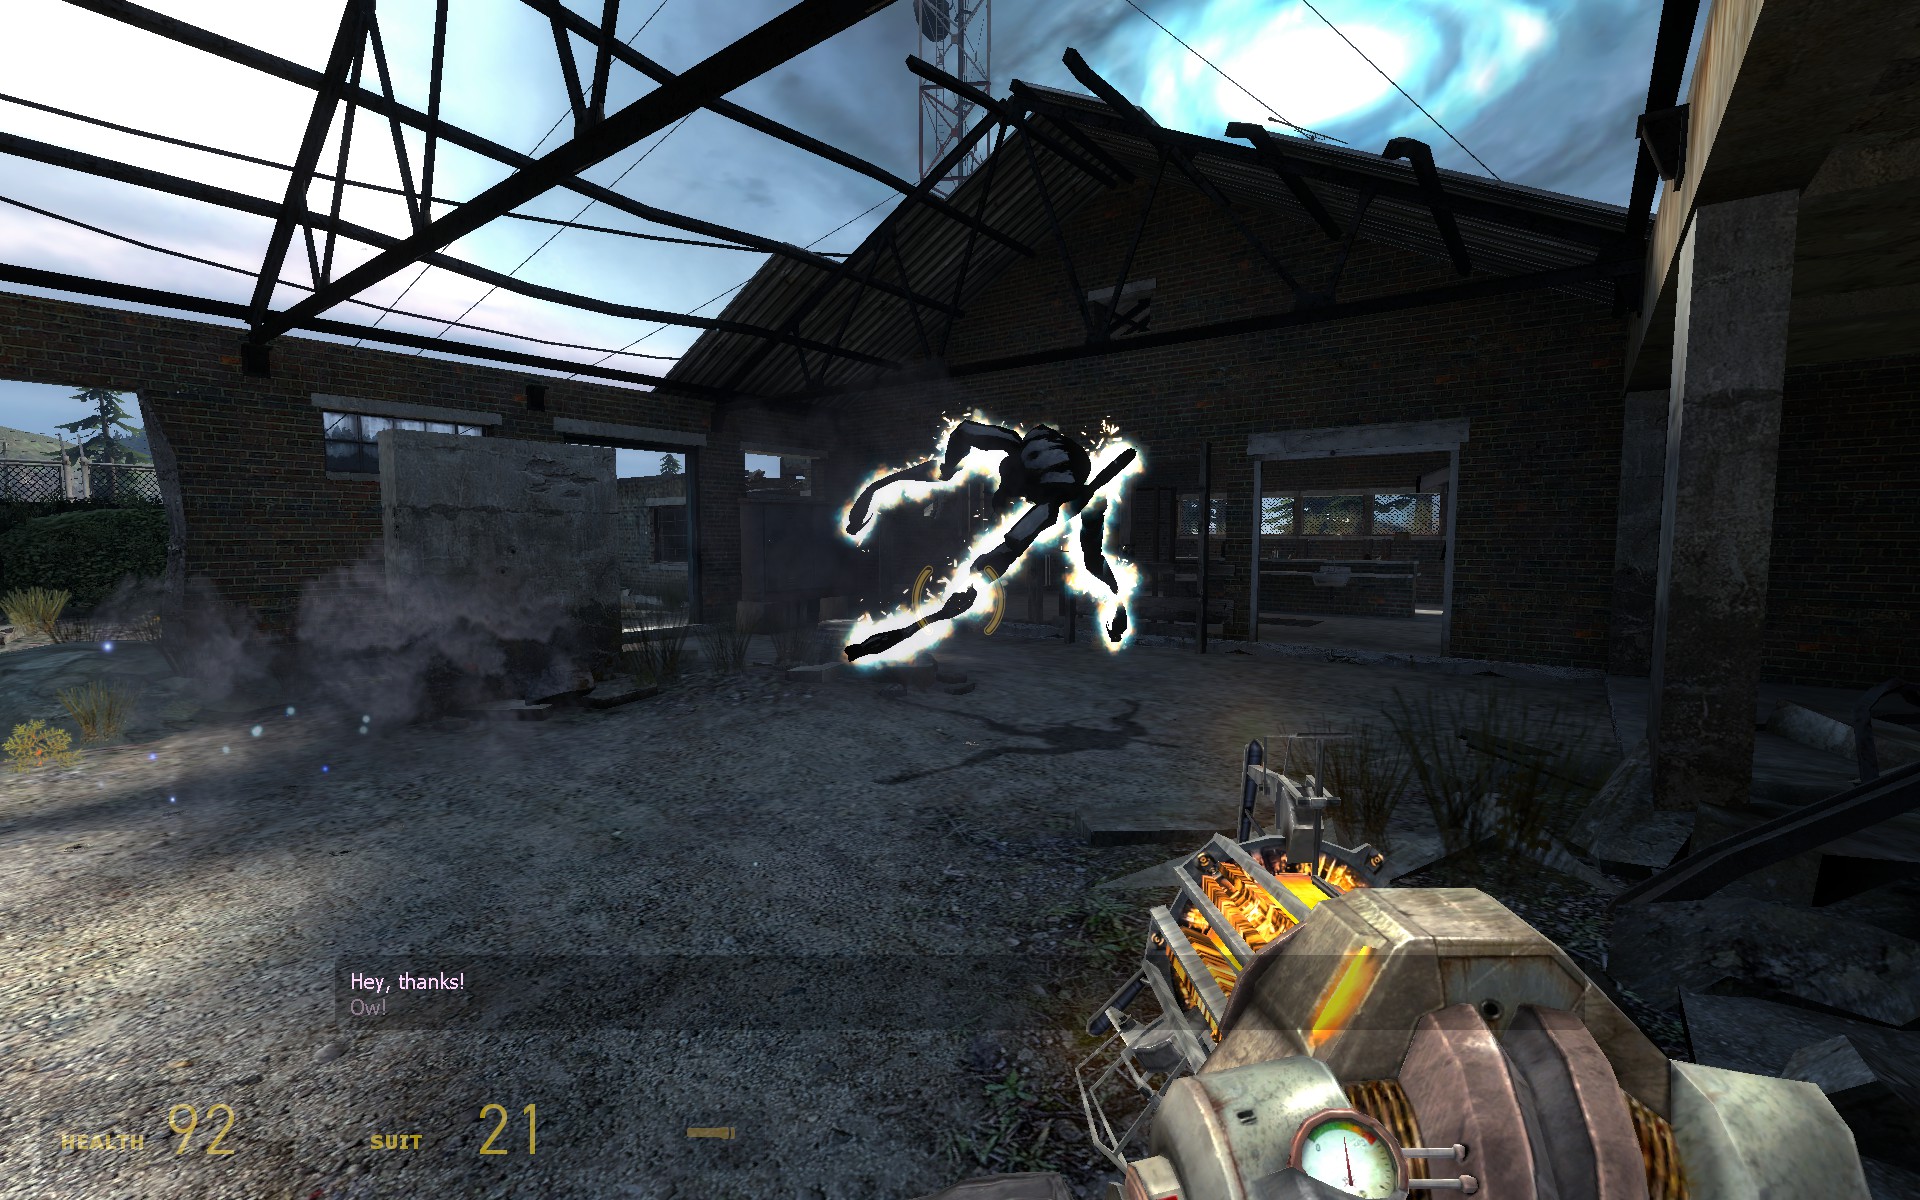
Kill a Hunter with its own flechettes.
A prime opportunity to do this is during the ambush described at Meet the Hunters. Once the first two Hunters break open the door of the building you’re hiding in, you can go outside and find some tires on your left. Grab one of them using the Gravity Gun and use it as cover against the Hunters’ fire. The flechettes will stick in the tire and once they do, shoot the tire back at them. Repeat this a couple of times and the Hunter should disintegrate, much like when hit by a Combine Elite’s Energy Ball. Once one of them disintegrates, the achievement should unlock. If you did not get it yet, don’t worry. There will be other opportunities later on.
Before you enter the next building you come across, once Alyx tells you there is an Advisor nearby, make sure you take the garden gnome inside with you. The car will be moved during a cutscene, and the gnome will be gone if you leave it inside the car.

Kill a Combine soldier with his own grenade.
The first opportunity you get to do this is immediately after the Advisor flies off and a Combine soldier comes rushing in. If you take cover near the metal contraption he cannot hit you and will throw a grenade. Grab it using the Gravity Gun and throw it back at him. Once he dies from it, this achievement should unlock. If you did not get it, there will be more combine soldiers outside.

The next part is extremely tricky to do while escorting the gnome. As you may have experienced by now, the gnome will not stay put when you place it in the car. Since there is now a chopper overhead trying to kill you, things are about to get hairy. Normally, the chopper hardly poses a threat as you speed past the trainyard. With the gnome, it is a different story. The trick is to take cover under the trains with the gnome, blast it down the train tracks when the chopper stops firing and finally chase after the gnome in your car. You’ll have to repeat this pattern a dozen or more times in order to cross the trainyard with both the car and the gnome. There will be supply crates to drive through to replenish your health should it get too low.

Defeat the chopper in Episode Two without any misses.
After another segment with the car you are supposed to ram a gate with a Lambda symbol on it. When you do, you’re asked to help destroy the chopper that has been haunting you for the past few minutes. Make sure you bring the garden gnome inside the encampment and not leave him in the car. The trick to this achievement is waiting until the chopper drops his ball mines and using the Gravity Gun to shoot them back at it. On easy this requires three hits. After the first two, the chopper will lay down a cluster of mines. Don’t try to use these, but wait out the barrage in the building nearby. If you miss, reload a save file and try again. There is a suit charger on the wall in the building in case you need it. Don’t forget to take the gnome with you once you finish the chopper off.
5. Under The Radar
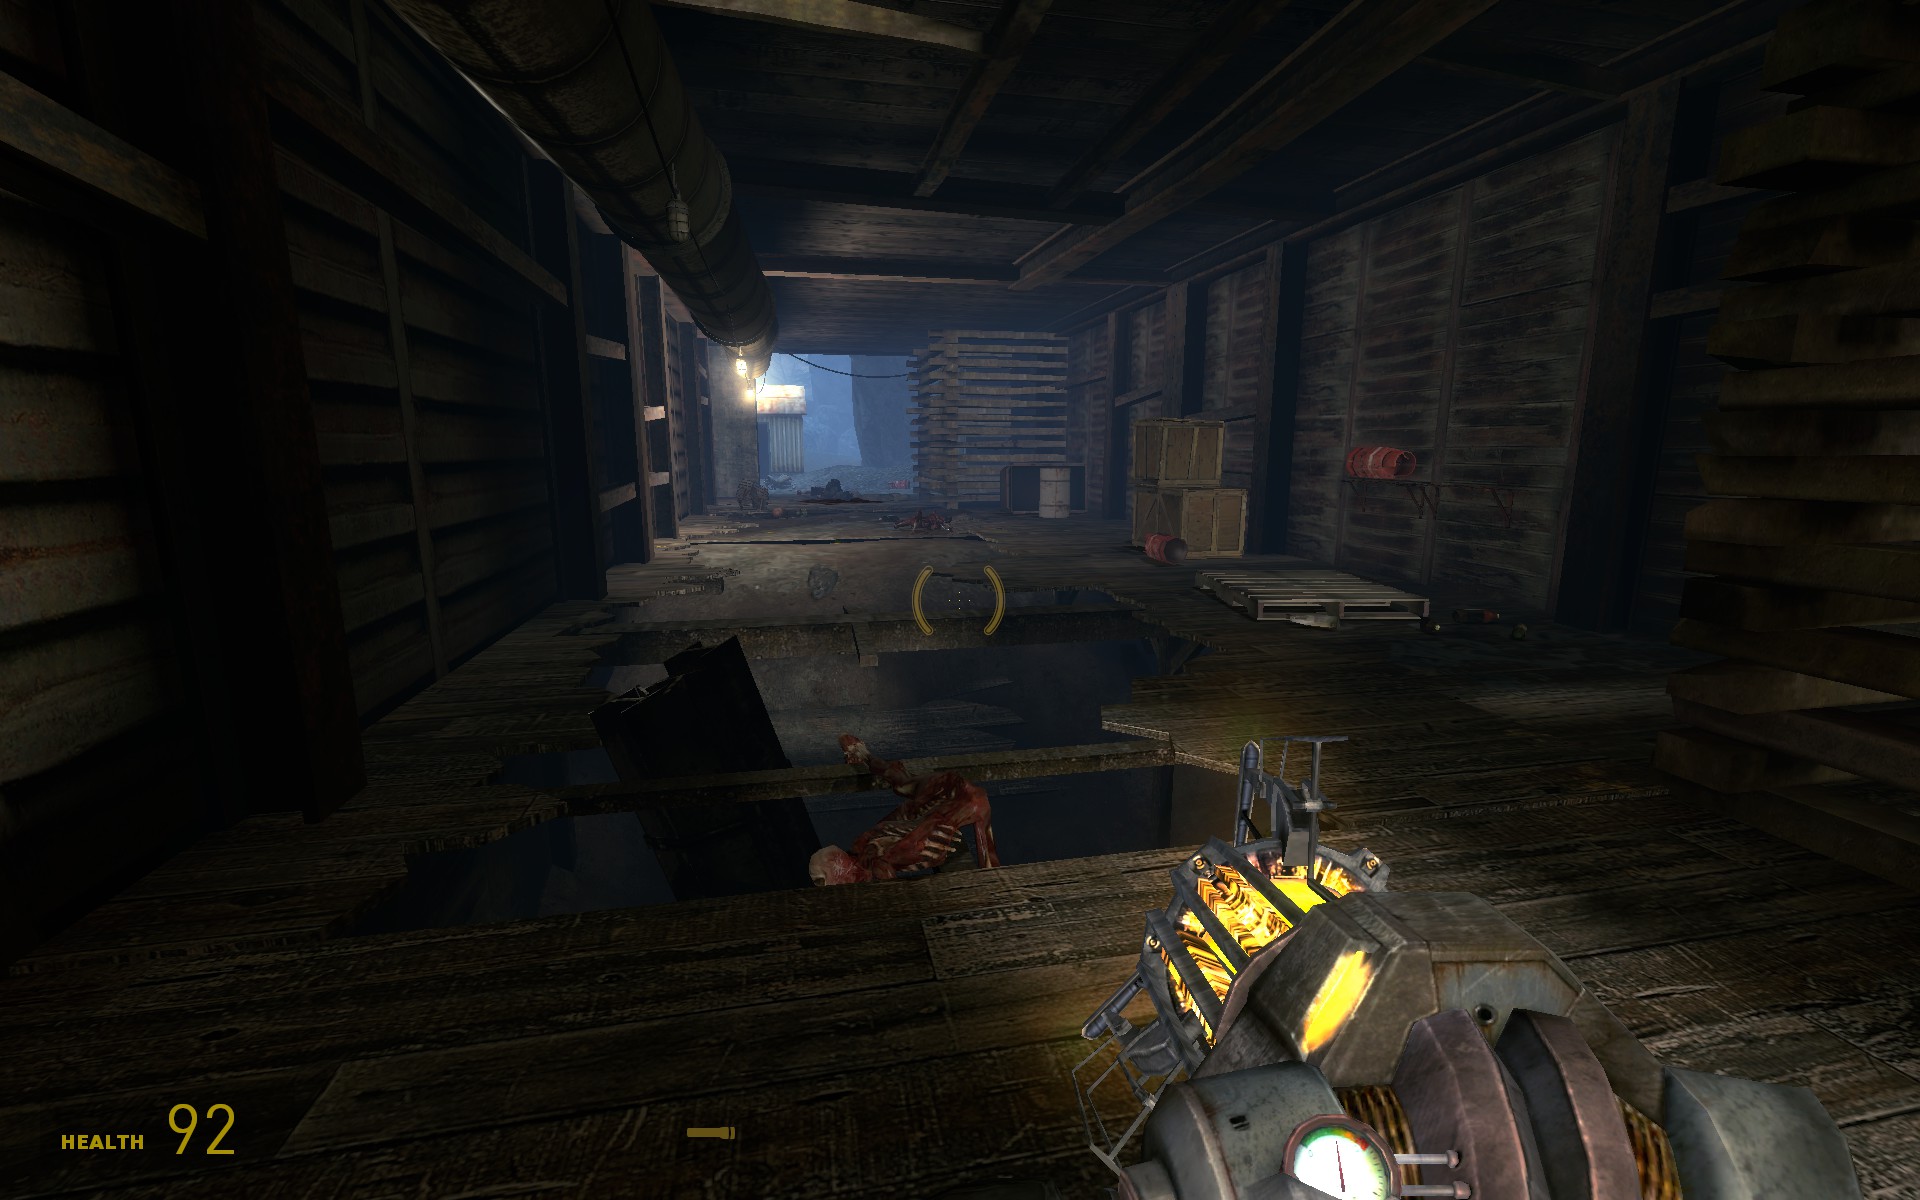
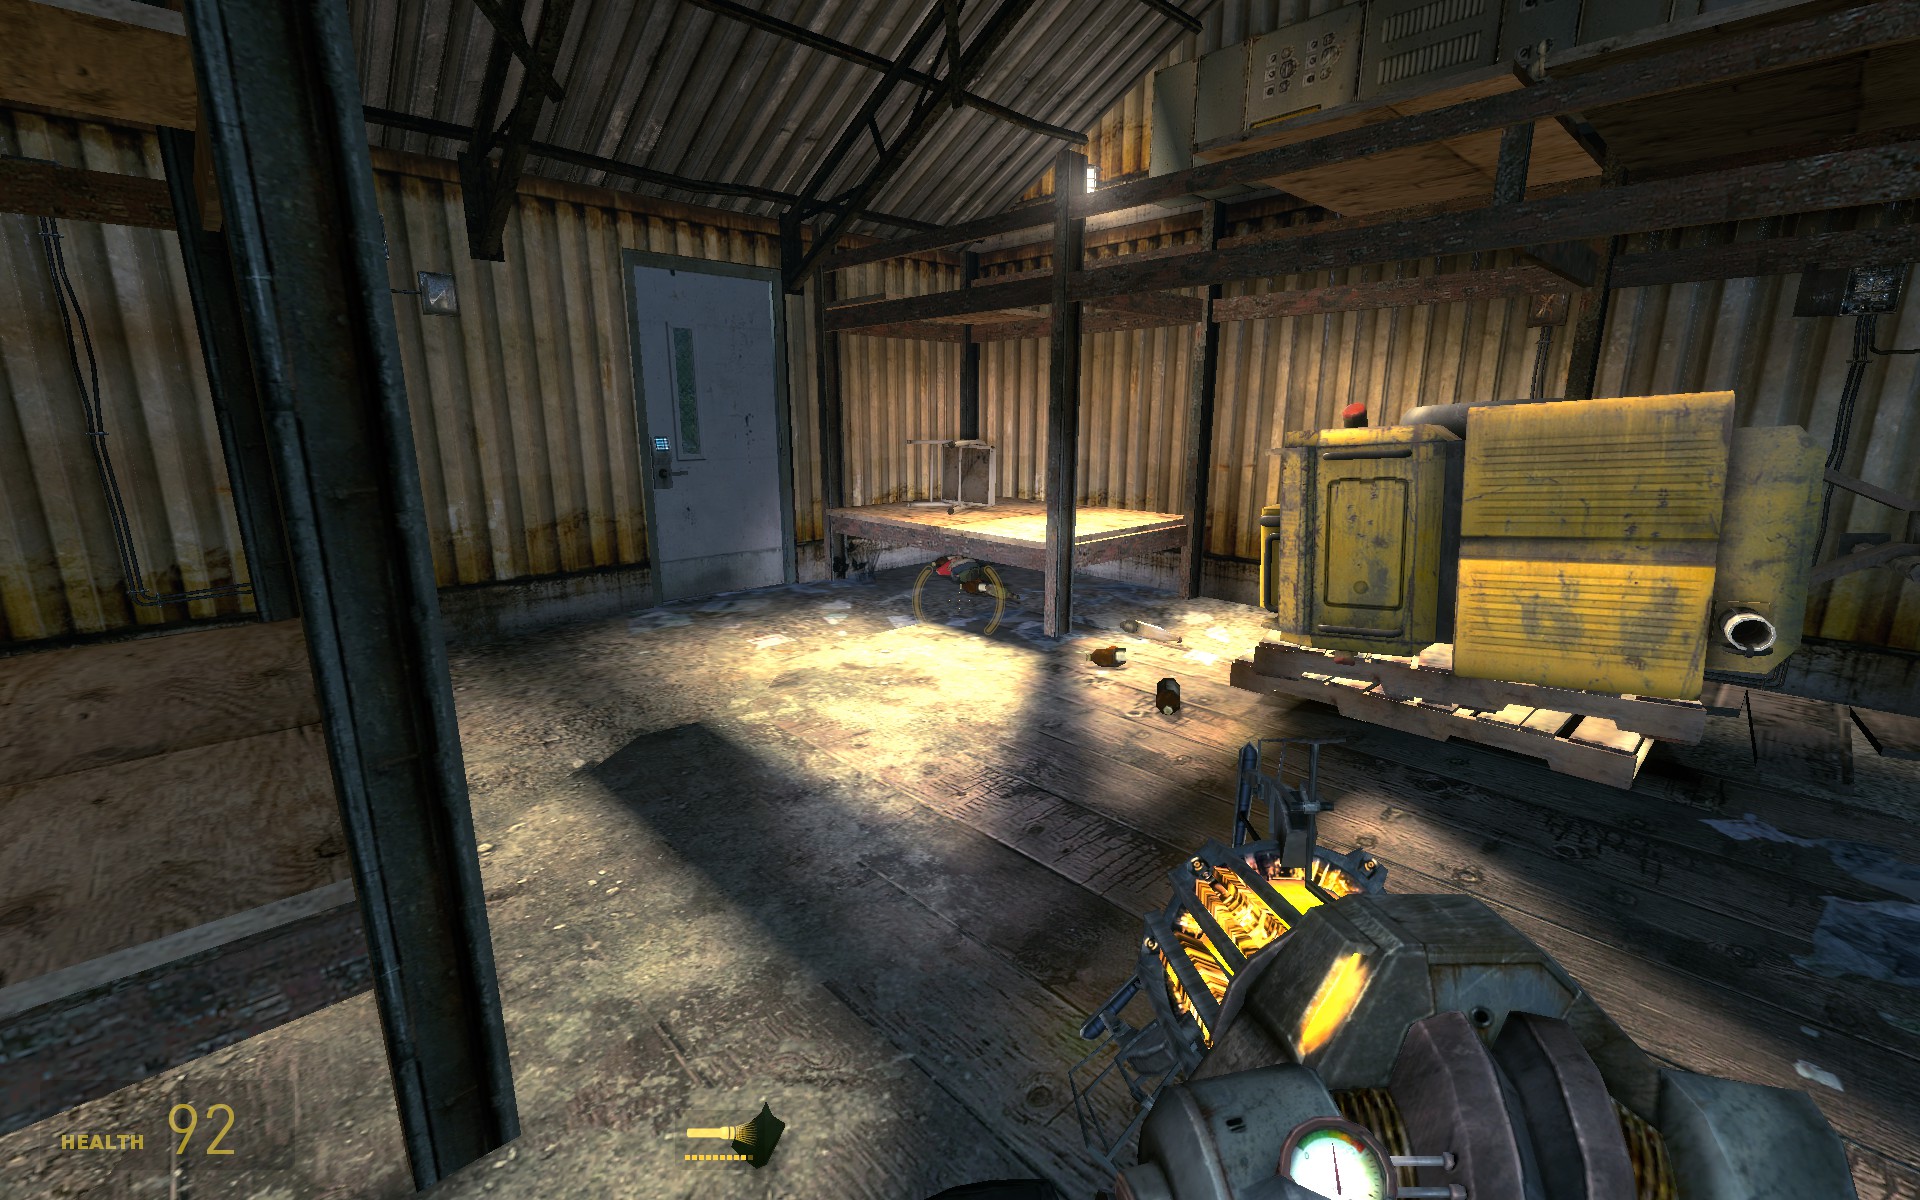
Just after you get inside the workshop, you are asked to clear a blockade outside. You can leave the gnome in the corner of the workshop. Once you get back he will still be there. Don’t put him in the center of the workshop however, as your car will be teleported over there once you destroy the Combine cannon, causing the gnome to vanish. After you place the gnome in the corner, drop through a hole in the floor upstairs and you will find two sawblades. This is a nice spot to get some more kills for Bone Breaker, in case you haven’t finished it yet.

Destroy the Combine cannon in the junkyard.
Story related so you can’t miss it. After crossing the yard while crouching to avoid getting hit by the cannon you will come to the side of the shack. There will be a box of grenades both outside and inside of this shack that you can use to dispatch of the combine troops. Once you’re inside, open the lid to the left of the cannon and throw in a grenade. Once it blows up, the achievement should unlock.
You now get back in the car, which has been upgraded with a radar. Don’t forget to bring the gnome you left behind earlier. Once you get outside, there will be multiple places where zombies keep spawning, allowing you to finish up Hit and Run if you haven’t gotten it yet. If you decide to run over enemies, be sure to drop the gnome on a patch of soil so you won’t lose him in the radioactive waste.
After you pass through the first pool of radioactive waste you will turn right and come up on a white van with another car leaning against it. Shoot the explosive barrels and loot the contents of the white van for radar cache #1.

Move onwards until you pass a large water tower on your left. Just after that the road is blocked by some abandoned vehicles. Around the corner from here you find a white van that has crashed into the wall of the building nearby. Go through this van to enter the building.
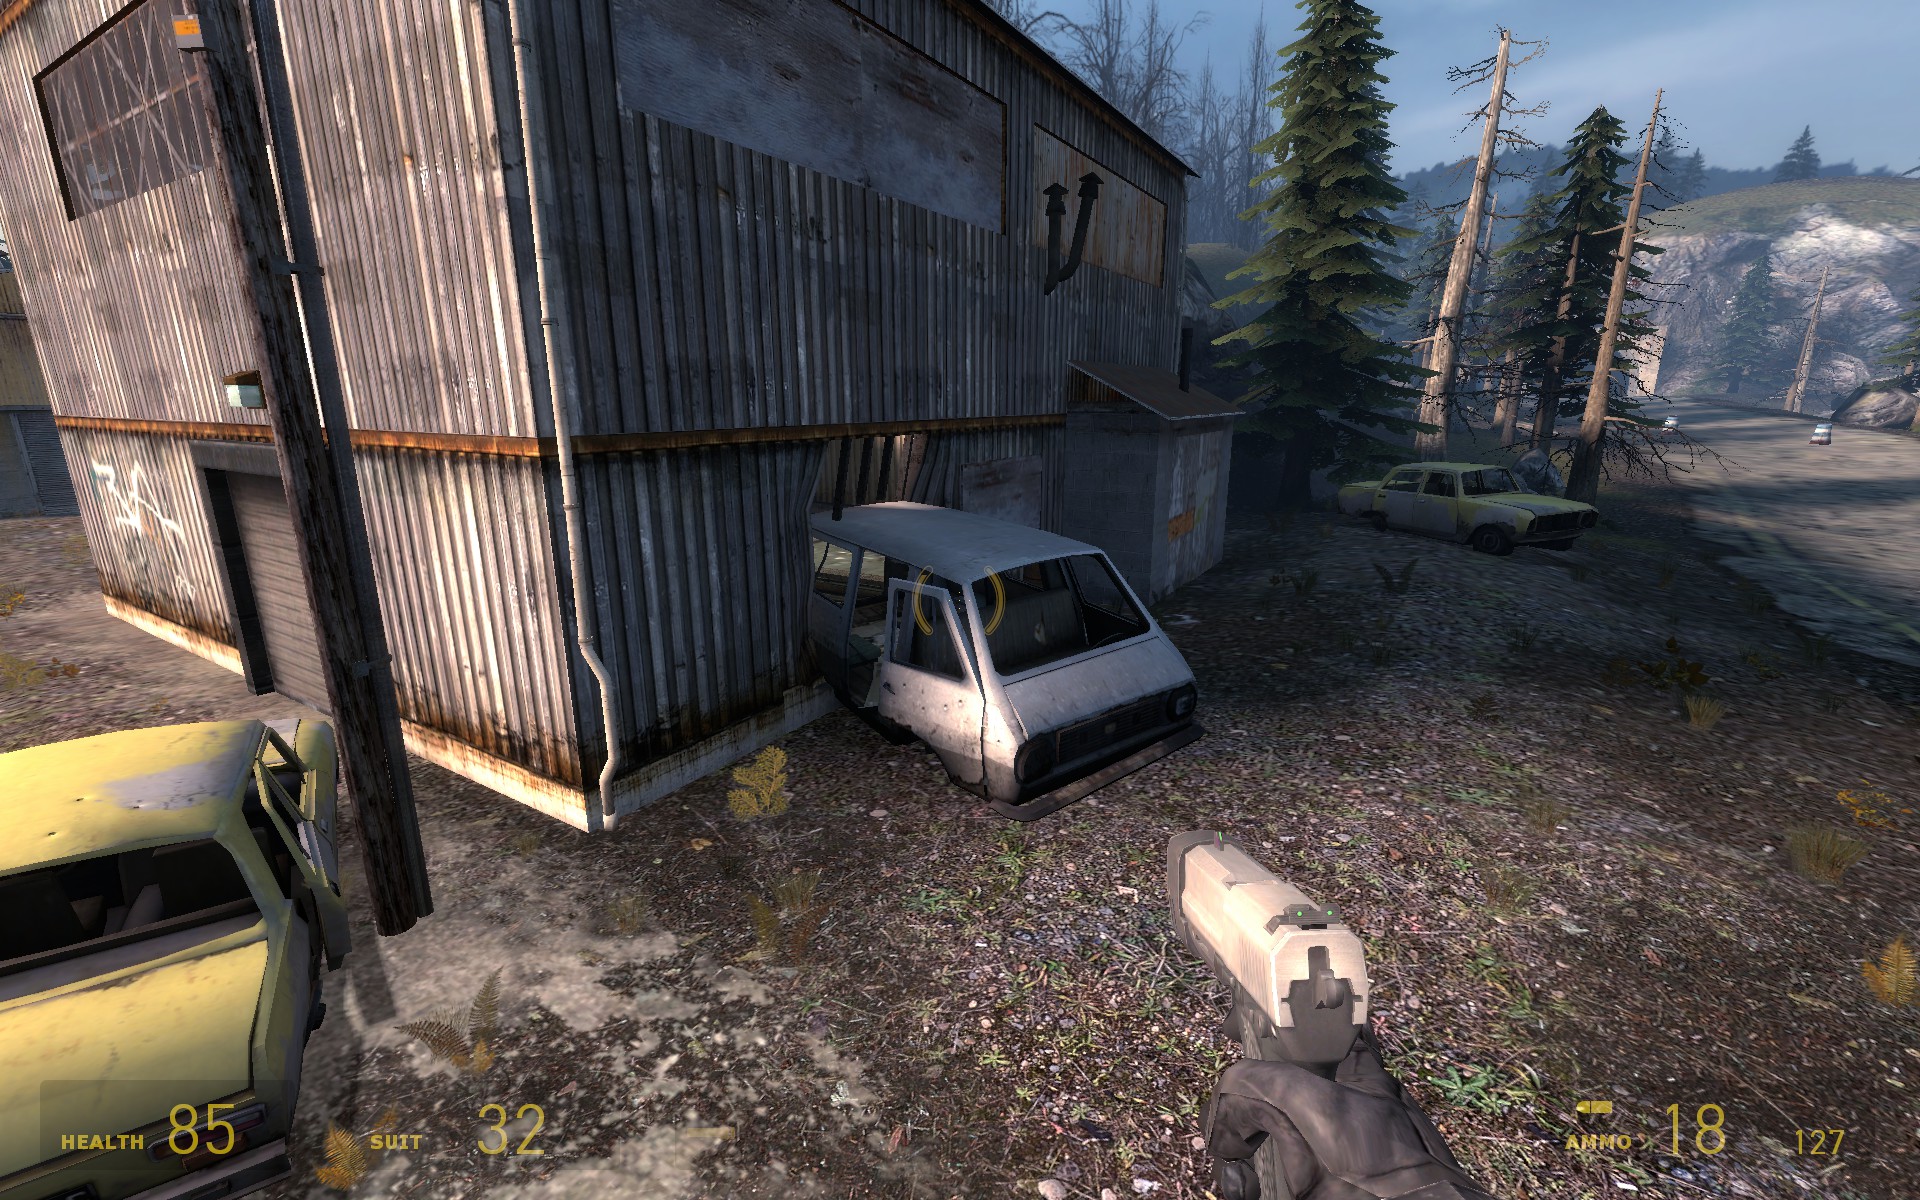

Unlock the rocket launcher lambda cache in chapter Under The Radar.
You’ll see a rocket launcher in a fenced in section of this building and a metal plate standing upright right in front of you. To get to the rocket launcher, you should pull the metal plate towards you using the Gravity Gun and use the nearby supply of grenades to launch yourself up there. The idea is to throw a grenade under the plate, stand on the edge you just threw a grenade under and allow yourself to get launched up onto the ledge above. When you make it up to the ledge, you have found radar cache #2. Flip the switch to open the fenced area and this achievement will unlock.

Continue onward from the crashed white van and enter a yard filled with shipping containers. At the back of this yard is a shed with a broken roof. Inside this shed is a sawblade in one of the floor boards. Pull it away and you’ll find radar cache #3.
Back up until you exit the yard and head through the tunnel on your right. You’ll soon come to a Combine roadblock, forcing you uphill across the nearby road. You will eventually pass by a large fallen tree. Behind this tree is a small cave with radar cache #4 inside.


Survive the ambush at White Forest Inn.
Story related so you can’t miss it. A while after cache #4, you will pass through a small village and get ambushed by Combine troops. You don’t have to bring the gnome with you when fleeing into the buildings, you can just leave him in the car. Kill the first wave of Combine soldiers, Combine Elites and Hunters and then move up the hill back the way you came. The next wave will consist of Combine soldiers and a Hunter. Kill these as well and the achievement should unlock.

Find every radar cache in chapter Under The Radar.
Get back to your car once you power down the force field and make sure the gnome is still in the car. Jump the ramp and continue downhill on the curved road. Once the road levels, turn left and look for a tree high up that has a platform with radar cache #5 hanging from it. Break one of the boxes using any of your weapons and you will unlock Cache Checker if you also found the previous four.

Drive through the tunnel and you’ll come to a gate blocking your way. Just behind this gate you’ll find a crashed Gunship and a living Strider. Don’t worry about the Stider, because Dog comes out and takes care of it for you. After the fight, Dog will open the gate for you.

Beat DOG in a race to the White Forest base.
Save your game right after Dog opens the gate for you. You’re going to have to race Dog to the White Forest Base, which you cannot do while also keeping the garden gnome in your car. By saving, you can beat Dog to the base and reload once the achievement unlocks. Once you pass through the gate, Dog will move the Gunship out of the way. Alyx then starts the race by saying “Race you to the base!” This is your cue to step on it and finish before Dog does. Remember to use your turbo on the long straight parts. Once you beat Dog, Alyx tells him “Better luck next time, slowpoke” and the achievement will unlock.
Reload your previously saved game and this time drive carefully up to the base, keeping the gnome with you. You’re almost at the rocket you have to put the gnome in, just hang in there a little bit longer.
6. Our Mutual Fiend

Send the garden gnome into space.
Finally, the time has come to say goodbye to your pal the garden gnome. Once you meet up with Eli Vance, you will take the elevator down to silo 1 where you will meet Dr. Kleiner and Dr. Magnusson who are working on a rocket. It is this very rocket that will take your gnome into space. Wait for Dr. Kleiner to step down from the hatch and get up there. Place the gnome inside the rocket and close the hatch. Do not forget to close the hatch, or the achievement will not unlock! Once it closes, you should have unlocked the achievement.


Secure the launch doors on missile silo 2.
Story related so you can’t miss it. You will have to fight your way through a lot of Combine troops until you reach the top level of the missile silo. Once you get to the top, there will be two Combine soldiers manning a mounted turret across from you. You will have to flank them and take them out. Inside their room is the switch you have to flip to close the silo doors. Once you do, another wave of Combine troops will rush in from the top, but you can now use the mounted turret to quickly dispatch of them. Once all soldiers are dead, the achievement should unlock.

Save all buildings outside the missile silo from destruction.
This is quite a hard achievement to do. Your goal is to not let any Strider destroy any of the buildings in the area. You must do so by means of the Magnusson devices you trained with before you got back into your car. The Striders are accompanied by a range of one to three Hunters at a time. The Hunters will destroy your Magnusson devices and if they do, you pretty much fail the achievement since the timing is so tight. You can take care of the Hunters using the logs found around the area. Two to three throws with a log in their face should deal with them. When you have killed a few Striders in succession, save your game so you don’t have to redo large parts of this segment. In total there will be 13 Striders, of which 3 are fast Striders with heavy firepower. You have to especially watch out for these three, as they can obliterate the buildings you’re trying to save in a matter of seconds. The other 10 Striders don’t bother with buildings and walk straight towards the silo, giving you more time to deal with them. Another tip while you are holding a Magnusson device with your Gravity Gun is to jump forward repeatedly. This can give you a much needed speed boost, as you cannot sprint while holding something. Before you start, make sure you familiarize yourself with the map of the area.
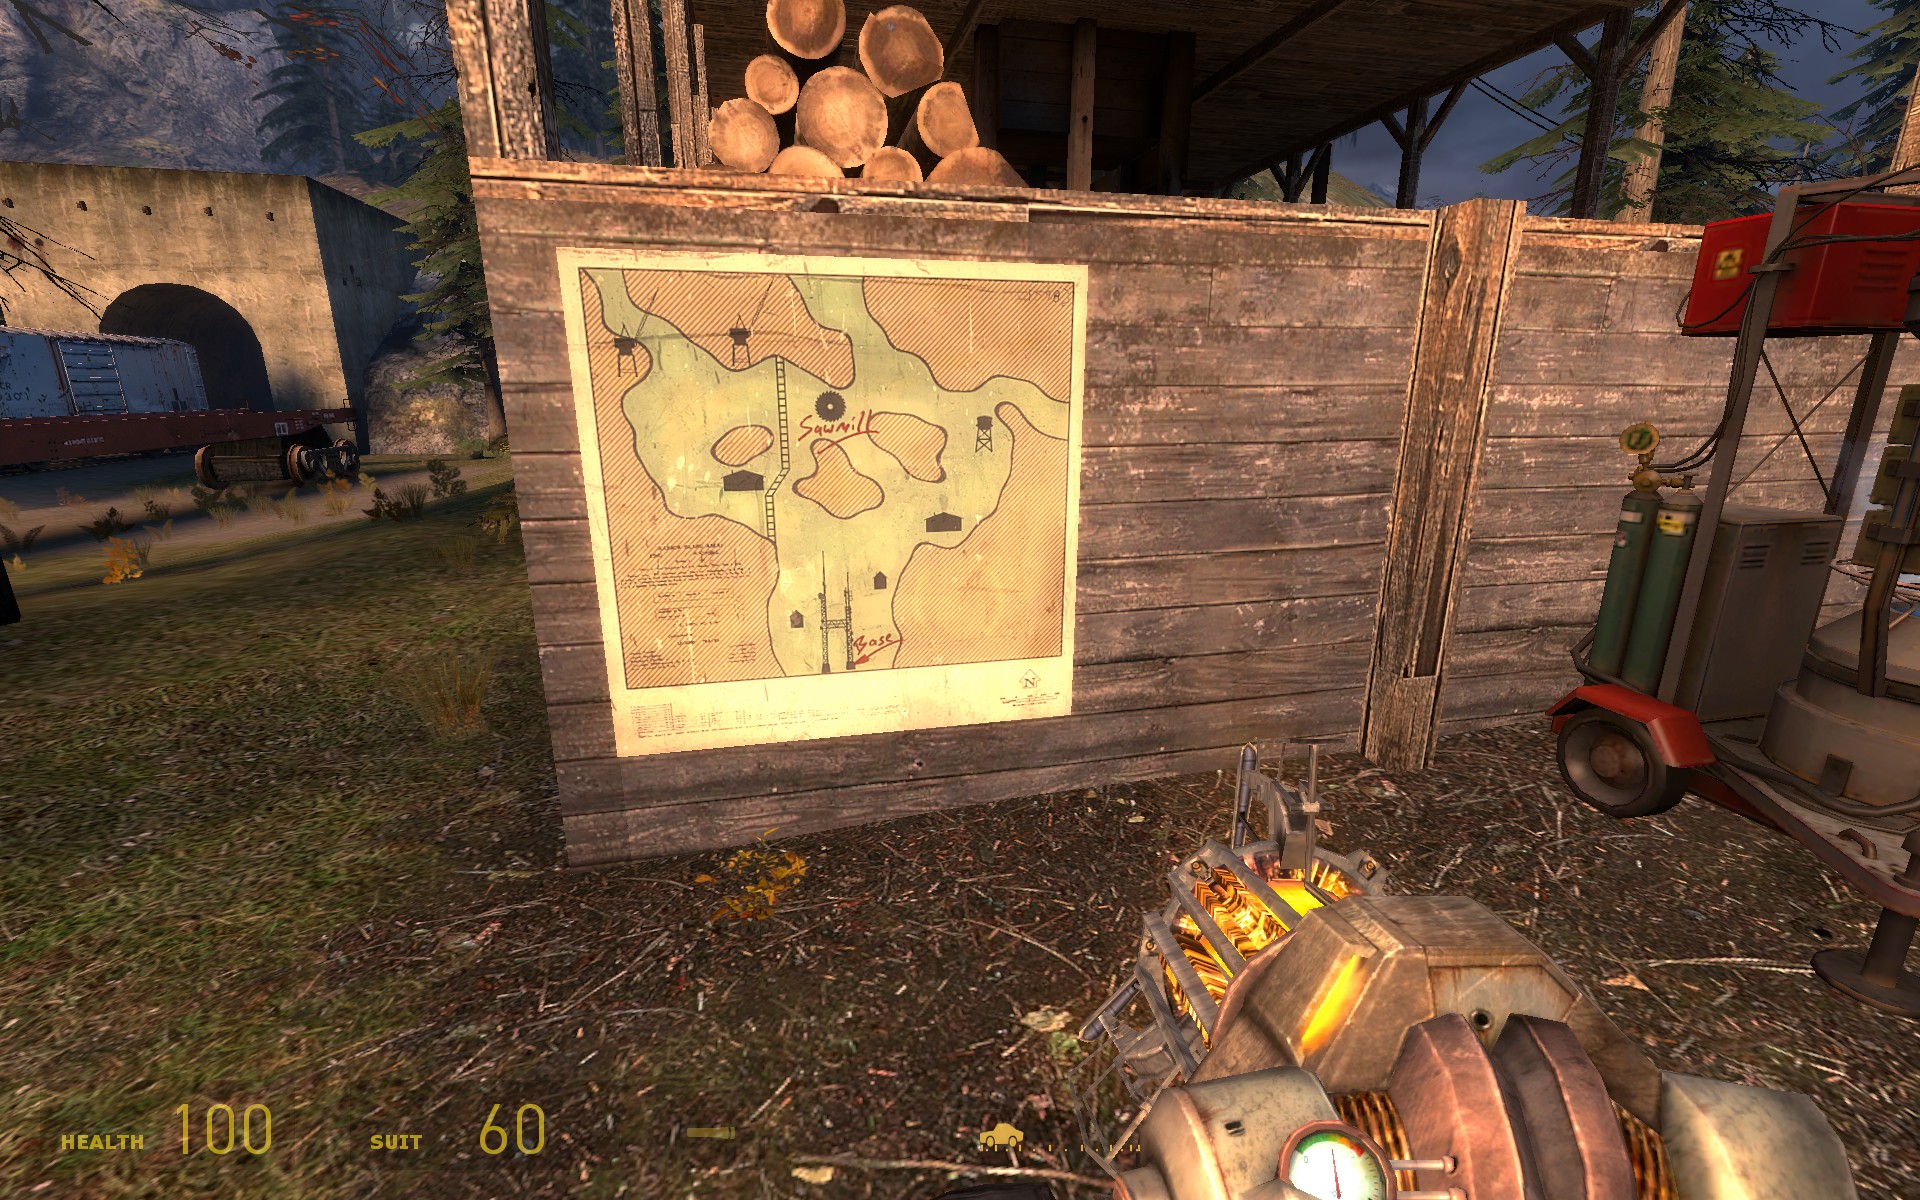
Drive over to the sawmill and park your car a good bit to the east of it for later. Leave the Magnusson device on the back, because you will need it later. Regroup at the sawmill for a short strategy meeting after which your first Strider will come in from the west. Take a Magnusson device from the portal near the group of resistance fighters and keep it safe until you have killed the Hunter that accompanies it. Kill the Strider and immediately sprint back to your car to the fast Strider that comes in from the east. This is why you parked your car here earlier: to make sure you have enough time to kill this one. Kill the fast Strider before he blasts his beam at the sawmill and then kill the Hunters that follow him using the logs.
From here on, get back in your car and drive east, following the road south past the water tower and back west until you reach the large building in the southeast. Replace the lost Magnusson device on the back of your car from the supply inside and take another one with you back to the water tower on foot. The next Strider will come for the building you just resupplied in, along with two of its Hunter friends. Hurry back towards the water tower and again drop the Magnusson device somewhere safe. Kill the Hunters by throwing more logs at them and then quickly grab the Magnusson device you saved to kill the third Strider.
Resupply health, suit power and ammo inside the building and get back in your car. Drive south west and follow the train tracks back north until you get to another small wooden cabin. Depending on how fast you got here after killing the previous Strider, the next one may come from either the west or the north. Drive your car in the direction they come from and kill the two Hunters that follow the next Strider around. When they are dead, use the Magnusson device you placed on the back of the car to kill the fourth Strider.
Get back into your car and drive back north towards the sawmill. Park your car facing west and replace the used Magnusson device on the back with a new one. The fifth Strider and its two or three Hunters will come from the east of the sawmill, in the same area the first fast Strider appeared. Kill the Hunters quickly and blast the Strider with another Magnusson device. Hop back into your car and drive south from the sawmill along the train tracks back to the small wooden cabin mentioned earlier. Another fast Strider is coming from the west of the cabin, so quickly restock your health and ammo and grab a Magnusson device from the portal. Head to the corner and kill Strider number six before it can fire its beam. While you were busy taking care of the second fast Strider, a seventh Strider has come from the water tower towards the building in the south. Quickly get back into your car and drive over there, ignoring the Hunters for now, and kill it using the Magnusson device from the back of the car before it does irreparable damage to the building.
You now have a little breathing time to kill some of the Hunters you may have ignored and replace the Magnusson device on the car, before the eighth Strider will show up. This is another fast one, which means you will have to dispatch of it quickly. On the upside, this is the last one with heavy firepower, so once you kill this Strider the hardest part is already over. Mop up some of the remaining Hunters while Dr. Magnusson tells you Combine Dropships have been sighted bringing in even more Striders.
Now the last five Striders will start coming from all directions. The ninth one will come from the cranes, in the northwest corner of the area. Resupply and head over there as soon as you can. The tenth one will come from the sawmill and the eleventh one from the water tower, so head east again. The twelfth one will come from the sawmill and the thirteenth and final one will come from the cranes again. If you have trouble keeping up with these five so coming quickly after one another, you could also try retreating towards the silo in the far south and use the narrow pass as a choke point.

Save the missile silo from the Combine offensive.
Story related so you can’t miss it. This achievement will unlock together with Neighborhood Watch, at the same time you destroy the thirteenth Strider.
7. T Minus One
There are no more achievements here. All you have to do now is enjoy the ending. And now, with that taken care off, the wait for Half-Life 2: Episode 3 begins…
Congratulations on completing all the achievements in Episode Two!