
Overview
This walkthrough guide is for the University map created by Tyrant. It is available in the Haydee workshop. This is Tyrant’s second map after Sorority House. It is a little more difficult for players not using bot or impact mods. The platforming is a little tougher too. I would never have finished it without the peace2 mod and watching FOB3X’s You-tube videos for a long time. With this guide you can finish it much easier, although if you don’t use a peace mod it will still be tough.
Beginning
We spawn into a university building. All indoor bots are “friendly” until we possess a firearm. All the doors that have a small green lit circle are active and we can explore those rooms to collect supplies. After going through all the rooms you should have:
Gym – medkit
Boys shower – pistol ammo and save discs. The discs are in the shower in a soap cubby hole.
Hall between gym and shower room – SMG ammo

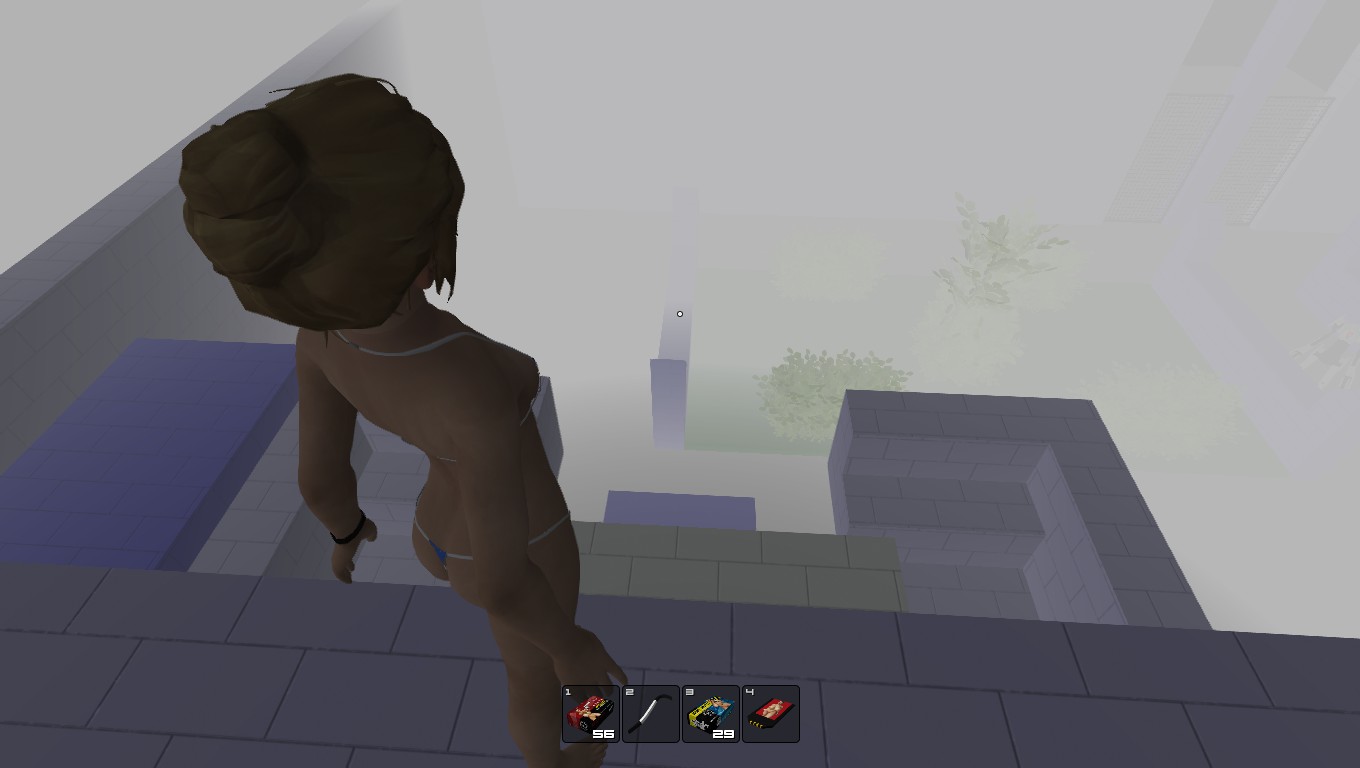
There are invisible blocks to climb on to reach the key card on the basket ball hoop. Walk up to the 1st Haydee and the invisible block will stop you.

Then climb up and climb again till you reach the hoop and the white card. You can walk off the hoop and down the ladder of Haydees.


Main hallway crate – mine

In the Office pick up the obvious medkit. The pliers are hidden on the office chair. Press the blue button, it releases a back grate to get the pistol later.

Boy’s bathroom – medkit
Girl’s bathroom – medkit
Janitor’s closet – use the white card to get the crow bar and ammo from the crate (the room is opposite from the restrooms)

Next back to the gym, around the bleachers, past the red card door to a vent we can open with the crowbar.

At the end of the vent collect the night vision visor. Ten back out to the gym and back to the office to save the game. Next we are going to go outside and up on the roof . We will go through this outside door. The catch is when we go outside the botts are normal and will kill you. Not a problem except we don’t have any firearms. I couldn’t even do it with the worm mod because the botts would follow me and block a cat walk I needed to use. I switched to the peace2 mod which makes them immobile. I watched a talented guy (FOBX3) do it on You-tube without a bot mod. He was way better than I am. He could run on catwalks and platform without hesitation. He still died a couple of times though, but did finally make it. Well that’s why we used a save disc, right?


1st Roof Ascent

As soon as the door opens we can see a walker that is comin’ for us! If you don’t have a bot mod run to the left, we are climbing up the front of this blue block.


After climbing the blue block, climb two more levels. If you don’t have a bot mod run towards the vent opening to the left. Next run to the elevated platform that has body armor. Those with a peace mod can walk.
There is SMG ammo just a short walk away and the body armor may save us if we miss a jump. Just don’t forget to activate it.

Now go back to the other side of the wall we first came up. Climb this wall then turn around. Here is where some serious jumping begins.


Jump climb and jump again. This jump is the scariest one of all and slightly offset. I didn’t even know it was possible to do until I saw El Zorro do it on You-tube. Good luck.


When we get to the roof of the next building inch around the catwalk to the right. If you don’t have a bot mod try to be stealth and get the blue card, then run back.

Back across the cat walk . Hang from the edge and drop, you will catch the ledge below. Into the vent and over the crates to collect the screw driver. Out of the vent, hang from the ledge and drop.

At the end of this empty tunnel is a stack of save discs. Those without a bot mod will be outrunning a walker. Then its back by where we came up to enter the vent we ran towards earlier. It is across from the slasher cage. It has some pistol ammo.

We need to get passed the bot to enter the gym roof vent (seen to the left, highlighted in blue). Those without a bot mod will need to lead the walker away before running to the vent. Go into the vent and collect some ammo and a red key card.

Now we are going back to the ground floor the same way we came up. With the body armor active we can walk straight off the roof all the way down, without turn, crouch, hang drop, turn, repeat, ect.

When we get down turn and interact (e) with the blue block. Now we will climb it in it’s new position.

The first jump is a little hop, try not to over jump. Then its turn hang and drop, turn and walk. We come to a vent around the corner and go in.

The maker of this map is famous for lewdness and depictions of sexual engagements. That’s probably why I like them so much. Press the button. Now we are headed to the gym.


2nd Indoor Section

Next we head for the gym’s red card door.Here we can open the locker and get the SMG. If you don’t have a bot mod take it, but remember that some indoor bots are now dangerous. If you have a mod you don’t need it yet. Next we head to the ladies bathroom. A little humor with a line only at the women’s restroom and it looks like they really have to go! we can cut to the front.

Now we can grab the remote. Those with no mod will have to deal with the angry slasher who just had his bothood stolen. Next we go into the boy’s room. Use the blue key card, be ready for a slasher and 3 walkers. If you have a mod magically walk through all the bots and pick up the yellow key card.

We enter the elevator room to the right of the office. Use the remote to expose the yellow elevator button. Press it and down we go.
At the bottom there is a vent and a door. Take the vent first. These buttons control blue cubes outside. Press each button once. Then out the vent and through the door this time.

We use the yellow key card and enter the power room. We take the power unit with us.

Back to the elevator, go up and enter a dark main hallway. Good thing we have night vision. We are going back outside. Climb the blue block, it should be in the “right” position. Then short hop, turn stop hang and drop.

We walk to the end of the alley. The blocks are now in a position so we can reach the back vent.

Head into the vent, now we can get the pistol that was behind the grate in the office.
Go back the way you came, up over the blocks and back into the building. Now that the main power is out we can actually use the door marked E X I T (it is locked when the main power is on).

We find these Haydees hanging out. Put the power unit on the socket she is holding.

Now the little cabinet opens and we can get the green card key and some ammo. Take the power unit back and go back into the building the way we came. Head to the gym and the locker/shower room on the left side.

Use the green card and unlock the power node. Place the power unit on it. That opens up a new doorway behind you.
Here is a strange little room, but it has the all important wi-fi. Before you pick it up, better have a firearm drawn.
Because this is what is waiting to do you in. We are getting close to the end so if you don’t have a bot mod expect more new botts even in places you have already cleared. Let’s make a last save in the office, before we go jumping around on the roof again


Final Section
We head outside and move the blue block back to the left where it was to begin with. We climb 3 levels. Go around what we climbed up and climb again. We did this before so I won’t include as many screen shots.

Hopefully its all coming back and you remember what we did the first time. This is after the scary offset jump, we climb up at the corner. Then across on the narrow cat walk.

The cat walk leads to another roof, we go to the left side this time and look for the button. Place the wi-fi on the button. From up there try the remote. See how it opens the slasher cage for about 10 seconds.

Go back across the catwalk, hang from the ledge and drop down. If you don’t have a bot mod this is a good place to use the mine. Set it in front of the caged slashers and run. When a safe distance away use the remote. If you have a bot mod , no worries just use the remote.

There is the button you have to press. Be careful you have to inch out to the edge of a drop off. It is within range so “e” it. Exit the slasher cage.

Go around and back down the way we came up walking straight down. Beware of new bots at the bottom. Now we go forward and right to the two grated entryways that are now clear.

We approach a small grated off compound. When we get close the grates open and a haydee in detention is seen. This is where the game ends.

If you don’t want to shoot a fellow Haydee or you don’t like blood, congratulations you have successfully finished the game. If you don’t mind shooting her and blood is OK, then to get the black screen and credits fire away. I had to stand back quite a ways because it was unpleasant for me. After the black screen, hit escape and wait a few seconds for the credits from the original game to roll.


Thanks for using and or reading this guide. Hopefully it is accurate. Feel free to comment if I said right when I really meant left. Thanks also to Simplesim7 for creating the Kat outfit and to darksoulsplus1 for posting it in the workshop.