Overview
If you know how to change the DOF sample count and DOF quality setting, go elsewhere. And yes there is a slight difference between the two. It’s ridiculous how little guides there are that advertise a tutorial for high quality rendering that also mention Depth of Field Quality. So, here I am.In this guide I’ll teach you how to change the Depth of Field sample count and Depth of Field Quality.
Before
The default SFM settings are quite bad.
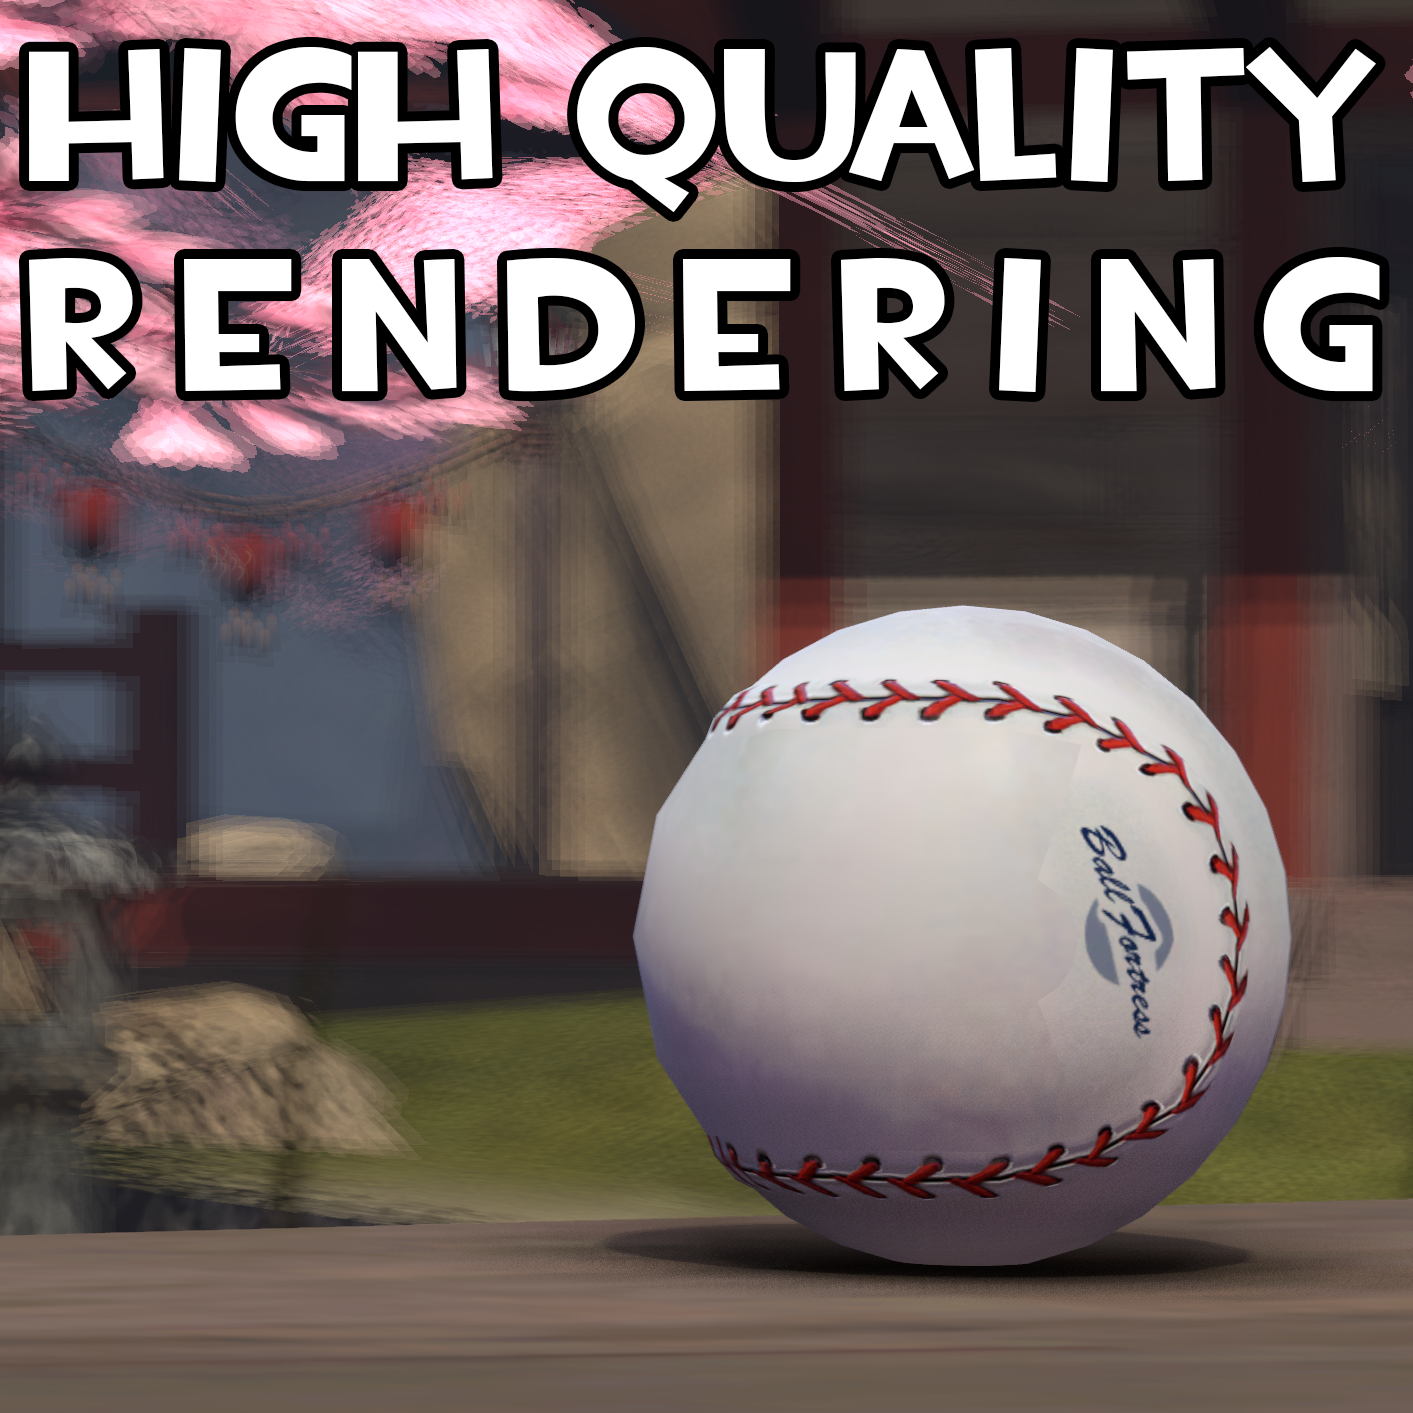
I’ll be using this render I made in 15 minutes as an example:
This is actually quite a bad example, however the main problem here is quite obvious; the Depth of field doesn’t look as it should. The Depth of Field is somehow chopped-up and sharp looking rather than looking suitably blurry and smooth. The low Depth of Field fidelity is also responsible for the underside of the baseball being grainy. This is because Depth of Field fidelity affects much more than just Depth of Field. It also affects shadow filtering, light radius, volumetric lights, and Ambient Occlusion.

Tip: For the love of god don’t use ambient occlusion as strong as the example I provided. Misuse of ambient occlusion can ruin a lot of renders. Tune it to how you want your poster to look, just like anything else in SFM.
For those wondering, I’m using the term “Fidelity” to refer to both sample rate and quality.
Step 0: Launch Options
WOAH! Slow down there! We aren’t opening SFM just yet. Before launching SFM we need to get you some better launch options.
In order to change your launch options go to your steam library and find Source Filmmaker. Right click on it and select properties.
Next click the empty text box under LAUNCH OPTIONS. Copy and paste the following into that spot:

Okay. NOW open SFM.
Step 1: Increasing the Sample Count
Right click the Viewport and select “Render Settings”

Change the “# Samples” to any value above 256. I highly recommend the full 1024.
After changing that value, click ok and select the clip editor in the timeline.

With the clip editor selected, wait for 10-30 seconds, and the image should already start looking significantly better.
If it takes any longer just know that a wait time like that is normal. It all depends on your GPU, the geometric complexity of your models, and the number of lights.
Tip: Source Filmmaker displays a sample counter in the bottom left.
Step 2: Increasing the “Quality”
For this step you need to have your camera in the Element Viewer. To do this right click on the camera animation set and select “Show in Element Viewer > Camera“.
When you select the element viewer tab, all the settings on your camera should now be listed.

Change the highlighted setting to a value from 5-7 I personally have it set to 7thanks Angel. This has the potential of significantly increasing render times on older hardware, so if you don’t think your computer is fast enough, stick to 5 or even something like 3.
After and “Conclusion”

Sidenote: Don’t make my mistakes
By the way, just reminding everyone that the Radius slider does do something. It is magic and makes your posters look 100x better. It’s like shadow filtering but good. Just thought you should know. It’s not like I used SFM for 5 years straight whilst being totally unaware of it’s existence. I bet you didn’t know you had to click the clip editor to see the change to the radius value. Because I didn’t. Until just recently. Like 4 weeks ago. Hahhahahahhah…
Some Guides I recommend
This guide explains some of the differences between posters and image sequences, as well as some launch options that I believe to be imperative if you are using SFM:
Forbidden Knowledge(More SFM Bulls**t):
[link]
These ones are just good guides
[link]
[link]
[link]
[link]
My other guides:
[link]