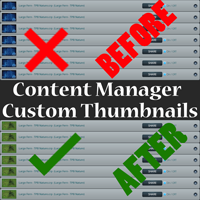
Overview
Learn how to change the preview image that appears in the Content Manager(And Workshop) for your assets.
Introduction
Welcome friends,
Let me begin by explaining the difference between Workshop and Content Manager preview image.
When you save an asset in the Asset Editor, you can choose to attach a snapshot from the game’s Snapshot tool as a preview image for the item, as you surely know already.
You also have the option to click on the little folder icon and put your own custom preview image here, just like you do when sharing an item or updating.
This is especially useful for Trees, since there is no snapshot tool available for them.
This preview image is attached to the asset file when you click save and becomes the file’s main preview image, which will always show both in the content manager of the end user, as well as on the Load Asset screen when the asset is selected.
This image will also be pre-loaded as a Workshop preview image when you click Share or Update in the Content manager.
Now here is the trick.
When you click Share, or Update, you can change the preview image, as you may already know.
But changing it from here only changes the Workshop preview image, and NOT the file’s attached preview image(content manager preview image).
In order to change the original preview image on the file. You must do this from the Asset Editor “Save” window.
The process is the same for both operations, so I will show you how to change the preview image that gets attached to the file, and then you can do the same thing later if you desire to have a different one for the Workshop.
Note that once you set the correct preview image on the Asset itself, it usually won’t be necessary to do anything when updating or sharing, since this will be pre-loaded from the file.
So in short:
- If you attach correct preview image when saving, this will reflect across workshop when sharing and updating.
- If you attach preview image only when sharing or updating, this will reflect only on workshop, not on content manager.
- Attach to file to save time and make a better product.
Explanation
This is very easy to do.
- First get your preview image ready. This is mine:
Size: Less than 2mb *important*
Dimensions: 644×644 pixels (To avoid errors, your height or width can’t exceed 644, but in theory you can make it smaller)
Format: PNG
Name: PreviewImage.png (This is important or the file wont be loaded by the game)
- Now open your asset in the Asset Editor, or make your asset if its new.
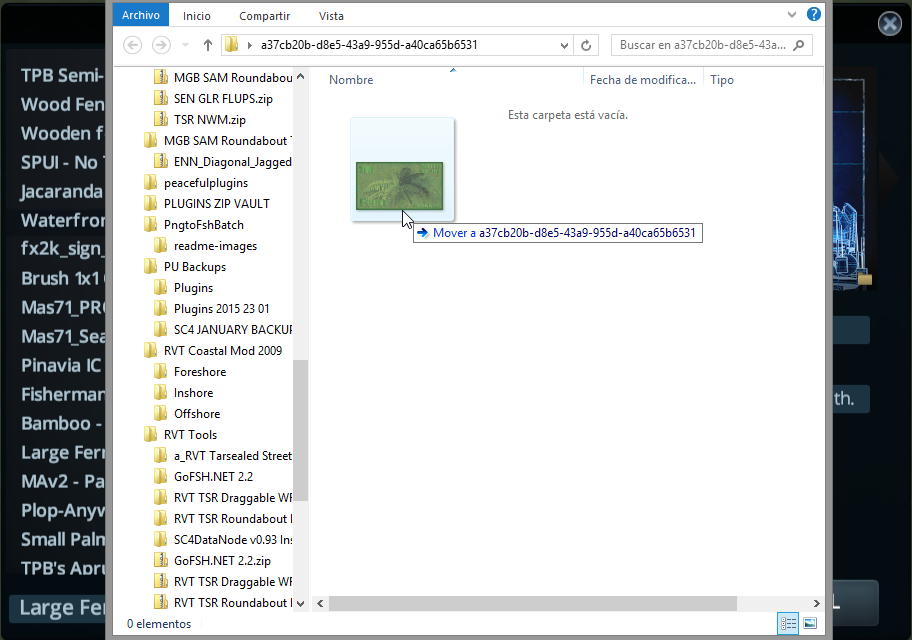
- Open the Save window and Click on the little folder icon thats on the bottom right corner of the thumbnail.
- A window will open. If you have taken other screenshots during this session, they’ll all be here. You can leave em.
- Copy your custom preview image into this folder and close the window.
- If you did everything right, your custom preview image should be showing now in the Save window. If you had other screenshots from this session, you might have to click on the arrows until you find the correct one.
- Click Save.


If you want to add the preview image only to the workshop item and not show in the Content Manager,
do exactly the same thing but during the Share or Update dialogues.
That’s it. Your asset now has a custom Content Manager preview image.
Conclusion
So there you have it. It’s that easy.
I know many people already know this, but this guide is obviously for those of you who don’t.