Overview
Enhance your Neverwinter Nights experience by adding your own portraits to the game. This easy to follow guide will show you how.
Introduction
Hello, and welcome! This guide will show you how easy putting your own portraits into the game can be. Neverwinter Nights has some rather impressive portraits, but putting custom portraits into the game really lets you play the character you want to play, whether that be for immersion, roleplay, or another reason. Let’s get started!
1. Finding and Formatting a Portrait
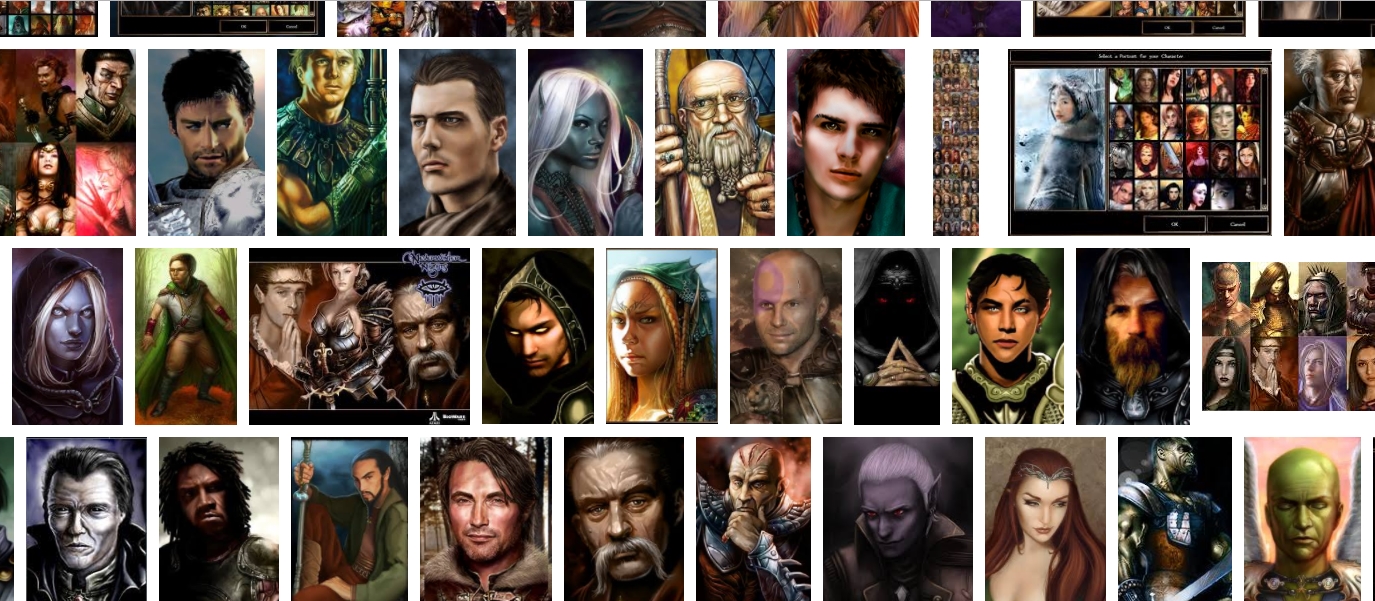
The first thing to do is find a portrait you like. Sounds easy, right? Just go to your favourite search engine and look for something that catches your eye.
You could type something like –
Fantasy warrior portrait
NWN portraits
Awesome gnome portraits
You get the idea! Save this image to a place that’s easily available. I use my desktop so I can see what I’m working on at all times.
Make sure your portrait looks just the way you want it. Ideally, you want it to be 256 pixels wide by 400 pixels high, since that’s the highest resolution the game uses. Your image should look like the one below, with no negative space and everything centered and scaled properly. Save it as a .jpg file. Use simple naming conventions to make it easier for you. I have all my male portraits named Male with a number, and all my female portraits named Female with a number. You could organize them by humans, elves, fighters, mages, or whatever you wish. The later steps will be a bit trickier if you have a long name like WarriorElfMaidenFromTheEast, however, so a short name will be helpful.
For the sake of this guide, I will use this portrait, done by the amazingly talented artist Apricane. Note that this image is sized to scale. I have named it Male5.
⠀

From here, you can choose between two methods. One is easier, while Two gives you total control over how your portrait looks.
2A. Method One – Easy Conversion
This is the easiest way to add your own portraits, with no fussing about dimensions, .tga files, negative space, or anything like that. With this method, the game will scale your portrait down automatically for all the sizes needed.
1. Place your 256 by 400 .jpg file (e.g. Male5.jpg) in the portraits subdirectory of where Neverwinter Nights is located (typically DocumentsNeverwinter Nightsportraits).

2. Now, load up the game. Press ` (tilde key) to bring up the console.
3. Type in –
Where portrait_name means whatever your image is called. Do not add the .jpg at the end, and do not add a space between the words Convert and Portrait. Since my image was called Male5, I would type ConvertPortrait Male5.

4. Press Enter.
You should get a message saying that your portrait has been converted, and you are then instructed to go to Character Generation. That is all you need to do! Now, start a new game, and you will see your portrait at the bottom of the portrait roster. Easy, right? You can repeat the process as many times as you want! The possibilities are truly endless.

Want more control over your portraits? Read on.
2B. Method Two – Advanced Conversion
This method, while being more challenging, offers complete freedom in how your portraits appear. For example, you can have a full body portrait in the character sheet, while the portrait on the top right just shows your character’s face. Once you do this method a few times, however, you will find out that it’s actually really easy. Pay careful attention to the directions that are bolded. Not following them properly will most likely result in your portraits not working at all.
Neverwinter Nights uses five files for each portrait. The upper portion is the image that you see in-game, while the lower portion is negative space. The image sizes are as follows, and all dimensions listed are in pixels –
- Huge (256×512 canvas; upper 256×400 used), seen during character creation
- Large (128×256 canvas; upper 128×200 used), seen on character sheets
- Medium (64×128 canvas; upper 64×100 used), seen on the top right corner beside the health bar
- Small (32×64 canvas; upper 32×50 used), seen in the party bar, excluding the player’s own character, and in radial menus
- Tiny (16×32 canvas, upper 16×25 used), seen in the mouse-over name bubbles and chat window
Each image has to have a letter at the end of it corresponding to which size it is. Each file must also be a .tga file. The images will not render in-game if they are .jpegs, .bmps, etc. All of the images for your portrait must have the same name, with only the single letter at the end (H, L, M, S, and T) changing.


1. Using the dimensions above, make each of the five images, adding the negative space and sizing each one accordingly. Remember that each file must have its respective letter at the end of its filename.
2. Place the .tga files in the portraits subdirectory of where Neverwinter Nights is located (typically DocumentsNeverwinter Nightsportraits).

For my image, Male5, I have all five images present in the portraits folder: Male5H, Male5L, Male5M, Male5S, and Male5T.
3. Run the game, and create a character. You should see your portrait at the bottom of the roster if everything goes well. Congratulations!
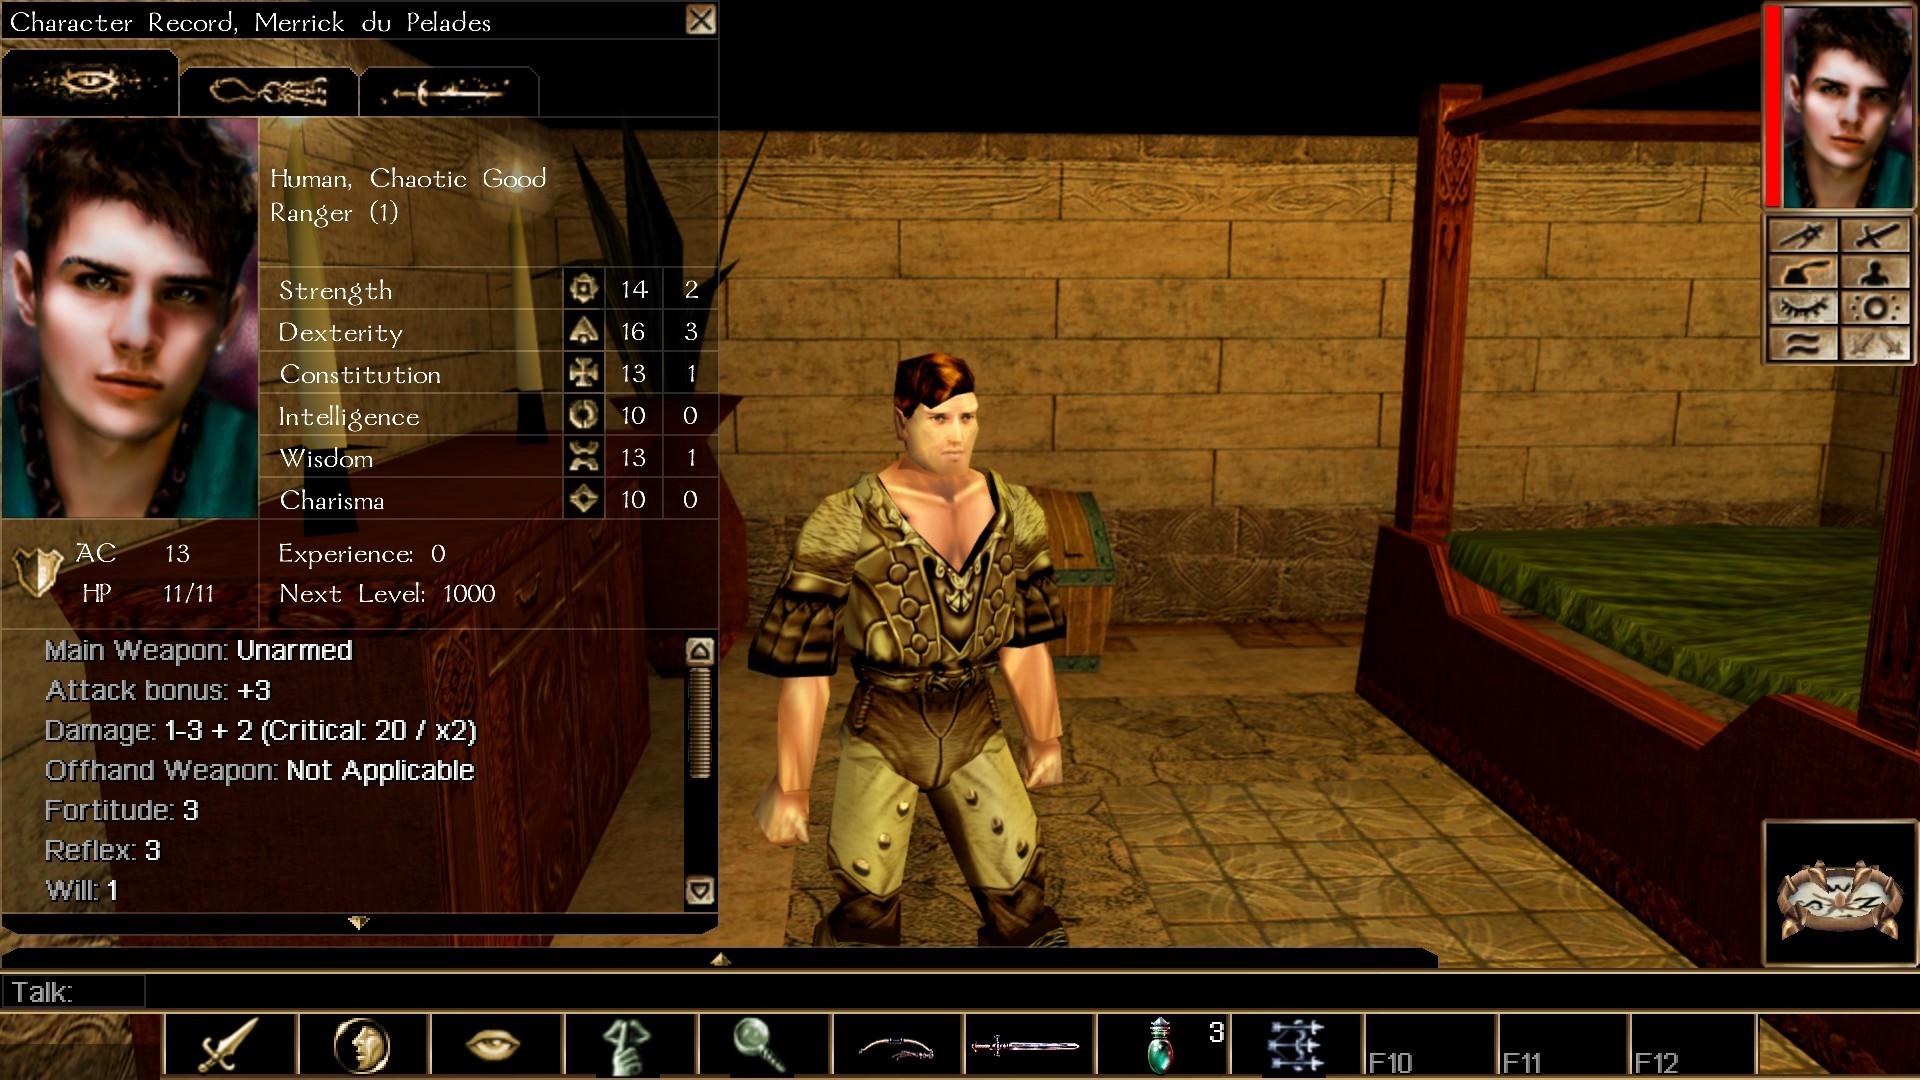
Once you have everything in order, the game will draw from those five images to render your portrait. And, because you did each image yourself, you have complete control over what displays in each of them. As you can see in the screenshot below, the portraits aren’t just an exact copy of each other.

⠀
Tips for Method Two
The game draws initially from the Medium sized portrait, so if that is the only one you have present, your portrait will show up in-game. Any missing images will show up as a silhouette of your character’s gender, however.
If you just want to have one image different than the others, you can use Method One to make all five copies of one image, then go in manually and adjust the one that you want to be different. This way, you don’t have to go through the hassle of scaling down the others one by one.
Adjust the canvas size to add the negative space instead of resizing. Resizing to make the negative space will stretch your image and cut off the bottom portion of it once it is rendered in-game.
If your portrait already has the negative space present and you just want to scale it down, you can enable “maintain aspect ratio” on your editing program and resize it by dividing the width by two each time. The height will automatically adjust, and you can save each version progressively as you go.
Questions / Possible Issues
– What image editing program can I use for this?
I use Paint.net to convert my portraits. It’s free and it works, so you can use that if you wish. I am sure Photoshop, Clip Studio, etc. can work with these files, too.
– Why do you call this conversion?
This whole process is about converting .jpgs, .bmps, etc into .tgas so the game can read them. I wouldn’t think most people use .tga files in their daily lives, but I could be wrong.
– TGA? What is that, even?
Just another image format, like .bmp or .jpg.
– My images aren’t converting right! What’s going on?
You must use ConvertPortrait, then the name of your image, without its extension. You must type it exactly like so, with no spaces between Convert and Portrait, and respecting the capital C and P used. If your portrait is called elfgirl.jpg, then you would type –
– I get a Read Error when I try to convert using Method One. What does that mean?
The game can’t find your portraits. Make sure they are in the right directory. By default, this is DocumentsNeverwinter Nightsportraits
– I sized my portraits myself, but they’re not showing up!
Are they saved as .tga files? Do they all have the correct letters at the end, denoting their size? H, L, M, S, and T? Are they in the right folder?
– My portraits look really weird! One is of my character’s cheek! Another is the side of his head!
You must check your dimensions and make sure each one is the size it needs to be. You could be saving a Huge as a Medium, for example.
– My portrait is missing the bottom part! It looks like it’s been cut off!
The image draws only from the top portion. Go back to the “Advanced Conversion” section and see each image size. For example, the Huge image needs to be 256 by 400. From there, add the negative space below until the portrait is 256 by 512 without stretching your image.
– Some of my portraits are really dark. My character looks like a ghost. How do I fix that?
Check to see if all of your files have the same name (except for the last letter). Some are being loaded while the others are missing.
Conclusion
Now, whether you want to be an evil elven wizard, or a holy dwarven cleric, you can truly look the way you want while you do so!
I hope this guide was easy to understand and helpful for you. If you have any questions, feel free to leave a comment below and I will reply as soon as I can. All the best, and happy adventuring!