Overview
This guide represents the steps on making a simple moving car on scrap mechanic, for beginners.
The Basics
Hello all, since this guide is for beginner mechanics, I will run through the basic systems of the game.
Now first of all, to access your inventory, press the I key. After you press the I key, a pop-up full of blocks and all types of other objects will appear. With this pop up you can drag and drop the blocks you want into your toolbar. You scroll with your mousewheel (MMB/M3) to navigate through your tool bar.
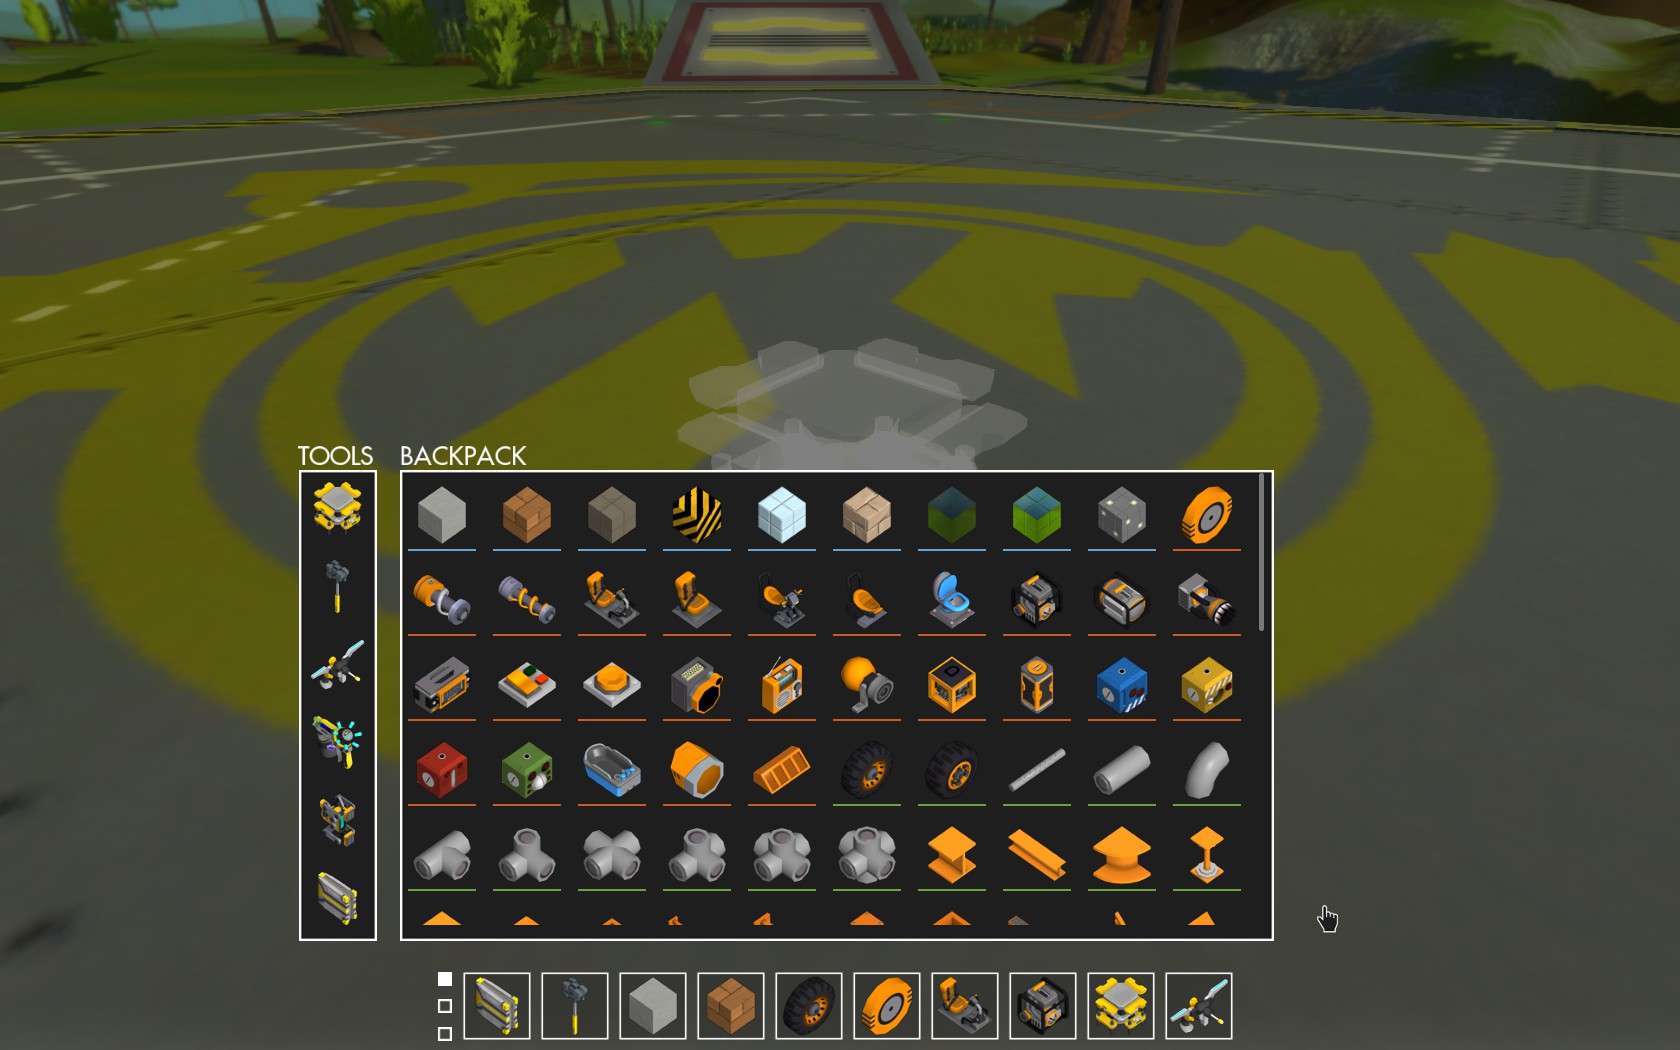

Now you have selected your block, and now what you want to do with this is place it down with the left mouse button (LMB/M1) and delete it with the right mouse button (RMB/M2) (Also take note that there is a little ghost of the object you are putting down to guide you as to where it is going to go.)

Starting to Construct the Chassis
Now that you have learnt how to find your blocks, we will now start on constructing the chassis of the vehicle.
Now to get started, first select all of the appropriate blocks that you want to use. After you have done this, place down your lift and place down your block. (Note that when you have pressed LMB, you can drag with your mouse to adjust the side and you can press Q to change the orientation of the object.)

After you have done that, start the basis of the chassis by creating a 6×6 square.

Now, make a wheel arch looking structure and replicate it on the front and back.

After you have done this, build up the structure by 1 blocks height, now it should end up looking like this:

Running Gear (Suspension, Steering, etc.)
Ahh, the lovely one, running gear. Now this section is going to be a bit tricky so hang in there with me.
First we shall start off by adding a cover to the wheel arch.

After you have added the cover of the wheel arch, place one Bearing in the middle on the roof of the cover (make sure this is at the front end of your car.)

Now add one Small Pipe Short block, a Sport Suspension, a Small Pipe Bend, a Bearing on the end of the Small Pipe Bend and then top it off with a Small Wheel on the end of the Bearing.

For the back of the car, it is a very similar process except you do not place a bearing on the roof of the wheel arch, as we don’t want the back of the car to be steering aswell.

After you have done that all around the car, add a Driver’s Seat in the middle.

Engine Work, Tuning and Connecting
First of all, select your Engine (A Gas or Electric Engine can be chosen at your own discretion, I chose the Gas Engine for symmetry reasons.) from your toolbar and place it one block away from the front of the Driver’s Seat.

To tune your Engine, press E on it and a little tuning dialogue will appear. You can adjust the power by pressing and holding on the orange section and pulling it up or down, At the top is the maximum amount of power and the lowest end is the least amount of power, now I recommend not bumping it up to much or your car will just wheelie and be uncontrollable.

Connecting your engine to your drivers seat and all that jazz is very easy, just bear with me and you’ll get the hang of it.
Connect the Driver’s seat to the Engine by pulling out the Connect Tool, pressing and holding on the driver seats green circle to the engine’s orange circle and then let go.

To connect the engine to the wheel’s bearings it’s very simple, just like the driver seat to the engine. Press and hold on the engines orange circle, and drag it to the bearing’s (The bearing on the wheel) blue circle. Now keep in mind, you will have to change the direction to make sure that it is spinning in the right direction, to do this you hover over the orange circle that has 2 arrows revolving around it, you then right click and that changes the direction.


To connect the steering, press and hold on the driver seat’s green circle and connect it to the blue horizontal bearing’s circle, you may have to change the rotational direction also.

Now repeat all of these steps on the other bearings and your final connections should looks something like this


Finishing Touches
Ahh, you’ve finally wired up the car yay! This final step is optional, if you want to go the extra mile.
To make your car a car you need to add some features, for example, lights.
add your parts in a realistic manner and colour them, and your car will look like a beauty! (Hopefully not as ‘beautiful’ as mine 😉

Thank you for reading my long guide and I hope you learnt a thing or two, leave a comment if you aren’t sure about something and i’ll try to get back to you!