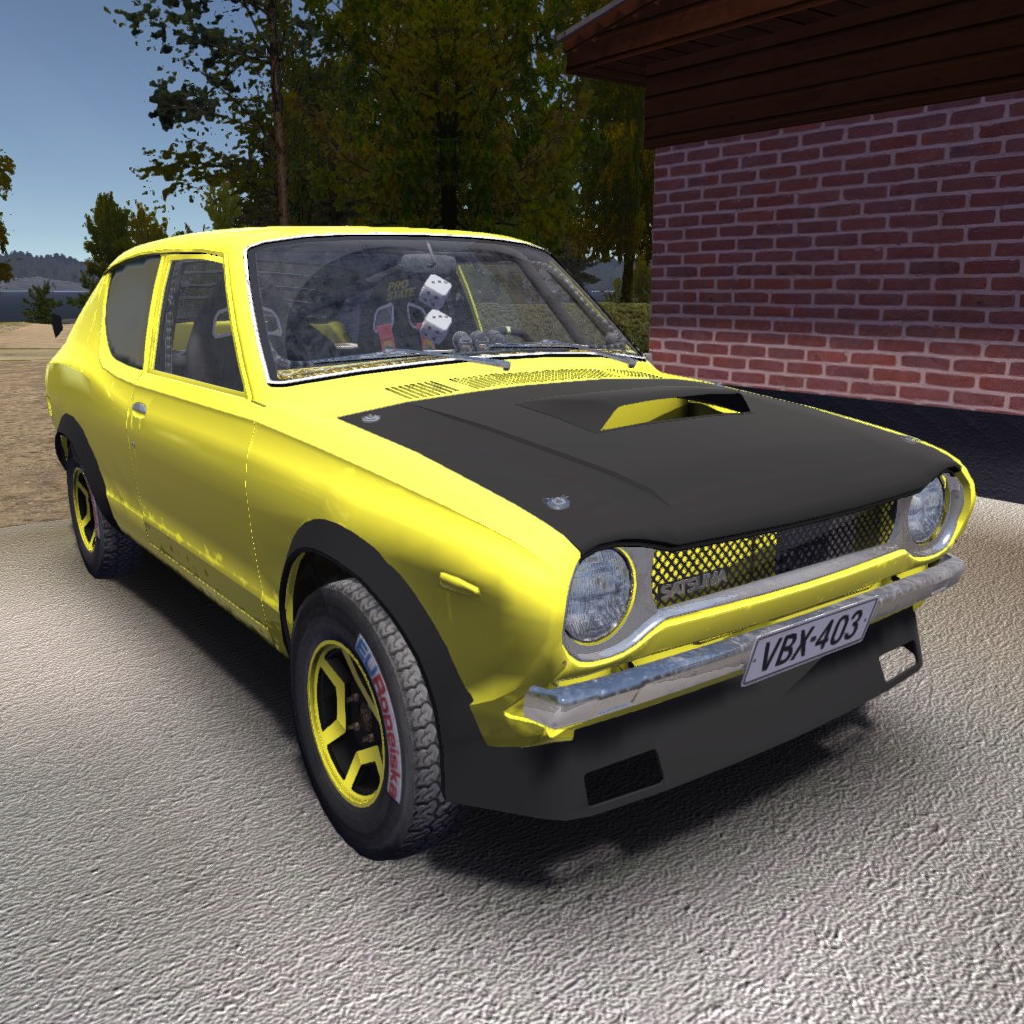
Overview
This guide will show you how to build Satsuma.
§001 Preparation
OK, so your first step is to earn some money and to go to the store in Peräjärvi. You can chop logs and bring them to one dude for 3200 mk, you can do trick with kilju (see this guide, but notice that you will need only 6 packages of sugar, not 9) or you can play ventti, but do it with caution. Store works daily from 8 to 20. You may also want to bring envelope to the store (see “Buying upgrades” section). You will need money to buy food and to pay bills as well. Additionally I would recommend to back up savefiles sometimes, because if you die, you die for good you have to start everything over (in hardmode).
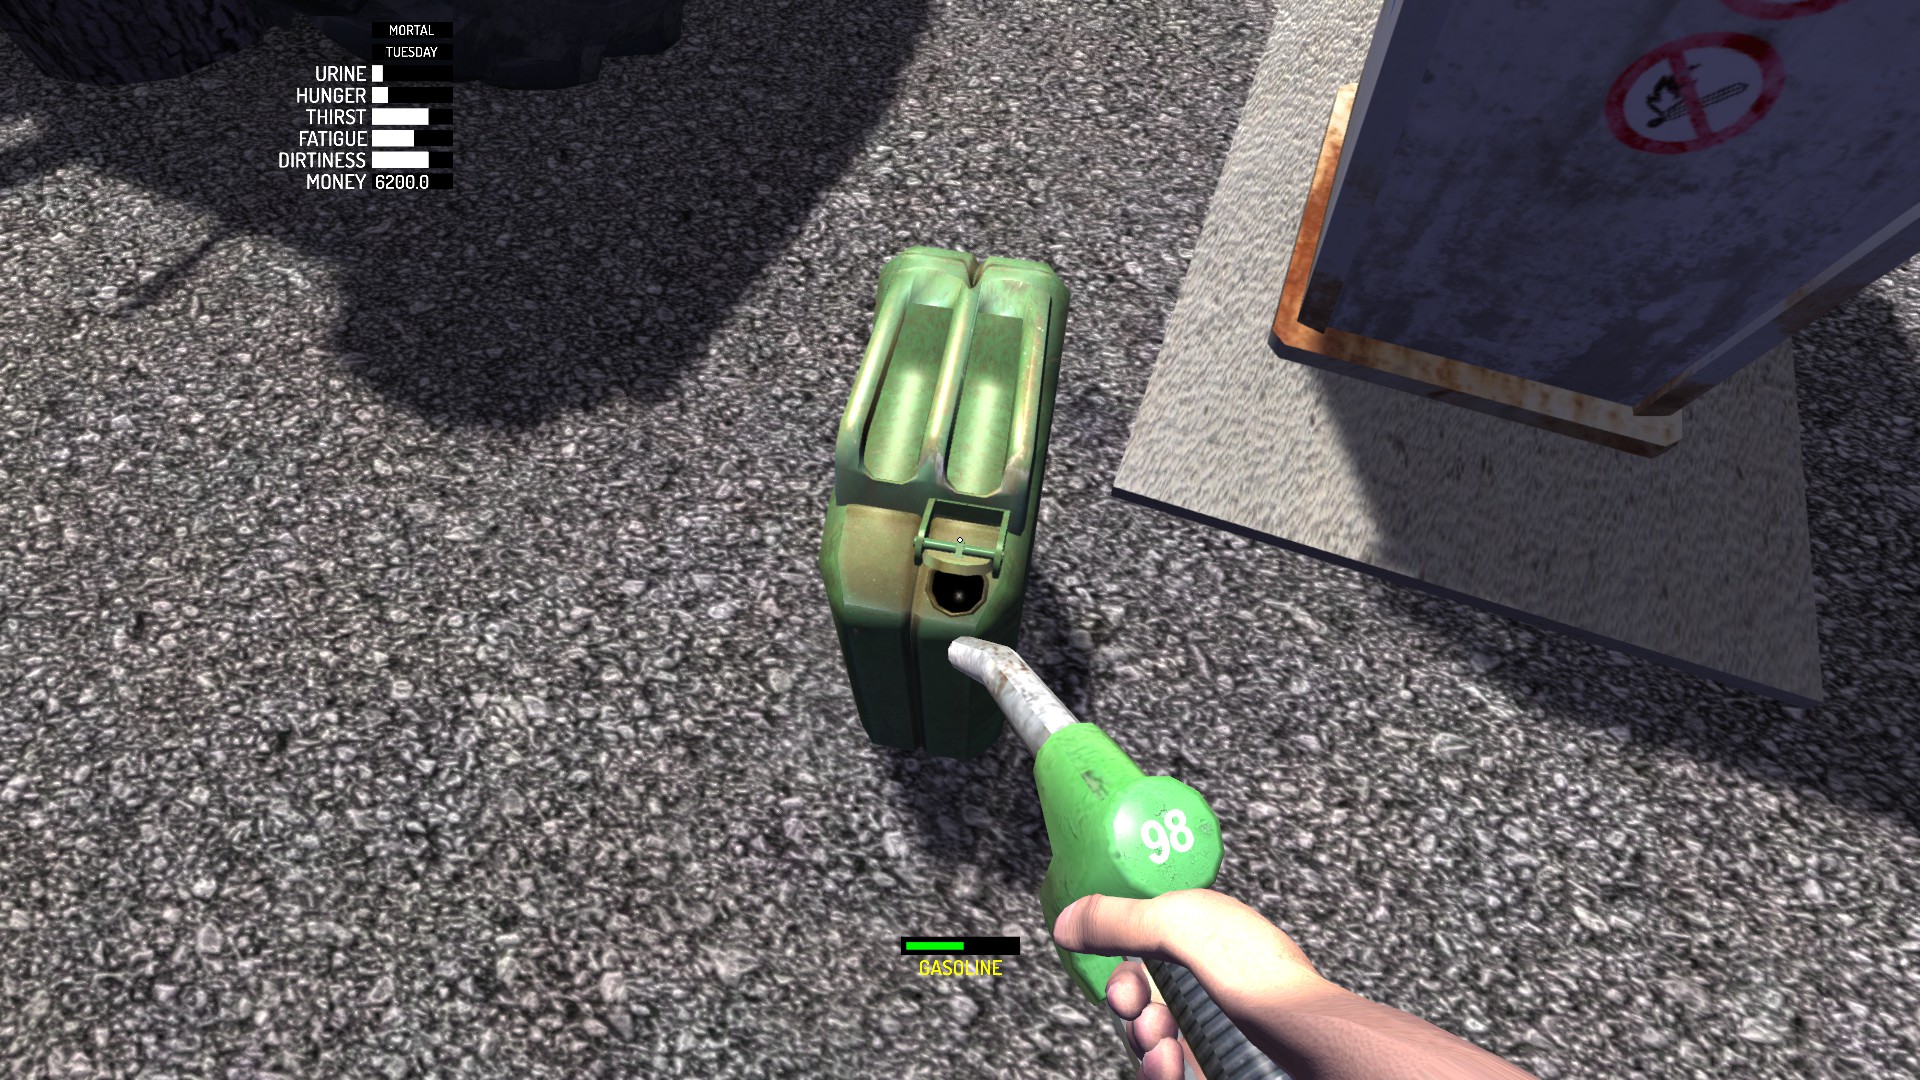
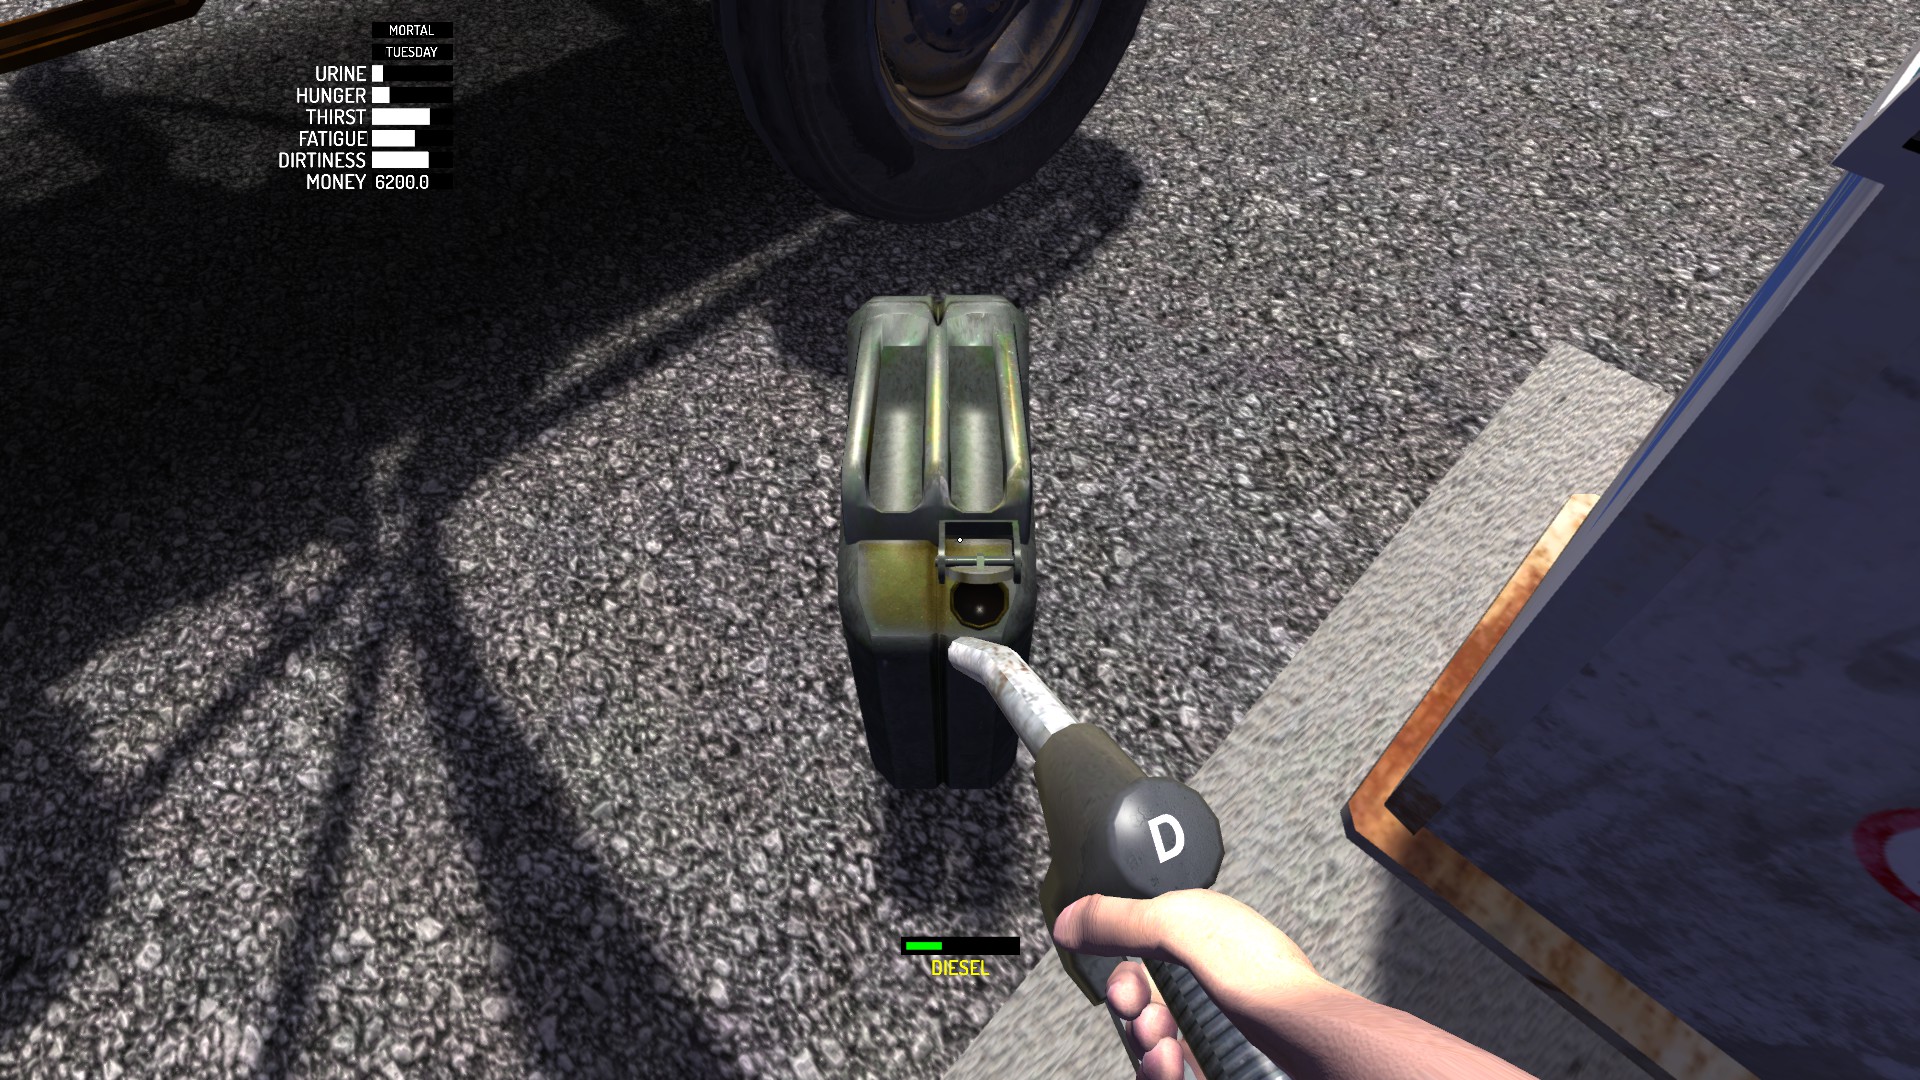
As you reach Peräjärvi, fill both jerrycans. Open jerrycans’ caps with Use button. Pour 98 into Gasoline jerrycan and D into Diesel jerrycan.
My suggestion to you is to save the game before buying stuff, because your bag with goods will unpack on game load, it is easier to move just one bag rather than 30 items to your home.
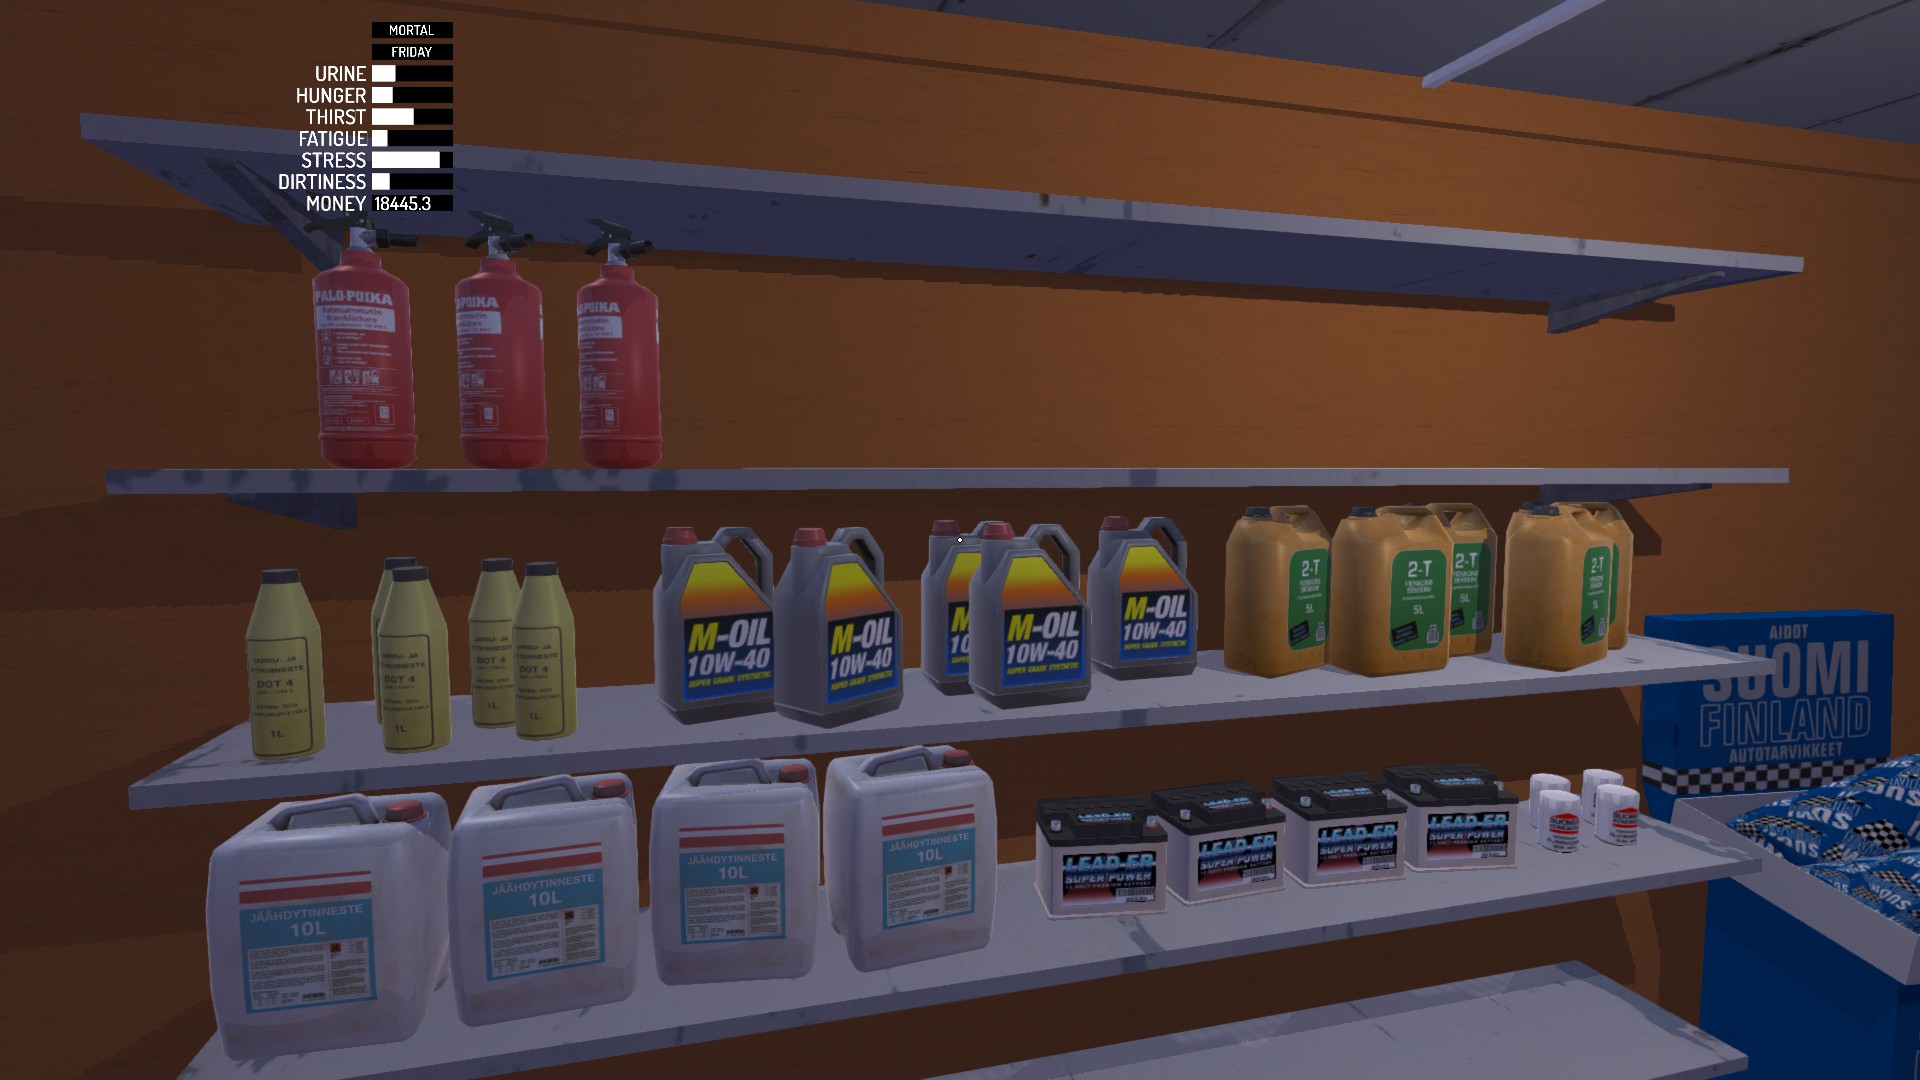
Take many
Take many
Take many
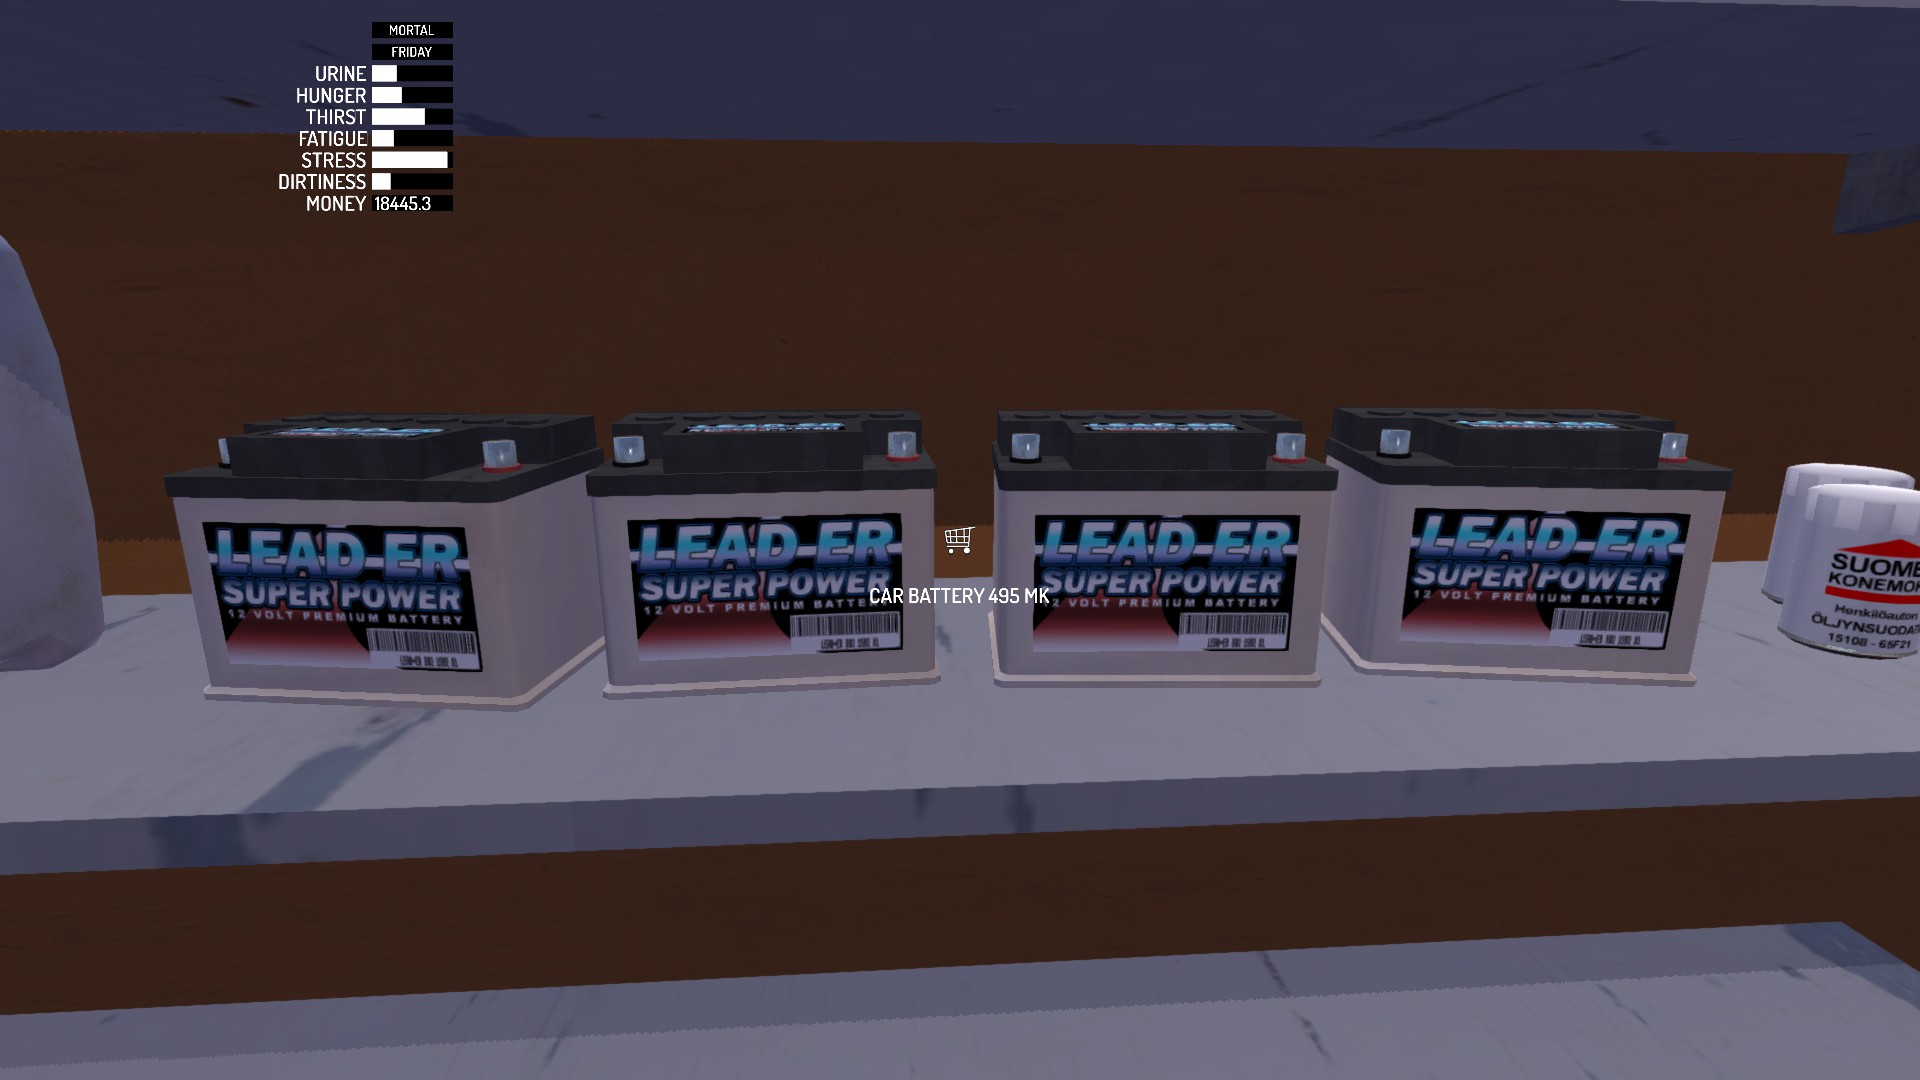
Take a few, but beware, they tend to lose charge and capacity over time
Take many
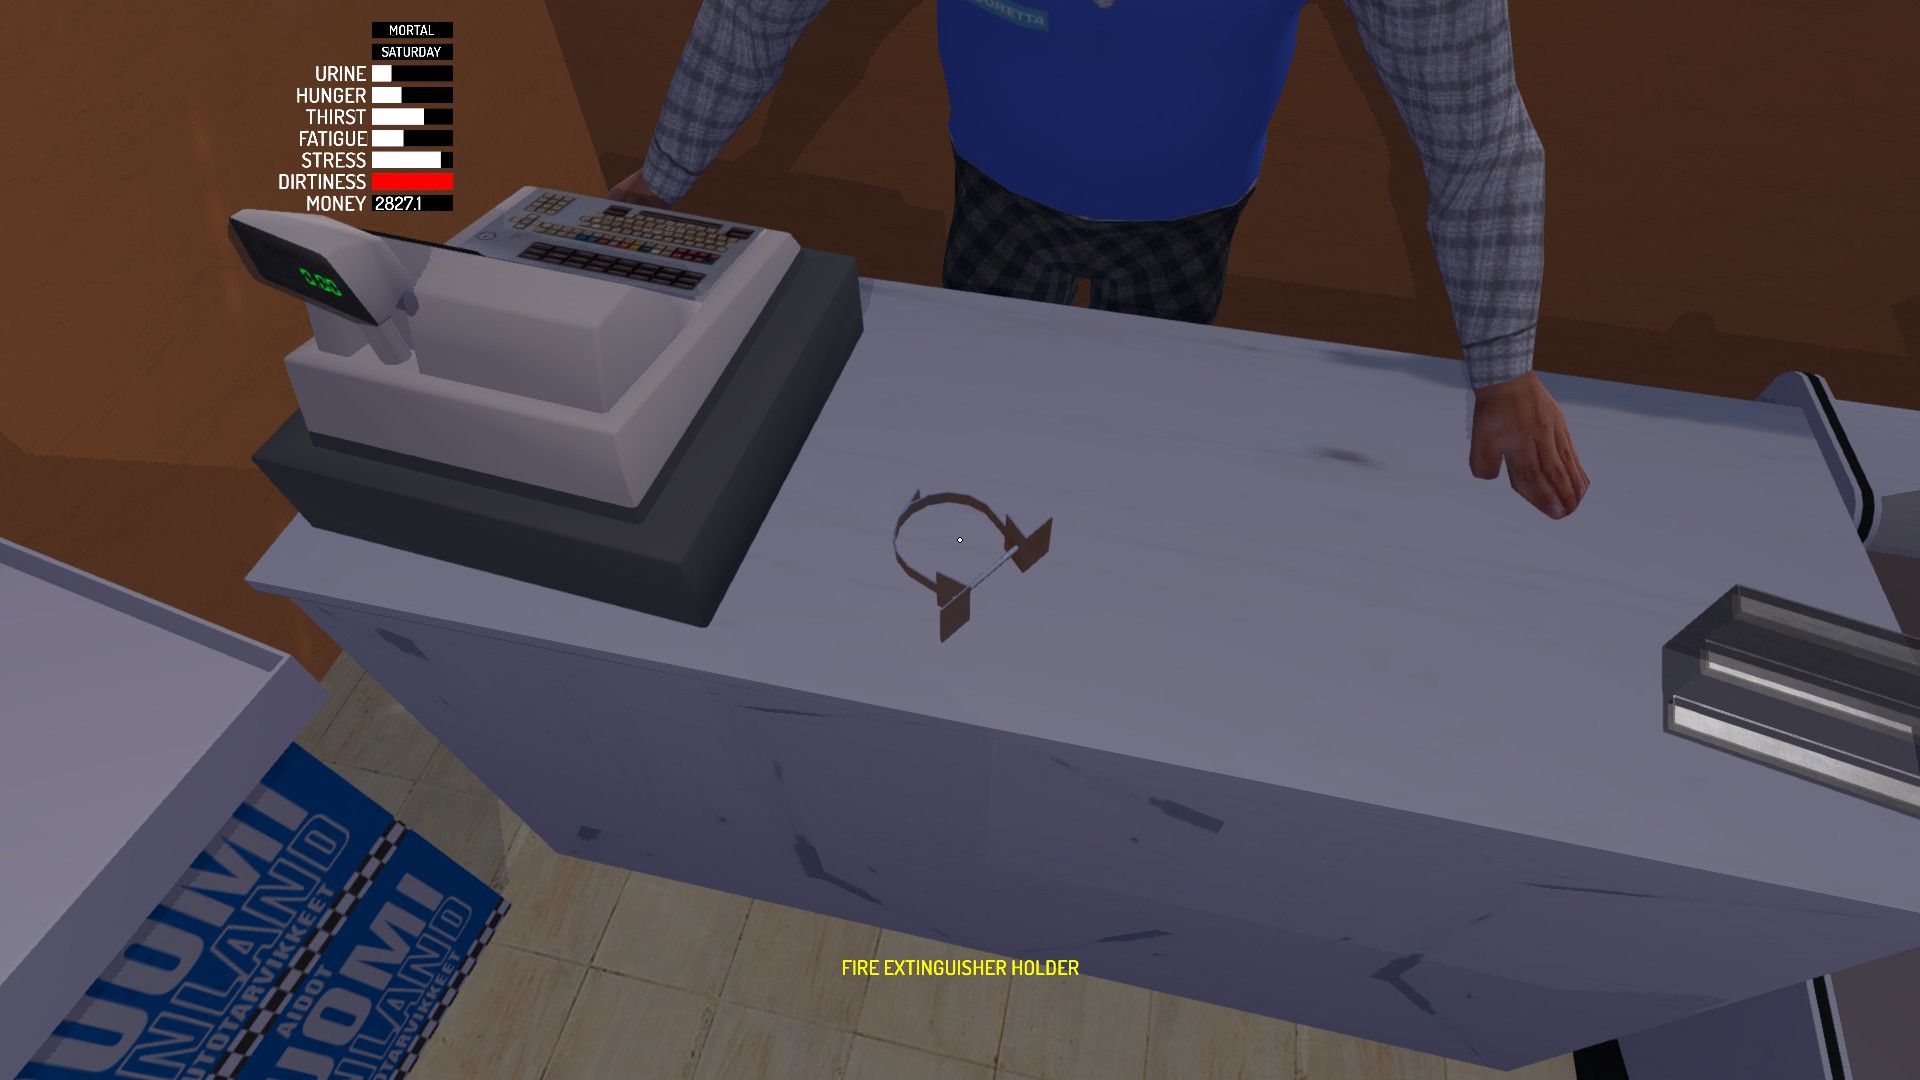
When you buy fire extinguisher for the first time, Teimo will give you fire extinguisher holder.
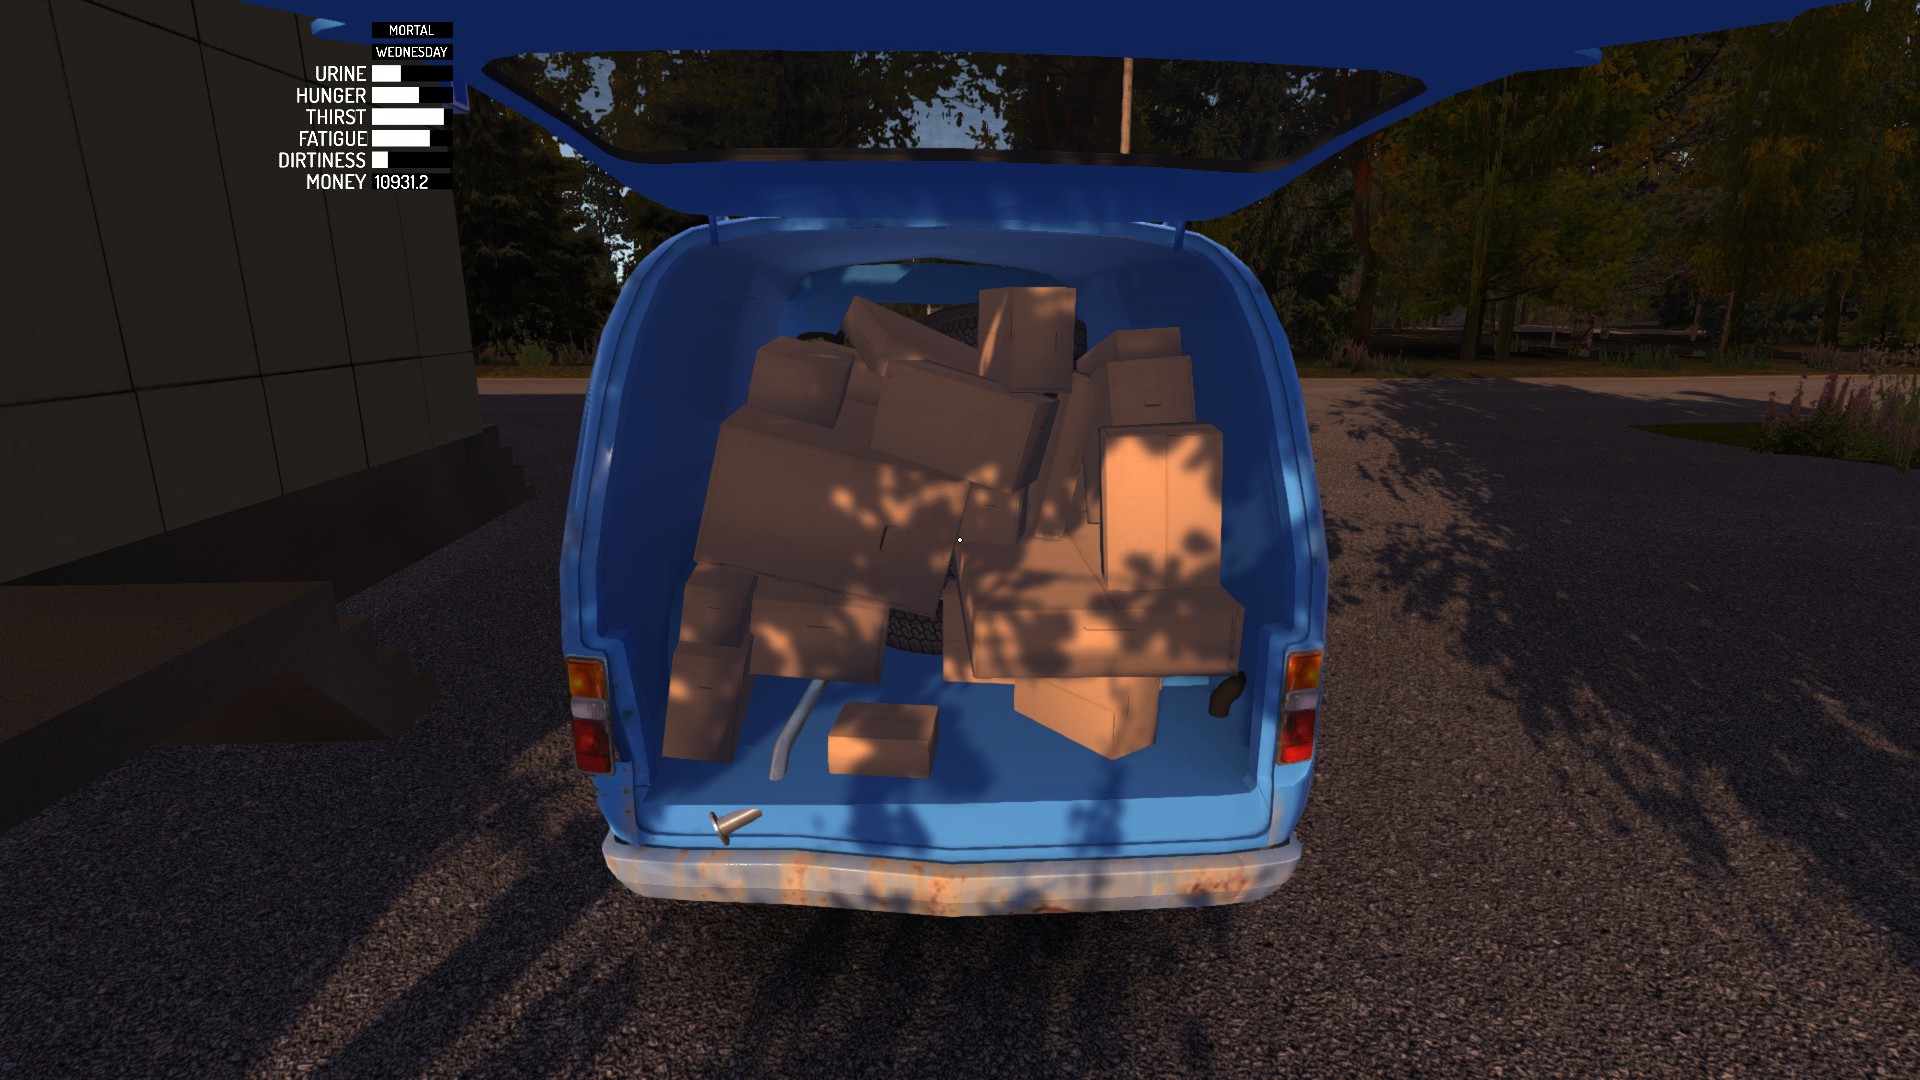
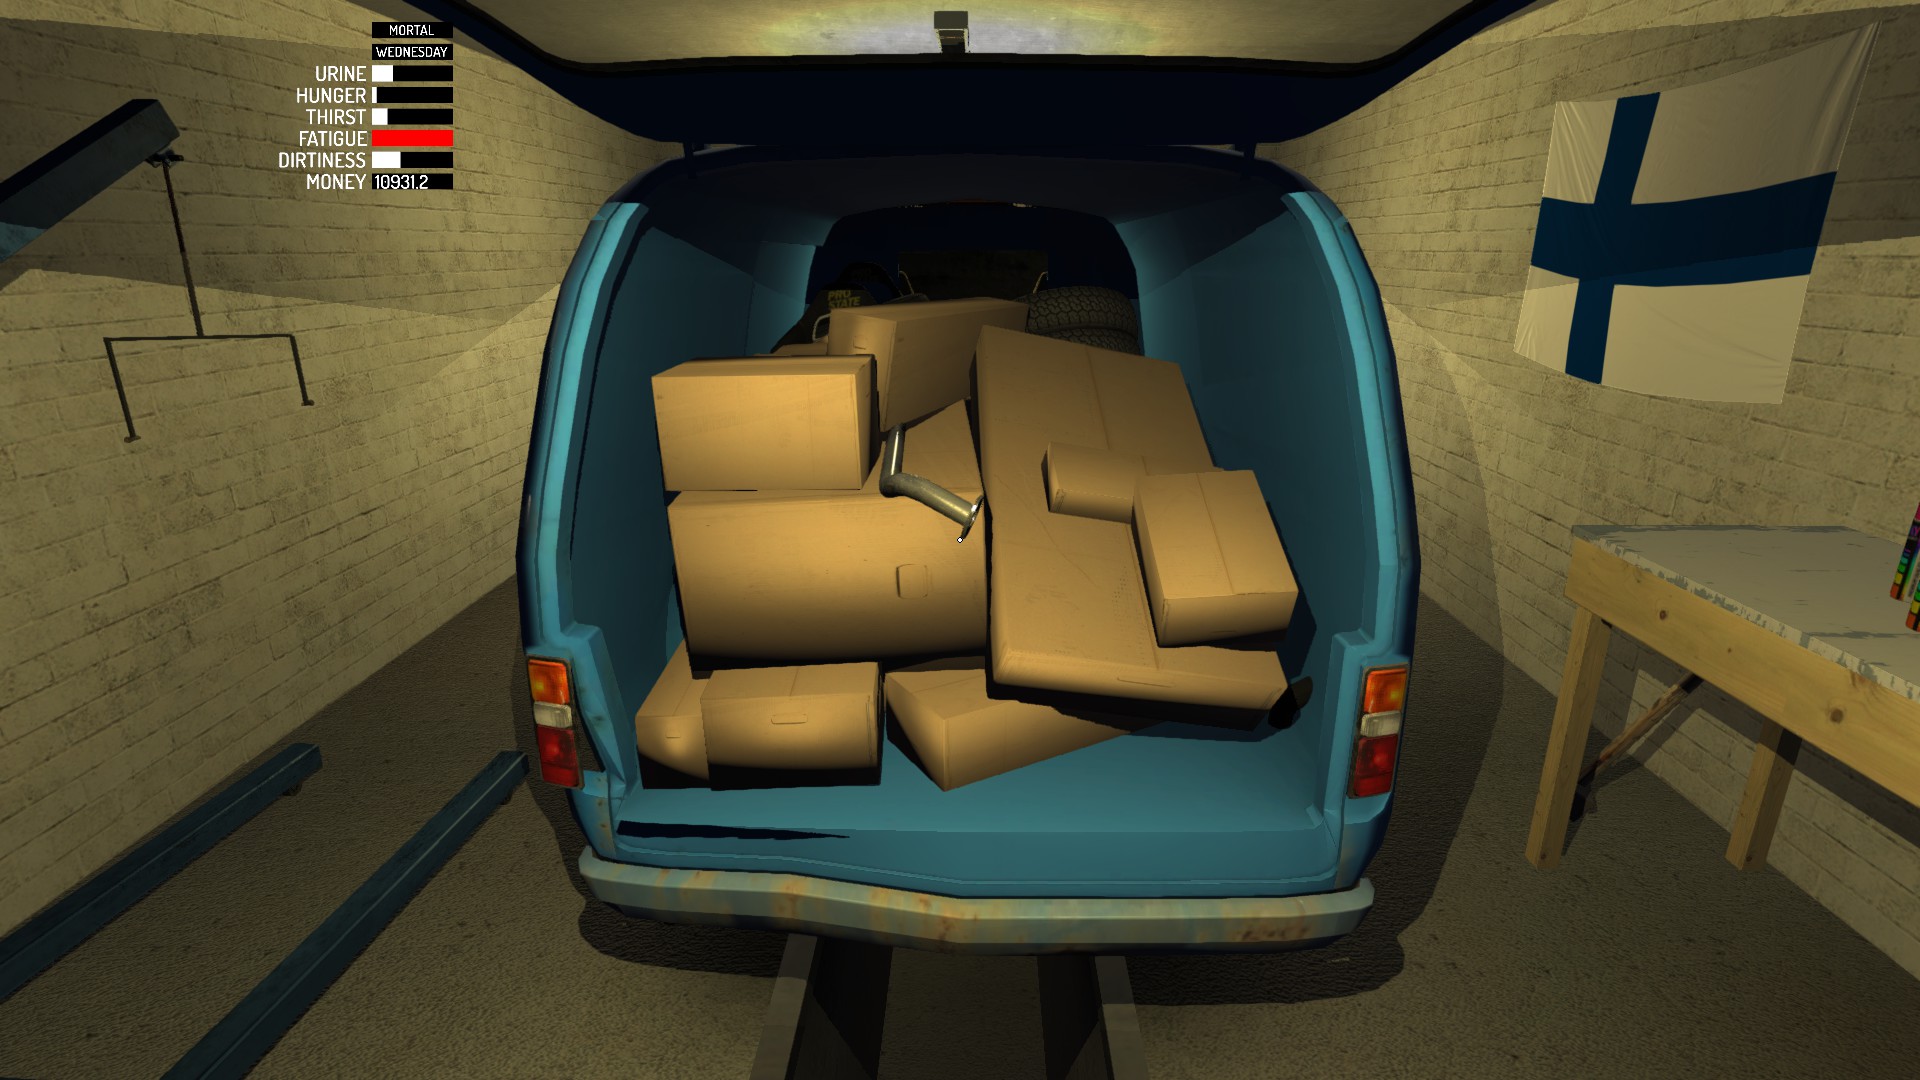
And as you put everything into your vehicle, you are almost ready to go home.
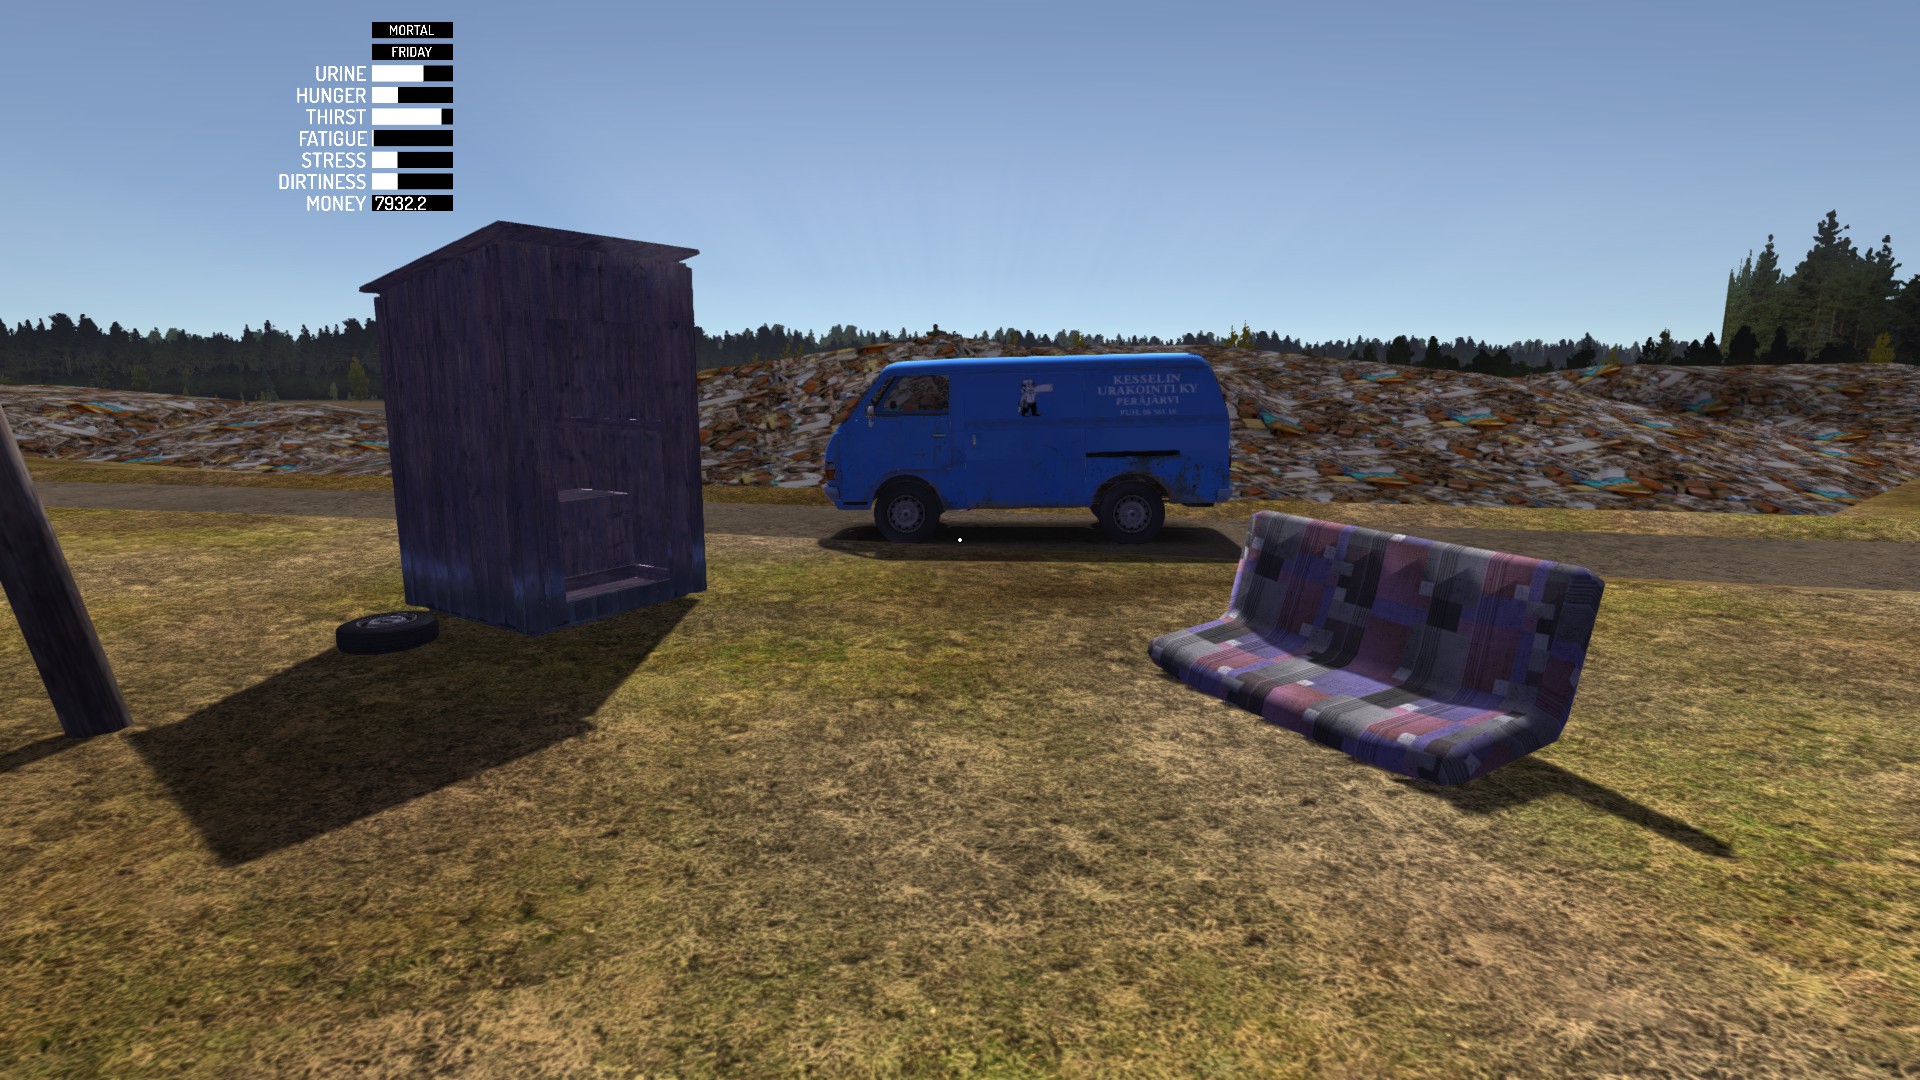
Also visit landfill site, there you can find 5th wheel and sofa (you can sleep on it).
All items have successfully arrived!
During the game you may want to use MSCeditor (at least to check values).


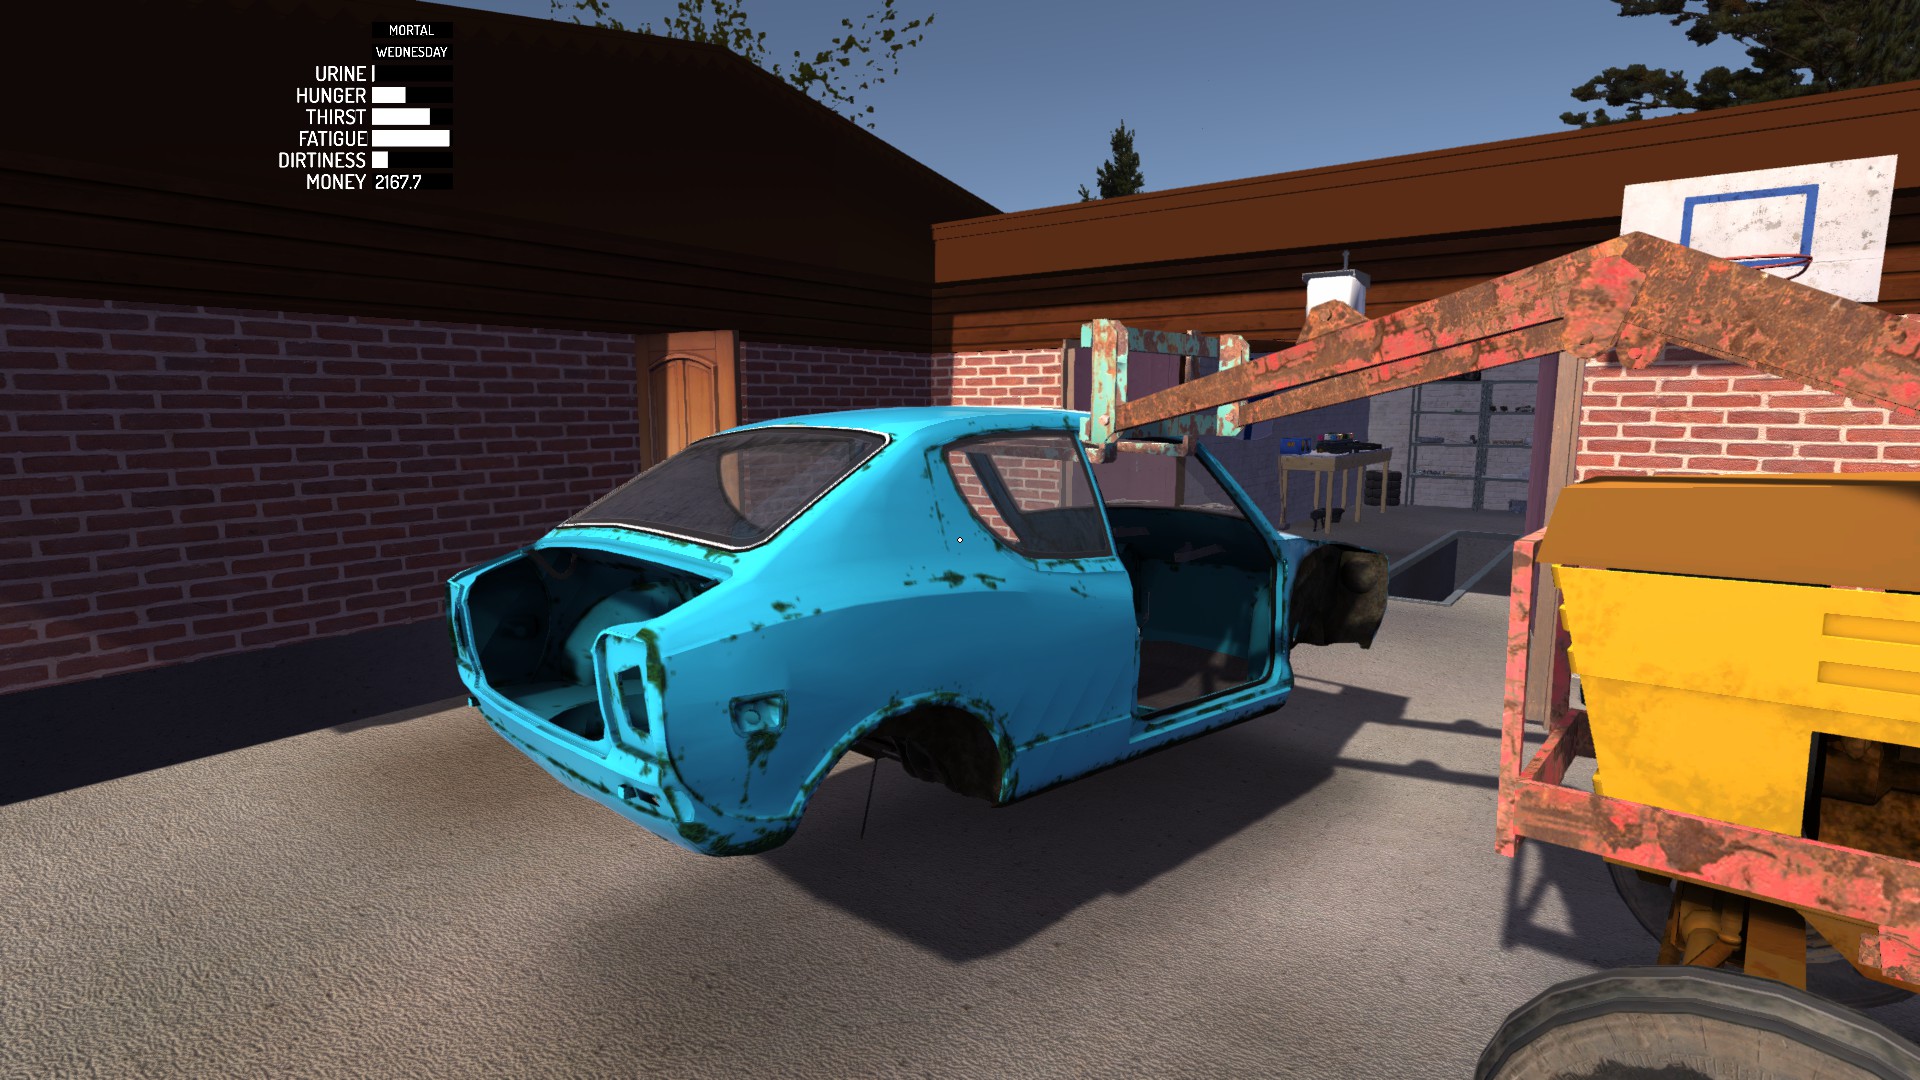
Now we are ready to build the car!
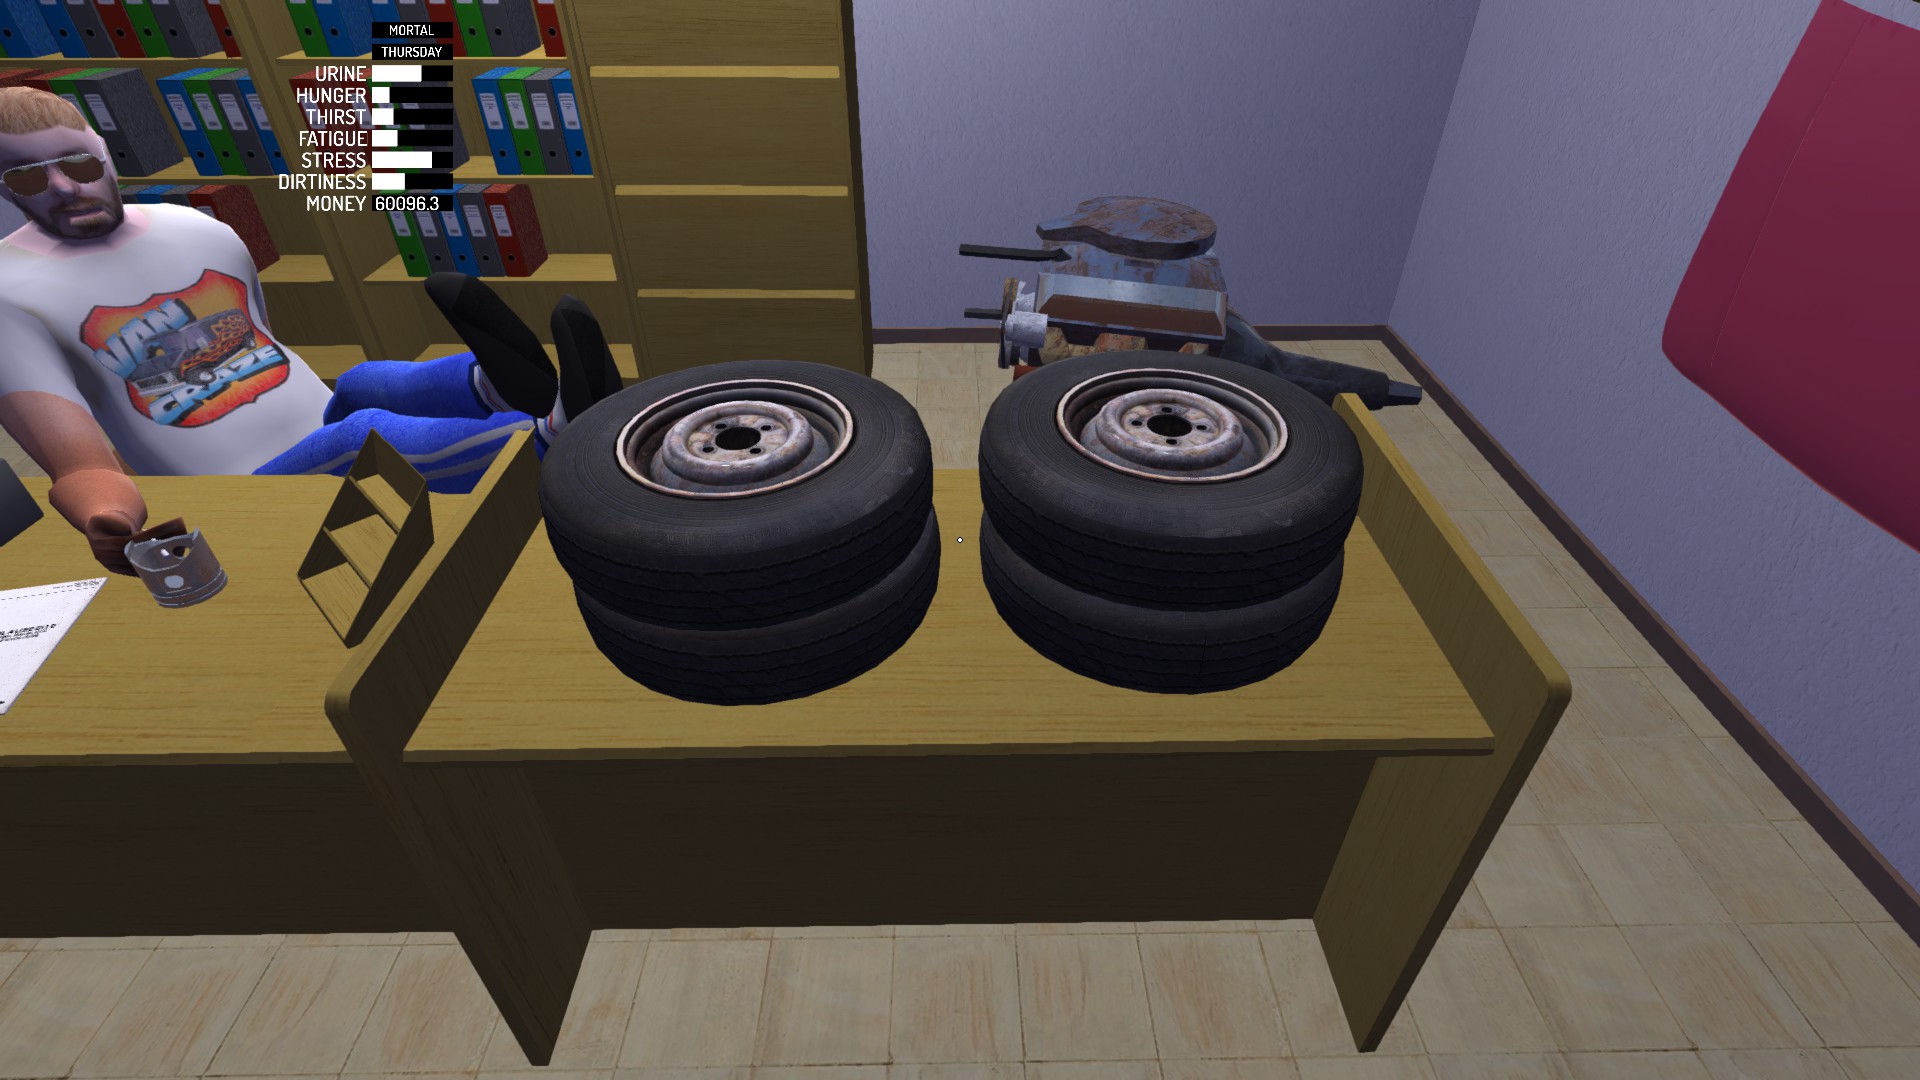
§002 Preparing wheels
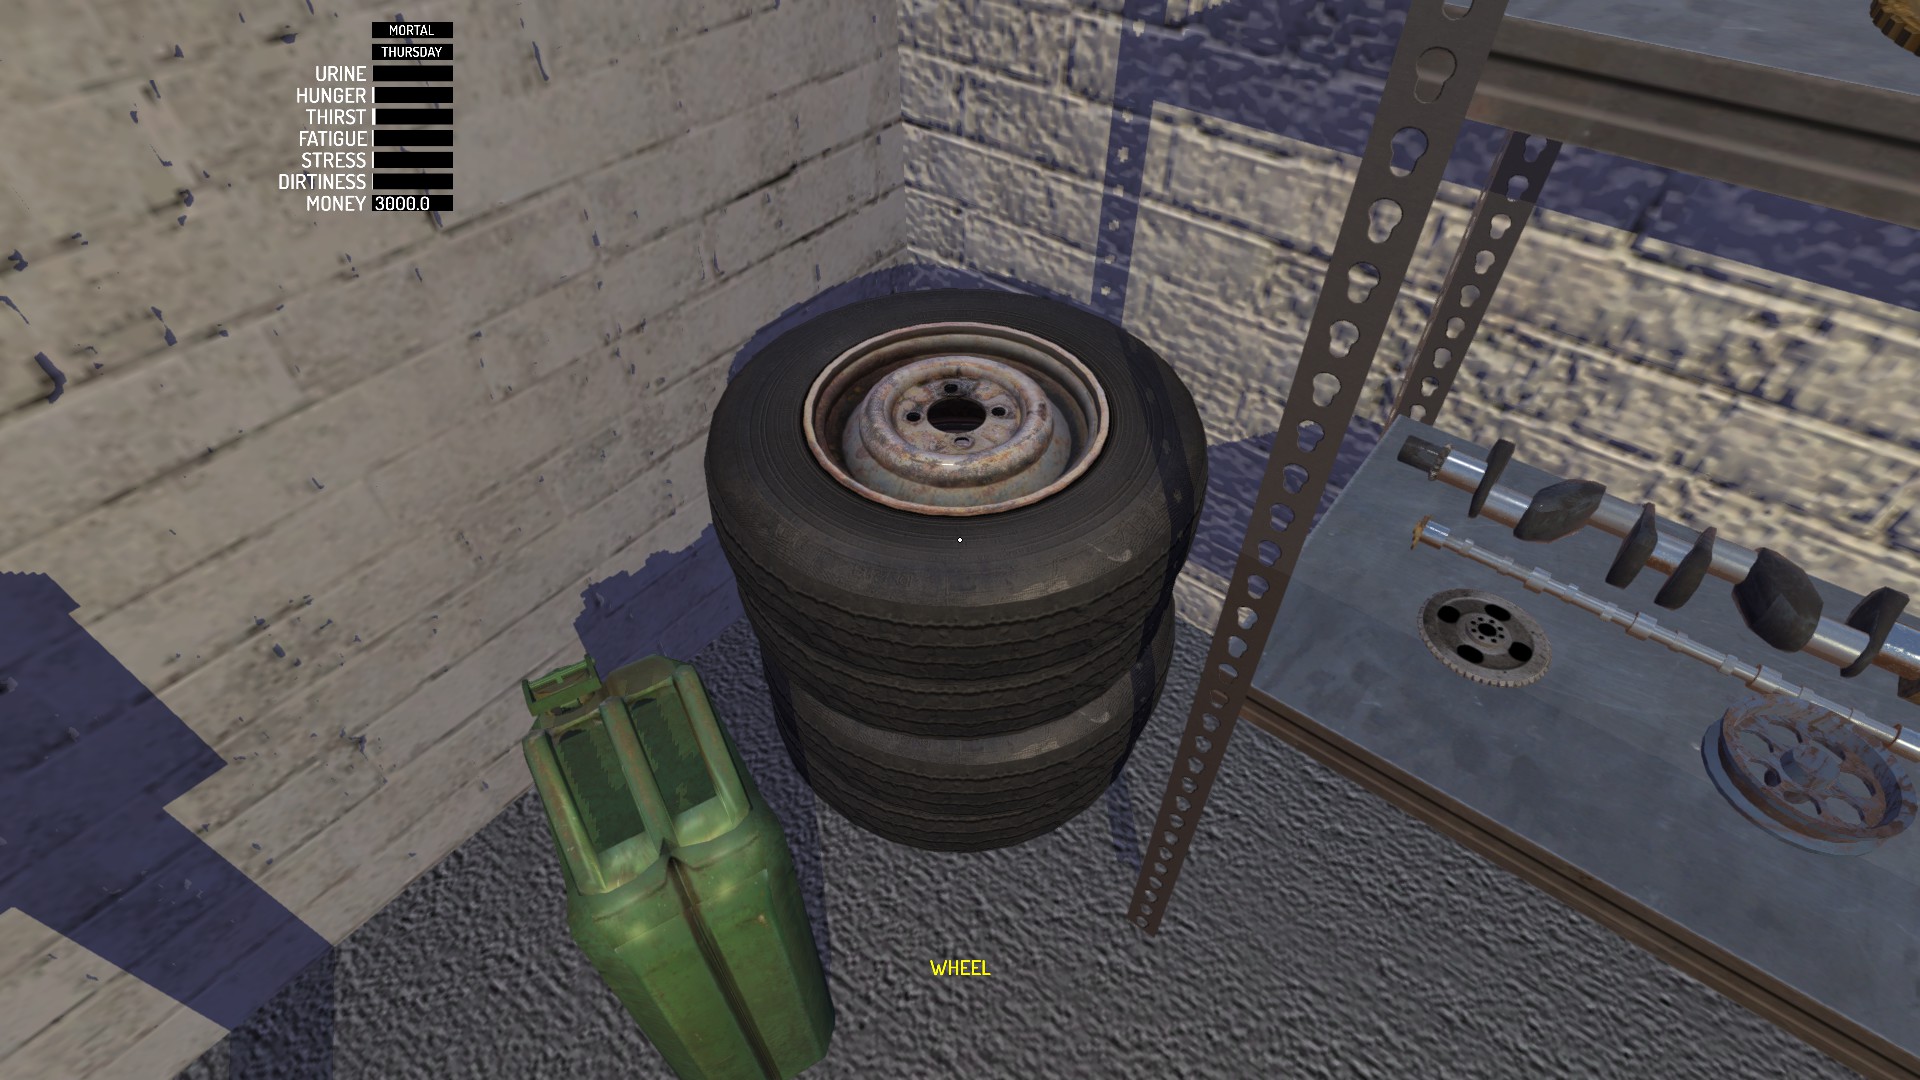
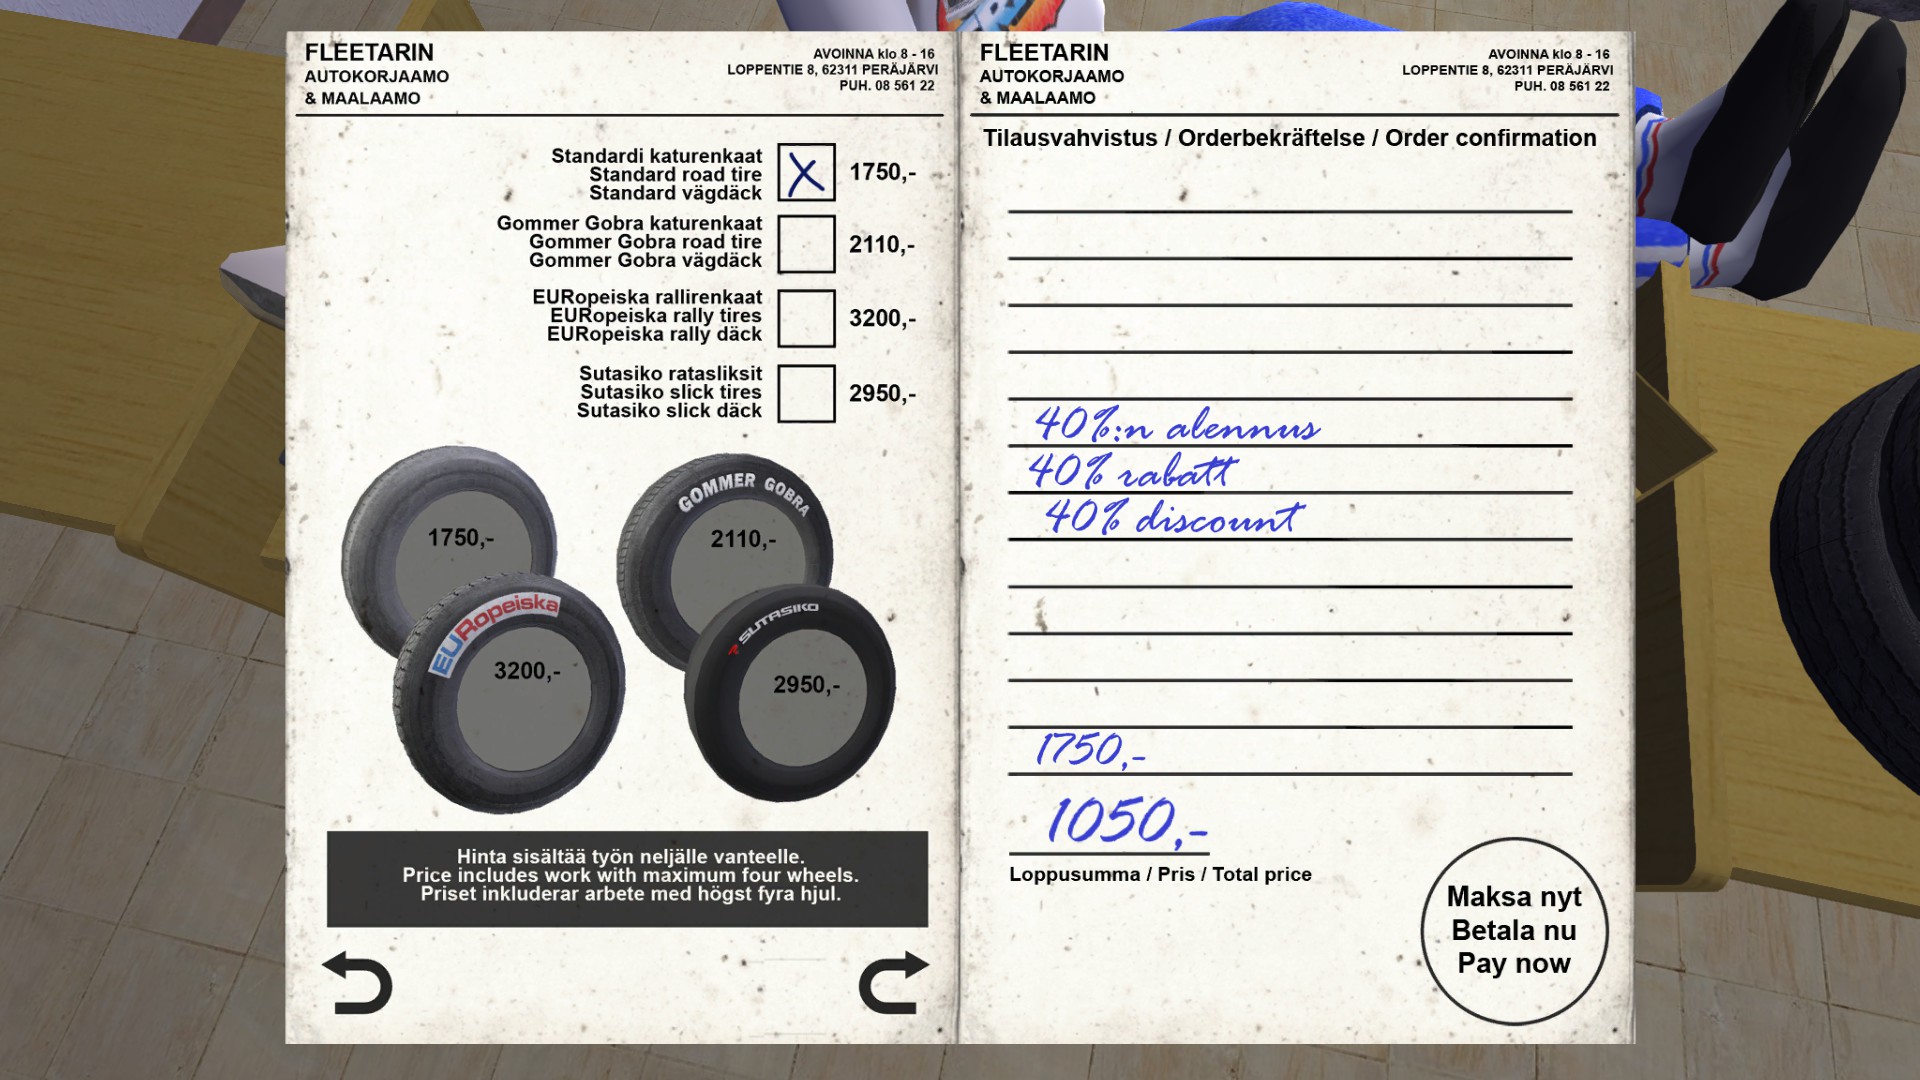
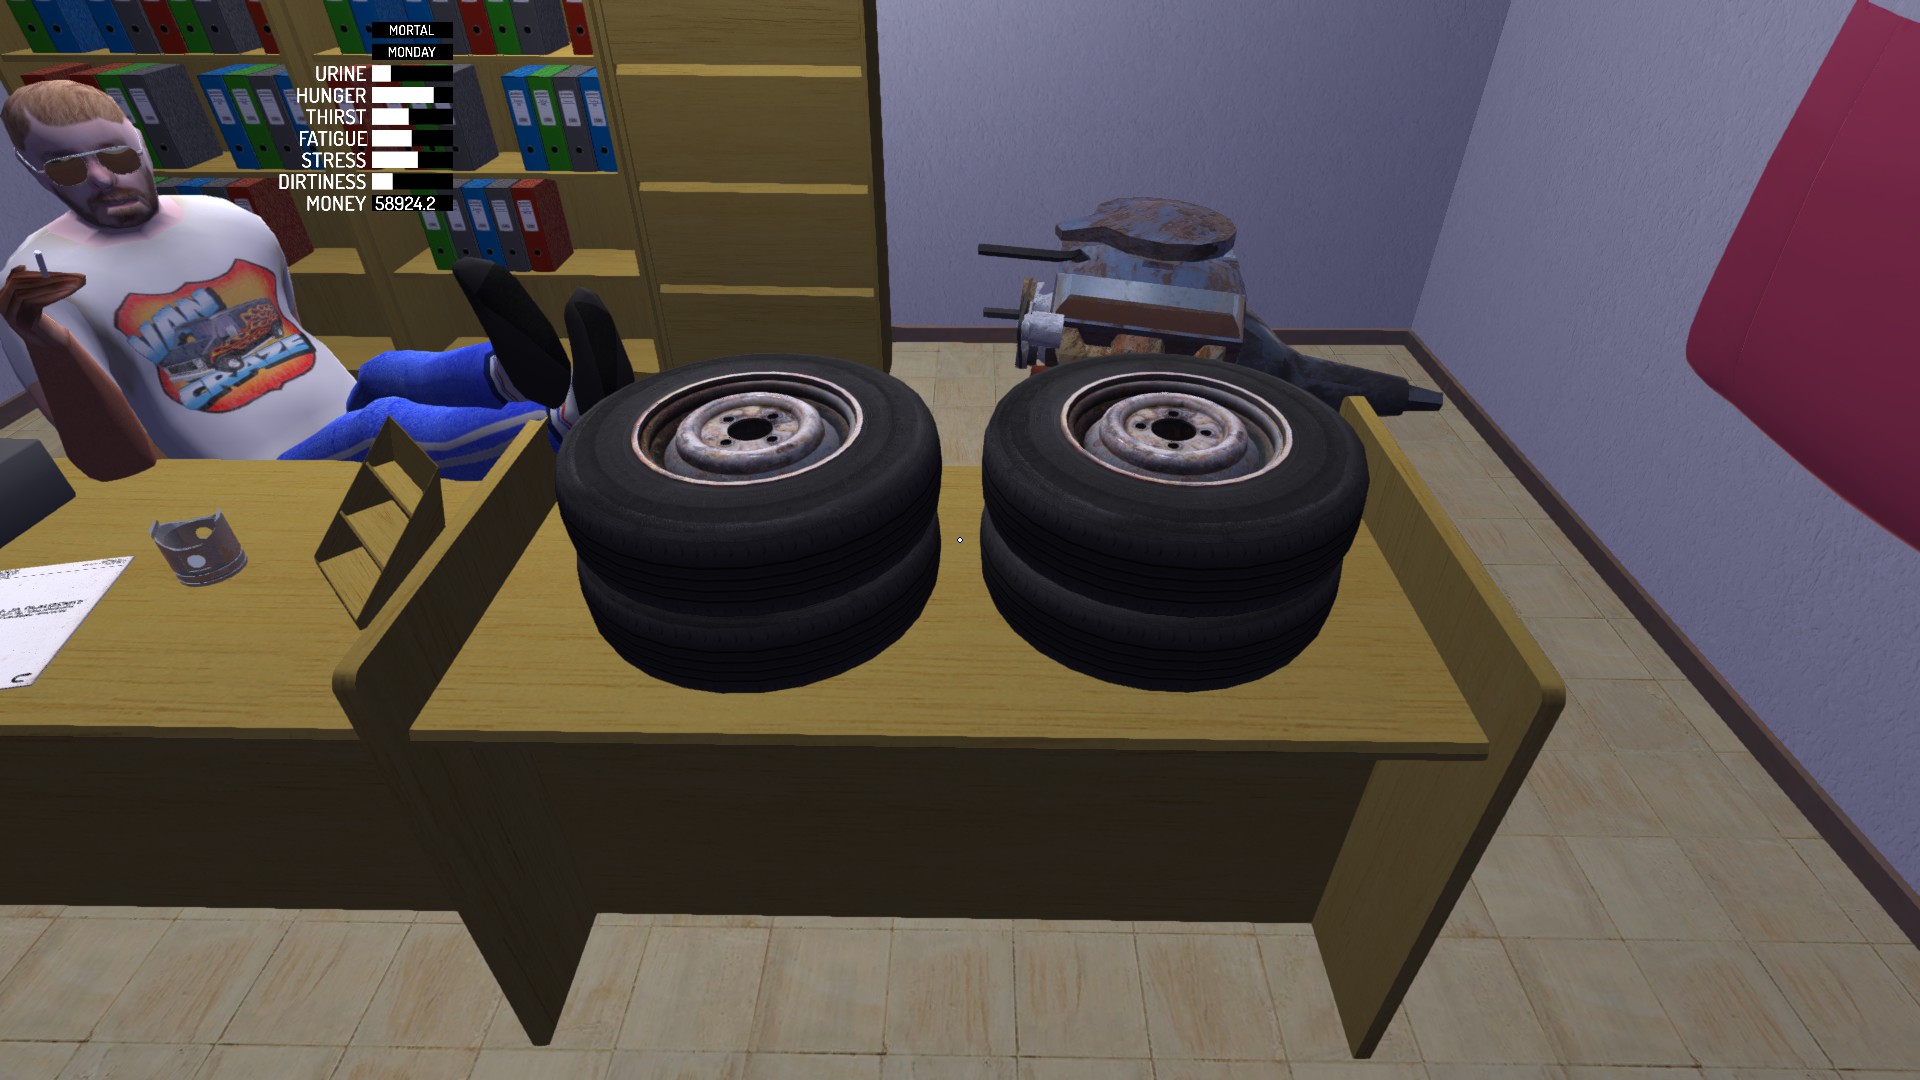
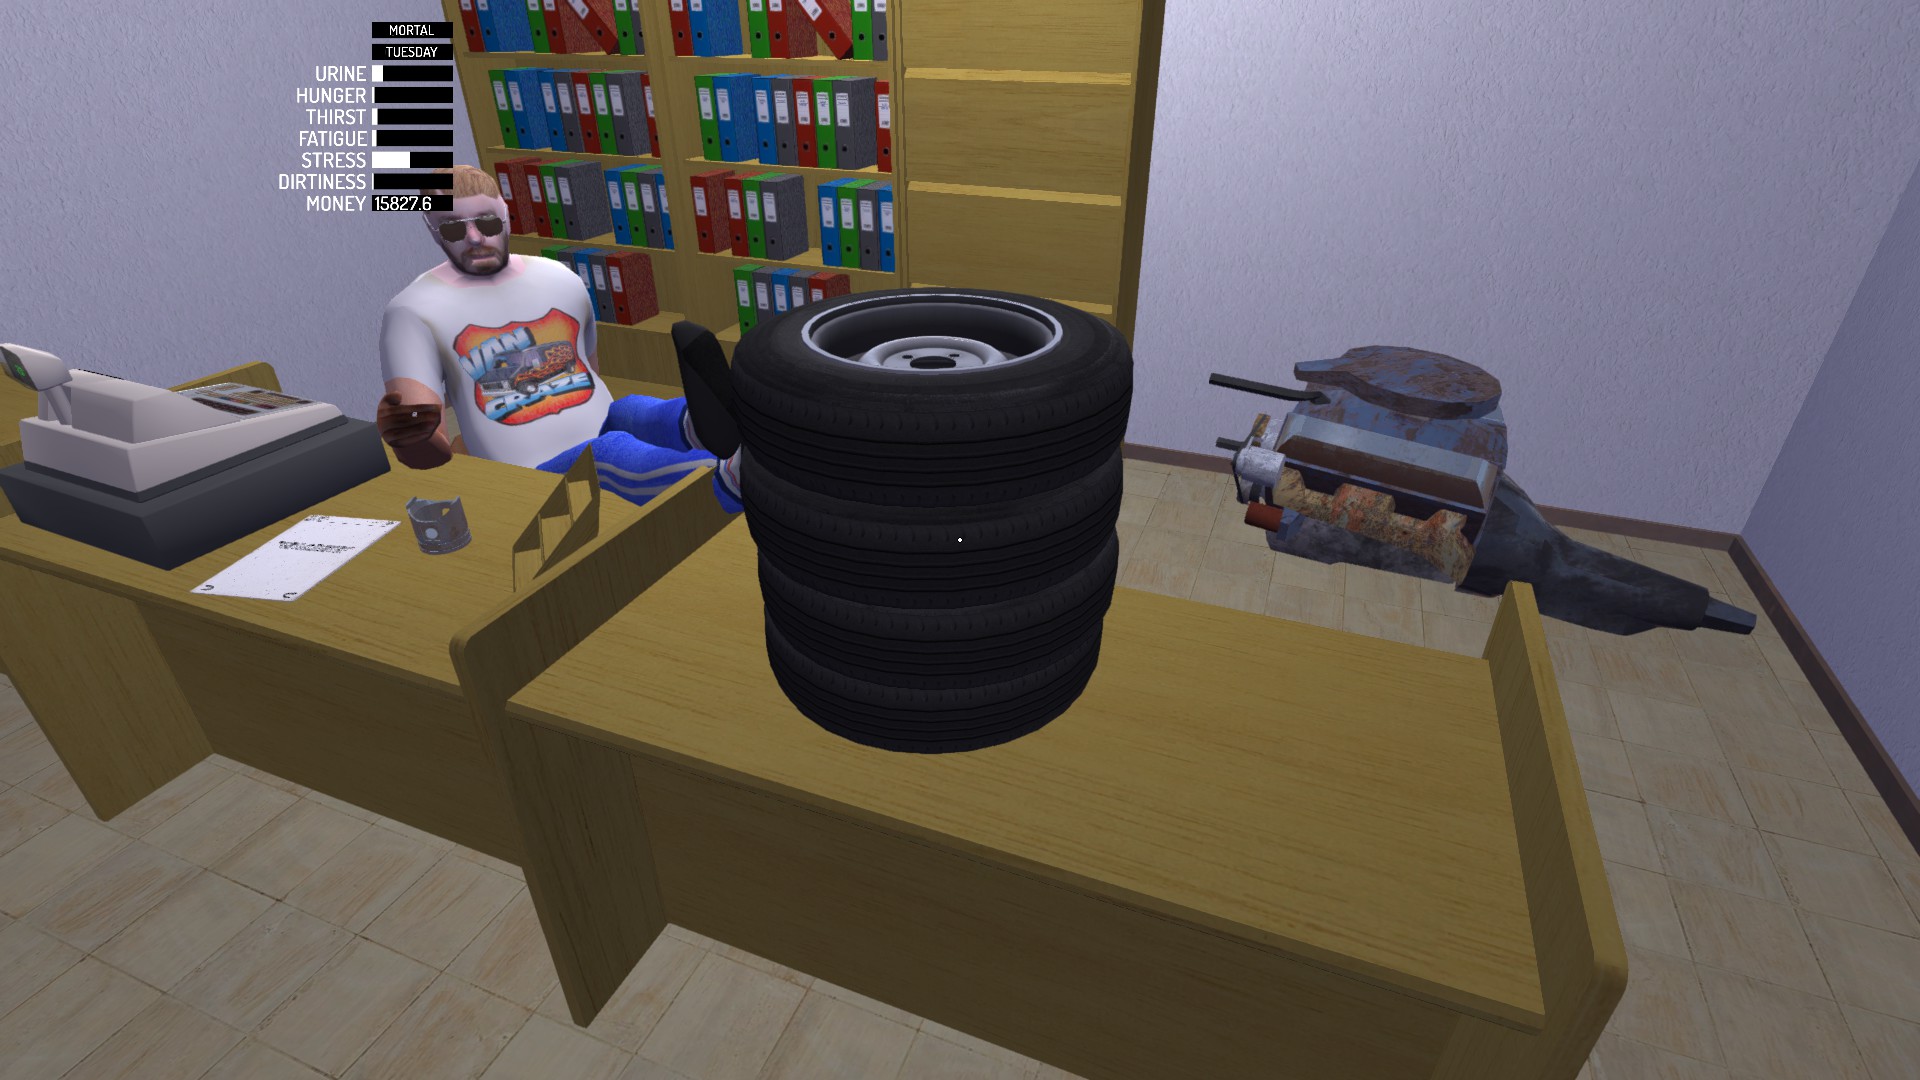
Stock wheels won’t pass car inspection because of bad tires. So you will need to change them at the Fleetari’s. Fleetari works from 8 to 16 on weekdays. He can repair maximum 4 wheels at a time, so for 5 wheels you have to visit him twice. However, 5th wheel is unnecessary, although wheels tend to wear and puncture. Only Standard or Gommer Gobra road tires will pass the inspection.
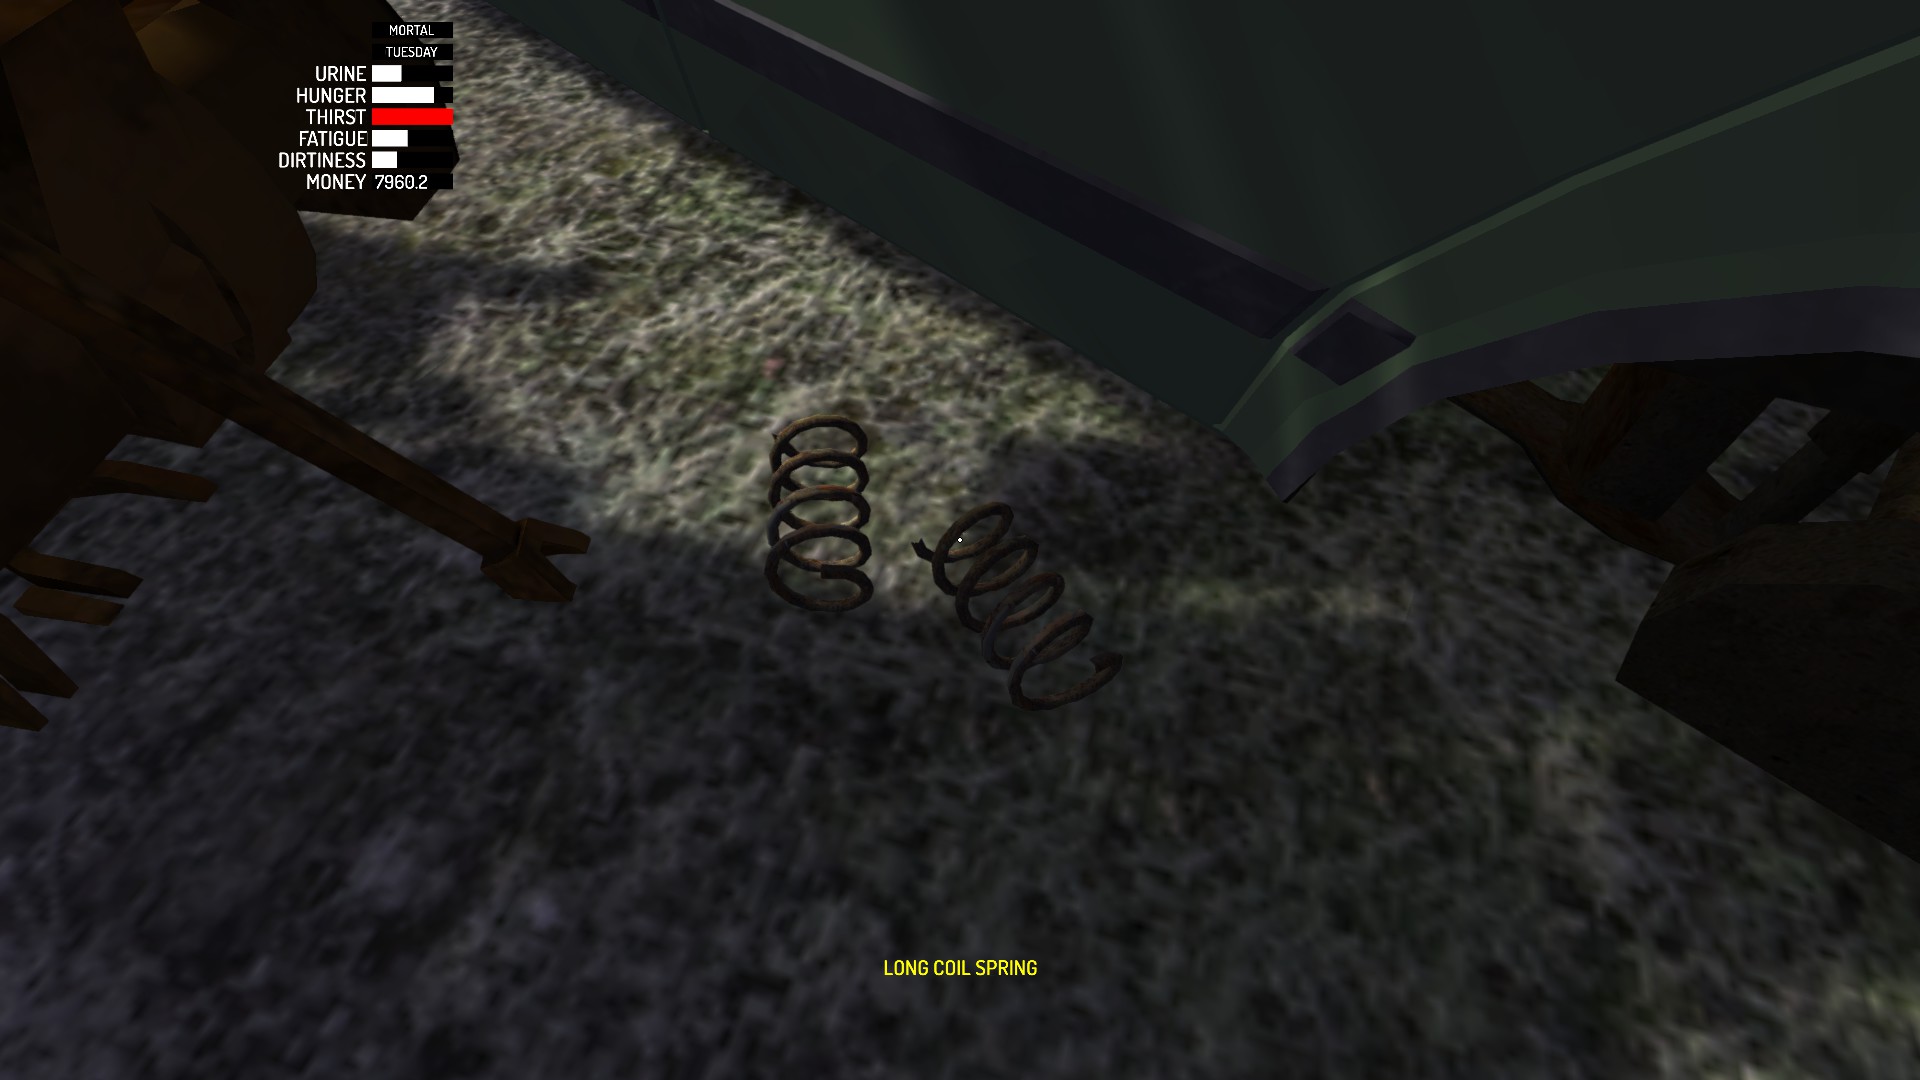
Also grab long coil springs. You can find them behind the green car body. Don’t use them before the car inspection, they will fail it!
You will have to wait some time, so go home and start to build your car. Here are the wheels with the new tires by the way.
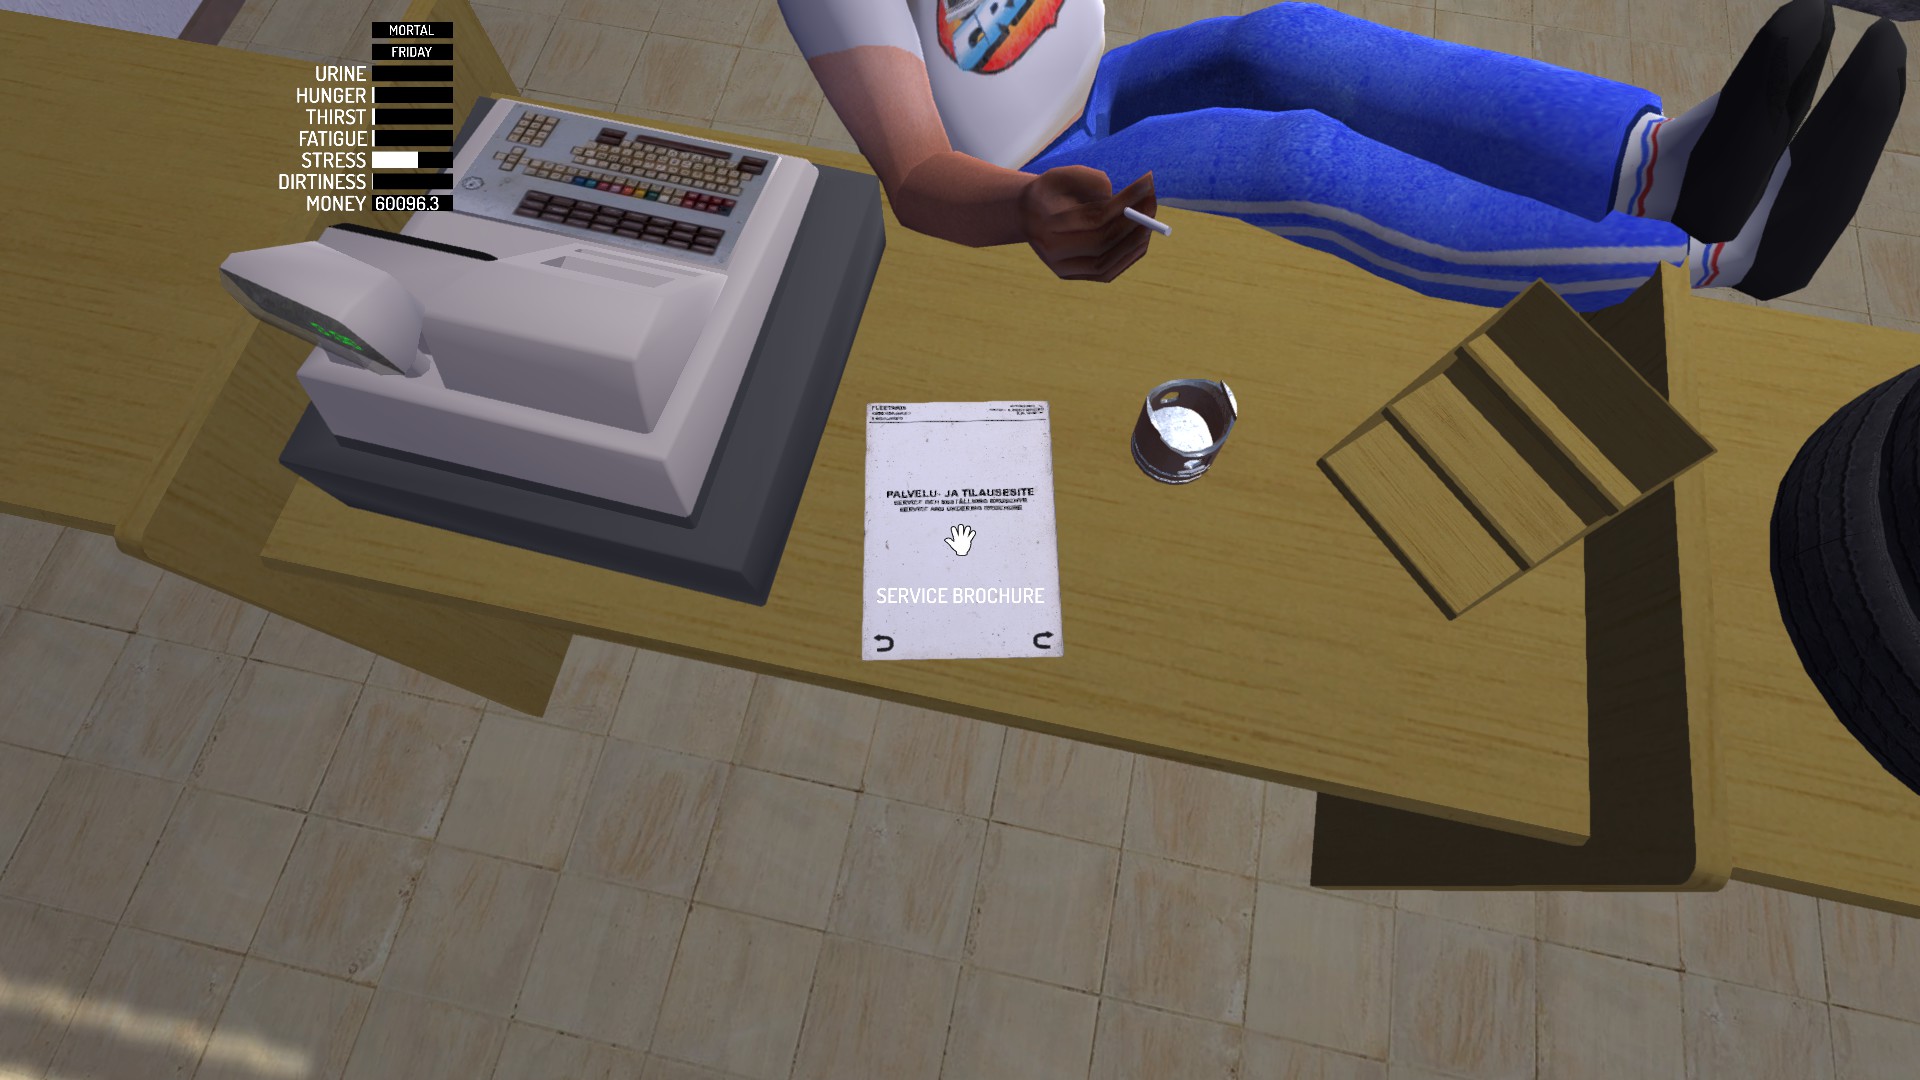
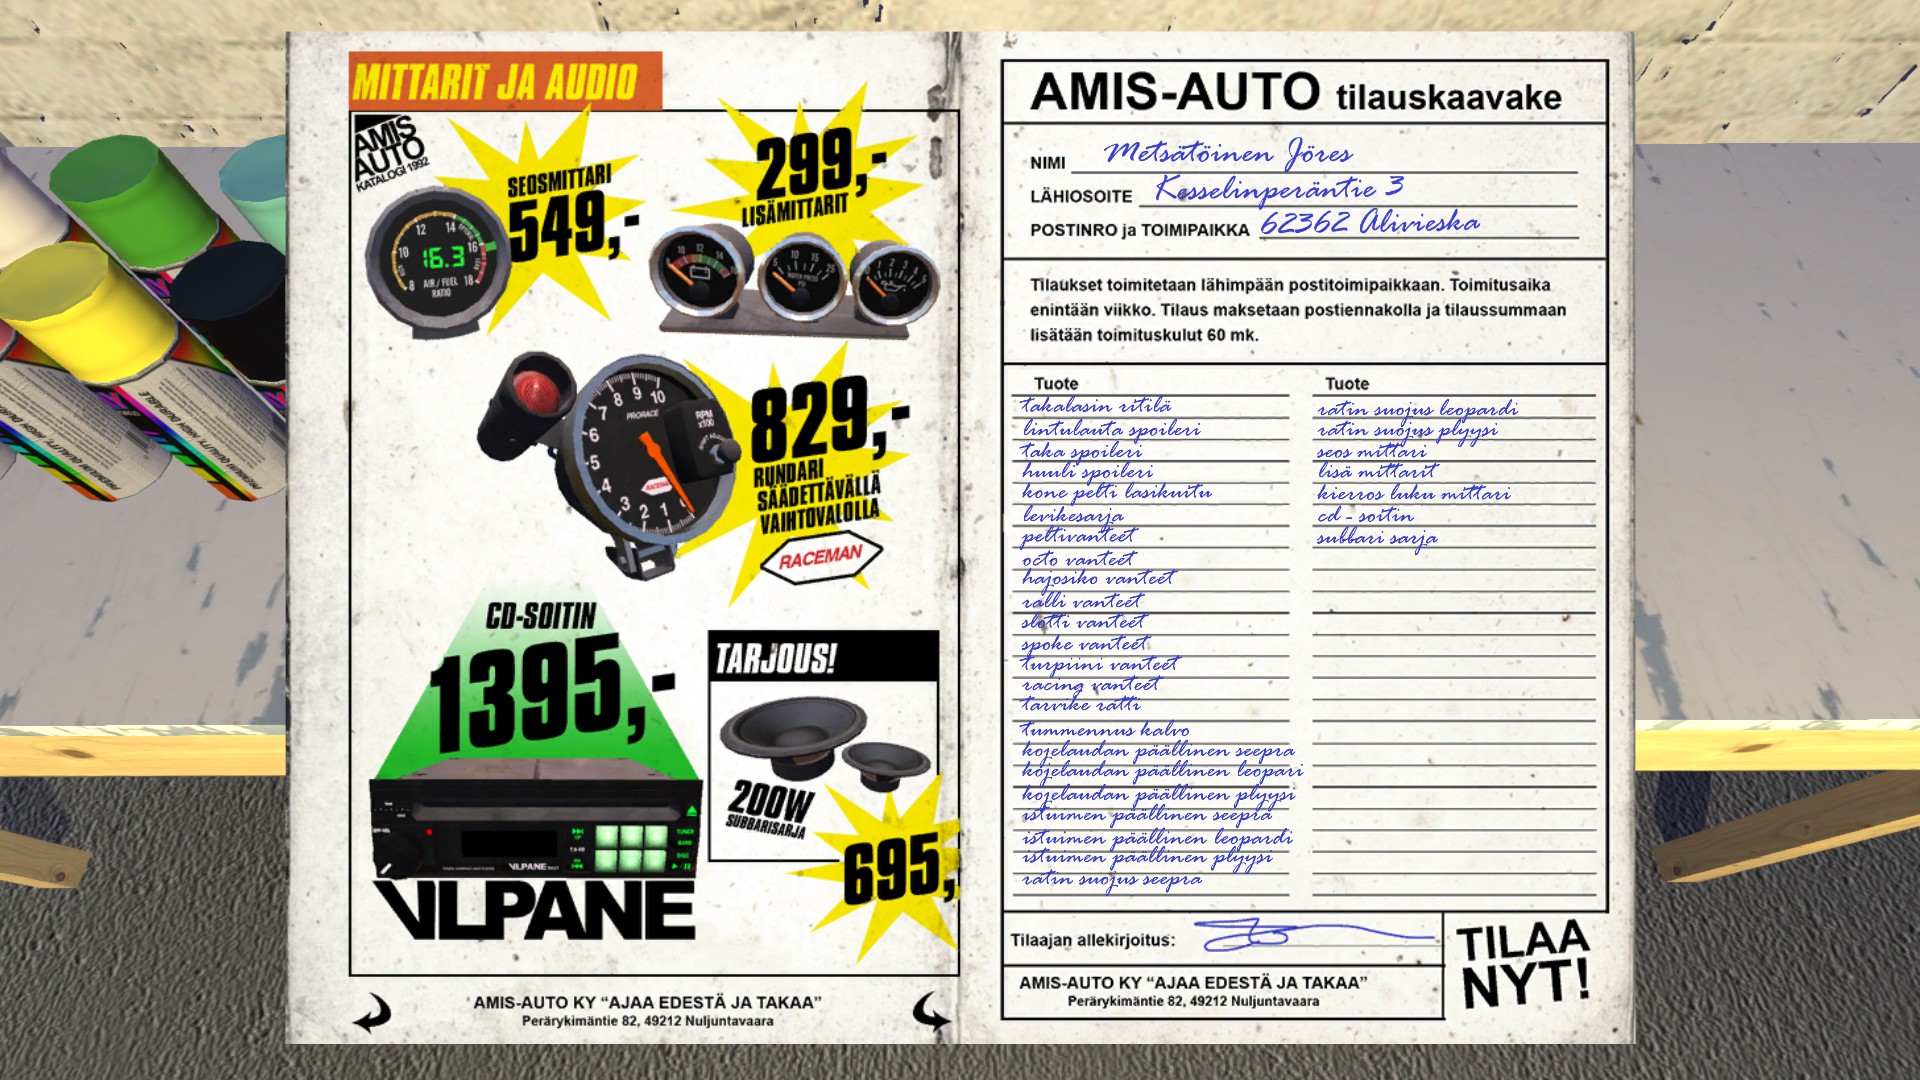
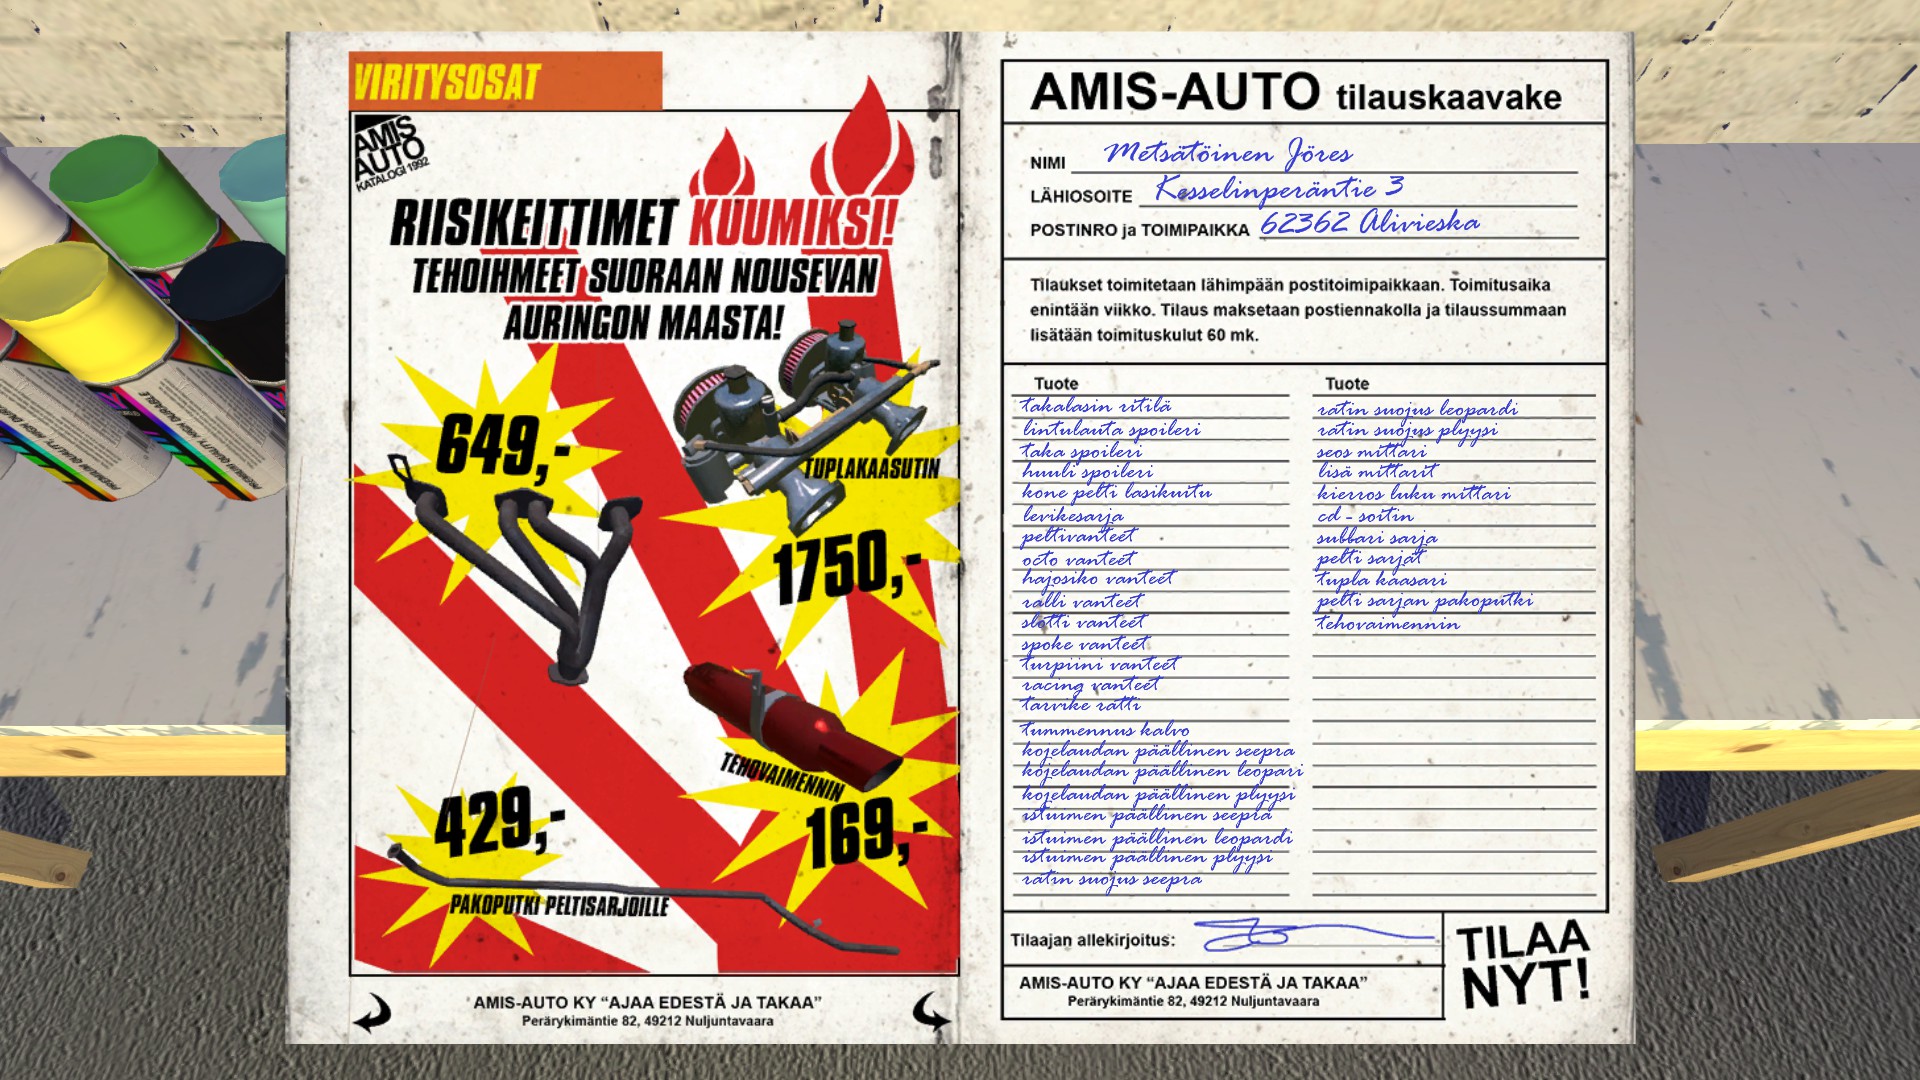
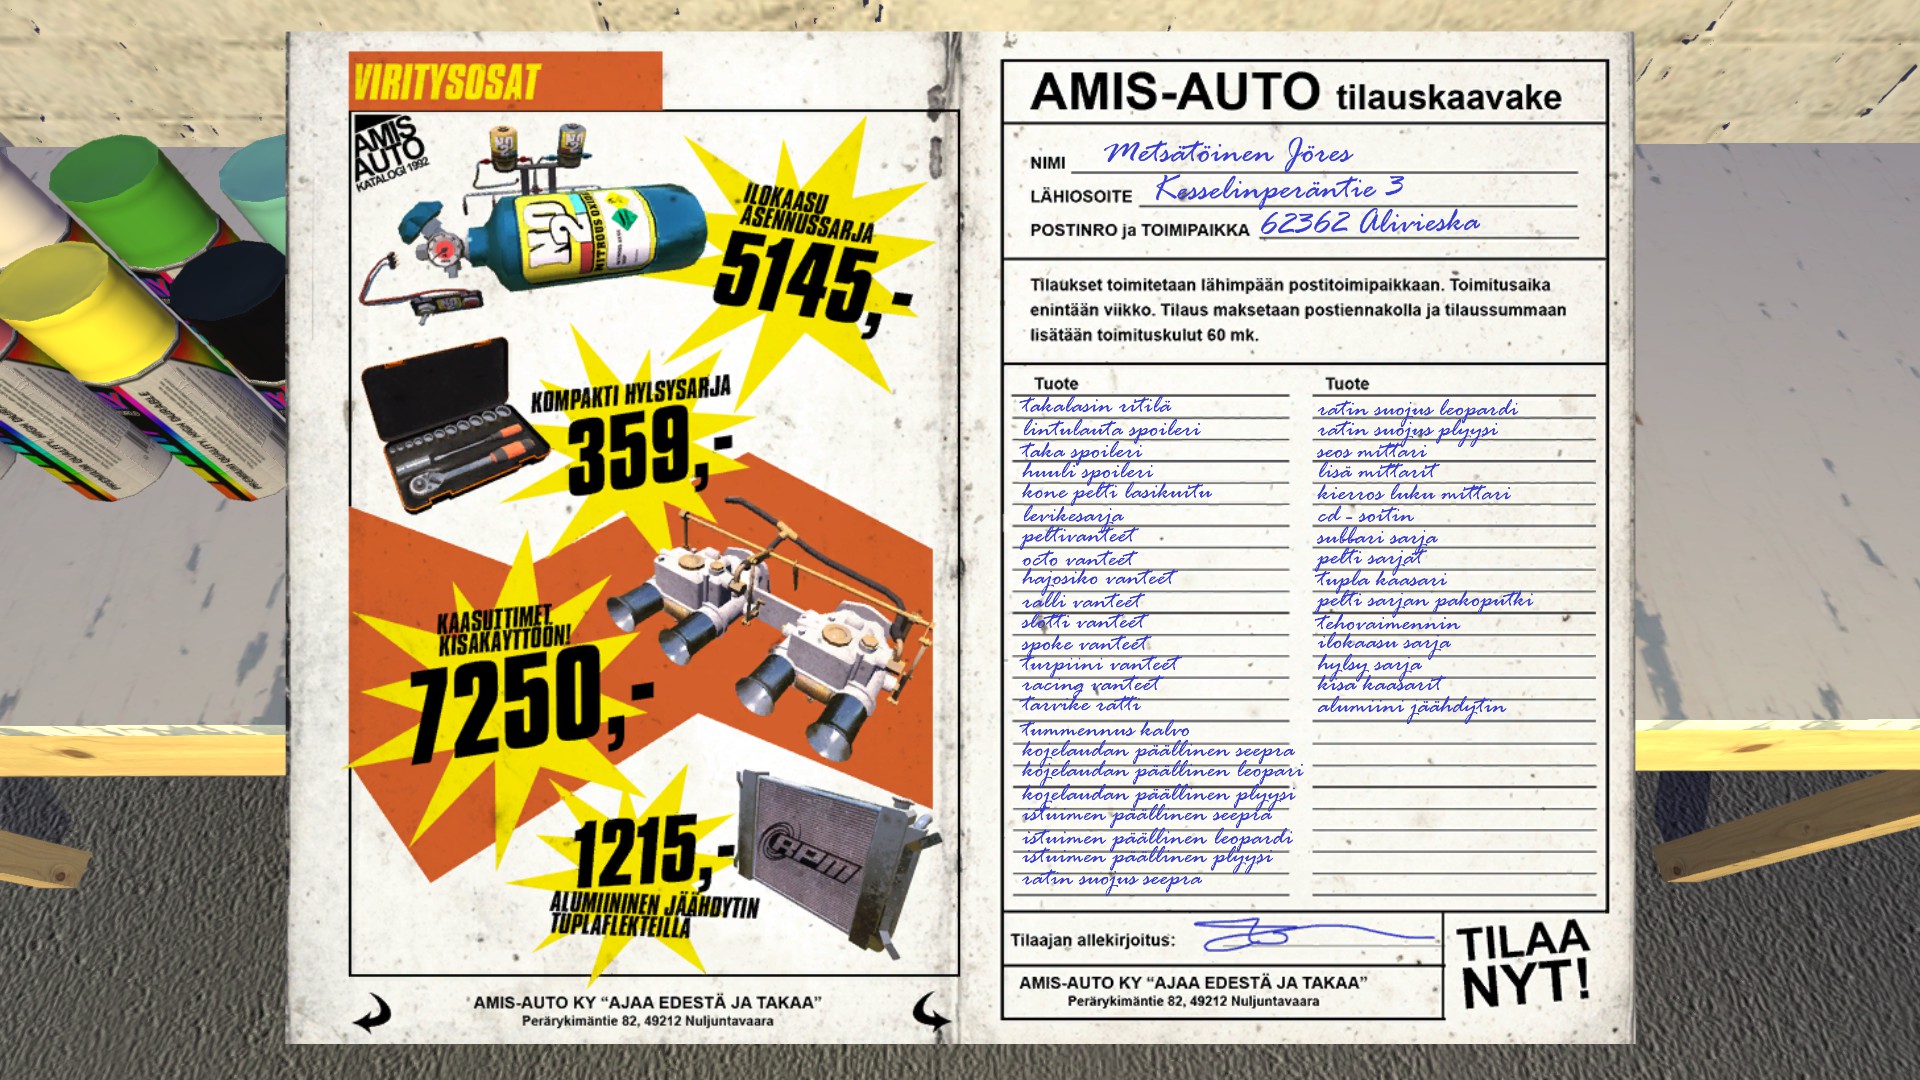
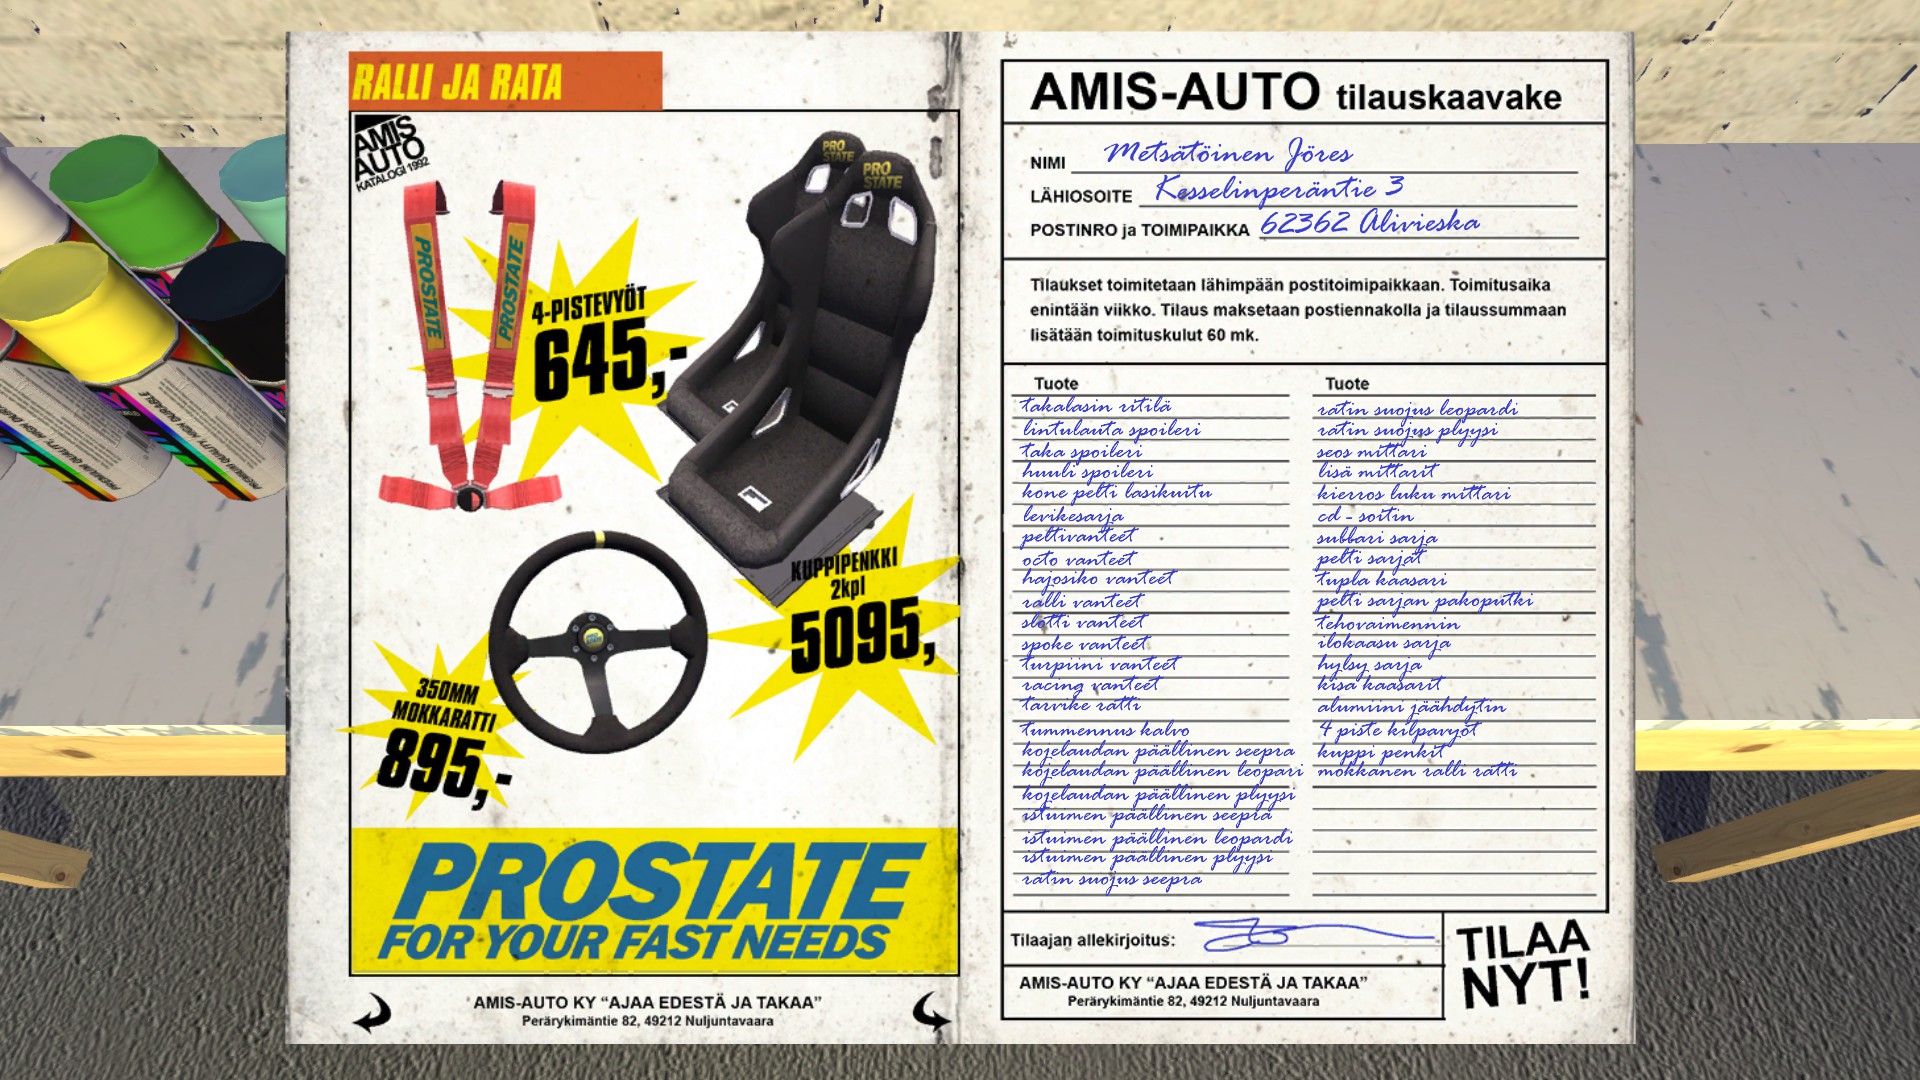
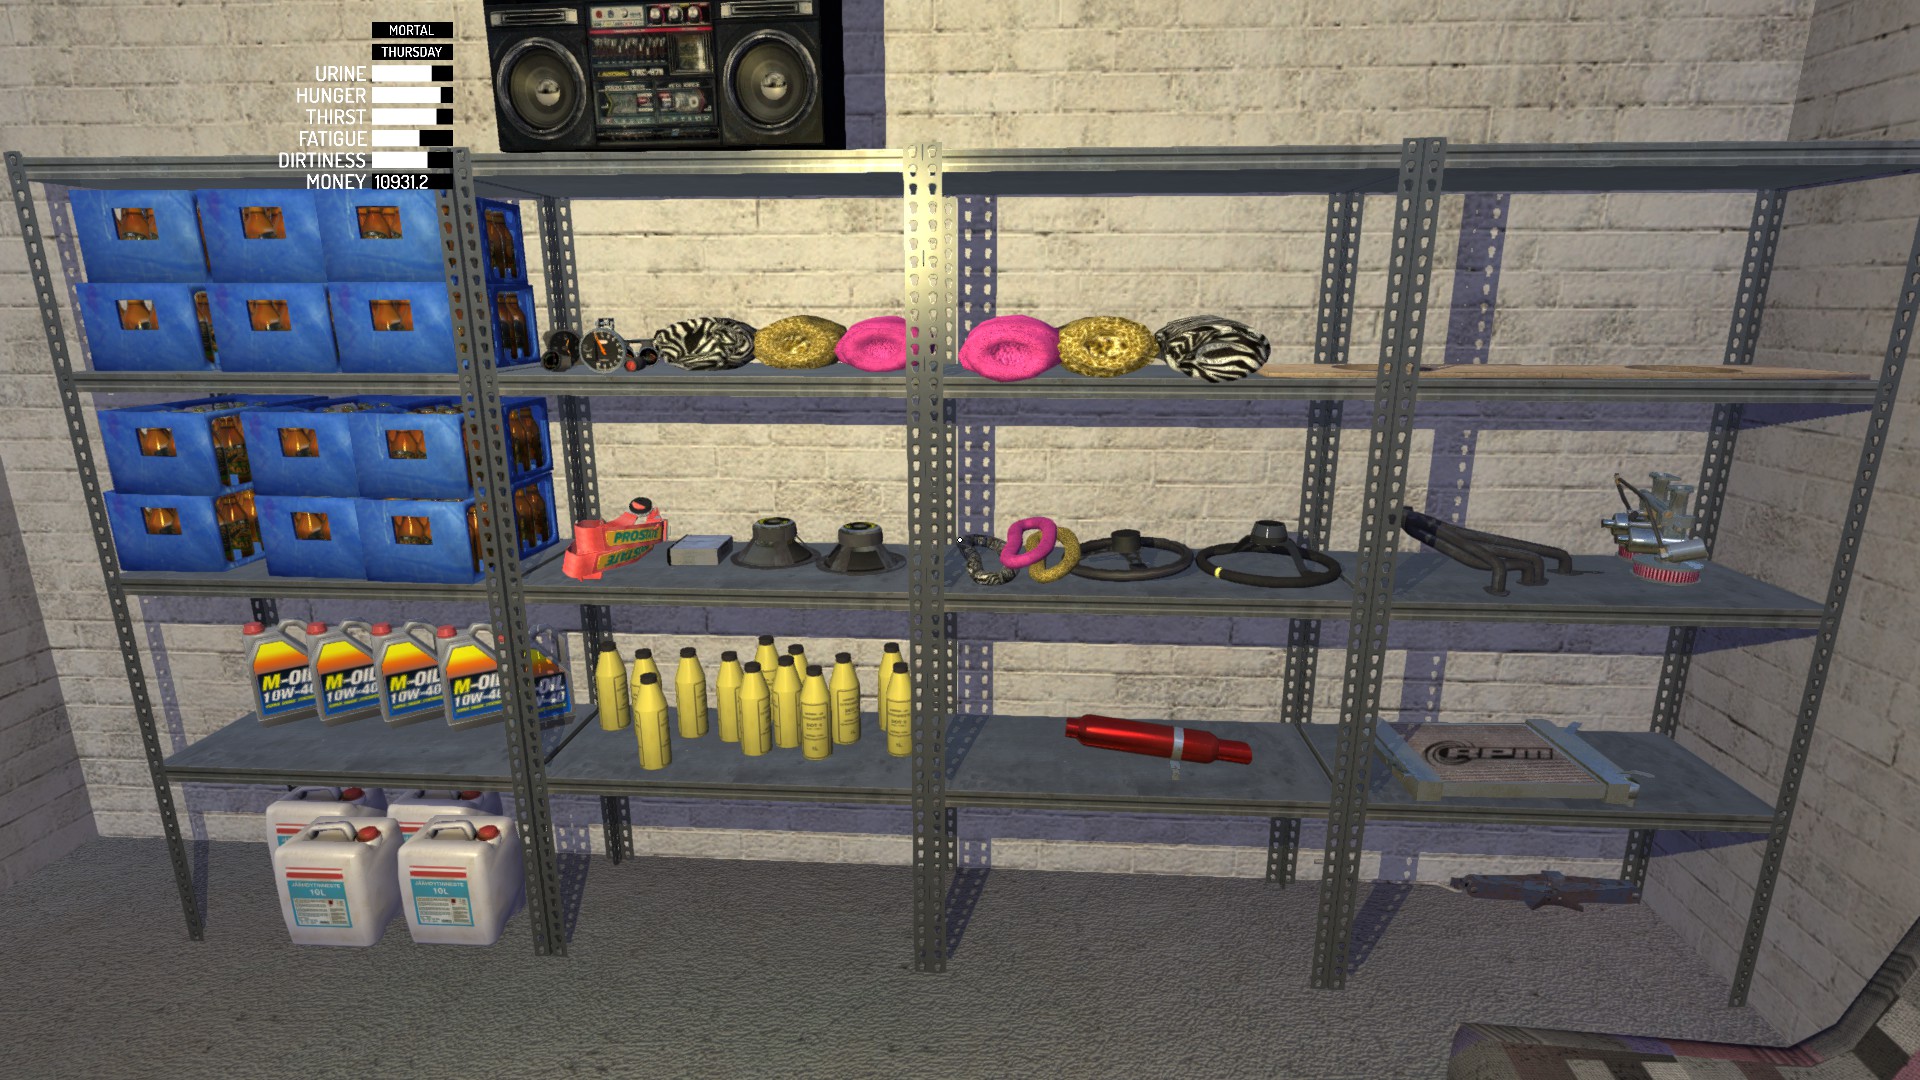
§003 Buying upgrades
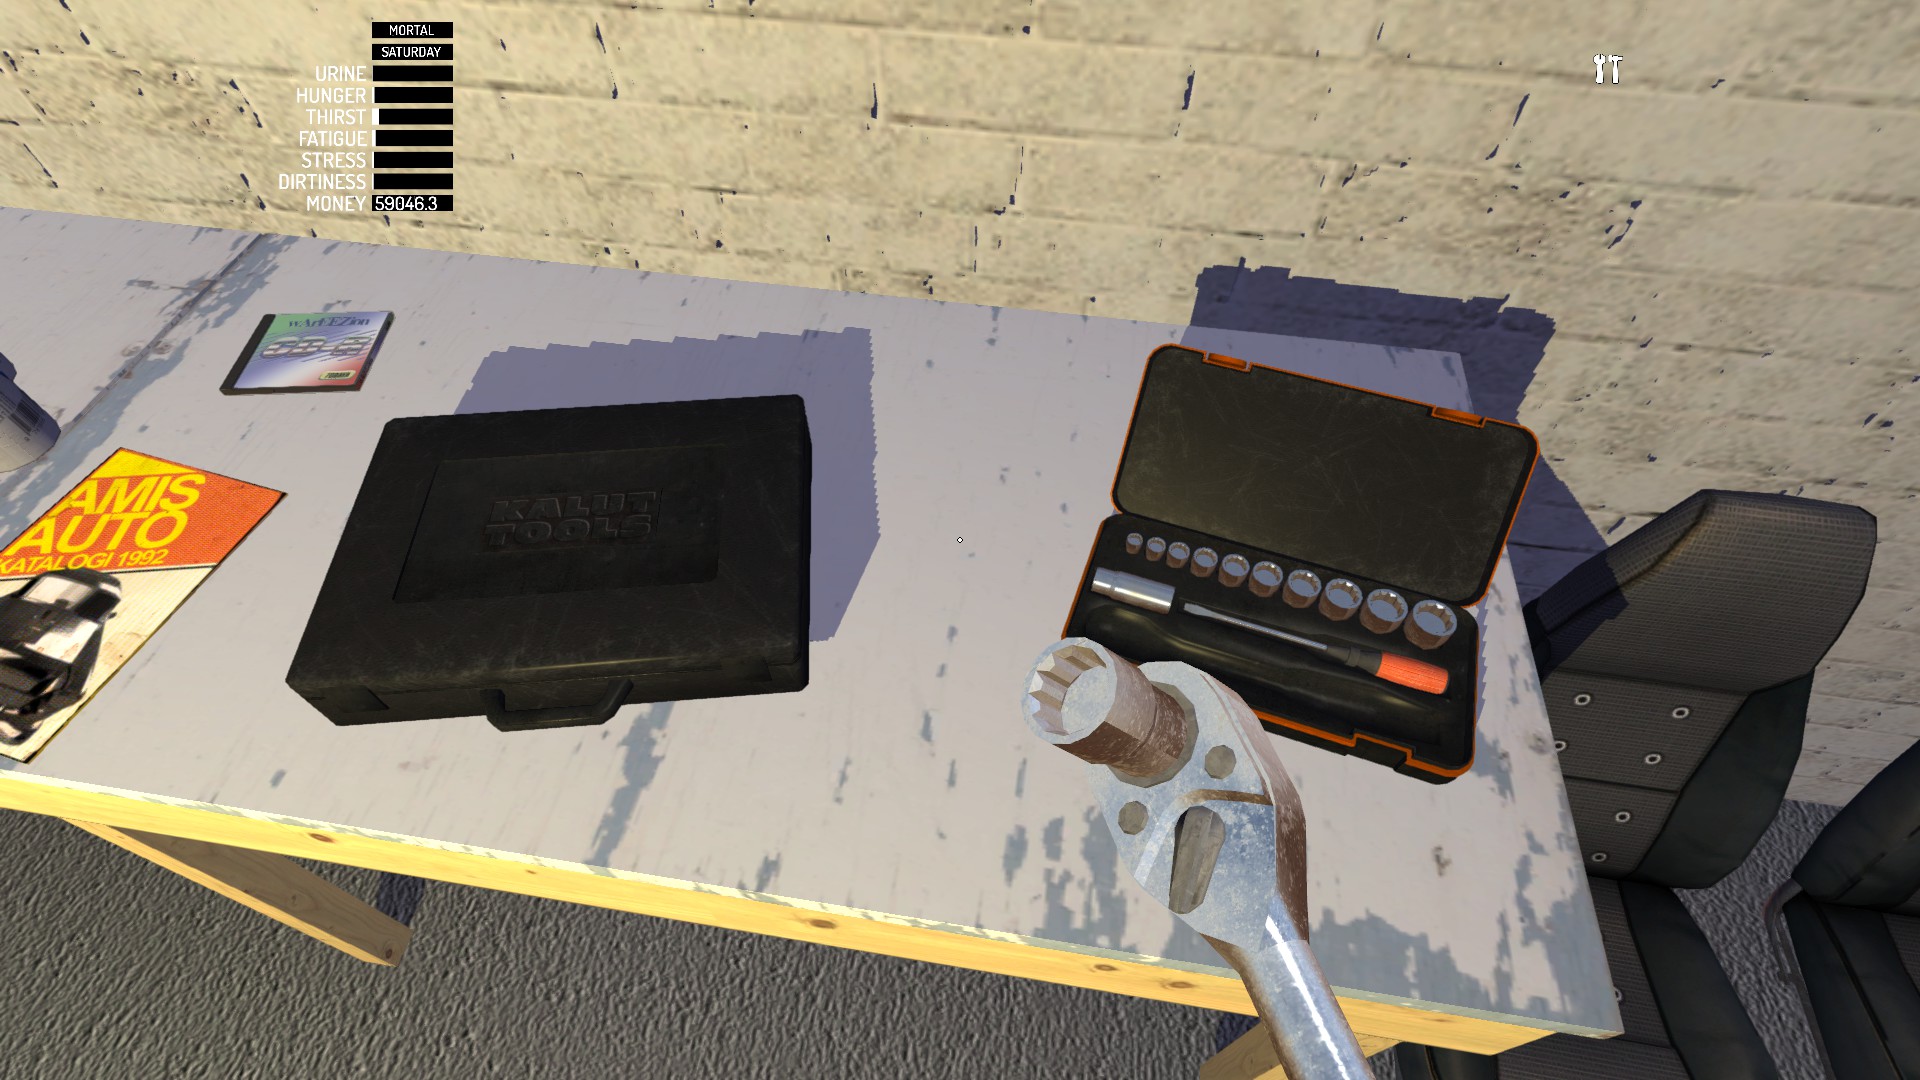
To buy upgrades you will need to go to catalog, select desired parts and bring envelope to Teimo’s. One thing you want earlier from this catalog is ratchet set as it makes dealing with bolts and nuts much faster (but you still will need stock tool box as well).
Attention! Some custom parts will fail car inspection[my-summer-car.wikia.com]! Buy now, put on later.
1895 mk
1950 mk
1975 mk
2200 mk
2310 mk
2545 mk
2590 mk
After few days you will get a call that you can take your stuff.
Well… Better take the tractor.
As rims go without tires, you will need to bring them to Fleetari (4 maximum at a time). Choose any desired type.


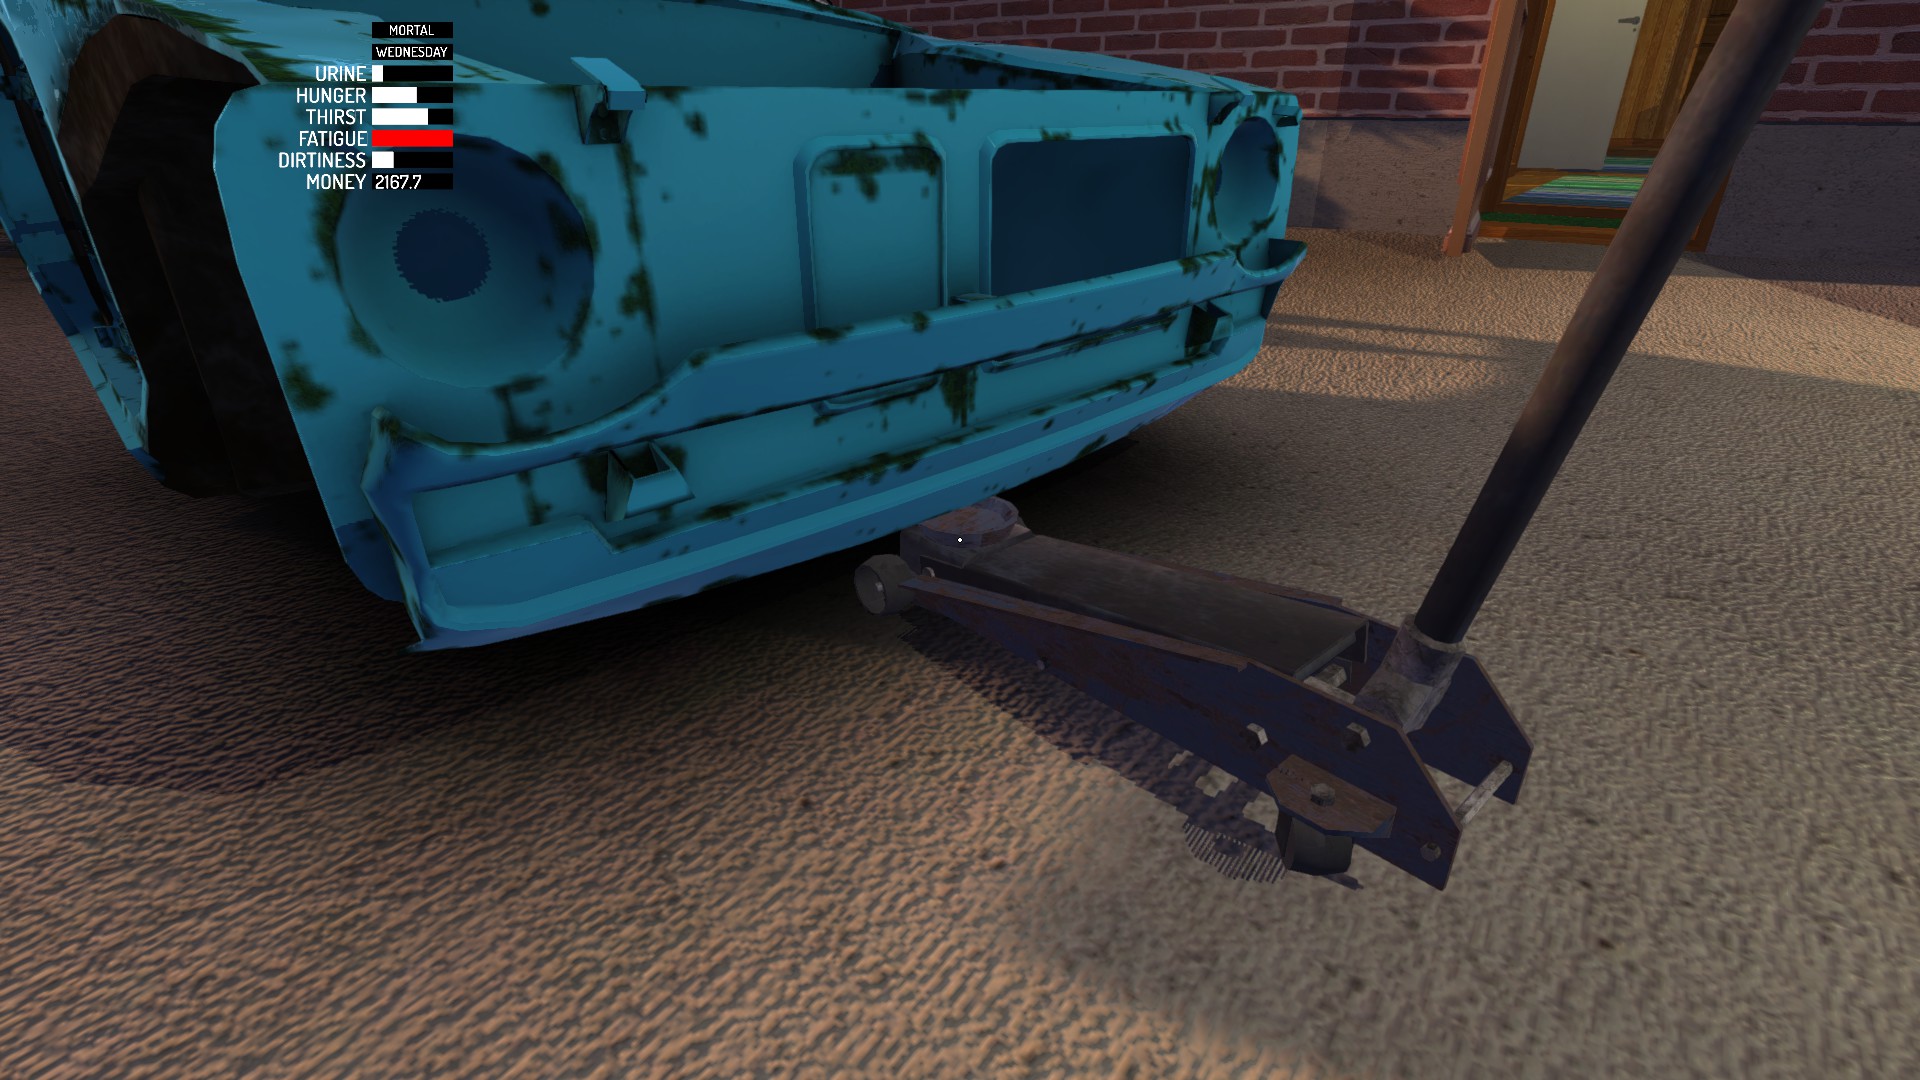
§004 Raising the body
Place floor jack like on the screenshot and raise it with lever to the limit.
You always can try something exotic…


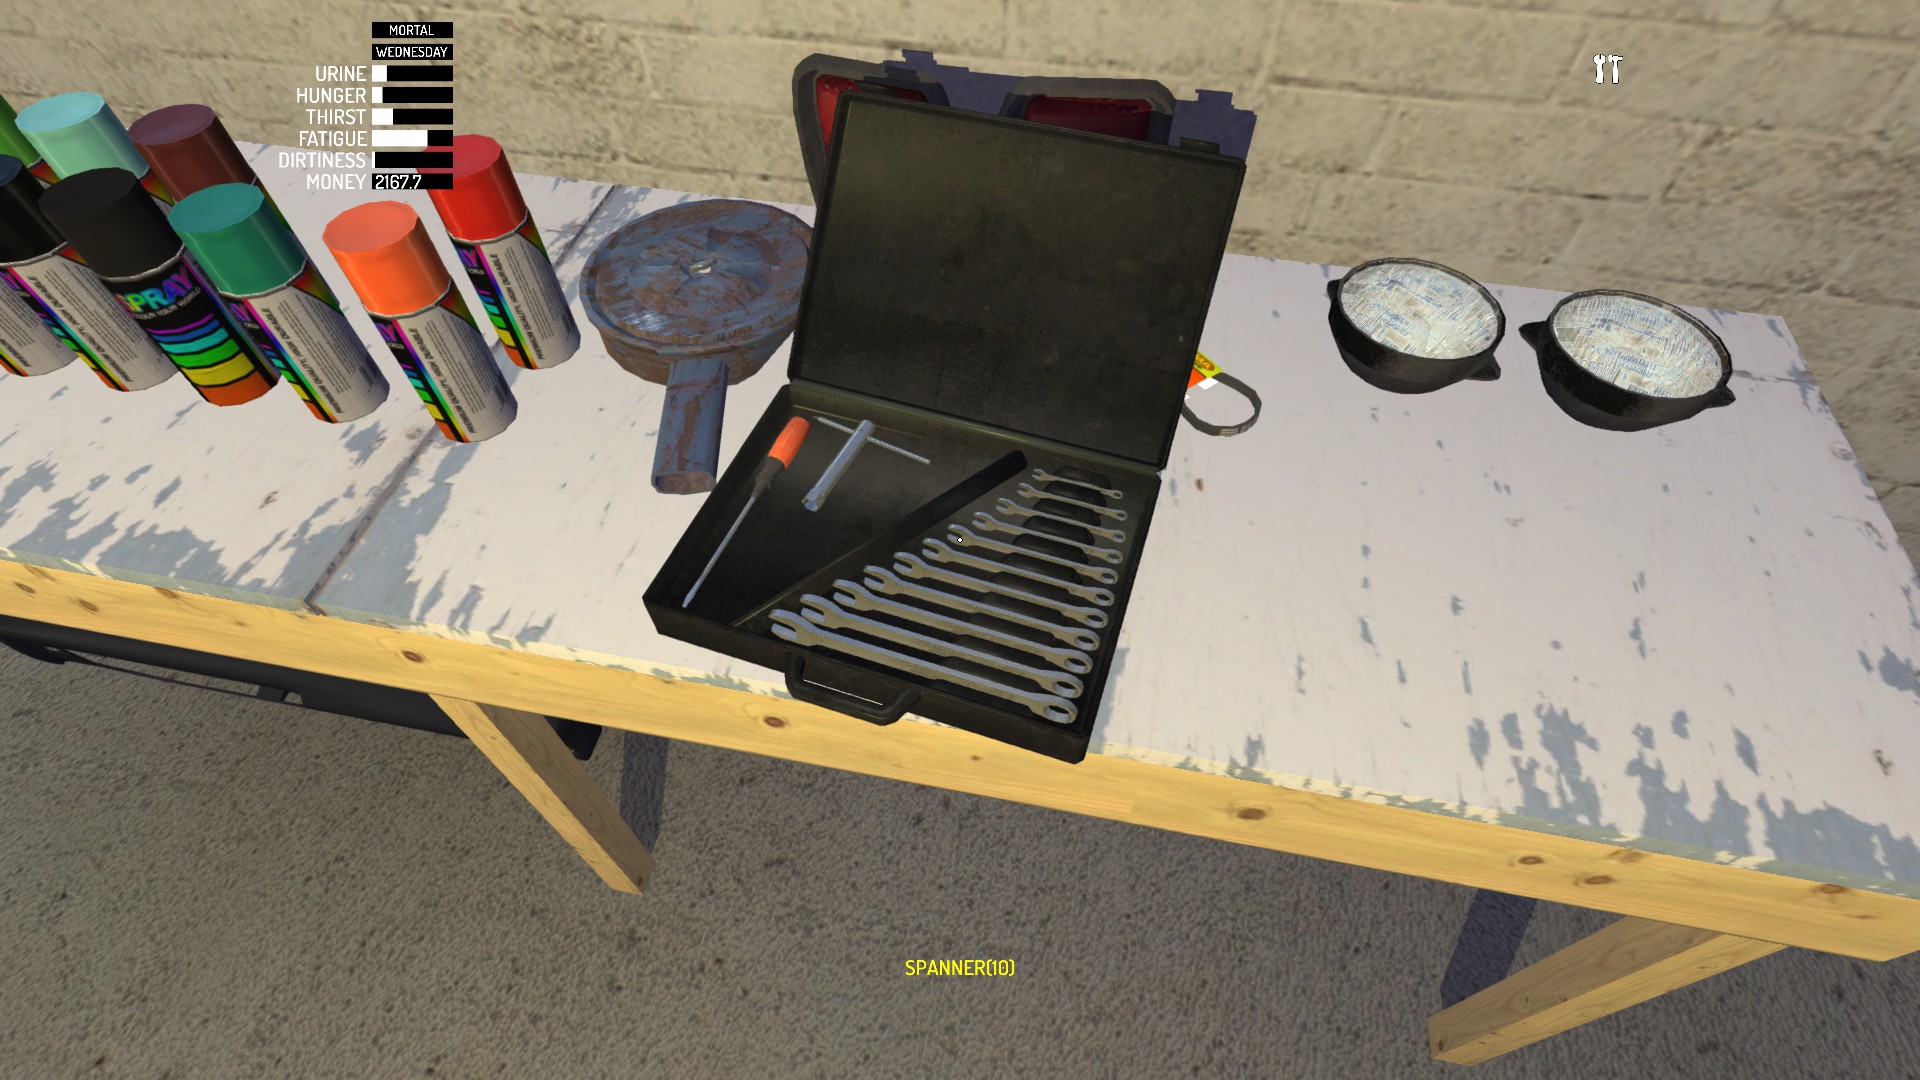
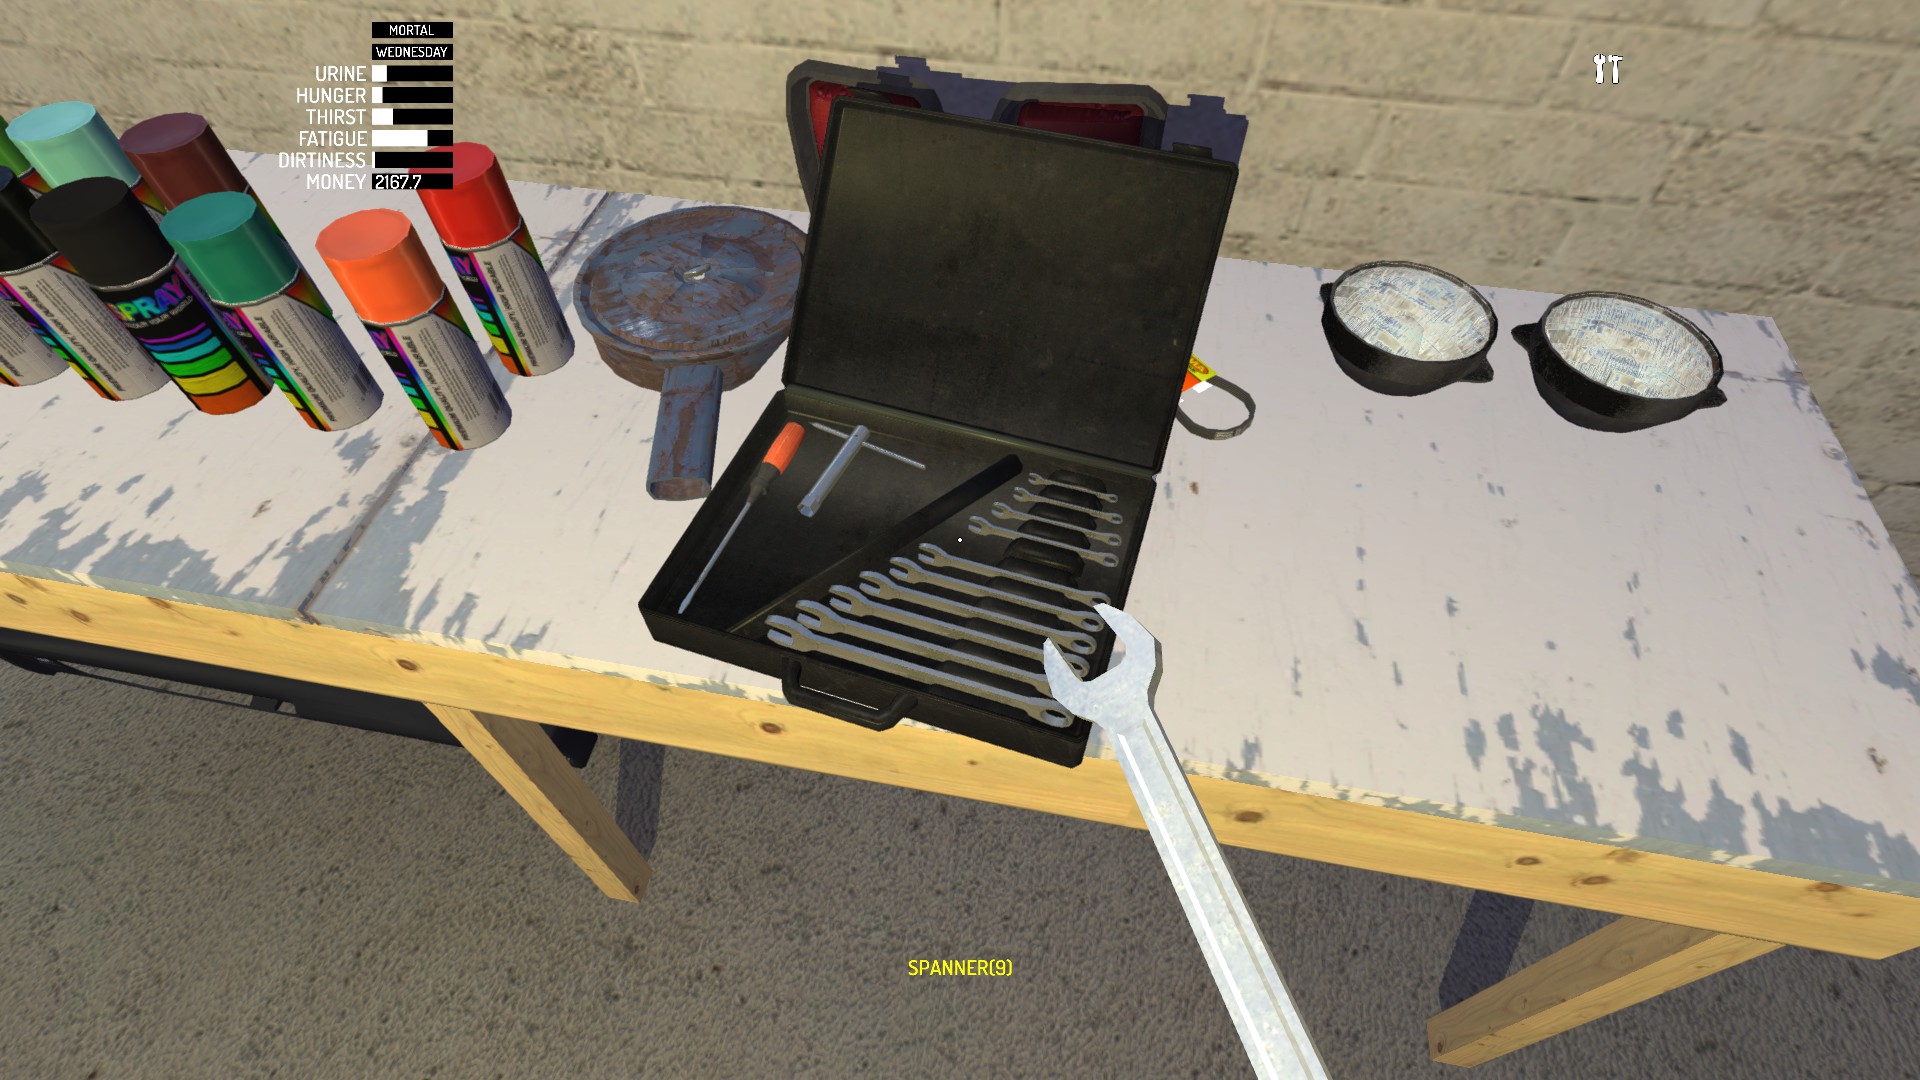
§005 Using tool box and putting parts on and off
To open tool box or ratchet set, hover the cursor to the place where it opens and press Use button.
Press 2 and click on what you need. Press 1 to hide the tool.
To tighten bolts and nuts with stock tool box scroll mouse wheel up, to unscrew scroll mouse wheel down.


Ratchet has 2 modes, 1st is to unscrew stuff, 2nd is to tighten. In any mode you can scroll mouse in any direction which makes using it very conveniently, because instead of scrolling into single direction you can just alternate between scroll up and scroll down. To switch between modes press Use button.
To put some part on click left mouse button (LMB), to put it off click right mouse button (RMB).

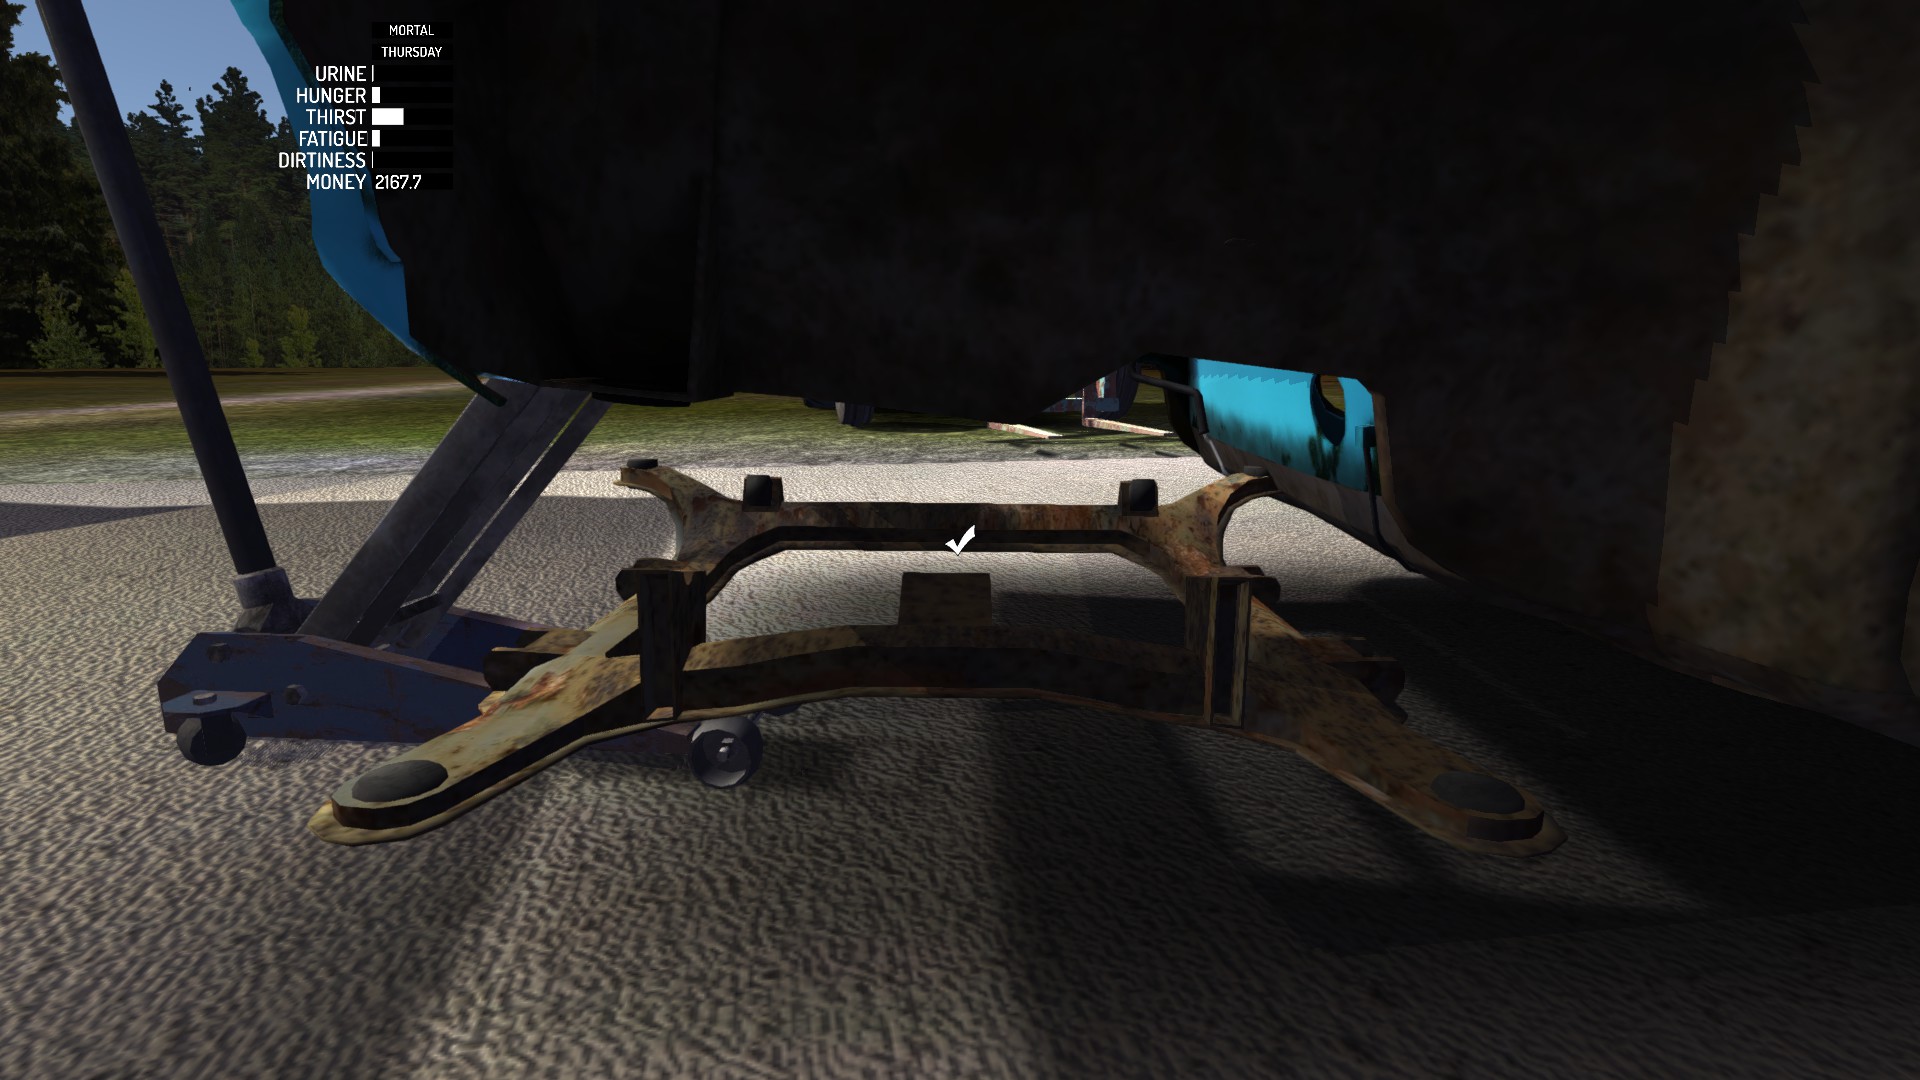
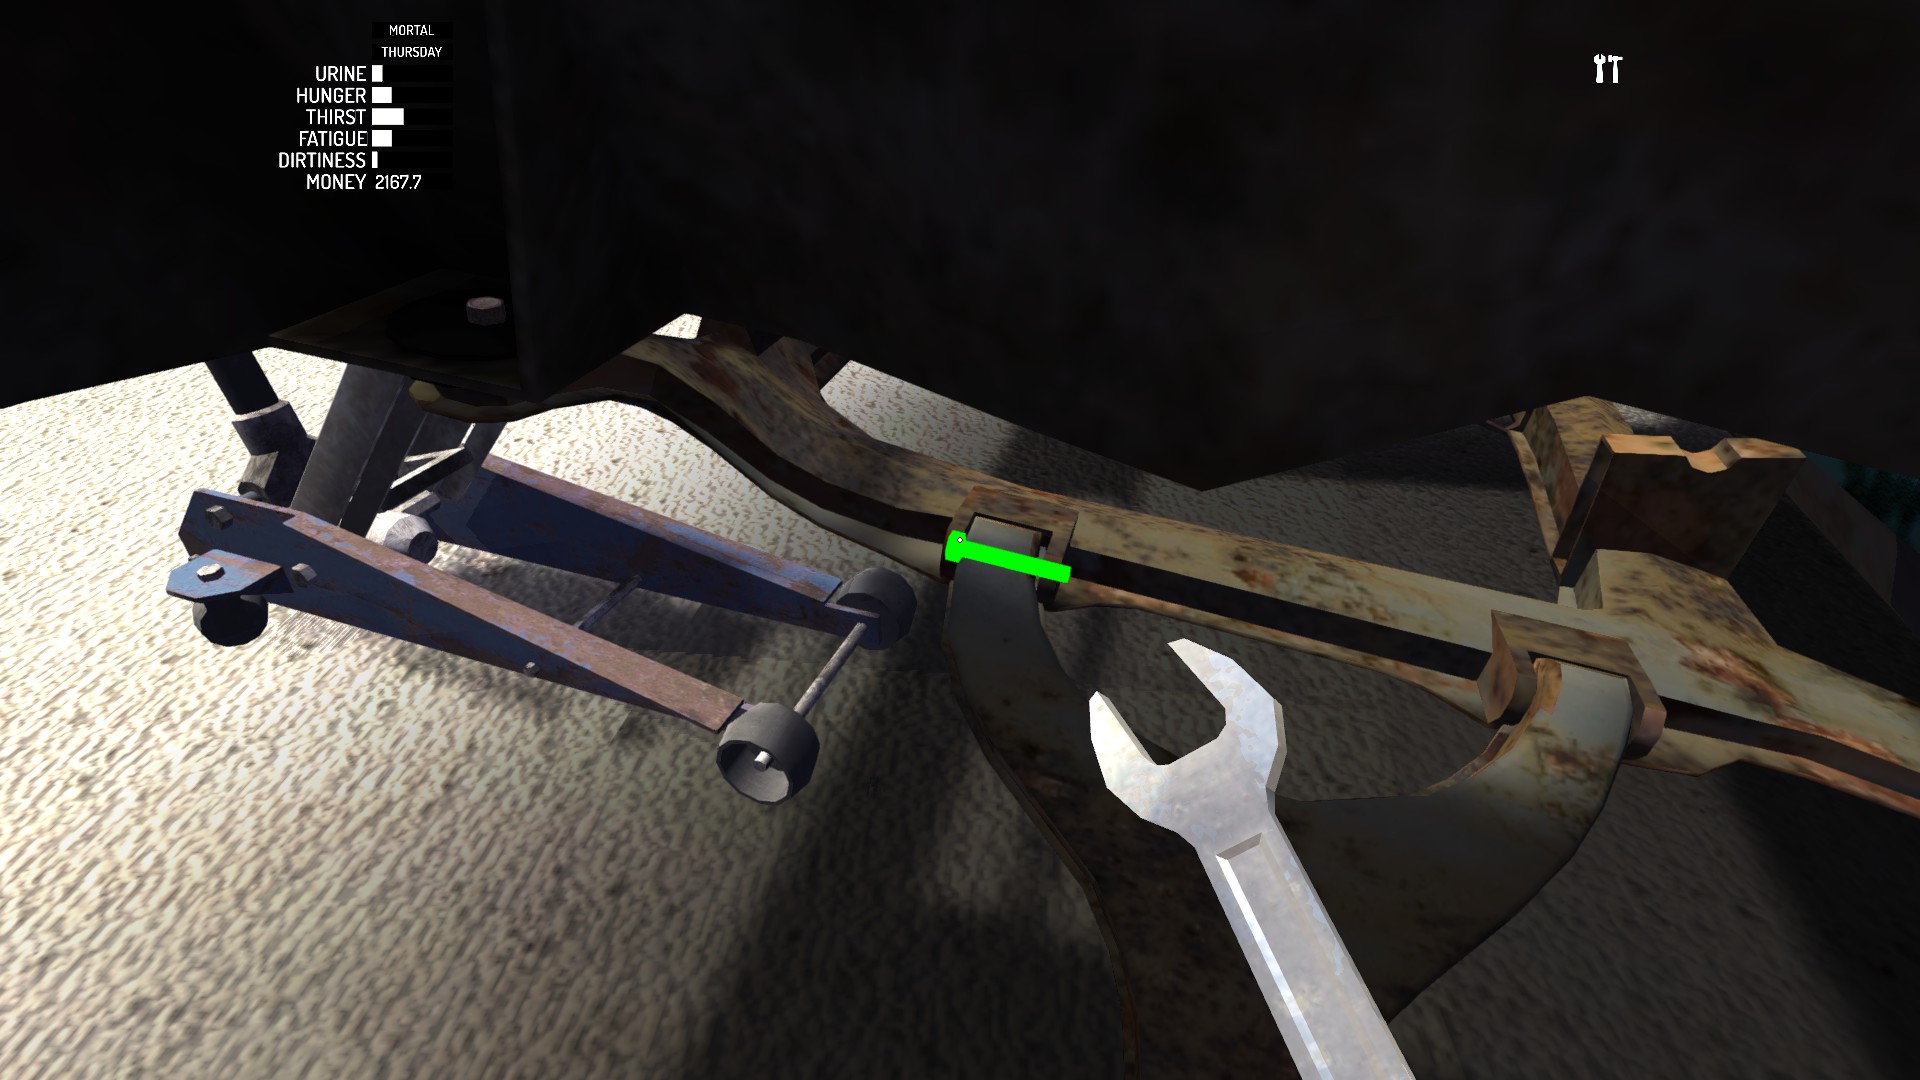
§006 Sub frame
Sub frame: 10 mm × 4.


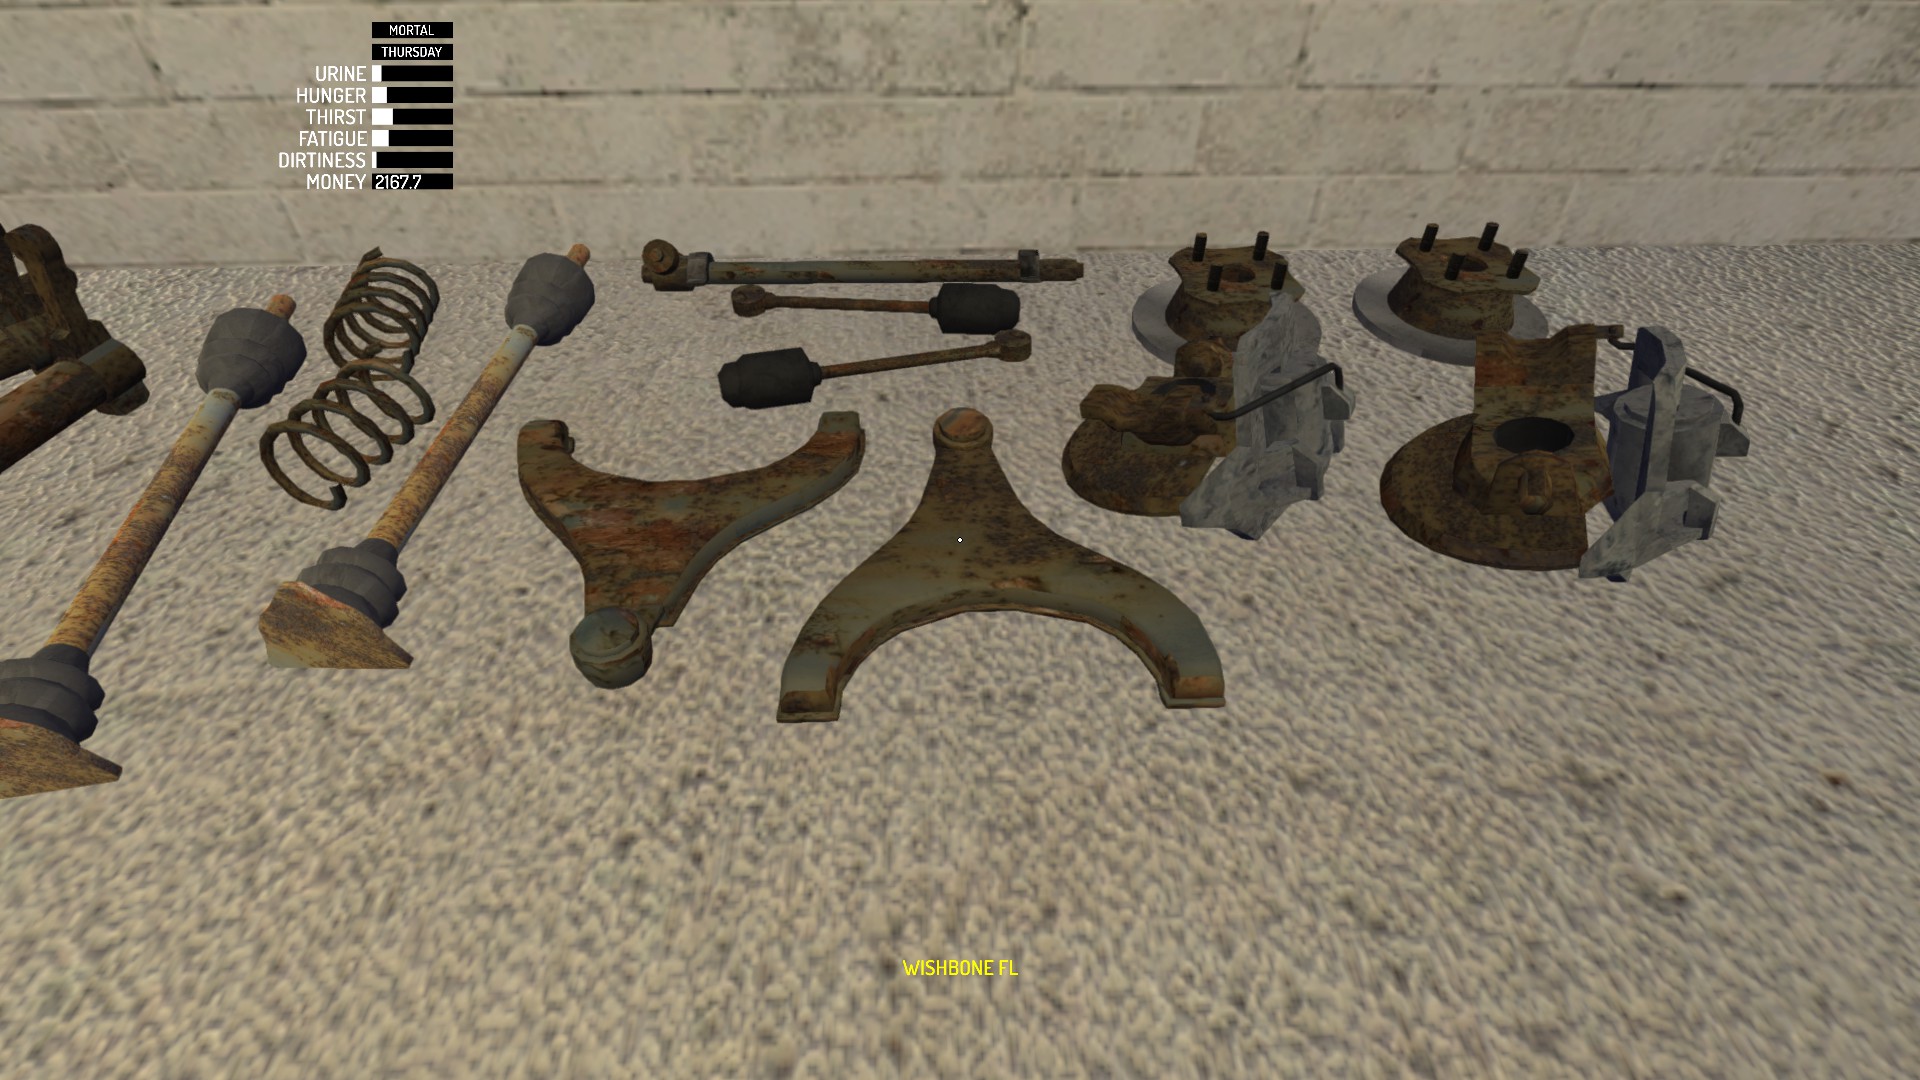
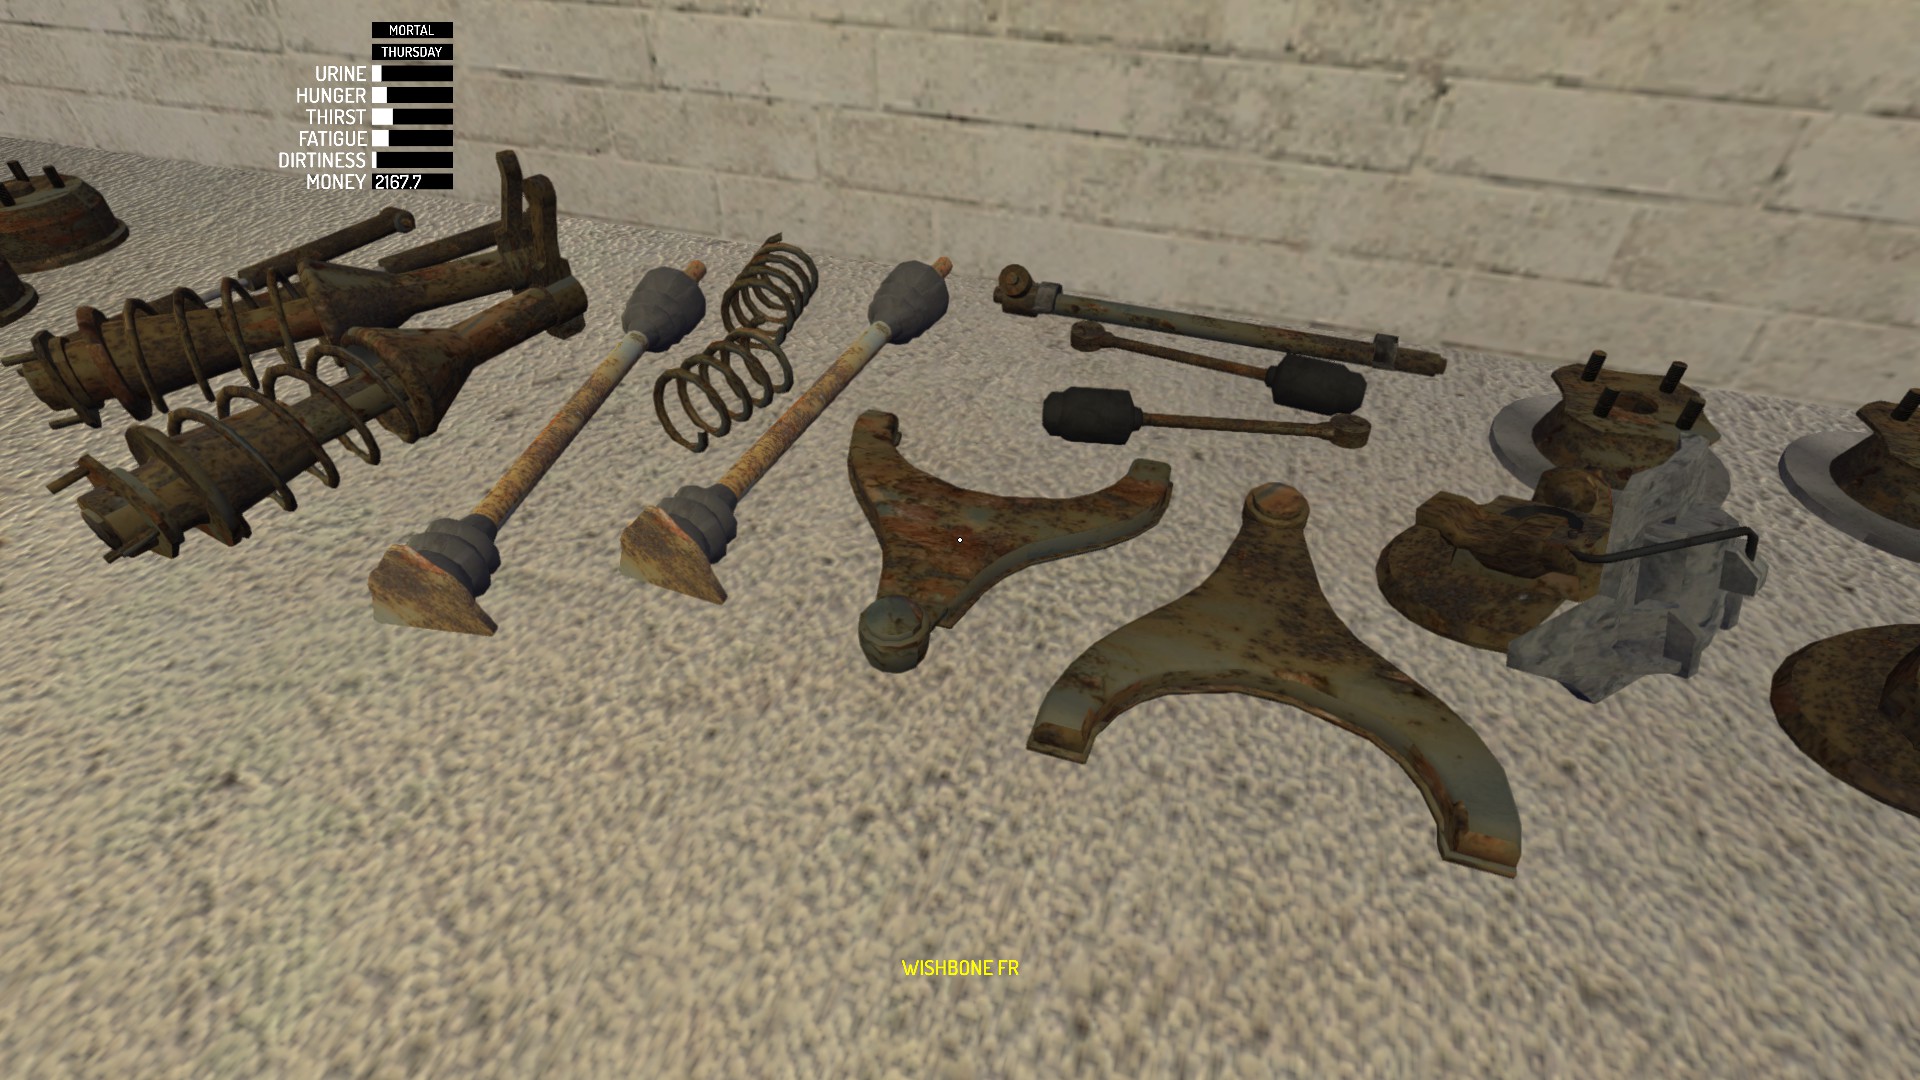
§007 Wishbones
Wishbone FL/FR: 10 mm × 2 (each).


§008 Spindles
Spindle FL/FR: 12 mm × 1 (each).


§009 Disc brakes
Put the disc brakes (2) on but do not tighten them yet!


§010 Halfshafts
Now put the halfshafts (2) on and only then tighten disc brakes (2): 14 mm × 1 (each).


§011 Steering rack
Steering rack: 9 mm × 4.


§012 Struts
Strut FL/FR: 9 mm × 4 (bottom, each).
10 mm × 3 (top, each).


§013 Steering rods
Steering rod FL/FR: 12 mm × 1 (each).


§014 Steering column
Steering column: 8 mm × 2.


§015 Moving to rear suspension
Just lower your floor jack and move it to rear part of the car.


§016 Trail arms
Trail arm RL/RR: 12 mm × 2 (each).


§017 Coil springs
Coil springs (2).


§018 Shock absorbers
Shock absorbers (2): 12 mm × 1 (top, each), 6 mm × 2 (bottom, each).


§019 Drum brakes
Drum brakes (2): 14 mm × 1 (each).


§020 Wheels
Wheels (4): 13 mm × 4 (each).


§021 Moving to the garage
Lower floor jack and gently push your car into the garage.


§022 Block
Take the block and put it on the table.

§023 Crankshaft
Crankshaft.


§024 Main bearings
Main bearings (3): 9 mm × 2 (each).


§025 Pistons
Pistons (4): 7 mm × 2 (each).


§026 Head gasket
Head gasket.


§027 Cylinder head
Cylinder head: 7 mm × 10.


§028 Headers
Headers: 8 mm × 5.


§029 Motor hoist
Place motor hoist like on the screenshot and fasten the engine to it: 10 mm × 2. Engine rotation is important! And as you tighten both bolts, the engine will take correct position.


§030 Carburetor
Carburetor: 8 mm × 4.


§031 Rocker shaft
Rocker shaft: 8 mm × 5.
Let’s tune the rocker shaft. Take the screwdriver.
There are 8 screws. Scroll each screw down at least 19 times (can be more) and then scroll it up 7 times exactly (


[imgur.com]).
MSCeditor values:

Each turn changes in-game value by .6, bottom value is 12, top value is 1. When you scroll up, you decrease the value and vice versa.
More info about rocker shaft tuning.[my-summer-car.wikia.com]
§032 Rocker cover
Rocker cover: 7 mm × 6.


§033 Camshaft
Camshaft: 5 mm × 2.


§034 Camshaft gear
Camshaft gear: 10 mm × 1.


§035 Timing chain
Timing chain.


§036 Timing cover
Timing cover: 6 mm × 6.


§037 Water pump
Water pump: 7 mm × 5.


§038 Water pump pulley
Water pump pulley: 7 mm × 4.


§039 Crankshaft pulley
Crankshaft pulley: 11 mm × 1.


§040 Alternator
Alternator: 7 mm × 1 (top), 10 mm × 1 (bottom).


§041 Fan belt
Press 1 to hide the tool and shift the alternator with scroll up to the most left position so you could put the fan belt on.
Fan belt.
Adjust the alternator with mouse scroll wheel so that it just slightly touches the fan belt. We will calibrate it later. Notice that if the fan belt is too loose, the car won’t start at all!
Press 2, take the screwdriver and tighten the alternator.


§042 Engine plate
Engine plate.


§043 Starter
Starter: 7 mm × 2.


§044 Flywheel
Flywheel: 7 mm × 6.


§045 Clutch cover plate, clutch pressure plate, clutch disc
Attach clutch pressure plate to clutch cover plate.
Then attach clutch disc.
Then attach whole thing to the engine: 6 mm × 6.


§046 Oilpan
Oilpan: 7 mm × 8 and 13 mm × 1.


§047 Gearbox
Gearbox: 7 mm × 6 and 10 mm × 1.


§048 Drive gear
Drive gear: 6 mm × 7.


§049 Spark plugs
Tighten spark plugs with sparkplug wrench or sparkplug socket.


§050 Fuel pump
Fuel pump: 7 mm × 2.


§051 Distributor
Distributor: 6 mm × 1.


§052 Installing the engine
Move the hoist to the car. Lower the hoist and as soon as the engine will be in the proper position, bolts will appear: 11 mm × 3 (2 on front side and 1 on rear side). Note that they won’t appear until the engine is in the proper position. And if they don’t appear, slightly move the hoist. Be careful, because the engine can detach from the hoist.
Unscrew the engine from the hoist: 10 mm × 2. Raise the hoist and put it away.
Voilà!


§053 Battery
Even new batteries lose their charge and capacity over time and if battery is discharged you will want to charge it. There is the charger on the table.
Just bring battery to charger and drop it nearby.
High value on the charger means the battery is totally discharged.
No need to fully charge your battery, you just need enough power to start the car. Keep in mind that battery is disconnected from the charger on load so you will have to connect it again every time.
Then place it into the car.


§054 Electrics
Electrics: 8 mm × 2.


§055 Fuel strainer
Fuel strainer: 8 mm × 1.


§056 Radiator
Radiator: 7 mm × 4.


§057 Radiator hoses
Radiator hose 1.
Radiator hose 2.
Radiator hose 3.


§058 Oil filter
Press 1 to hide the tool and tighten oil filter with mouse scroll wheel. Just putting it on is not enough!


§059 Clutch master cylinder, brake master cylinder
Put both clutch master cylinder and brake master cylinder on: 8 mm × 2 (engine side, each), 9 mm × 1 (cabin side, each).


§060 Clutch lining
Clutch lining: 7 mm × 2. You can’t tighten it with ratchet!


§061 Brake lining
Brake lining: 7 mm × 8. You can’t tighten it with ratchet (except 1 bolt)!
Also tighten nuts: 7 mm × 4 (1 for each wheel). You can’t tighten them with ratchet!
Front ones look like this:
And rear ones like this:


§062 Fuel tank
Fuel tank: 11 mm × 7.
Also note this nut: 12 mm × 1. If you miss it, all fuel will leak. You can’t tighten it with ratchet!


§063 Halfshafts
Tighten the halfshafts to the engine: 9 mm × 3 (each).

§064 Gear linkage
Gear linkage: 5 mm × 3 (2 from the bottom and 1 from the top).


§065 Gear stick
Gear stick: 6 mm × 3.


§066 Hand brake
Hand brake: 8 mm × 4 (cabin side) and 5 mm × 1 (near the fuel tank).


§067 Exhaust pipe
Exhaust pipe: 7 mm × 3 (1 to the back and 2 to the engine).


§068 Exhaust muffler
Exhaust muffler: 7 mm × 1.


§069 Fuel tank pipe
Fuel tank pipe.


§070 Dashboard
Place dashboard and open the glove box with Use button: 10 mm × 2. Don’t close the glove box yet.


§071 Gauges, dashboard meters
Place the dashboard meters on the table.
Choose what you want to use: RPM gauge or clock gauge and tighten it: 7 mm × 2.
Now tighten the dashboard meters to the dashboard: 6 mm × 2.
Close the glove box.


§072 Seats
Seat rear: 9 mm × 2.
Seat driver and seat passenger: 9 mm × 4 (each).


§073 Back panels
Choose between back panel and subwoofer panel.


§074 Stock steering wheel
Stock steering wheel: 10 mm × 1.


§075 Radio
Radio.


§076 Fur dices
The most important part of the car. This is actually why we build it for.


§077 Headlights
Headlights (2): 7 mm × 2 (each).


§078 Grille
Grille: 6 mm × 2.


§079 Hood
Place the hood without tightening and open it with hood lock. Don’t close it after tightening because you will need it opened for air filter, fenders and liquids.
Now tighten the hood: 6 mm × 4.


§080 Bootlid
Place bootlid, open it and then tighten: 6 mm × 4.


§081 Airfilter
Air filter: 6 mm × 2.


§082 Doors
Door left/right: 10 mm × 4 (each).


§083 Fenders
Fender left/right: 5 mm × 5 (each). Note that the hood must be opened.


§084 Bumpers
Bumper front/rear: 8 mm × 2 (each).


§085 Rear lights
Rear light left/right.


§086 Coolant
Open radiator’s cap with mouse scroll wheel.
Take coolant and pour it in the radiator. It can be a bit tricky. Close radiator’s cap after that. Don’t throw the bottle out! It isn’t empty yet.


§087 Motor oil
Open rocker cover’s cap with mouse scroll wheel, pour motor oil in it and close the cap. The bottle also isn’t empty, don’t throw it out as well!
Later you can check the oil by pressing Use button on the dipstick.


§088 Brake fluid
Now open any of 2 brake master cylinder’s caps with mouse scroll wheel and pour brake fluid in it.
This bottle is empty, so get rid of it.
Now repeat your actions with the 2nd hole.
Then open clutch master cylinder’s cap and repeat. After doing this, note that the bottle isn’t empty, so keep it.
Remember to close caps.


§089 Gasoline
Open fuel cap with mouse scroll wheel.
Open jerrycan’s cap with Use button, pour the gasoline in and close fuel cap.


§090 Painting
Pick your color(s). There are 12 glossy and 1 matte (black) paints. You can determine them by caps.
Take any in the hand and press Use button.


§091 Hubcaps
Hubcap FL/FR/RL/RR.


§092 Front wheels tuning
Your front wheels are oriented most likely pretty bad at this point. So you will need to adjust the nut shown on the screenshot: 14 mm × 1 (each). In-game values ranges from -6 to 6 and changes by .1. So firstly turn the nut to the edge in any direction. You can’t do it with the ratchet! Notice that the nut can be turned endlessly, but the wheel stops rotating at some point. When the wheel is at the edge position, turn the nut in the opposite direction 60 times. Repeat for another wheel but if for example first time you were rotating up then down, now do it the other way.
MSCeditor values:

§093 Starting the engine
Time to start your car. I would recommend to backup your save file before that. Hold LMB on the ignition and hold the Gas button at the same time.
Congratulations! Achievement is yours!

§094 Alternator tuning
Now the fan belt may squeak. Even if not, open your hood and take the screwdriver.
Loose the bolt once. No need to totally unscrew it.
Press 1 and loose the alternator until the fan belt starts to squeak and then pull the alternator back just once so that the fan belt stops squeaking. Don’t pull it too much or the fan belt will pop out! Then tighten the bolt and close the hood.
MSCeditor values:


§095 Driving
Pull out the choke by holding LMB.
Your engine is cold and you need to heat it up. This is why we pulled out the choke. You want the temperature arrow to be in the middle position.
Rev the engine a bit to heat it up faster. Turn on the radio with scroll down if you wish.
You may also want to open the window with scroll up.
Some other switches.
As your engine is heated, push the choke in by holding RMB.
Buckle yourself up by drag-and-dropping the seat belt with LMB.
Release the hand brake by holding RMB.
Rev the engine on neutral gear to raise RPM (otherwise you most likely will stall), shift first or rear gear and drive.


§096 Warning triangle
For the car inspection you will need warning triangle. You can find it on your tractor, detach it with RMB and put it in the trunk.


§097 Car inspection
You may want to have tool box or ratchet set in your car, just in case.
Time to get our car through inspection[my-summer-car.wikia.com]. It will cost you 325 mk. Do it before upgrades[my-summer-car.wikia.com].
You can change inspection card’s language by clicking on the flag in the top right corner.


§098 Register plates
Register plates.


§099 Xmas lights
Xmas lights.


§100 Covers
Seat covers can only be put on stock seats and wheel covers can only be put on stock steering wheel!
Plush set.
Leopard set.
Zebra set.
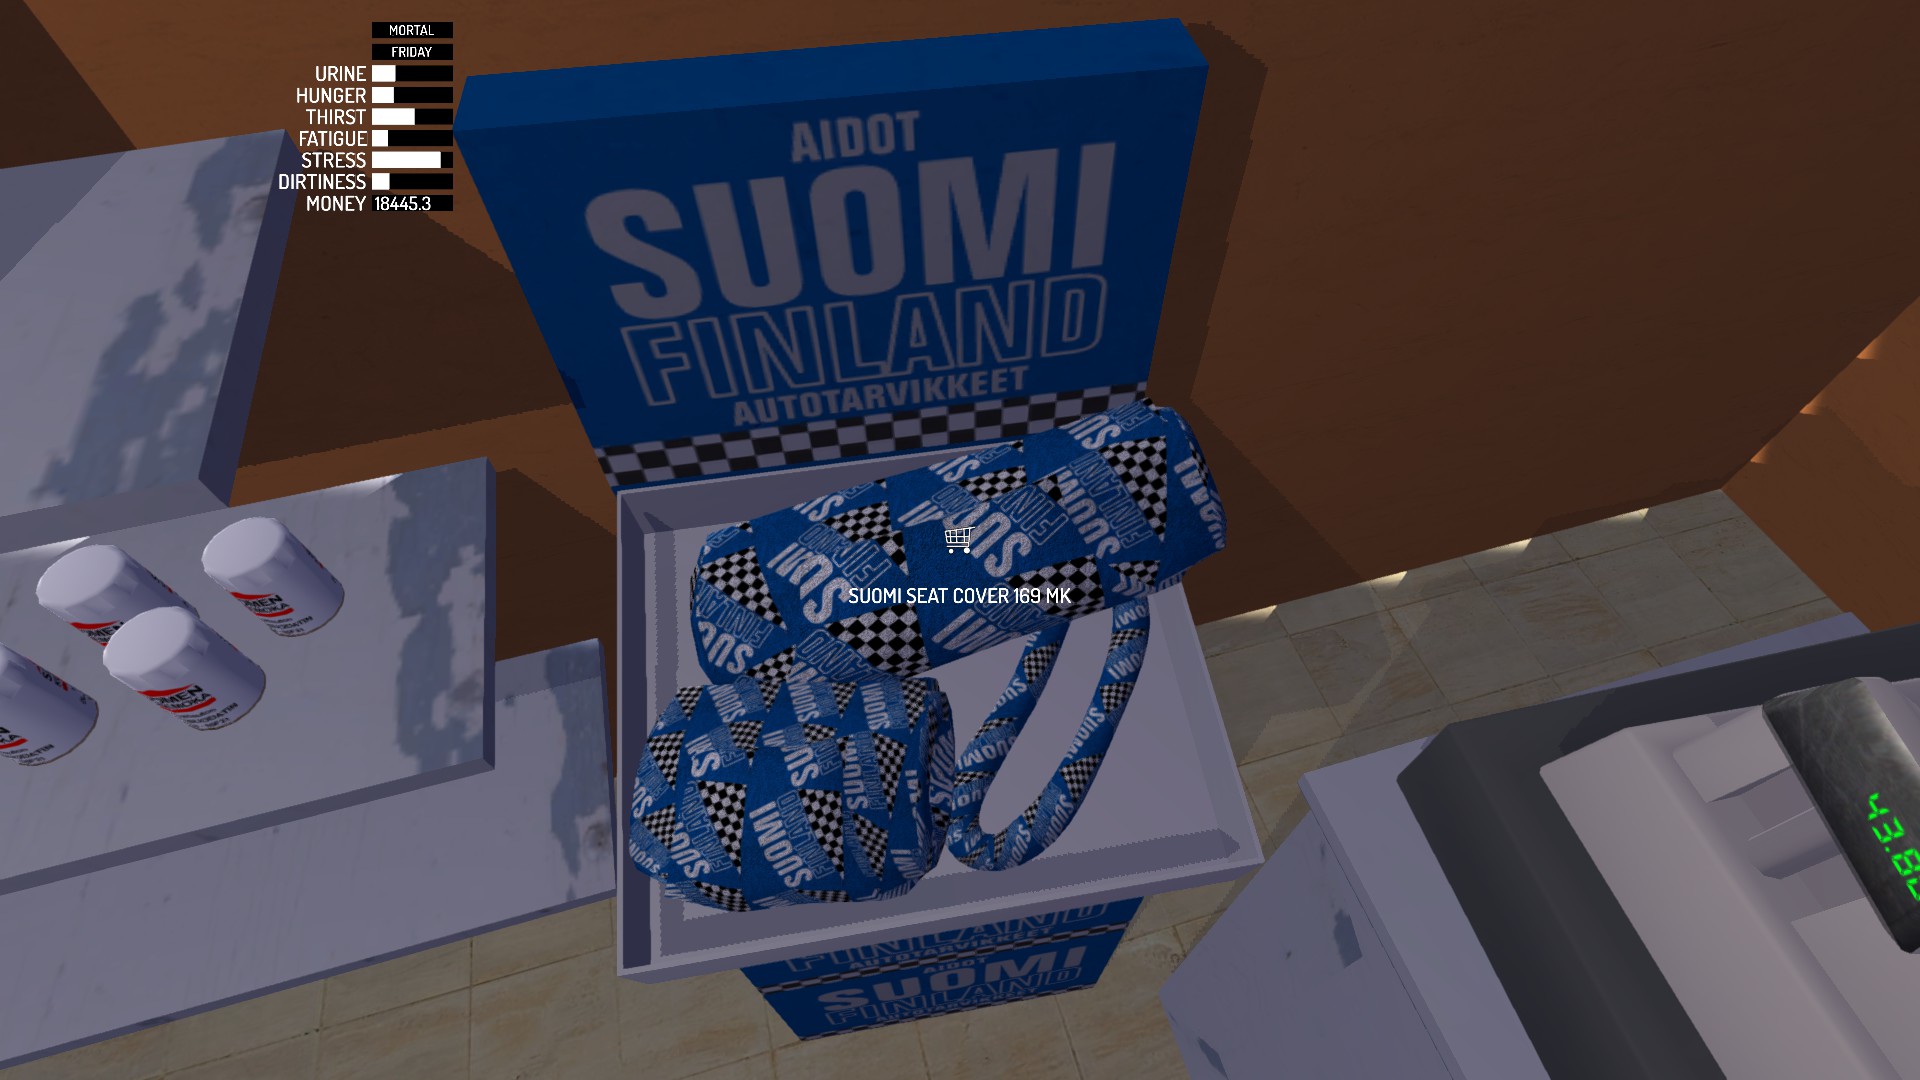
Suomi set.


§101 Twin carburetors, racing carburetors
Remove air filter: 6 mm × 2. You don’t need it anymore.
Remove stock carburetor: 8 mm × 4.
Twin carburetors or racing carburetors: 8 mm × 4.


§102 Steel headers
Remove stock headers: 8 mm × 5.
Steel headers: 8 mm × 5.


§103 Racing exhaust
Remove stock exhaust pipe: 7 mm × 3 (2 to the engine and 1 to the back).
Racing exhaust: 7 mm × 3 (2 to the engine and 1 to the back).


§104 Racing muffler
Remove stock exhaust muffler: 7 mm × 1.
Racing muffler: 7 mm × 1.


§105 Racing radiator
Remove stock radiator: 7 mm × 4.
Racing radiator: 7 mm × 4.
Open radiator’s cap with mouse scroll wheel.
Fill radiator with the coolant and close the cap.


§106 N₂O kit
N₂O injectors: 5 mm × 2.
N₂O bottle holder: 7 mm × 2.
N₂O bottle.
Adjust pressure[my-summer-car.wikia.com] with mouse scroll wheel.
N₂O button panel. Don’t turn it on when you are igniting the engine or if it is cold![my-summer-car.wikia.com]
You can refill the bottle at the Fleetari’s for 510 mk.


§107 Bucket seats
Remove front seats (2): 9 mm × 4 (each).
Bucket seat driver: 9 mm × 4.
Bucket seat passenger: 9 mm × 4.


§108 Sport steering wheel, rally steering wheel
Remove stock steering wheel: 10 mm × 1.
Sport steering wheel or rally steering wheel: 10 mm × 1.


§109 CD player
Remove radio from dashboard. It can be a bit tricky.
CD player.
You can switch radio channels.
For more authenticity you will need some Finnish music. Take your music files and convert them into *.ogg files. You can use FFmpeg[www.ffmpeg.org] or just find some online converter. Rename converted files like “Track1”, “Track2”, “Track3” etc. and place them into this folder:


Import the music into the game in the main menu.
There is also CD case in the kitchen. You can add up to 15 files on it. Do the same steps as for the radio, only this time folder is:

Additionally you can change CD and CD case covers (template is in this folder).
Open CD case with Use button and insert CD into CD player.
Switch between radio and CD.
You can also turn on next track or eject CD.
You can turn it off with scroll up.


§110 Subwoofers
Remove back panel.
Subwoofer panel.
Subwoofer left/right.


§111 Tachometer
Tachometer: 5 mm × 1.
You can change RPM at which red light starts to glow with mouse scroll. Default value is 7500 and it changes by 100. As for our


[imgur.com], scroll down 10 times.
Open the glove box and remove dashboard meters: 6 mm × 2.
Replace RPM gauge with clock gauge as we have tachometer now: 7 mm × 2.
Fasten dashboard meters back to the dashboard and close the glove box: 6 mm × 2.


§112 Fuel mixture gauge, carburetors tuning
Fuel mixture gauge.
Let’s tune our carburetor(s). If you have performance parts installed, you will want to have air/fuel ratio between 14.7 and 15.1. For stock parts you will want 14.[my-summer-car.wikia.com] As for stock carburetor or twin carburetors, it is easy to adjust them. Just take the screwdriver and turn the screw until you get desired value. Choke must be pushed in!
Racing carburetor adjustment[my-summer-car.wikia.com] is a bit more complicated. There are 4 screws instead of just 1. In-game value ranges from 10 to 22 and changes by .2. Scrolling up decreases in-game value but increases A/F ratio. Scroll each screw up at least 60 times (can be more) and then scroll it down 24 times exactly. This way you will have 14.75 A/F ratio. If you want some another value, turn each screw in unison. Scroll mouse wheel up to increase A/F ratio and scroll mouse wheel down to decrease it.
MSCeditor values:


§113 Extra gauges
Extra gauges.


§114 Fire extinguisher
Fire extinguisher holder: 6 mm × 2.
Fire extinguisher.
To use it, detach it with RMB, take it and press Use button, then hold LMB.


§115 Windows black wrap
Windows black wrap.
You can remove it with RMB.


§116 Fiberglass hood
Open and remove stock hood: 6 mm × 4.
Fiberglass hood.
Lock 4 hood pins with Use button.


§117 Front spoiler, fender flare spoiler
Front spoiler or fender flare spoiler.


§118 Rear spoilers
Rear spoilers.


§119 Fender flares
Fender flare FL/FR/RL/RR.


§120 Window grille
Window grille.


§121 Rally struts
Raise your car’s front with car jack or floor jack. Remove front wheels (2): 13 mm × 4 (each).
Remove steering rods (2): 12 mm × 1 (each).
Remove stock struts (2): 9 mm × 4 (bottom, each), 10 mm × 3 (top, each).
Rally strut FL/FR: 10 mm × 3 (top, each), 9 mm × 4 (bottom, each).
Steering rod FL/FR: 12 mm × 1 (each).
Wheels (2): 13 mm × 4 (each).


§122 Rally shock absorbers, long coil springs, rally coil springs
Raise your car’s back with car jack or floor jack. Remove rear wheels (2): 13 mm × 4 (each).
Remove stock shock absorbers (2): 12 mm × 1 (top, each), 6 mm × 2 (bottom, each).
Remove stock coil springs (2).
Long coil springs or rally coil springs (2).
Rally shock absorbers (2): 6 mm × 2 (bottom, each), 12 mm × 1 (top, each).
Wheels (2): 13 mm × 4 (each).


§123 Roll cage, final gear change
Remove rear seat: 9 mm × 2. If you won’t remove it by yourself, Fleetari will leave it near his shop.
Go to the Fleetari’s and park your car like this:
For the racing harness you will need the roll cage.
By changing final gear you will change acceleration and maximum speed. A higher value will make the car accelerate faster, but will decrease its maximum speed. You will want 4.625 for rally[my-summer-car.wikia.com] and 3.7 for 200 km/h achievement. Default value is 4.286.
Here are all Fleetari’s services.
Now wait until Fleetari calls you and take your car back. However, if you missed the call or he didn’t call and it has passed more than 1 day, you can just go and check if your car is ready. You are also able to paint the roll cage.
MSCeditor values:


§124 Racing harness
Racing harness: 8 mm × 4.
You can buckle up and unbuckle harness with LMB.


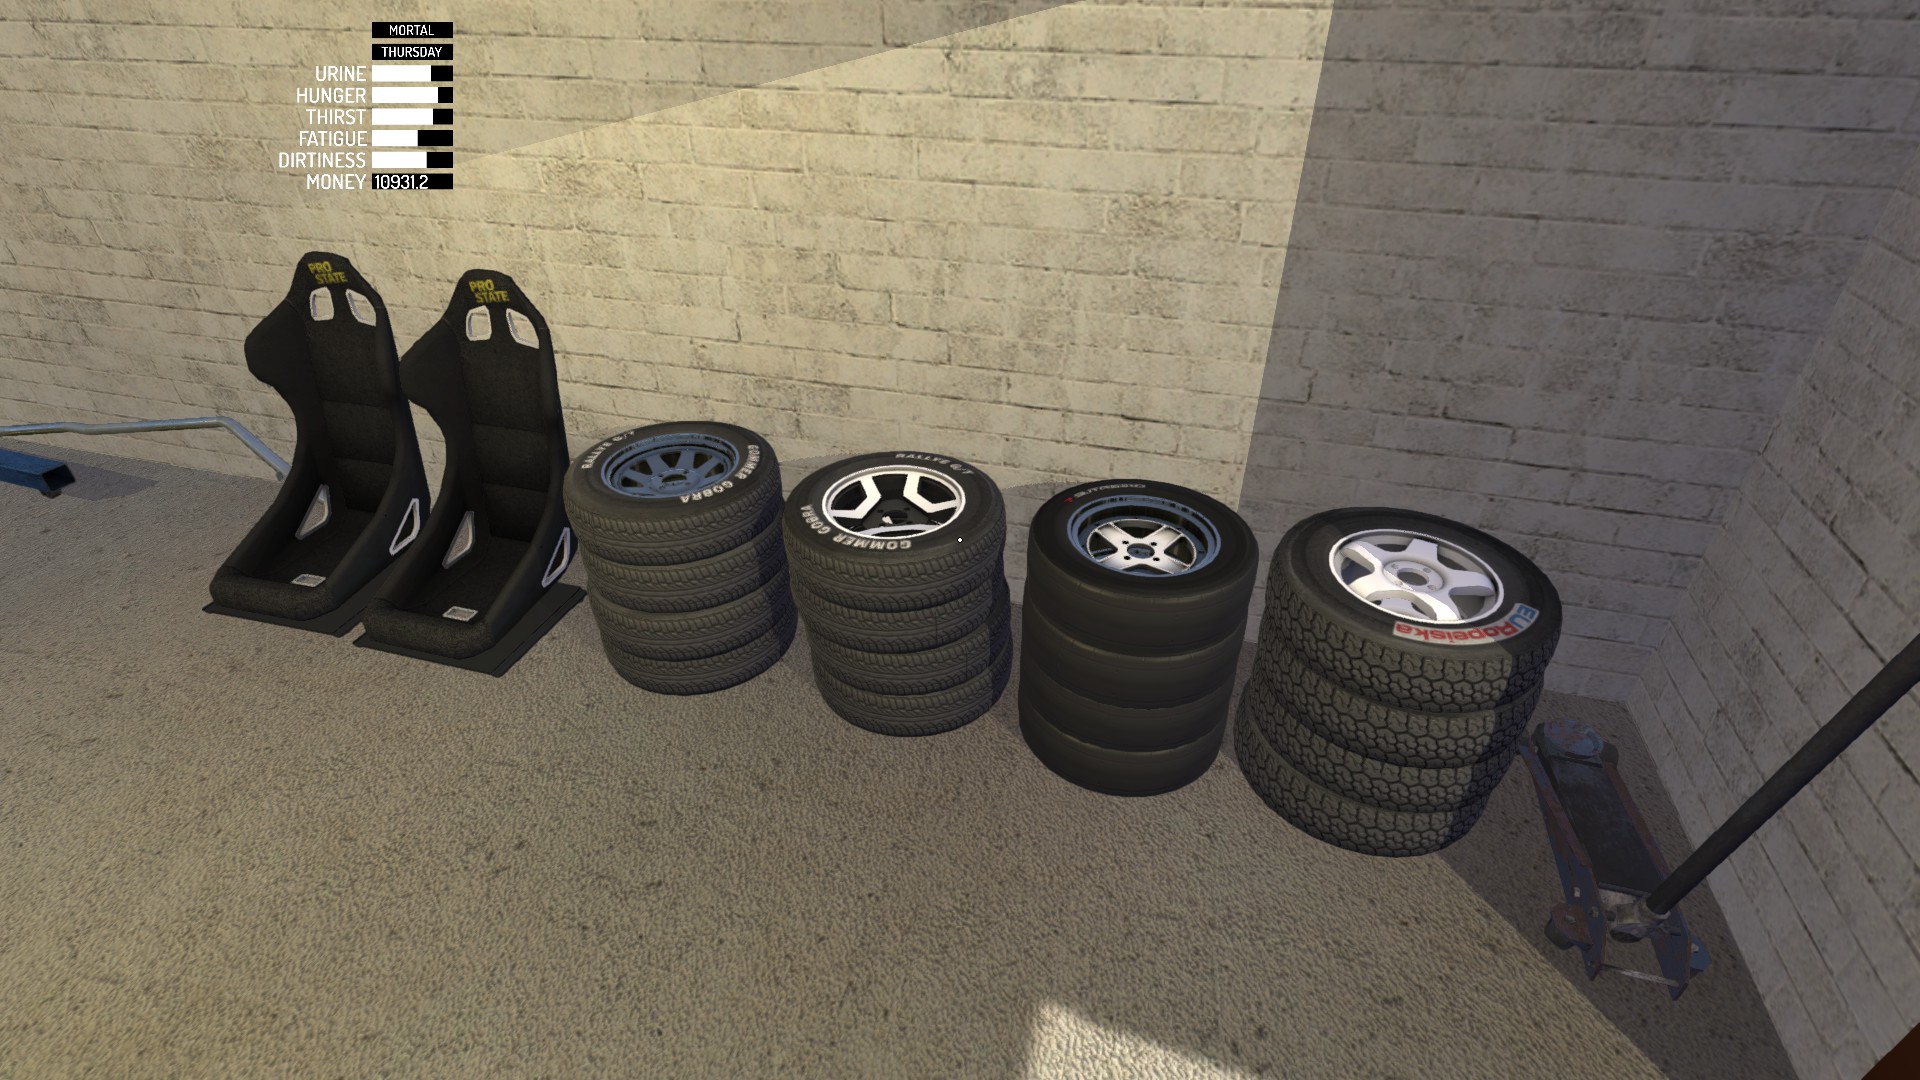
§125 Wheels
Replace wheels with desired ones: 13 mm × 4 (each).
Place spare wheel in the trunk. Notice that tire types differ in size.
This is how all rims look like.


§126 MSCeditor checklist
Feedback
Any grammar and typo corrections will be very appreciated.
I am not your personal mechanic and I don’t know how to fix your car. Use forums or MSCeditor instead!
If you really want to thank or support me, buy my game.
[link]