![How to change the start/new game & training course map [with pictures] for Half-Life](https://steamsolo.com/wp-content/uploads/2021/07/how-to-change-the-start-new-game-training-course-map-with-pictures-half-life.jpg)
Overview
This guide will show you how to change the start map in HL1 or your Half-Life mod.[MAKE SURE YOU KNOW YOUR MAP NAMES]
Step 1: Go to your Half-Life install folder
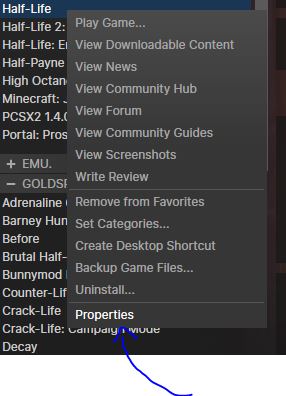
Right-click HL1 in your steam library and click on properties.
Now, go to the LOCAL FILES tab and click on BROWSE LOCAL FILES. The HL1 install folder should open. Find your mod folder (if you’re doing this with Half-Life 1, then find the “valve” folder).
Step 2: Open liblist (or liblist.gam)
[YOUR PC MAY NOT SAY LIBLIST.GAM, AND JUST LIBLIST, BUT WE ARE CALLING IT LIBLIST.GAM FOR THE SAKE OF THE GUIDE.]
You need to find your liblist.gam file and open it with Notepad, or Notepad++ etc. You should see this:

Step 3: Changing the map
[THIS IS THE PART WHERE YOU NEED TO KNOW THE MAP NAMES!]
In liblist.gam, you want to find (or add) the line

Step 3a: If you want to change the training course map:
In liblist.gam, find (or add) the line
and add your desired map with QUOTATION MARKS!

Step 4: Testing the changes
Now after saving liblist.gam, open Half-Life (or your mod) and if you changed the trainmap, start a new game on the Training Course, if you changed the startmap, start a new game on Easy, Medium or Hard. (if both, start both.)
Did it work? Tell me below in the comments!