Overview
Quite simple. OG made by Msushi!Go sub and watch his: https://www.youtube.com/watch?v=dfYjBOA4Ijs
.ZIP file needed:
You need to download this .zip file to make it work.
[link]Now continue on once downloaded.
Editing the .jpegs of the portal gun texture.
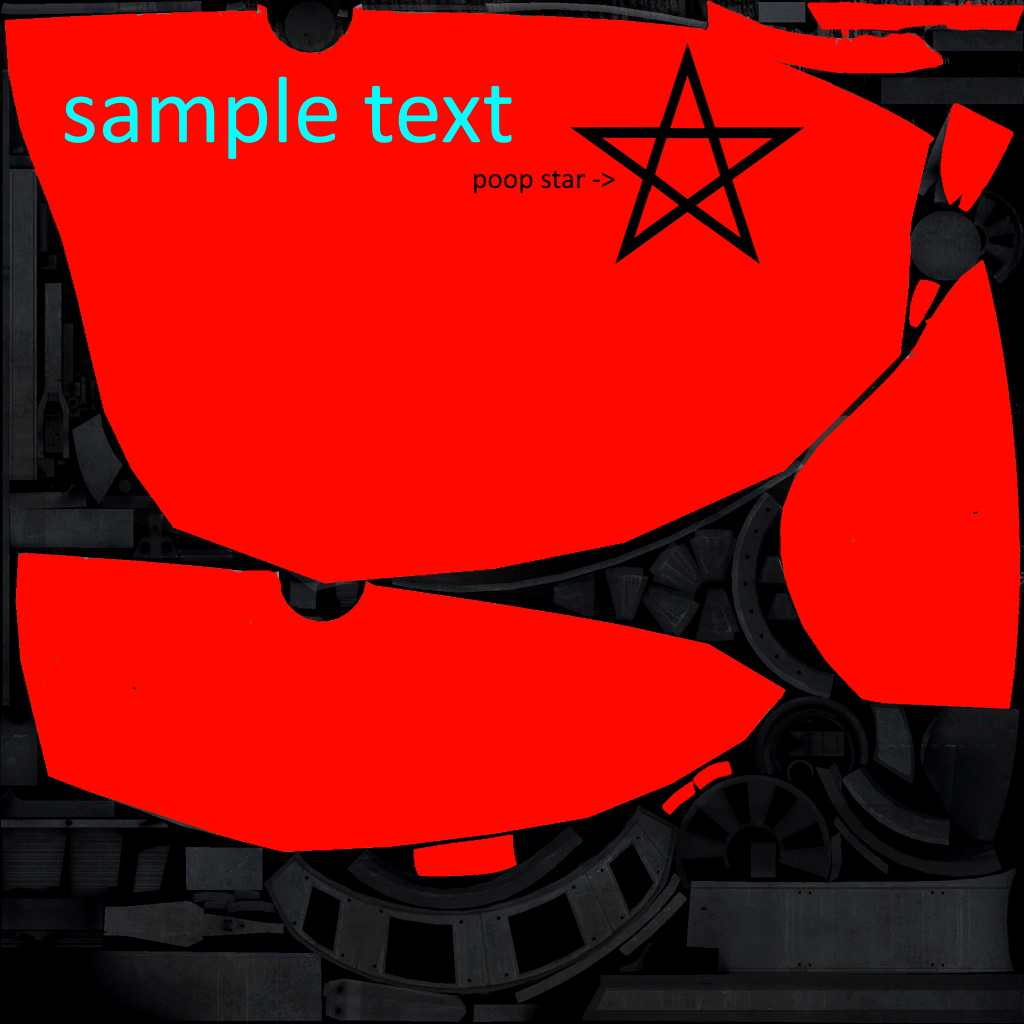
Open the .jpeg file called: v_portalgun .
Using your preferred photo editing app, (I personally recommend paint.net,) edit this portal gun texture to your heart’s desires. Add color, add text, design it however you like!
Don’t touch the black parts unless you know what you’re fully doing/want the black parts in the portal gun model to change color or be designed differently.
There are two other .jpeg files named v_portalgun_orange and v_portalgun_blue. These are the Co-op portal guns. These guns are not required to change (if you wanna change your portal gun skin) but can look cool if done right.
Once you got these, time to make them to a .vtf file, a specific type of file that Valve ganes use to properly read the texture.
Using vtfedit to convert your portal gun to a .vtf
You read last chapter that .vtfs are a type of file that makes it proper for Valve games to read. This step is simple.
In the folder with your new .jpegs, there is an application named “vtfedit125-11”. Open it up and go through the installation info and stuff. Then open this app, click “File”, then click “Import”, and not “Open”.
Select your (first) .jpeg, then click “File”, then “Save As”. Make sure to name the file the exact same as the .jpeg.
If you have co-op guns you wanna convert, do the exact same.
Placing the files into the last folder in pak01_dir and making it to a .vpk file.
Locate the “pak01_dir” folder in the Custom Portalgun Resources folder, the one you’re in right now, and open it in a new window.
Go through all the folders in it, till you locate the last one, which is empty.
Enter the .vtf file(s) in it.
Close that window.
Good. Now drag the pak01_dir folder into the “vpk” application.
Then you will obtain the pak01_dir folder made into a .vpk file!
Simple! But we aren’t done yet!
Finishing up.
Open Steam.
Go to Library.
Right-click Portal 2.
Click Properties.
Click Local Files.
Click Browse.
Then create a new folder named: portal2_dlc3
Put the pak01_dir.vpk file in.
Launch Portal 2!
It will go straight to a loading screen once the intro plays.
Wait for the bar to fill up with the blue dots.
Once the process is finished, the dots will turn yellow.
Once they have, press Alt+F4 and relaunch the game.
Boom! It’s in there!
Sound fix
If you experience sound loss once the textures load in:
In-game, make sure you have the developer console enabled (Options -> Keyboard/Mouse -> Allow Developer Console -> Enable)
Hit the tilde key (~) to open the developer console (this key is located to the left of 1 and above TAB on the keyboard)
Enter in the following console commands:
snd_rebuildaudiocache
snd_updateaudiocache
This should fix it!
ALL CREDIT TO MSUSHI!!
THIS COULDNT HAVE BEEN MADE WITHOUT MSUSHI, GO SUB TO HIM!!