Overview
Hello! Ive seen that a few people are unsure on how to create a banner for the game and I also couldn’t find a guide that showed how to do it. Not to worry! Ill show you the simple steps to take to create your own banner for the game!
Opening the Reference Image
Now the first thing you’ll need to do is open Photoshop or something similar. Don’t panic if you don’t have Photoshop! You can go on your browser and search [link] . It is very similar to Photoshop but doesn’t have some larger features that Photoshop has but this wont be a problem for what were doing!
Once it is open click “Open file”. When the file explorer opens navigate to C:Users[User]AppDataLocalLowLionShieldKingdoms and CastlesCustomBanners
Note: “[User]” will be whatever your computer has named it.
If you don’t see the AppData folder then click View at the top and then check Hidden Items

Once in the “CustomBanners” folder, you should see the reference image (banner_reference). Double-click it and it should open on your editor.
If you don’t see the image you can save it from here and then put it in the folder –
The fun part!
Now that you have it open in your editor you can now let your creativity flow!
You can put anything inside the banner but make sure that everything is inside the white section! Anything outside of it will be cut out.
For example, I have covered the entire image with another image.
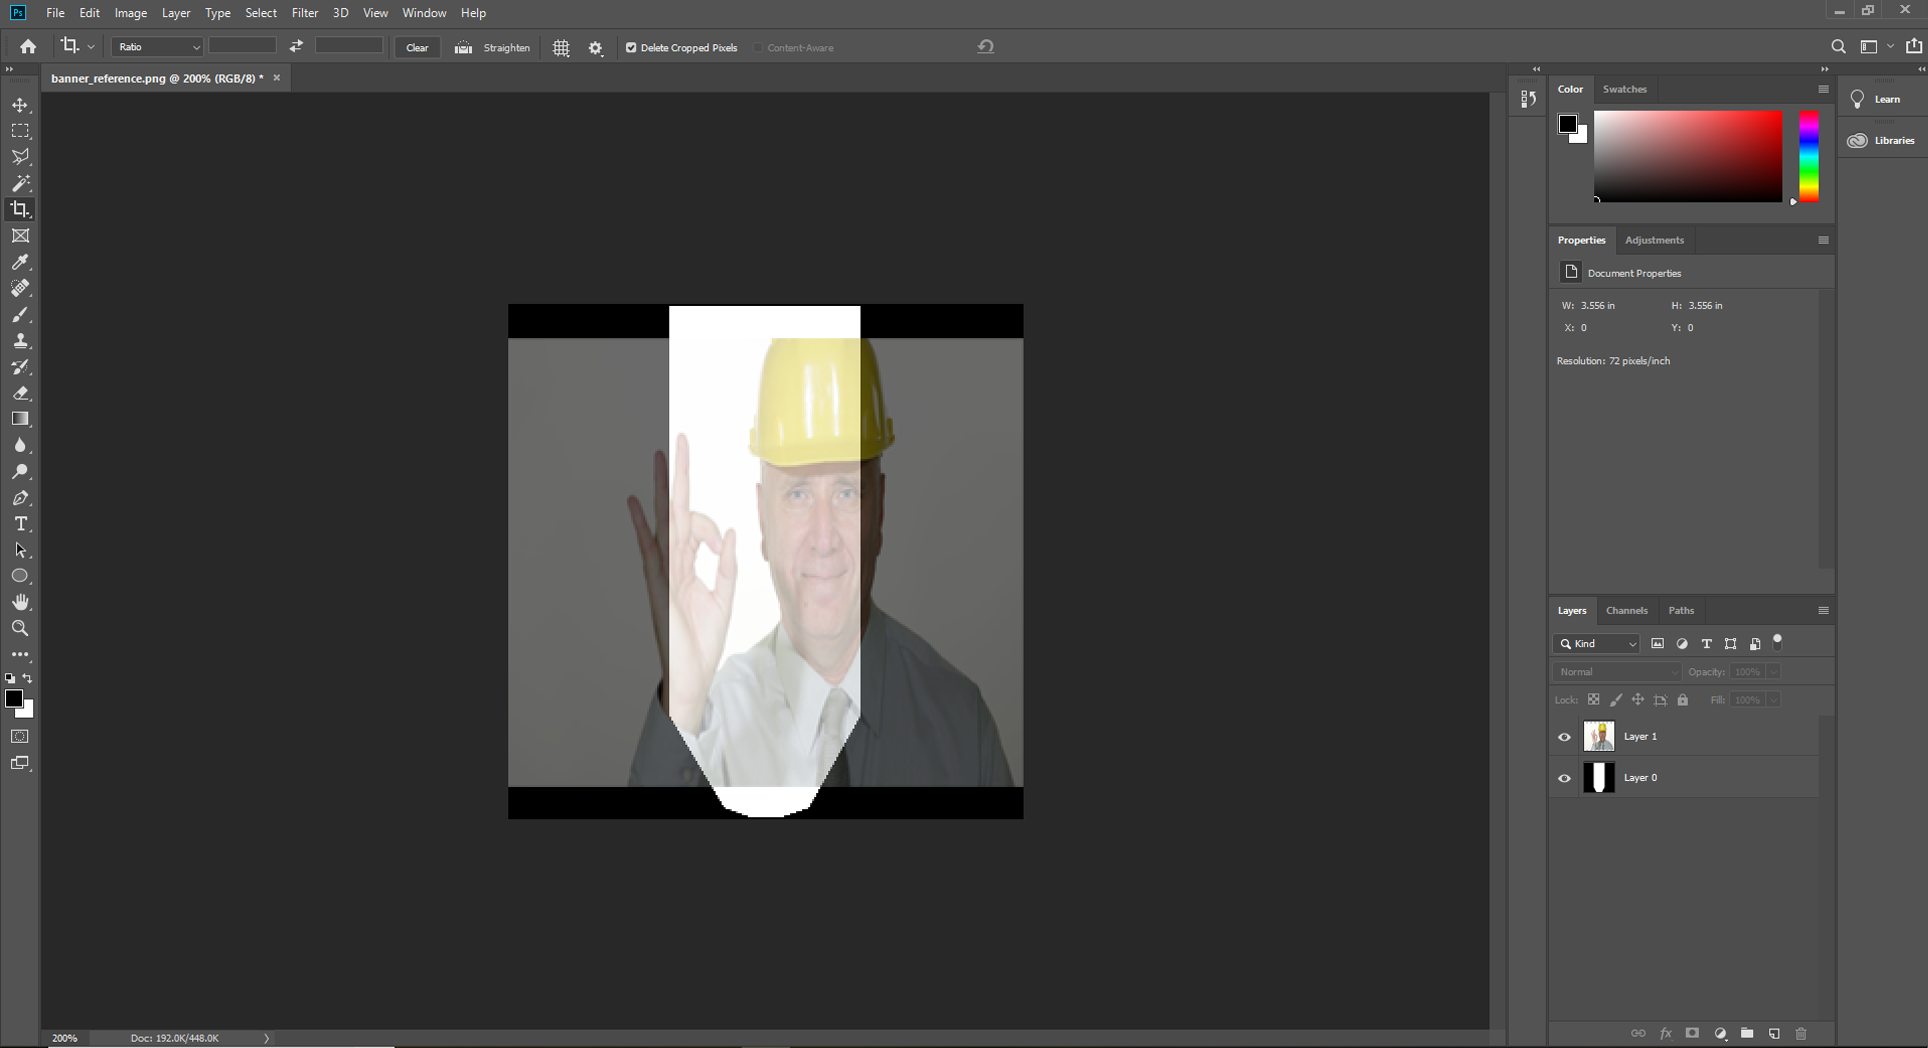

Here is one that I made that fits inside the white section.


When saving your banner, make sure you save it as a PNG and rename it so it isn’t banner_reference. Then save it inside the CustomBanner folder otherwise it will not show up on the list in-game.
Using your banner
Once you have saved your banner in the CustomBanner folder, you are now ready to see it in-game so open up Kingdoms and Castles!
When its all loaded, click “New” and select your mode and region. Now find the land you want to claim and click accept. Now you can name your kingdom and choose your banner!
To choose your custom banner, click the bar below “Custom Banner” and a drop down list will appear. Your banner should be there named whatever you named it when you saved it.
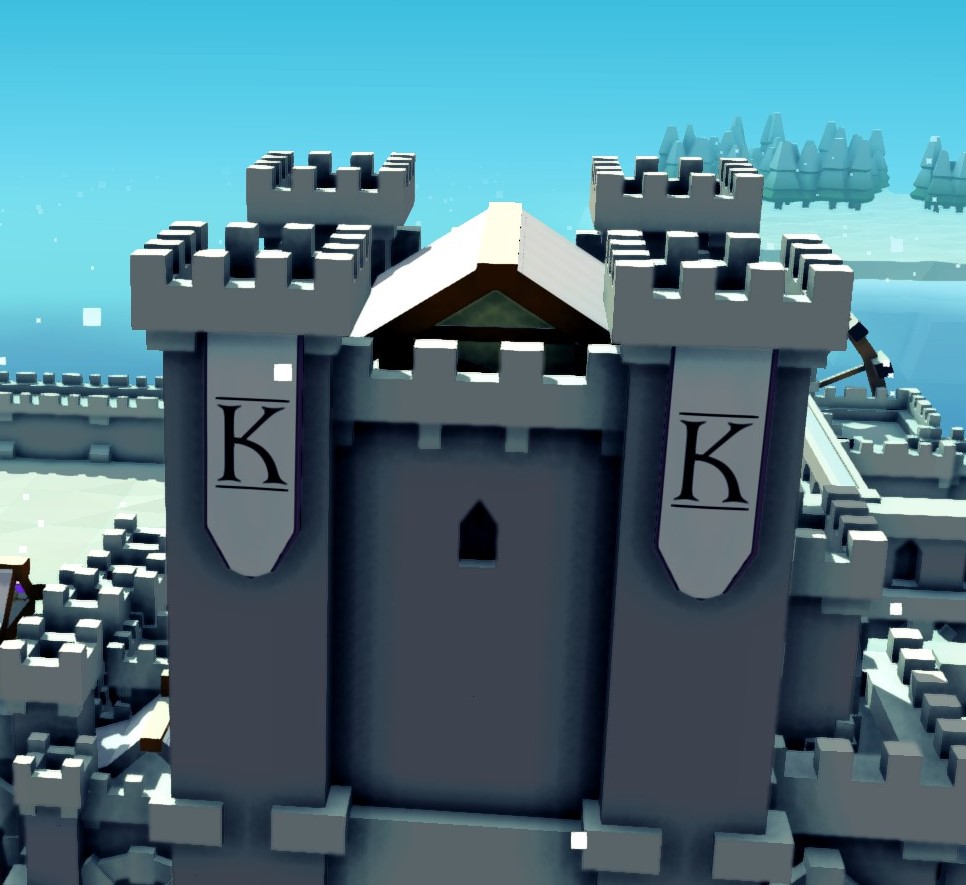
Click on it and it should appear below the bar. Once it shows up, click that banner that appeared and the banner on the left will now change to your banner! You’re now ready to start your game using your awesome banner!

Using your banner on existing save
After a while I did managed to figure out how to replace the banner for existing saves!
It is a little complicating but I will try my best to show you how to do it!
What I recommend doing is making a temporary folder on your desktop. Inside this folder, place the banner you would like to use.
Now navigate to C:UsersAppDataLocalLowLionShieldKingdoms and CastlesSaves . Here you should see some folder(s) with complicated names, these are your saves.
Now find the folder for the game you want to put your banner in. Don’t panic, if you want to use your most recent save then all you need to do is click “Date modified” so that the most recent one is at the top (normally “autosave” will be the top).

Ill be using autosave as it is my most recent.
Now before we go into that folder, copy it and paste it into the folder that you made on your desktop.
We do this just in case it breaks the save and makes it unplayable (it most likely wont but better safe than sorry).
Once you have done that, open the original folder (not the one in the desktop folder). Inside here, you should see three files; cover, summary and world. If your save is using a custom banner then you will also see “custombanner.png”. If you see this then you can delete it as you will be replacing it.
Now copy and paste your new banner from the desktop folder into this folder with the three files. If it isn’t called it already, rename the banner “custombanner.png”. Make sure you only have the four files in this folder.
You’re all done! When you load up this save your banner should have changed to the one you just made!

I hope this helped!
I really hope this helped you as I couldn’t find anything else on how to do this! If this did help, a like on this guide will be greatly appreciated!
If you have any problems please leave a comment and I will try my best to help!