
Overview
Step by step guide for getting a model from Blender to a in game weapon.
Setting up Blender
This guide assumes you have at least basic modeling skills in Blender.
As you would normally, start up Blender.
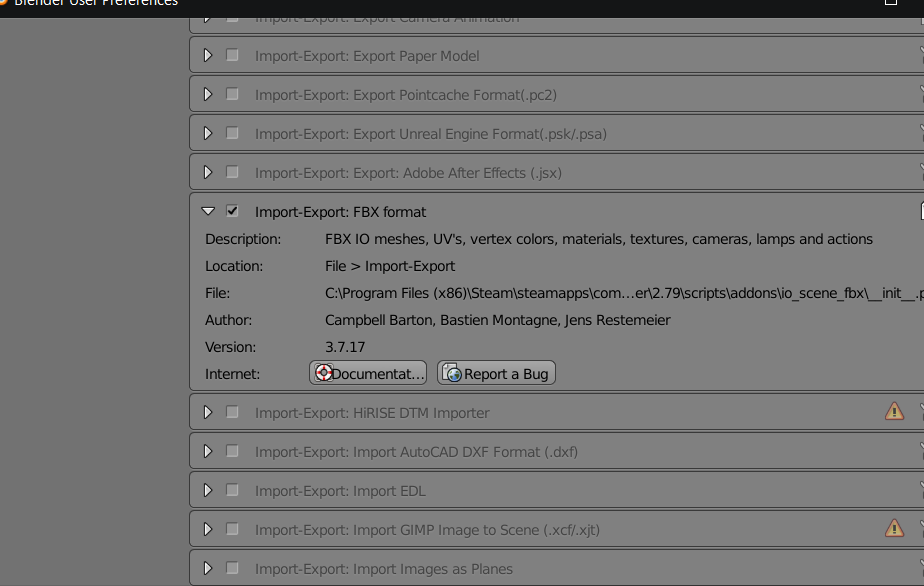
Make sure you have “Import-Export: FBX Format” Enabled under User Preferences->Addons.
Delete the camera, light, and pretty much anything else that will not be your weapon. You will not need these and may get in the way of importing. If you need to see your textures, turn on Enviornment Lighting under the World tab in the properties bar.
Now that your weapon is created, now to prep it for the modding tools.
If you have any modifiers used in your model, make sure they are applied. When converting from .blend to .fbx, these modifiers may be lost and mess with the final product.
Also note, your textures will need to either be a .tiff or a .png with a 24bitdepth. Anything else will cause the modding tools to throw an error. You will also need the texture files to be in a specific location, but more on that later.
Rotate your weapon so that it lays flat on the X axis. You’ll want the part where the characters grip the handle or grip to be at the world’s origin.
According to the official guide, 1 unit is supposed to measure 1 cm. With Blender’s default units, this does not feel accurate. Unless you can get the grid to match up to that measurement, I found it best to make a rough guess. You’ll be coming back to make minor changes anyway.
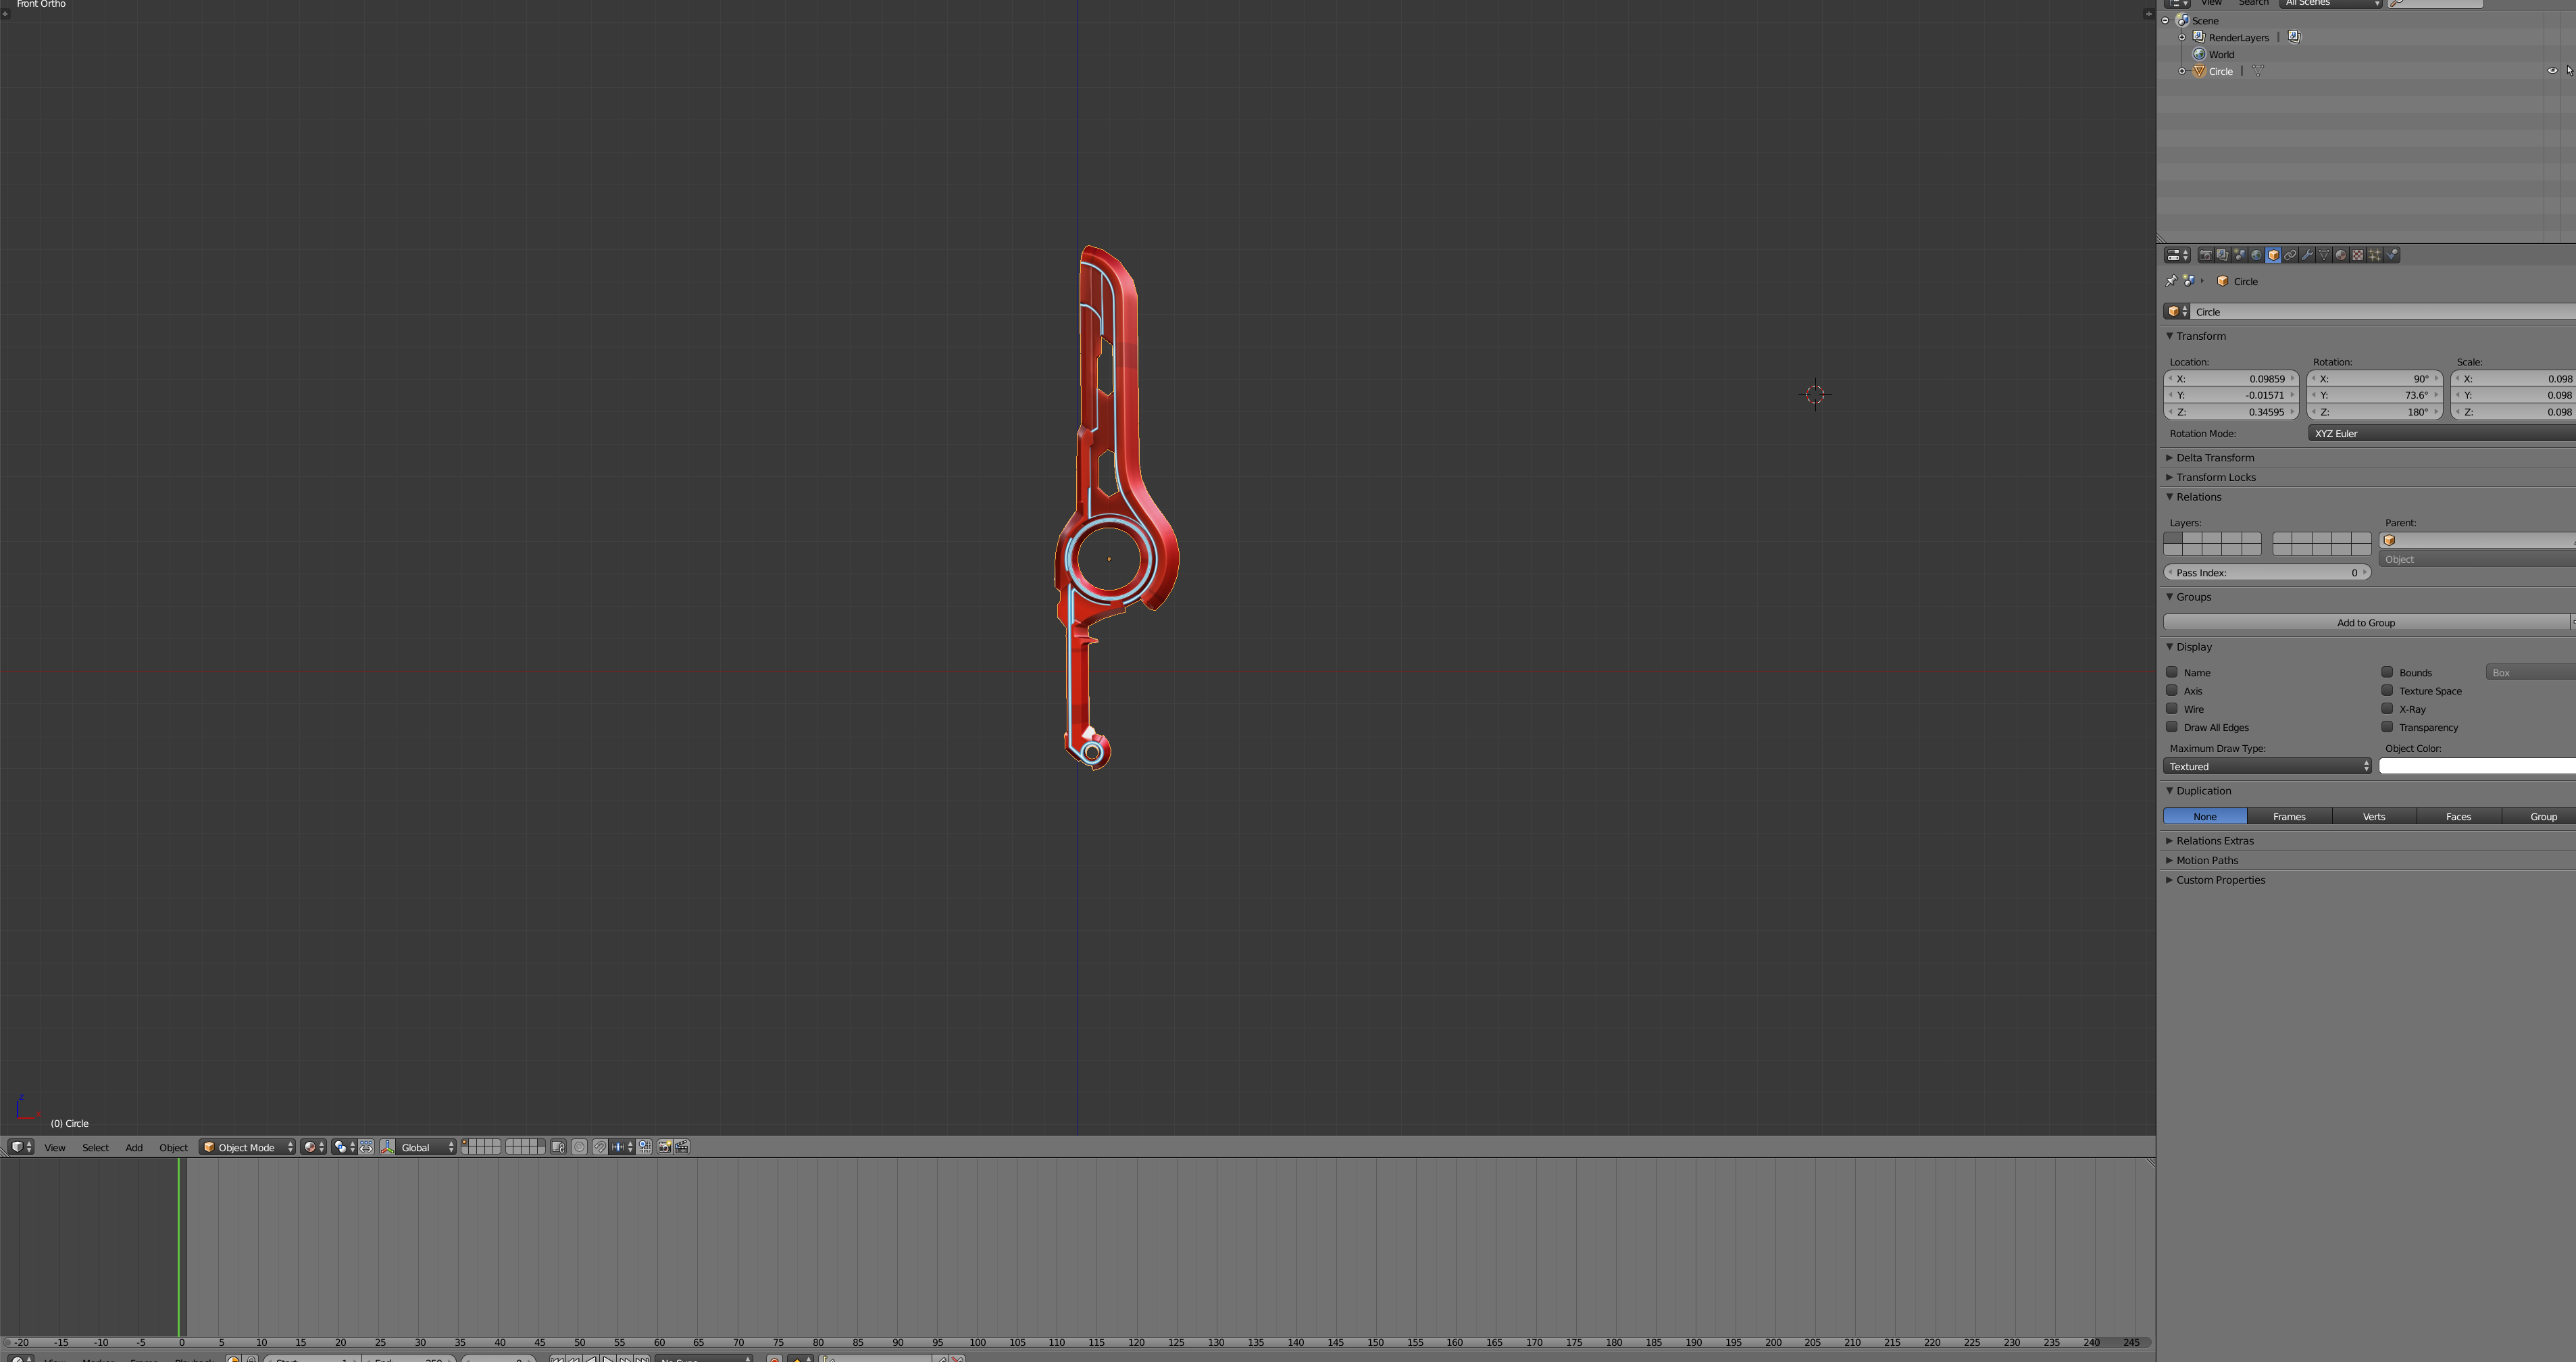
Next, you’ll need to create a single bone. This bone does not have to be parented or linked to the model. The tools simply use this bone to know where the characters hands go to hold it.
Make sure the bone is inside your model! Don’t worry about the length or size of the bone too much. Just make sure the base of the bone is where you want the weapon to be held.

You should be ready to go! However, do not export just yet. We need to set up the mod first.

Creating Your Mod and Importing Model
Create your project and select the “+ Create a new mod…” button.
You will see the following. Choose what you intend your model will be for.
Since we are making a weapon, choose either the Weapon Solo Play or Weapon Multiplay.

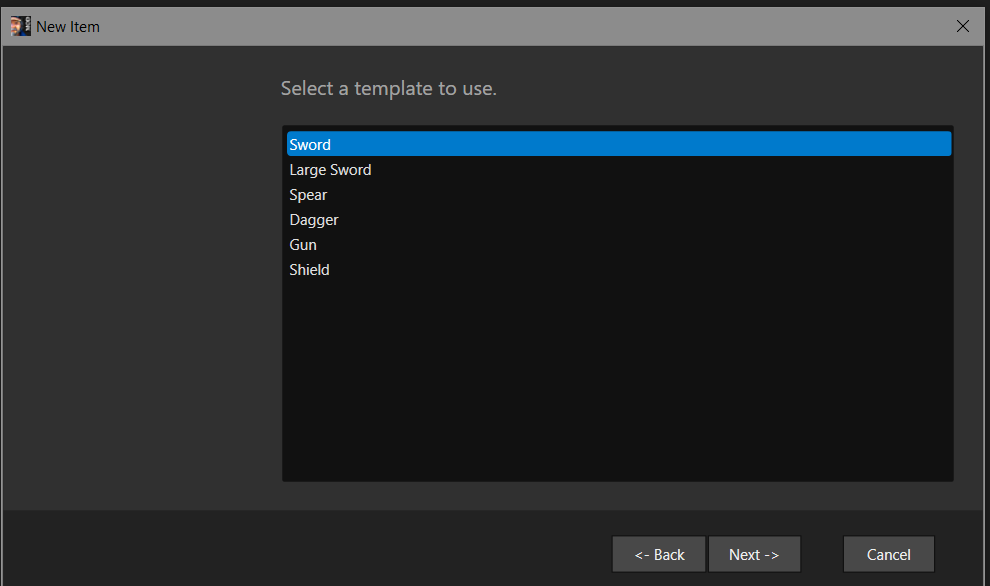
Next you’ll be taken to a list of weapon types. In my case, I’ll chose the Sword Template.
Simply fill in the appropriate Title and Description on the following page.
You should now see a new mod item in the center list. Right click that and hit Properties.
This screen should pop up.
The Title and Description on the left is how the mod will apear in the workshop.

You can click and drag an icon you want into the preview box in the bottom left. This will set the preview icon for both the workshop and in game.
Hitting “…” next to Model will bring you to the folder containing your assets.
Move all your texture files to this folder. Make sure, in blender, that your model’s textures are pointing to this location or it will not work. Now export the .fbx file here and select it.
“Weapon Name” and “Description” will be the name and flavor text that appears in-game.
Adjust the sliders to the values you want for this weapon.
Now hit apply and right click the mod item once more and hit build. If all went well, it should build successfully.
Final Steps
If the build was successfull, the mod should already be in your copy of FFXV. Launch the game, make sure the mod is enabled, and check out your finished product.
If the model is oriented incorrectly, go back to your .blend file and change the orientation of both the model and the bone. Re-export and rebuild the mod. You may need to do this a few times until you are satisfied.
If all is well, you are ready to publish! Right click the mod item one final time and hit Submit!
Final note: There is still a lot of quirks to the modding tools to learn, if you come across an important detail that I missed, feel free to mention it in the comments and I’ll add it to this guide!
Known Issues
Weapon is glowing in the dark/night.
A custom FBX importer/exporter plugin has been created and is available here.[cdn.discordapp.com]
How to install:
To install this fixed FBX plugin, do not unzip the file! In Blender > User Preferences > Add Ons there is a button near the bottom, “Install add on from external file.” Click that and point at the .zip.
Then still in Blender > User Preferences > Add Ons, make sure the FFXV FXB one is now enabled (ticked) and the standard FBX one is disabled (unticked).
When exporting, make sure the FBX type is set to XV FBX. The dialoge box for this should be on the bottom left on the export screen. (Where you choose to save the .fbx.)
Credit to Wim and Leonblade for coding the addon!
Error: Illegal/invalid characters.
Solution: You likely have some non-alphanumeric characters in your model/material/etc names. Remove those and try again.
Error: texture file not found
Make sure the files are in the mod asset folder. (And your model is pointing to that location)
If that still doesn’t work, your texture file may not be compressed properly. You’ll want LZW for .tif.
Error:” data://”
You have a space in the fbx name. Remove it and try again.
Error -1: you must assign a Material even if model has no texture.
Output error -o: check there are no alphanumeric characters in filepath (that means no spaces or _ in any file you’re using or in your Windows user name since that’s part of the filepath).
“SubmitItemUpdateResult=k_EResultLimitExceeded” error
Preview image is too big
A constantly updated list of errors and fixes can also be found here.
[link]