Overview
Hi guys! As many people liked my recently uploaded panorama I decided to share my knowledge of how to make high resolution screenshots and how to create a panorama out of them.
1.Graphic settings
Before we are going to make screenshots, we want to select the best graphic settings. We click on “Options” in the main menue and see the overview of the graphic settings available. I recommend at first to select “Very High” Graphic options on the left side:


2.Taking screenshots
When you have decided for an epic replay and loaded in you try to find a scene that looks really awesome in your opinion (remember we gonna create a panorama, theoretically you can create a 360° picture of the scene so being right in the middle of the action can be a good way too!). Press “k” to remove the HUD. You need to press pause then, so nothing is going to move(Pause need to be active the entire time you are taking screenshots or it won’t work). As important as having pause active is not to lose your point of turning! This means you are under no circumstances allowed to move the cursor to the sides of the display and also never press WASD during your progress. If you lose your point of turning you most likely never get it back and you can start making screen again as you won’t be able to create a panorama from screenshots of different point of turning!
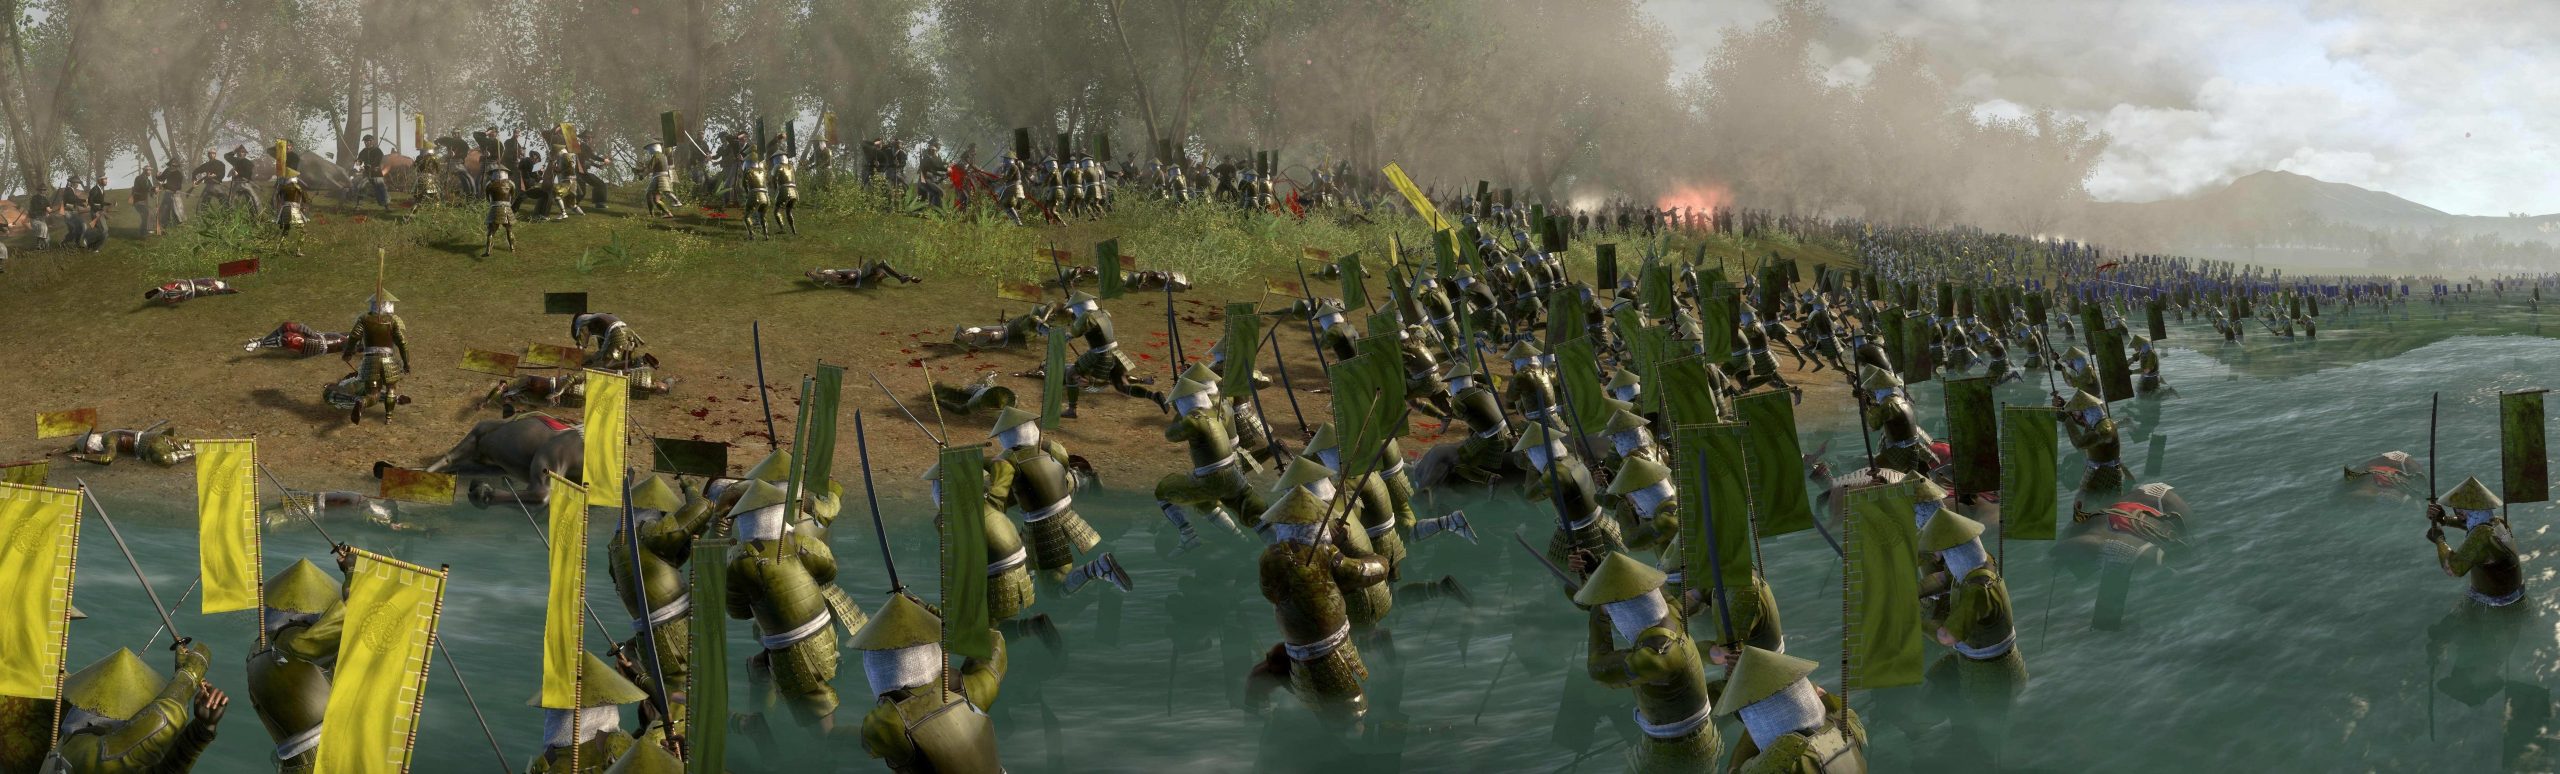
Warning: Don’t select a scene with long straight lines in the turning point of your panorama or it can look absoluty terrible as shown in the 2 examples below.
This is a picture of a custom map I am working on. Usually the wall is straight and so is the line of the attackers, but as it is a panorama it can look like this (btw. I worked over 300 hours on this ♥♥♥♥♥♥♥ map and its now officially over 1 year work in progress: shame on me! )


I have now decided to take a screenshot of this scene.


Overall you slowly build up a huge picture line after line with that method.
Warning: Don’t close your game now or lose your point of turning! This is really important if your panorama will have gaps and this most likely gonna be the case!
3.Creating the panorama
After taking many screens we want to create a panorama out of them now.
For that we need a special software that can create panoramas. Photoshop most likely is able to do it aswell, but either it cost you money or you need to get a cracked version. Since I am a loyal citizen of the law and I would under no circumstances ever commit a crime(*cough*), I decided to use a free and legally version of an old photoprogramme. You can download it for free from this website (the website is German as I am aswell, I don’t know if the programme after installation can also run in an English version):
[link]
As you will take many screenshots for a panorma and only want the right oney being merged into it, I recommend an extra folder called “Panorama screenshots” where you put in all of them. Really it helps alot to manage them all way better. You can find your Shogun 2 screenshots here:
C:Program Files (x86)Steamuserdata216084273760remote34330screenshots
(Depending on your Computer you maybe need to replace the C: with a D: )
Open now “Windows Fotogalerie 2012” and select “Panorama screenshots” on the left side.


Now it can take some time until the programme finished your panorama. And not seldom it can look like this:

Advise: Panoramas can take up a lot of storage space. If you want to upload them on Steam or Discord you are often limited to 8MB. Here is a link to a good picture compress page. When I used it I found my quality not getting worse while it more than halfed the storage space:
[link]

I hope you know now how to make nice panoramas on your own! Feel free to share your panoramas in the comments of this guide!