Overview
This guide will walk you through the process of defining your own regions in SimCity 4. With this knowledge you’ll be able to play with larger and/or unorthodox shaped region maps.
Changelog
- 5th January, 2013 – Posted
- 5th January, 2013 – Changed some vital information on colours in the config.bmp, updated some screenshots
- 10th January, 2013 – Typo corrected, fixed some grammer and formatting
- 12th January, 2013 – Formatting
- 10th March, 2013 – Added guide to Modding/Configuration category
Requirements
You will need a paint studio program such as mspaint, paintNET or Gimp.
Step 1: Create a region
The first thing you’ll have to do is run SimCity 4 and navigate to the region screen. Here, you’ll find the option to create a region. If you are unfamiliar with the process, here’s what you need to do:
1) At the top of the screen, click the highlighted button. On hovering over it, it will display the tooltip “Region View Options”.

2) Click the highlighted button. Hovering over it will dislay the tooltip “Create New Region”.

3) Give your new region a name. Choose either “Plains” or “Water” as your default terrain, depending on how you see your region developing. This choice is moot if you decide to apply a heightmap to the region, although I won’t be going in to that in this guide. Basically, if you are planning to create a giant landmass, it would require less terraforming if you select “Plains”. On the other hand, if you want your city/cities to inhabit a string of islands, choosing “water” would be a better idea.

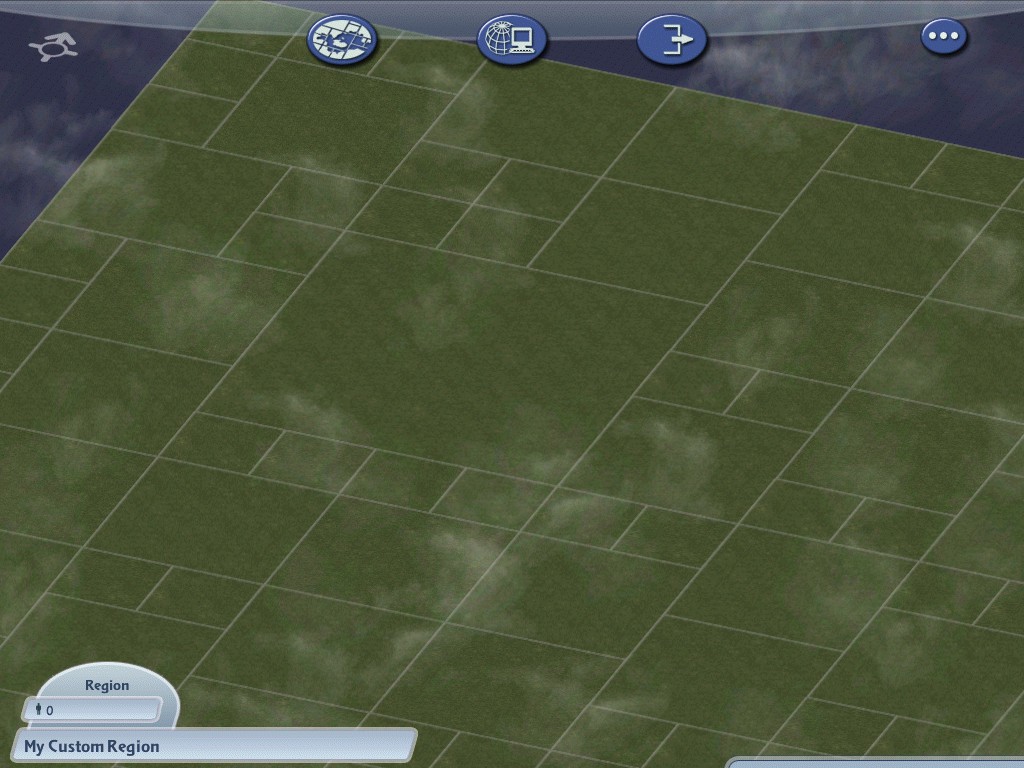
4) You will be presented with your new region, albeit with predefined zones. Now, with a little work, you can get on to customising your map.
Step 2: The “config.bmp” file
The next step requires you to navigate to your SimCity 4 custom data file. This is generally stored in your documents directory as opposed to the important installation files found in the “Program Files” folders.
If you are using Windows 7, you need only open your “Documents” folder, then find a directory labled “SimCity 4”, then open up the “Regions” folder. Inside you will find several other folders named after the regions that are currently available in the game. They will likely include “Berlin”, “Fairview”, “London”, “New York”, “San Francisco” and “Timbuktu”.
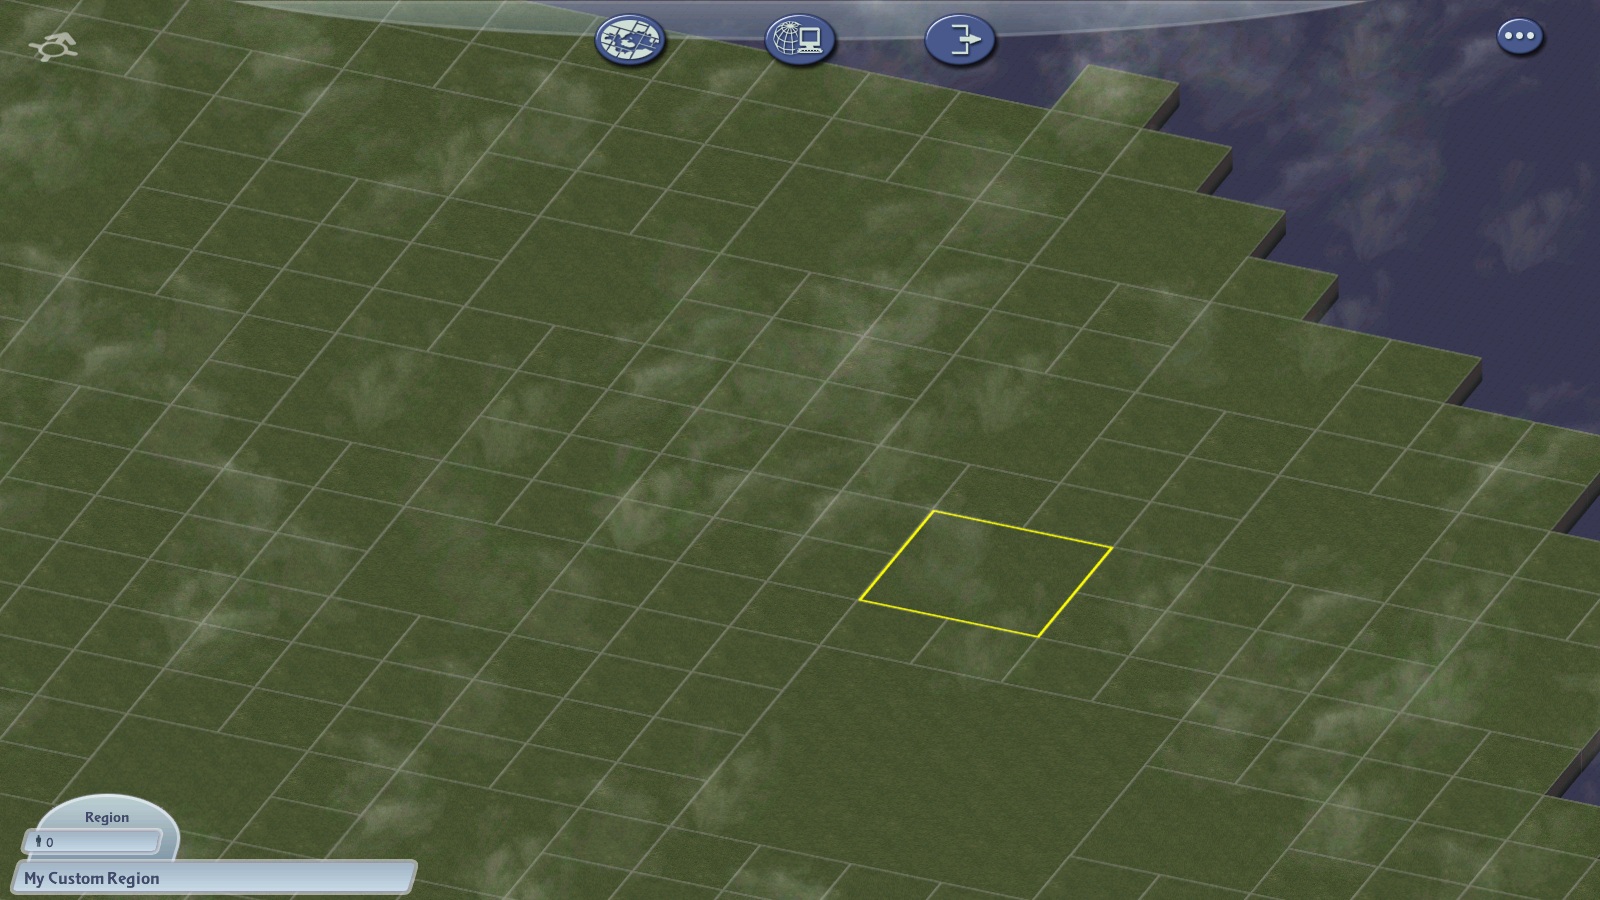
Also present should be your own region. Open up the folder to see its contents.

That little speck in the middle represents the layout of your region. If we zoom in, we can get a clearer look at it.

Put simply, the red represents the small 1km x 1km zones, the green represents the medium sized 2km x 2km zones, while the blue represents the large 4km x 4km zones. From this image, we can infer that this zone has a single large zone surrounded by a series of medium and small zones.

So creating your own region is a simple matter of editing this file. Which brings us to the next stage of this guide – opening up a paint program.
Step 3: Drawing up your region
One of the first things you may have noticed was that the config.bmp file is exceedingly small. That is, it’s 1km to 1 pixel. Also, by “counting” the red 1×1 pixels, you can see that this map in SimCity measures 16km by 16km.
In editing your config.bmp you must always remember to work to this scale, otherwise your region bmp will be unusable.
Indeed, you are free to increase the size of your region many times over, although remember that this may have a negative effect on your system performance.
The first step in working with paint involves locating your config.bmp, then right clicking, and choosing edit. Otherwise, simply import it into your paint studio of choice.
Zoom in as close as you can get and you are ready to begin editing.
The first thing you may want to do is resize the canvas.
In this case, doubling the dimensions to 32×32 pixels would be acceptable – particularly if you want to build on a larger than normal region.


NOTE that the image will actually be stretched, rendering this map unusable. 1x1s become 2x2s, 2x2s become 4x4s and 4x4s become 8x8s. As a matter of fact, this will result in a completely unusable map, and so we will have to begin right from the beginning and draw out the regions ourselves.
Of course, if you opted to simply edit the config.bmp without resizing, the same method from here on will apply.
As I have said, SimCity 4 uses 3 particular colours to construct a region – red, green and blue. In order for any colour to be recognised as red, green or blue, they need the relevant colour value to be set at 255. The bitmap we will be working with only saves in 16 colours, so it’s important to make them as saturated as possible. For example, a red should only have a RGB value of 255,0,0.
When you begin to edit your config.bmp, the first thing you should do is fill it completely with red. Enter the colour picker and define a colour that is R255, G0, and B0
This config file will give you a 32×32 map just like before (had it not been rendered void) except each region will be a 1km by 1km area.


The next step is to dot your .bmp with the larger green and blue zones. Like with the red, pick a pure blue colour and dot the area with as many 4×4 pixel zones as you think you’ll need. Remember to use the pencil tool rather than the paintbrush tool. You can opt to draw with a 4 pixel wide pencil tool by altering the brush size, but I always like to work by the pixel.
As you can see, I opted to place down two large regions.

Next, you can put in the green zones. Just like the two before, pick a pure green colour and begin dotting the bitmap with green.
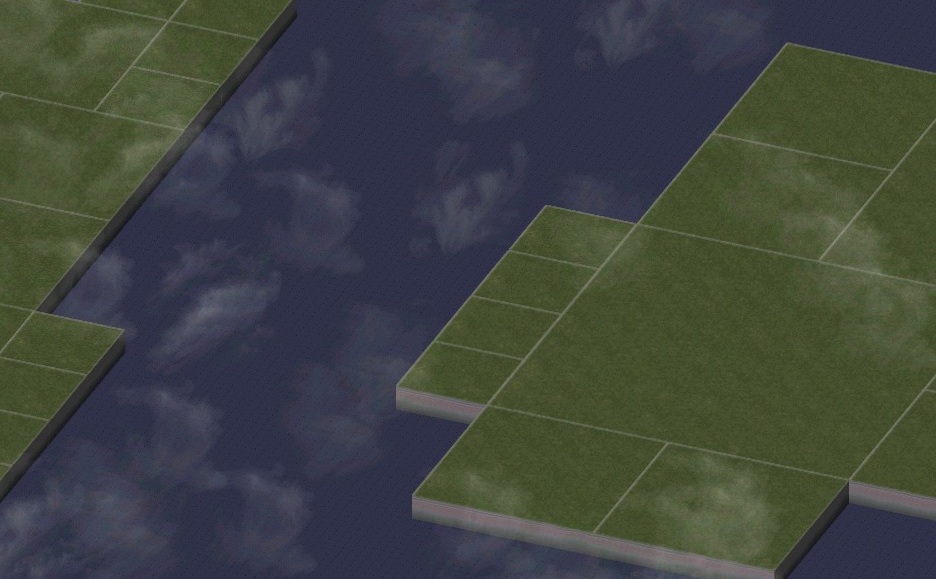
Finally, if you’re so inclined, you can use the black colour to crop freeform bits off your new region.
As long as you take care not to cut into any green or blue zones, you can trace whatever shape you want. In you do happen to cut into a blue or green zone, the whole zone will be considered void, and this will result in holes in your map.


Note the little red areas cut off from the black. In this example, I am imagining some sort of region with two seperate “overseas territories”.
It’s important to note that a green 1×1 pixel zone is invalid, just as a blue 2×2 pixel zone is. On the other hand, a 2×2 pixel red zone will be split up into 4 tiny zones, while a 4×4 pixel green zone will be split up into 4 medium zones. Any zone larger than 1×1 cannot intersect with another or both will be invalid.
Step 4: Finishing up
So now we’ve drawn up the config file, and saved it, all we need to do is ensure it’s in the correct directory. If you edited it where it was created (Documents>SimCity 4>Regions>[YOUR REGION], then you should be set. If however, you created the file from an empty bitmap and saved it elsewhere, ensure you plop it into this directory.
After that, simply open up Sim City 4 and load up your region.
Have fun making maps. And feel free to share your maps with me. I’d love to see them.


Edward.