Overview
How to go about designing your ships, and then getting started on building them.Less of a how to build a certain thing and more of a how to figure out what is right for me.
Intro
I am new to this game, but have been involved in quite a few similar games to this, where you get to design and build your own stuff. In the short time I have been in this game, I have seen some great examples of some player built stuff, and almost all of the comments under them are along the lines of “can you build XYZ for me?”
Now, realize that building a medium size ship in this game, with good looks AND good functionality, will take someone with experience about 40-50 hours of work. With that being the case, plan accordingly for your ventures into ship building.
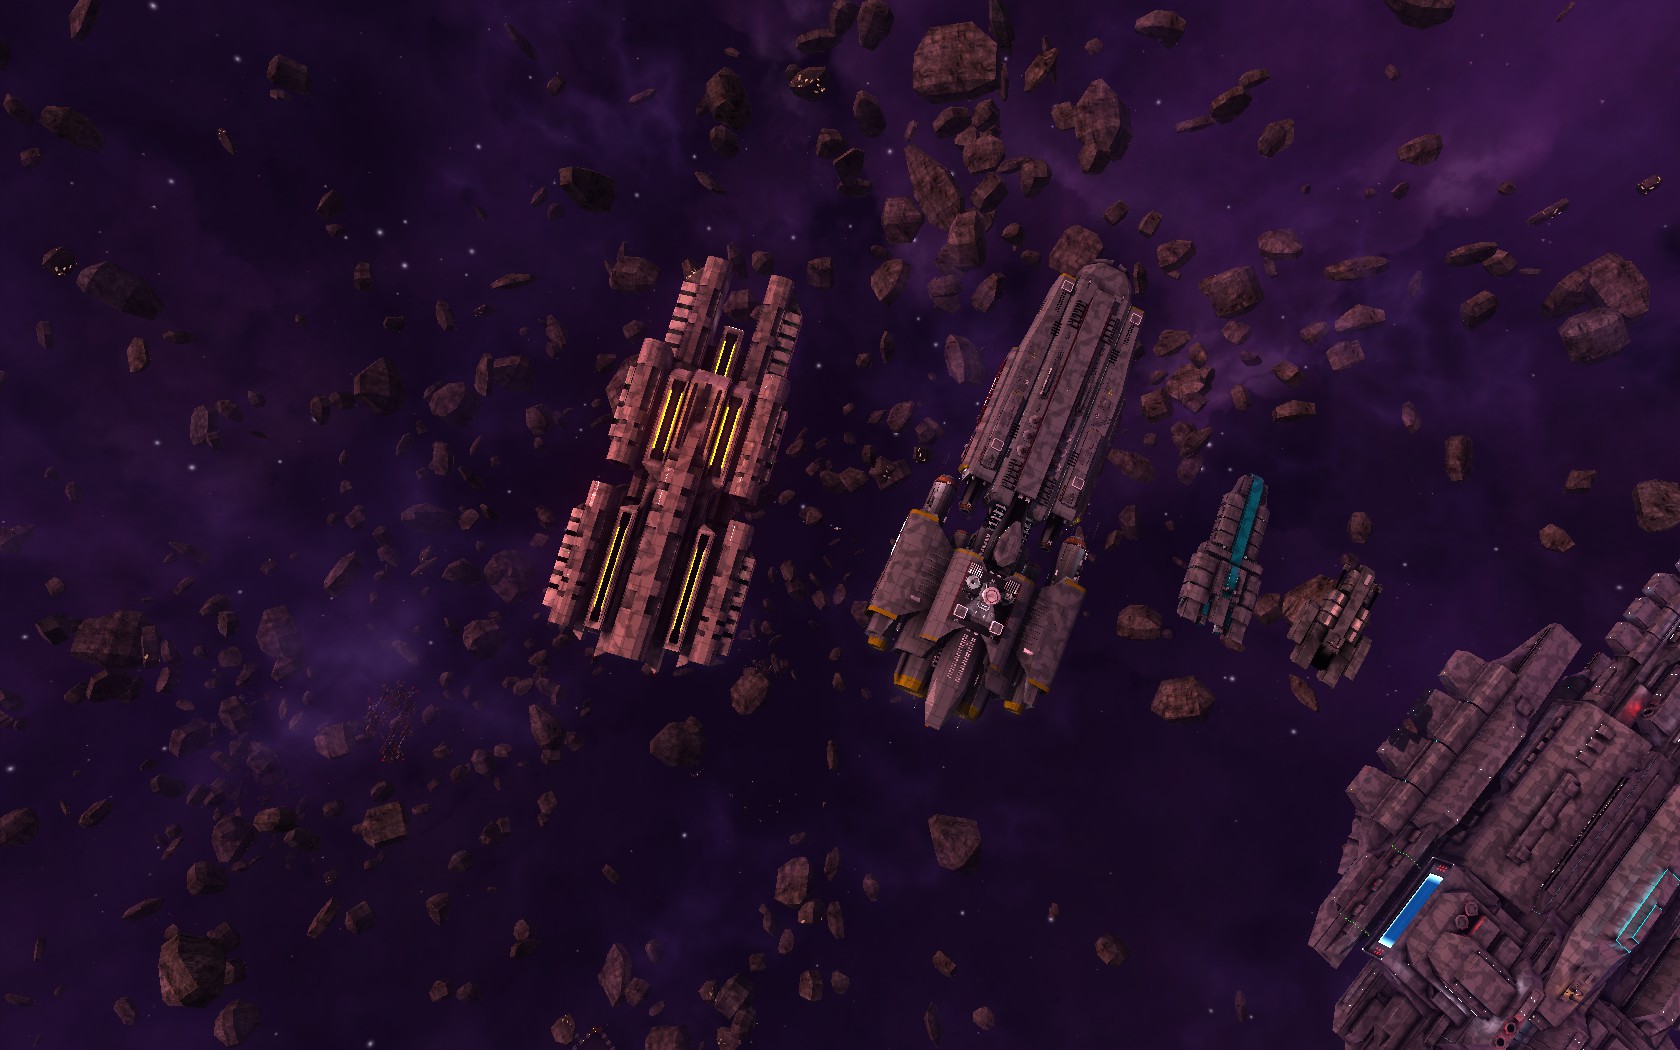
First, let’s look at a few examples. These are ones that people have posted, that I liked, and that I picked as they offer a good variety of small to medium/large sizes.


The big one that is mostly cut off is a 10 slot cruiser (Praetor-Class, by DerpSuper++). The tiny one next to it (3 slot Corvette) is a Pugio Light Miner (also by DerpSuper++). The other small one (with the teal stripe) is a 4 slot, and the two medium ones are both 6 slots. Slots are based off two factors – volume of the ship, and in the future the amount of computer processor you have (it doesn’t appear to work right now to increase the slots, although I do believe that is its intended function. It might be that the current effect is too weak, or that it is broken and it will be fixed in the future.) So, for now, you can just ignore that part, but I would plan on incorporating it in the future in your designs – so leave the space for it.
Design Steps
Step 1: The first part of the design process is to figure out what it is you want. To help with that, let’s ask a couple of questions:
How do you play the game?
How important is functionality? Looks?
What features do you need? Want? Like? Could care less about?
What functions do you want your ship to perform?
Jot down notes. You are the “user” and as such you need to really define what it is you are looking for. If looks are a lot more important than functionality (but you still need it to function) you need to understand that in order to meet your needs. If you are not clean on what you need, than you will likely have a hard time meeting them, and thus a hard time being pleased with y our own work.
Step 2: Check out what others have done! I like the work of DerpSuper++ and a few others. The Star Trek, Star Wars, and a few others I think look great, but my personal train of thought is that I am playing Avorion, not Trek Wars. Don’t get me wrong, I have tons of respect for the artists who make those ships; it just isn’t for me is all.
Now, to check them out, start a new private game in creative mode. You have unlimited money and materials. The one big issue you likely will encounter is the lack of certain bodies to staff some of your bigger ships. Commanders and Generals cannot (currently) be unskilled labor, and you can only have so many Lieutenants and Sergeants that are unskilled (I think 20 Serge’s and 9 Lt’s, but not 100% sure on those numbers). So, if you make big ships, you might have to jump around to get the crew to man them to really test out how they fly.
But, look at how they are made. The viewing filter is really useful for this. You can see specific parts of the ship, you can see where different materials are used. Compare many ships: big & small, fast & slow, etc. See what works and doesn’t work for YOUR style of play.
Also, play the game! Go out there and mine. Actually trade a little bit. Go pirate hunting. Just try out different things. See what works for you in game, and what doesn’t. Assuming, of course, that you haven’t been playing the game much already, that is.
Step 3: refine step 1! It sounds silly, I know. But trust me on this – go back to #1 and redo it WITH all the knowledge you have gained in #2. You might not do much revising, but chances are you will get a lot more detail than you had before.
Step 4: Brainstorm ways to make the features you want into the ship (or ships) you want. Do you want to run a fleet of medium & small craft to basically swarm a system, or do you want to go and have one large ship – that you control every detail of what is going on and when it is happening? Both can get the ‘job’ done, but both are very different ways of going about it. Be creative & try to see how crazy you can get. Say you have decided you want an 8-slot ship. Do you go with a sphere, dinner plate, box, or what shape? What do you want it to do? Mine – via mining lasers of via mining drones (fighters)? Lots of different ways. Best to list them out. Once you have them listed, try to narrow it down to 1-3 (max) ideas.
Step 5: prototype. You have to do it 2 different ways – one is the one you will likely hate – a sketch. Take that idea from step for and sketch it out. DON’T feel you have to be an artist. But, you really want to have a clue as to what you are aiming for. Do you want a sphere or a pyramid or what? The other way is in creative mode. Build the guts of a ship – and then fly it around a bit to make sure it moves the way you think it should. This can be ugly as sin – but if you want a ship that can stop on a dime, and yours takes 50km to come to a stop…. You have a problem that is much better to fix now than later! Really, test it out and put it through its paces!
Step 6: repeat 4 & 5 until you have a finished product!
How to build
OK, so now you have a solid product, that meats your goals. But, you ask, how do I actually assemble a ship? Well, that is what the rest of this is about.
Start with the inertia dampeners. I have found that using these as your “brakes” appears to be the best. I have been putting a big chunk just behind my starting block, and then using a couple long & skinny runs out to make the “keel”. You can also put in some temp blocks as parts of your keel as really, there is not “structure”, just blocks that will stick together automatically – as long as they have a connection point. Making a keel just gives you that connection point to start with & helps you lay out your ship.
Next, the heavy stuff – generators, batteries, living space, etc. Your basic system blocks. Try to get these as close to the center of gravity so you can really lock it down. You will skin your ship last, and that will also add a lot of weight. Doing so, however, you have to be careful about messing up the center of gravity so you can still rotate, pitch, and yaw as you want. Check the wiki page for the mass of each block – [link]
Gyro’s next. Make sure to make them double the stats of what you want your final product to have. You still have a lot of mass to add – and the stats will go down. Doubling seams to do a good job. Now, add in your Thrusters. Don’t forget to put some towards the front as well as the back. The front thrusters help a lot with your rotation & strafe stats – and I haven’t had enough time to do the math yet to see just how they do so, but trust me, they do.
Skinning your ship is last. This provides the armor you use not only for protection, but most importantly, what you ship will look like! This is where the art comes in, and this is what will take the longest to add to your ship and make it look good. You will spend 4-5 hours doing the guts, and then another 4-5 days doing the skinning, at least if you are me. The more you do it (and I am honest, I don’t do it as much as I would like) the faster it will come. A couple of tricks:
1) Cut & paste works. Ctrl+C and Ctrl+V work just fine. Even between ships.
2) Your skin should have some gaps between it and the ‘guts’ of the ship. That is fine! It helps keep the mass of your ship down, and thus improves performance.
3) You don’t have to do it all yourself! Like the skin on ship A’s engines – copy it! Just give credit where it is due if you really do copy someone else work.
4) Be careful of weak points. If you ship looks like the number 8, well, what happens if you accidently get the center x of the 8 blown up? Half your ship (and everything in it) will float away and be useless.
5) Use the color tools! You might not have shields NOW, but you can get them later! Put in some blocks, color them “neon hot pink” or something that makes them stand out, and you can always change the blocks later on when you get the right mats. This also helps to keep systems straight. Is that block a thruster or is it a dampener…. Oh, wait, all the dampeners are blue and that is green, so it must be a thruster! Your skin will hide most of these, so no problems! And, they might point out gaps in your skin that you might have missed otherwise.
6) Save. Save a lot.
7) If you are trying to combine parts of two ships, you will be saving a lot, and opening up copies of the two ships you are merging and doing a lot of cut & pasting. You can do it, and for skinning for those who don’t have a lot of practice, it can make life easy (although, really, practicing making it yourself is what I would suggest, as that is the best way to get comfortable doing it all the time, and it is a lot faster than C&P.
8) I tend to start at the front of the ship and work my way back. I am clumsy so I tend to put extra armor in the front and want to make sure not only does it look right, but that it functions well in case I hit that asteroid. I know others who start at other places and work out from there, and others who just hop around a lot. Do what works best for you.
9) There are lots of specific ways of doing parts; most of which you will see as you take other folks ships apart and see what they have done so you can copy. Angled plates are lots of small triangle parts, for example. Here is another one that I came across – how to do thin circular dome shapes (think USS Enterprise or Millennium Falcon) [link]
Round blocks: [link]
Setting down a keel: [link]
Modular Construction: [link]
If you have a specific thing you are trying to do, spend a bit looking around and chances are you will see it or a how to do it.
Naming Ships
I prefer to name ships based off naval units, and the way the game works, based also off of the number of slots available to the ship. As mentioned above, there are computer parts that say that they will increase the number of slots – but from my (abet very limited) experience they do not appear to work well. Really, I would skip it myself unless you are just sooooo close, in which case a little bit may be what you need. So, slots = volume (for the specific size, see the wiki [link] )
So, this is how I am breaking it down:
Slot 1-2 – Sloop / Cutter / Patrol Boat (PB)
Slot 2-3 – Corvette (K)
Slot 3-4 – Frigate (FF)
Slot 4-5 – Destroyer Escort (DE)
Slot 5-7 – Destroyer (DD)
Slot 7-8 – Light Cruiser (CL)
Slot 8-10 – Cruiser (CA)
Slot 10-12 – Battle Cruiser / Assault Cruiser / Armored Cruiser (CB)
Slot 12-15 – Battleship (BB)
Carriers are a different breed. To say something is a carrier is to imply that its main function is to carry fighters INSTEAD of guns. I haven’t played too much yet with them, so I am not sure of the effectiveness – but fun wise I think I will stick with my guns. I am sure I will make some later on to try them out.
Slots 7 or less – Light Carrier (CVL)
Slots 7-13 – Carrier (CV)
Slots 14-15 – Assault Carrier (CVA)
Overlap is intentional. What might be one navy’s Destroyer is another’s Light Cruiser. That is cool. This is just for fun, after all, and should be fun. If you don’t like how I am breaking it down, don’t use it!