Overview
The part one of my already-existing Guide on how to build real-world cities in Cities: Skylines at the easiest way possible while retaining its accuracy to the real-world versions.Many requested for this guide to be created, but due to me building many Philippine cities per week, I don’t want to rush it as it’ll look bad so I had to complete all my remaining cities before I finally started working on this guide.NOTE: As I always build Philippine cities in this game, please expect all screenshots and videos on the guide below to be from the Philippines. If you are interested, feel free to search the city’s name on Google. It’s a single-click, don’t worry with wasting time.
Step 1: Downloading the map terrain
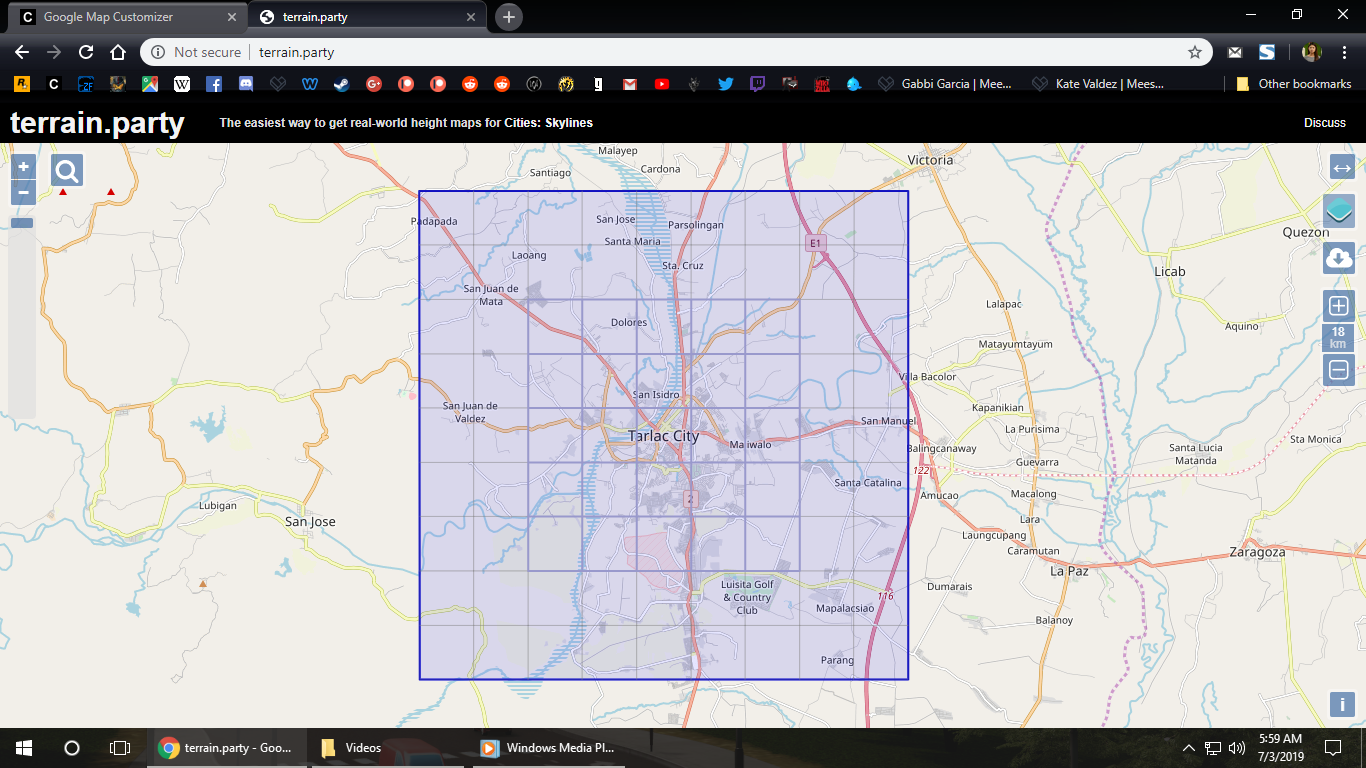
Step one would be opening your internet browser, and go to terrain.party[terrain.party], and from there you can select which city you want to recreate into Cities: Skylines.
We’ll be using Tarlac City[en.wikipedia.org], Philippines as an example.
Now download the terrain, but do not move the square box or close the tab, as we’ll going to use that square box later to perfectly align the overlay image.
Step 2: Downloading the overlay image
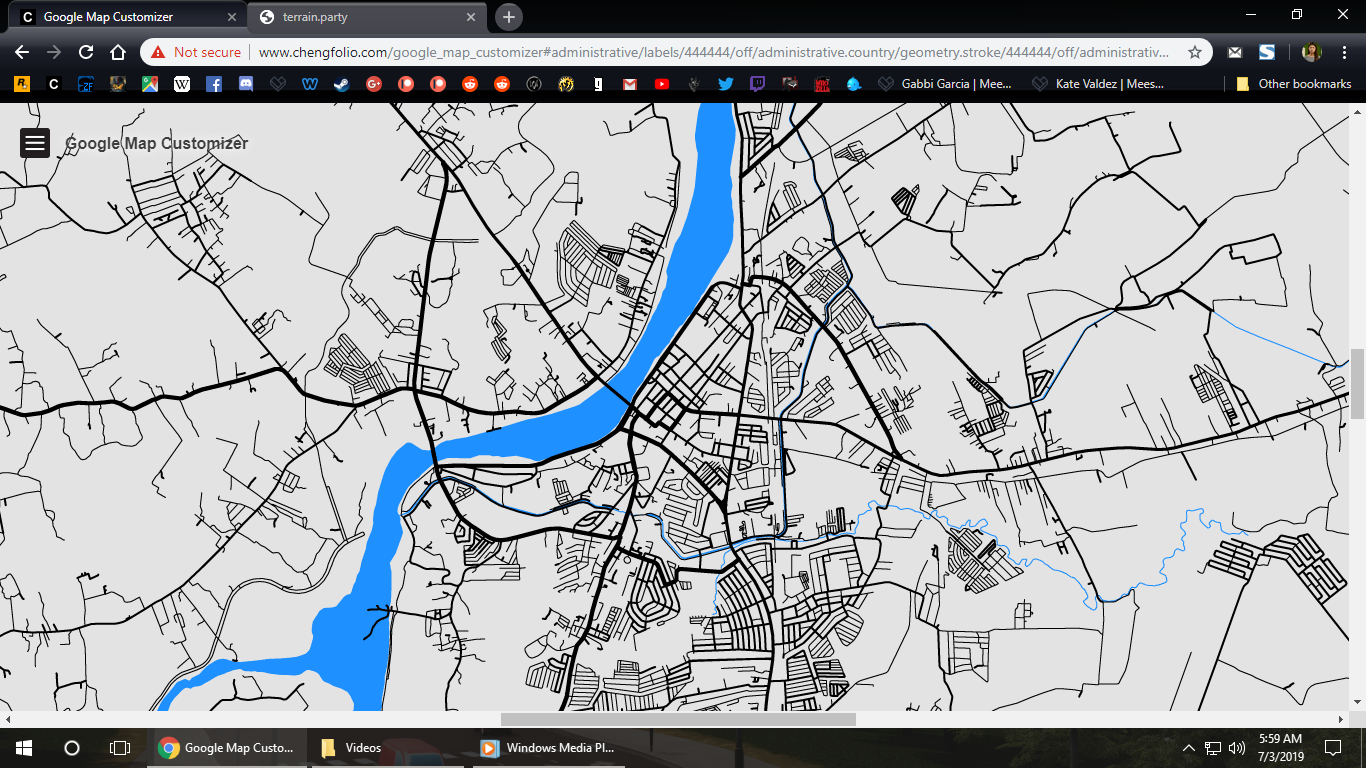
Open this website on your browser[www.chengfolio.com], where you can customize your overlay images with the use of hex colors.
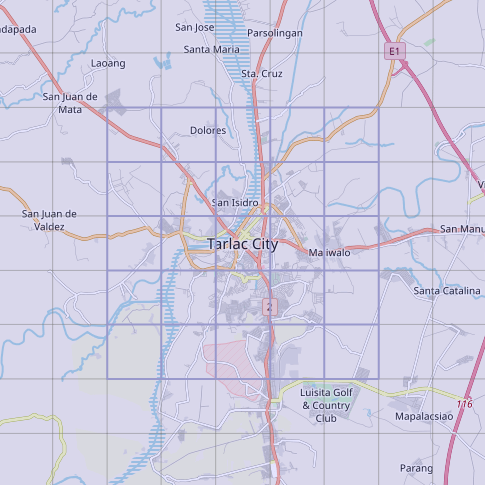
Now go to the location of the city and make sure the center of the overlay image is on the exact location of the first starting tile.
Resize it to 5,000×5,000px.
On this image below, you will notice that the center tile is on the city center, so focus the overlay image there.
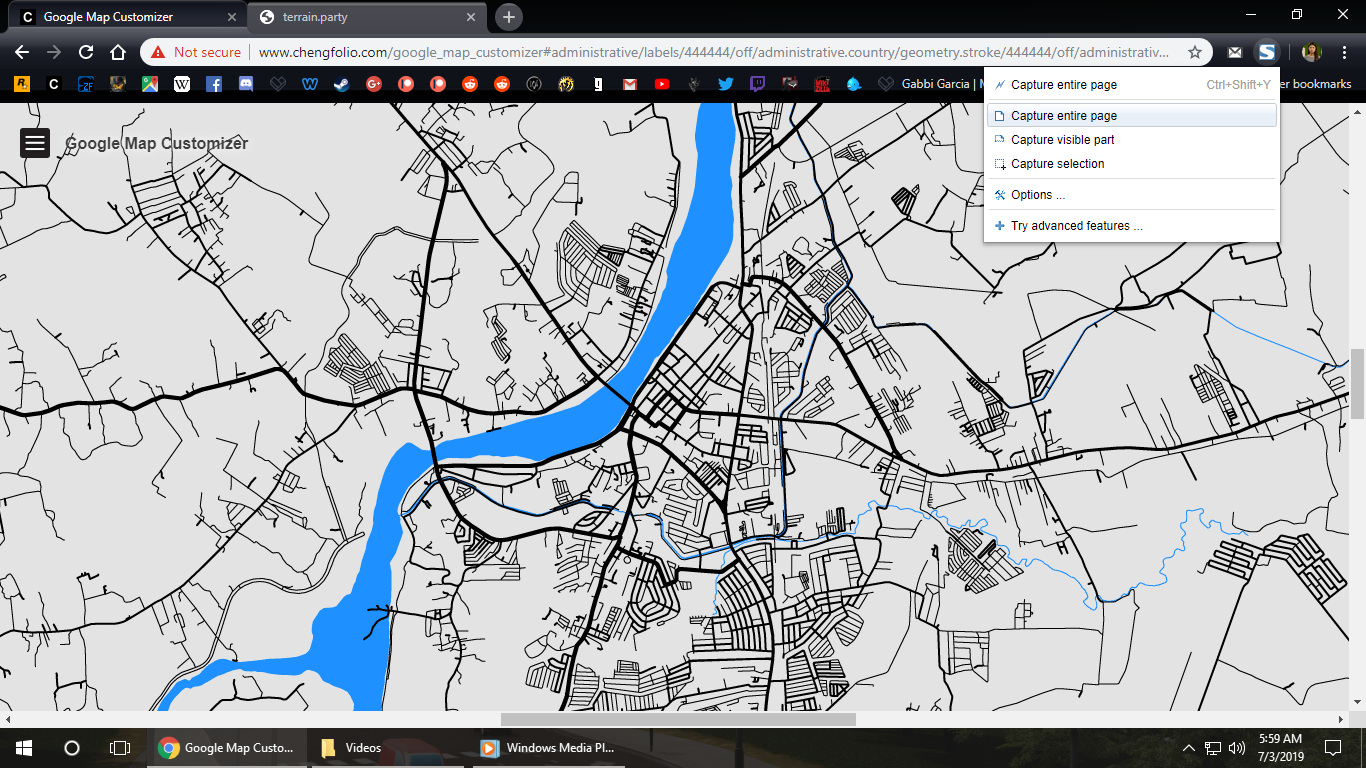
Now download the overlay image with the use of screen captures on your browser.
Afterwards, you can download the overlay image now.


Step 3: Modifying the overlay image
Now open paint.net on your computer.
Change opacity settings to 150, so that way it appears as transparent while still retaining most of the image’s features in-game.
Resize it to 10,000×10,000px.


Now save it to your computer by clicking the “Save as” button.
Now you can put the overlay image into the following folder: (C:SteamsteamappscommonCities_SkylinesFiles)


Rename it to “Overlay.png” so the mod could read it when you launch the game.
Done, you have a overlay image that you can use for building real-world cities. While it may be not high-quality, it still has enough quality that you can temporarily use while only building roads and other map features such as rivers or lakes.

Be sure to check out the part 2 of this guide:
[link]
View the Philippine Cities series here on YouTube:
View the Philippine Cities city journal here:
[link]
And don’t forget to check out my Philippine Cities savegame collection here on the Steam Workshop:
[link]