
Overview
Since the latest update to VRChat, debug options by default have been removed from the game. Some of you may be wondering how to get them back, while others may be wondering how to enable them entirely to check them out.
Steam Launch Options
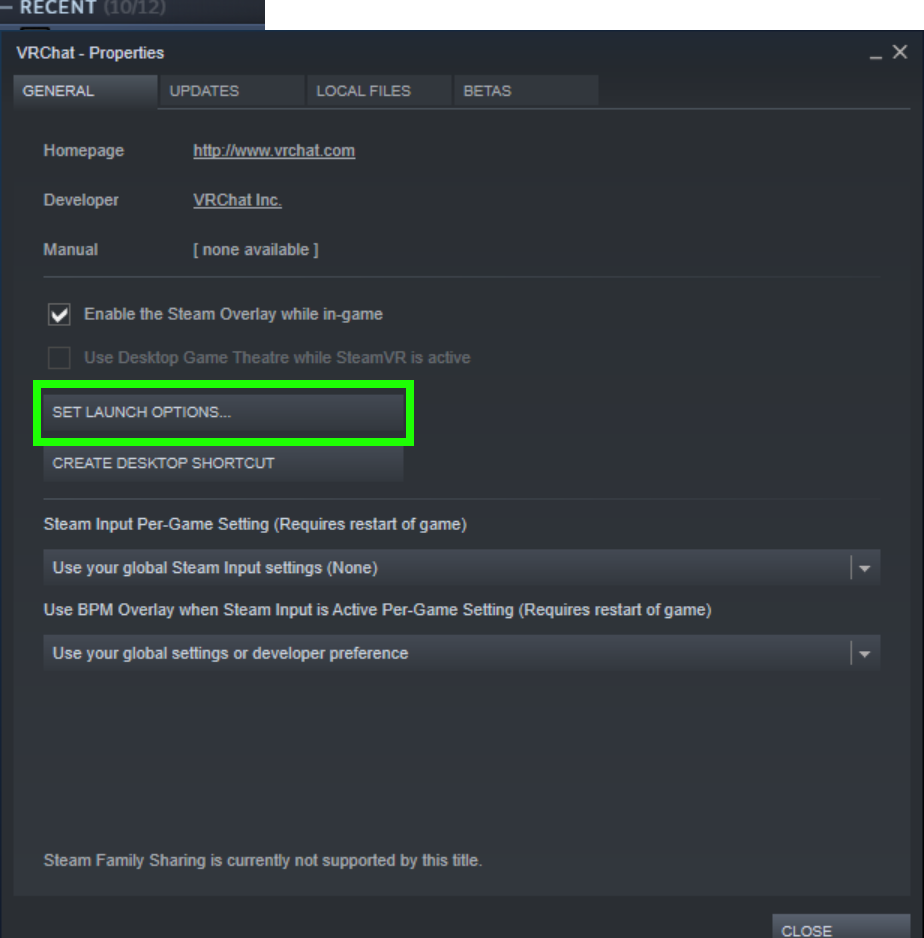
- Right click on VRChat in library
- Click on Properties
- Then, Click on “Set launch options”
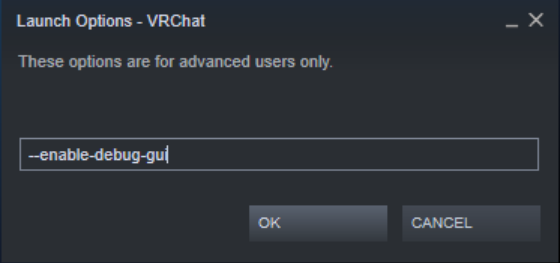
- In the Launch Options window, enter –enable-debug-gui

In-Game Buttons
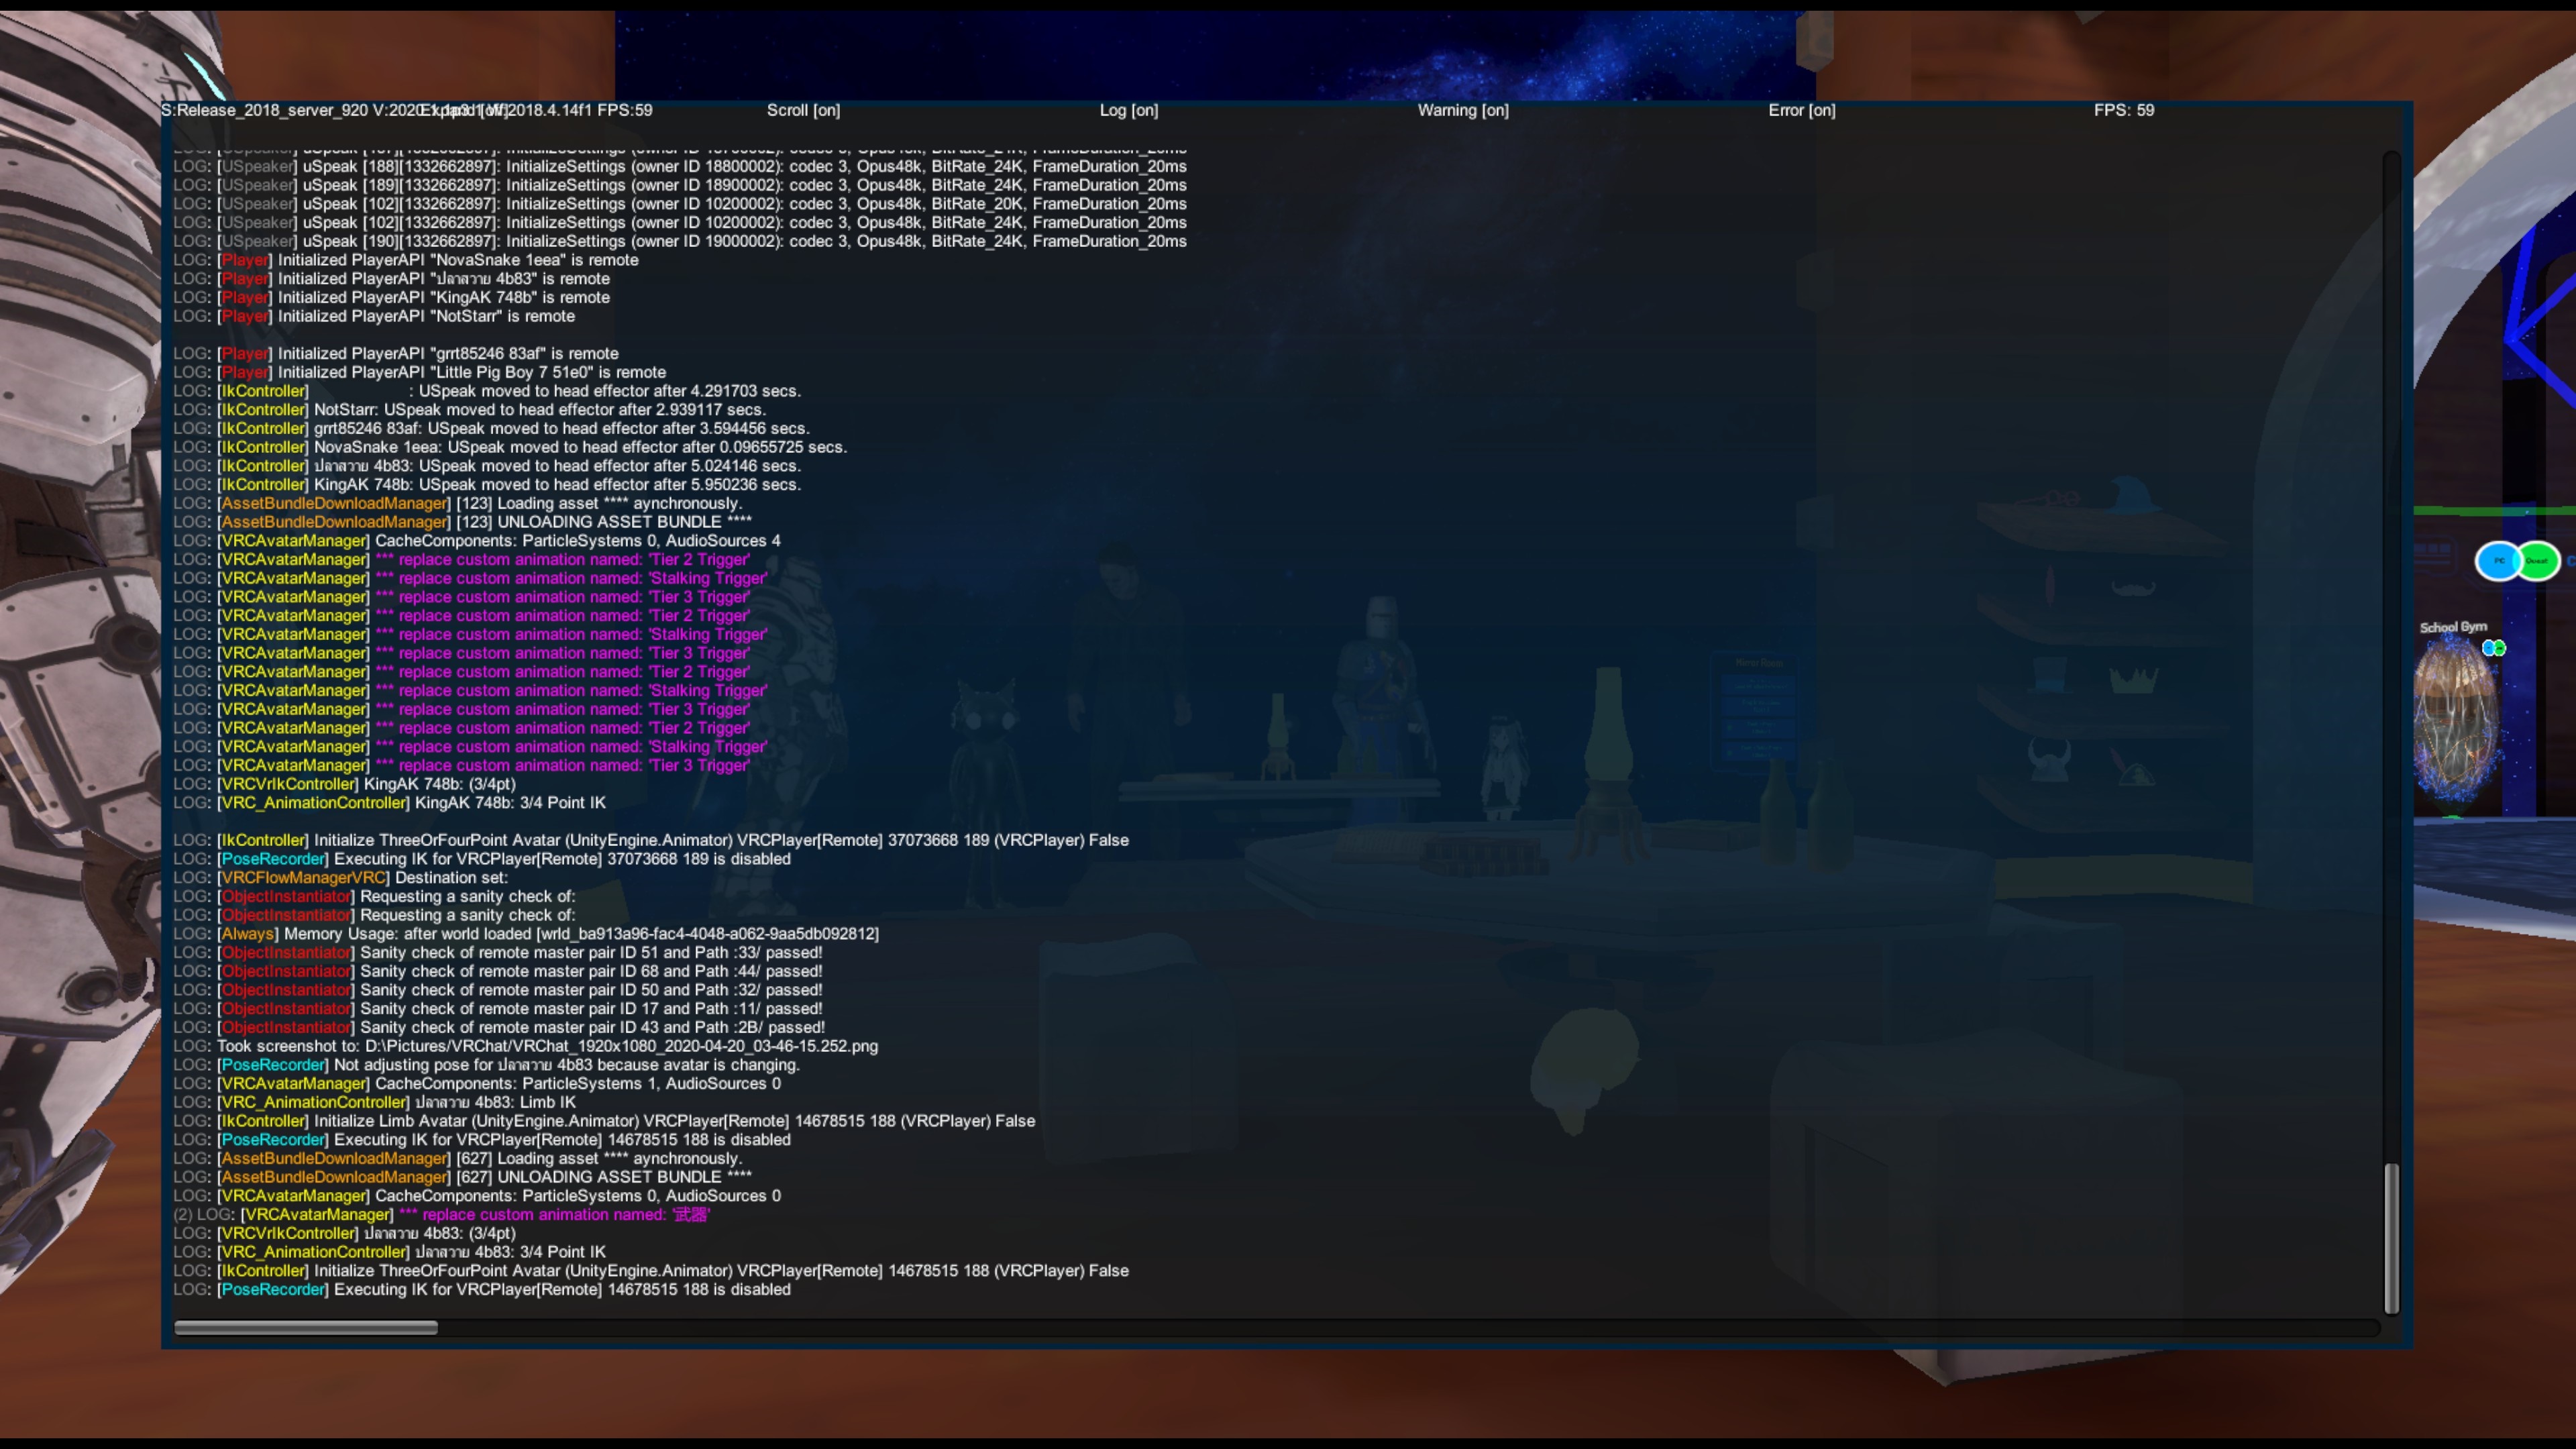
When in-game, press and hold Rshift, the tilde key (` or ~ respectively) and press one of the number keys, from 1-4. This will enable various debug screens for VRChat.
- Rshift+`+1 – Loaded assets debug screen
- Rshift+`+2 – Server version and FPS display (top left corner)
- Rshift+`+3 – Live error, warning and debug log
- Rshift+`+4 – Player ping and performance viewer
- Ctrl+K – Reverts your avatar back to the default one. Useful if your avatar is causing instability, or broken beyond usability (e.g. obscuring menus, etc.).
Instructions for Unity / Custom Launcher (2 methods)
Many users might want to re-enable debug options for scripting/trigger debugging, or perhaps want to be able to use them while testing their world, which VRChat has for some reason, disabled when launching from Unity. There are 2 available methods to do this, I will show you both methods here.
This first part is fairly simple and requires only a tiny bit of Windows experience. If you are not on Windows, then this step does not apply, as I do not know how VRChat functions on non-Windows systems.
Beginning
- You will want to start by opening Regedit. To do this, you will want to run Regedit. You can do this by Holding the Windows Key (key with Windows flag on it) and pressing the R key in combination; (Win+R).
- You will see a Run dialog, type in regedit and hit enter.
-
- Once regedit opens, you’ll want to navigate to HKEY_CURRENT_USERSOFTWAREUnity TechnologiesUnity Editor 5.x
- Once you’re there, you’ll want to scroll through the list of options until you find “VRC_installedClientPath_h(random numbers here)”.
- Double-click the key to open it, and you should see just VRChat.exe .
- You will want to change this value. Click in the right-hand side of the box, and type in –enable-debug-gui
- Preferably, you can add additional commandline arguments if you wish, but for the most part you have now enabled debug options for launching straight from Unity.
- You’re done! Afterwards, save it and you should be done. NOTICE: if you had Unity open while editing this regedit key, Unity may crash upon trying to test a world for the first time. Save your project, close and re-open Unity to avoid this. Afterwards you can now freely test any world and VRChat will always have the debug GUI enabled when launching!


This method is super-easy, and only requires basic computer knowledge.
- Navigate your VRChat installation directory (usually C:Program files (x86)SteamsteamappscommonVRChat) and open Launch.bat with a text editor, like Notepad.
- Once in Launch.bat, add the following to the file:
cd /d %1
VRChat.exe –enable-debug-gui %2 - Optional: Add your own parameters between VRChat.exe and %2.
- Save the file and close it, and you’re done! VRChat will now launch with the arguments you specified in launch.bat, every time you launch from a vrchat:// launch link, for example. Have fun playing!


It is recommended you combine both options if you are a developer for testing purposes, as this will give you the most leverage and ensure that debug options are always enabled no matter how you launch the game.
Authors Note: Not sure why the VRChat devs disabled this by default, as it makes debugging worlds on the fly much more difficult. As far as I know there also isn’t a way to launch the game with these options by default or from command-line. Edit: New findings have made this remark obsolete.