
Overview
This guide will answer the question that gets asked so many times, “How do I start my own server?” Now you will know all the things you need to know if you’re just starting out and don’t know how.
Step 1: Finding the right server provider for you
There is a bit of research that you need to do, like finding out what server hosting service you want to go through, basically compare the difference between how much each one costs and if your going to be able to pay that amount each month/year and also make sure you don’t choose one that can’t do a certain feature, like change gamemodes for example.
Step 2: Basic Setup
In this guide I will be referencing PingPerfect[pingperfect.com] most of the time, as it is what I know. I would assume most server providers have similar functionality. It is also best to make sure your server is stopped before making any changes to avoid something not saving correctly. If not stopped, at least restart the server once all changes have been made.
First off once you’ve paid for the server and logged in the the game panel, you will be greeted with a screen somewhat similar to this.
The first place your going to want to go to is “Configuration Files”

Main Configuration
So now you have entered the configuration editor you can see some options like, changing the server name, password, locking the server to a steam group etc. As of recent updates, passwords and locking the server to a steam group do not work. People can enter at anytime regardless of whether it is locked or not.

Now your probably going to want to set yourself as an Admin on the server so that you can do things ingame easily, like kicking and banning players, and stuff in the console once thats working. To do this, simply scroll to where it says, “New Admin”

The same applies to banning players permanently on your server, just simply scroll to where it says “New Ban” and click it. Then the following will pop up:
Users in game name
Users Steam 64 ID
Of course, the Steam 64 ID is the same as you typed earlier to add in your Admin(s), except on their profile/ingame. There are also 2 ingame ban/kick features. One is in the playerlist by clicking tab and just pressing the boot for kicking, and the circle with a cross through it for banning. Or use /help if you are an admin to see how to kick/ban that way.
Dynamic Time Of Day:This is the time of day ingame, if this is ticked, the Day/Night Cycle will run on your server, both Day and Night are measured in the same “Day Length” you can change this to determine how long you want day/night to last for. This is measured in minutes. As of recent updates this is irrelevant.

AI is for Survival Servers only and can be enabled/disabled. You can also change, the spawnrate and the maximum AI that can be on your server at once. AI have come to sandbox as well for now.
Body despawn is good for keeping you from needing to restart the server due to body lag, but if you don’t want this to be the case, set it to 0 and bodies wont despawn. The Body Despawn is measured in Minutes.
Respawn and Logout timers are measured in seconds, and can be changed, this is useful if you want to just get to a certain area, you can set respawn to 0 and you can keep respawning until you make it close to where you want to go, I would recommend learning the map this way though, learn the different spawn locations and walk until you find your way to where you want to get to. Look for landmarks to find your way around. “Respawn” timer also effects “Grow” timer and “Progress” timer depending on which gamemode you are in.

Adding a Mod/Modded Map to your server
Now once your done in Game.ini head back to this page. MODS CURRENTLY NOT SUPPORTED!


The only part you need is after id= copy the numbers and paste them into the box and save after clicking “New Mod” You can have multiple mods on a server, but just remember that mods use RAM and depending on how much RAM you have on the server will depend on if the mod runs or not, and if its a Modded Map then there’s some extra steps involved after doing this.
Once your done head back to the very first screen we were greeted with after logging in.
Your going to need to head into the “Commandline Manager” and head to “Custom Commandlines”


Commandline Manager
Speaking of the Commandline Manager, heading back to “Predefined Commandlines” you can see this:
Select which map you want and this will show:


Survival: The main focus/default gamemode. In this gamemode you have a limited choice of specific dinosaur/others that have been chosen for the Survival gamemode. This gamemode contains AI that you will need to watch out for, but also need to hunt to survive. You start off small and eventually grow until you become a big Rex or Giga etc. whichever dino you chose.
Sandbox: That’s just it, Sandbox, choose almost any dinosaur in the game and do what you want.
Progression: While this gamemode is going to be scrapped, this gamemode is basically as it sounds, start off as a small creature, and progress until your a bigger creature, gain progression points and progress.
Once you have chosen a gamemode and map, click apply.
Editing The MOTD (Message Of The Day)
Return to this screen and go to “MOTD.txt” for this one its best to use the “Text Editor”
Updating The Server
The game updates from time to time, and if you’re not aware, then your server will be outdated and won’t show with the rest. But don’t panic, its a really simple task this one. Just simply navigate to “Steam Update” in this page:

Changing your server to Legacy/Devlopment/Current Branch
NOTE: The Legacy Branch does not currently work as of now because of how old that version of the game is.
Sometimes the game might become a little unstable for your liking, if this happens, its probably best to switch to Legacy, which is also really simple. In this page press “Beta/Legacy Update”

The same goes for Development and changing back to normal/current branch and for updating the Development branch if the steam update option does not work. But for you to even see the server anymore, you also need to change to Legacy or Development branch, depending on which you chose.
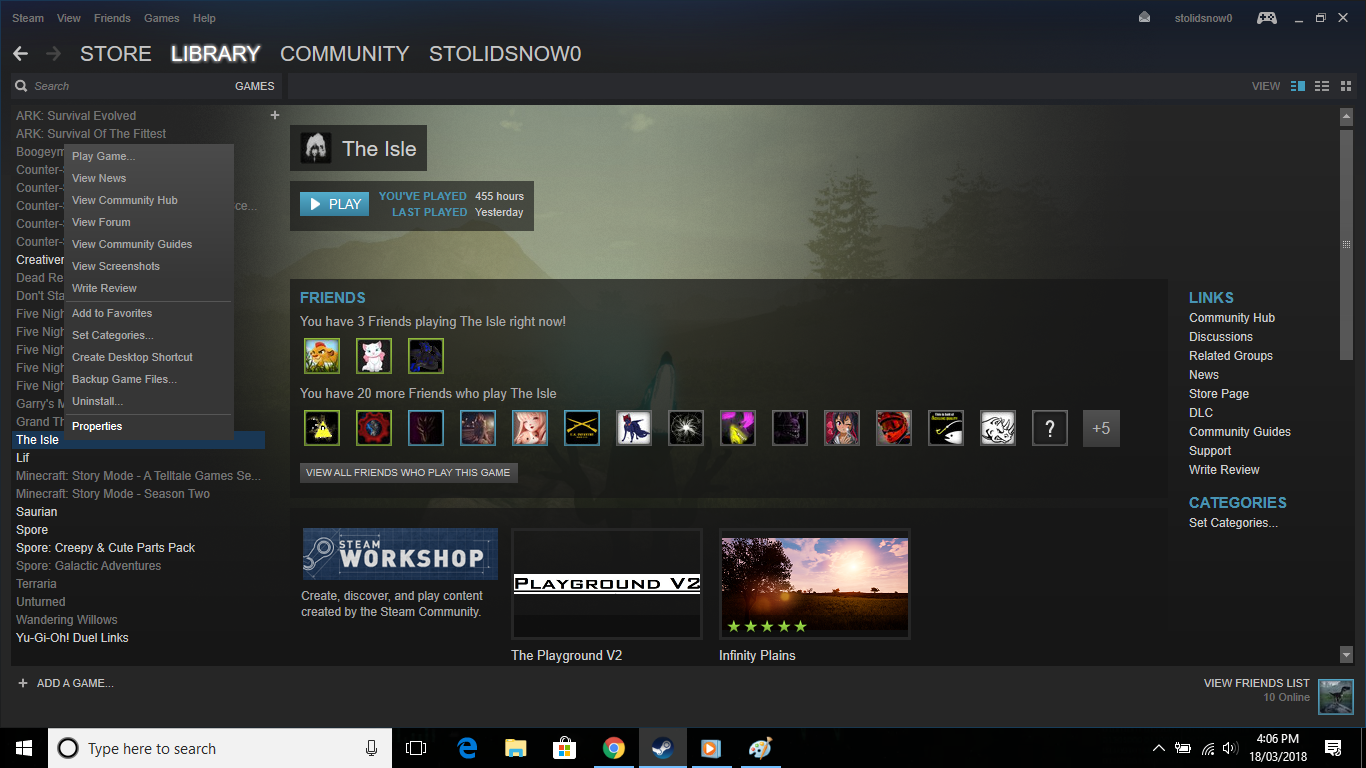
Right click The Isle and go to Properties.
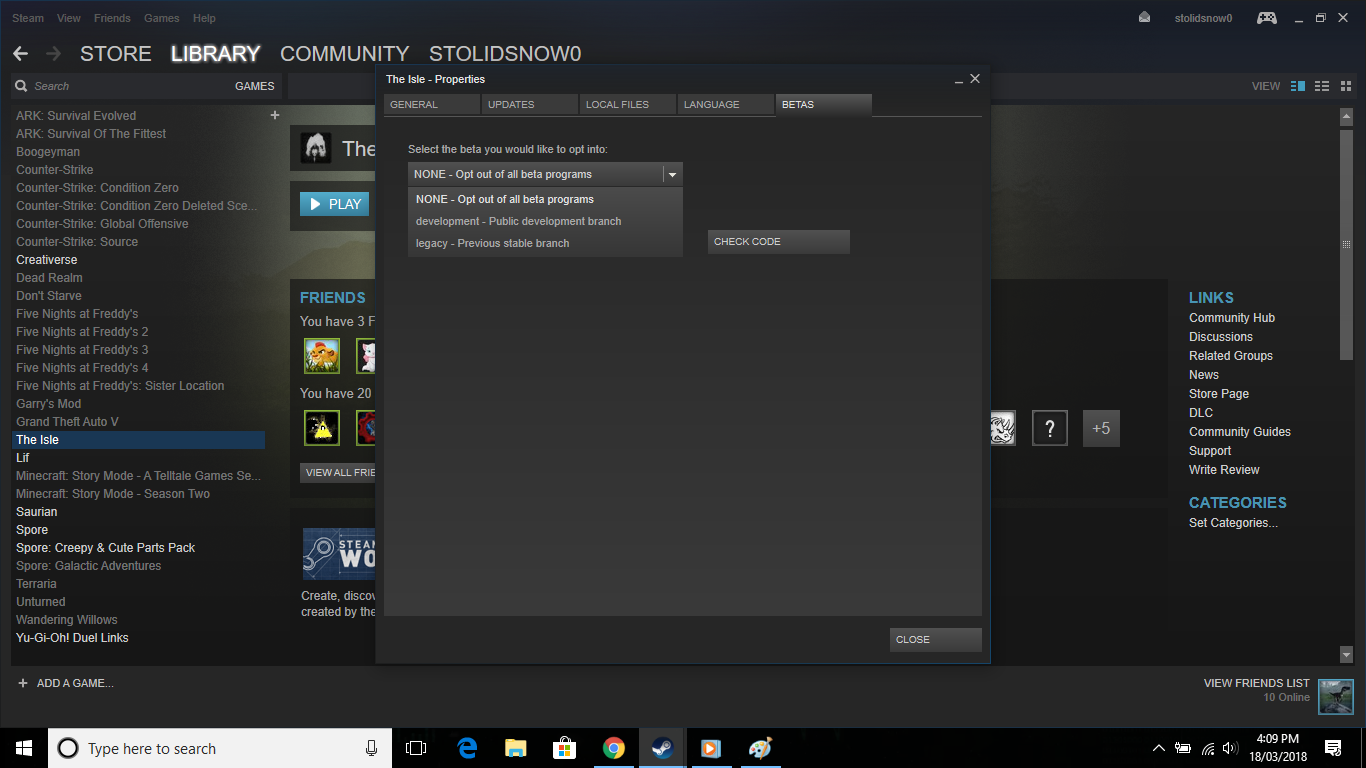
Then head to the “BETAS” tab and choose Legacy or Development and wait for the game to update to that Branch.
The Beta is more tricky, as it is locked for the most part. If you do happen to know the Beta Code, which isn’t always the same, then enter it in the box and go check code. If the code was correct, it will pop up in the drop down selection and you can select it and wait for the game to update to the Beta Branch. This is not really used much though and there does not seem to be a way at the moment for you to switch the server to the Beta branch.

Removing Mods From Your Server
As simple as it sounds, there can be some confusion, so here’s what you need to do. Stop the server, Go to where you added the mod originally, via. GameUserSettings.ini in the Configuration Files on this page:
Once done, you can see next to the Mod ID it says “Delete Mod” click this, and save.
Then head back to the Main Game Panel Area and press “Delete All Mods”
And Lastly…
After you have configured everything and have setup the mod(s) and map and gamemode it’s time to finally start the server, and play! If you have any questions, comment below, and I will answer to the best of my ability. Good luck, and have fun with your server!