Overview
In this guide I will show you how to install and setup reHLDS, among with AMX!Feel free to ask questions in the comment section.
Introduction
ReHLDS is a result of reverse engineering of the original HLDS.
- Lots of bugs were found and fixed
- Open-Source[github.com]
- More Secure
Installation
Download the zip file.[github.com]
Extract it.
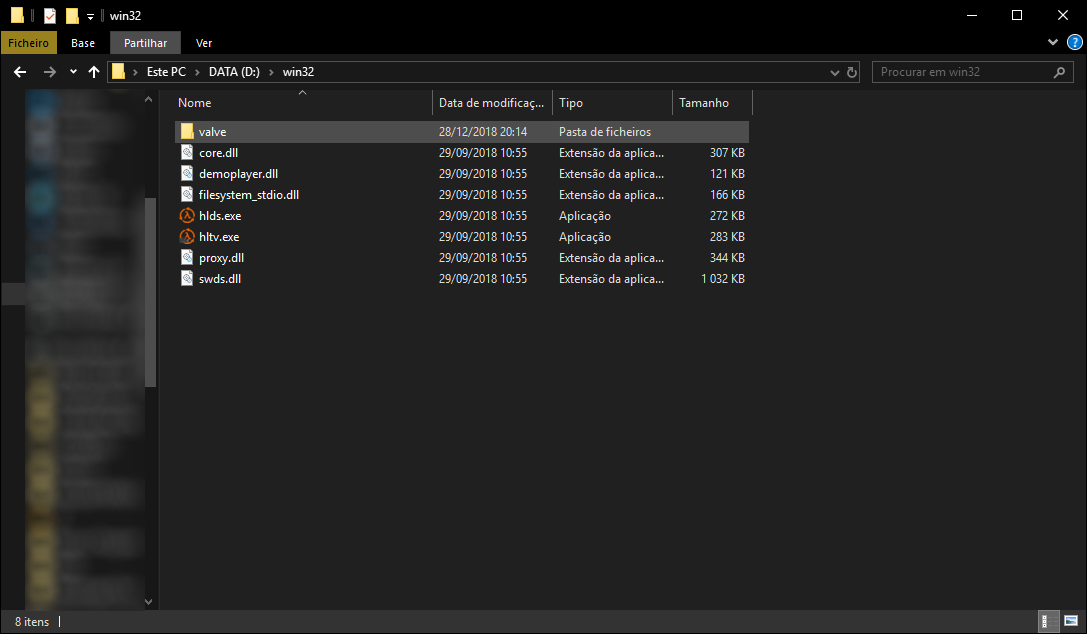
Go to bin and copy win32 to somewhere else. You can rename the folder.
Now, your folder should look like this.
Open your Half-Life folder.
Here’s how to do that:
[link]
You will see something like this:
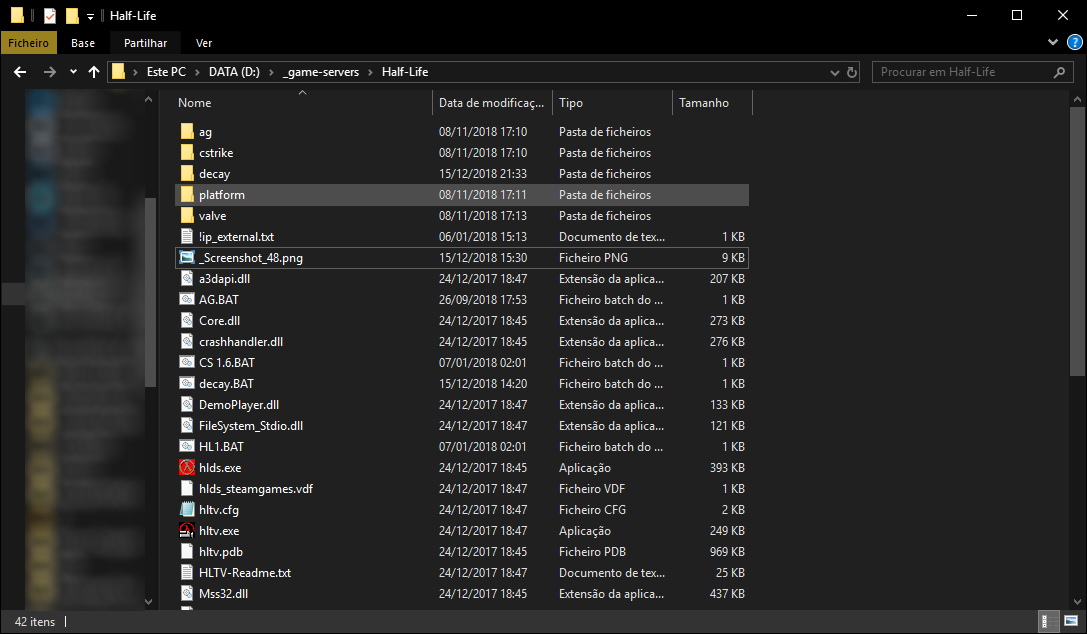
- valve – Half-Life
- gearbox – Half-Life: Opposing Force
- cstrike – Counter-Strike
- czero – Counter-Strike: Condition Zero
- dod – Day of Defeat
Copy the folder of the game that you want to host to the win32 folder.
Installation is done! Now it’s time to setup up the server.
Setting up
Before doing the next steps, be sure to have these ports forwarded in your router.
If you already hosted other game server server before, you should know what am I talking about.
If you don’t, please check this[en.wikipedia.org] page. This[www.howtogeek.com] will help you too.
The maps need to be a bsp file. Place them in <modfolder>/maps.
This runs when a dedicated server is being started, and runs every time the map is changed.
Create a text file in your game content folder (e.g. valve) Open it and paste this:
Save the file and rename it to server.cfg (Remove the .txt too!)
Create a txt file in the win32 folder.
Open it and add the line:
- Don’t put the <>!
- <modfolder> – The folder with the game/mod content e.g. valve
- <number> – A number from 1 to 32
- <mapname> – A map from the content folder e.g. de_nuke
Save the file and rename .txt to .bat.
AMX
Go to the Metamod Website[www.metamod.org] and download Metamod.
Extract the metamod file and copy it to <mod folder>addonsmetamoddlls.
In your mod folder, find the liblist.gam file. Open the file with a text editor, such as notepad.
Find this line:
Replace it with this line:
Save liblist.gam
Edit the file <mod folder>addonsmetamodplugins.ini. If it does not exist, create it. This file is your list of Metamod plugins.
Open the file with notepad and add the line:
Save the file.
Go here[www.amxmodx.org] and click “Downloads”. Download the amxmodx-base package for either Windows or Linux.
Extract the base package to your mod folder. This will place AMX Mod X into <mod folder>addonsamxmodx.
Go back to the AMX Mod X download site. If there is an addon pack for your mod available, and you want to use it, download the addon package corresponding to your mod. As of this writing, addon packs are available for Counter-Strike/Condition-Zero, Team Fortress Classic, Day of Defeat, The Specialists, Natural Selection, and Earth’s Special Forces. Make sure you download the pack that corresponds to Windows.
Extract the addon pack to the same place as before, it should simply add more files to your AMX Mod X installation.
AMX Mod X should now be installed! You can type “meta list” in your server console to see if it was successful.
Plugins
Often, plugins will have their own directions if they need special installation requirements. However, this will instruct you on the basics of adding a plugin.
Follow any directions the plugin author has given you. If the plugin requires extra steps or special files, make sure you have them in the proper place and order.
Place the plugin’s .amxx file in the addons/amxmodx/plugins folder.
Add the plugin’s name to addonsamxmodxconfigsplugins.ini. Example:
Adding Admins
First, open the amxmodx/configs/users.ini file with your favorite text editor. Scroll to the bottom. Admin entries are stored with four options: Authentication, Password, Access Right, Connection Properties.
In the early days of Half-Life 1 it was common to have admins authenticate by name. However, now it is recommended to auth by steamid. An example of a typical admin entry is:
How to get a SteamID[steamid.io]
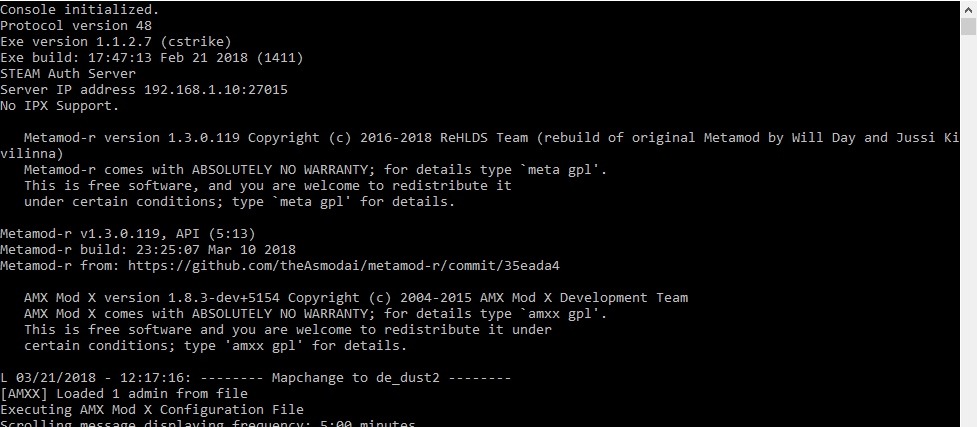
Running
To run the server, just double-click the batch file.
Thanks for reading! Please rate and share my guide! And feel free to ask me anything in the comment section! Bye!