
Overview
How to install and run the Half Life 2 MMOD (2019) easily.
1. Install Game
First install Half-Life 2 , Half-Life 2: Episode 1, Half-Life 2: Episode 2 via their relevant Steam store pages.
Half Life 2: [link]
Half-Life 2: Episode 1: [link]
Half-Life 2: Episode 2: [link]
.
Or just get the Orange Box which includes those titles: [link]
.

Optionally, install Half-Life 2: Lost Coast: [link]
2. Install Half Life 2 Update
Install the Half Life 2 update to your Steam library:
[link]
.
This is a completely free and extensive community-developed update for Half-Life 2 featuring beautiful lighting, countless bug fixes, and a brand new Community Commentary Mode.
3. Install Source SDK 2013 Singleplayer
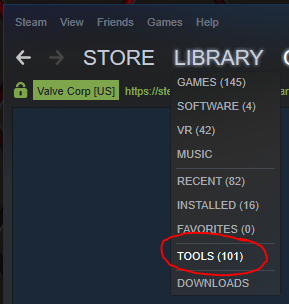
In Steam, hover over ‘Library’ and select ‘Tools’:
.
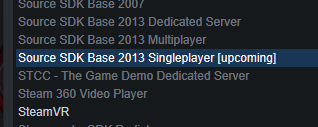
Scroll down, right click ‘Source SDK Base 2013 Singleplayer’ and install it:
.
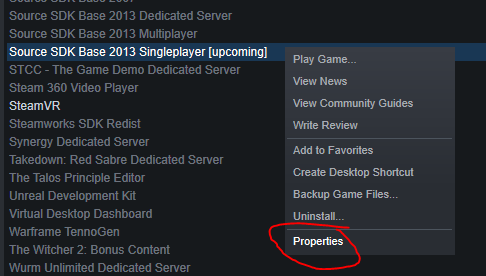
Once installed, go back to the ‘Source SDK Base 2013 Singleplayer’ in your ‘Tools’ list, right click it and select ‘Properties’:
.
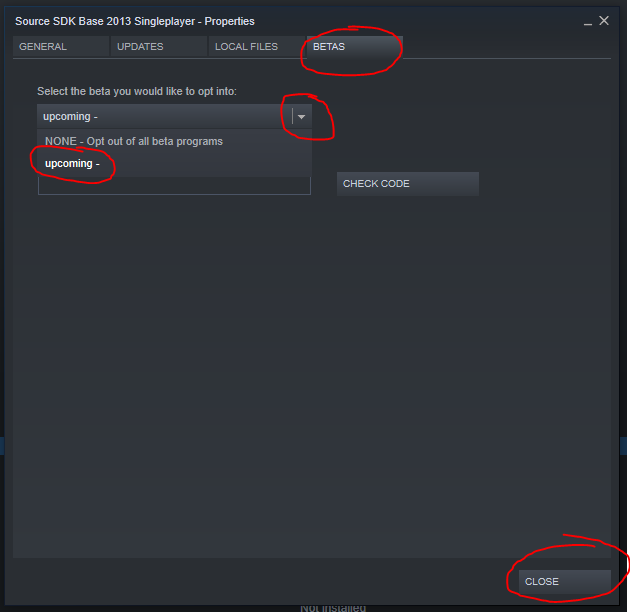
On the ‘Betas’ tab, click the drop down list and select ‘incoming’. Then close the window:
4. Download Half Life 2 MMOD
Go to the MMOD webpage on moddb.com:
[link]
.
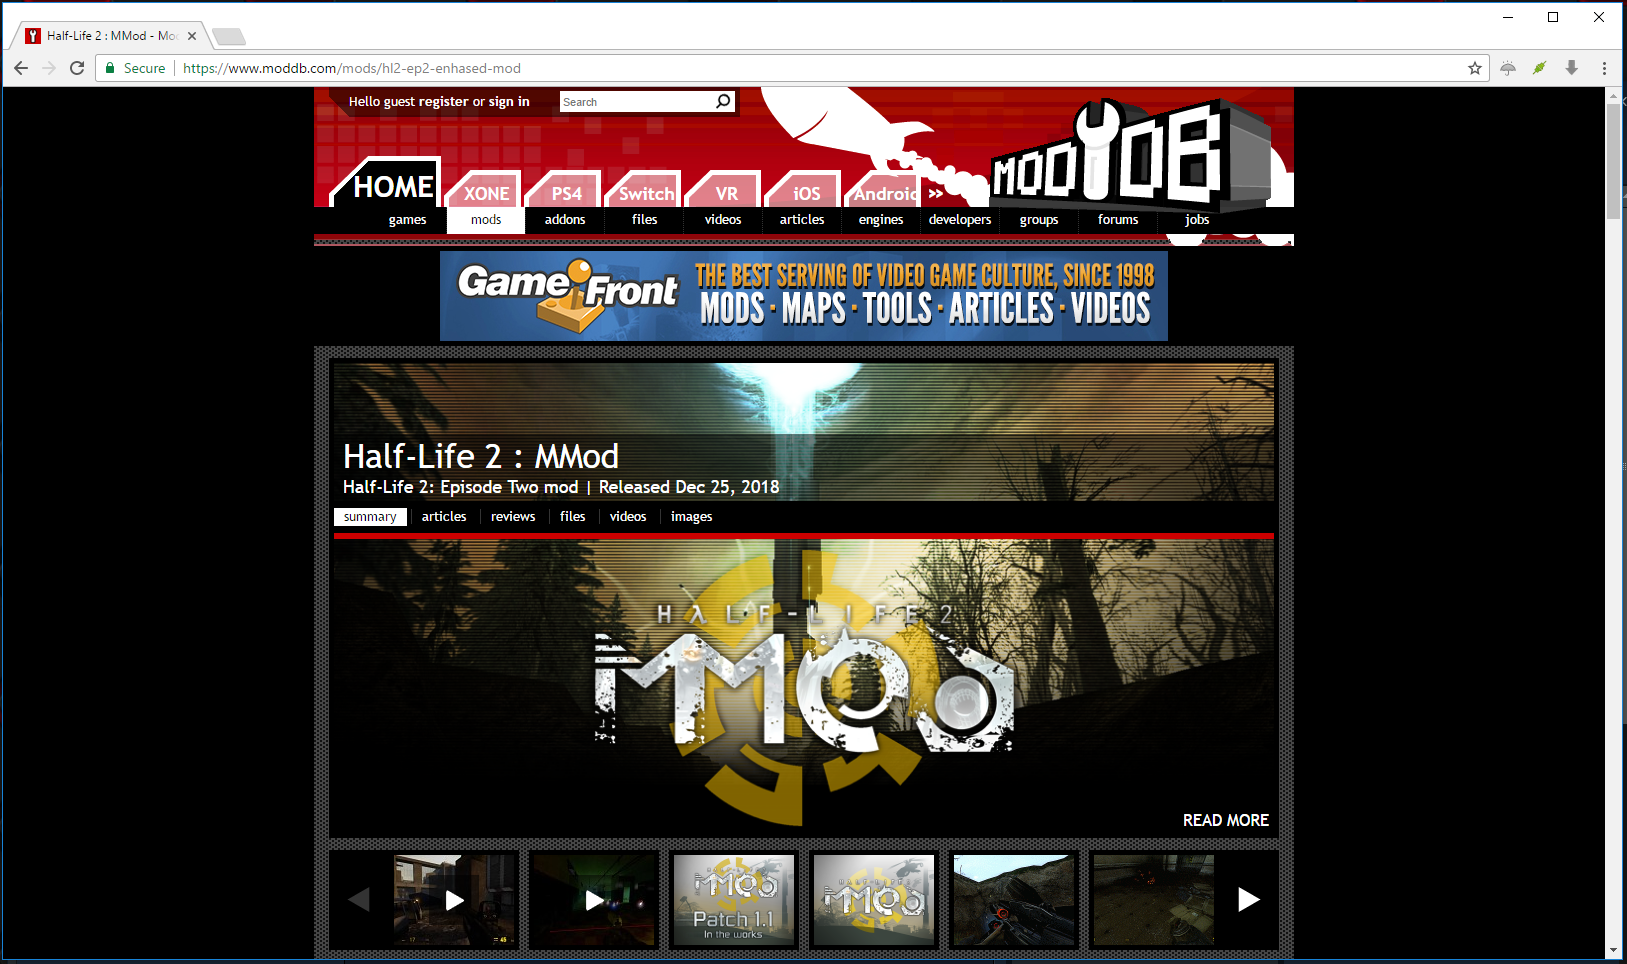
Scroll down and download the latest version of the MMOD (at the time of writing it was v1.1):
.

Right click on the downloaded .zip file and choose ‘Extract All’ and hit enter on your keyboard to extract the file:

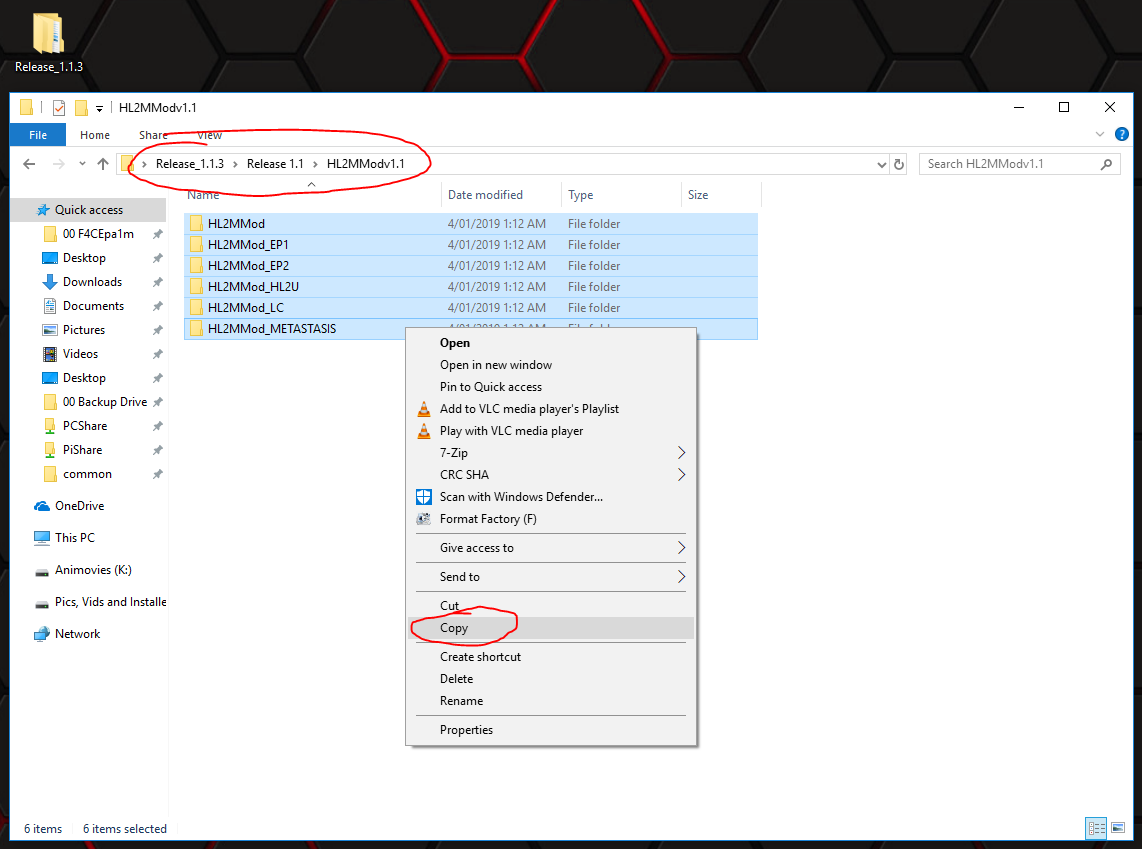
5. Install MMOD
In the downloaded ‘Release_1.1.3’ folder, go in to ‘Release 1.1’, and then in to ‘HL2MModv1.1’ and copy all 6 folders from this folder:
.
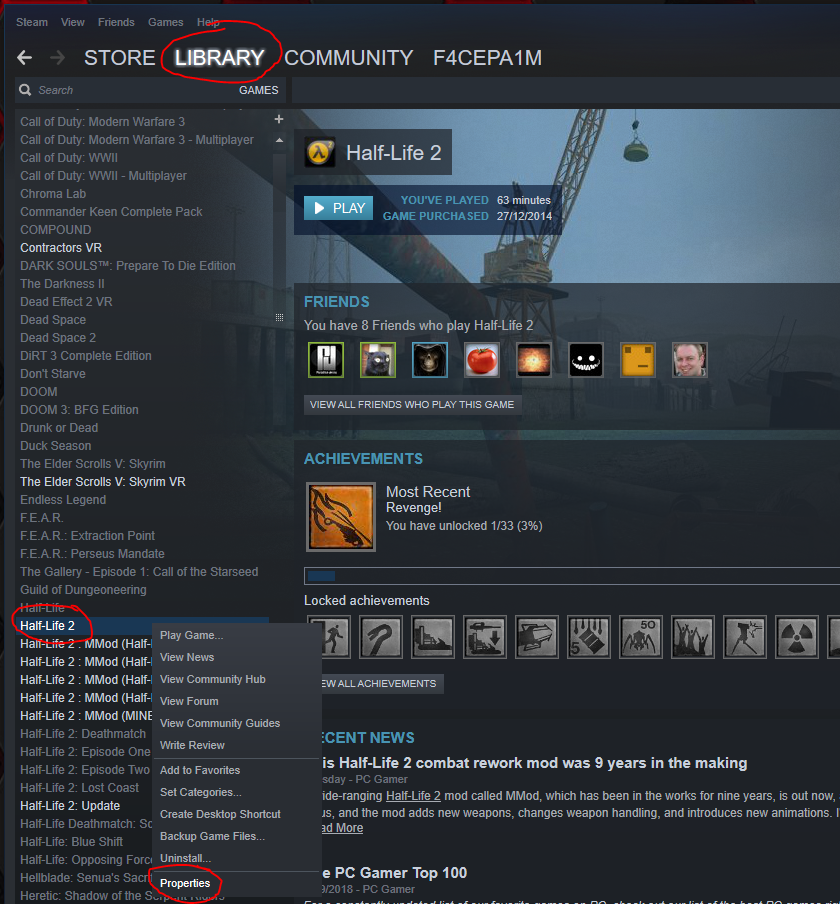
Go back to your Steam library, right click on ‘Half Life 2’ and choose ‘Properties’:
.
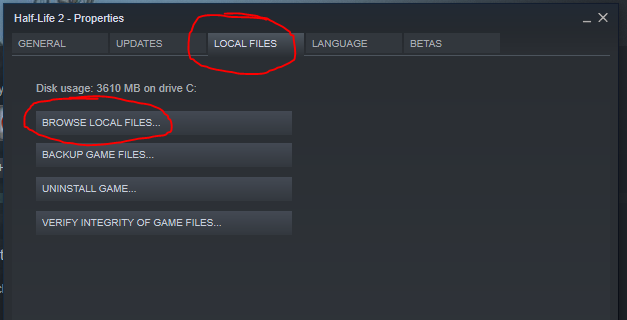
Click on ‘Local Files’ and then ‘Browse Local Files’:
.
Click on the ‘steamapps’ folder:
.
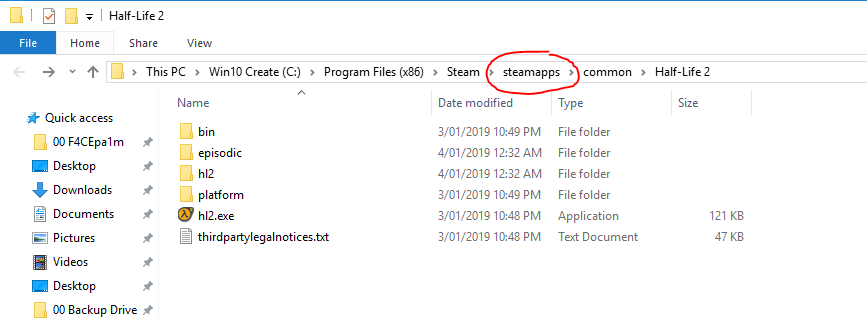
Go in to the ‘sourcemods’ folder:
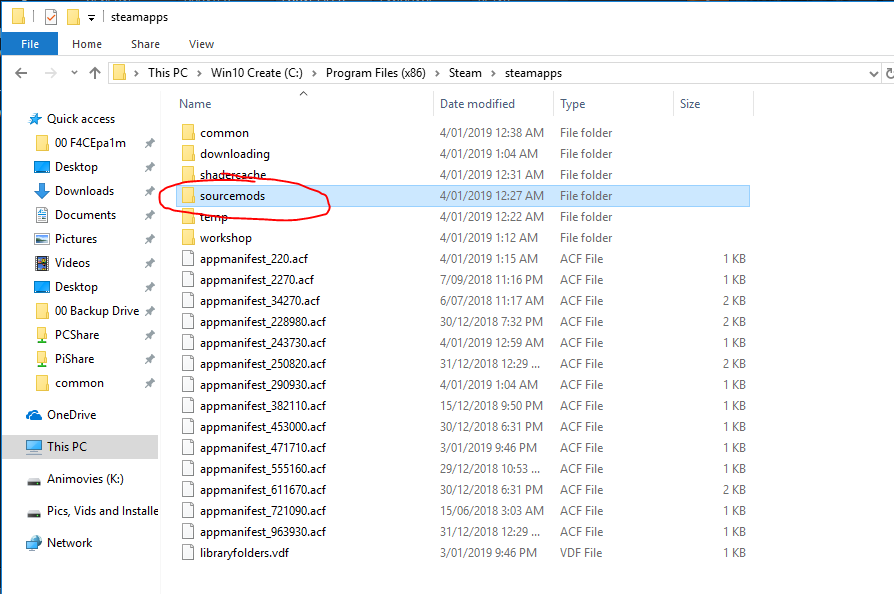
.
And paste the folders you copied earlier in to that folder:
.
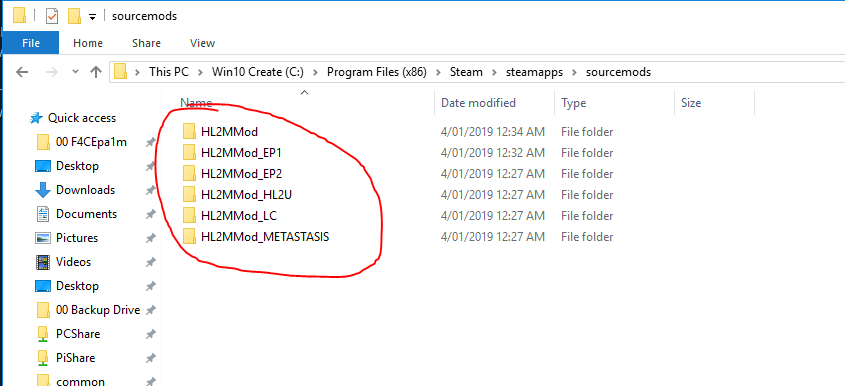
Note:
Sourcemods folder and all HL2 games have to be installed on same hard drive.
If you don’t see a sourcemods folder you can just create one yourself, that will work fine.
.
IF you have Steam installed on one drive, but games library on other drive then mmods won’t show up after restart, here’s solution:
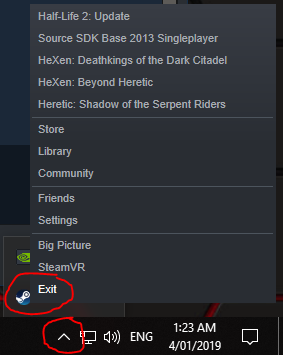
1. Exit steam
2. IMPORTANT: Delete sourcemods folder from steam client folder
3. Hit Windows key on keyboard and type ‘cmd’, then right click command prompt and choose ‘Run as Administrator’
4. Type: mklink /J ‘the location you have Steam and sourcemods folder’ ‘the location of your sourcemods folder on the drive your games are installed on’
Sample: mklink /J “C:Program Files (x86)Steamsteamappssourcemods” “D:SteamLibrarysteamappssourcemods”
Hit enter on your keyboard
.
RESTART STEAM!!
I’ll say again, RESTART STEAM!!
6. Start the Mod
In your Steam library you will now see MMOD versions of Half Life 2:
.
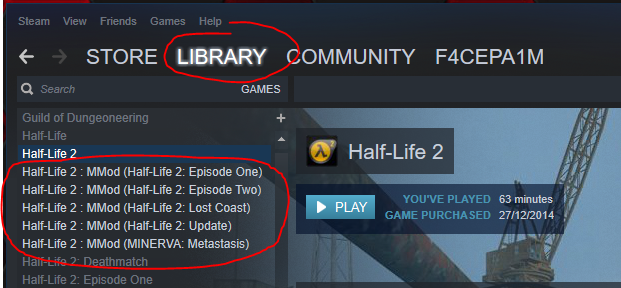
Start which ever version of the mod you want to play.
THATS IT!!
Also check my YouTube channel for more tutorials and other randomness:
https://www.youtube.com/f4cepa1mx0
.
x_0