Overview
With this guide you will be able to use Mr gentle’s mod manager, which includes the texture mod, audio mod and advanced training. In this tutorial we will focus on the texture mod, with it you will be able to 1- install multiple skins without replacing the original ones.2- See other people’s skins if they have the mod manager.
1- Download and installation of the the mod manager
from github:
Github Texture mod: Link[github.com]
Texture Mod (Direct download): Download[github.com]
Mod Manager (Github): Link[github.com]
Mod Manager (Direct Download): Download[github.com]
after downloading both of the files you need to extract them and find the folder “mods” located in the mod manager. After finding it delete the texture mod from there (it is an outdated version) and replace it with the one you downloaded.
from google drive
(this download contains the mod manager with the texture mod and texture mods
for every single character, including Beat from JSR Skin for Jet)
Download[drive.google.com]

It should look like this, to download it press the top right download button as it is marked on the screenshot
after that you should get a zip file (you need 7zip or winrar to open these) and inside it you will find a folder called “LLBMM”.

Extract the “LLBMM” folder in any place you want, personally I dropped it where my lethal league blaze is installed, but you can just put it on your desktop if you want to do so.
2- Adding skins to the Texture mod
his step is only obligatory if you want to install your own skin (I added some skins already), remember to check if the skin you want is already on the folder
you can find skins for lethal league blaze on Gamebanana[gamebanana.com]
after extracting the “LLBMM” folder open it and navigate to the folder:
LLBMM -> mods -> TextureMod -> TextureModResources ->Images -> Characters
the folder should look like this
now enter in the folder with the name of the character you want to install the skin.

now you have to put the PNG file inside of the character’s folder, in case you have a file with a dds extension I would recommend you to search a dds to png converter on google.
names follow some rules:
1- if the skin is supposed to be used for the original model, for example this defaultDoombox:
just name it with a number (1,2,3,4,…), for example “1.png”.

2- if the skin is using the secondary model, for example this “safety weapon” Doombox:
you need to put a number (like on 1-) + _ALT at the end, for example “2_ALT.png”.

3- if the skin is using the DLC Model, for example this “Gigahertz Visualizer Z” Doombox
you need to put a number (like on 1-) + _ALT2 at the end, for example “3_ALT2.png”.

3- Injecting the skins to Lethal League Blaze
Now you can open the LLB Mod Manager.exe, by doing so an aplication like this will pop up:
First of all it is important to specify where the folder called “LLBlaze_Data” is located. It is normally located where Lethal League Blaze was installed, so it should look like:

C:Program Files (x86)SteamsteamappscommonLLBlazeLLBlaze_Data.
Click on the browse button, find the LLBlaze_Data folder and then click accept.
Click on the texture mod and then the 2 arrows pointing to the right. After that you can just click the button called “Install selected mods”.
If you have lethal league blaze open, please close it or an error might pop up
After doing all of this a couple of cmd windows will pop up, don’t worry this is completely normal.
With this the skins should be installed.
4- Ingame settings
Now that we injected the skins we can close the mod manager and open Lethal League Blaze.
then navigate through the menu “options”, click on the button called “mod settings” and finally press the button “TextureMod”.
in there you should be able to find some options, but you want to check the first one which is called “Hold to enable custom skin changer key or button 1”. In that option you can specify what key you want to press to show the custom skins, normally it is left shift, but you can change it to whatever you want.
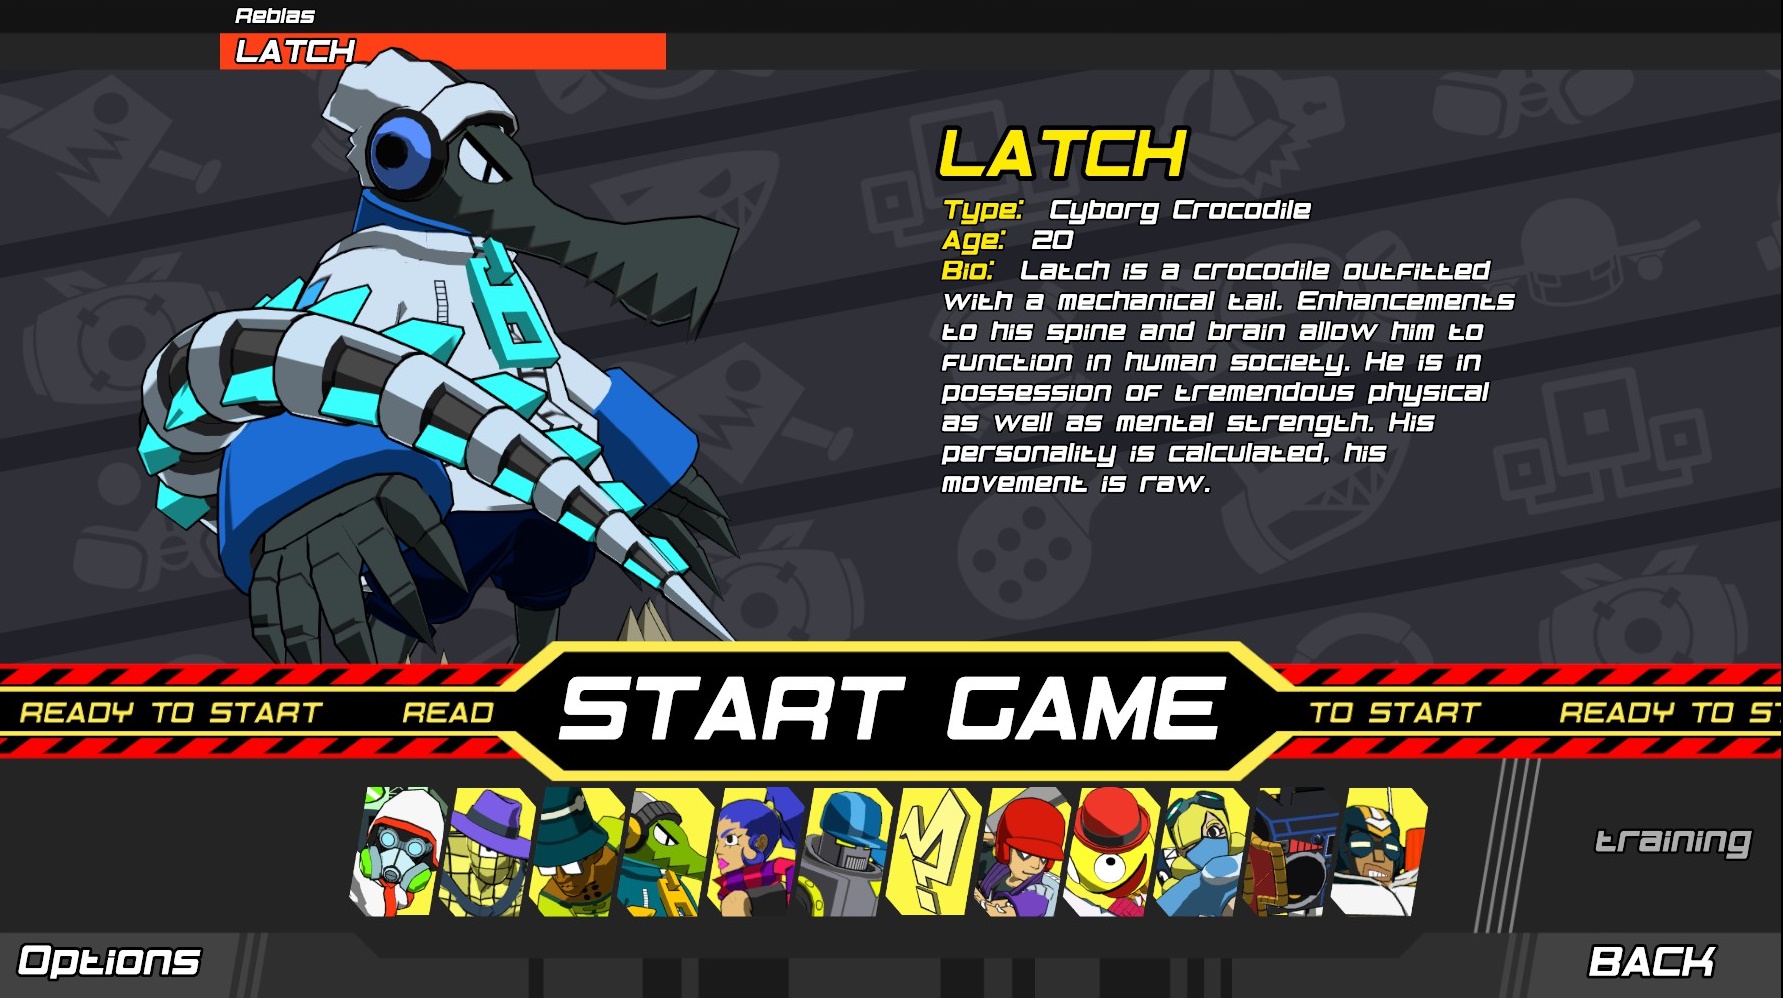
And last you can join on training mode or any mode you want, select a character and HOLD the key you selected (Default is left shift) and click the character. If everything was correctly done it should show a custom skin like this:
5- Installing new skins while the texture mod is already installed
In this case you have to uninstall the texture mod, and reinstall it (just open the mod manager, click on “Uninstall all mods”, select the texture mod again click on the arrows pointing to the right “>>” and click on “install selected mods”).
Tl;Dr / fast guide
1-
Download the mod manager and texture mod through the links
Texture Mod (Direct download): Download[github.com]
Mod Manager (Direct Download): Download[github.com]
in this case you have to remove the texture mod which comes already with the mod manager and replace it with the one posted here.
OR
Download the pack with the Mod Manager + Texture Mod + Some skins
Download[drive.google.com]
2-
extract it anywhere you want
3-
to install a skin navigate through the mod manager’s folders (It needs to be a PNG, DDS files do NOT work, use a converter dds to png if necessary)
LLBMMmodsTextureModTextureModResourcesImagesCharacters
find the character’s folder and place the png of the skin you want to install in there
– If the skin is for the normal model just rename the file to a number (e.g 1.png)
– if the skin is for the second/special model rename the file to a number + “_ALT” (e.g 2_ALT.png)
– if the skin is for the DLC Doombox Skin rename the file to a number + “_ALT2” (e.g 3_ALT2.png)
4-
Open the “LLB Mod Manager.exe”, click on browse and specify where the folder LLBlaze_Data is (it is in the game’s folder)
then select the texture mod, click on the arrows pointing to the right and click on the install selected mods button, a couple of cmd windows will pop up and it will be done.
5-
open Lethal League Blaze and go to: Options -> Mod options -> Texture Mod and change the first option to whatever key you want (left shift is the default key)
after that you can try the skins by going into any gamemode, select the character, HOLD the key you specified before and click the character again, if done correctly it will show the custom skin
Ending words
with this you should be able to use custom skins really easily, apart of that everyone who also uses this mod manager will be able to see them too, so don’t be afraid to show your best skins.
Last but not least I want to thank Mr. Gentle for creating this amazing mod and
justanaboveaverageguy for giving me some screenshots.
and if you are not in the reptile discord, I would recommend you to join, so we can help you in any way if you have any doubts about skins or just gameplay in general.
[link]Don’t forget to like, favorite and share if this guide helped you.
Have a nice day!
PD someone from the discord did a better guide, check it out (thanks daioutzu)
[link]