
Overview
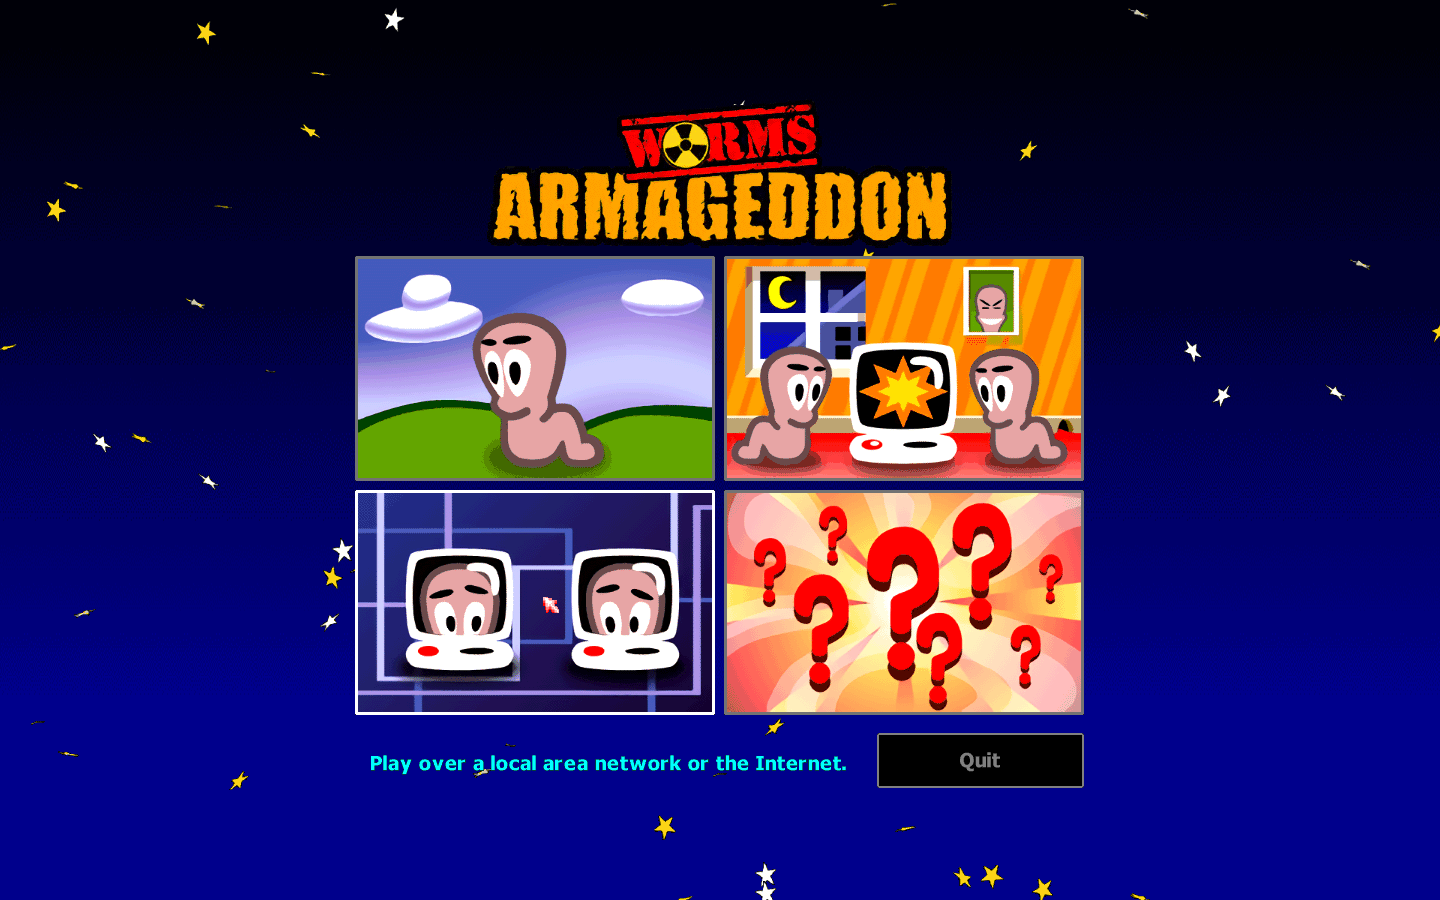
This guide will show you how to join an online multiplayer game
Going to the Network Menu
by the way, you can click (with the left mouse button) on all screenshots to view them in full
Setting your Nickname
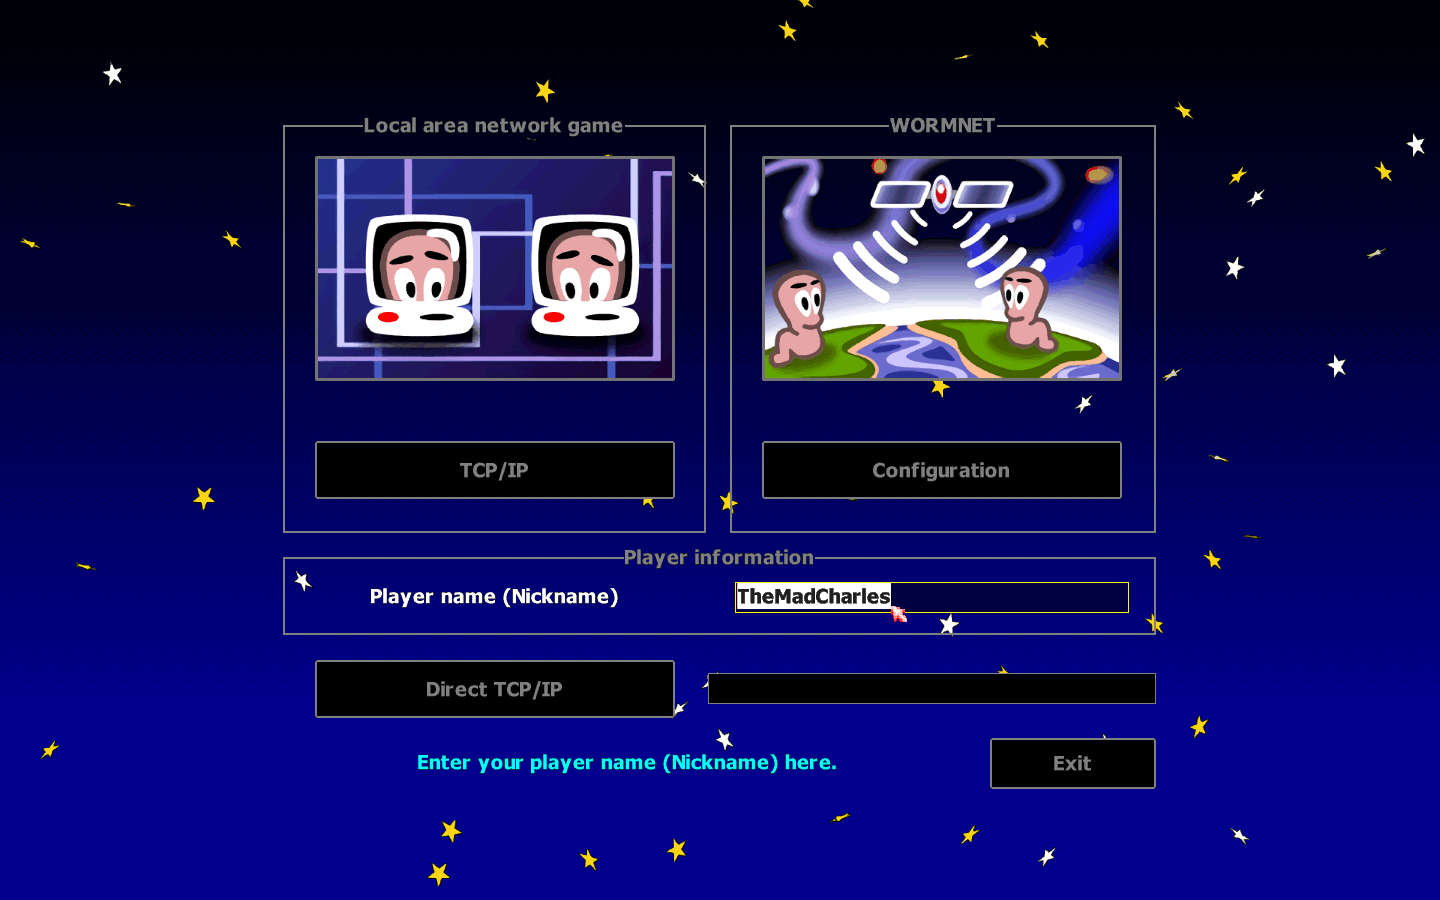
You are limited to:
- 16 characters
- basic latin letters in both cases (a-z, A-Z)
- arabic numbers (0-9)
- Grave accent ( ` )
- Hyphen ( – )
- Apostrophe ( ‘ )
!!! MAKE SURE THAT YOU DOUBLE-CHECK YOUR NICKNAME BEFORE THE NEXT STEP !!!
The reason is, that the default name is usually:
- Your Username in Windows or Linux
- Your First Name in Linux, if you are emulating through Wine
!!! IF YOUR NICKNAME IS ADMIN OR ADMINISTRATOR, YOU WILL BE KICKED WITHOUT A WARNING !!!
Joining WormNET

Entering a WormNET channel

Statistics have shown that #PartyTime and #RopersHeaven are usually used for tournament purposes, it is not recommended to join/host games there unless you’re part of one.
Oh, and the #Help channel is dead, unfortunately
Entering a game
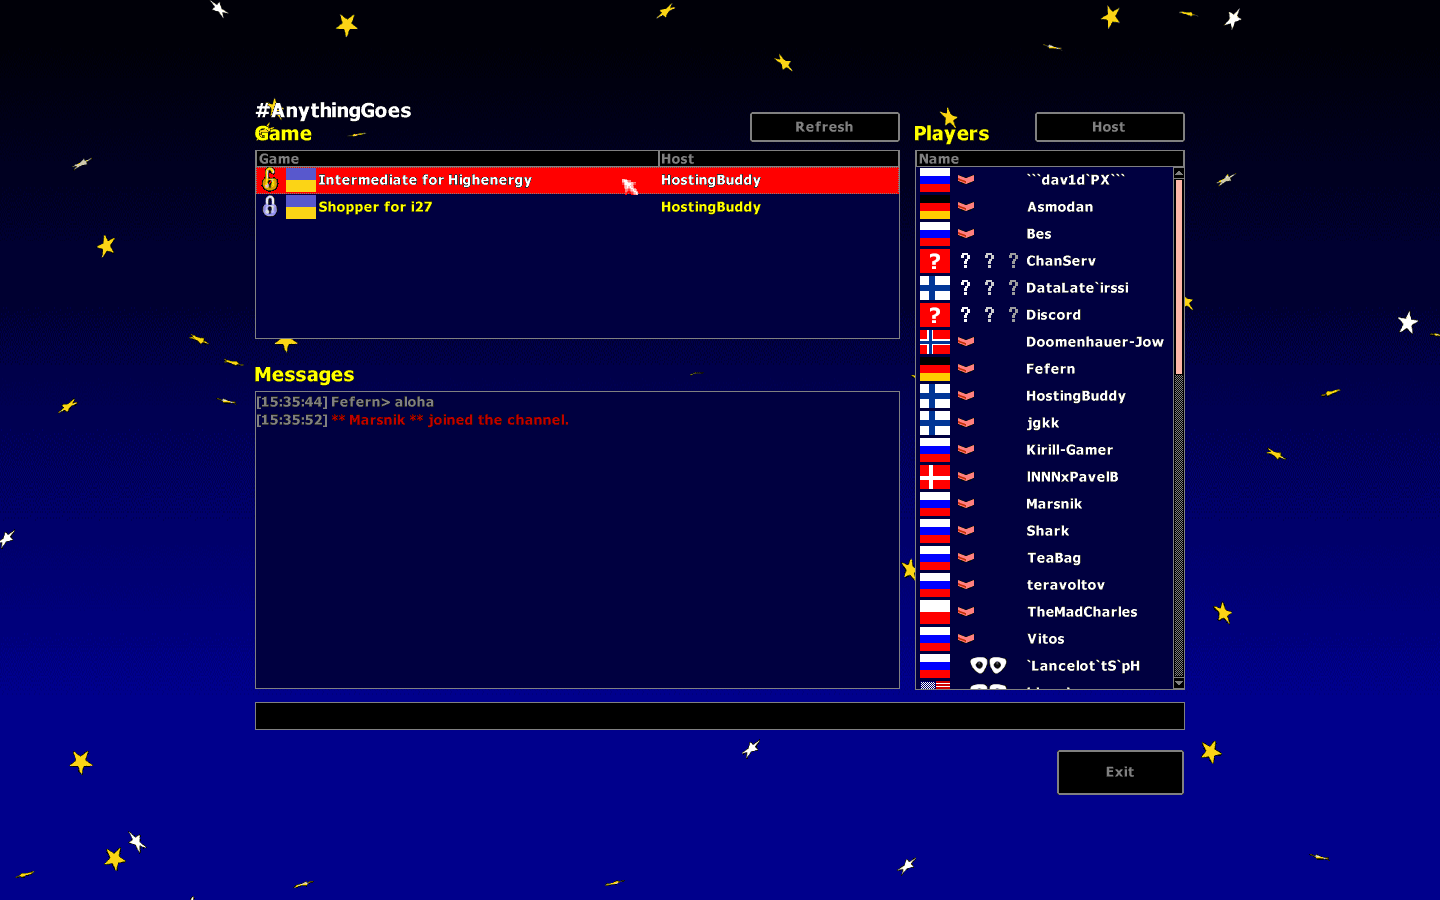
A note about passworded games

To distinguish the difference between passworded games or not, look for either:
- the color of the font (where yellow games are passworded, beige games without one)
- the padlock on the very left of the row of the game, to the left of the country flag (closed, silver padlocks indicate passworded games, gold open padlocks indicate games without one)
Adding your team
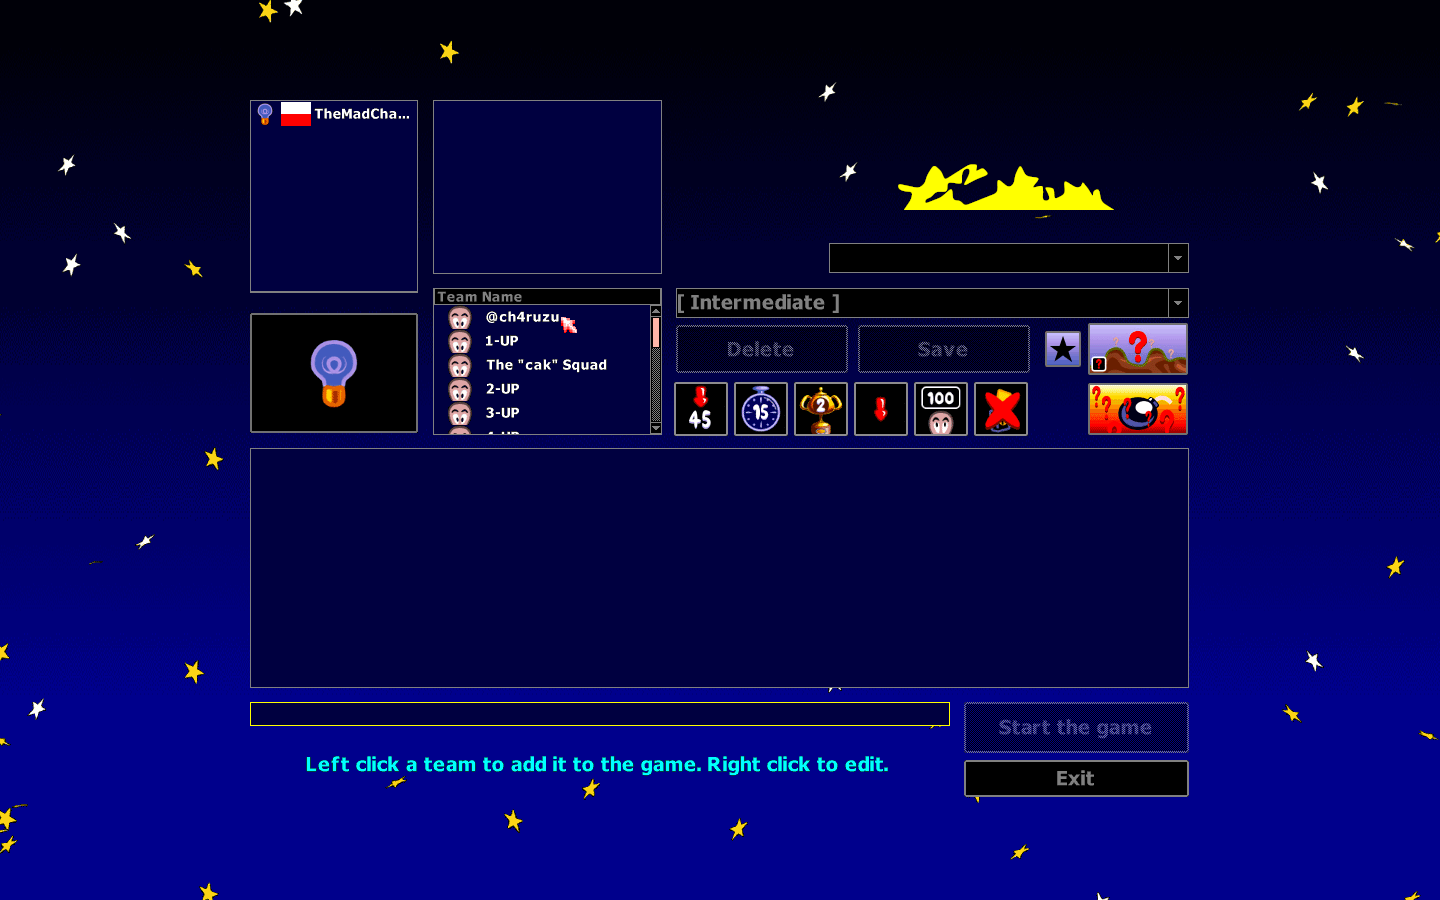
It is recommended to pick only one team on games with strangers, otherwise you might get kicked
Additionally, you can edit teams in the barracks on the fly by right clicking (clicking with right mouse button) on the row representing it
Readying up

It’s also important to mention that every change in game settings will wipe everyone’s ready status
Once everyone is ready, the game host can press the button to start the game.
In case of HostingBuddy, once host types “!start” to make HostingBuddy ready AND when everyone’s ready, the game will start automatically
A note about in-game chat

To hide chat, press Page Up on the keyboard.
To show chat again, press Page Down.
To chat, type a message after showing chat, and press Enter to send.
You can also pin the chat window with CTRL+PageDown
…And also unpin with CTRL+PageUp
As well as change the chat size:
- to increase, use CTRL+DownArrow
- to decrease, use CTRL+UpArrow
you can change chat size for both pinned and opened chat states separately
There are also couple chat commands, and you can read about them over on [link]
BONUS: Community Server List
Sometimes, there can be occurences when the official WormNET server is down. Fortunately, you can join the community server instead.


To toggle this and the other options, click on the row of the option. If the box to the right is filled, then that option is enabled.

By default, for version 3.8, you’ll be met with a list where there’s only one community server, and a staging server for development purposes.
You’re only interested in official WormNET, or, if that’s down, the community server.
To join a server from this list, double click on the yellow title of the server.
The same instructions apply for joining to a game in the community server
Closing thoughts
I hope this guide helped you, if it did, please leave a like and favorite
If you have additional questions regarding this guide or topic, please leave them in the comments
If you have other questions regarding Worms Armageddon, either add me on Steam, or check out these other guides