Overview
How do you kill stuff in the game?There are the most obvious things and those not so well known.In this guide I or we, will show some short examples of what you can do in the game and what you should look out for.What you can do, the enemy can do.The guide was created on 11/9.2016 and was updated xx/xx xxxx.
Positioning positioning positioning. Did I mention you should position your assets correctly?
A position is a temporary placement of lethal troops to make the most damage to the opponent while staying safe with your own troops.
The most obvious example is a mortar behind buildings. You can hit infantry, but the infantry cannot hit you. Until a counter is spawned you can hold your position during the whole game. If a counter is spawned you will have to reposition the mortar or take out the counter.
But the position is not an isolated event. It is done in a context. What on the surface looks like a great position can in reality be the weakest position and a waste of resources.
_____________________________________
I will show you two positions from the latest match between Todesser and Konos that will show weak positions looking strong.
The map is Kreutzberg.
The first example is the Oerlikon placement between two flags. The player was very careful to blow down walls to get full vision with the auto cannon. But a crucial mistake was made – the player did not have vision in the AT grenade range between the Oerlikon and a hidden path. If there would have been at least one spotting and shooting infantry the Oerlikon would be dominant, but now it was the weakest link.
The second example is a placement of a mobile mortar on the same map. It was totally exposed to AT-rifle fire and were destroyed rather quickly. A different placement would have made it equally lethal but not subject to enemy fire. A crucial positional mistake cost dearly.
______________________________________
You will have to learn to position your troops correctly – micro
and combine these positions into assaults and retreats – macro
Why are positions crucial? Because the shooting accuracy is better from a stand still. Take position, shoot. Move to another position, shoot and so forth.
With infantry it is mostly, move to position, go prone, shoot. Or move behind sandbag and shoot.
The exception is the Swiss yodel maneuver where you drive a light vehicle and dominate enemy assets from behind.
Remember the Swiss are neutral, so the Swiss yodel maneuver is the exception. Swiss banks however have been part of yodel maneuvers in recent history (-) 100-0 years.
Swap weapons with elite marksmen.
Elite marksmen have better accuracy but they fire single shot rifles. To improve their lethality swap their rifles with SMG or machine guns OR the AT-rifle(!).
The elite marksmen have higher survivability and with the increased accuracy they can kill faster with an SMG than the standard rifle.
You can either start the game with the elite marksmen and swap with single SMG soldiers, or swap as you go along. The ordinary soldiers who now have single shot rifles can go scouting in prone position and shoot better at shorter range with the rifle instead of a SMG.
Strat29 had a test a couple of years back showing how different troops do in a shoot out, but it seems to have been forgotten.
This tactical strategy will take micro time, but with a skillful player the advantages of a better rate of fire on all the elite marksmen holding automatic guns will improve the win rates on the margin. We all know margins matter.
The logic is:
More shots fired per unit of time at a greater distance with better accuracy will increase the chances of hitting the opposing infantry while staying safe.
To make this work you have to cover your elite shooters from mortar attacks and 20 mm gun fire. Reposition them and wait for your own counter. Then take the old positions and benefit from veteran soldiers.
It is like compounding interest.
( A video will be published next week showing the improvements of doing the swap, but I have filled my Vimeo quota for this week with the positional analysis of the Valkyrie mod tournament match between Todesser and Konos)
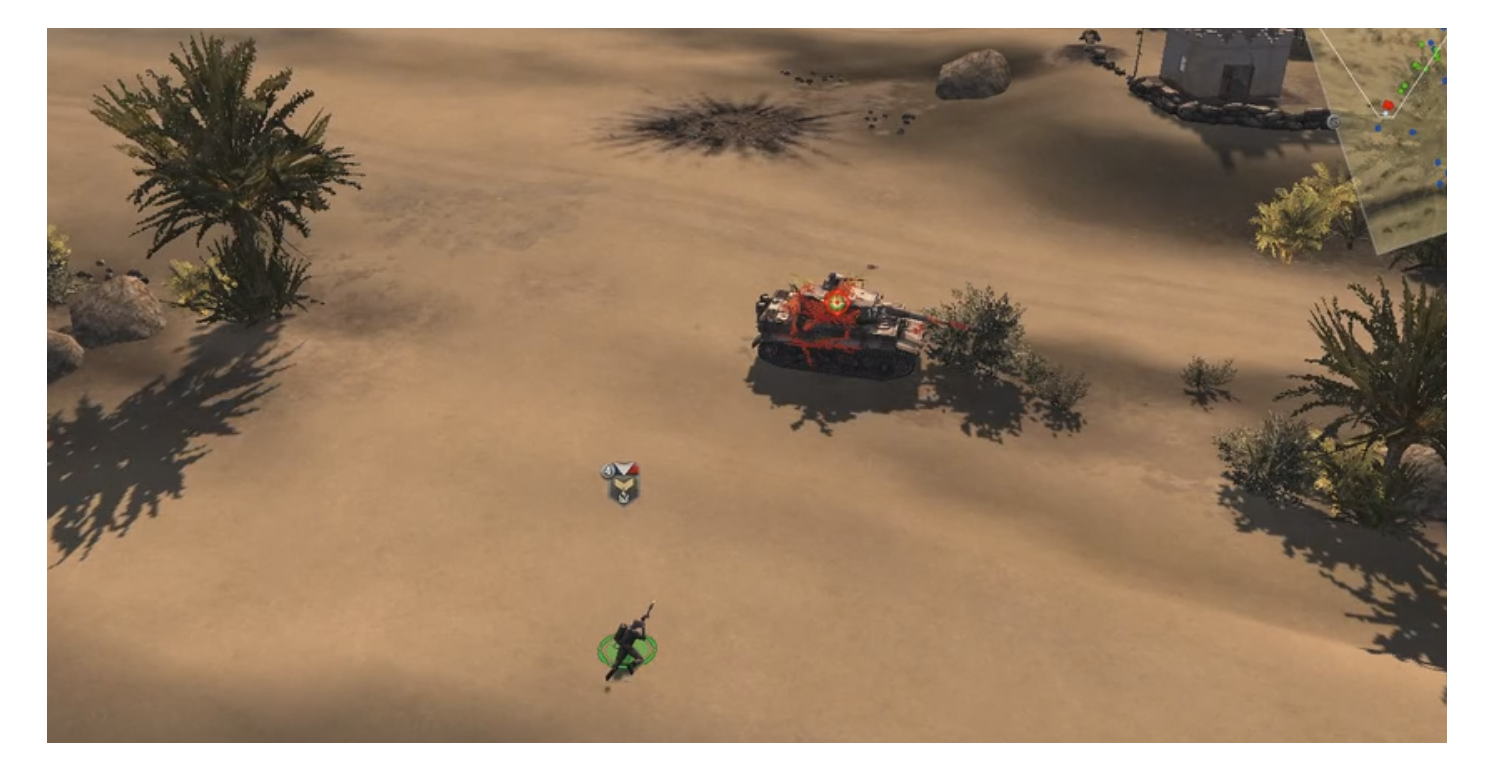
Flamethrower against tanks
When you want results, kill tanks with a flame thrower.
It is as efficient as bazookas and panzershreks as these have such low odds of hitting correctly, even from behind the tank that it takes equal amount of time to kill a tank with both methods.
Flame continuosly or wait for two or three reloads until your AT-infantry is dead or the tank is.
[link] [link]______________
A more efficient flamethrower tactic is in the hands of the German Brandenburger or Japanese Kamikaze.
You buy an ordinary flamethrower infantry and then a Brandenburger squad with you special points. Exchange the flamethrower to one of the machinegunners and you have stealth and deadly flames in one unit.
The stealth will get you closer to enemies while prone and the flamethrower can kill both infantry and tanks. As the panzershreks are worse than before in my opinion, the flamethrower is just as an viable weapon as a exploding weapon.
In a team game you can share the Brandenburgers with your team mates and save resources. They just need to buy a flamethrower and get a Brandenburger in return. If you prefer flaming to panzershrek, it is a given choice. If you still prefer the odds of killing a tank with exploding weapons, continue doing what you done so far.
The Kamikaze can first kill infantry with the flamethrower and then end the tank with explosives or continue spraying the deadly flames onto the unsuspecting tank.
Below is short video to show how it can be done.
[link]Behind enemy lines
If you want vision of the battlefield and prepare to kill large assets, take some infantry and crawl them behind enemy lines. Depending on how good your opponent(s) are you will be more or less lucky in getting through.
In the video below I crawl on the side of the map, but you can just as well crawl through buildings, in bushes (which is visible to a watchful opponent) or in any other fashion you can make up.
[link]Squad or group movement – hidden dangers
If you choose to move a whole squad or a selection of infantry there is an irritating feature in the game.
The units will first gather on some arbitrary point on the map before they start to move to the desired destination. This will have serious consequences when an opponent throws a grenade at you and your troops takes their merry time to gather before they run away.
[link]Be aware and select individual units and never have them gathered in a small area but spread them out beforehand. This way you do not have to select a whole squad and risk the death of them all.