Overview
This is the first Real guide about building a basic interceptorIn this Guide i will teach you how to build a basic interceptor and teach you the fundamental skills of interceptor building
Section 1 Basic knowledge
I do not own either of these pictures used in this section they belong to who ever uploaded them to google.

There are four basic rules that keep a AirPlane in the sky, these basic rules are called Aerodynamic Forces, these forces are.
- Lift
- Weight
- Thrust
- Drag
A=Lift
B=Thrust
C=Weight
D=DragFor any aerodynamic vehicle to fly straight two things must be met, these form a relationship That i like to call Straight & level Flight
Thrust=Drag
Lift=WeightAs of right now in RoboCraft the weather does not affect your plane so there wont be any random drag that will cause your plane to slow down for an unexpected reason. But in the real world if the amount of drag becomes larger than the amount of thrust then your plane will slow down. However if the amount of thrust is increased so the amount of thrust is greater than the drag the plane will speed up. But if the amount of lift drops below the weight of the plane then it will descend, But if pilot increases the lift, the plane will climb
Thrust
Thrust is an aerodynamic force that must be created by the the AirPlane, in order to overcome the force of drag. The Thrust and Drag act in opposite directions. AirPlanes must create thrust by using
- Propellers
- Jet Engines
- Rockets
Drag
Drag is an aerodynamic force, that resists the motion of an object moving. Through Fluid, in this case air is the fluid, water is also a fluid, drag also affects subs. The simplest example anyone can experiment with is sticking your hand out of a window while you are in motion, what your hand is experiencing is called drag. The amount of drag created boils down to a few factors,
- Object Size
- Speed of the object
- Air density
If the object was to slow down the amount of drag would decrease, Olympic skiers, is another example of how drag works. While they are going down the mountain you will see them hunch over and get as small as possible while still keeping balance, this is to help decrease drag and speed them up, so they can get to the finish line faster. After take off any plane always retracts its landing gear, This is also to help decrease drag and have a smoother ride. That and the force alone of the landing gear against the wind would rip them right off the plane.
Weight & Lift
Weight, Every object on earth has weight. Including air, A passenger plane can weight up to 435 tons, but still be able to lift off the runway.
Lift, is an aerodynamic force, that holds the plane in the air, and the most tricky out of all four of the aerodynamic forces without using a lot of math. on all AirPlanes lift is acquired by the wings, although there are some other parts that play this role as well. A principle in aerodynamics is that Air is a fluid
About Fluid
A principle in aerodynamics is that Air is a fluid. Like all gases Air, flows and behaves in a similar manner to water and other liquids. Even though air, water and even pancake syrup may seem as a very different substance, they however all conform to the same set of mathematical relationships. A lot of aerodynamic tests are even done under water. Another important fact is that lift can only exist in the presence of a moving fluid. However this is also true for drag, this doesn’t matter if the object is stationary and the fluid is moving, or if the fluid is still and the object is moving through it. What really matters is the relative difference in speeds between the two (object & fluid)
Neither lift or drag can be created in space, because there is no fluid. This will explain why most space craft does not have wings, unless the spacecraft spends most of its time in the air. The space shuttle is a perfect example it has only stubby little wings used for re entering the earth’s atmosphere, its stubby wings is just enough to create lift. To glide to its landing zone.
Section 2 Getting Started
I start with a 1X3 design or a 3X1 depending on how you read it some people go (Height X Weight) or (Weight X Height) but as far as i am going for this guide i will be using the first 1 ( H X W ). I start with Cubes, use any Tier you wish as i said in my first guide i like to use T1 because they are free then i go back and re do it with higher Tiers once my design is done,


Section 3 The CockPit
Before you say where is the cockpit??? i have not forgotten it i just started working the top and back before i went to the front and under, do not ask me why, this is just how i did it. Remember when we put those first 2 Electroplates on the T7s i took them off and marked them with a Glass Block so i would not forget where i had them and extended the front by 5X3 the last 2 blocks on the corners are Prisms turned side ways.


Section 4 Going back and back
Now i return to the back of the craft since the front is pretty much done and i have marked where the First set of T6 Electroplates are on the top you also want to put T7 Electroplates right under them.


Section 5 Finishing up
Time to add the wings, to keep this plane as small as possible i use Rudders and because this fighter is light enough Rudders are perfect. the first 2 will go in the very front on the first Cube, and the very back. On the last Cube.

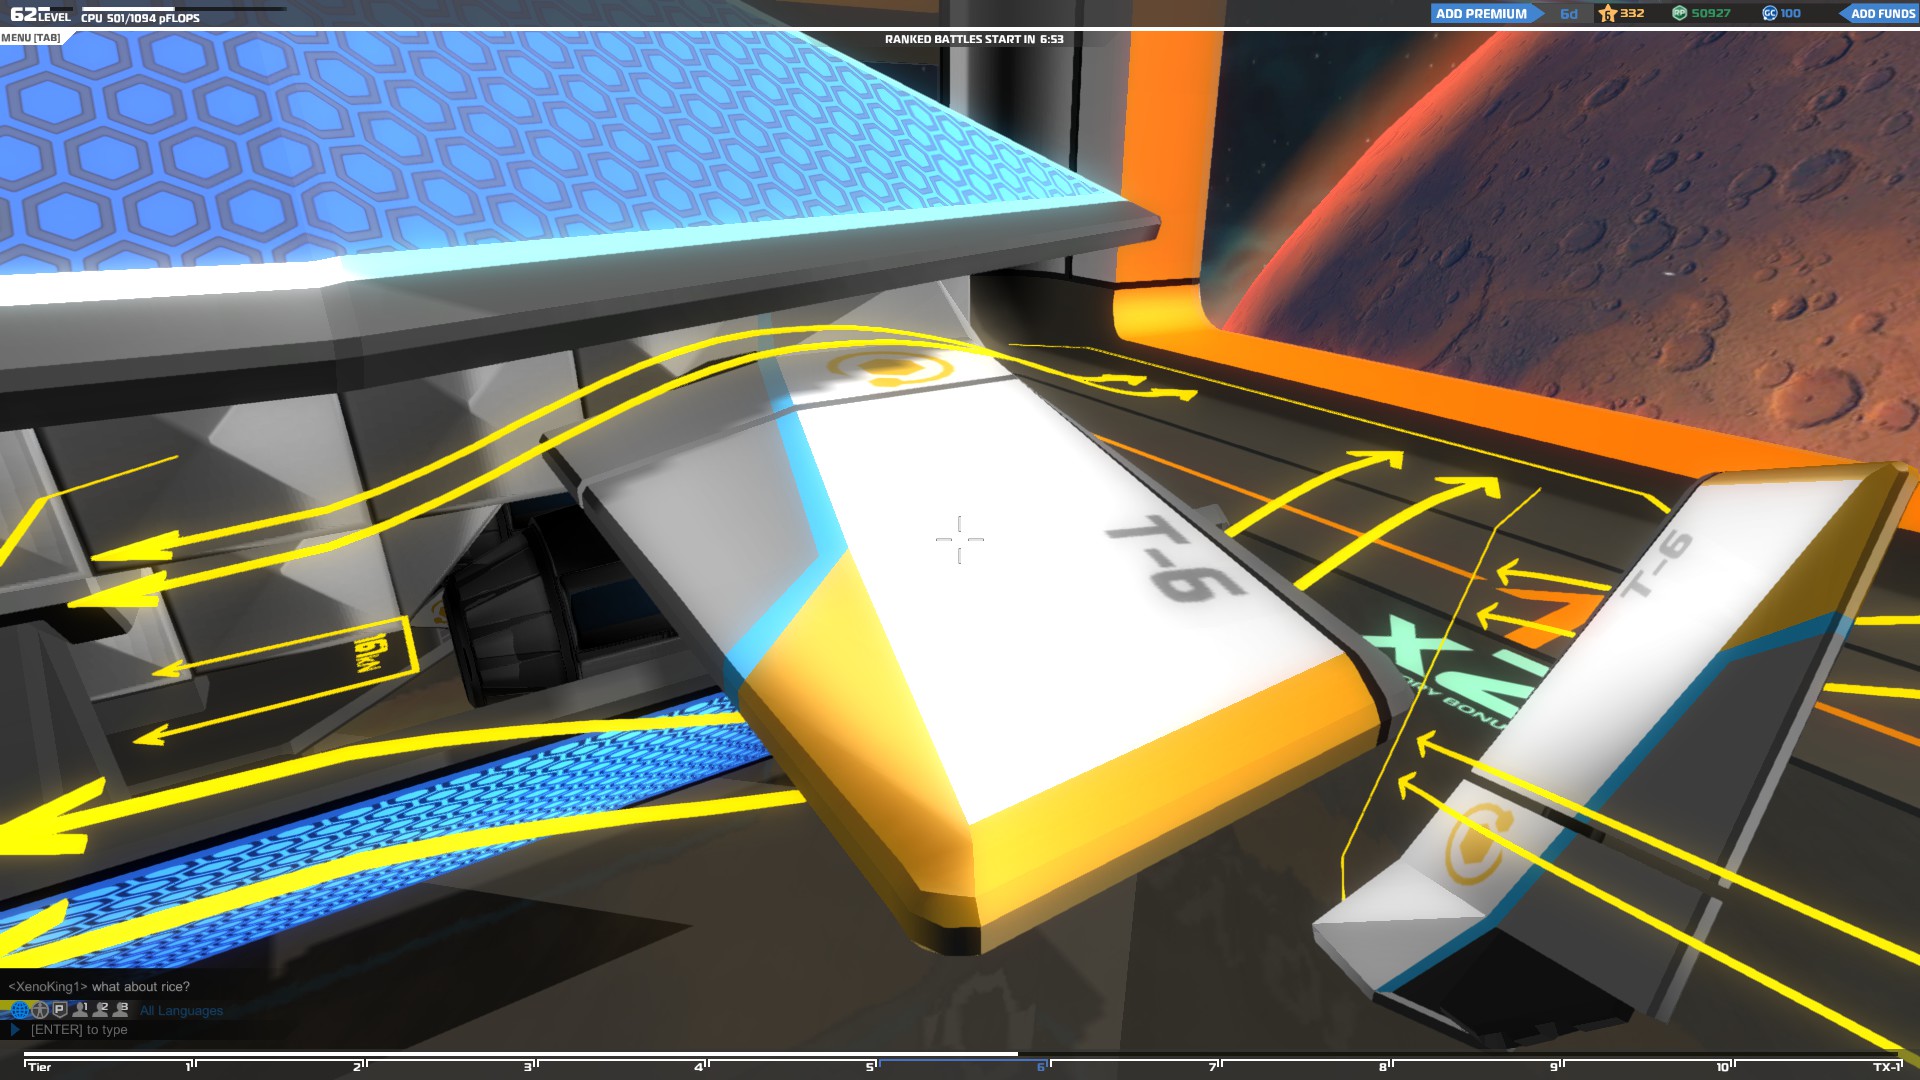


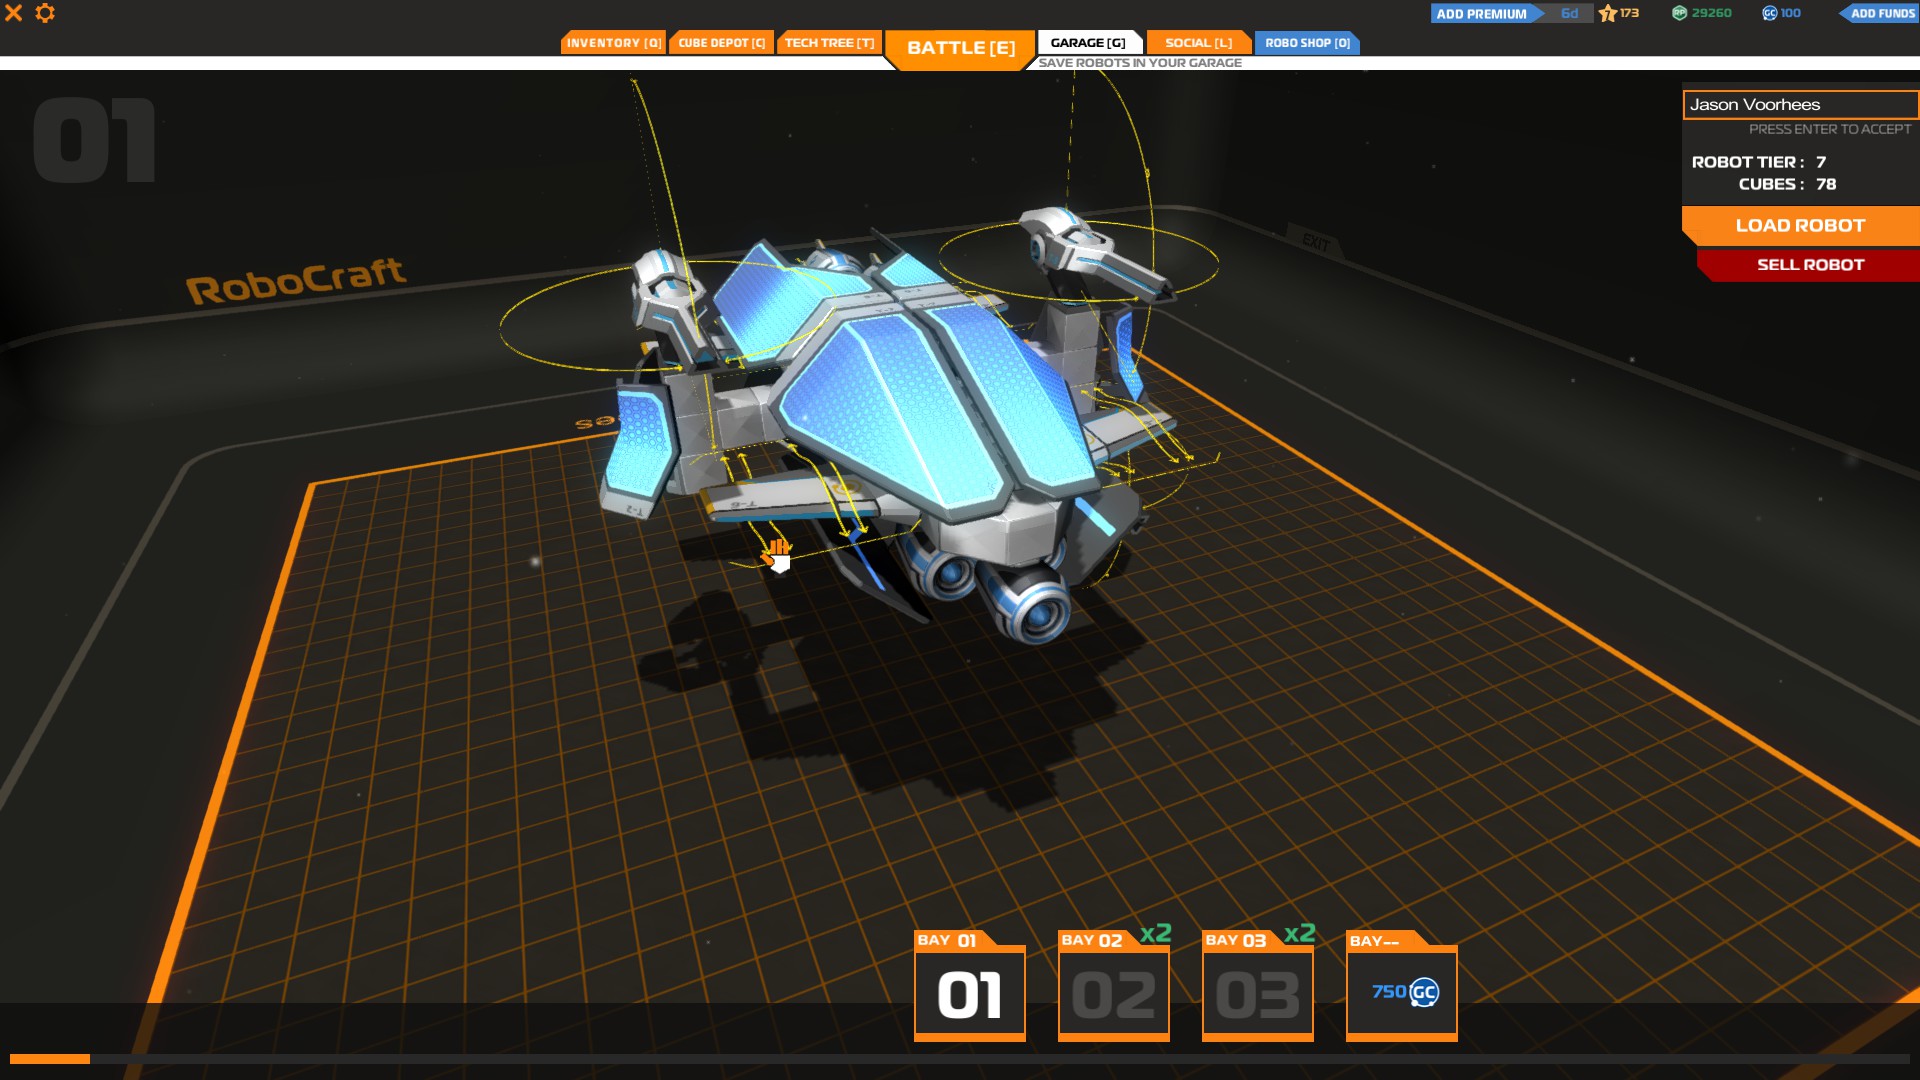
interceptor Concepts
Here is my fighter this one handles much better.


Other Guides
Basic Helicopter [link]
Basic Bomber [link]
Basic Tank [link]
Walker-Coming soon
Hover Craft-coming
TriPod-Comng soon