Overview
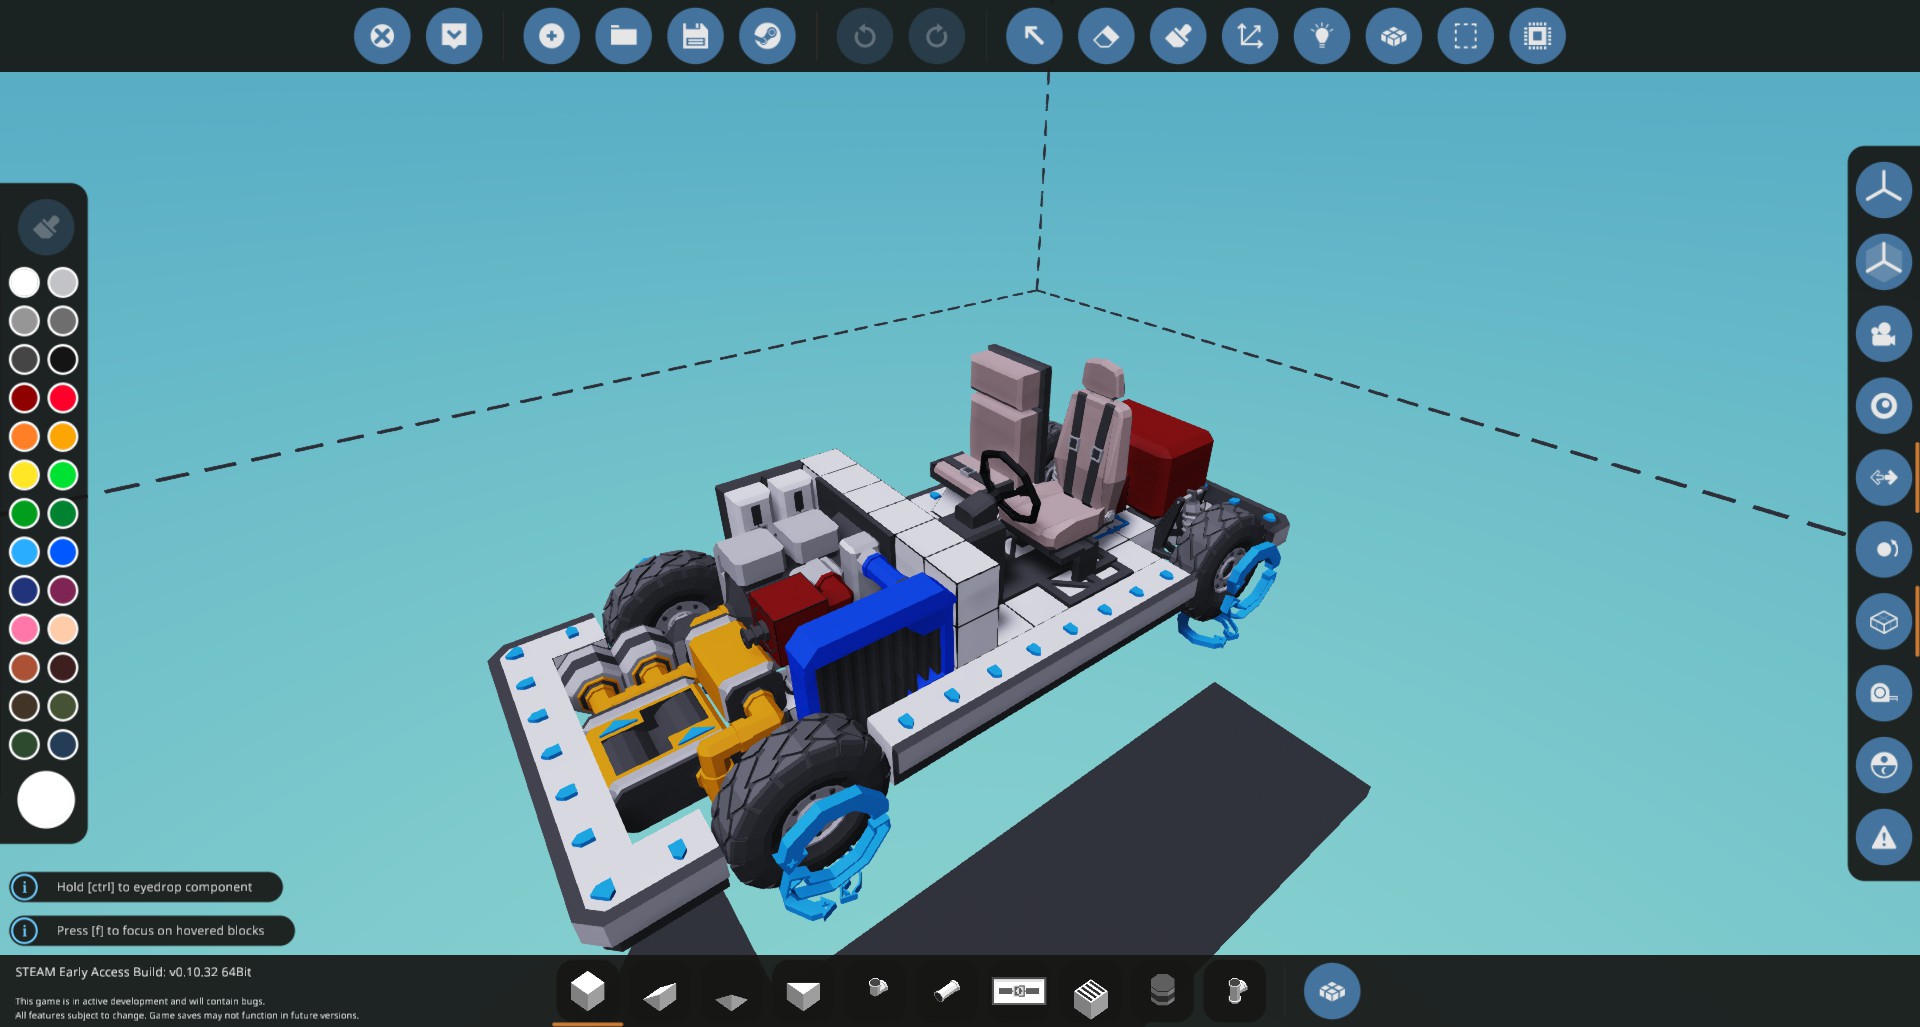
In this guide i will show you how to make a compact advanced compact car within minutes!
Step One
Start by making a chassis with 3 x 3 wheels and make sure that the “+” arrow on them is pointing down. My chassis is 7 blocks wide and 17 blocks long ( 1.75m x 4.25.m) Although it doesn’t matter how large it is. And Then Make Room for the engine.
Step Two
Now we will set up the engine, (i’m not going to go into how to connect up the engine because it is to complex for me to put into words, although there are plenty of good guides out there that can teach you how.) After the engine is connected i encourage you to double check everything to make sure that it will work. Here’s a checklist that you can use to make sure it will work.
- Fuel: Fluid Tank, Custom Tank
- Exhaust: Fluid Exhaust, Fluid Nozzle, Fluid Port.
- Coolants: Radiator, Fluid Heat Sink.
- Air: Fluid Port: Fluid Intake Fluid Slot Port.
For this step pay close attention because it’s important.
- 1: Clutch, do not connect the clutch directly to the engine or else it will not work, make sure that the power is going through “Power A” on the clutch and coming out “Power B”.
- 2: The Gearbox:, Do not connect the gearbox directly to the clutch, or once again it will not work, make sure the power is going through “Power A” and coming out “Power B” After you have connected your gearbox to the power use the select tool and click on the gearbox, keep ratio 1 however you want and make ratio 2 “1:-1” Aka Reverse.
- 3: Generators, Use pipe T-Pieces to connect however many generators you want.
- 4: Connect To Wheels, This part is pretty basic connect your power pipe to your wheels power.
Step Three
Lets start by connecting the electric, place down a battery use the logic tool. Once using the Logic Tool go into the electric section and connect everything up that requires electric. After Doing that go back into building mode and place down a driver seat and a padded seat for your passenger. Now go into the Data section of your Logic Tool and connect the input of the throttle and clutch to the W/S Output of your Driver Seat. and that will control your gas, now we need to control the brakes when we hold “S”. for this we are going to grab an Inverter from the logic section of our build tool. we will connect the Input of our Inverter to the W/S Output from our driver seat, and connect the Output of our Inverter to the Input of our Tires variable Brakes. And that’s the basics of our Throttle And Brake System. But now we need a way to turn the car. For this we need to grab another inverter, and connect the Inverters Output To the Front Left Tires (Aka Tire 1) Steering Input. and Connect The Inverters Input To the Driver Seats A/D Output. For the Right Tire Connect the Driver Seats A/D Ouput to the right Tires Steering Input. That is all for the steering system. now we need to install our Starting I Used a Key Button although any type of Button will work just fine. this part is very simple connect your Buttons Output to our Engines On/Off Input. Now We Need to Connect up our gearbox so we can switch gears. For this all you have to do is connect the Gearboxes Switch Gear Input to a button or Hotkey. and that is all you need to know! i do recommend looking over your Data and Electric Logic just to make sure that everything is fine.
Conclusion
That is pretty much everything you need to know to make a car! Now all you need to do is test drive it to make sure it runs fine. This is my first time making a guide so sorry if my formatting is wrong or if i didn’t use all the tools properly. I hope you found this Guide Useful and Helpful and thank you for reading!
Mr.Pickles


