Overview
This guide will tell you how to create your own radial menu.
Here We Go
1. Back up config.cfg from “…Steamsteamappscommonleft 4 deadleft4deadcfg” and RadialMenu.txt from “…Steamsteamappscommonleft 4 deadleft4deadscripts”.
2. Add your commands to this code:
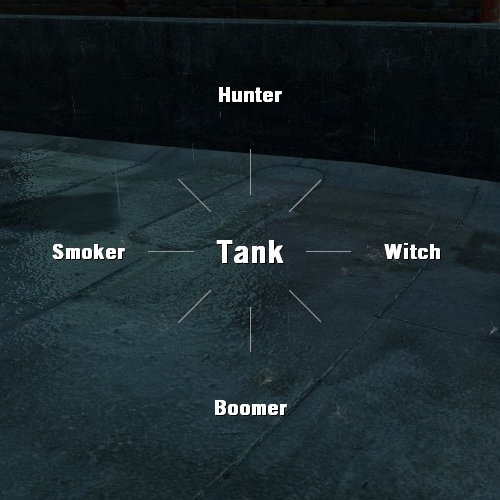
For example:
Don’t use spaces and special characters in your menu name.
You can use not only vocalize commands.
3. Open …Steamsteamappscommonleft 4 deadleft4deadscriptsRadialMenu.txt.
4. Copypaste your code before the last “}”.
5. Open …Steamsteamappscommonleft 4 deadleft4deadcfgconfig.cfg.
6. Add a bind for your menu (You can also do this through console):
For example:

How to Make It Work with L4D2
Everything is pretty much the same as for l4d, but you’ll need:
1. radialmenu.txt (you can get it here[pastebin.com], don’t forget to rename the file).
2. Left 4 Dead 2 Authoring Tools (Steam→Library→Tools).
Follow the steps 2 and 4 from the previous section to add your menu into the radialmenu.txt.
When your menu is ready you should pack it into the .vpk to add it to the game:
1. Go to your desktop and create a folder without spaces and special characters in the name.
2. Open this folder and create new text file named addoninfo with text like:
3. Now create folder named scripts.
4. Put your radialmenu.txt into the scripts folder.
So the folder structure should be like:

5. Go to “…Steamsteamappscommonleft 4 dead 2bin”.
6. Drag’n drop the folder you created in the first step on vpk.exe.
7. Check out your desktop, the .vpk file should be there.
8. Put this file into “…Steamsteamappscommonleft 4 dead 2left4dead2addons”.
9. To make a bind for your menu follow the steps 6-7 from the previous section.
(Of course you should go into …left 4 dead 2left4dead2… instead of …left 4 deadleft4dead…)
10. Open the game and enable your addon in ADD-ONS menu, if it’s disabled.