Overview
Using the reskin mod you can turn your images of ducks into a reskin in a matter of seconds. Since it comes with UI all you need to do is draw (which time is excluded from the title) and select your files and press export.
Setting up/Downloads
First of all you need to get the Reskin Maker, this application is what lets you create reskins; and the reskins mod which lets you see the skins. Since its a client mod you can play with people without the mod, but if they were to have it aswell they would see your reskin and you could see theirs.
Reskin Maker Download[github.com] (If something isn’t working with the program always try to update it from here before saying that it doesn’t work)
Reskins Mod Workshop Page
The mod is what displays the reskin files in game.
If you’re interested in the source code of the mod or ReskinMaker you can find it here[github.com].
Making Your Textures
In the ReskinMaker.zip file that you downloaded earlier there will be two folders, Texture Templates and Example Reskins.
In the Texture Templates folder you’ll find all the textures you need, these are the texture that normal duckgame uses for its duck, which means they already come with the correct frames its really easy to just draw over them for your reskin.
You only need a hat texture, and a duck texture and you will be able to make a skin. If there is no quack texture it will look like in ArmyTeCels client skins mod.
If there’s no arm texture or feather textures their default counterparts will be used instead, and for the controlled texture it will be the quack texture by default.
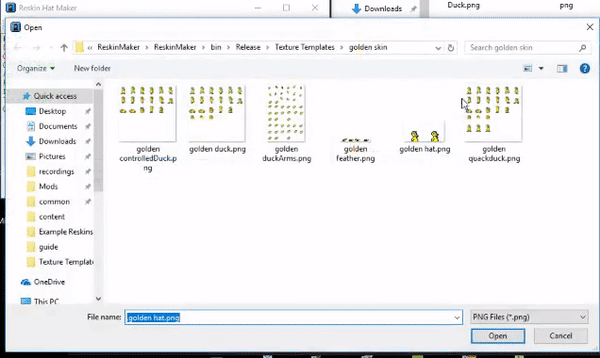
I’ll make a golden duck as an example (mostly because im lazy and it only requires me to recolor parts). To start off I just change each frame of the duck.png file using some image editor such as GIMP[www.gimp.org] or PaintdotNET[www.getpaint.net]

Once im done i move on to the next files: quackduck.png, feather.png, controlledDuck.png and duckArms.png.

but im not finished yet, all i need now is to do the hat. It’s important to note that if you want to use a cape, dont put it in the hat texture as its a separate component in the Reskin Maker. So you have to make that in its own 32×32 image.

Using the Reskin Maker
Heres how long it takes to turn the textures into a reskin
I think this gif explains the basics of the Reskin Maker very well.
Basically theres a list on the left which contains all the properties in the reskin, most of which are textures. If a property is red then you can hover your mouse over it and it will tell what is wrong, and if you want a better explaination of what the property does you can right click it and choose extra info.
If a property is not required and has no value, then it will use the default duckgame texture ingame.
Stuff! You can save the reskin as a .png file, or Export it as a .rsk file which is what the game uses. You can also open .png files and .rsk files and see what’s in them.
I recommend taking a look at the skins in the Example Reskins folder (which were all made by ArmyteCel) using the Import button.
Then theres the Reset to Default button which clears the currently selected property and surprisingly enough resets it to the default value.
And the last button is the Create Reskin Pack button which i’ll go through later as a bunch of information.
Once you’re done with your reskin you can export it and place the file where you’d normally place .hat files. (C:Programs (x86)SteamsteamappscommonDuckGame or whatever your steam directory is)

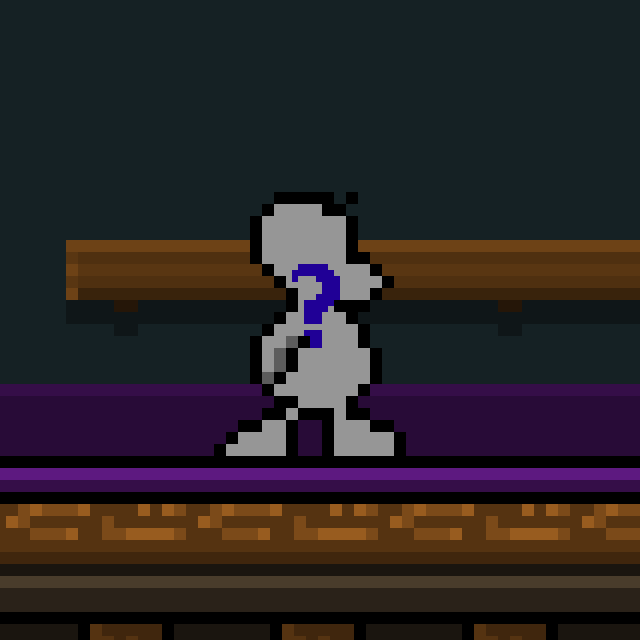
This is what a reskin actually looks like.
For those without the mod only the top part will be shown,
while the rest is a bunch of compressed data which
the mod turn into a reskin.
Equipment Retextures
The Equipment Retextures property lets you change the appearance of equipment or guns when picked up.
If you press the + button you will be asked to enter the name of the texture you want to replace. There are some example textures in the “Texture Templatescommon equipment” folder, in the text box you want to enter the name of the file (without .png) as its the same name as the one duckgame uses. If you find this confusing then try checking out the example reskins which all contains equipment retextures.
This changes the knightHelmet Texture into a SWAT mask, this is taken from the big smoke reskin.

First you have to find what texture you’re looking for, in duckgames content folder you will find all the textures in a .xnb format. Which you cant open in image editing software, so luckily someone has converted all of them into .png files so that you can inspect and edit them easier.
[link] <- heres the download
Texture Settings (HD SKINS)
You might’ve noticed the Texture Settings property, and in it you can choose the size of every frame for the duck, feathers and arms textures.

The sprite size of everything is how many pixels each frame takes up, and by default each frame has the size 32×32. And if you were to choose something like 64×64 then each frame would take twice as many pixels while being twice as small, or to put it in other words: increases resolution.
The limit to how big the sprite size gets is 64×64 since the filesize eventually gets too big, but its better than nothing. And luckely theres templates for the double sized sprites in the Texture TemplatesHD Folder;
Sorry if you’ve already done the normal textures and decide to go for higher res. Should’ve read the whole guide first! >:d
This value will recolor the reskin to the color of the duck (white,gray,yellow,orange), this will only work on the colors white (RGB: 255,255,255) and gray (RGB: 157,157,157). These are the standard duck colors so make sure to use them if you want this setting to work.
Creating a Reskin Pack
Back to the mysterious button in the top right, the Create Skin Pack button! This is the alternative to making a hat-pack which you can upload to the workshop as a mod.
But the reskin packs are way better, for it is in fact a client mod that others do not need, and thus you can use them when playing with strangers on vanilla duckgame and they wont even need to download it when joining lobbies! The only downside with them is that you need the reskins mod installed for them to work.
When you press it you will be greeted by this complex menu with text and a bunch of complex stuff.
Lets break it down to make it less of a mess:
Pack Name: The name of the pack, this is what will be displayed in the mods menu. This cannot contain any “Illegal characters” which are : | * < >

Pack Description: What will be displayed as the Mod description
Author: Whomst’ve made the reskin pack
Version: The version of the reskin pack
Current Thumbnail: The image that will be displayed on the steam workshop, also knows as the screenshot.png file. this image cannot be too big or steam will be angry, so thats probably what causes problems with uploading to the workshop.
Current Icon: The image that will be show in the mod menu, should be a square of any size.
This is where you put the reskins you want to have in your pack. You add stuff yo the list by pressing the + button and remove all selected stuff in the list by pressing the – button. When choosing what files to add you can choose both reskins saved as .png files as they will be converted automatically, or .rsk files.
Once you have your list you press the Create button and a mod will be created and added to duckgame automatically.
Once you’re done with the stuff you just have to open duckgame, go to the settings part of the title screen, select MANAGE MODS and find the pack you just created, select it and choose UPLOAD.
Nice.