Overview
Quickstart with heightmap for “Soviet Republic” game
What you need
First of all – idea 🙂
And some software to convert your glorious heightmap to format recognized by “Soviet republic”
I recommend two free tools:
– GIMP + DDS plug-in
– Paint.net + DDS2 plug-in
User @Lac_M (thanks!) recommends Nvidia tool for dds textures:
[link]How to generate heightmap?
You can make heightmap from scratch, or you can generate heightmap based on real terrains.
I prefer two sites:
[link] or
[link]
Both sites are easy to use. You need to export image from this site in any format (jpg/png).

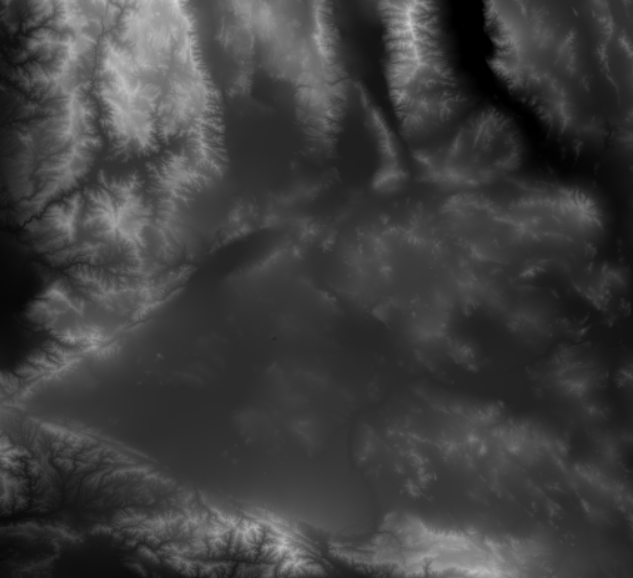
In this tutorial I choose part of San Francisco Bay 🙂
When you export image from these sites, in graphics editor you have to prepare this file for Soviet Republic World Editor.
Working with graphics editor
World Editor use 2048*2048 pixels heightmap, so you need to resize your file to these dimensions. Then change image mode to greyscale.
And remember:
Darker = lower terrain
Brighter = higher terrain
When you finish your heightmap, you have to do one, little thing before you export file.
You have to make 2 pixels width, black border. Without this border you can see some visual glitches on map borders in game.
Now you can export .dds file. Format of .dds file:
R32F, no MIPmaps (you can try to export in BC1/DXT1 format of similar but users report that sometimes it makes problems while editing)
How to convert .png to .dds R32F using Nvidia Texture Tools?
After installing tools, in command line (cmd) run command:
nvdtx -quality_highest -file <path_to_png_file> -fp32 -outdir <path_to_output_dir>
For example:
nvdxt -quality_highset -file e:mapsmymap.png -fp32 -outdir e:maps
It generate R32F DDS file mymap.dds in e:maps folder
Working with World Editor
Now you can import prepared DDS in World Editor.
But…. What is this? Terrain looks like from “Minecraft” 🙂

It’s typical – don’t worry. After importing, use terrain smoothing tool to improve quality of your heightmap.

Optionally you can scale and offset your terrain.
Be creative 🙂

