How To Make Collectible Hunting Not Suck
Before You Begin
There are several things you should have unlocked before you even worry about going hunting for collectibles. Some of these you'll probably unlock just by playing the game, others you may have to make it a point of working towards.
- Unlock Scout 1. All you need to do to unlock this is stealth kill a single commander.
- Unlock Scout 2. Just kill 4 more commanders without drawing attention, and you'll get this.
- Unlock Silent Shot. Attach the silencer to your handgun once you've found it. Now shoot 10 bad guys in the head, but again, don't attract attention. Don't shoot Bob when his buddy is looking right at him or something.
- Unlock Knife Throwing. Get 5 Stealth Takedowns. Sneak up behind a guy and press M3. Good job, kiddo.
- Unlock Dead Eye. Aim down the sights and get a headshot kill three times with the assault rifle. Do this again with the handgun, but you only have to do so once. Stealth not required. This increases your damage output when you shoot guys in the head, which is naturally something you want.
Now that you've unlocked these perks, you have the tools needed to take the guesswork out of finding collectibles. With Scout 1, stealth killing any commander will paint points of interest on your map. Even if you haven't found the map in that level yet, you will still get the icons added to the entire map screen.
With Scout 2, your magic map gets even more useful, as now all commanders are shown on it as soon as you are within signal range. Instead of the question mark used for everything else, commanders are indicated with icons portraying their head.
Deadeye helps you drop armored guards in the later levels, who can take a handful of rounds to the skull before dropping in some cases.
Finally, Silent Shot and Knife Throwing give your silenced handgun some extra stopping power, in case you miss a headshot and need to quickly drop someone, and an alternative stealth kill from a distance, respectively.
You may want to also make the extra effort to unlock Assassin, which will make you super quiet when moving, and increase your move speed while crouched. It's not going to make or break the item hunting, but I've found it a valuable asset more than a few times. It's up to you.
You've probably figured out by now that you'll be using stealth more than you may have been previously. Don't jump to conclusions. Keep in mind that the idea is to get stealth kills on the commanders. As long as they go down before everyone starts shooting, you will get what we need added to your map. So if you just really want to start shooting everyone, there'll be time for that too.
Planning In Advance
Now that you have the tools you'll need to efficiently hunt for collectibles, you should decide how far you want to take this.
The unfortunate truth is that in order to find every single collectible, you'll have to complete both timelines. Because of how the two timelines both offer a unique skill, both also hide a unique item behind that skill.
To be clear, all gold, enigma codes, letters and records can be found without going through both timelines.
In the Wyatt timeline, you can find Armor Upgrades. These won't raise your maximum armor count past 100, but the percentage that each point gives you is increased slightly every time you find one. So it's still an increase to your armor, you just won't see it in the numbers.
In the Fergus timeline, you can find Health Upgrades. Unlike the Armor Upgrades, these directly bump up your maximum health by 10 points. Each point is worth the same amount it always was, but you have more of them to spare.
There are 10 of each upgrade, and one isn't more useful than the other. Both are great to have, so don't feel like you screwed up if you picked Wyatt on your first run or anything like that.
My suggestion is to finish at least one timeline (that is, complete a playthrough) before starting a hunt. Don't worry about going into another timeline yet, that's just making more work for yourself. With an entire timeline open, you have plenty of places to go and explore past what you thought possible previously, and you won't need to grab any items you find this time if you do eventually go through the other timeline.
The unfortunate truth is that in order to find every single collectible, you'll have to complete both timelines. Because of how the two timelines both offer a unique skill, both also hide a unique item behind that skill.
To be clear, all gold, enigma codes, letters and records can be found without going through both timelines.
In the Wyatt timeline, you can find Armor Upgrades. These won't raise your maximum armor count past 100, but the percentage that each point gives you is increased slightly every time you find one. So it's still an increase to your armor, you just won't see it in the numbers.
In the Fergus timeline, you can find Health Upgrades. Unlike the Armor Upgrades, these directly bump up your maximum health by 10 points. Each point is worth the same amount it always was, but you have more of them to spare.
There are 10 of each upgrade, and one isn't more useful than the other. Both are great to have, so don't feel like you screwed up if you picked Wyatt on your first run or anything like that.
My suggestion is to finish at least one timeline (that is, complete a playthrough) before starting a hunt. Don't worry about going into another timeline yet, that's just making more work for yourself. With an entire timeline open, you have plenty of places to go and explore past what you thought possible previously, and you won't need to grab any items you find this time if you do eventually go through the other timeline.
The Hunt
Let's go with the London Nautica. It doesn't take long to come across the first commander.
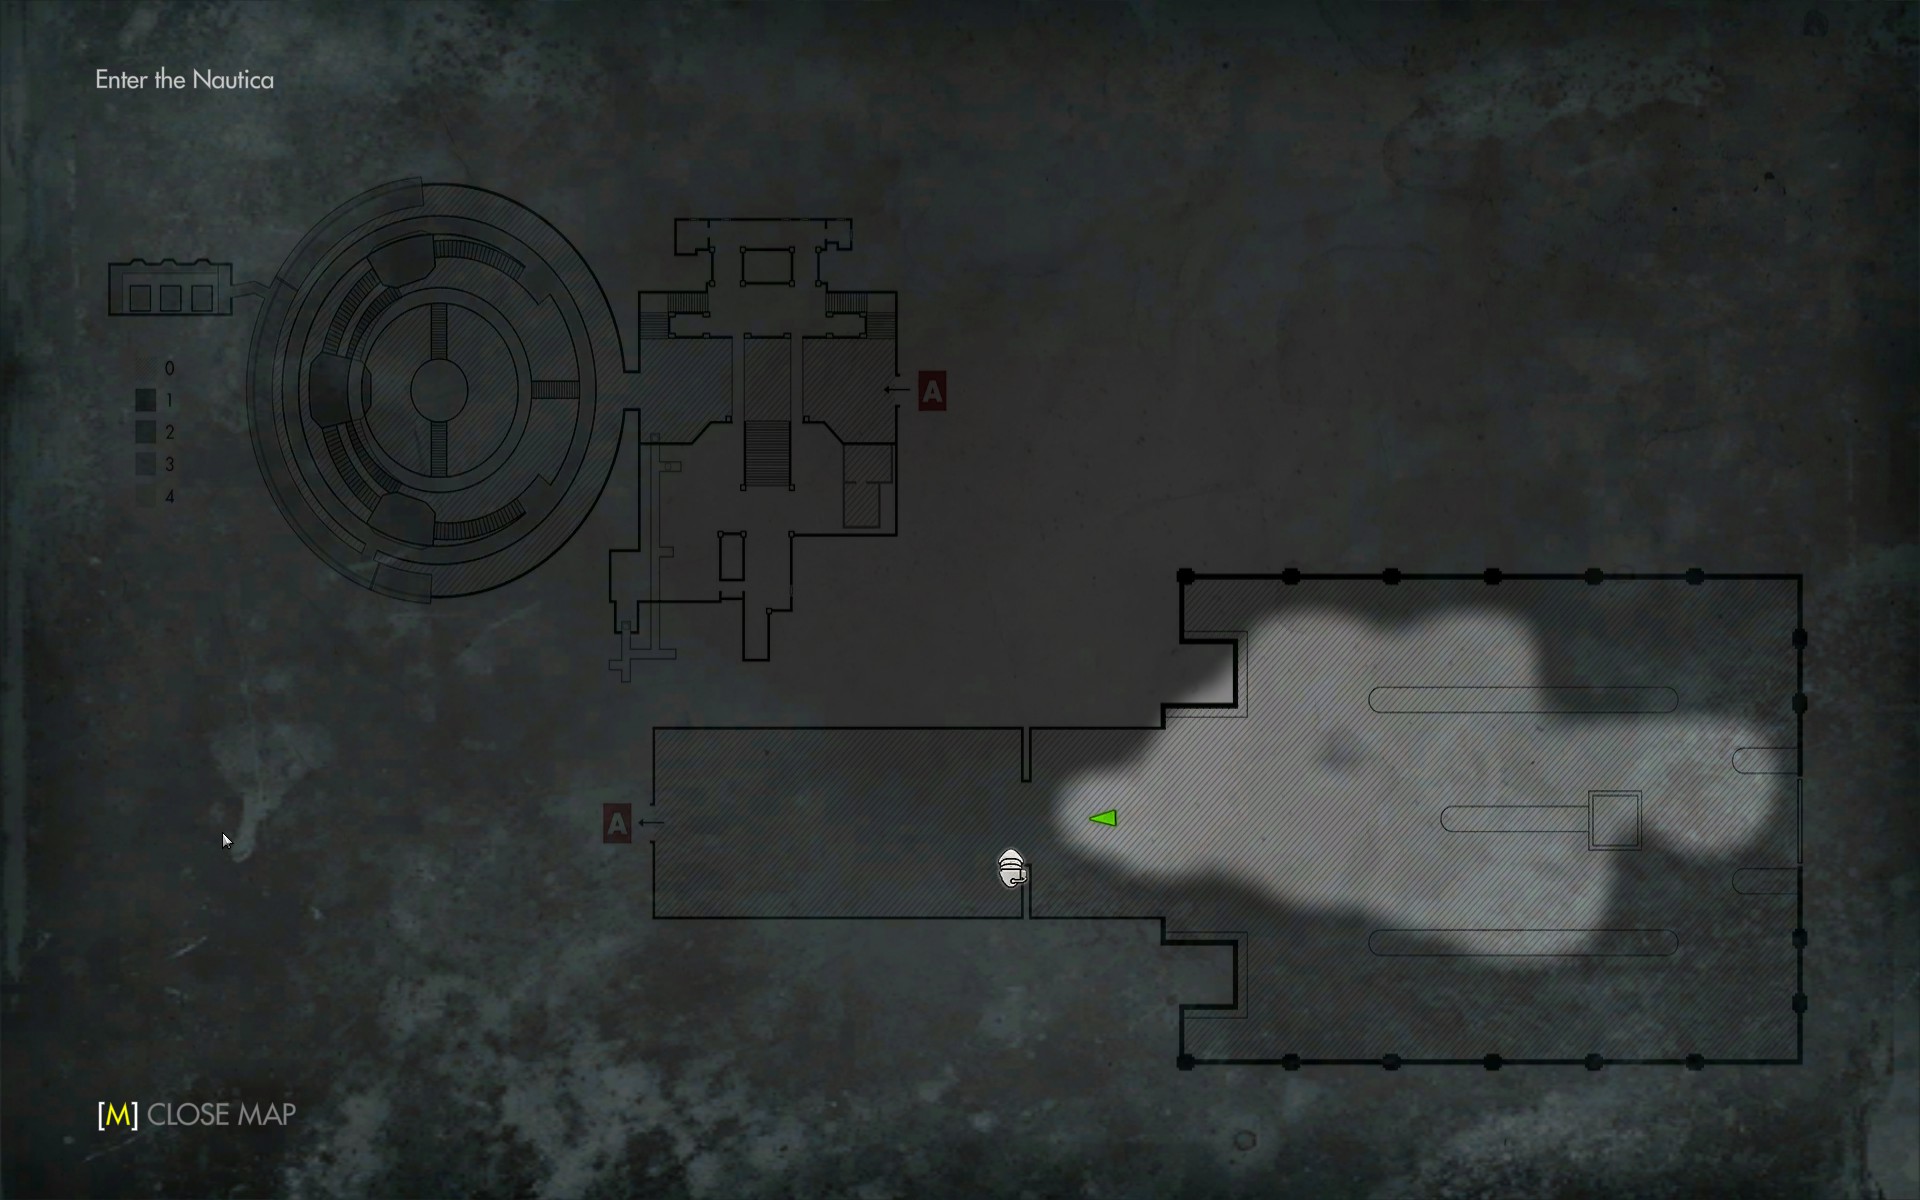
And sure enough, we've got some treasure to look for ahead.
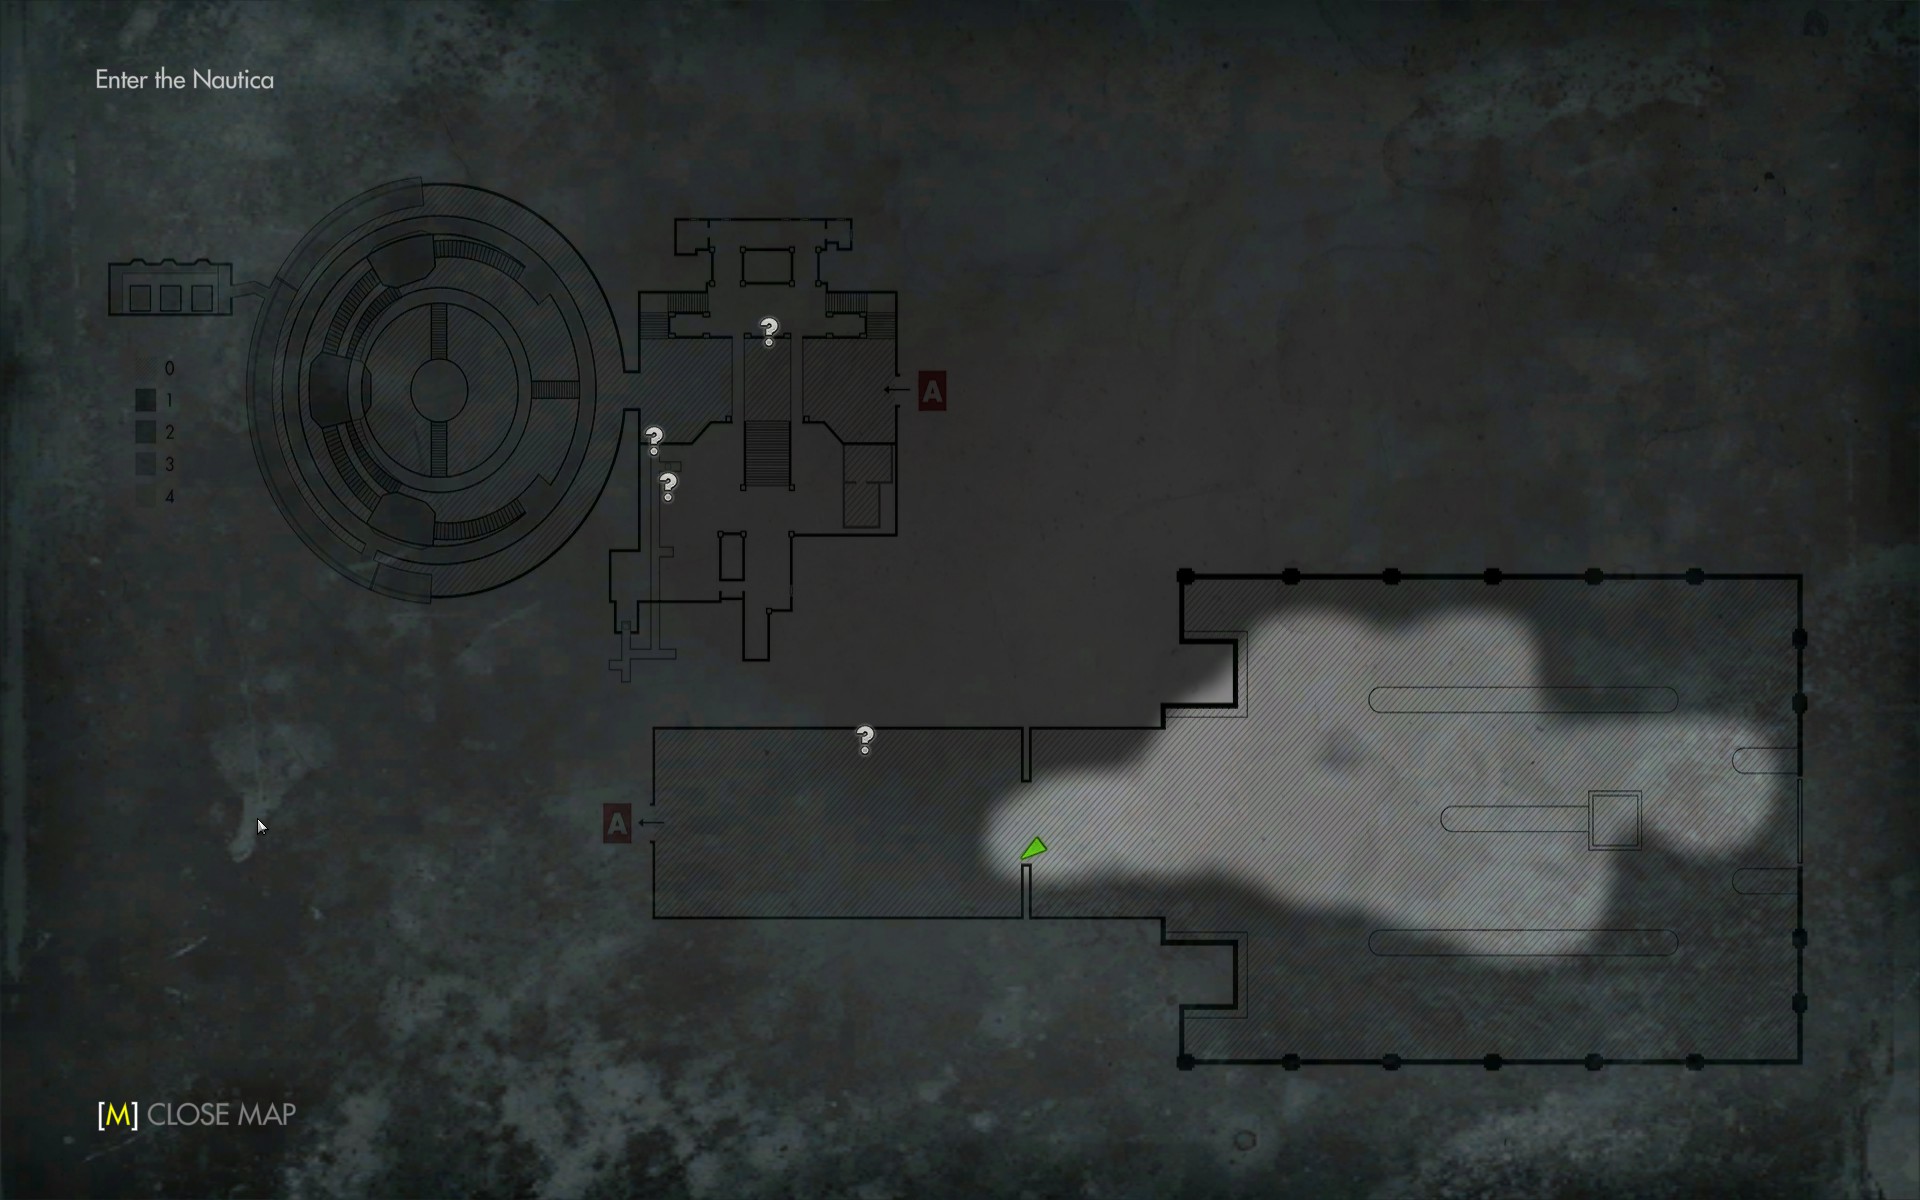
That's really all there is to it. Just make a point to check your map frequently so you don't pass anything, and don't get too caught up in any shoot-outs.
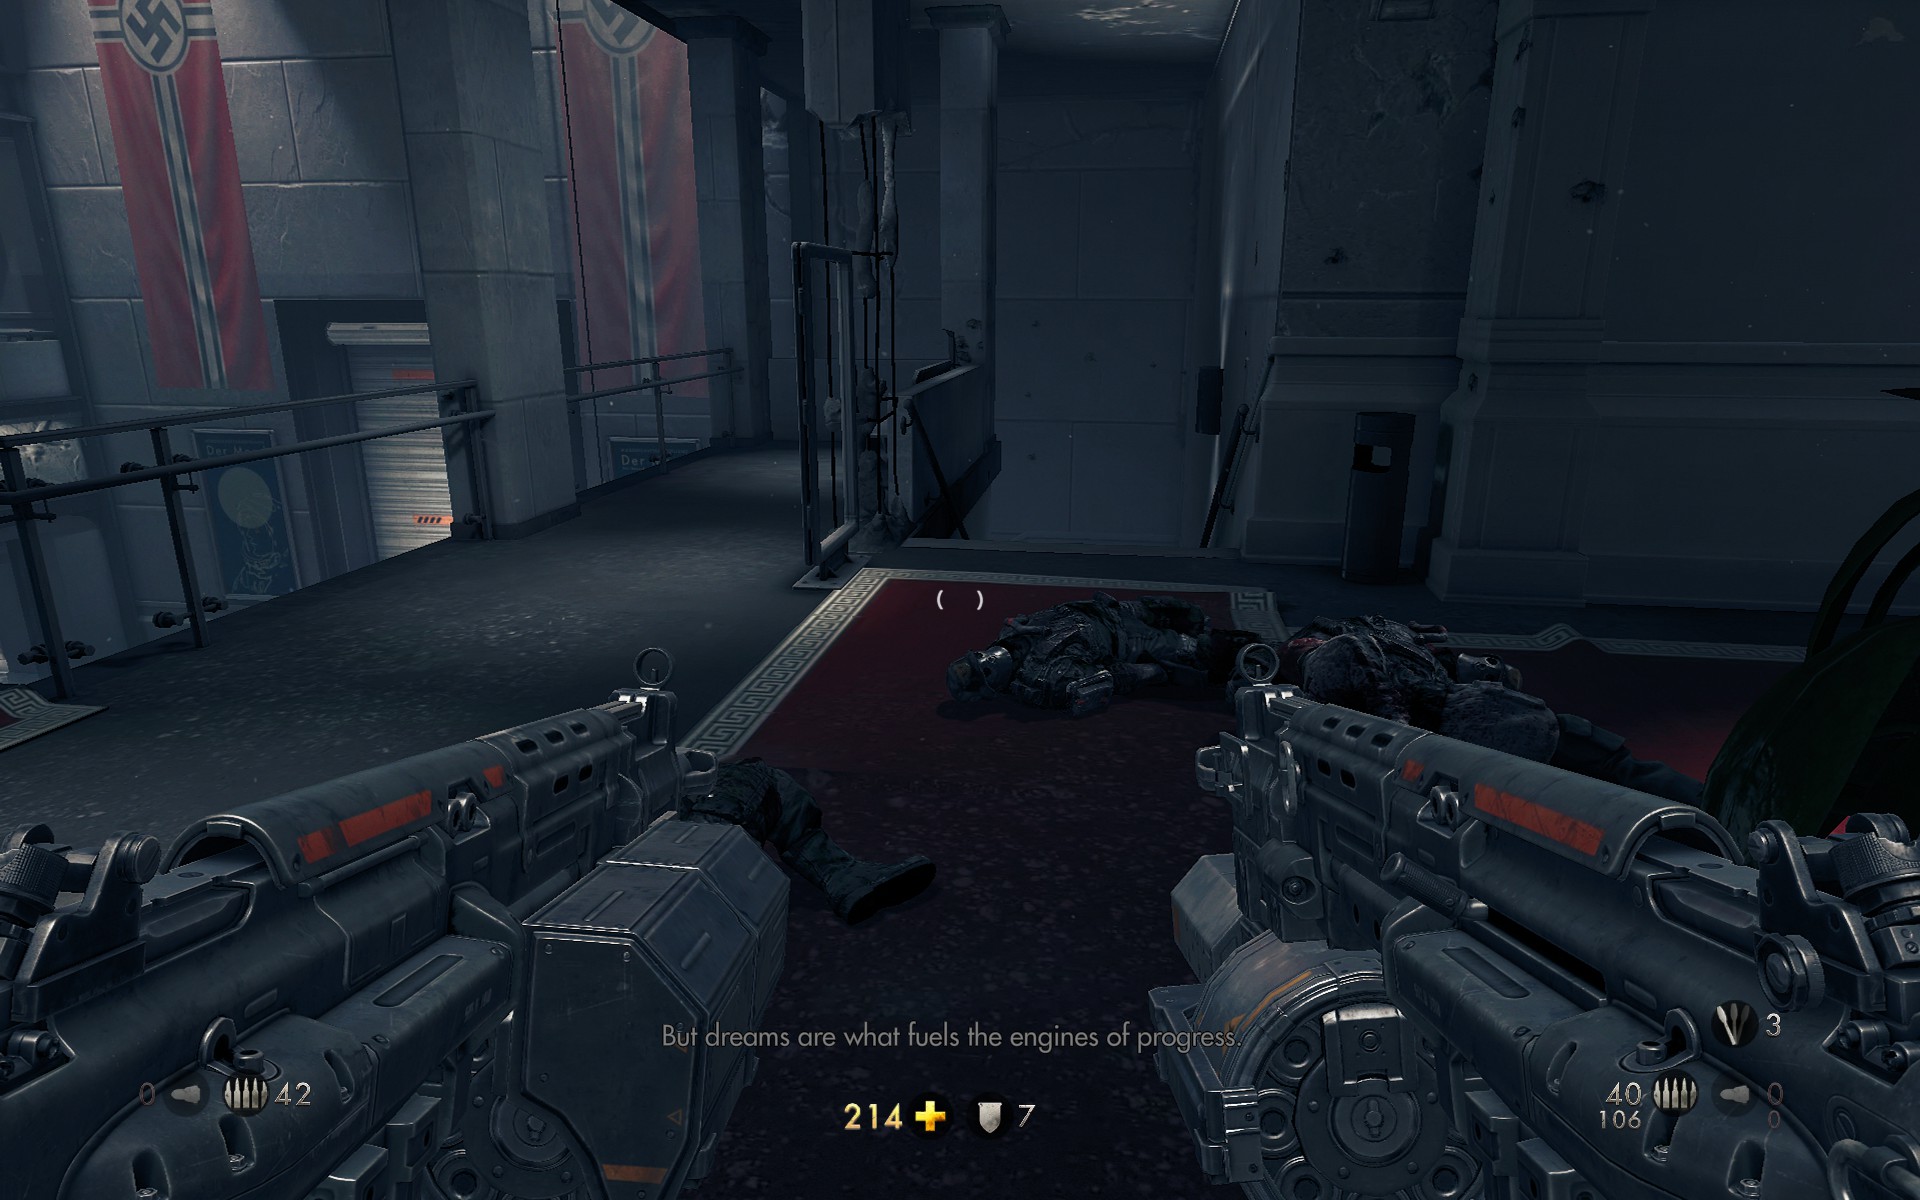
This was a real fun fight in the room just ahead, where all three of those items are. If I hadn't remembered to take the time to look around once the dust settled, I wouldn't have been able to backtrack later, as this room actually seals off behind you. There are multiple areas in the game that do this, so it really is important that you keep checking that map and make sure you aren't going further ahead than you want.
And sure enough, we've got some treasure to look for ahead.
That's really all there is to it. Just make a point to check your map frequently so you don't pass anything, and don't get too caught up in any shoot-outs.
This was a real fun fight in the room just ahead, where all three of those items are. If I hadn't remembered to take the time to look around once the dust settled, I wouldn't have been able to backtrack later, as this room actually seals off behind you. There are multiple areas in the game that do this, so it really is important that you keep checking that map and make sure you aren't going further ahead than you want.
Final Thoughts
I hope this guide is of some use to at least someone. Myself personally didn't like having to resort to straight "here's the thing" guides, but until I'd done a few runs on my own, it wasn't much fun going off and looking for them myself, either. By getting the actual playthrough out of the way and focusing on this later, and utilizing all the various tools the game provides, the task becomes significantly less tedious, and sometimes legitimately fun.
Don't get discouraged. Some of the collectibles are very well hidden, even if you have them marked on your map. Think outside the box, and don't get impatient. If it looks like you need a laser cutter and you don't have one, look for a laser turret. Consider things like that.
Finally, I know of at least a handful of collectibles during the segment with the small "submarine" like vehicle in the sewers that you must find on your own, as there are no commanders in the area. Good luck!
Thanks for reading.
Don't get discouraged. Some of the collectibles are very well hidden, even if you have them marked on your map. Think outside the box, and don't get impatient. If it looks like you need a laser cutter and you don't have one, look for a laser turret. Consider things like that.
Finally, I know of at least a handful of collectibles during the segment with the small "submarine" like vehicle in the sewers that you must find on your own, as there are no commanders in the area. Good luck!
Thanks for reading.
Super Cool Bonus Section!
Since I wrote this guide originally, I've gotten some comments from people who still were a bit lost, which I expected. This guide wasn't exhaustive, and it never will be, that'd defeat the purpose.
But I figure I can expand on it some and give some more examples of what you might be dealing with in order to actually, you know, collect the stuff.
As I said earlier, the big laser turrets and the robot lasers absolutely decimate steel coverings. If you don't have any means of removing a steel covering yourself, like the Laserkraftwerk you recieve eventually, but you are certain the secret is RIGHT there, odds are, you can find one of the big lasers nearby.
A straight path to the secret is nice, but not common. You may need to go past it and circle back from the other side, or even come at it from above or below. Hell, you might traverse the entire length and width of a room to get to a secret. It's hard to know until you are actually there.
If you find yourself going "there's no way this is what I'm supposed to be doing", there's reasonable odds that it's exactly what you need to do.
But I figure I can expand on it some and give some more examples of what you might be dealing with in order to actually, you know, collect the stuff.
As I said earlier, the big laser turrets and the robot lasers absolutely decimate steel coverings. If you don't have any means of removing a steel covering yourself, like the Laserkraftwerk you recieve eventually, but you are certain the secret is RIGHT there, odds are, you can find one of the big lasers nearby.
A straight path to the secret is nice, but not common. You may need to go past it and circle back from the other side, or even come at it from above or below. Hell, you might traverse the entire length and width of a room to get to a secret. It's hard to know until you are actually there.
If you find yourself going "there's no way this is what I'm supposed to be doing", there's reasonable odds that it's exactly what you need to do.
More Wolfenstein: The New Order guides
- Wolfenstein: The New Order 100% Achievement Guide★ 5 (1.5k)43k views2k ♥6 minUpdated Jul 1, 2017
- [RUS] Гайд по достижениям (Wolfenstein: The New Order)★ 5 (2.4k)42k views3k ♥10 minRussianUpdated May 8, 2024
- Wolfenstein: The New Order - All Collectibles★ 5 (1.3k)38k views2k ♥6 minUpdated May 18, 2016
- All Achievements (The New Order)★ 5 (847)38k views965 ♥4 minUpdated May 5, 2015
- How To Find Anne's Wedding Ring★ 5 (334)37k views147 ♥1 minUpdated Jun 7, 2018
- How to really crack the Enigma codes.★ 5 (739)34k views777 ♥7 minUpdated Jul 20, 2014




This guide was created by its original author on the Steam Community. Are you the author and want it removed? Request removal.