How to Play Shogun II & Win a Legendary Campaign as Shimazu (without cheating ofc)
Introduction
This is a guide on how to play Shogun II & win a legendary campaign as Shimazu, to get started I recommend you watch the series from Mr. Smart Donkey to understand the nuances of the Shimazu start, as well as follow the other guides and videos I provided. There are several links to videos & and articles below, feel free to pick and choose what sources you want to use.
Most are extremely useful tips to help your Shimazu playthrough, others discuss units and how to play battles effectively. Remember! on mobile you can make youtube videos play twice as fast.
Some of the information provided may be repeative or things you knew already. I will attempt to inform you as much as possible as if you've played on hard or normal before.
Most are extremely useful tips to help your Shimazu playthrough, others discuss units and how to play battles effectively. Remember! on mobile you can make youtube videos play twice as fast.
Some of the information provided may be repeative or things you knew already. I will attempt to inform you as much as possible as if you've played on hard or normal before.
Important Caveats
I. IMPORTANT CAVEATS
Make sure to play on "Domination Campaign" and not "Long Campaign". Each province you capture gives you more points towards your fame level, once it excedes a certain point it will trigger realm divide. Besides difficulty & total provinces, heroic victories & famous victories will effect this. Famous victories are victories that leave a momument after the battle, they can even occur after an autoresolve.
For each province captured between the different campaigns its:
Short Campaign: 6 Fame per province.
Long Campaign : 5 Fame per province.
Domination Campaign: 4 Fame per province.
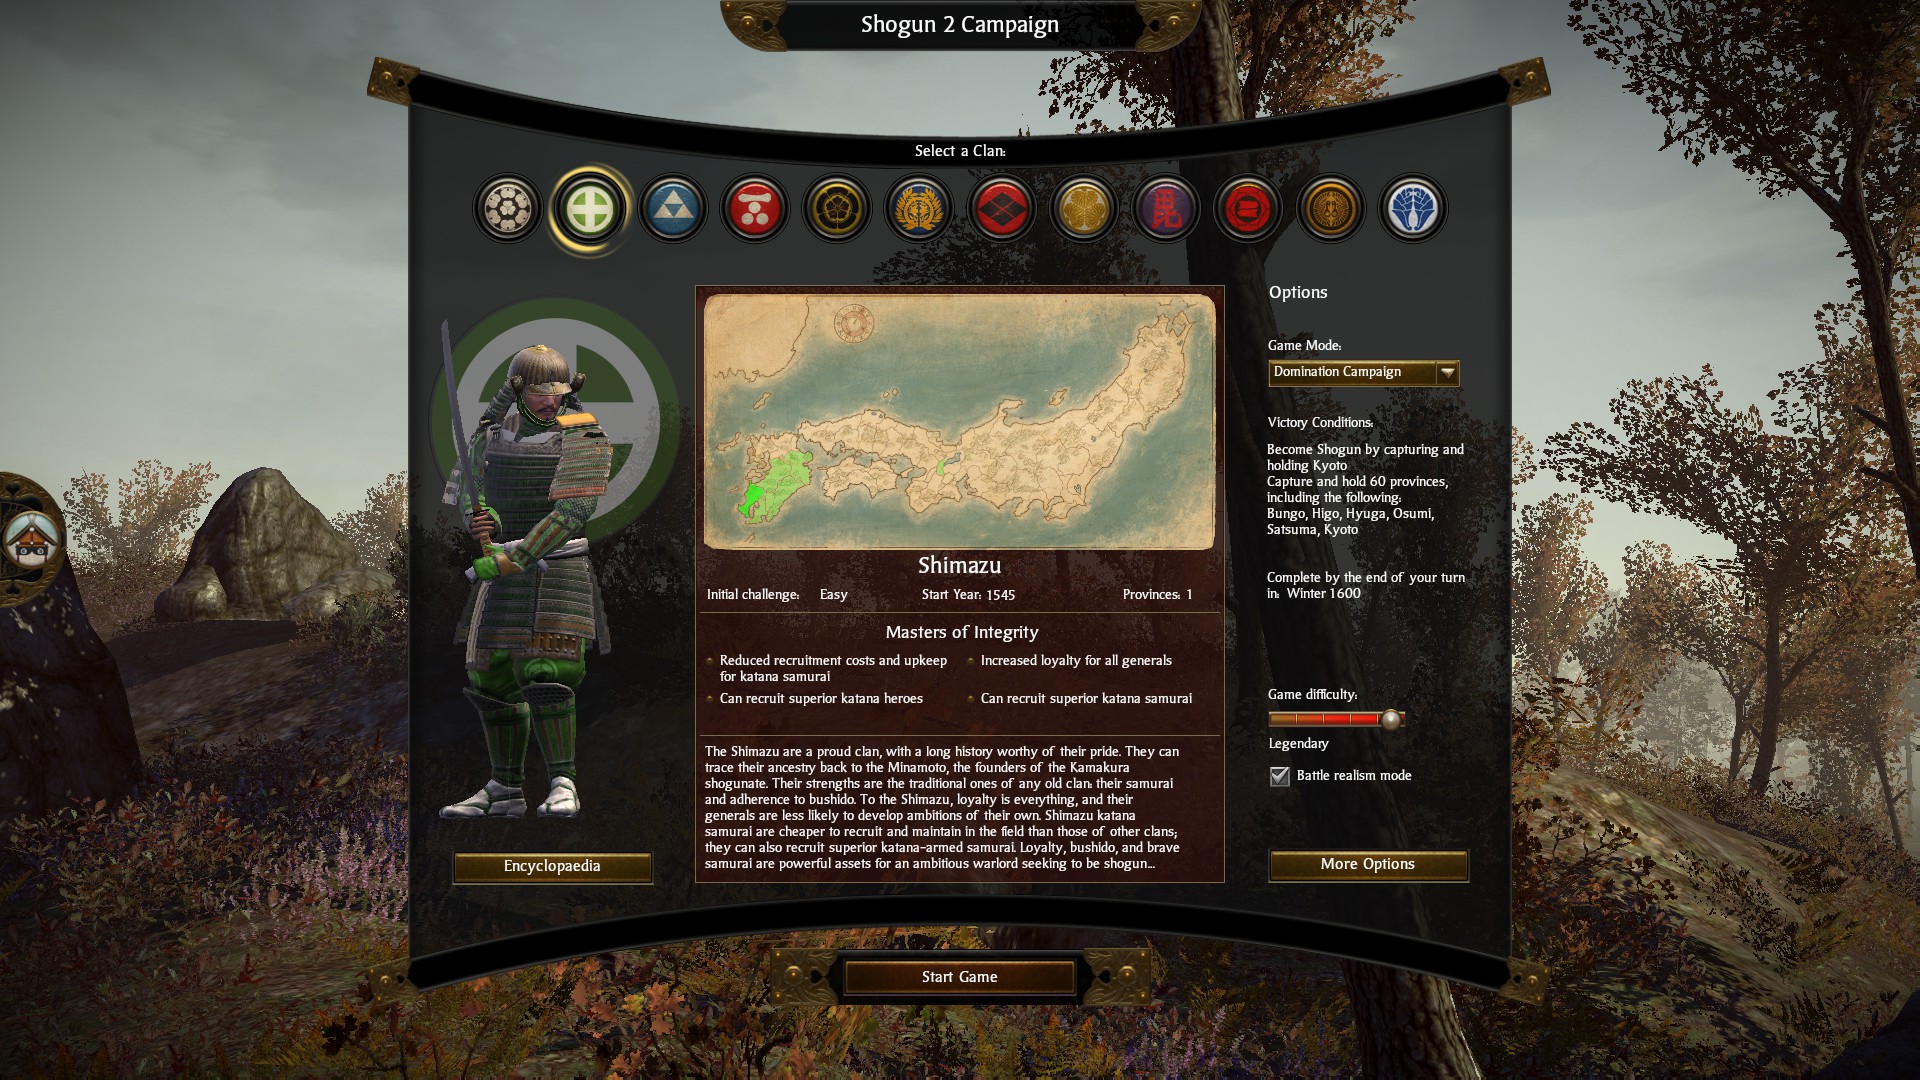
Although a domination campaign requires you to capture 20 more provinces (60 total) in the same time as a long campaign (40 provinces). 1545AD - 1600AD (4 Turns per year) 55 x 4 = 220 turn total, this incrimental amount of fame will allow you to capture 3-4 more provinces before triggering realm divide. Since by realm divide you want to be as strong as possible, make sure to set the campaign to "domination campaign" I finished my campaign in 134 turns (86 turns left).
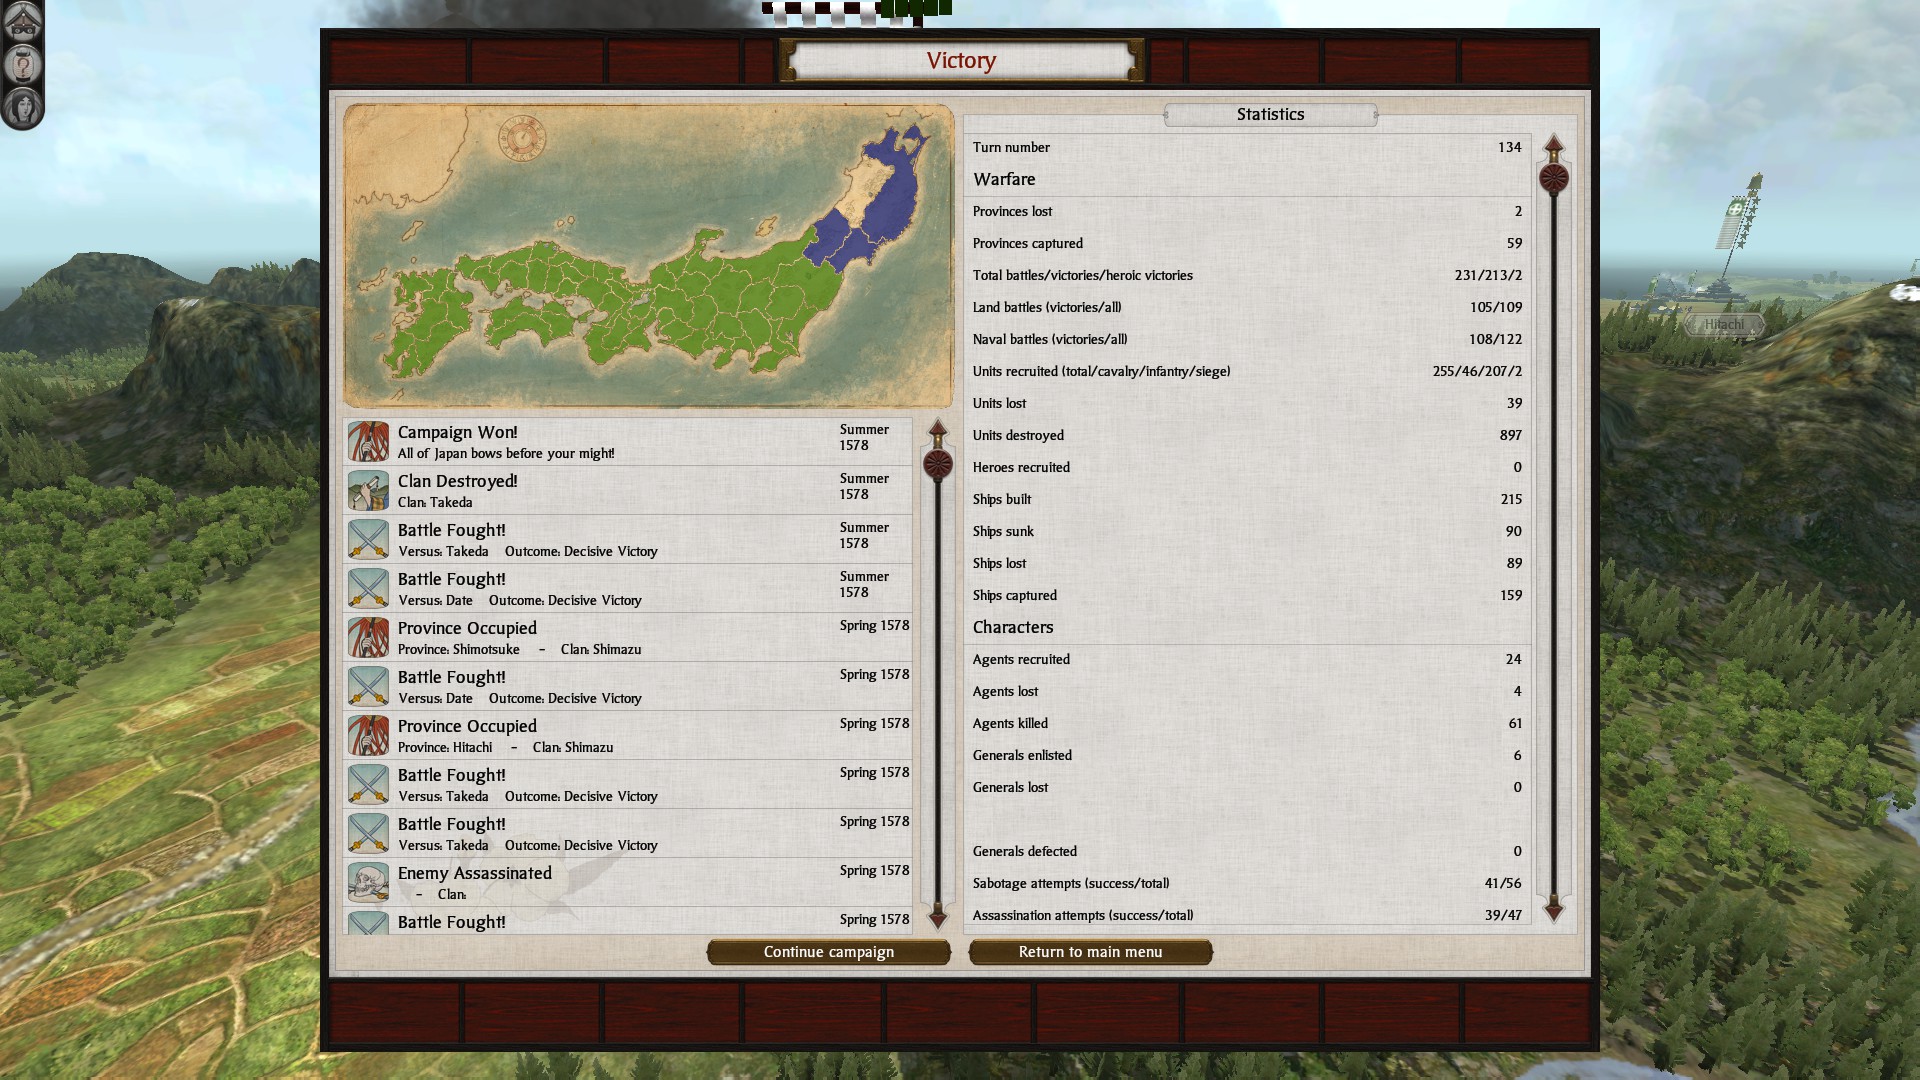
This is only 134/220 ≈ .609 or 61% of the total time used. Definately not cutting it close, even if you lose your own armies this late, and depite AI cheats. Your economy and sheer production capability is superior to theirs in every possible way, guarenting certain victory.
Looks can be deceiving, Shimazu start can be very difficult initially which is what this guide will try to focus primarily on until you take Khyshu, the AI's decisions will differ from playthrough to playthrough, Shogun II AI uses Goal Oriented Action Planning (GOAP), you can learn more about GOAP by looking it up and reading about it yourself, like every AI, it's not actually self thinking and simply makes a number a choices dependent on the state of the game by asking a number of questions:
i.e. "How am I doing?", "How is the player doing?", "What could I do to allocate resources?" "How can I do better?" etc... The most noticeable example of this is when the AI might refuse vassalization until you siege their final castle or another AI is in their final province about to kill them. Knowing this quirk, you can force vassalize them to get free honor, a trade deal, and potentially some koku the turn before they die.
Additionally, besides the fact that no two playthroughs will be the same, since the AI will make different decisions. It's important that before you start a legendary campaign your comfortable playing on very hard and battle realism enabled in the options. I can't help you if you consistently lose on normal difficulty. (realm divide is an exception). I can understand struggling on hard, but anything below normal is up to skill and mental prowess on the campaign map. You need to be able to pick your battles wisely and understand the basic mechanics of the game.
In my playthrough I practiced the Shimazu several times on Very Hard difficulty & battle realism. However ocassionally I would hit a wall where the AI seemed to "become smarter". The AI doesn't remember past games or have any capacity of self learning. However, I truly felt that by starting over, or playing battles while practicing, the AI eventually understood the shortest distance between two points is a line, the AI would do the EXACT same thing in the first few turns.
Taking Kyushu is the hardest part of a Shimazu campaign because of a strong Shoni-Sagara alliance. The biggest issue is not having enough money to maintain a katana samurai army, and facing bow samurai early.
It would cause the Ito on very hard to build up more of an army and attack unlike it did before & the Otomo seemed to die even quicker. I wanted to help their revaluate their general strategy & last longer.
The solution I found to this is start a game as a separate clan and then load your save and continue playing. I'll admit this may feel cheap or cause the AI to unlearn its best initial moves, but this was because I repeated my campaign so frequently when practicing on very hard that it did the exact same moves in the first few turns.
Shimazu isn't the easiest clan on legendary, a list from easier to hardest would probably be:
1. Oda
2. Ikko Ikki (dlc clan)
3. Shimazu
4. Takeda
5. Otomo (dlc clan)
6. Chosokabe
7. Date
8. Hojo
9. Mori
10. Uesugi
11. Tokugawa
12. Hattori (dlc clan)
This is from what i've heard regarding difficulty between clans in legendary campaigns, I can't say this is accurate so take it with a grain of salt. Although Shimazu is probably the 3rd easiest, It proabably becomes the 1st easiest after taking Kyushu and preparing for realm divide. Kyushu has Smithing, Craftworks, Warhorses & Philophical tradition specialities. All of these, are the foundation to creating a strong army or a strong economy.
Make sure to play on "Domination Campaign" and not "Long Campaign". Each province you capture gives you more points towards your fame level, once it excedes a certain point it will trigger realm divide. Besides difficulty & total provinces, heroic victories & famous victories will effect this. Famous victories are victories that leave a momument after the battle, they can even occur after an autoresolve.
For each province captured between the different campaigns its:
Short Campaign: 6 Fame per province.
Long Campaign : 5 Fame per province.
Domination Campaign: 4 Fame per province.
Although a domination campaign requires you to capture 20 more provinces (60 total) in the same time as a long campaign (40 provinces). 1545AD - 1600AD (4 Turns per year) 55 x 4 = 220 turn total, this incrimental amount of fame will allow you to capture 3-4 more provinces before triggering realm divide. Since by realm divide you want to be as strong as possible, make sure to set the campaign to "domination campaign" I finished my campaign in 134 turns (86 turns left).
This is only 134/220 ≈ .609 or 61% of the total time used. Definately not cutting it close, even if you lose your own armies this late, and depite AI cheats. Your economy and sheer production capability is superior to theirs in every possible way, guarenting certain victory.
Looks can be deceiving, Shimazu start can be very difficult initially which is what this guide will try to focus primarily on until you take Khyshu, the AI's decisions will differ from playthrough to playthrough, Shogun II AI uses Goal Oriented Action Planning (GOAP), you can learn more about GOAP by looking it up and reading about it yourself, like every AI, it's not actually self thinking and simply makes a number a choices dependent on the state of the game by asking a number of questions:
i.e. "How am I doing?", "How is the player doing?", "What could I do to allocate resources?" "How can I do better?" etc... The most noticeable example of this is when the AI might refuse vassalization until you siege their final castle or another AI is in their final province about to kill them. Knowing this quirk, you can force vassalize them to get free honor, a trade deal, and potentially some koku the turn before they die.
Additionally, besides the fact that no two playthroughs will be the same, since the AI will make different decisions. It's important that before you start a legendary campaign your comfortable playing on very hard and battle realism enabled in the options. I can't help you if you consistently lose on normal difficulty. (realm divide is an exception). I can understand struggling on hard, but anything below normal is up to skill and mental prowess on the campaign map. You need to be able to pick your battles wisely and understand the basic mechanics of the game.
In my playthrough I practiced the Shimazu several times on Very Hard difficulty & battle realism. However ocassionally I would hit a wall where the AI seemed to "become smarter". The AI doesn't remember past games or have any capacity of self learning. However, I truly felt that by starting over, or playing battles while practicing, the AI eventually understood the shortest distance between two points is a line, the AI would do the EXACT same thing in the first few turns.
Taking Kyushu is the hardest part of a Shimazu campaign because of a strong Shoni-Sagara alliance. The biggest issue is not having enough money to maintain a katana samurai army, and facing bow samurai early.
It would cause the Ito on very hard to build up more of an army and attack unlike it did before & the Otomo seemed to die even quicker. I wanted to help their revaluate their general strategy & last longer.
The solution I found to this is start a game as a separate clan and then load your save and continue playing. I'll admit this may feel cheap or cause the AI to unlearn its best initial moves, but this was because I repeated my campaign so frequently when practicing on very hard that it did the exact same moves in the first few turns.
Shimazu isn't the easiest clan on legendary, a list from easier to hardest would probably be:
1. Oda
2. Ikko Ikki (dlc clan)
3. Shimazu
4. Takeda
5. Otomo (dlc clan)
6. Chosokabe
7. Date
8. Hojo
9. Mori
10. Uesugi
11. Tokugawa
12. Hattori (dlc clan)
This is from what i've heard regarding difficulty between clans in legendary campaigns, I can't say this is accurate so take it with a grain of salt. Although Shimazu is probably the 3rd easiest, It proabably becomes the 1st easiest after taking Kyushu and preparing for realm divide. Kyushu has Smithing, Craftworks, Warhorses & Philophical tradition specialities. All of these, are the foundation to creating a strong army or a strong economy.
Videos, Articles & Guides
II. VIDEOS & OTHER GUIDES
The first one is a playlist for Shimazu Walkthrough, I'll explain why this has some flaws in helping you and how to remedy them. I'd recommend watching this playlist genuinely until he takes all of Kyushu (episode 5). After that you could continue watching, I'd pay attention to his time completing his objectives & what he does to prepare for realm divide. You will need to done the same, realm divide is the second biggest challenge in this campaign. I will discuss some tips and exploits to use if you care to.
The second one is a guide to the Shimazu clan itself ingame, this may not be new to you, but he does share some observations which are helpful nonetheless.
https://youtu.be/AOg45y-hok0
https://www.youtube.com/playlist?list=PL28oZ4FVZmk4Q1PebqZzk3h93zcurQWfW (Shimazu legendary campaign playlist).
The next two videos are a part of a tutorial stream he did awhile ago, in it he manages to share almost all his knowledge of Shogun II. Given he's done legendary campaigns as every clan, and do multiple challenges, I'd take his advice.
https://youtu.be/2RjO8FM-QI4
https://youtu.be/EOq0u-I9siM
This video is a comprehensive guide on using agents and how to level them up, I agree with his conclusions which is why it's extremely helpful.
https://youtu.be/V2o_zO_wWhE
These videos show how to control units in the battle map, understanding the familarities in selecting units between Windows and Shogun II is important. I would highly recommend using hotkeys and forming groups. I hardly read the ingame encyclopedia about what each formation does, but it does help to give actions much quicker. Remember to tap the group formation twice to "unlock" units allowing them to move freely. (This should have been an automatic feature in my opinion). Finally REMEMBER THE HOTKEY SHIFT 3, falling to put your Ashigaru in yari wall before getting in combat will make or break your campaign.
https://youtu.be/OyZ7-nHLcIo
https://youtu.be/jFAyPigYH7o
https://youtu.be/FEBFRrfZ5SA
Here are the last videos and two Reddit Guides to Shogun II, these are all helpful. BE WARNED THOUGH, using the very high/normal tax exploit isn't that great because unhappy provinces, even for a single turn, get a -25 town growth Discontent modifier which isn't mentioned. However, this is still very useful and a near must in the early game. Additionally, just because Yari Samurai are bad, doesn't make them worthless as they will eviscerate any calvery in combat. A commenter pointed out that if katana samurai dismount, they can beat a yari samurai 1v1. I haven't tried this but niche (single strategy) units are highly unadvised.
Yari Samurai can beat Yari Ashigaru 1v1 in Yari Wall according to my testing on "very hard" battle difficulty. However, a vet 1 Yari Ashigaru will win in Yari Wall. Also, one vet 4 Yari Ashigaru will beat 2 non experienced Yari Samurai. Yari Ashigaru MUST be in Yari Wall, for every battle, this will make or break your campaign.
https://www.reddit.com/r/totalwar/comments/ej9esk/shogun_2_comprehensive_economic_guide_yes_in_2019/?utm_source=share&utm_medium=web2x (Economy Guide)
https://www.reddit.com/r/totalwar/comments/g9z2uu/shogun_2_newcomers_be_aware_of_trap_units_like/?utm_source=share&utm_medium=web2x (trap units: Yari Samurai & Katana Samurai).
https://youtu.be/UrkYzJcGFsU
https://youtu.be/pe_KGyROuRo
https://youtu.be/fjJRwlomoj4
Finally, I want to direct people if they haven't been directly already to another great walk through for Shimazu on STEAM as well. My guide has been in a rough draft format for years before I finally decided to publish it recently, as I mention in my conclusion. It discusses many ideas that have been on the tip of my tongue.
However, I realized that many players in their experiences have made similar observations while playing as Shimazu. In fact, many of my observations, especially that of using fleets as a tactical shortcut are reflected here:
https://steamcommunity.com/sharedfiles/filedetails/?id=2215397548
I don't use the same strategy as Jomar Reyes in my guide, but I find it funny that we both have thought about the strategic position of the Shimazu, and independently came up with the same strategy of using boats to get around movement limitations. I've used the ship exploit sparingly in the past. However, I mostly am just referring to using ships to transport Shimazu armies around enemies.
The first one is a playlist for Shimazu Walkthrough, I'll explain why this has some flaws in helping you and how to remedy them. I'd recommend watching this playlist genuinely until he takes all of Kyushu (episode 5). After that you could continue watching, I'd pay attention to his time completing his objectives & what he does to prepare for realm divide. You will need to done the same, realm divide is the second biggest challenge in this campaign. I will discuss some tips and exploits to use if you care to.
The second one is a guide to the Shimazu clan itself ingame, this may not be new to you, but he does share some observations which are helpful nonetheless.
https://youtu.be/AOg45y-hok0
https://www.youtube.com/playlist?list=PL28oZ4FVZmk4Q1PebqZzk3h93zcurQWfW (Shimazu legendary campaign playlist).
The next two videos are a part of a tutorial stream he did awhile ago, in it he manages to share almost all his knowledge of Shogun II. Given he's done legendary campaigns as every clan, and do multiple challenges, I'd take his advice.
https://youtu.be/2RjO8FM-QI4
https://youtu.be/EOq0u-I9siM
This video is a comprehensive guide on using agents and how to level them up, I agree with his conclusions which is why it's extremely helpful.
https://youtu.be/V2o_zO_wWhE
These videos show how to control units in the battle map, understanding the familarities in selecting units between Windows and Shogun II is important. I would highly recommend using hotkeys and forming groups. I hardly read the ingame encyclopedia about what each formation does, but it does help to give actions much quicker. Remember to tap the group formation twice to "unlock" units allowing them to move freely. (This should have been an automatic feature in my opinion). Finally REMEMBER THE HOTKEY SHIFT 3, falling to put your Ashigaru in yari wall before getting in combat will make or break your campaign.
https://youtu.be/OyZ7-nHLcIo
https://youtu.be/jFAyPigYH7o
https://youtu.be/FEBFRrfZ5SA
Here are the last videos and two Reddit Guides to Shogun II, these are all helpful. BE WARNED THOUGH, using the very high/normal tax exploit isn't that great because unhappy provinces, even for a single turn, get a -25 town growth Discontent modifier which isn't mentioned. However, this is still very useful and a near must in the early game. Additionally, just because Yari Samurai are bad, doesn't make them worthless as they will eviscerate any calvery in combat. A commenter pointed out that if katana samurai dismount, they can beat a yari samurai 1v1. I haven't tried this but niche (single strategy) units are highly unadvised.
Yari Samurai can beat Yari Ashigaru 1v1 in Yari Wall according to my testing on "very hard" battle difficulty. However, a vet 1 Yari Ashigaru will win in Yari Wall. Also, one vet 4 Yari Ashigaru will beat 2 non experienced Yari Samurai. Yari Ashigaru MUST be in Yari Wall, for every battle, this will make or break your campaign.
https://www.reddit.com/r/totalwar/comments/ej9esk/shogun_2_comprehensive_economic_guide_yes_in_2019/?utm_source=share&utm_medium=web2x (Economy Guide)
https://www.reddit.com/r/totalwar/comments/g9z2uu/shogun_2_newcomers_be_aware_of_trap_units_like/?utm_source=share&utm_medium=web2x (trap units: Yari Samurai & Katana Samurai).
https://youtu.be/UrkYzJcGFsU
https://youtu.be/pe_KGyROuRo
https://youtu.be/fjJRwlomoj4
Finally, I want to direct people if they haven't been directly already to another great walk through for Shimazu on STEAM as well. My guide has been in a rough draft format for years before I finally decided to publish it recently, as I mention in my conclusion. It discusses many ideas that have been on the tip of my tongue.
However, I realized that many players in their experiences have made similar observations while playing as Shimazu. In fact, many of my observations, especially that of using fleets as a tactical shortcut are reflected here:
https://steamcommunity.com/sharedfiles/filedetails/?id=2215397548
I don't use the same strategy as Jomar Reyes in my guide, but I find it funny that we both have thought about the strategic position of the Shimazu, and independently came up with the same strategy of using boats to get around movement limitations. I've used the ship exploit sparingly in the past. However, I mostly am just referring to using ships to transport Shimazu armies around enemies.
Essential Quality of Life Mods
While the use of mods isn't necessary, and mods can be used to cheat in the game, which defeats the purpose of legendary difficulty. I would recommend using 2 mods in particular which vastly improve a players performance.
The first one is a mod that simply changes the appearance of the campaign map. This is extremely helpful since it makes geographical feature in the campaign map appear clearly, thus affecting a players' strategic ability. This will allow you eyes to notice forest, mountains, and bridges more clearly. Thus allowing you to start battles in such areas with a higher chance of the geographical features being present in the generate battle.
https://steamcommunity.com/sharedfiles/filedetails/?id=485336160&searchtext=campaign+map
This second mod allows for the debug camera to be active, while this can be perceived as giving an unfair in-game advantage, its use is to allow players to more accurately assess battle situations in the moment. If you've had any experience with legendary difficulty already, the attempt to glue the camera to your own units can already make micromanaging them more arbitrary, rather than representing a realistic tactical difficulty. This allows you to zoom out more and manage your forces like a general would actually be able to. This also allows you to enjoy watching the fighting which is more difficult in legendary.
Personally, I've always be hesitant towards these kinds of mods since I like to enjoy the game the way its meant to be played. However like many other people, I disagree with Creative Assembly's decision to make the battle camera so restrictive to the point it hampers you if you can redeploy units fast enough in response to arrows by zooming out.
https://steamcommunity.com/sharedfiles/filedetails/?id=99369335
The first one is a mod that simply changes the appearance of the campaign map. This is extremely helpful since it makes geographical feature in the campaign map appear clearly, thus affecting a players' strategic ability. This will allow you eyes to notice forest, mountains, and bridges more clearly. Thus allowing you to start battles in such areas with a higher chance of the geographical features being present in the generate battle.
https://steamcommunity.com/sharedfiles/filedetails/?id=485336160&searchtext=campaign+map
This second mod allows for the debug camera to be active, while this can be perceived as giving an unfair in-game advantage, its use is to allow players to more accurately assess battle situations in the moment. If you've had any experience with legendary difficulty already, the attempt to glue the camera to your own units can already make micromanaging them more arbitrary, rather than representing a realistic tactical difficulty. This allows you to zoom out more and manage your forces like a general would actually be able to. This also allows you to enjoy watching the fighting which is more difficult in legendary.
Personally, I've always be hesitant towards these kinds of mods since I like to enjoy the game the way its meant to be played. However like many other people, I disagree with Creative Assembly's decision to make the battle camera so restrictive to the point it hampers you if you can redeploy units fast enough in response to arrows by zooming out.
https://steamcommunity.com/sharedfiles/filedetails/?id=99369335
Importance of Geography: Map of Roads, Nodes, Shortcuts & Specialities
III. A MAP SHOWING SHIMAZU STRATEGY
After you know how to play the entire game (sorry for too many sources),
Before I start if your not already familar with these maps you should check it out. This is a link to another guide which provides HTML files that show you everything you want to know province per province.
You want to click on the first link: Shogun 2 Sengoku Jidai
https://steamcommunity.com/sharedfiles/filedetails/?id=828725871
Now here an image of the main provinces and shortcuts in the game:
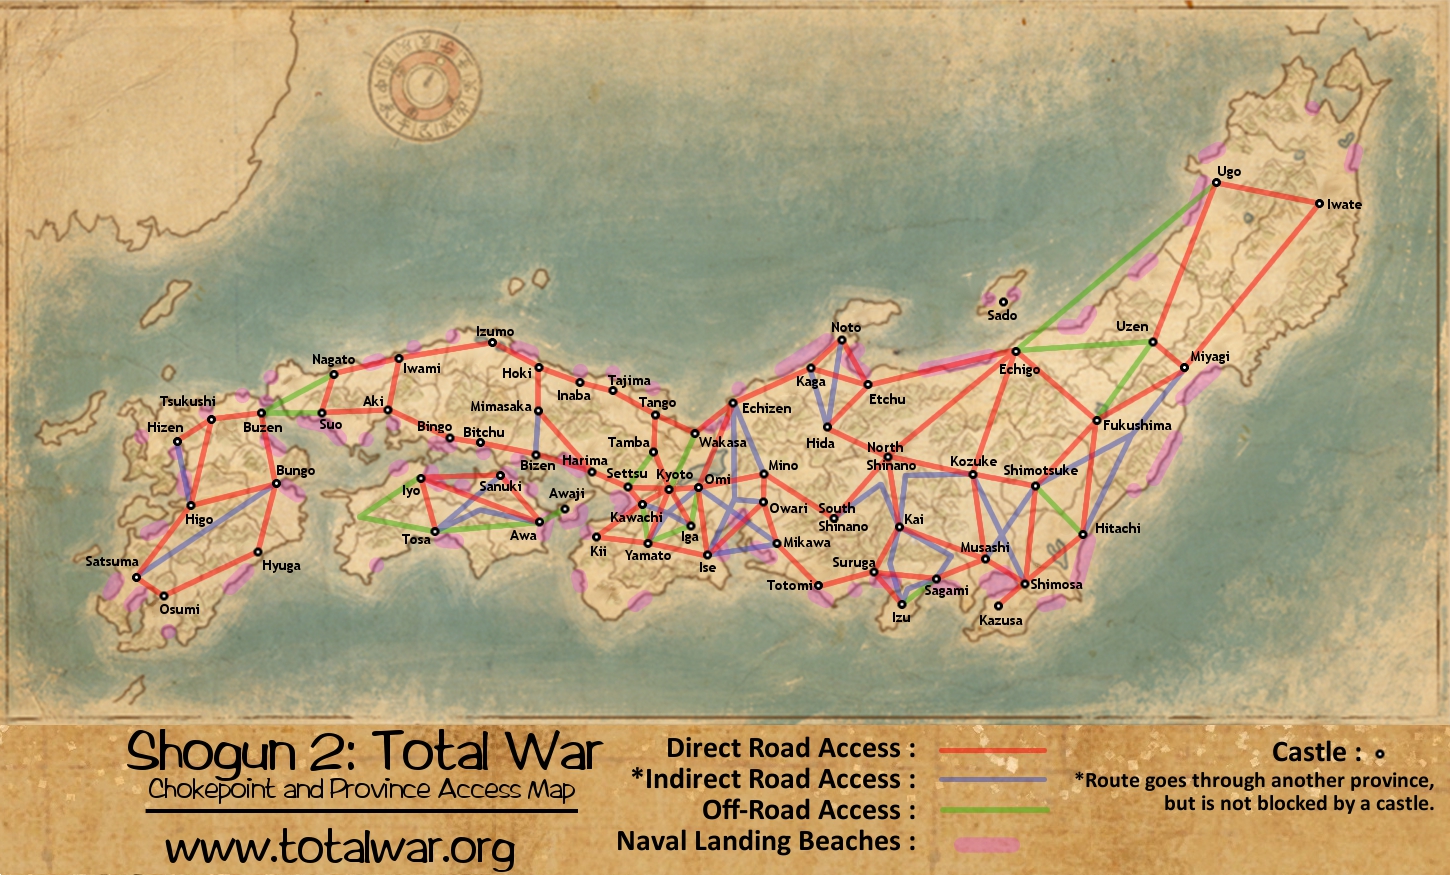
While this map is helpful, it can be hard to read (roads going through water etc.) Especially since it doesn't identify rivers bridges or roads very accurately. Take a look at this second image by either looking at it from here or clicking on it. I made a separate map that attempts to more accurately reflect the beaches and roads on Khyshu.
![]()
Key:
(Unfortunately this map is missing, as I can't find it, :( but the point is to pay attention to the bridges on the map! (super important for bridge battle setup), the hilly terrain on the map (Important for hilly battle chance!) and the beaches! Don't forget about the beaches! Sometimes a well timed naval invasion of a province can catch the AI off guard, especially if you capture their last province while they aren't in it).
I know that my may isn't nearly as pretty, but after analysing the first & second photo I want you to notice a few things, that I call a shortcut a naval invasion on the leftside, and that I list each of the naval provinces as "first, second, third and fourth". These are the orders by which you should capture the trade nodes. This is by far the most optimal way of doing so to both avoid being stretch too thin in the early game and having lucrative trade as early as possible. You should know that unsold goods still generate a hefty income even if your not trading with other clans. Mid to late game it's imperative to build a strong navy, this will be discussed.
Next, The reason I call a naval invasion into the province Hizen a "shortcut" is because Sargara's neutrality is the biggest hurdle when trying to capture Khyshu. Eventually it will be advantageous to ally with them to prevent the Shoni from calling them in on an offensive war against you, but this varies game to game.
NEVER ASK FOR MILITARY ACCESS FROM SAGARA, they will always kick you out one turn away from entering Tsukushi province, this will simply anger Sagara (since "dishonoring treaties" works both ways) and anger you since you will waste three turns trying to pass through their territory only to be teleported back. I can't say exactly why the AI does this, but it will almost always break any request of military access if you use it to get to the Shoni. In total it takes 4 turns to get to Hizen this way: 1 turn loading the ship from the beach (takes another turn if you went from the port & around the cape), 2 turns moving the ship to the landing beach, and 1 turn landing your army.
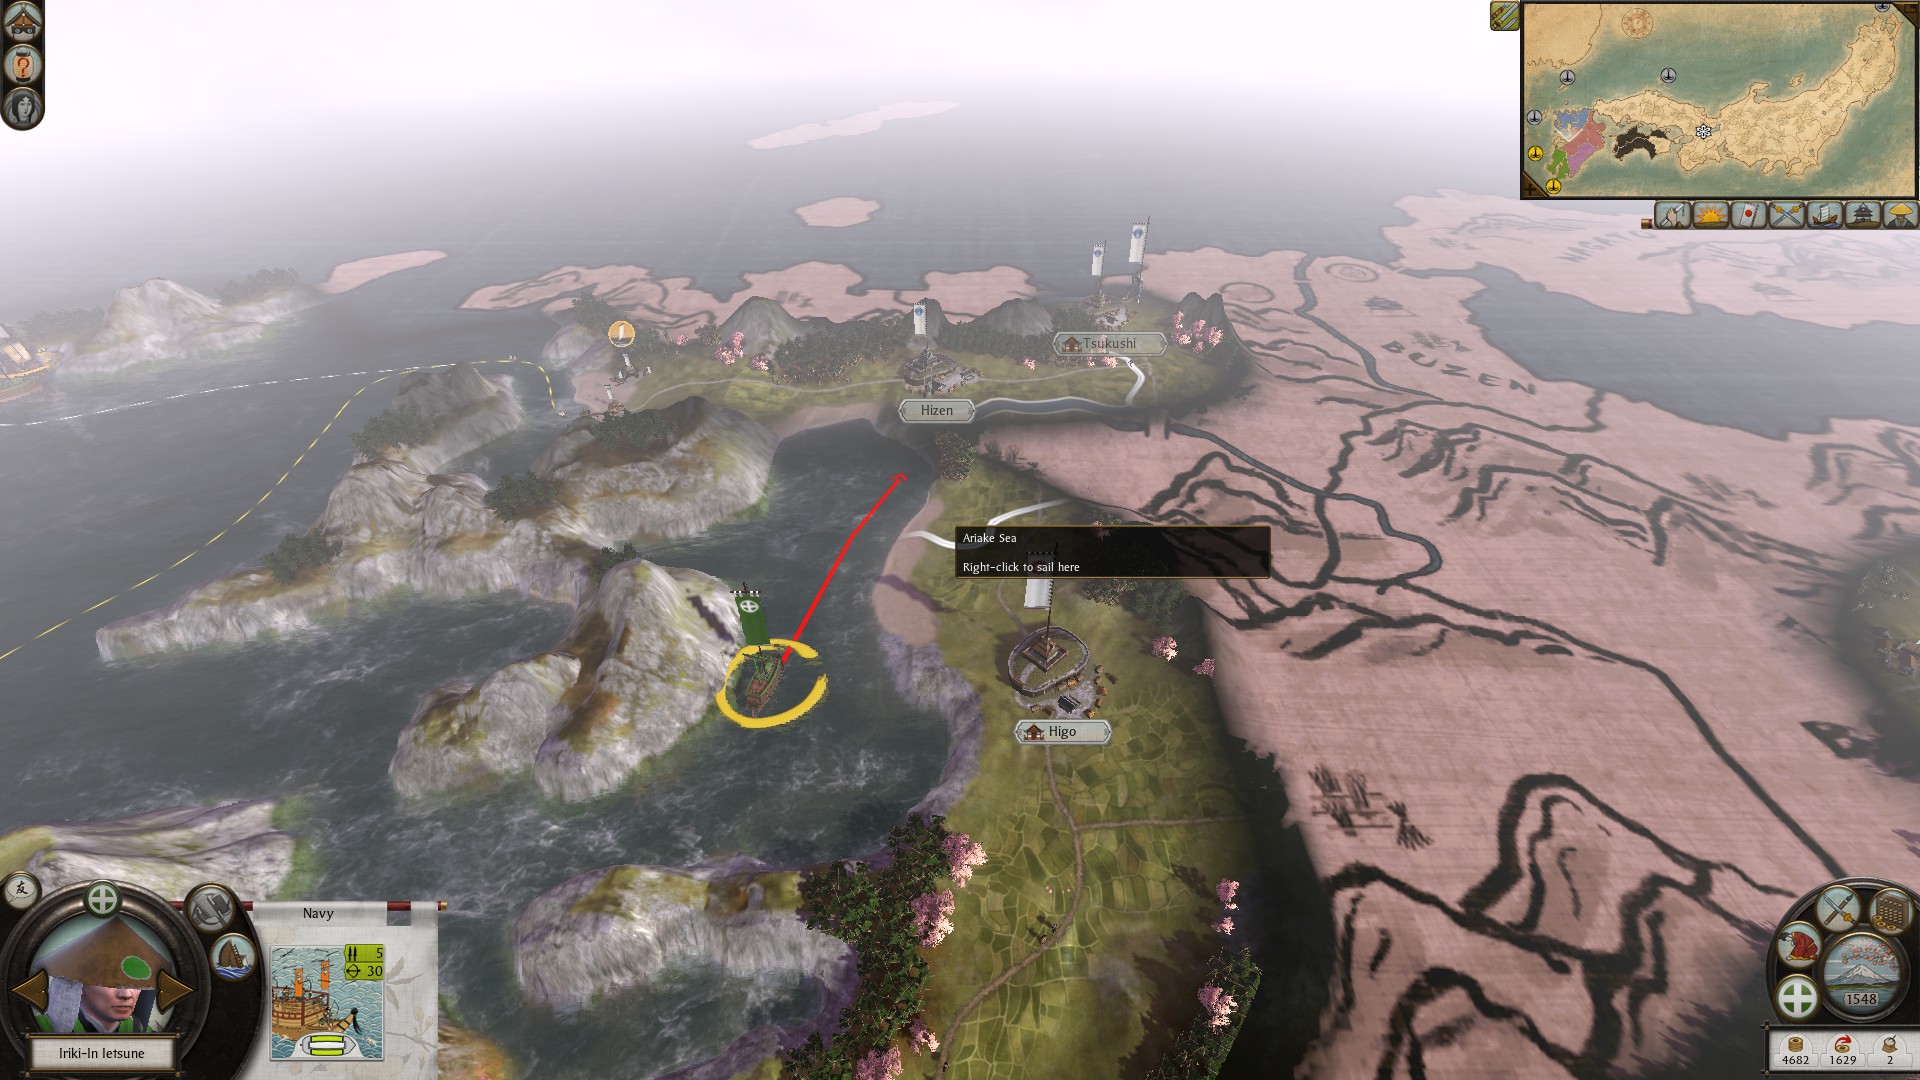
PRO TIP: this bay by Hizen provides excellent line of sight of the province itself and surrounding roads, this should be used when they declare war on you to gain an advantage in enemy movement intelligence. I would only use 1 bow kaboya to scout the area and maybe 1-2 with 1-2 medium bunes to carry the army. As long as they aren't at war with you, you should be prefectly safe, even then the AI rarely goes into that bay, only to ocassionally scout itself.
In the next section, I will discuss the importance of the map's geography when fighting battles. While the defender can pick the location that a battle takes place, the attacker can pick the conditions (dry, rain, fog, night, ambush) with which to fight in. I won't discuss everything there is to know, but the importance of forest, hill, plains, bridges etc.. in battle.
After you know how to play the entire game (sorry for too many sources),
Before I start if your not already familar with these maps you should check it out. This is a link to another guide which provides HTML files that show you everything you want to know province per province.
You want to click on the first link: Shogun 2 Sengoku Jidai
https://steamcommunity.com/sharedfiles/filedetails/?id=828725871
Now here an image of the main provinces and shortcuts in the game:
While this map is helpful, it can be hard to read (roads going through water etc.) Especially since it doesn't identify rivers bridges or roads very accurately. Take a look at this second image by either looking at it from here or clicking on it. I made a separate map that attempts to more accurately reflect the beaches and roads on Khyshu.
Key:
- Blue Circles = Province Capital
- Black lines = Roads
- Dark brown lines = Bridges
- Blue lines = Rivers
- Green lines = Shortcuts
- Yellow areas = Beaches
- Yellow circles = Trade nodes
- Other colored areas = different factions/clans
- Purple triangles = Warhorse speciality
- Purple squares = Smithing speciality
- Purple circles = Craftworks speciality
- Purple diamond/rhombus = Philophical tradition
- Right ways arrows = Naval tradition
- Upwards arrow = Hallowed ground
(Unfortunately this map is missing, as I can't find it, :( but the point is to pay attention to the bridges on the map! (super important for bridge battle setup), the hilly terrain on the map (Important for hilly battle chance!) and the beaches! Don't forget about the beaches! Sometimes a well timed naval invasion of a province can catch the AI off guard, especially if you capture their last province while they aren't in it).
I know that my may isn't nearly as pretty, but after analysing the first & second photo I want you to notice a few things, that I call a shortcut a naval invasion on the leftside, and that I list each of the naval provinces as "first, second, third and fourth". These are the orders by which you should capture the trade nodes. This is by far the most optimal way of doing so to both avoid being stretch too thin in the early game and having lucrative trade as early as possible. You should know that unsold goods still generate a hefty income even if your not trading with other clans. Mid to late game it's imperative to build a strong navy, this will be discussed.
Next, The reason I call a naval invasion into the province Hizen a "shortcut" is because Sargara's neutrality is the biggest hurdle when trying to capture Khyshu. Eventually it will be advantageous to ally with them to prevent the Shoni from calling them in on an offensive war against you, but this varies game to game.
NEVER ASK FOR MILITARY ACCESS FROM SAGARA, they will always kick you out one turn away from entering Tsukushi province, this will simply anger Sagara (since "dishonoring treaties" works both ways) and anger you since you will waste three turns trying to pass through their territory only to be teleported back. I can't say exactly why the AI does this, but it will almost always break any request of military access if you use it to get to the Shoni. In total it takes 4 turns to get to Hizen this way: 1 turn loading the ship from the beach (takes another turn if you went from the port & around the cape), 2 turns moving the ship to the landing beach, and 1 turn landing your army.
PRO TIP: this bay by Hizen provides excellent line of sight of the province itself and surrounding roads, this should be used when they declare war on you to gain an advantage in enemy movement intelligence. I would only use 1 bow kaboya to scout the area and maybe 1-2 with 1-2 medium bunes to carry the army. As long as they aren't at war with you, you should be prefectly safe, even then the AI rarely goes into that bay, only to ocassionally scout itself.
In the next section, I will discuss the importance of the map's geography when fighting battles. While the defender can pick the location that a battle takes place, the attacker can pick the conditions (dry, rain, fog, night, ambush) with which to fight in. I won't discuss everything there is to know, but the importance of forest, hill, plains, bridges etc.. in battle.
Importance of Geography Part II: Bridges & Plains
This next part is REALLY, REALLY, IMPORTANT, you must know that the battles on the Campaign map are dependent on where you are, if you stand on a bridge and are attacked, or attack someone on a bridge yourself. You will fight a bridge battle. These battle maps aren't auto generated, meaning if your attacked twice in the same place you will notice the map will be the same. Battle Maps in Shogun 2 are a mixture of premade maps, tile maps. Tile maps are tied to areas of the campaign map, a few of these cover each region. The game will pick the nearest one to where you army stands and fight a battle based on that. All of the templates are based on the geography and layout of the campaign map. Siege maps will be premade maps including the field outside them. It's important to realize there a few variations repeated across the campaign map.
If you hover your cursor over the map you will see important descriptions like: Plains, Light hilly forest, etc... This tell you what battle you will fight when your army is there.
Each type of terrain has its own advantages & disadvantages, STUDY THESE CAREFULLY:
BRIDGE BATTLES:
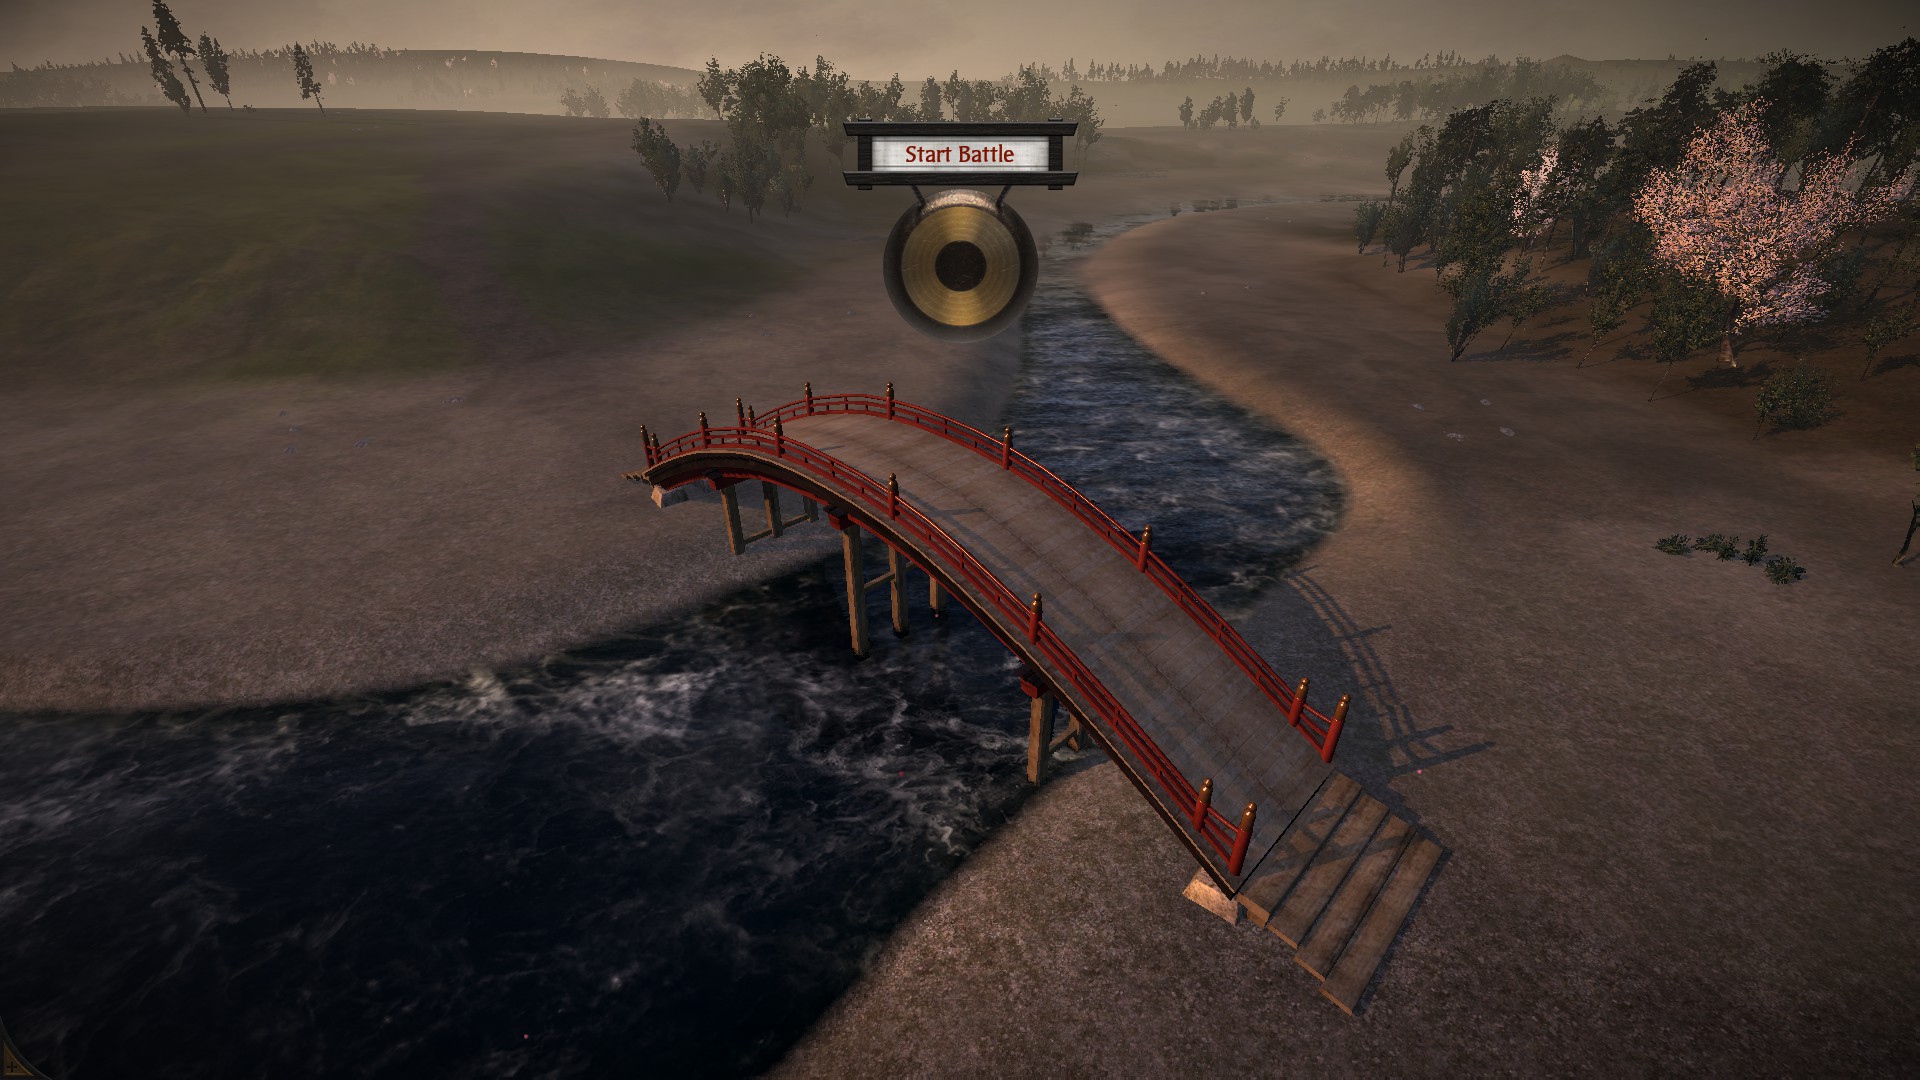
Bridge Battles usually involve two crossings: the bridge & a shallow water crossing. Archers tend to excell in these battles.
Advantages:
Archers can fire free of risk from meelee infantry.
Having superior melee infantry defense stats will provide an advantage in these battles as defense is superior to melee attack the longer an engagement takes place (units with higher armor have increased melee defense and are less likely sustain casualities following an arrow barrage, GUNS IGNORE ARMOR STATS).
Any calavery advantage the enemy has will be nulified by a bridge. HOWEVER, all bridge battles have a shallow crossing somewhere which the AI may or may not use.
The enemy will be forced to funnel their units across a narrow bridge if they are the attacker, it might be advisable to stand back 100 feet or so from the bridge, allowing infantry to be killed when you flank with infantry on calvery on the sides when they cross.
Disadvantages
Archer accuracy and reload skill increase substancially with difficulty. In legendary difficulty archers can easily tear apart entire units and will be the greatest threat in a campaign. This is why you should always, always focus on the armorsmith upgrade in the smithing speciality provinces.
By the bridge itself, the terrain is likely to be plains, making archers an even greater threat.
If the enemy has archer superiority then bridge battles aren't advisable, however the advantage of being the defender and forcing the enemy to cross a narrow passage way still has merits, camping on a nearby hill is perferable.
PLAINS BATTLES:
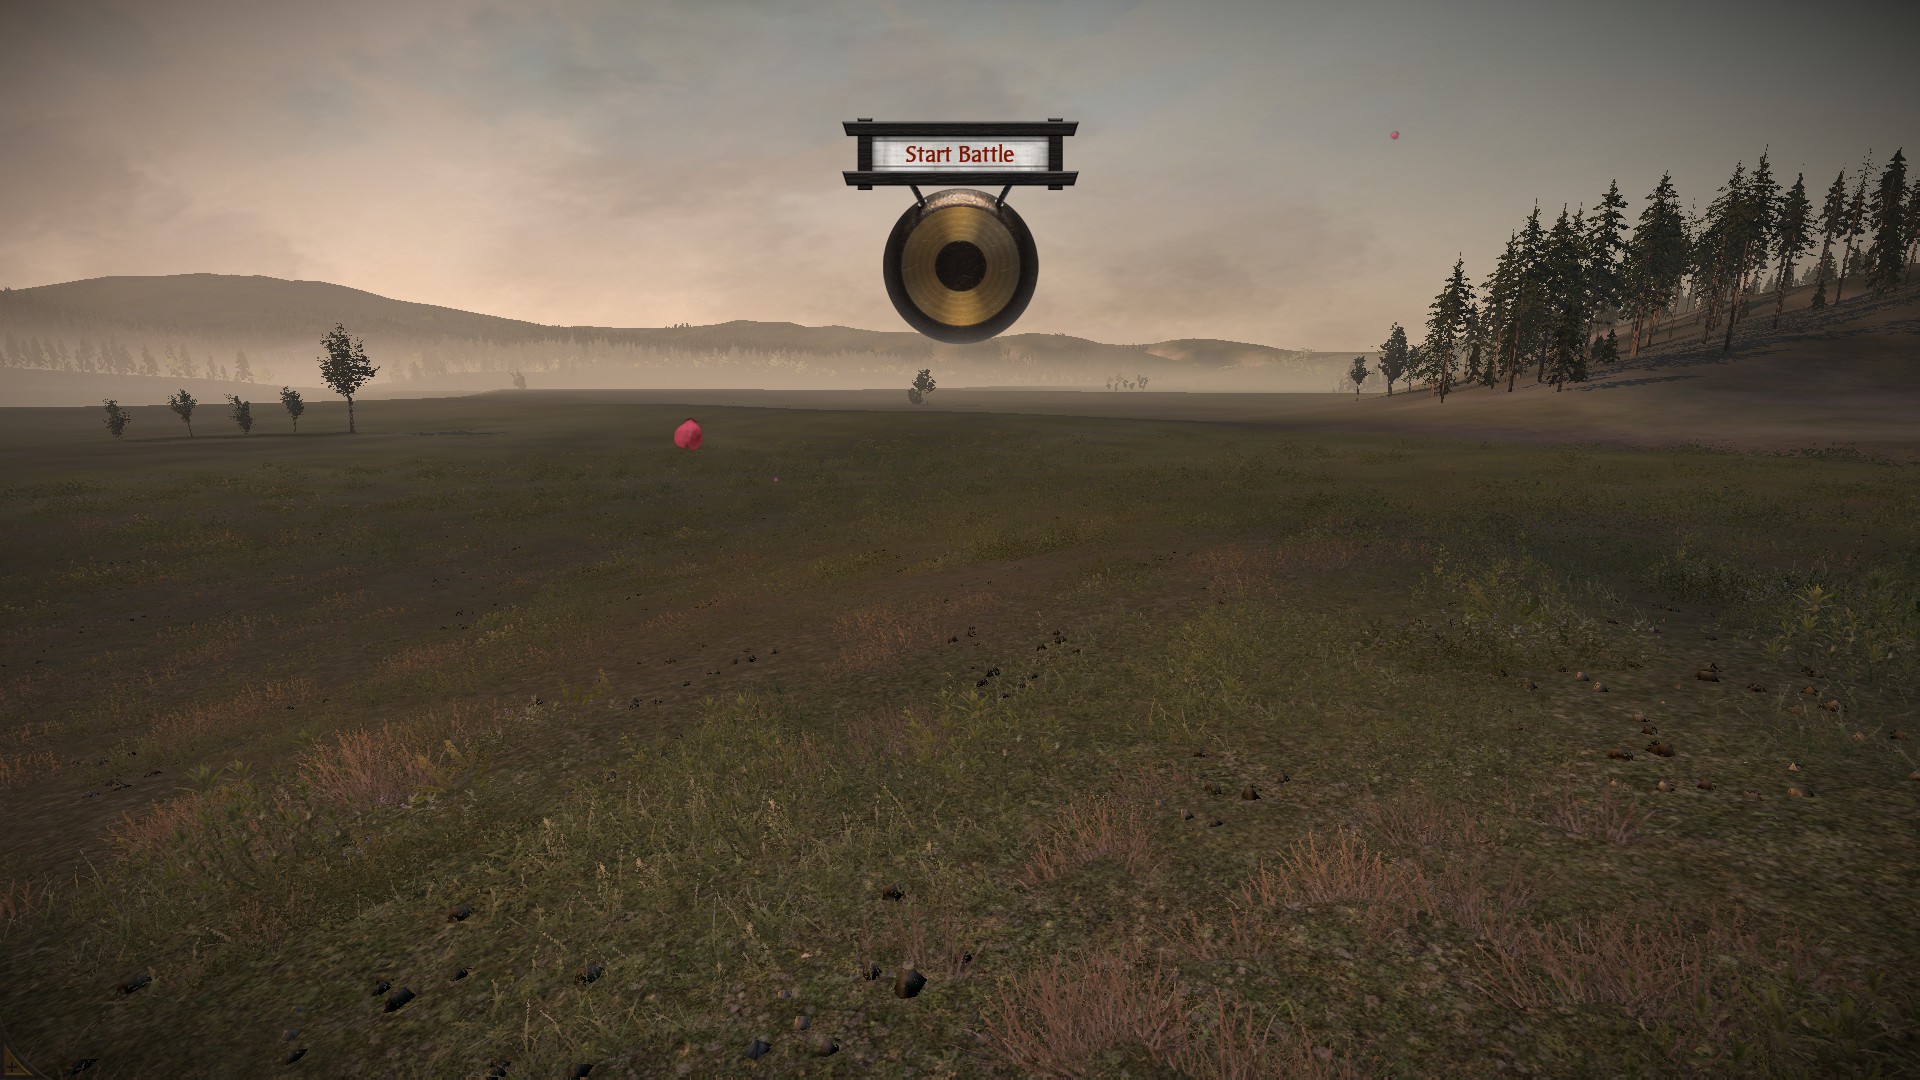
Plain battles are open & symetrical, offering little protection from terrain. Calvery tend to excell in these battles.
Advantages
These battles are really only preferable if you comfortably have a significant calvarly advantage,(i.e . 1/2 - 3/4 your army), this is because traversing hills will slow calvery charges & modifiers in Forest reduce their combat effectiveness.
I suppose archer supperority could be another reason for these battles, if you have archer superiority and are attacking, then the enemy will like engage with your archers 1 on 1. As I said previously, higher difficulty means better reload speed and accuracy. This means that they might still come up on top in a 1v1. To help prevent this, set your archers to "loose formation" this will spread your archers out and reduce damage from arrow fire. However, make sure to move your archers foward because this might prevent some of them from firing, being too far away from the back row's range prevents them from firing.
Disadvantages
Like I said plains are only really preferable for calvery based armies, if your enemy has calvery this is a disadvantage since they will attempt to flank you and their charges deal more damage on plains.
If the enemy has archer superiority, your units will be shred to bits. Even if they only have a few this will happen.
If you hover your cursor over the map you will see important descriptions like: Plains, Light hilly forest, etc... This tell you what battle you will fight when your army is there.
Each type of terrain has its own advantages & disadvantages, STUDY THESE CAREFULLY:
BRIDGE BATTLES:
Bridge Battles usually involve two crossings: the bridge & a shallow water crossing. Archers tend to excell in these battles.
Advantages:
Archers can fire free of risk from meelee infantry.
Having superior melee infantry defense stats will provide an advantage in these battles as defense is superior to melee attack the longer an engagement takes place (units with higher armor have increased melee defense and are less likely sustain casualities following an arrow barrage, GUNS IGNORE ARMOR STATS).
Any calavery advantage the enemy has will be nulified by a bridge. HOWEVER, all bridge battles have a shallow crossing somewhere which the AI may or may not use.
The enemy will be forced to funnel their units across a narrow bridge if they are the attacker, it might be advisable to stand back 100 feet or so from the bridge, allowing infantry to be killed when you flank with infantry on calvery on the sides when they cross.
Disadvantages
Archer accuracy and reload skill increase substancially with difficulty. In legendary difficulty archers can easily tear apart entire units and will be the greatest threat in a campaign. This is why you should always, always focus on the armorsmith upgrade in the smithing speciality provinces.
By the bridge itself, the terrain is likely to be plains, making archers an even greater threat.
If the enemy has archer superiority then bridge battles aren't advisable, however the advantage of being the defender and forcing the enemy to cross a narrow passage way still has merits, camping on a nearby hill is perferable.
PLAINS BATTLES:
Plain battles are open & symetrical, offering little protection from terrain. Calvery tend to excell in these battles.
Advantages
These battles are really only preferable if you comfortably have a significant calvarly advantage,(i.e . 1/2 - 3/4 your army), this is because traversing hills will slow calvery charges & modifiers in Forest reduce their combat effectiveness.
I suppose archer supperority could be another reason for these battles, if you have archer superiority and are attacking, then the enemy will like engage with your archers 1 on 1. As I said previously, higher difficulty means better reload speed and accuracy. This means that they might still come up on top in a 1v1. To help prevent this, set your archers to "loose formation" this will spread your archers out and reduce damage from arrow fire. However, make sure to move your archers foward because this might prevent some of them from firing, being too far away from the back row's range prevents them from firing.
Disadvantages
Like I said plains are only really preferable for calvery based armies, if your enemy has calvery this is a disadvantage since they will attempt to flank you and their charges deal more damage on plains.
If the enemy has archer superiority, your units will be shred to bits. Even if they only have a few this will happen.
Importance of Geography Part III: Advantages of Hills & Forest & Attacking Defensively
FOREST:
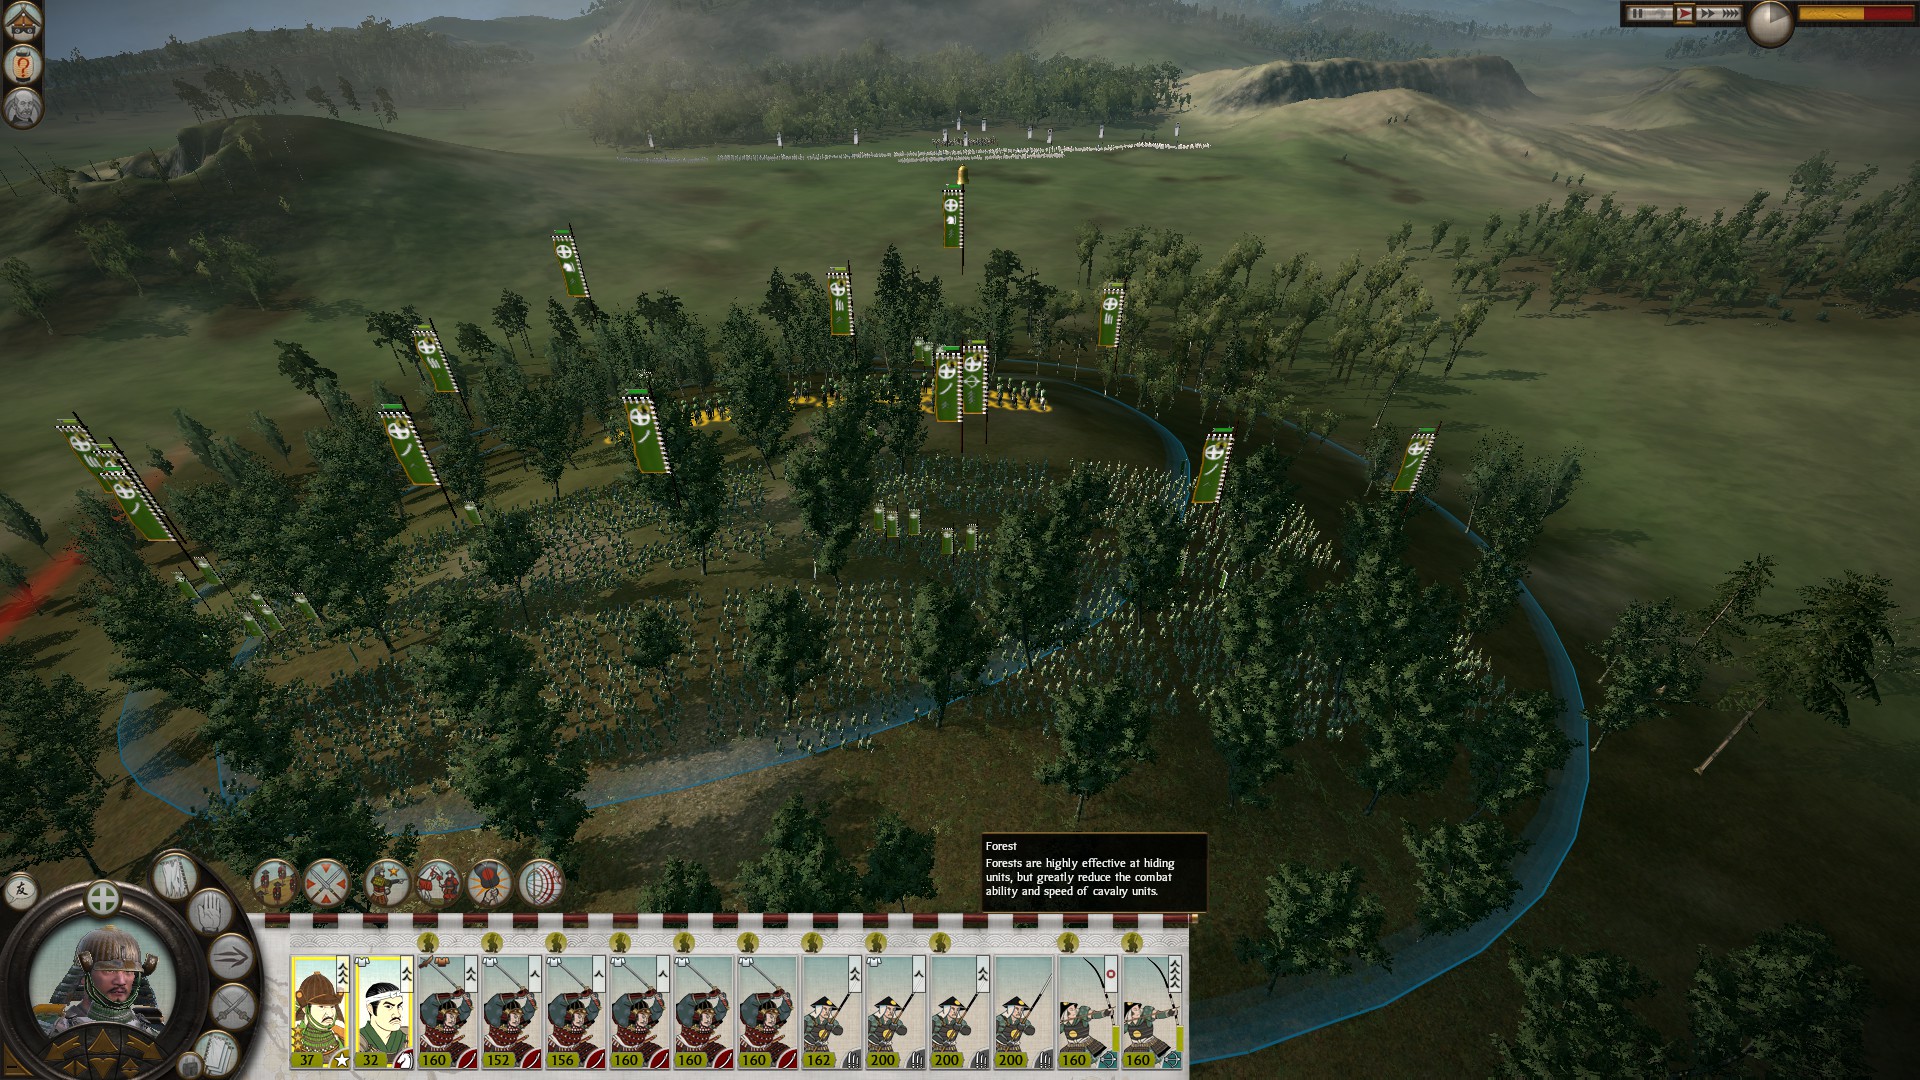
Do you remember how I told you that a Yari Ashigaru won't beat a Yari Samurai in Yari Wall unless vet 1? Well this is still true on Very Hard, but by a smaller margin than before due to charge penalties in forest. Only on hills do Yari Ashigaru beat Yari Samurai 1v1.
Most significantly about forest, they reduced the combat ability and speed of calvary units.
Advantages
The most significant benefit from forest is that it provides protection from all projectiles & lowers line of sight. Forest give a speed penality to all units and also give a charge penality for all units. Forest can help protect you from devestating calvery charges, hindering their effectiveness significantly. While most of this is statistical reductions, some of this is visible. Depending on how thick the forest is, units will be stuck/cliped temperoralily on trees which partions their forces making defense easier.
As mentioned the biggest advantage that forest grant is protection from missile units. Ad nausum, on higher difficulties archers get a substantial accuracy increase and reload bonus. In a Forest, this works both ways though, don't expect the same effectiveness because shots will be blocked by the trees. You will have an advantage 1v1-ing archers in the open, but most of your shot won't even make it. To get the best advantage, place your archers at the edge of the tree line to avoid the trees from blocking your shots & put on loose formation (if all the archers are in range) so you can take even fewer casualties while in the forest. Because of the difficulty consideration, assume your loosing any archer battle if both sides are in the forest. This could also be applied if your not at the edge of the tree line in a 1v1 battle though I believe you still have a slight advantage over them), actually can confirm this I tested 1 bow Ashigaru (standard formation, 2 vet) vs no vet, bow Samurai and won on VH custom battles. I don't know what the limits of the "forest vs no forest" archer advantage is, but it does have upwards limits.
Disadvantages
Because of the Charge penality and the effective missile accuracy reduction in a forest, being the attacker with any units is a disadvantage.
FInally, in the previous section I mentioned the importance and advantage of a hill, combine this with a forest, and the benefits of yari wall and your nearly unbeatable.
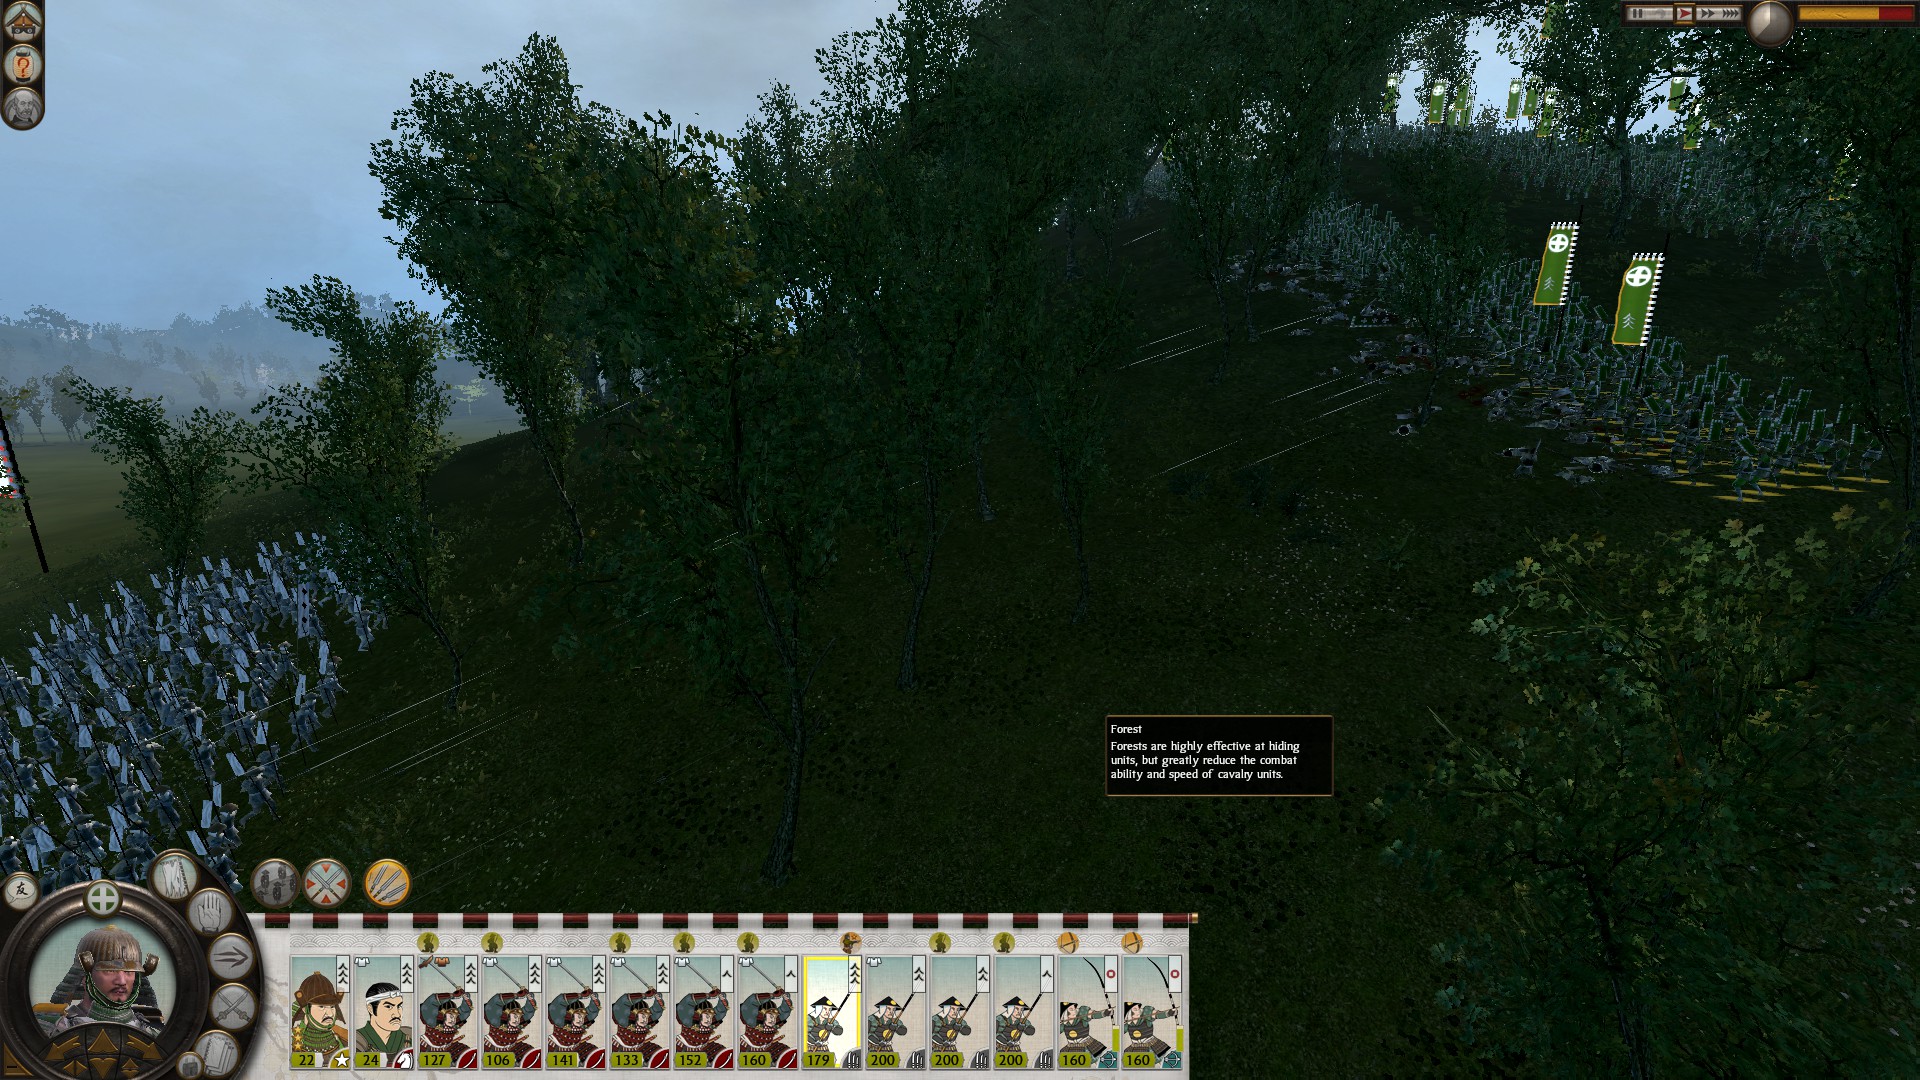
HILL BATTLES/ FORESTED HILL:
Advantages
I decided to place all of these together since it encompases the only other main type of battle you will face. This is by far the best case senario even if you are attacking.
A hill itself will slow all units running towards the top of it and negate any charge bonus, alternatively and unit charging down a hill will get a superior charge bonus. Additionally, units running up a hill will become tired quicker than on flat terrain. Next, unit morale descriptions will sometimes say "encouraged on hill", this confirms that units on a hill get a morale bonus. (morale itself does not effect a unit's stats, but it determines its duration of staying in prolonged combat with casualties sustained). Next, if units are running up to a hill to engage you then there will be a lack of concentrated forces because once one unit engages then all units enter their combat animations causing them to move even slower. This means that units will only face part of the enemy's force at a time. Lastly, enemy archers struggle shooting at units on a hill which will help reduce your casualties, and your archers (I believe) get a slight bonus shooting down, (don't quote me on this).
All of these factors are dependent on the steepness of the hill. This is the primary factor by which you should choose where to place your army when either defending or attacking. Even better some hills ingame will be so steep that units can't move past them, meaning the enemy can't try to flank or encirlce you on a hill.
When the game is loading the battle you will get a preview of what the battle map looks like. This is very helpful to know what hill you should prioritize. (This can be decieving if the map is flat since the topographical color is based on the average map height, not a set hill height, because of this on a plains map a hill might look like a mountain when the whole map is flat, even when the hill could barely be considered a hill).
HOW TO ATTACK DEFENSIVELY & ATTACK ENEMIES ON A HILL
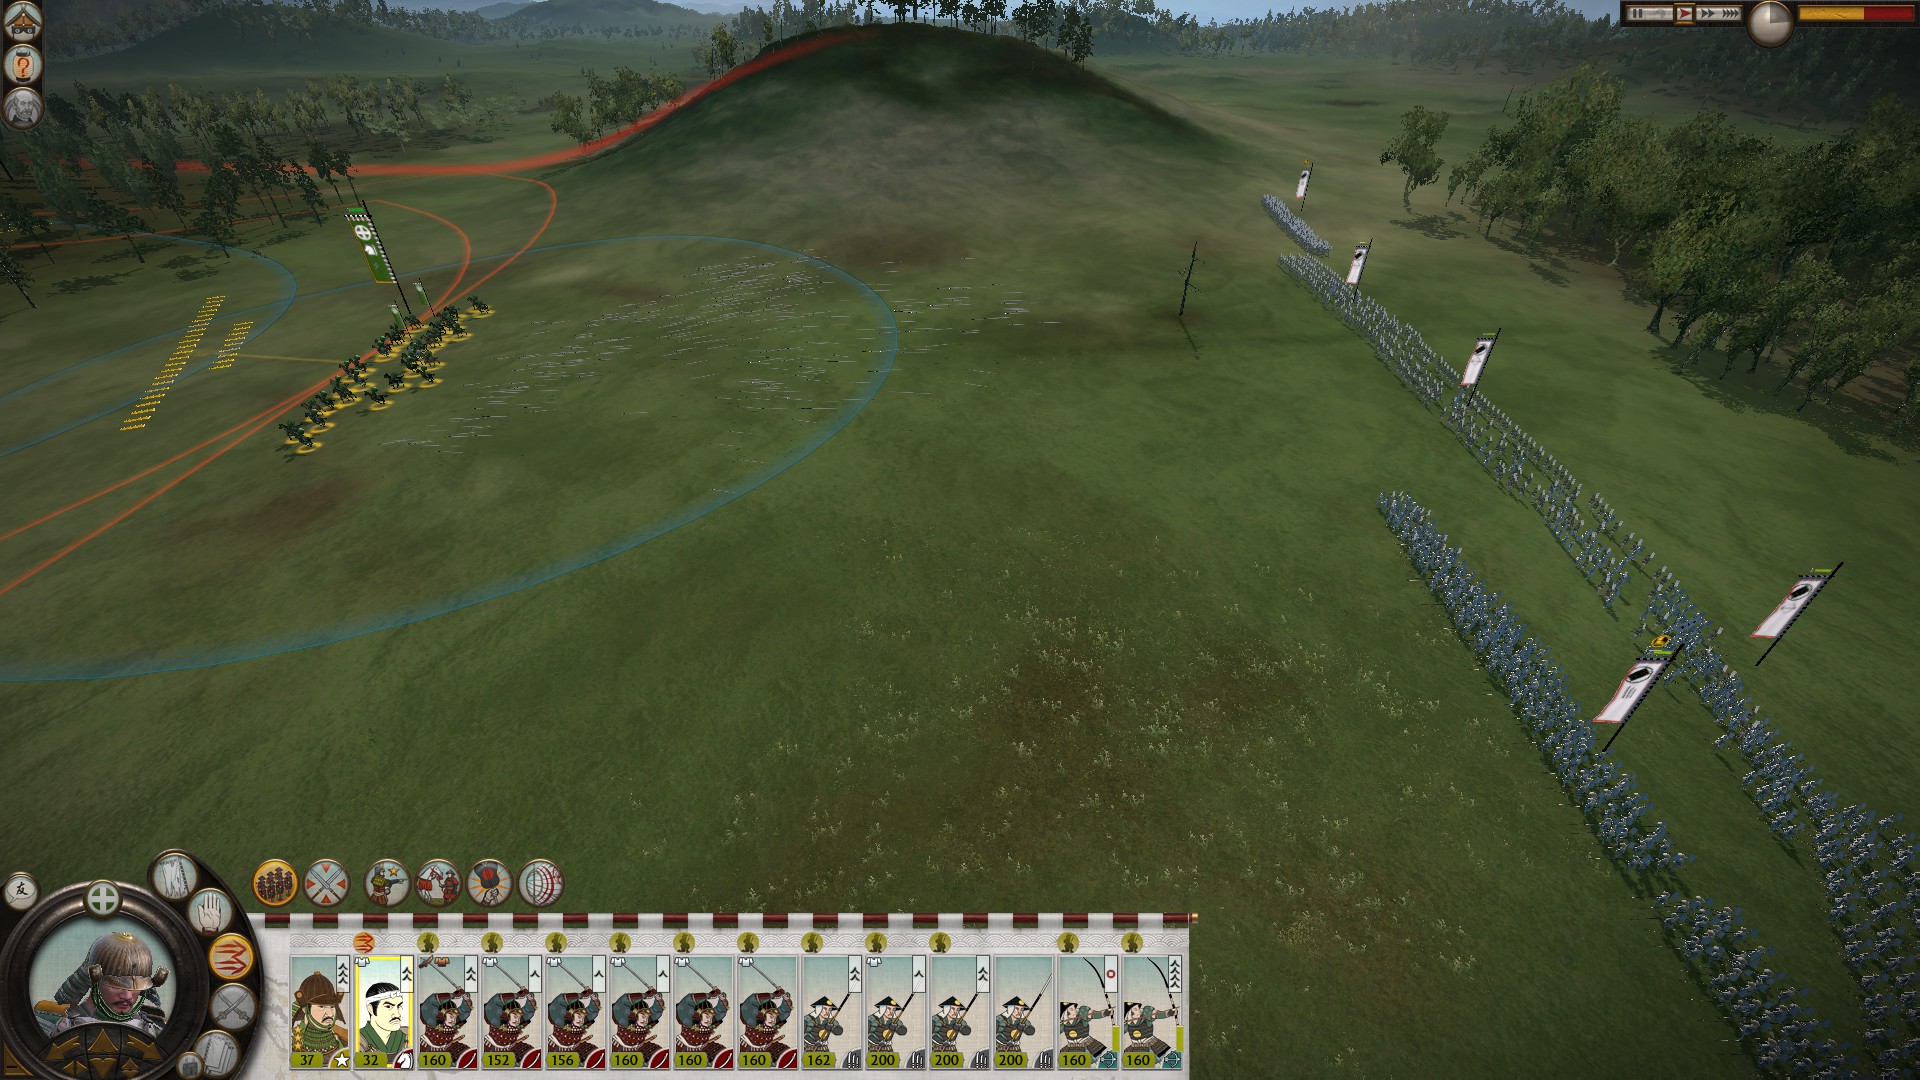
This is by far the most challenging thing to do in a game, while not in this example, if the enemy has camped on a hill I suggest that you camp your main force on another hill (with a forest prefreabbly). After that you should attempt to bait them, This could be considered cheesing the AI, but I disagree if baiting is a legitimate strategy & they can still injure or kill your units.
To do this: Camp your units on a hill and move forward your generals or calvery forward (in general (ha) you should have 2 generals in 1 army), you may want to move your archers forward so if they do try to follow you, and charge you with infantry. You can get kills on their melee units. Don't risk your generals EVER with unwavering melee units. Your general can die suprisingly quickly which is why he's a last resort morale breaker to charge enemies in the back when fighting. Always pull out or he will die, and put on "guard mode" to aid in "pull through", though disable it after getting a battle victory and chasing units down.
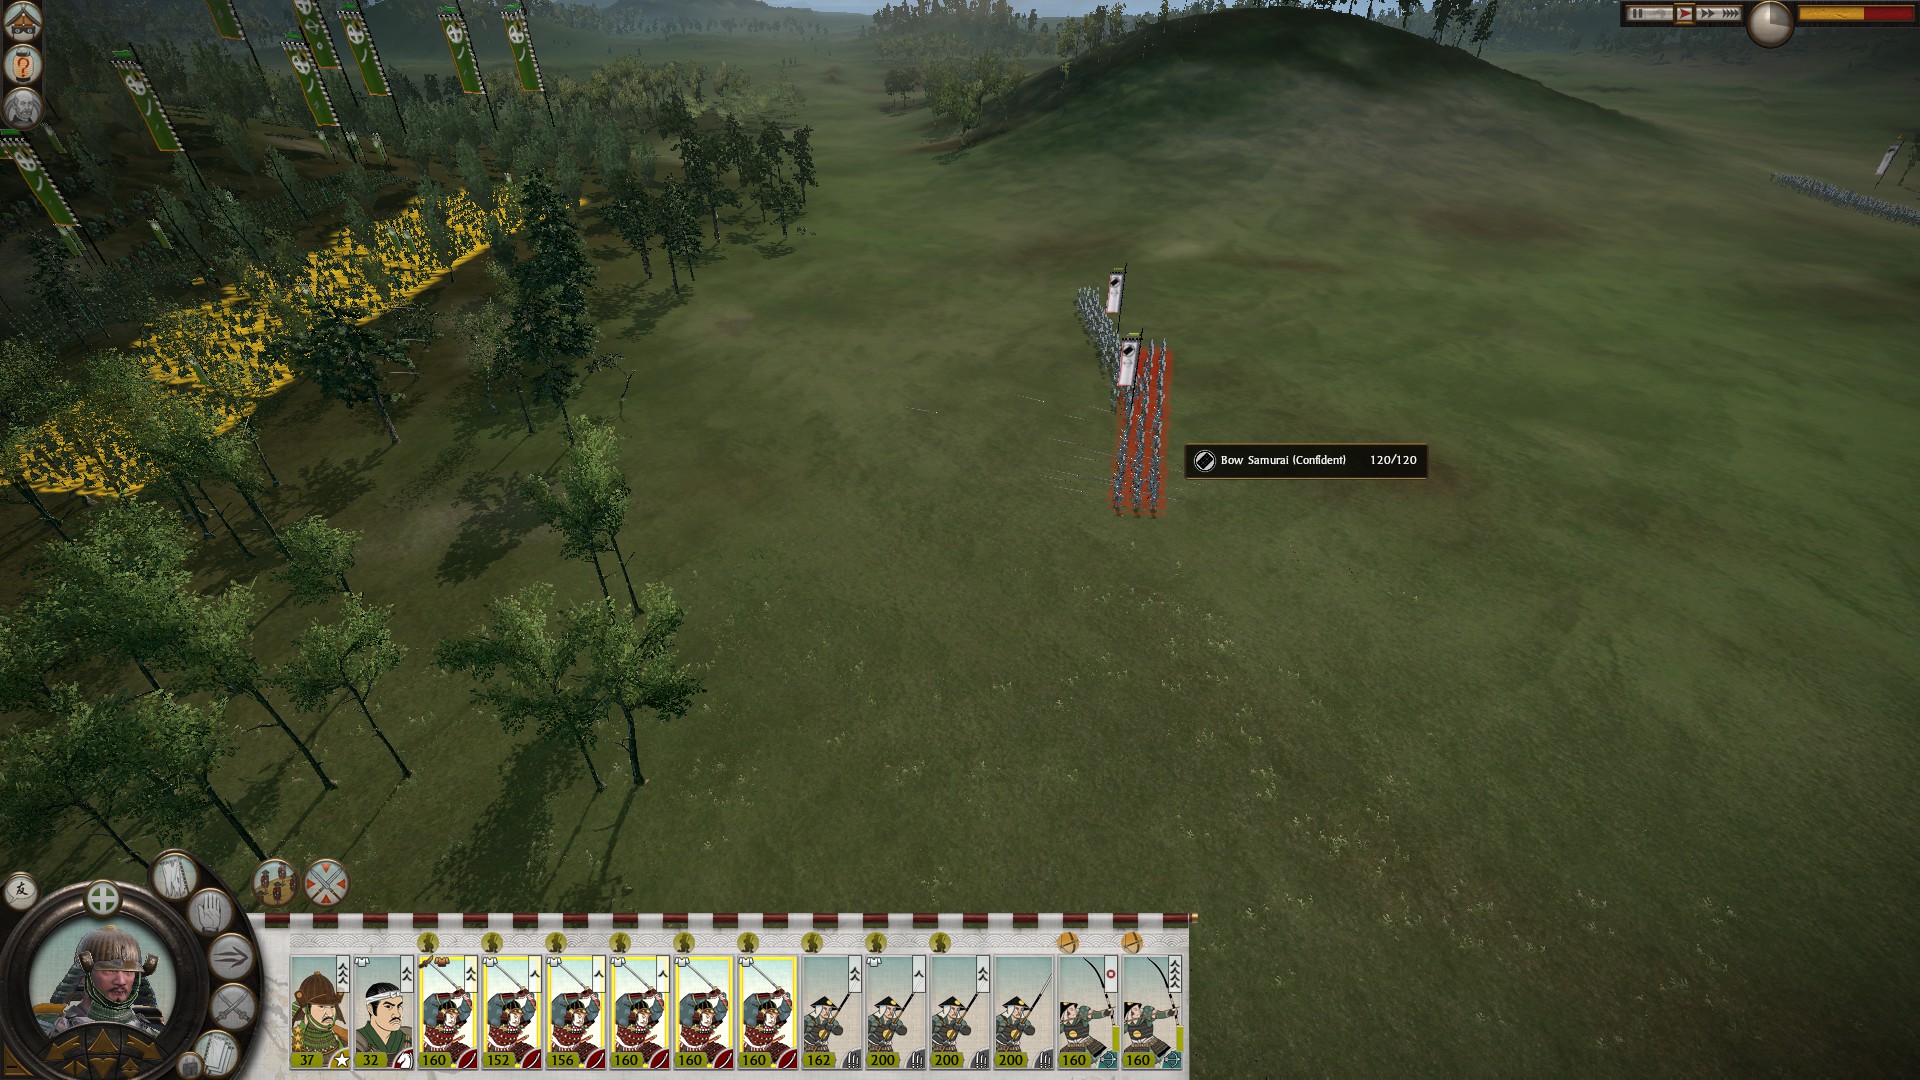
You should move 1 general foward and put on "lose formation", you want their archers to fire at your general, once you do that, use "Crtl" and walk your general/cav away from them, if sucesful their archers will follow to try to shoot your general/cav once they are a sufficient distance from their army you should turn around and charge them (be careful if they are still in a forest or hill, not advisable). Sometimes they will turn around and attempt to walk back to their army. You might need to get in range of them several times.
If you sucessfully kill all their archers they will be forced to attack you, this means you have the hill advantage and will win. When the AI has no more archers, the sides of the battle change & they will come to attack you even when suppose to be on the defense.
Try to lure them as close to the forest as possible before attacking, get them as close as possible until they discover your units. Units take damage from archers incredibly quickly on Legendary difficulty.
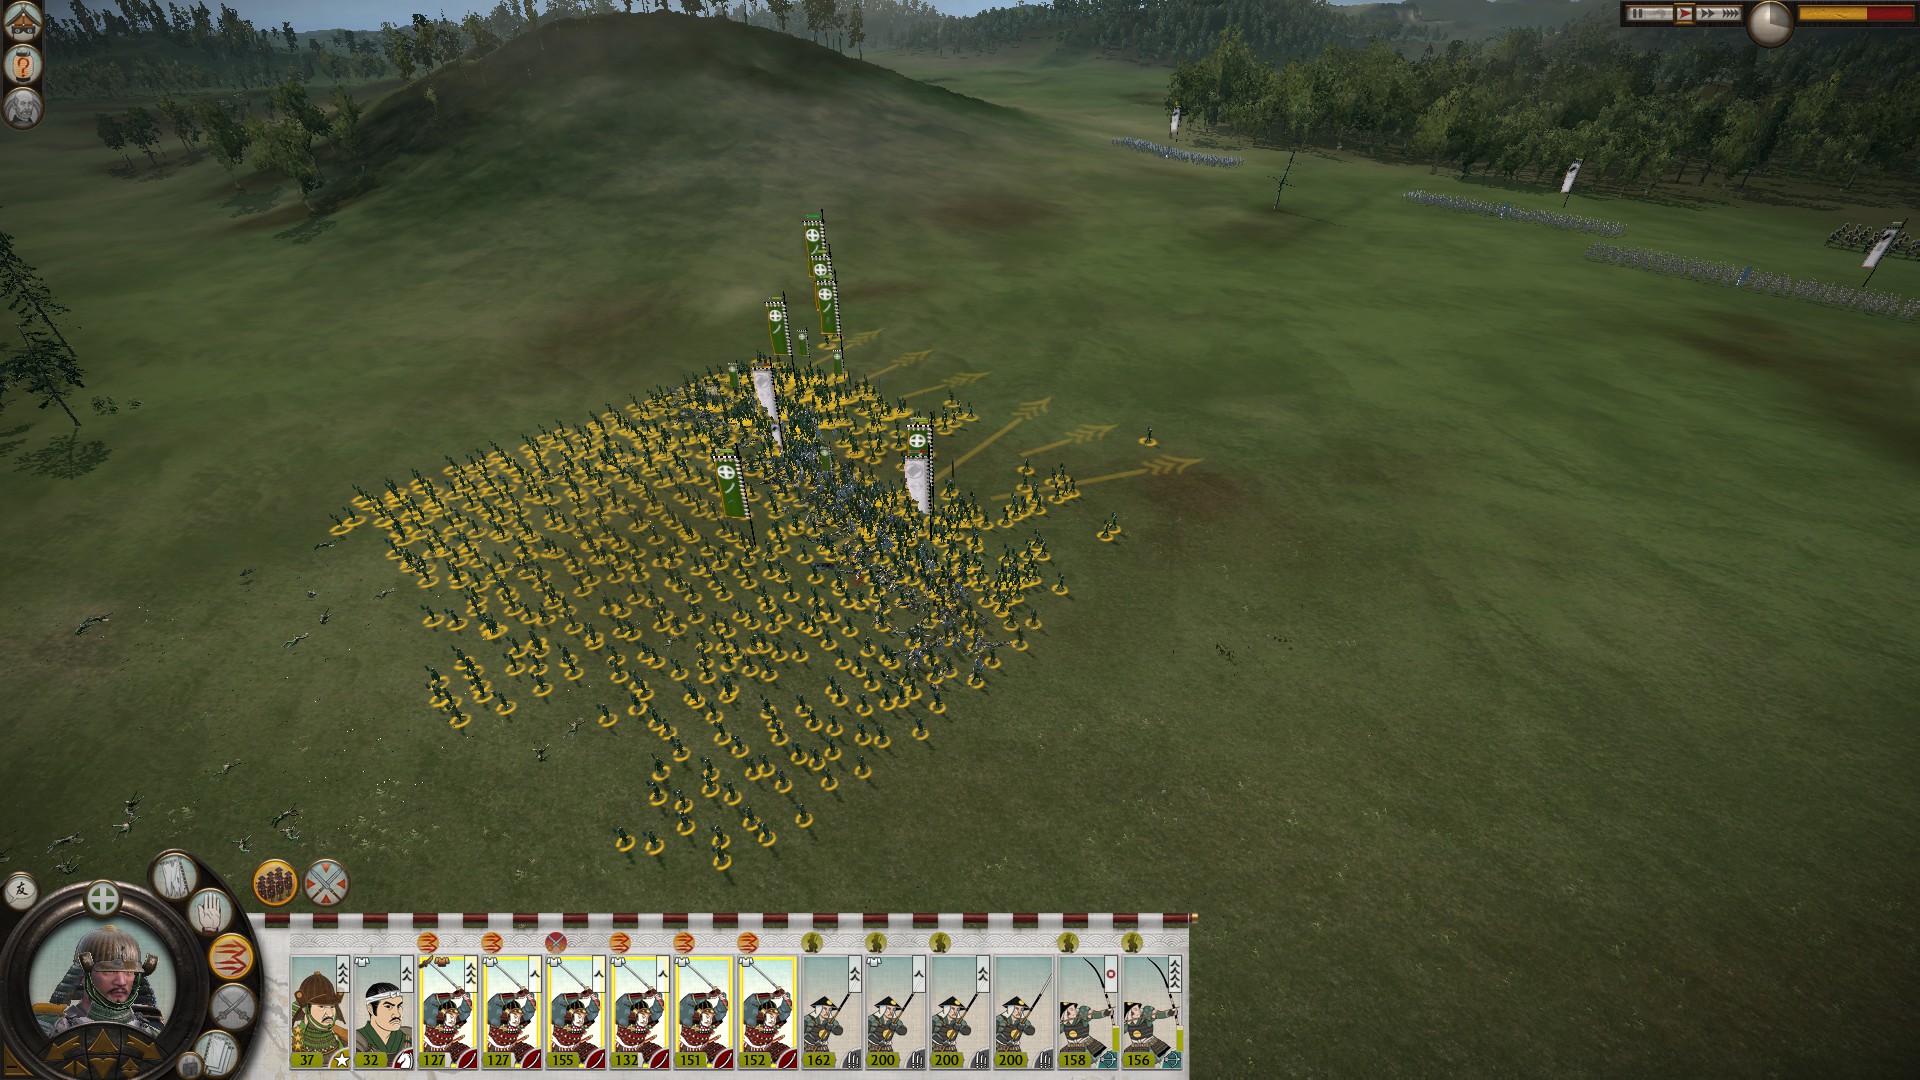
The second way of winning a hill battle is more challenging, if you either can't bait them or don't want to. Then attempt to encircle the hill while staying out of range. Sometimes by simply using calvery you can force the AI to reposition its entire army. This will tired them out and present a great opportunity to strike. I can't help you much when picking hill attacks other than experimenting.
Do you remember how I told you that a Yari Ashigaru won't beat a Yari Samurai in Yari Wall unless vet 1? Well this is still true on Very Hard, but by a smaller margin than before due to charge penalties in forest. Only on hills do Yari Ashigaru beat Yari Samurai 1v1.
Most significantly about forest, they reduced the combat ability and speed of calvary units.
Advantages
The most significant benefit from forest is that it provides protection from all projectiles & lowers line of sight. Forest give a speed penality to all units and also give a charge penality for all units. Forest can help protect you from devestating calvery charges, hindering their effectiveness significantly. While most of this is statistical reductions, some of this is visible. Depending on how thick the forest is, units will be stuck/cliped temperoralily on trees which partions their forces making defense easier.
As mentioned the biggest advantage that forest grant is protection from missile units. Ad nausum, on higher difficulties archers get a substantial accuracy increase and reload bonus. In a Forest, this works both ways though, don't expect the same effectiveness because shots will be blocked by the trees. You will have an advantage 1v1-ing archers in the open, but most of your shot won't even make it. To get the best advantage, place your archers at the edge of the tree line to avoid the trees from blocking your shots & put on loose formation (if all the archers are in range) so you can take even fewer casualties while in the forest. Because of the difficulty consideration, assume your loosing any archer battle if both sides are in the forest. This could also be applied if your not at the edge of the tree line in a 1v1 battle though I believe you still have a slight advantage over them), actually can confirm this I tested 1 bow Ashigaru (standard formation, 2 vet) vs no vet, bow Samurai and won on VH custom battles. I don't know what the limits of the "forest vs no forest" archer advantage is, but it does have upwards limits.
Disadvantages
Because of the Charge penality and the effective missile accuracy reduction in a forest, being the attacker with any units is a disadvantage.
FInally, in the previous section I mentioned the importance and advantage of a hill, combine this with a forest, and the benefits of yari wall and your nearly unbeatable.
HILL BATTLES/ FORESTED HILL:
Advantages
I decided to place all of these together since it encompases the only other main type of battle you will face. This is by far the best case senario even if you are attacking.
A hill itself will slow all units running towards the top of it and negate any charge bonus, alternatively and unit charging down a hill will get a superior charge bonus. Additionally, units running up a hill will become tired quicker than on flat terrain. Next, unit morale descriptions will sometimes say "encouraged on hill", this confirms that units on a hill get a morale bonus. (morale itself does not effect a unit's stats, but it determines its duration of staying in prolonged combat with casualties sustained). Next, if units are running up to a hill to engage you then there will be a lack of concentrated forces because once one unit engages then all units enter their combat animations causing them to move even slower. This means that units will only face part of the enemy's force at a time. Lastly, enemy archers struggle shooting at units on a hill which will help reduce your casualties, and your archers (I believe) get a slight bonus shooting down, (don't quote me on this).
All of these factors are dependent on the steepness of the hill. This is the primary factor by which you should choose where to place your army when either defending or attacking. Even better some hills ingame will be so steep that units can't move past them, meaning the enemy can't try to flank or encirlce you on a hill.
When the game is loading the battle you will get a preview of what the battle map looks like. This is very helpful to know what hill you should prioritize. (This can be decieving if the map is flat since the topographical color is based on the average map height, not a set hill height, because of this on a plains map a hill might look like a mountain when the whole map is flat, even when the hill could barely be considered a hill).
HOW TO ATTACK DEFENSIVELY & ATTACK ENEMIES ON A HILL
This is by far the most challenging thing to do in a game, while not in this example, if the enemy has camped on a hill I suggest that you camp your main force on another hill (with a forest prefreabbly). After that you should attempt to bait them, This could be considered cheesing the AI, but I disagree if baiting is a legitimate strategy & they can still injure or kill your units.
To do this: Camp your units on a hill and move forward your generals or calvery forward (in general (ha) you should have 2 generals in 1 army), you may want to move your archers forward so if they do try to follow you, and charge you with infantry. You can get kills on their melee units. Don't risk your generals EVER with unwavering melee units. Your general can die suprisingly quickly which is why he's a last resort morale breaker to charge enemies in the back when fighting. Always pull out or he will die, and put on "guard mode" to aid in "pull through", though disable it after getting a battle victory and chasing units down.
You should move 1 general foward and put on "lose formation", you want their archers to fire at your general, once you do that, use "Crtl" and walk your general/cav away from them, if sucesful their archers will follow to try to shoot your general/cav once they are a sufficient distance from their army you should turn around and charge them (be careful if they are still in a forest or hill, not advisable). Sometimes they will turn around and attempt to walk back to their army. You might need to get in range of them several times.
If you sucessfully kill all their archers they will be forced to attack you, this means you have the hill advantage and will win. When the AI has no more archers, the sides of the battle change & they will come to attack you even when suppose to be on the defense.
Try to lure them as close to the forest as possible before attacking, get them as close as possible until they discover your units. Units take damage from archers incredibly quickly on Legendary difficulty.
The second way of winning a hill battle is more challenging, if you either can't bait them or don't want to. Then attempt to encircle the hill while staying out of range. Sometimes by simply using calvery you can force the AI to reposition its entire army. This will tired them out and present a great opportunity to strike. I can't help you much when picking hill attacks other than experimenting.
Importance of Geography Part IV: Ambushes, Withdrawals & Defensive Sieges
Ambushes
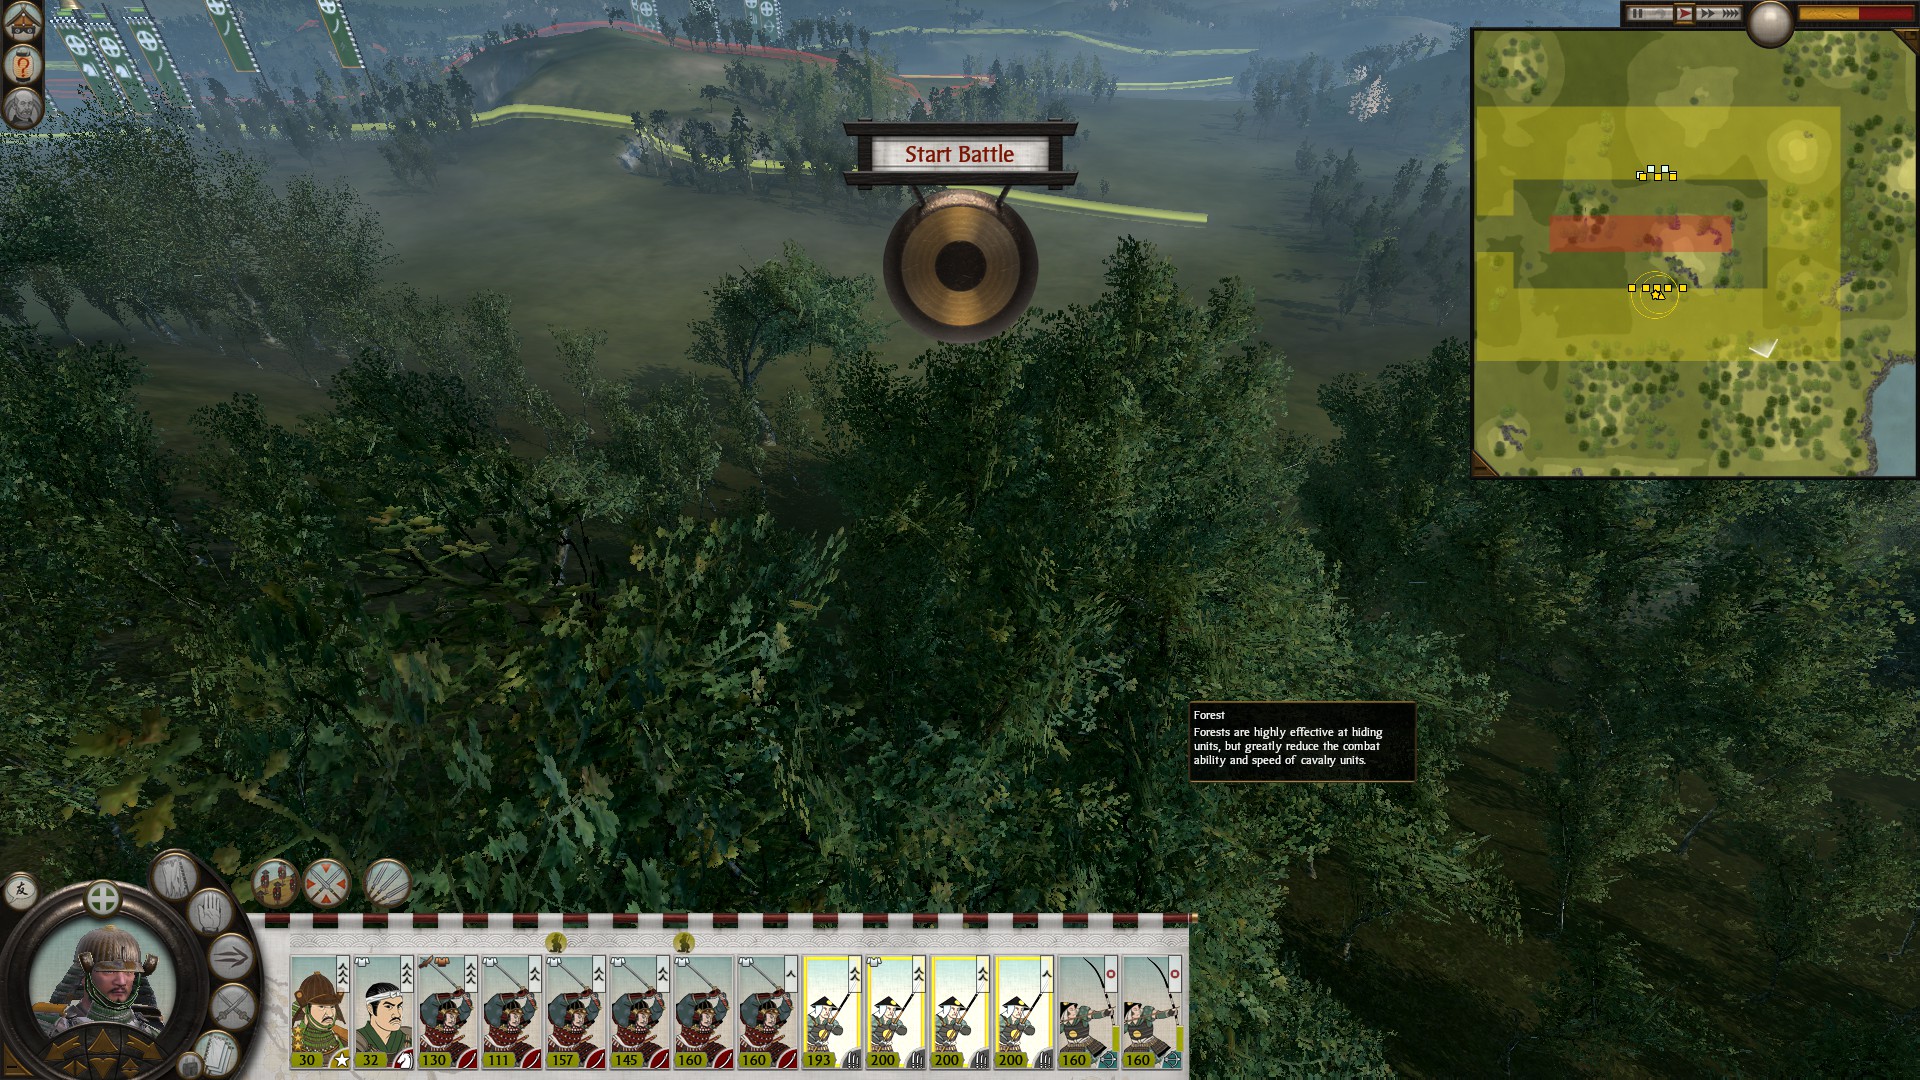
The AI will usually avoid battles unless it believes it has a good chance or even chance of winning. This can be problematic since sometimes they will even try to run around your army on the Campaign map to avoid being on the offensive. This is where the advantage of ambushes comes into play. Ambushes allow you to deploy your units anywhere around them, you don't have to use ambushes to rush the enemy which could be costly. Instead ambushes prevent them from calling in reinforcements in battle (i.e. a second army) much like a night battle. Additionally using the bait tips I discussed can turn a battle into a defensive battle for yourself.
Be careful if you get ambushed however, you can't retreat before the battle & can't withdraw troops during the battle.
Regarding Tatical Withdrawals
While the attacker in a battle has the wheather advantage, they also have the opportunity to withdraw their troops. In legendary you can't quick save every battle which is why withdrawing is extremely useful. If the campaign map gives the defenders a massive hill, steep on most sides, and a forest. Then you should withdraw. While if the enemy remains in the same spot it will generate the same map, sometimes with just the potential of high casualties, this should deter you from attacking alltogether. The AI will attack you relentlessly with their stacks and every man counts. If you cannot ensure a decisive victory then you should reconsider your attack.
BE WARNED THOUGH, excessively withdrawing can eventually have penalities such as losing honor for excessive defeats (withdraws are counted as defeats even when bloodless). Once I attacked the Takeda by a specific location 3 times. Each time my reinforcing army would enter the battlefield at a small river in the corner of the map they couldn't cross. I never had this happen and I repositioned the reinforcing army several times on three turns to get them to reinforce behind me. Eventually I just autoresolved the battle. My general has had several past victories so I can confirm on a sucessful general 3 in a row doesn't cause honor loss, but it eventually would if I continued.
ADDITIONALLY, if you withdraw all your units simetaneously the AI will try to attack you. You can turn off withdrawal, but if units are currently withdrawing they will take casualties like routing units. You should withdraw your vunerable units first and protect their exit from the battle field, then withdraw heavy infantry and cav. Intrestingly, units will incur morale hits while their friends are withdrawing, it may say "casualties sustained" and they could start wavering on their own volition. This is why all units should either be at the closest battle edge line or have units guarding to protect their retreat. Finally you will retreat on the campaign map, so don't expect the ability to withdraw if you are attacked the following turn.
DEFENSIVE SIEGE BATTLES
Siege battle are easy enough as it is, but if the enemy has tons of bow samurai or bow ashigaru they can be a nightmare. Just remember that archers are limited in range or line of sight. Either corner camping or hide behind the Tenshu or next layer of walls (line of sight).
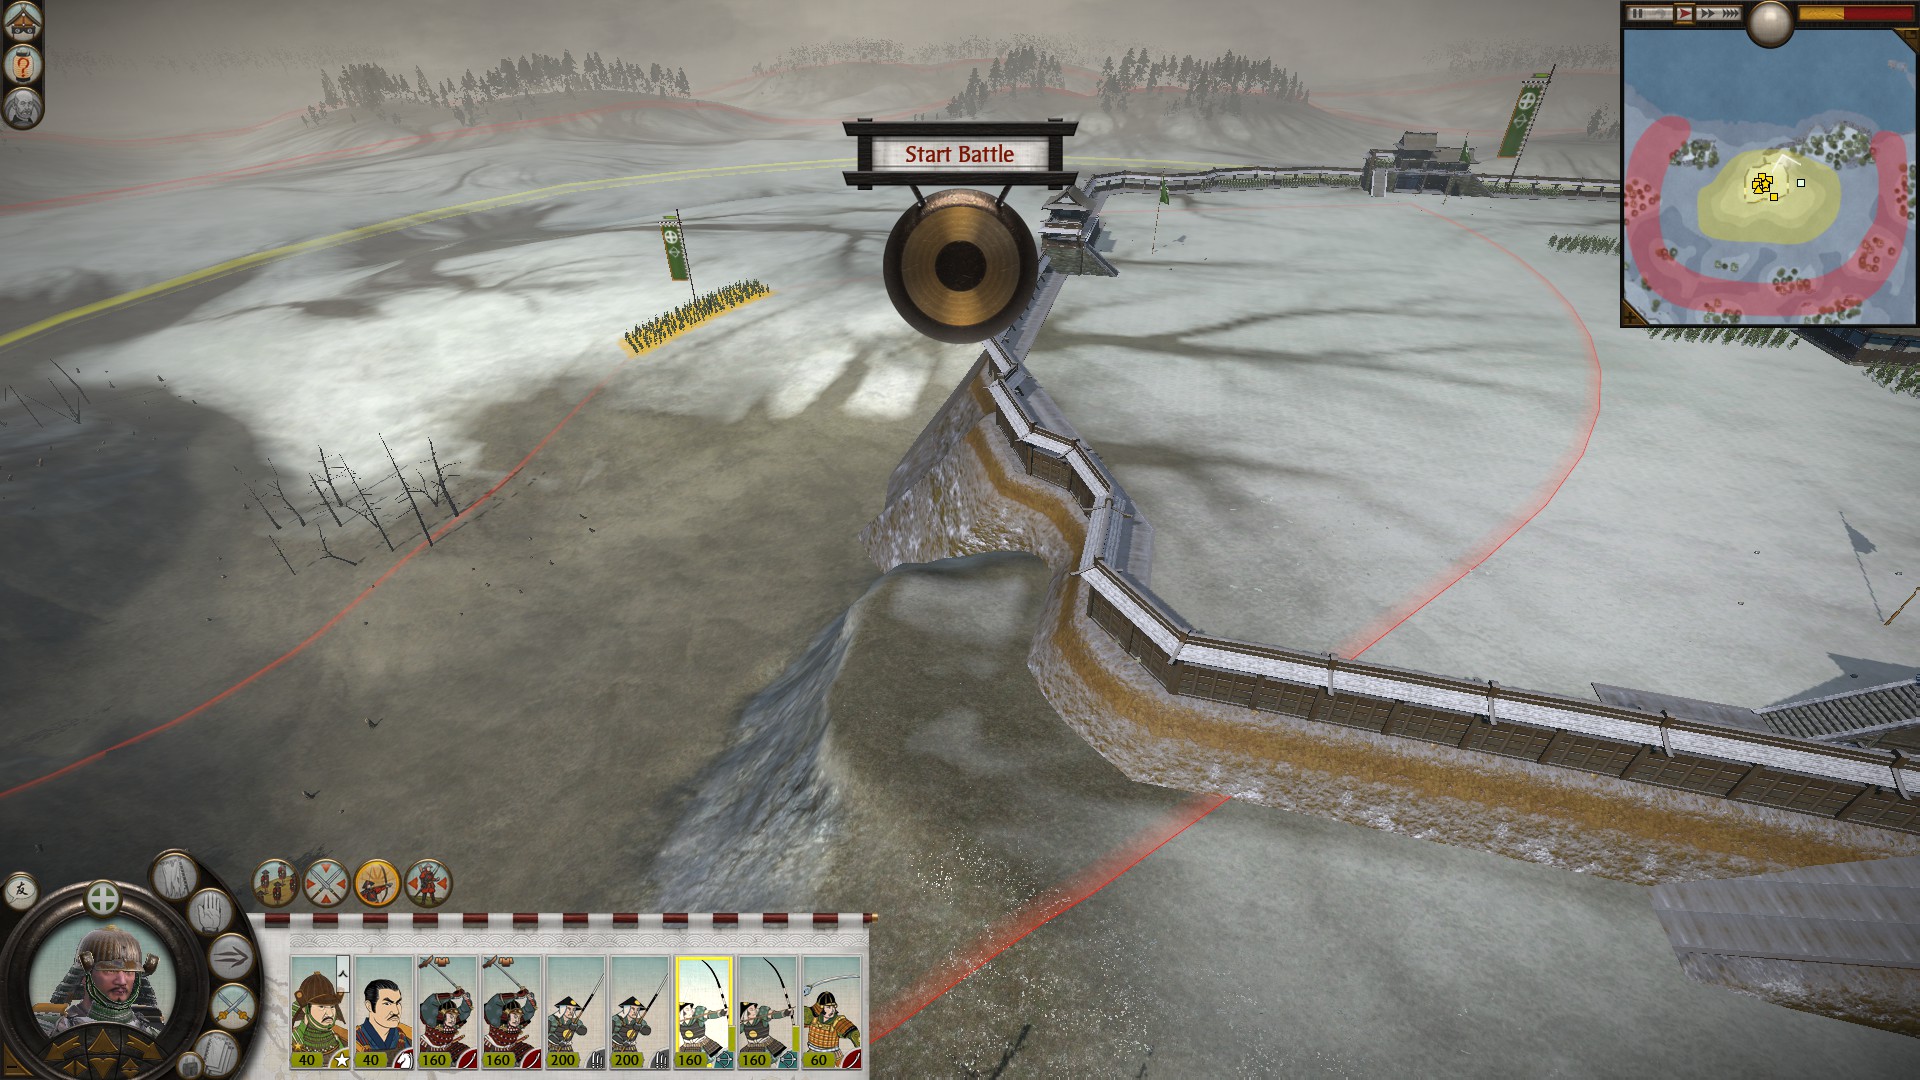
You can deploy your archers outside to see their line of sight, then camp them inside safely before starting.
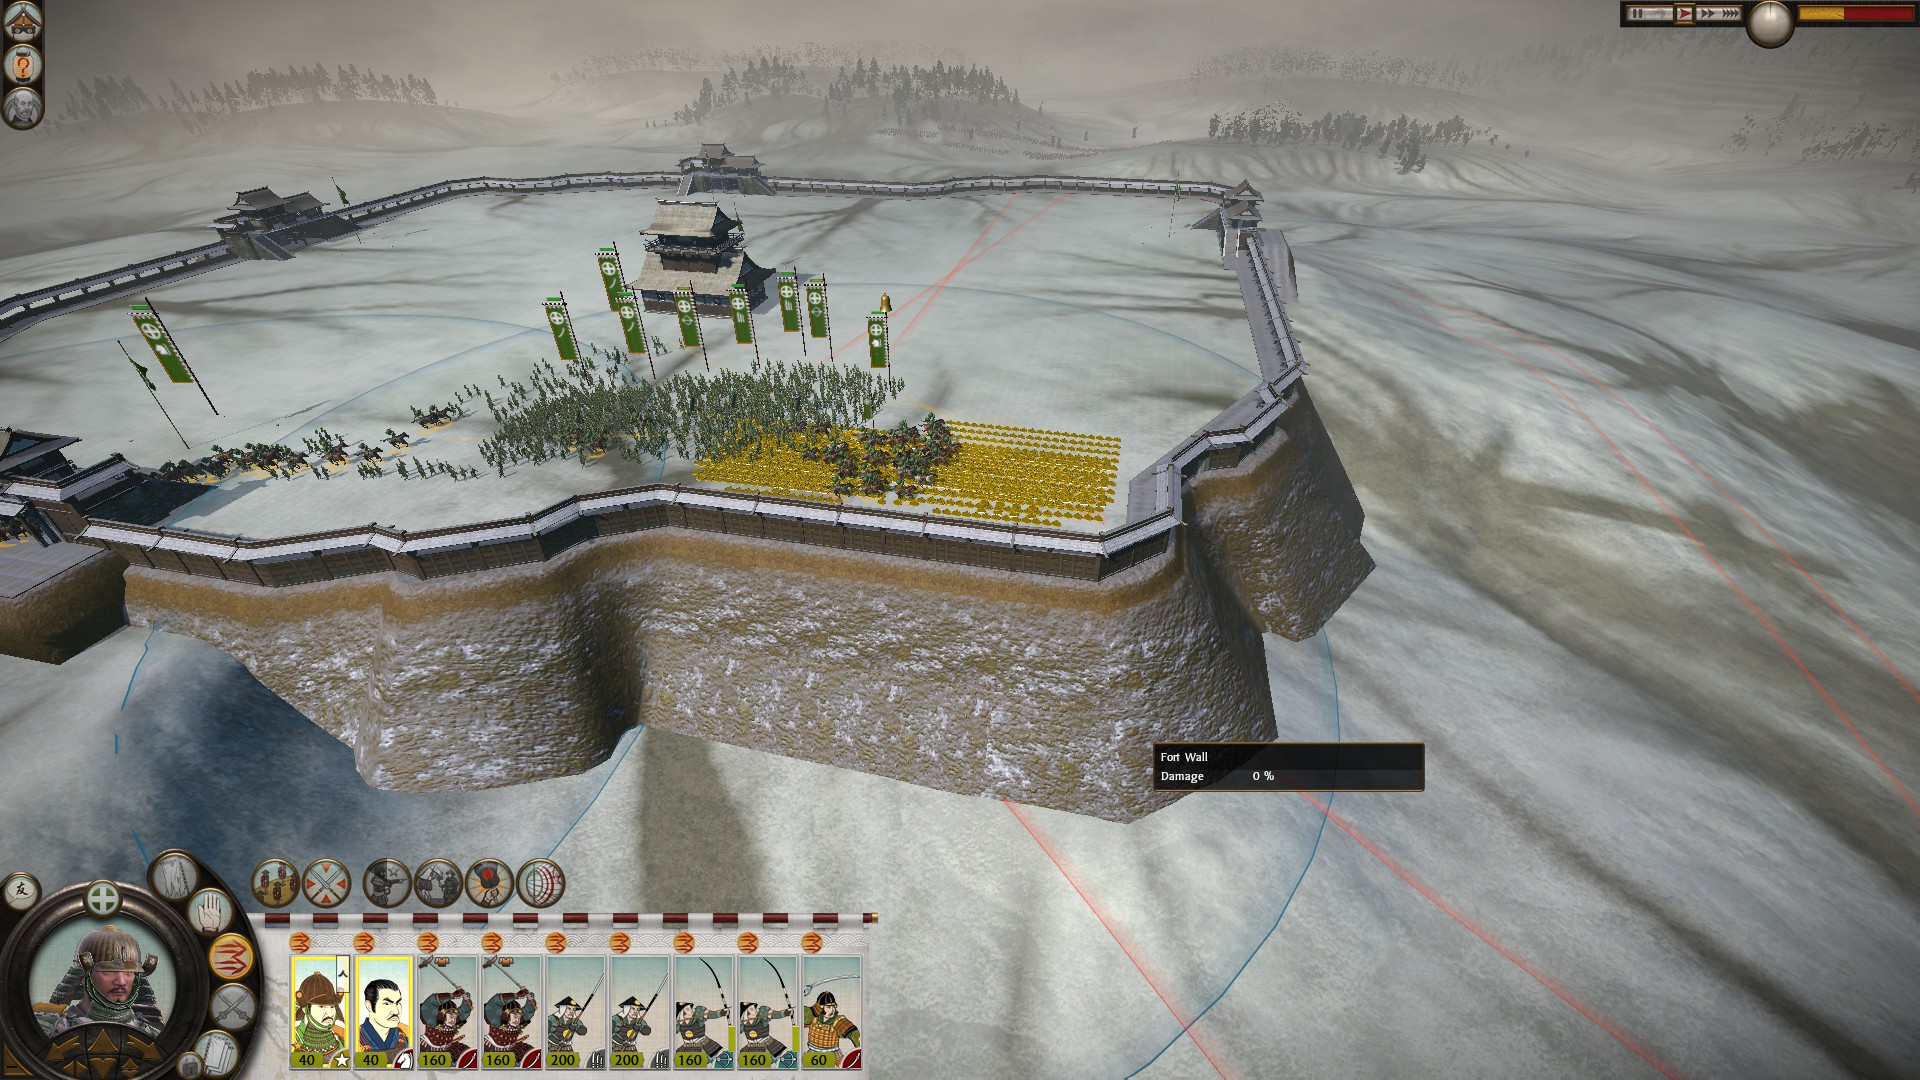
I would suggest just corner camping and waiting until all or most of their archers start climbing, then protect the flag and put your ashigaru into yari wall around the fort (blocking them off from reaching your other units). When the enemy starts using heavier units, and your Yari Ashigaru can't win but only hold them, still do this same strategy, however, focus where the enemy blobs their infantry.
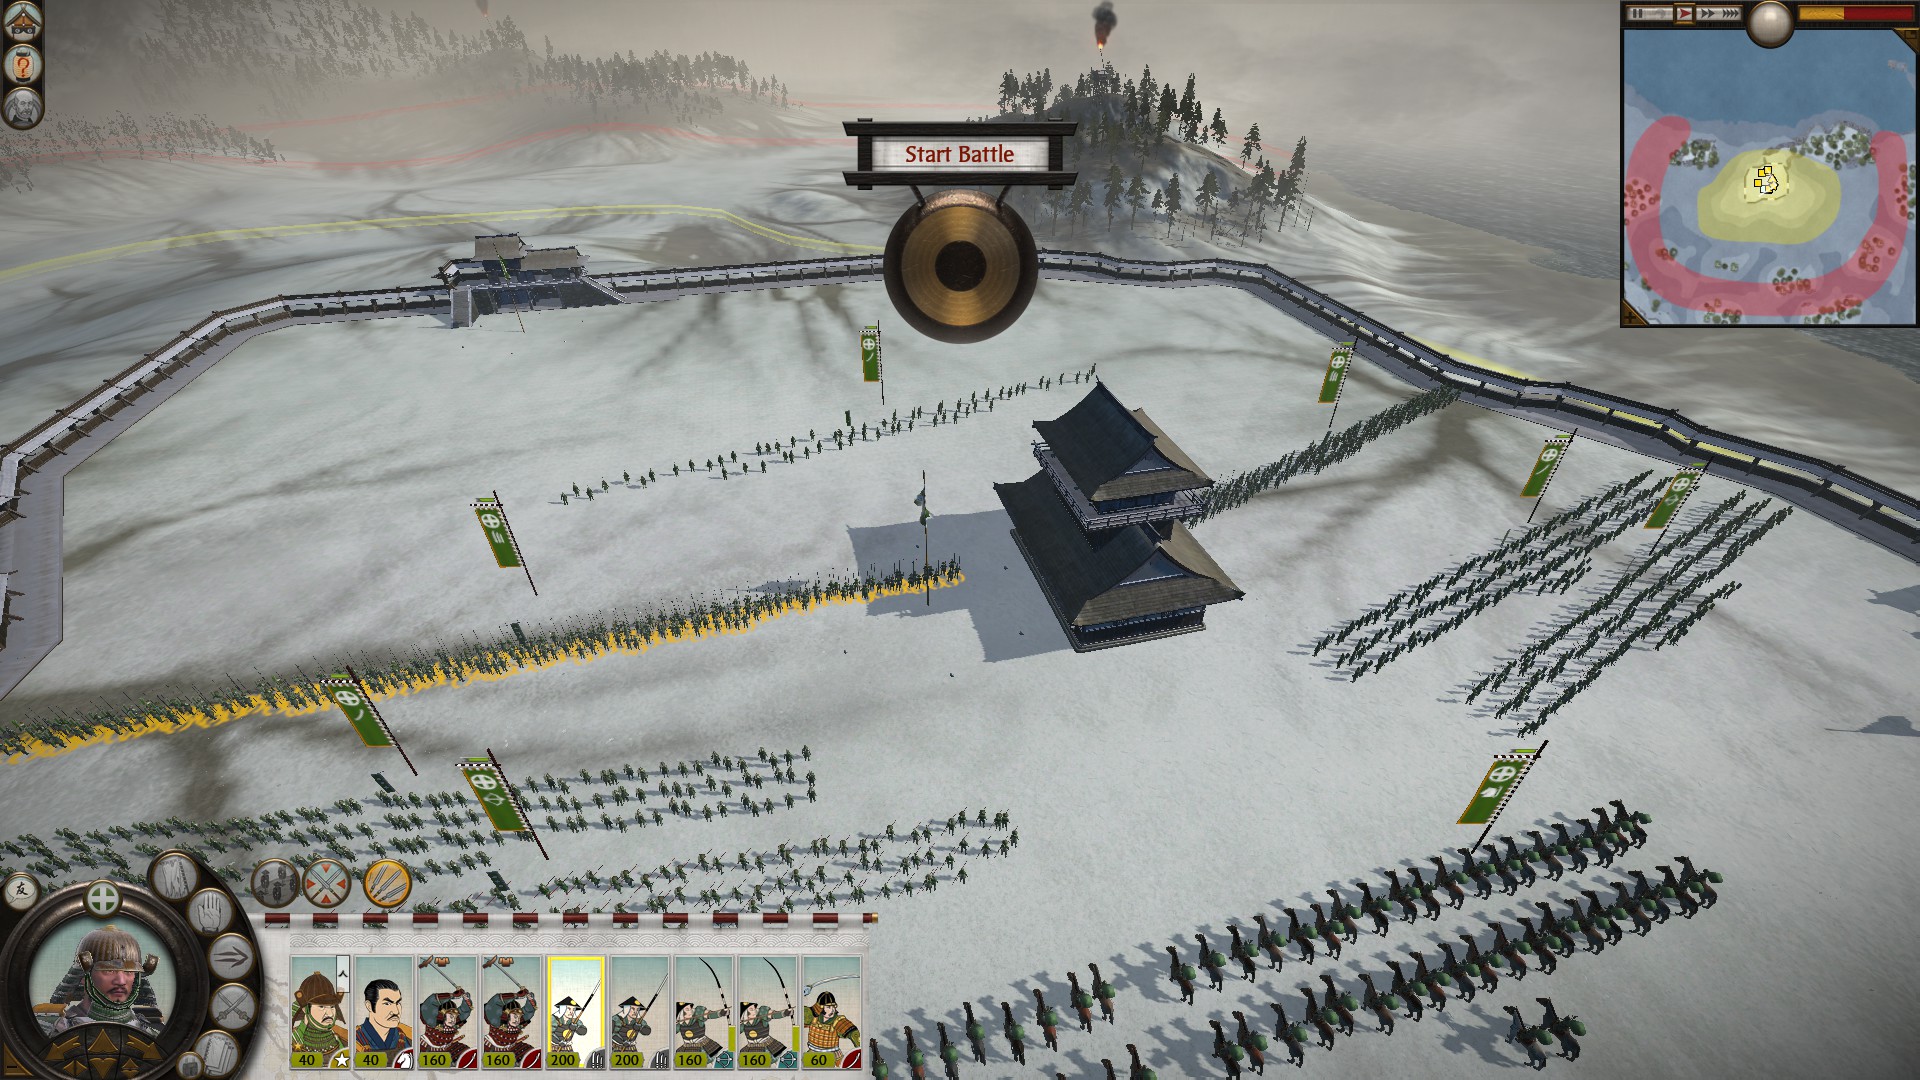
After their blob is big enough, run around. use pullthrough and then charge your melee infantry into their back. If you try to go through your own yari wall to directly attack them, this will lower your units' combat effectiveness, break any charge bonus, and not give you a coveted "attacked in rear" morale penality to your enemy.
First go to the side with the least resistance, run through your yari wall, then continue to pull through and charge into their backs. After doing this you should be able to win any siege.
The AI will usually avoid battles unless it believes it has a good chance or even chance of winning. This can be problematic since sometimes they will even try to run around your army on the Campaign map to avoid being on the offensive. This is where the advantage of ambushes comes into play. Ambushes allow you to deploy your units anywhere around them, you don't have to use ambushes to rush the enemy which could be costly. Instead ambushes prevent them from calling in reinforcements in battle (i.e. a second army) much like a night battle. Additionally using the bait tips I discussed can turn a battle into a defensive battle for yourself.
Be careful if you get ambushed however, you can't retreat before the battle & can't withdraw troops during the battle.
Regarding Tatical Withdrawals
While the attacker in a battle has the wheather advantage, they also have the opportunity to withdraw their troops. In legendary you can't quick save every battle which is why withdrawing is extremely useful. If the campaign map gives the defenders a massive hill, steep on most sides, and a forest. Then you should withdraw. While if the enemy remains in the same spot it will generate the same map, sometimes with just the potential of high casualties, this should deter you from attacking alltogether. The AI will attack you relentlessly with their stacks and every man counts. If you cannot ensure a decisive victory then you should reconsider your attack.
BE WARNED THOUGH, excessively withdrawing can eventually have penalities such as losing honor for excessive defeats (withdraws are counted as defeats even when bloodless). Once I attacked the Takeda by a specific location 3 times. Each time my reinforcing army would enter the battlefield at a small river in the corner of the map they couldn't cross. I never had this happen and I repositioned the reinforcing army several times on three turns to get them to reinforce behind me. Eventually I just autoresolved the battle. My general has had several past victories so I can confirm on a sucessful general 3 in a row doesn't cause honor loss, but it eventually would if I continued.
ADDITIONALLY, if you withdraw all your units simetaneously the AI will try to attack you. You can turn off withdrawal, but if units are currently withdrawing they will take casualties like routing units. You should withdraw your vunerable units first and protect their exit from the battle field, then withdraw heavy infantry and cav. Intrestingly, units will incur morale hits while their friends are withdrawing, it may say "casualties sustained" and they could start wavering on their own volition. This is why all units should either be at the closest battle edge line or have units guarding to protect their retreat. Finally you will retreat on the campaign map, so don't expect the ability to withdraw if you are attacked the following turn.
DEFENSIVE SIEGE BATTLES
Siege battle are easy enough as it is, but if the enemy has tons of bow samurai or bow ashigaru they can be a nightmare. Just remember that archers are limited in range or line of sight. Either corner camping or hide behind the Tenshu or next layer of walls (line of sight).
You can deploy your archers outside to see their line of sight, then camp them inside safely before starting.
I would suggest just corner camping and waiting until all or most of their archers start climbing, then protect the flag and put your ashigaru into yari wall around the fort (blocking them off from reaching your other units). When the enemy starts using heavier units, and your Yari Ashigaru can't win but only hold them, still do this same strategy, however, focus where the enemy blobs their infantry.
After their blob is big enough, run around. use pullthrough and then charge your melee infantry into their back. If you try to go through your own yari wall to directly attack them, this will lower your units' combat effectiveness, break any charge bonus, and not give you a coveted "attacked in rear" morale penality to your enemy.
First go to the side with the least resistance, run through your yari wall, then continue to pull through and charge into their backs. After doing this you should be able to win any siege.
The Opening Moves as Shimazu Part I
Blue Circles = Province Capital
Black lines = Roads
Dark brown lines = Bridges
Blue lines = Rivers
Green lines = Shortcuts
Yellow areas = Beaches
Yellow circles = Trade nodes
Other colored areas = different factions/clans
Purple triangles = Warhorse speciality
Purple squares = Smithing speciality
Purple circles = Craftworks speciality
Purple diamond/rhombus = Philophical tradition
Right ways arrows = Naval tradition
Upwards arrow = Hallowed ground
Below I will give you the opening moves as Shimazu as a turn by turn guide, some of these images are from another playthrough I did on very hard so I could show you want to do, keep in mind that my dates may be off or that I am in a different season.
Turn 1:
For the first turn you want to sell your military access to Sagara: 10 turns for 500 koku
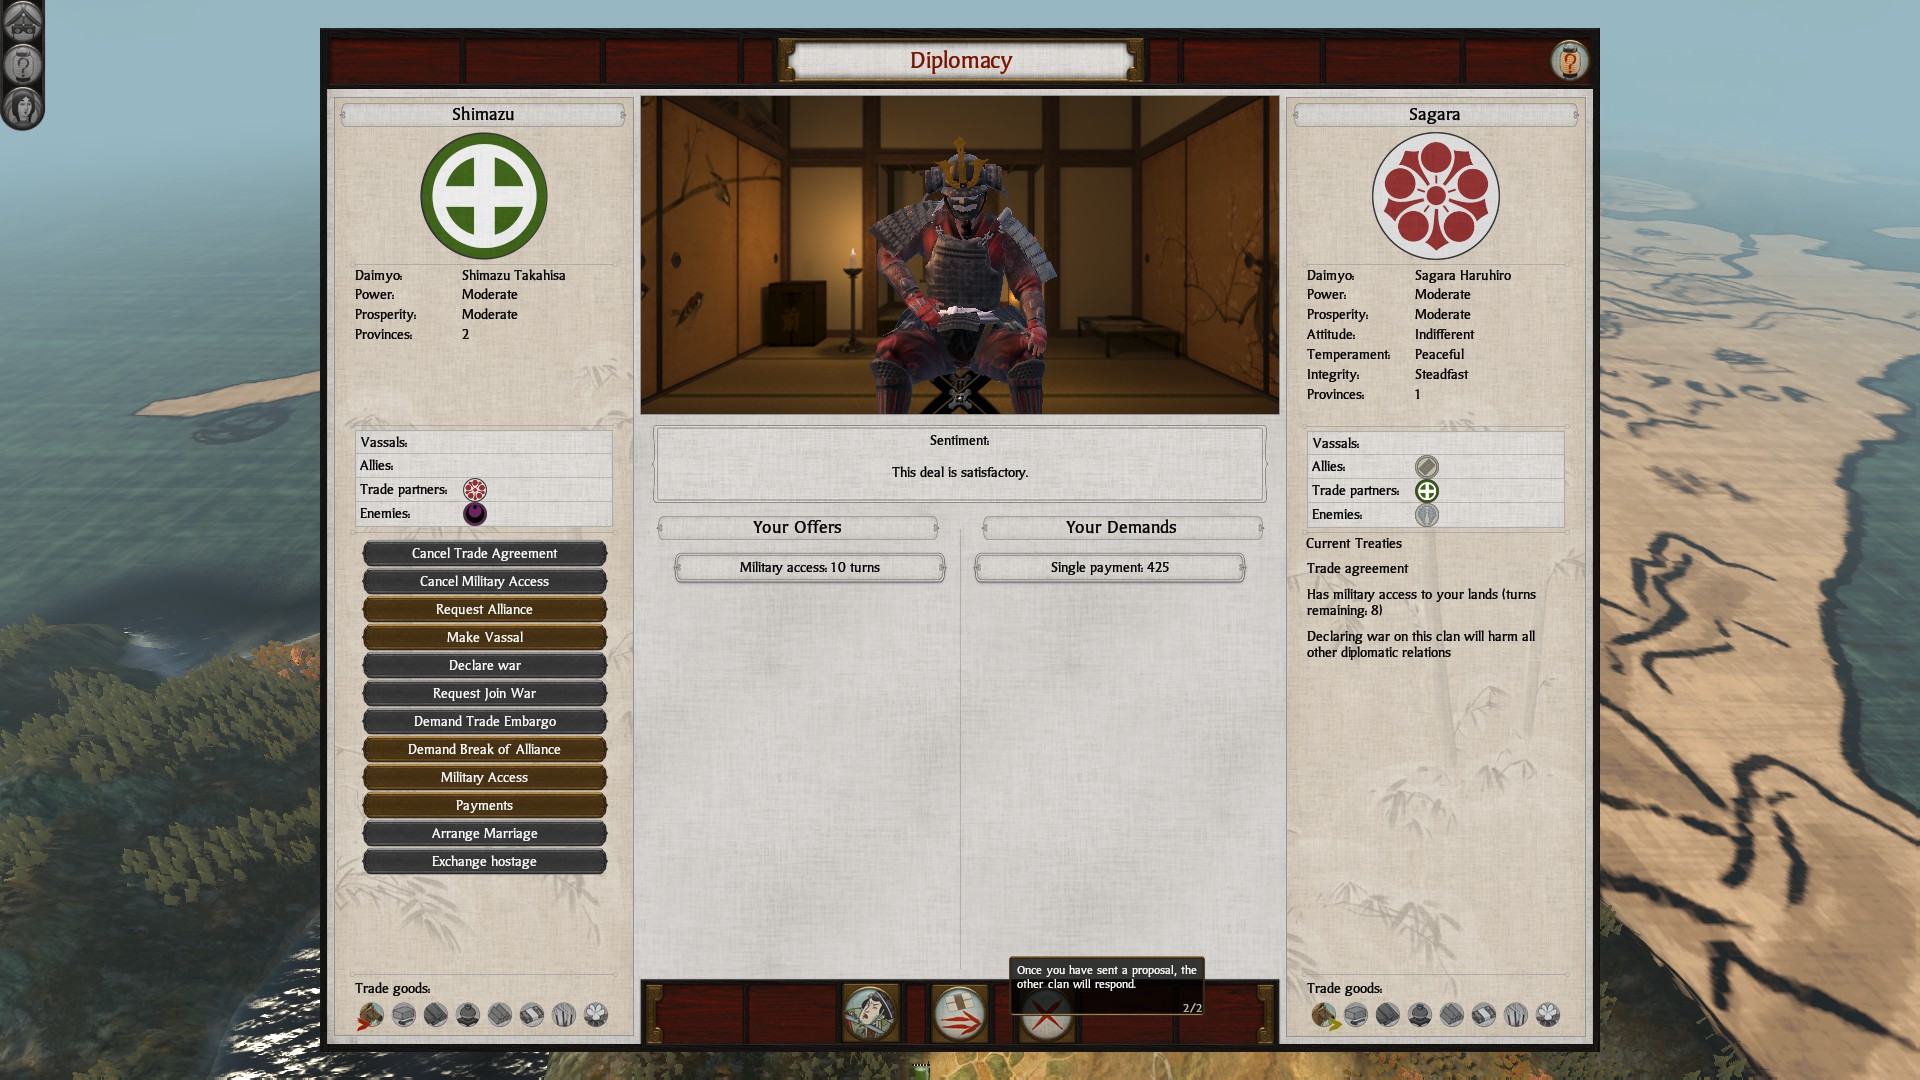
Next Change your Heir from your eldest son to your youngest (this is because if your first or second son come of age you can switch them to the heir and they get a "+2 declared heir" instead of a "+1 heir" modifier. You can switch heir without penalities when none of them have come of age).

Build 2 Katana Samurai in Satsuma
Build 1 Harbor in Satsuma
Set your Technology to the Way of Chi to Todofuken
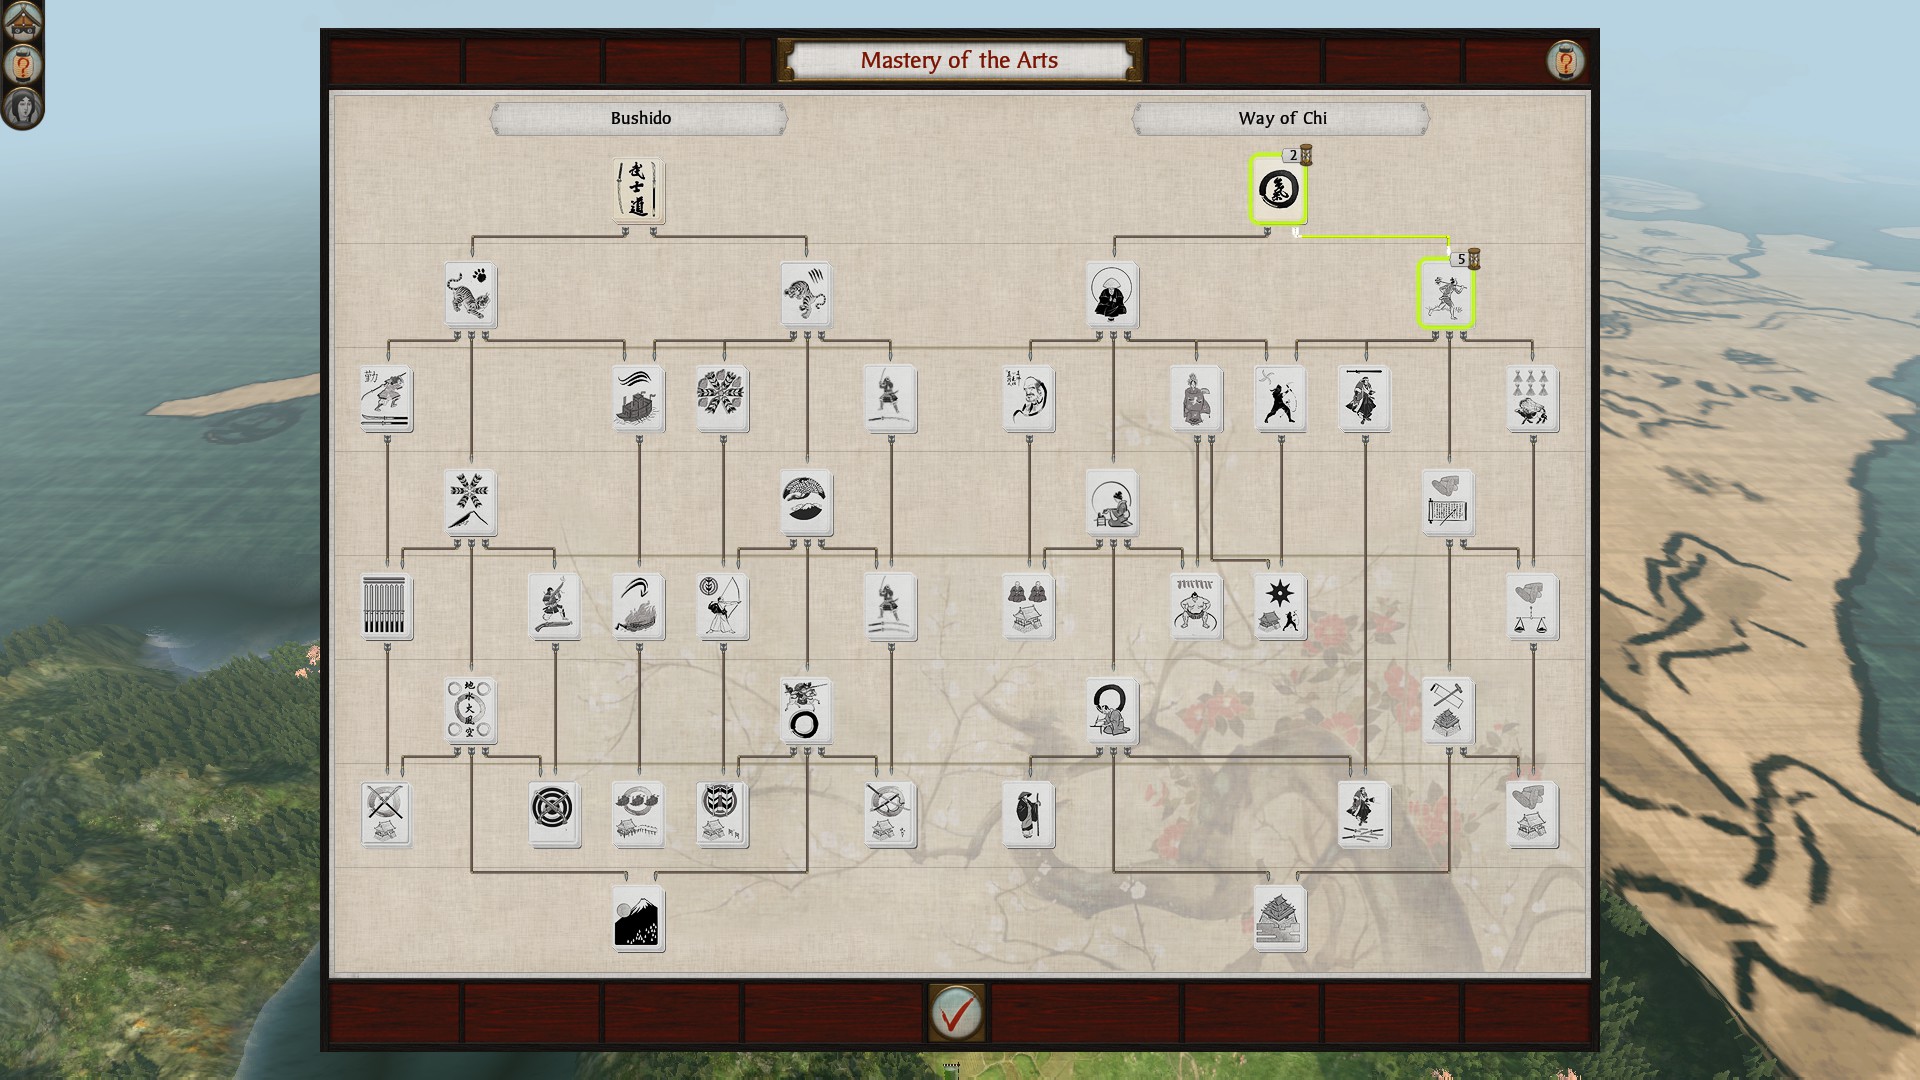
The first battle:
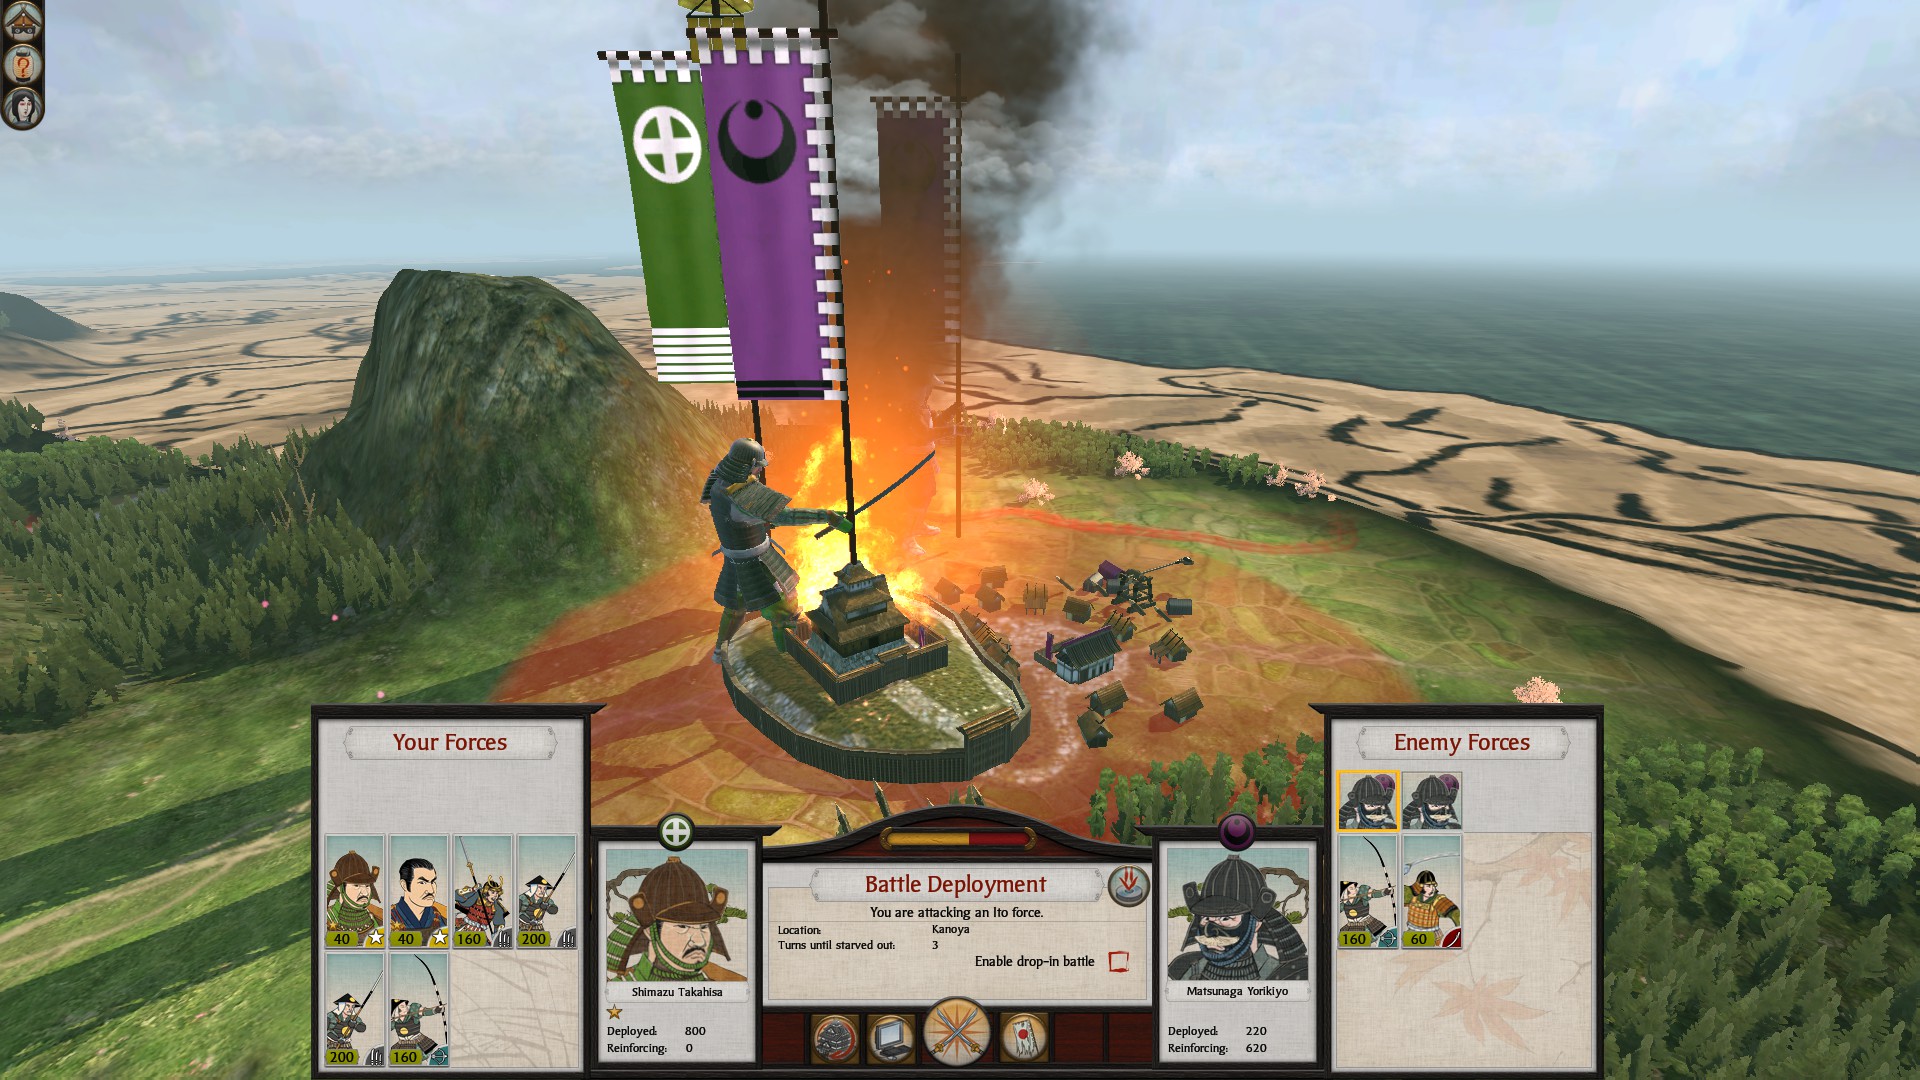
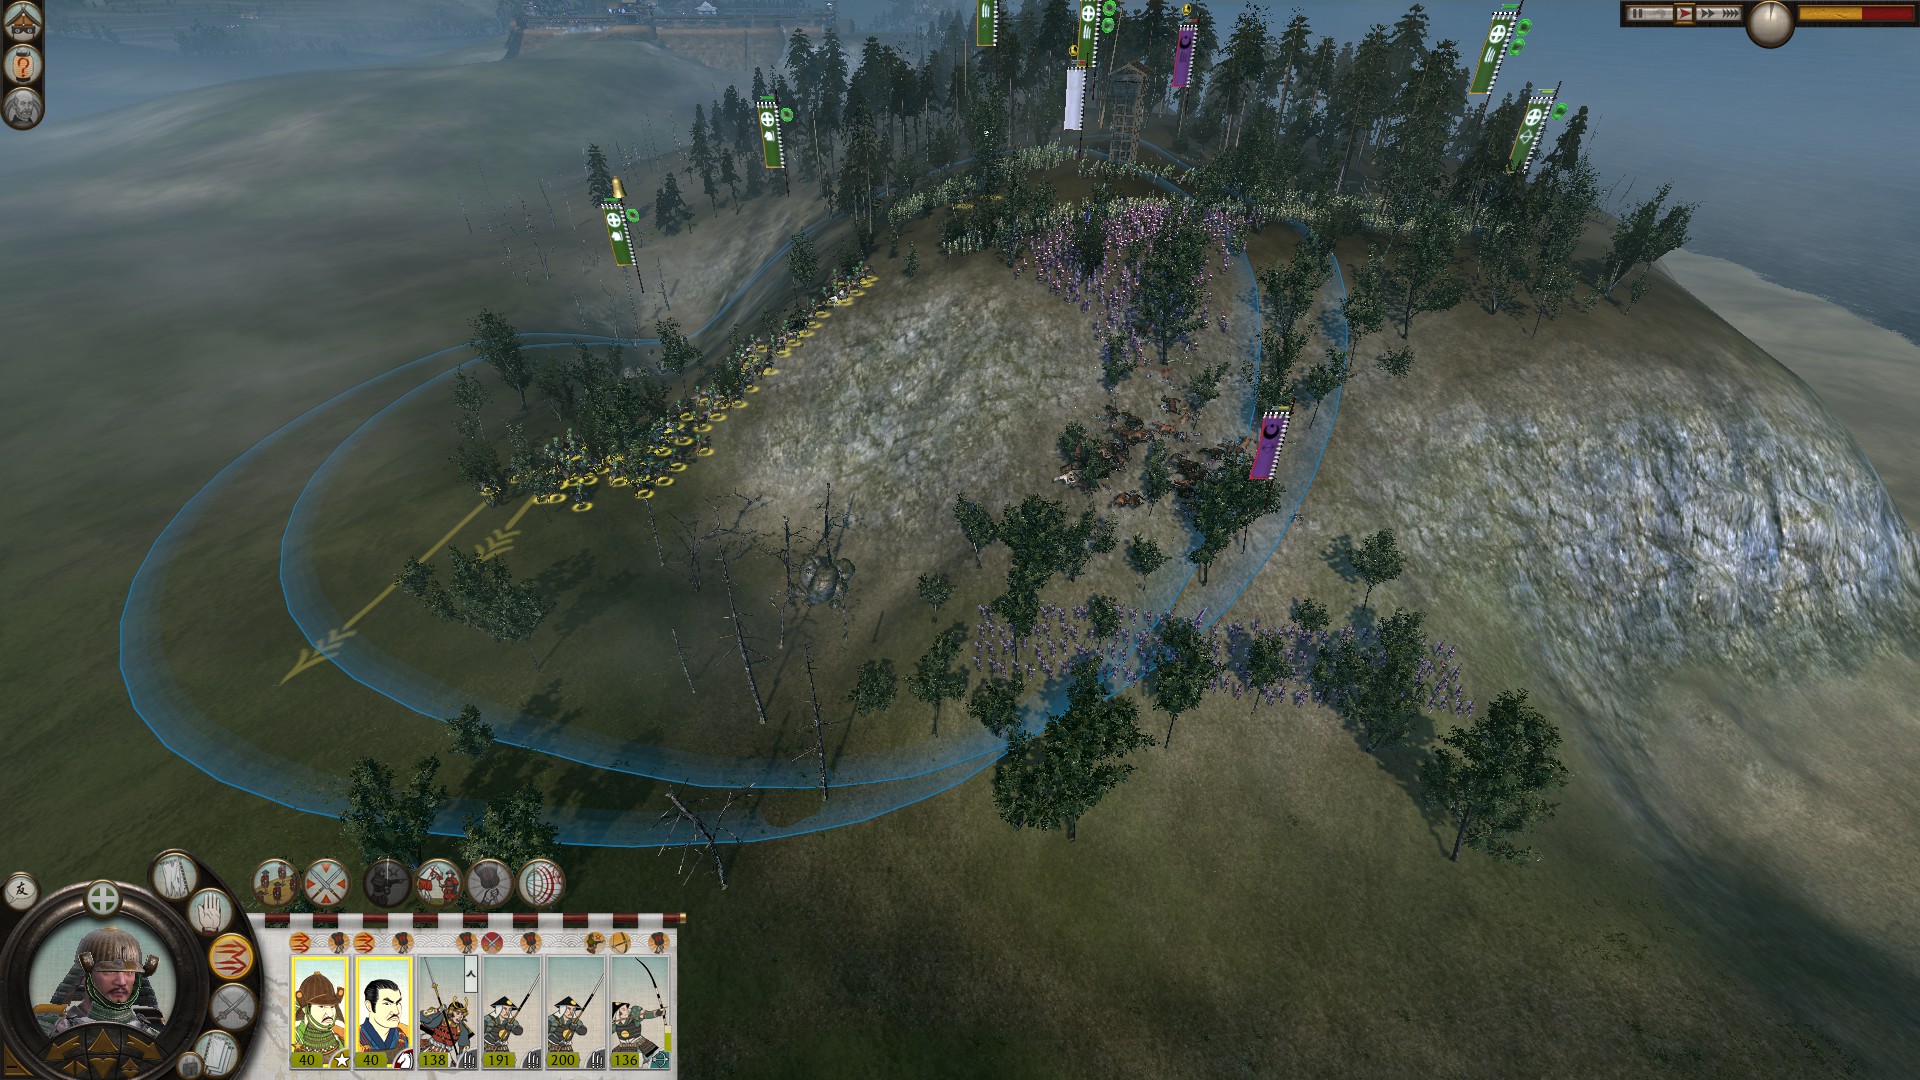
Gathering your dyamio and not disbanding any units, siege the Ito in Osumi and attack. When the deployment phase starts you want to deploy your men the farthest to the right and up the hill as much as possible. When the battle starts move everyone to the top quickly except your Yari Samurai, you want to leave your Yari Samurai half way and do not run, walk. For some reason the AI always charges their leading light cavery into your yari samurai once they see them. When they get close enough charge down and finish off the calvery until they are shattered. After this run your yari past your units in the forested hill. You want to use both of your yari ashigaru to form a yari wall. since their yari ashigaru will charge up the hill. Don't form the wall too far foward to avoid missle attacks in the unforest area and not too far back to keep the enemy funnelled. After the yari engage, if possible use your generals abilities to inspire or rally. Then take the ramp to the side and charge at their calvery behind their yari ashigaru fighting yours. The bow ashigaru should waver then shatter allowing you to kill them all with your two generals. Additionally the ashigaru fighting yours in yari wall will shatter and run towards you, allowing you to kill all of them.
Now onto the siege itself, there are two units: 1 Samurai retainer & 1 bow ashigaru, put your second general (not your dyamio) in front of the bow units, but just out of range. Then simply walk all of your units to the back gate of the fort connected to the forested hill. Once there, burn the gate down and enter. I'd use the Yari Samurai since I advise you to disband them after this battle anyways given their cost & the fact that Yari samurai are worse than Yari Ashigaru.
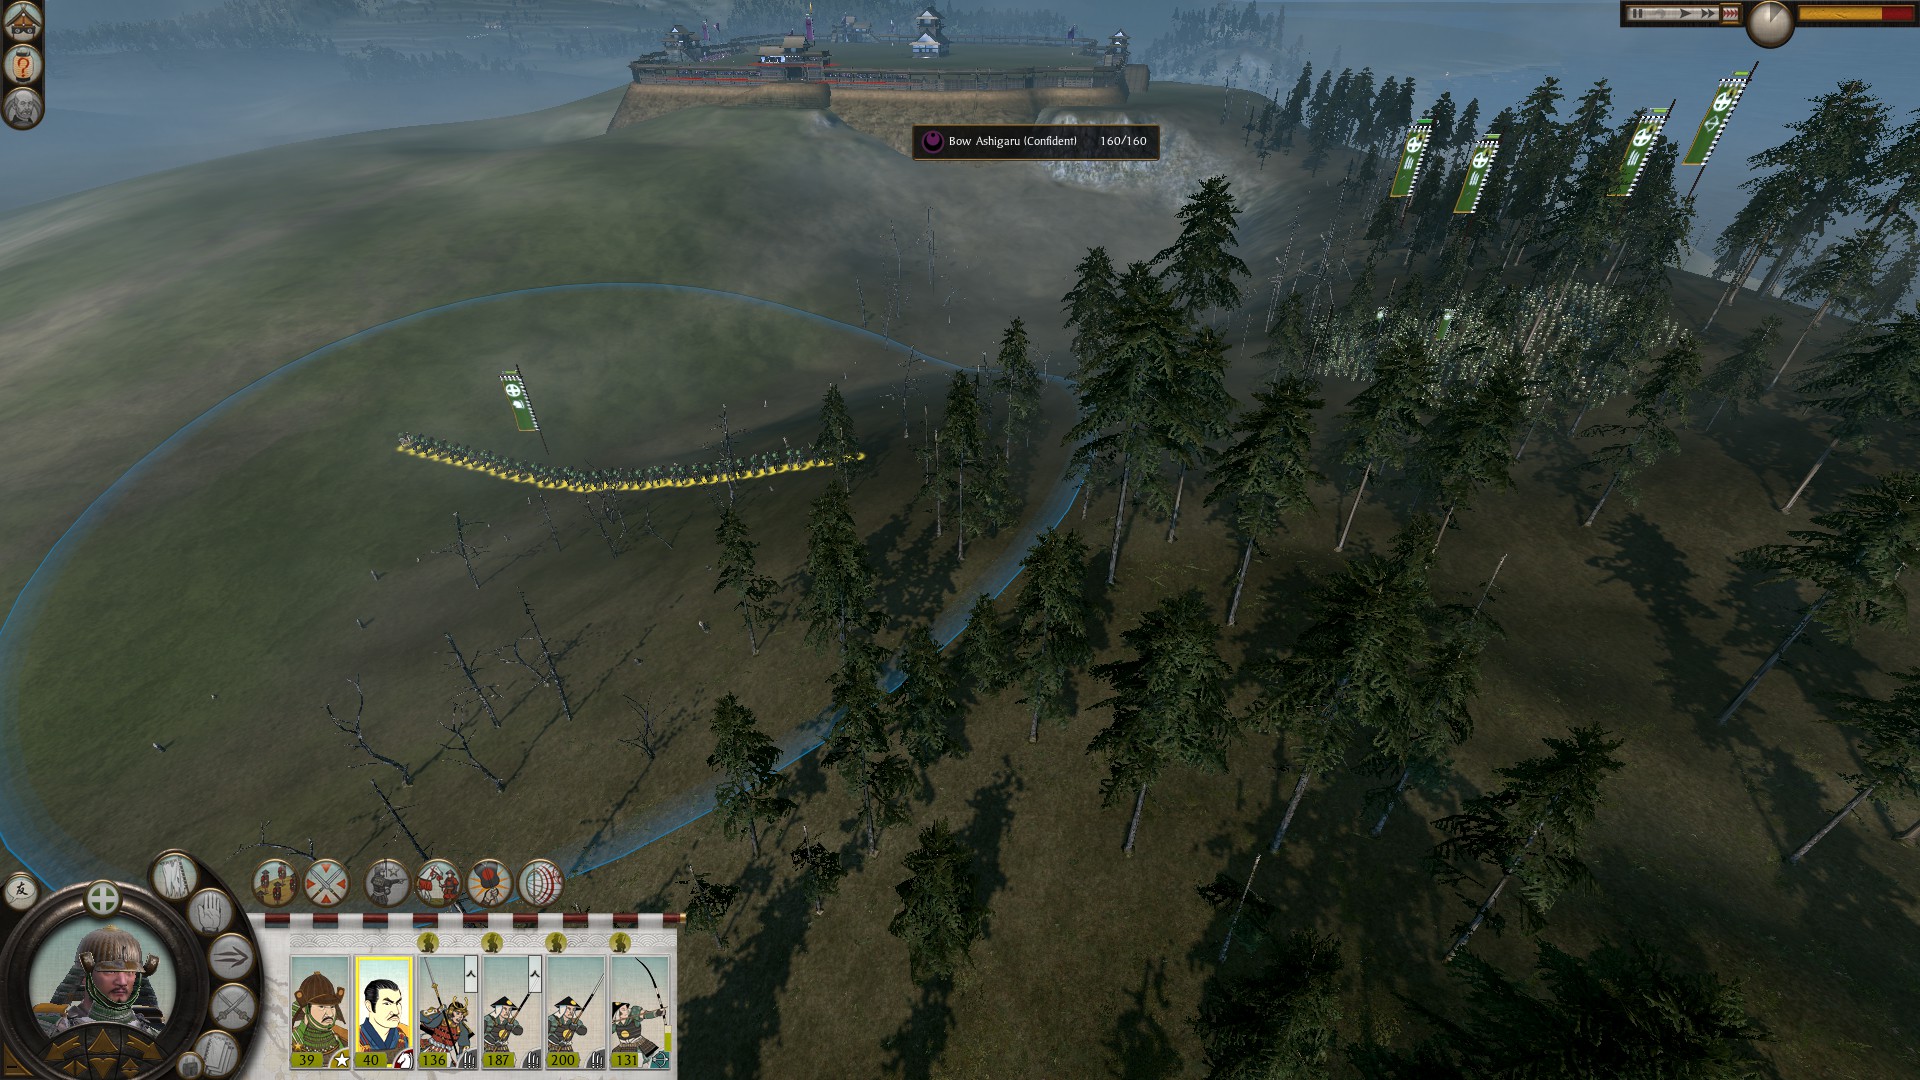
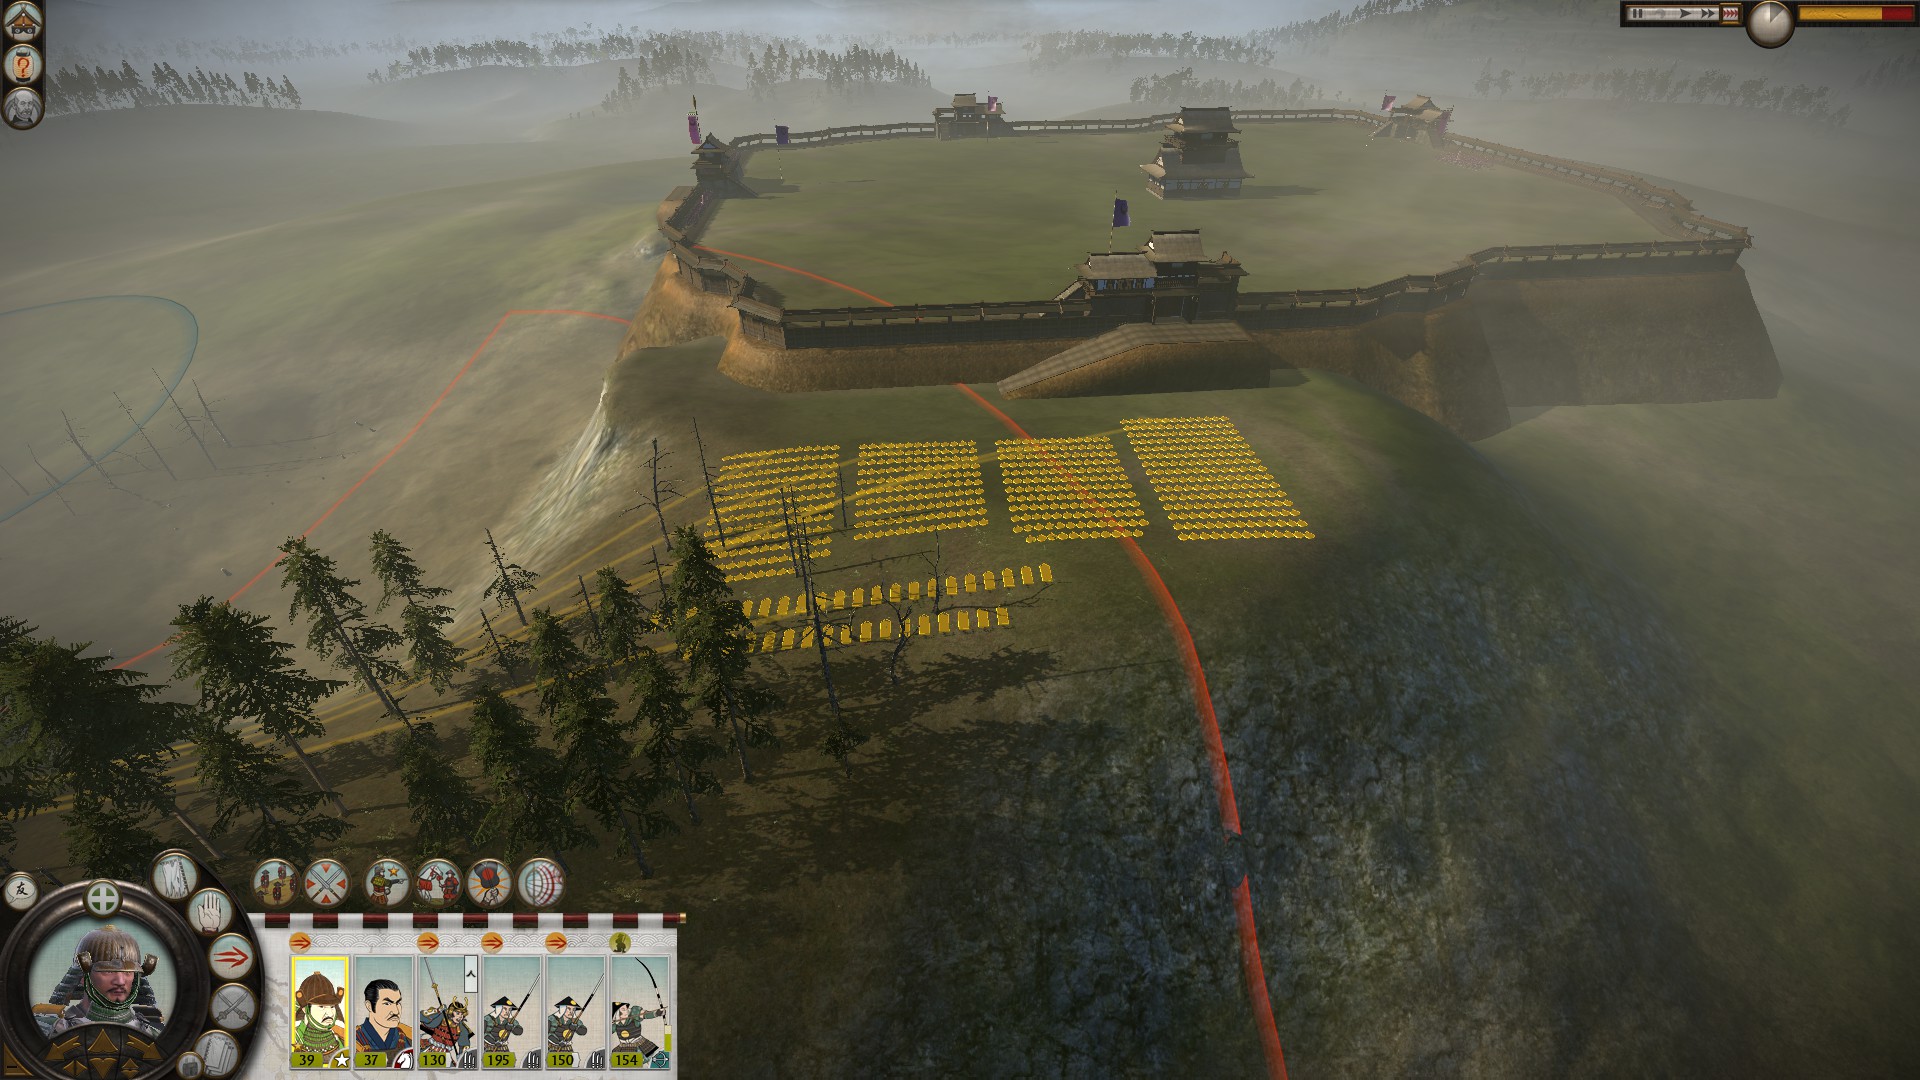
After the battle remember to disband the Yari Samurai since they cost quite a bit.
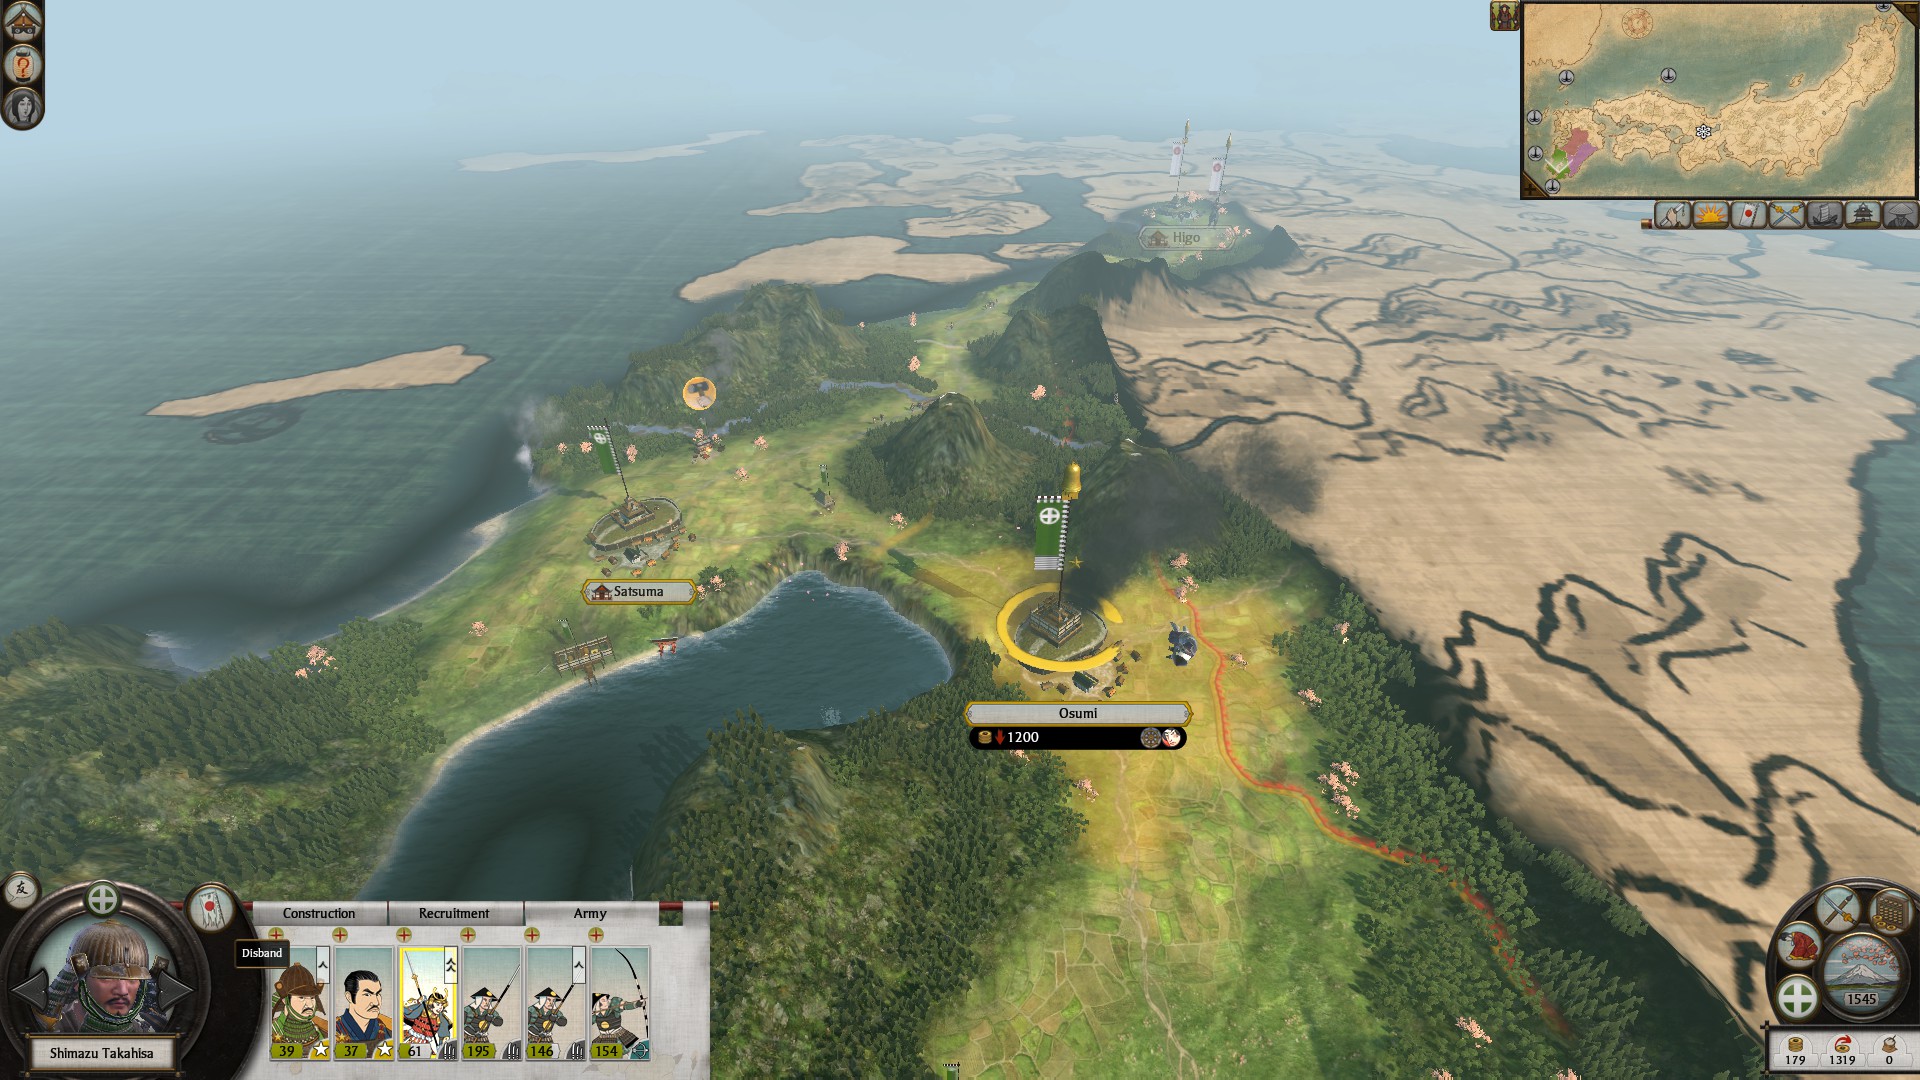
Repair the castle
Finally set taxes to Very High since you need every bit of income and click End Turn.

Example of setting taxes to very high, begin by alternating this every odd turn (1,3,5,7,9 etc.). Flashing red means rebellion next turn.
TURN 2
This next step is optional and can be considered cheating if you lack self restraint, saves in Shogun II are stored in:
C:\Users\[username*]\AppData\Roaming\The Creative Assembly\Shogun 2
From here you can access your legendary saves, I created a legendary saves folder on my desktop and copied my legendary save file every 10-20 turns, then pasted them in there. I renamed the save file from: auto_save_legendary.Shimazu.save into auto_save_legendary.Shimazu.save (turn 2) in case the save file became corrupted. If the save file becomes corrupted, Creative Assembly does not generate a backup which can ruin a campaign if it does. I would manually copy a save every once in a while just in case. I can promise you I never used it to reload a campaign or cheat which is entirely possible to do through this method.
I suppose you could consider loading back to turn 2 not cheating if your campaign goes south, since you'd otherwise make the same identical moves and fight the same battle just taking pointless time. However, that's your choice and your self restraint at hand.
Next on turn 2, open up the family tab and switch your general's commission to the developer comisision (the repression bonus and building cost reduction make this the best early on).
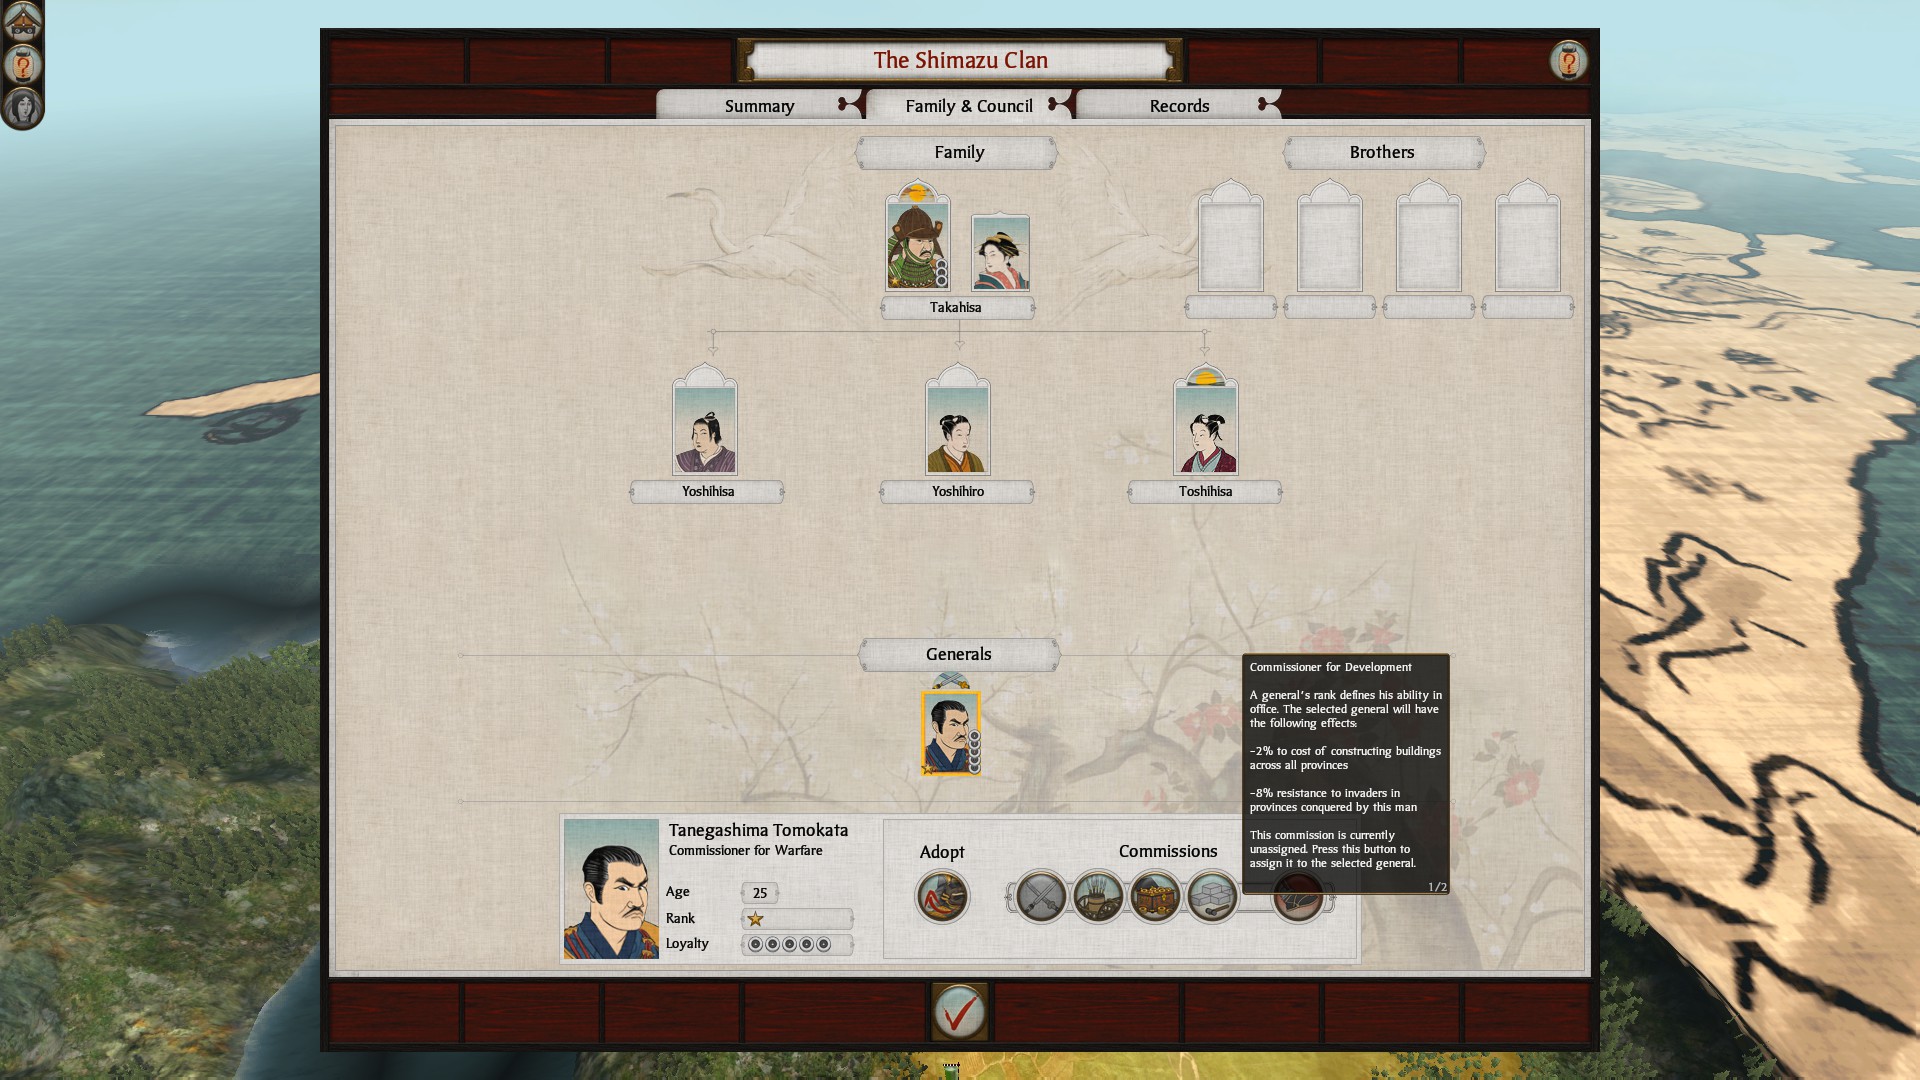
Build 1 Sake den in the newly conquered province of Osumi
Build 1 Bow Ashigaru in Osumi
REMEMBER TURN TAXES DOWN TO NORMAL
TURN 3
Turn taxes back up to very high (flashing red means a revolt will happen next turn, you shouldn't see this, otherwise either exempt the province or keep taxes at normal).
Move the Katana Samurai recruited in Satsuma to Osumi
Next imediately build 1 trade port after you built the harbor.
Build 1 Bow Kobaya,
It's possible that you could be short of funds again, sell military access to Sagara for 10 turns, find the maximum they are willing to pay and then accept (this is undoubately 'cheezing' the game, but not cheating. Early game turns mean everything and your just a few Koku (currency) short anyways, try 450 Koku.
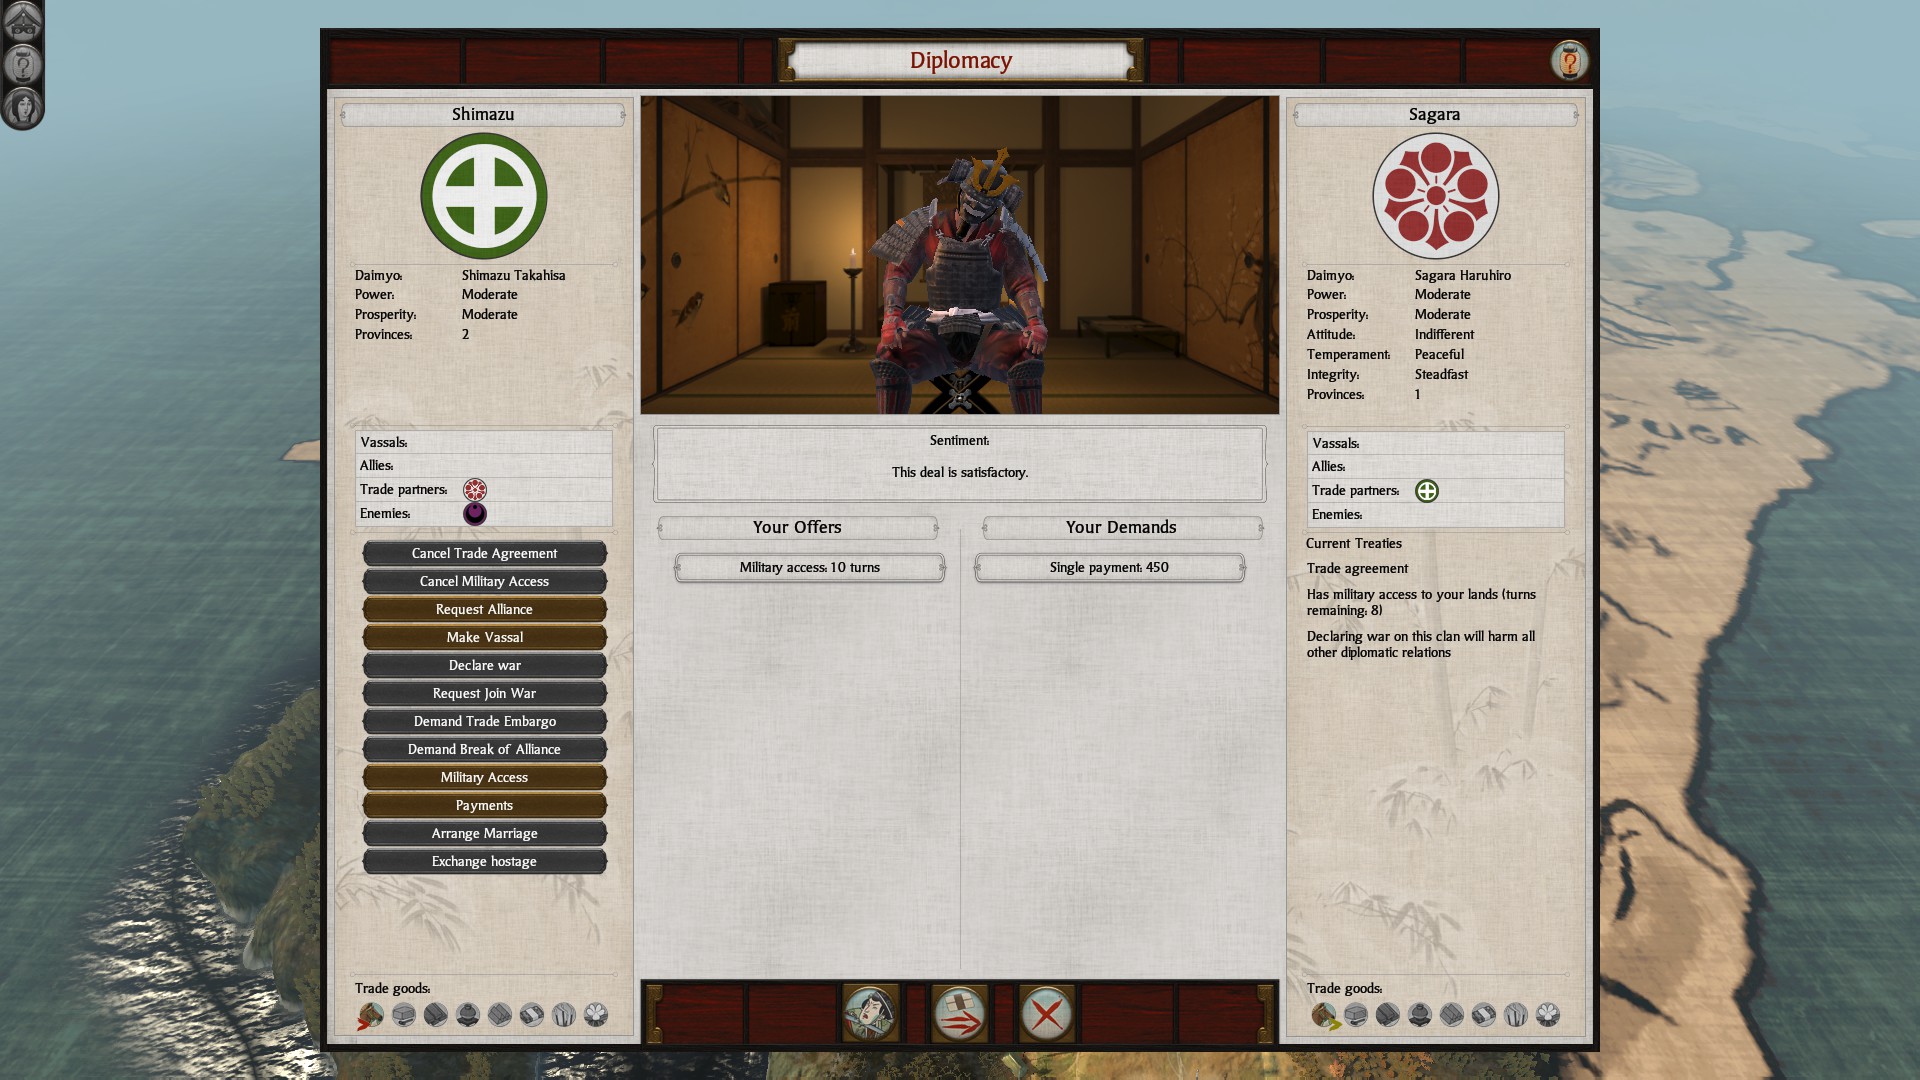
TURN 4
First turn takes back down to normal (btw this isn't a long term strategy because of -25 discontent penalities on town growth, hurting your economy early helps to win the game).
Next, click on Osumi and recruit a Ninja
Click on your port and recruit another Bow Kobaya (you want to recruit ships instantly to hold as many nodes as quick as possible, THIS IS ESSENTIAL).
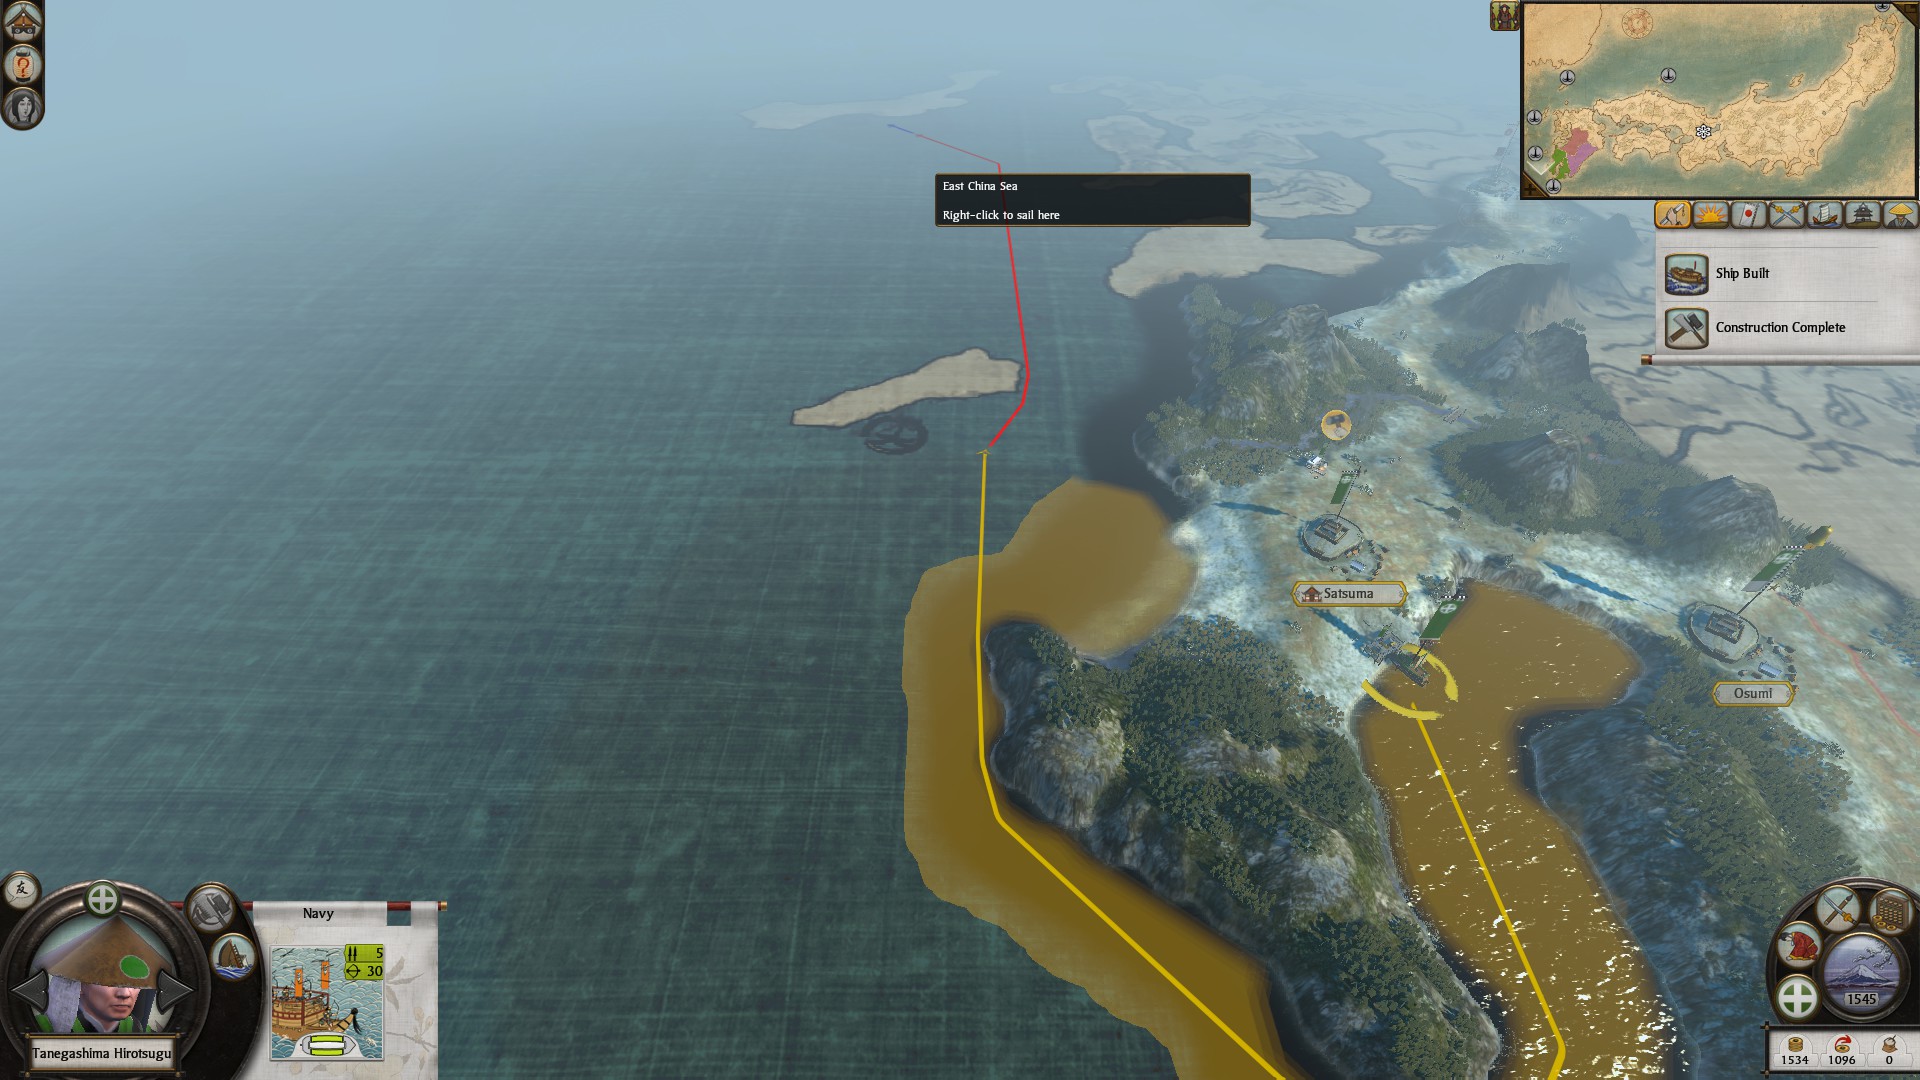
With the first Bow Kobaya, start moving to the first node indicated in the graphic I made above in this section. Ingame this resource is silk.
The Opening Moves as Shimazu Part II
Blue Circles = Province Capital
Black lines = Roads
Dark brown lines = Bridges
Blue lines = Rivers
Green lines = Shortcuts
Yellow areas = Beaches
Yellow circles = Trade nodes
Other colored areas = different factions/clans
Purple triangles = Warhorse speciality
Purple squares = Smithing speciality
Purple circles = Craftworks speciality
Purple diamond/rhombus = Philophical tradition
Right ways arrows = Naval tradition
Upwards arrow = Hallowed ground
TURN 5
Turn Taxes back up to Very High
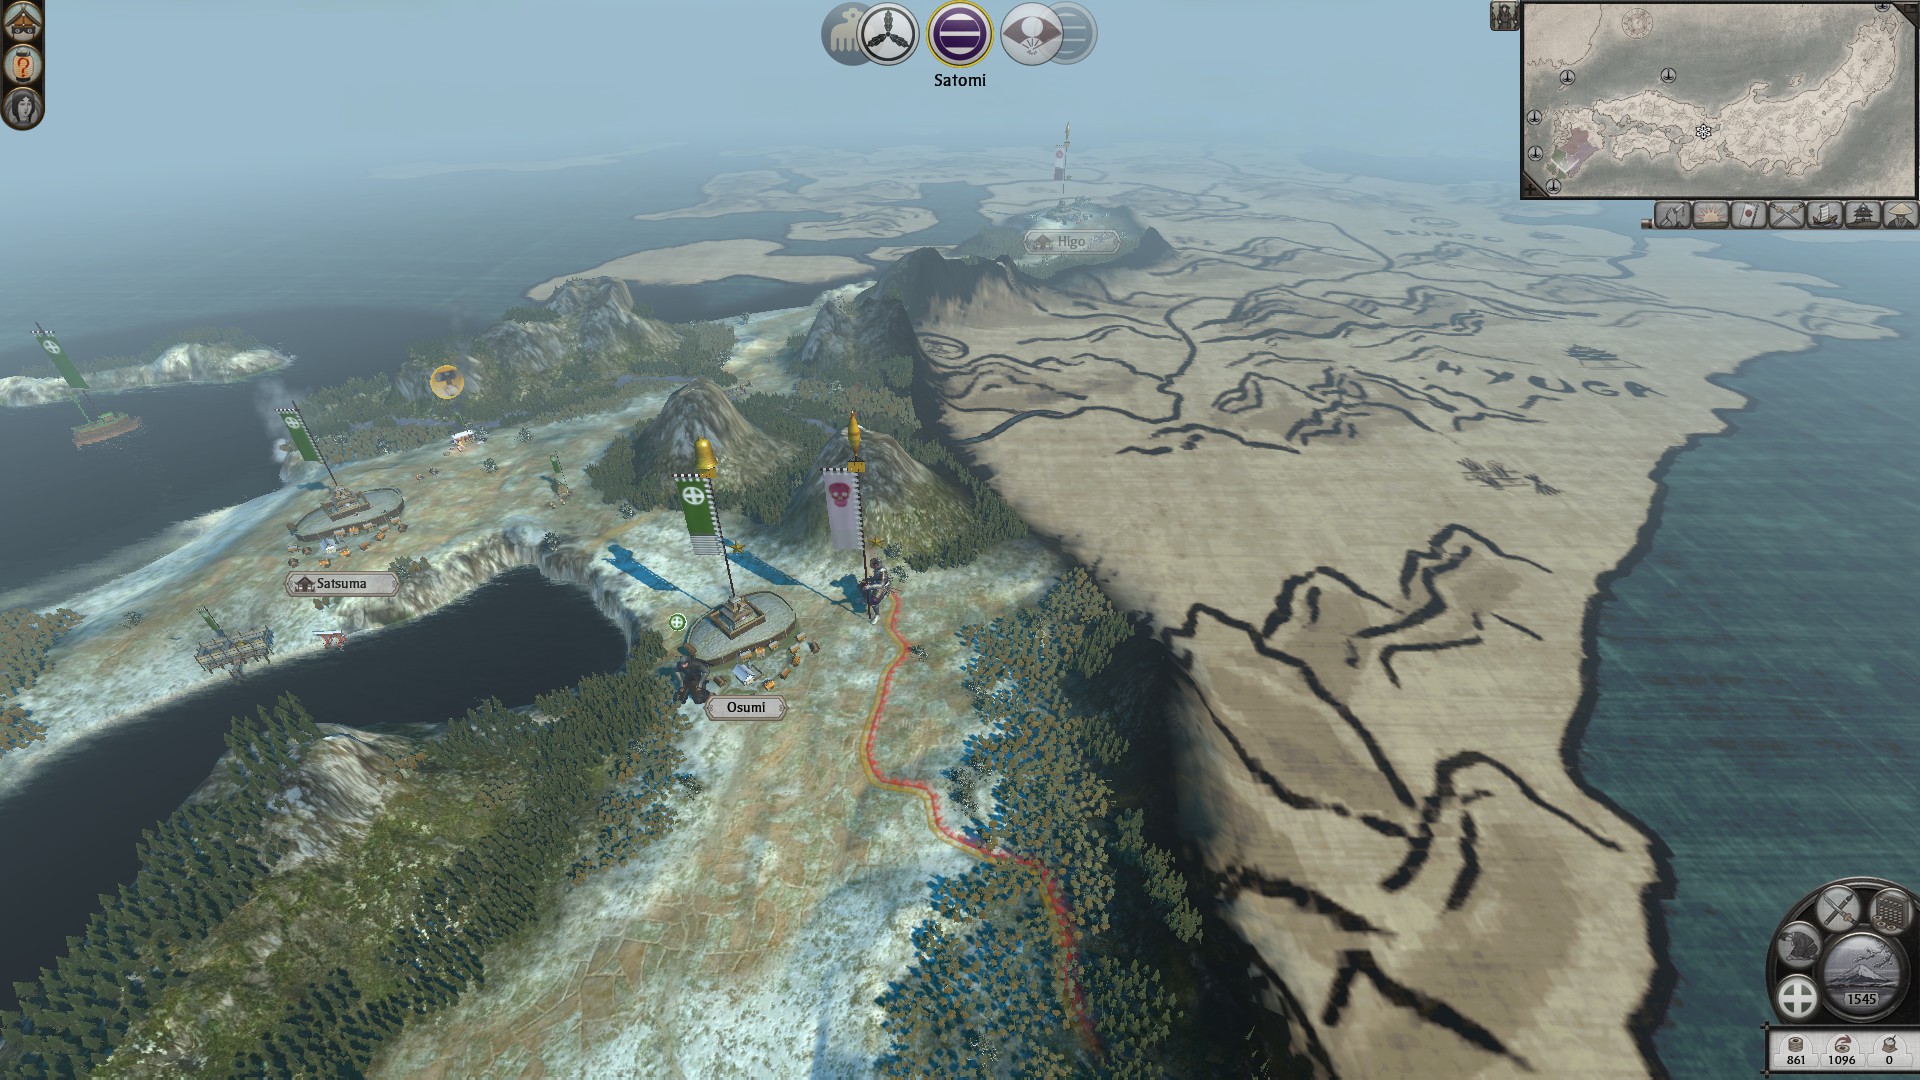
Start moving your ninja through Huyga, the ito's last province. (I presume in the end turn phase that the Ito showed up with an army. Don't be alarmed by this, in fact if your lucky they will attack you with an even greater force and guarentee a heroic victory when defending Osumi, thus giving you free honor).
I would simply use your ninja to scout, while you'd want to go to their castle gate and start sabotaging it turn after turn to level up, this could cause the AI to garrison its capital instead of send all its units to attack you, so do your best to hold off from tempeption.
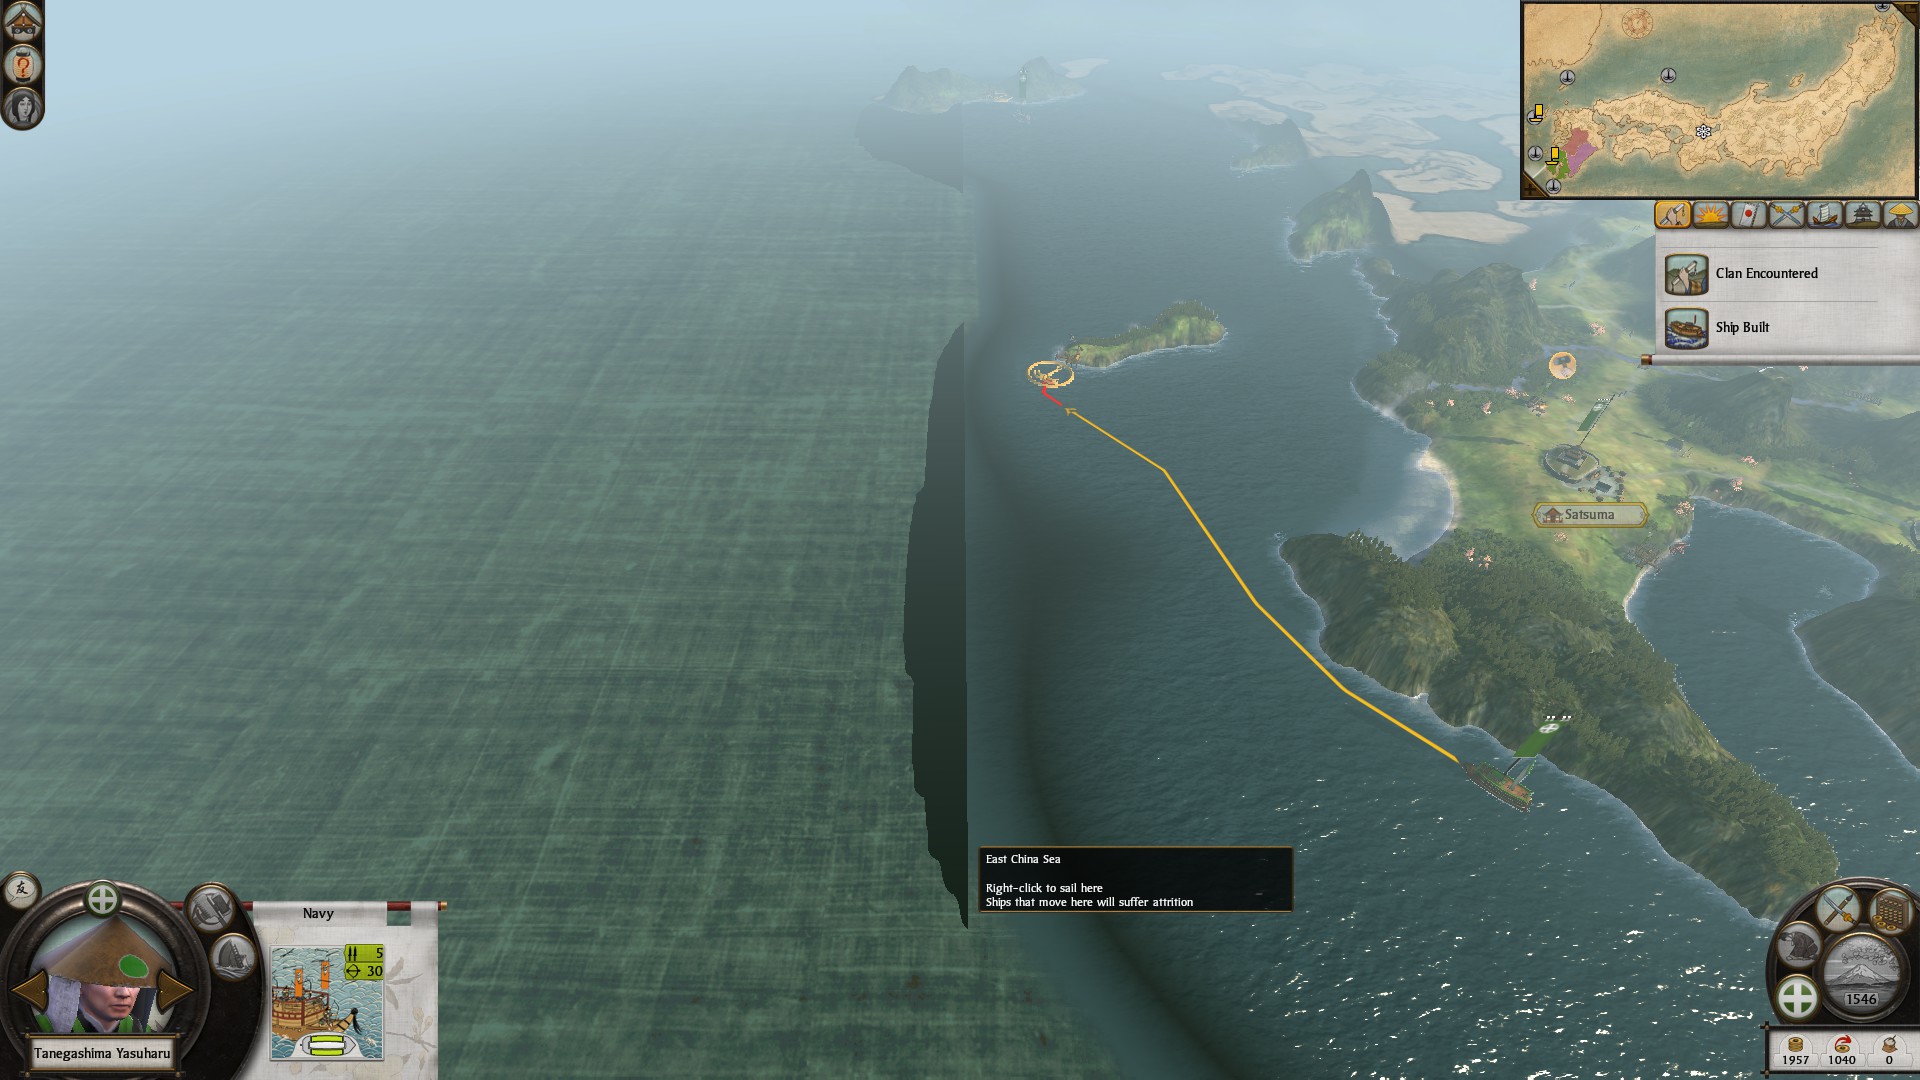
Move your second bow Kobaya to the second node I indicated on my map.
Next you want to build an armoury in your capital.
Also build another bow Kobaya (trust me).
Again if your low on income, sell more military access to Sargara.
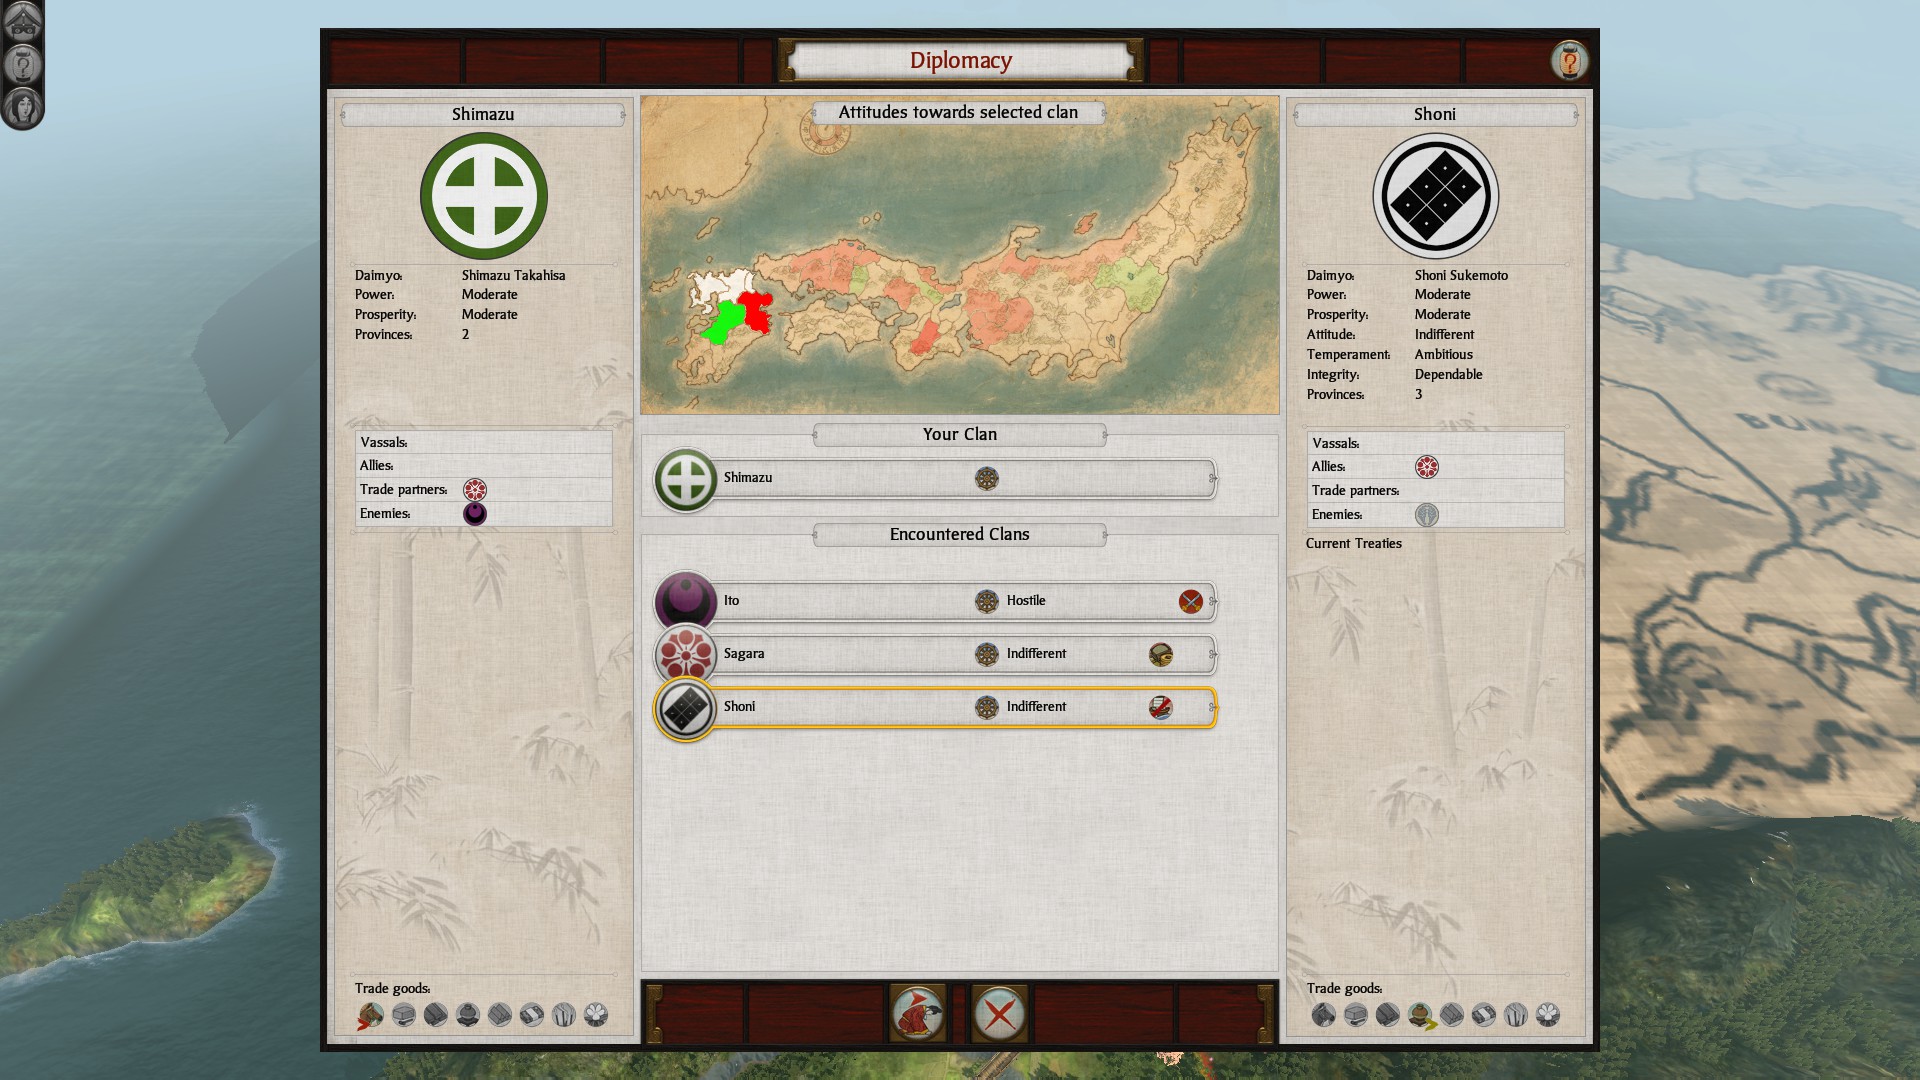
Finally, continue moving your ship to the first trade node I indicated. If you notice the Shoni, check to see how many territories they have. If they own Buzen (top northeast province). Then the Otomo are likely losing & you will face them soon.
TURN 6
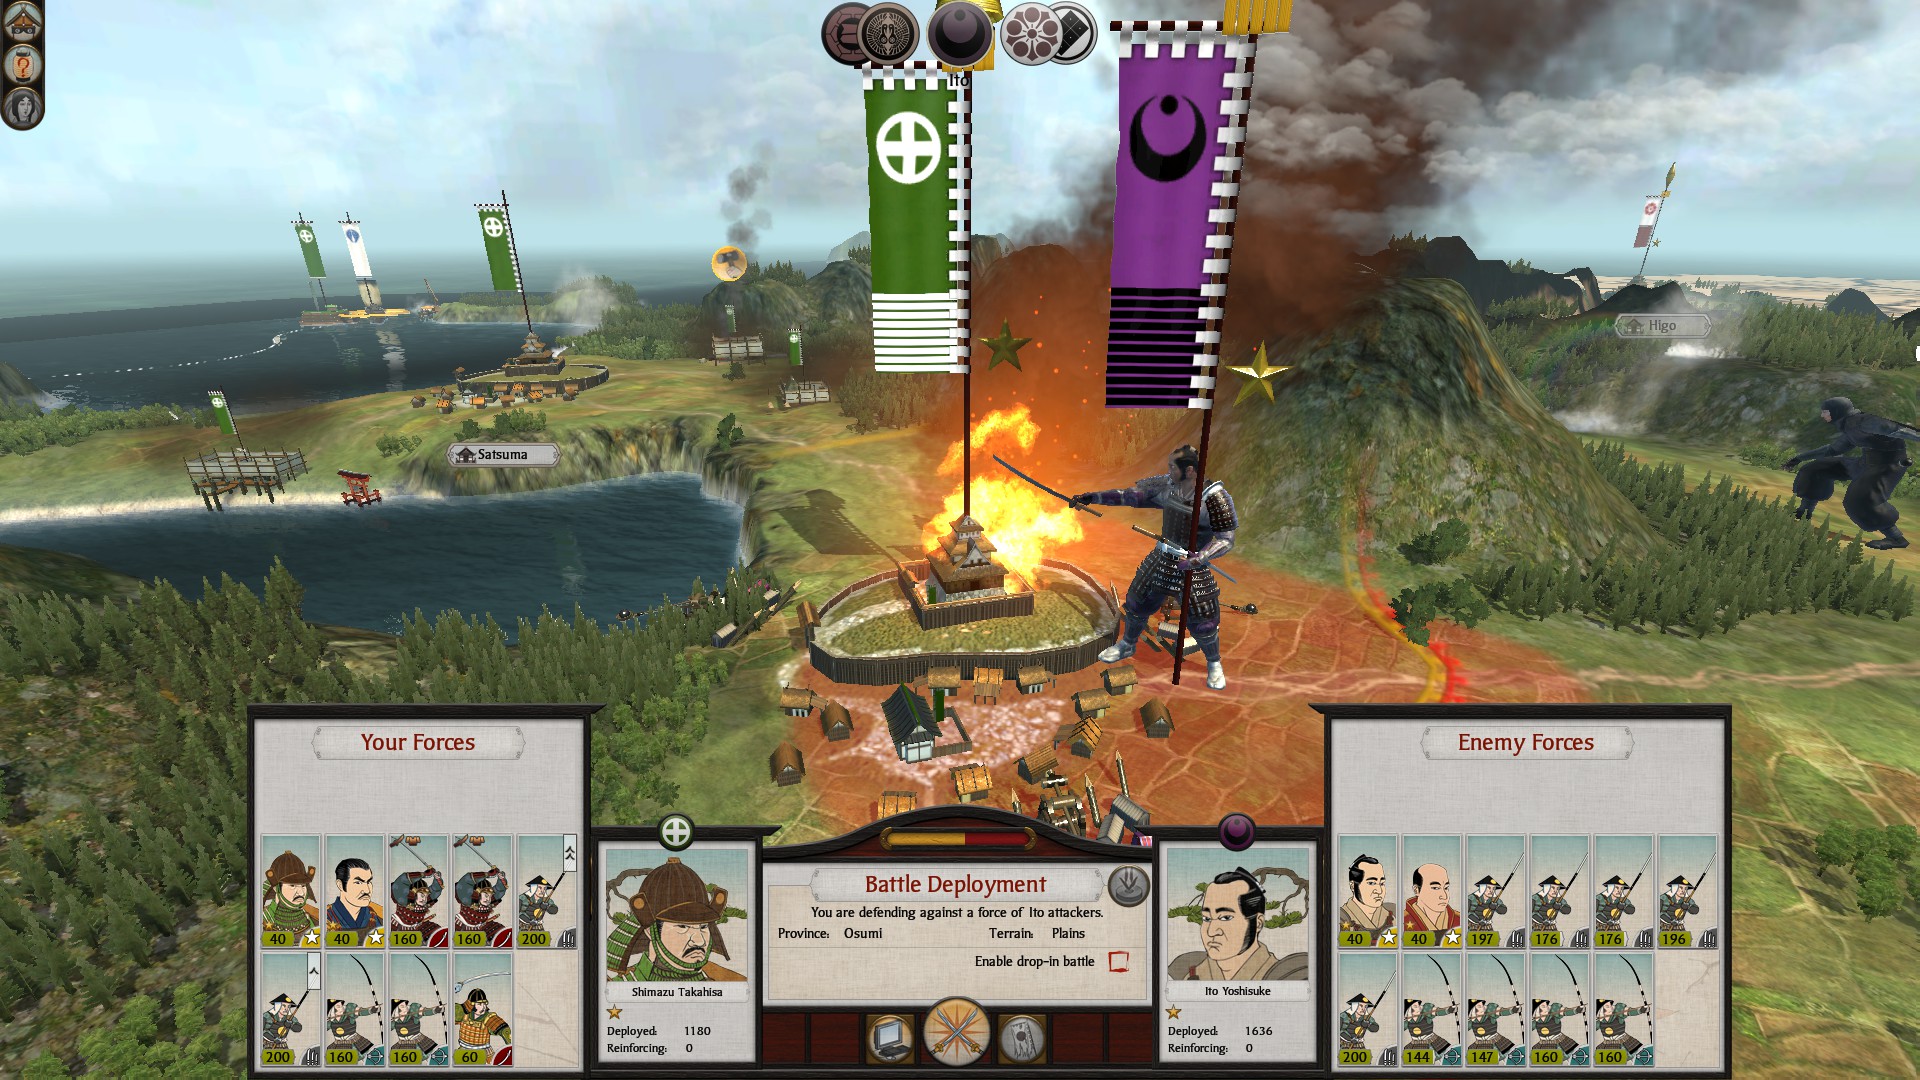
If the Ito attacked you, you unfortunately lucked out, and have to fight the battle. Keep your units cornered, away from their archer range unit they climb, then send your units to the tenshu to keep them from the flag and put them on Yari wall. By putting the samurai retainers in loose formation and guard mode in front of your Yari Ashigaru, you can slow the enemy down and tire them out before they attack. If they come from multiple sides, still do this but keep your bows focused on one side and your katana's supporting them when they start climbing. Make sure to use the inspire ability that generals have right before they reach your Yari wall. Use 1 one the general's rally abilities for a morale boost too.
If they did attack this turn, then chase their remaining forces down in the campaign map. You want to either build a road in Osumi or a Yari Ashigaru depending on your needs.
IMPORTANT: Before continuing, look to see if the Otomo are winning, losing or equal vs the Shoni. This also applies if they haven't attacked yet.
Case 1: If they are losing with one province left, then move through the Ito's lands and siege their castle regardless of seasons or the units inside. This should take 2 turns, and don't fight this battle. Wait until they sally out since this map outside their capital has a good hill with a forest on it, thus making this battle easy. You must do all this because the Shoni will otherwise soon kill the Otomo & declare war on the Ito. In this case you want to make it to Hyuga before them. If you determine that they will beat you to the capital before you, make sure to Vassalize the Ito, demand a trade agreement and as much Koku as possible.
Soon the Shoni WILL declare war, I discuss how to respond to this later.
Case 2: If the Otomo are winning or it's a stalemate then you don't need to act immediately. Keep your units in Osumi to reinforce. Also, you may want to build 1-2 more Yari Ashigaru for when you go on the offensive. Be mindful that the armory in Satsuma
Will eventually give you armored units, making this your main recruitment hub. However, don't be afraid to recruit non-upgraded Yari Ashigaru if you feel you need a few. Go on the offensive when your ready.
Case 3: In my caveats section I discuss that each game will be different. This may be the scenario for you. The Ito may take longer to attack, or even attempt to use the shortcut to Satsuma. If you move your units to Satsuma (make sure to move them back). They may decide against attacking and will opt for Osumi instead. Eventually case 1 or 2 will be applicable.
Turn taxes down to normal
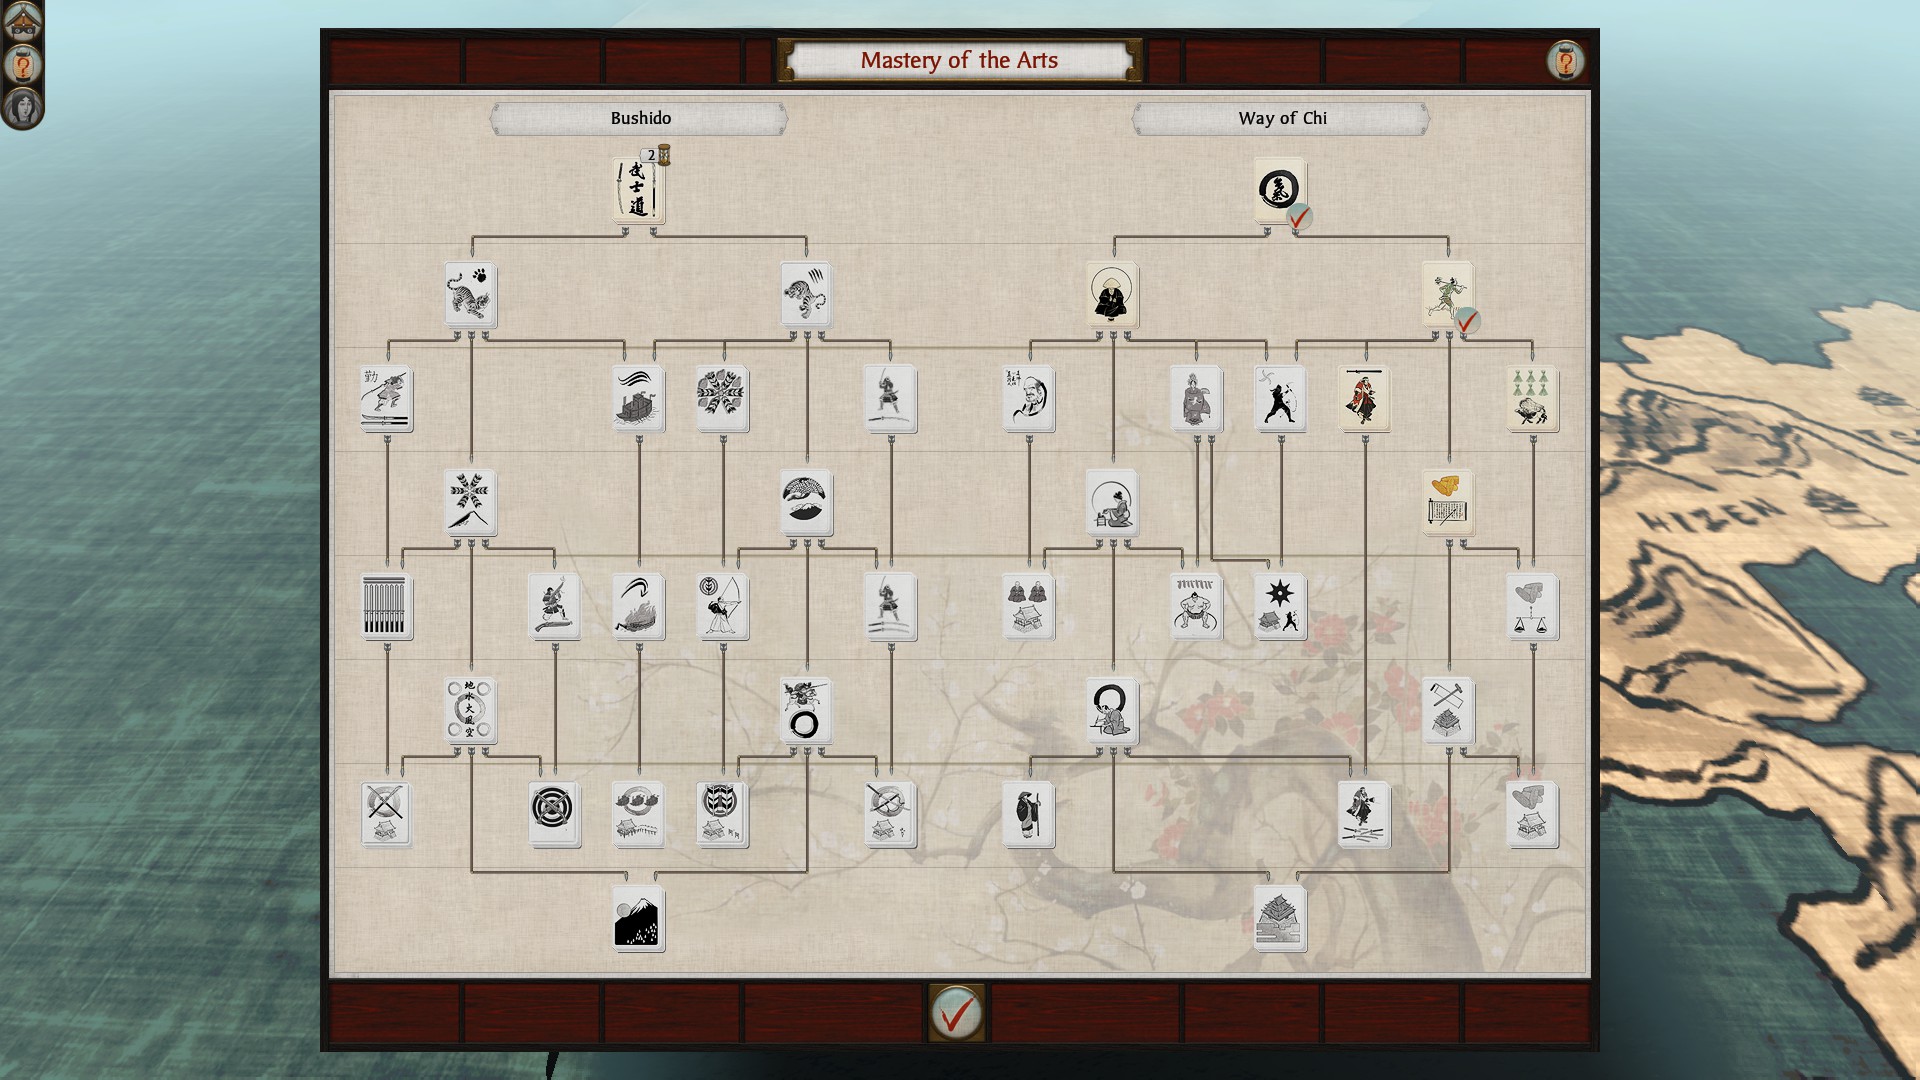
Change your next research priority to Bushido:
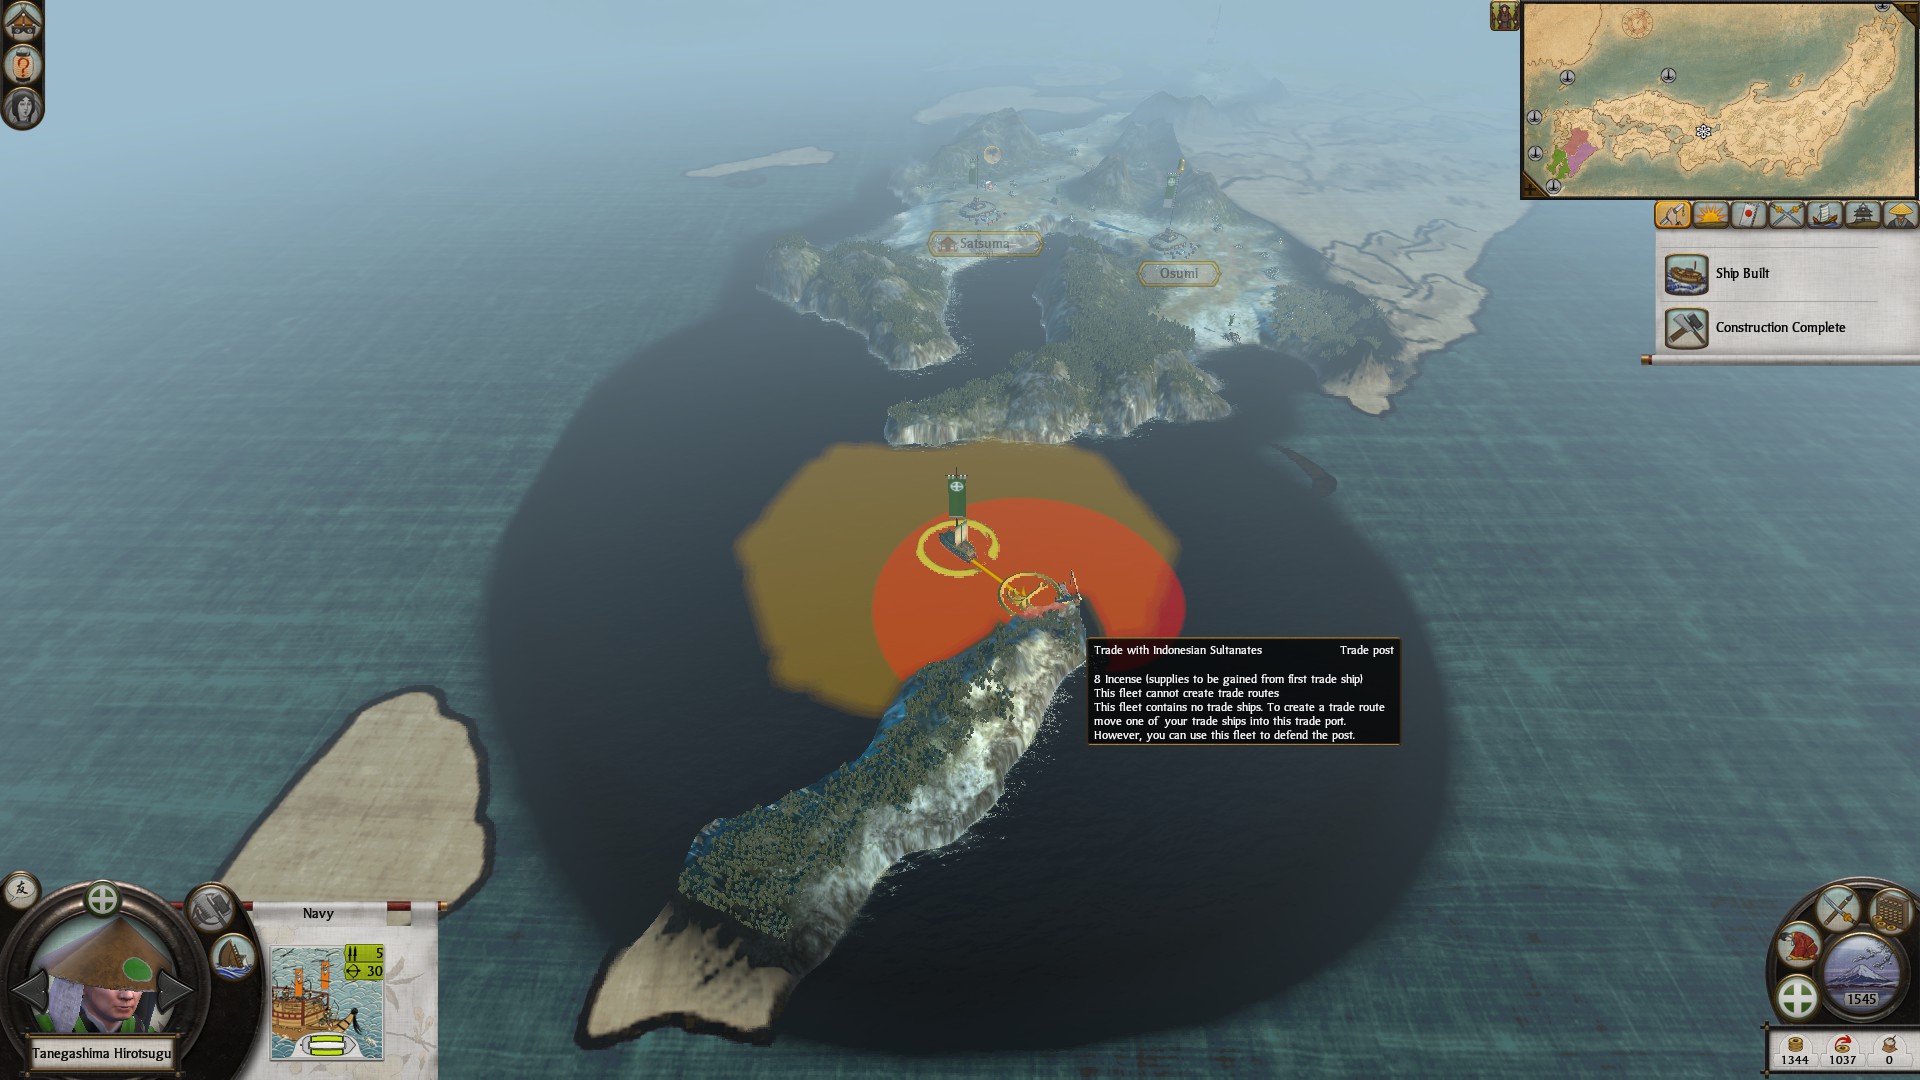
Continue moving your ship to the first trade node. There may be another ship already on the node belonging to the Otomo, keep your ship there and wait, if the Otomo die you can take the node before other clans by waiting there.

Build a 4th Bow Kobaya (final one).
Move your 3rd Bow Kobaya to the 3rd node I indicated
Finally by this turn you want to upgrade the farm in Satsuma to improved irrigartion. For food in your surplus you gain +1 to town growth, this will be helpful & you will eventually upgrade forts in certain provinces.
You want to click on the first link: Shogun 2 Sengoku Jidai
https://steamcommunity.com/sharedfiles/filedetails/?id=828725871
Province fertility ranges from dark green (very fertile) to dark brown (barren). Generally build very fertile farms then the next level down. This is a good refrence when building farms in territories.]
TURN 7
Turn taxes up to very high
Move your 4th Bow Kobaya to the First node I indicated on the map, the reason why is because if you go to war with the Shoni, you can see what will be coming South. Also you still want to try to hold this node to prevent other factions from getting there. While they may be attacked when war breaks out, you can regroup your navies & reclaim it later, this is why going for the node further with cotton is pointless.
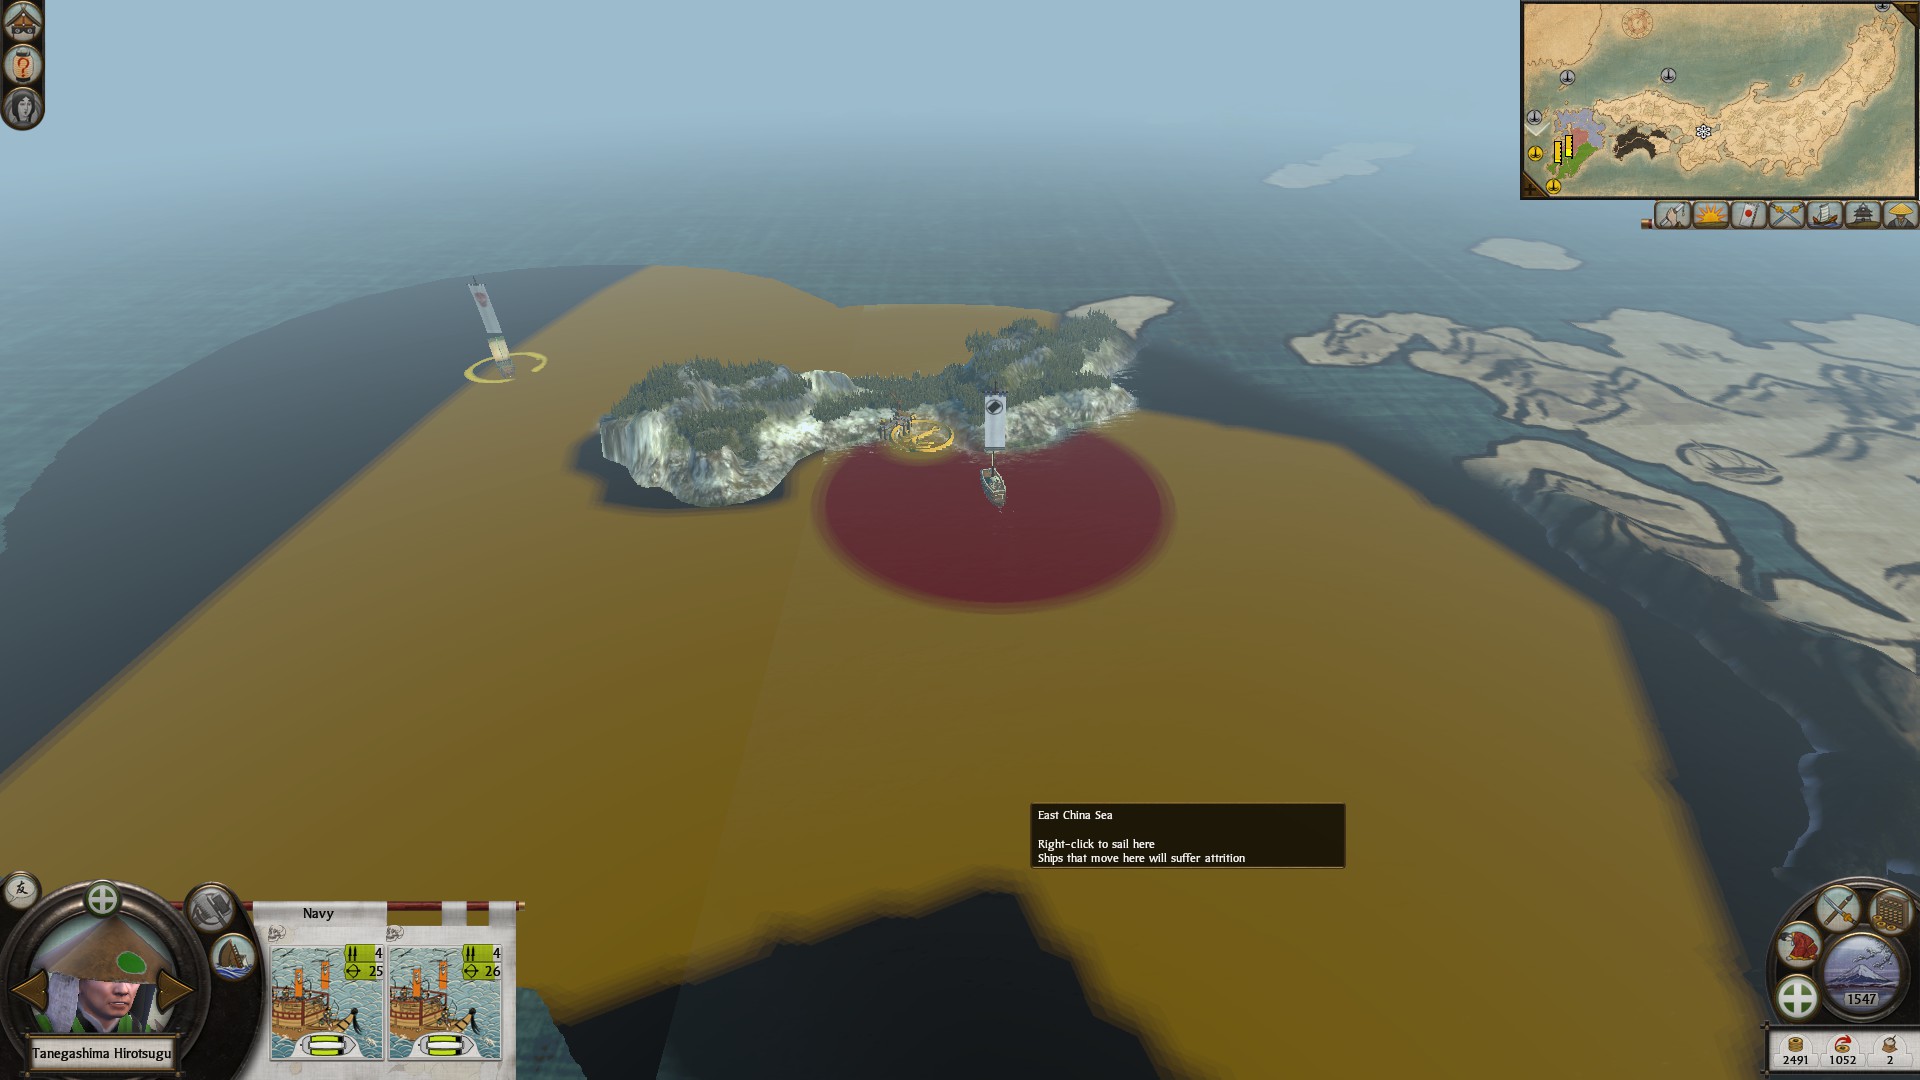
At this point you should have finished your trade port, build your first trade ship. Keep building trade ships until you fill up the two closest nodes.
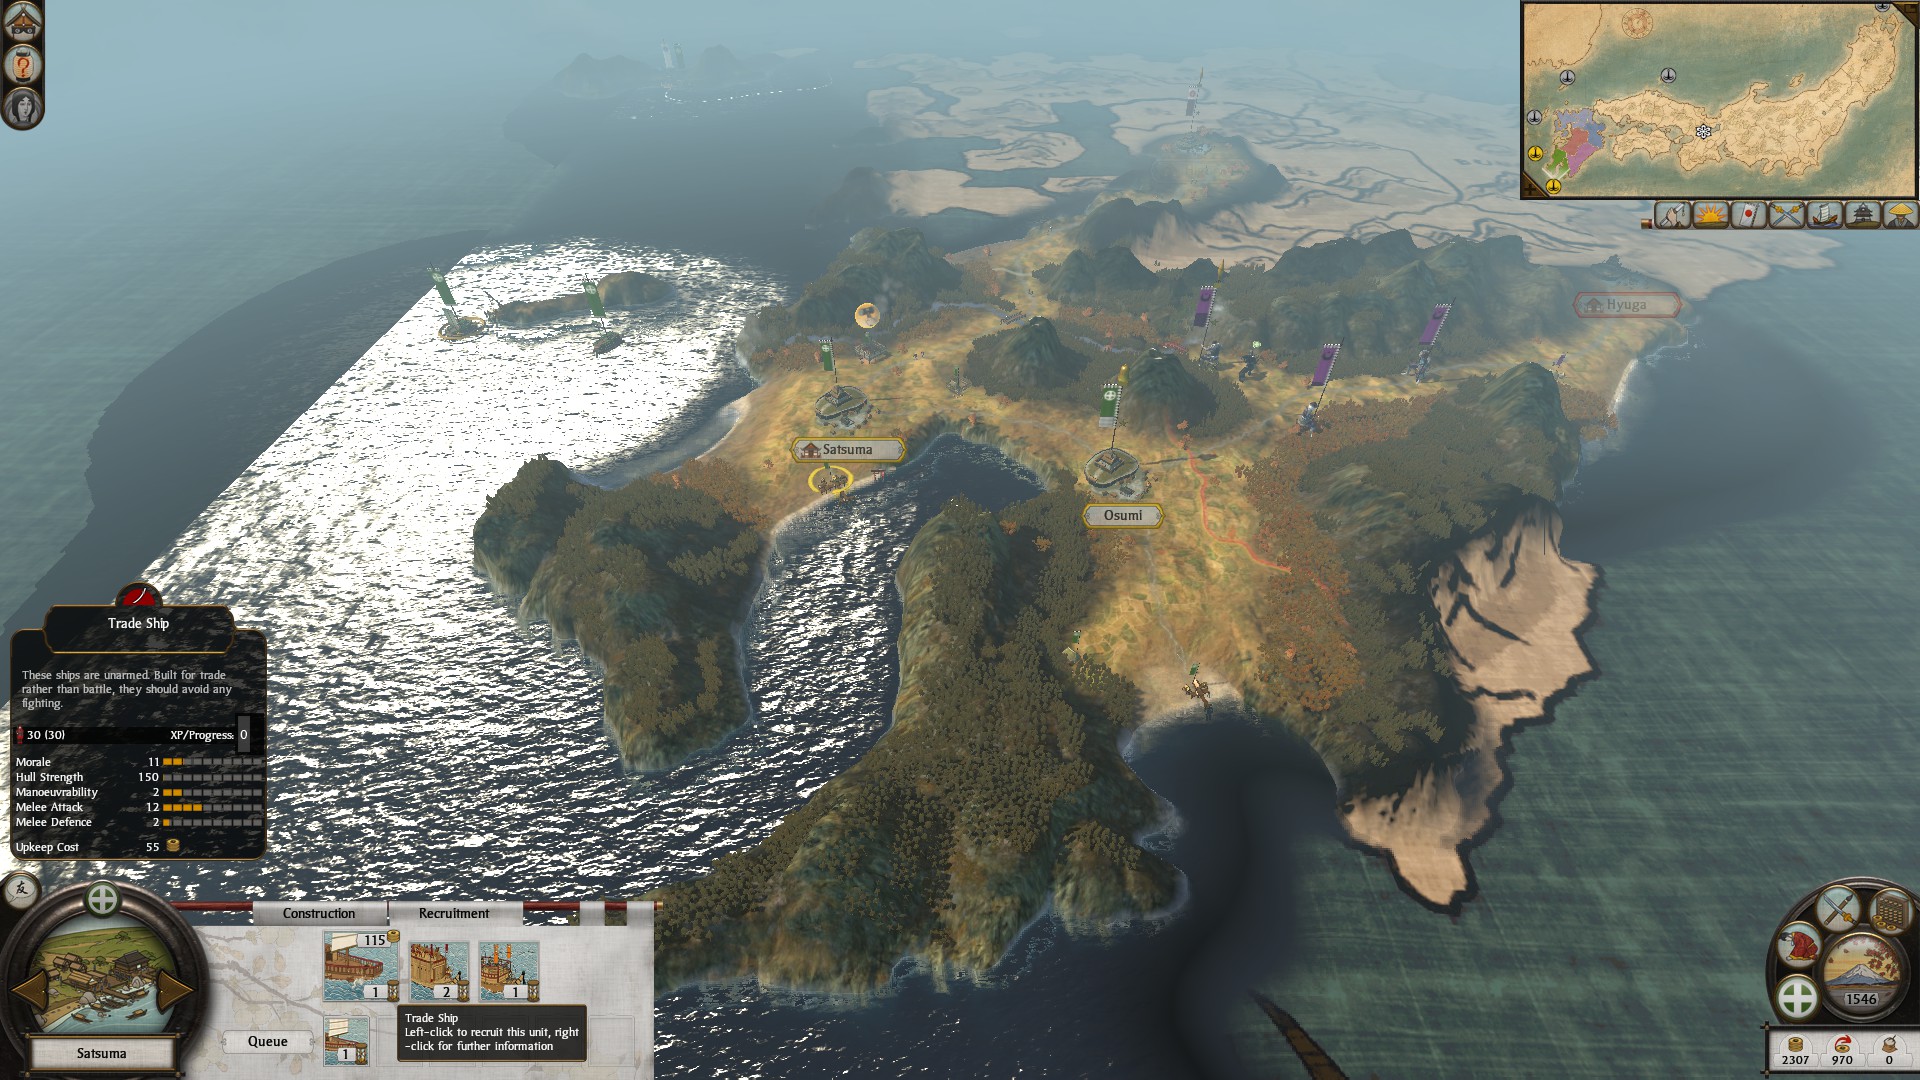
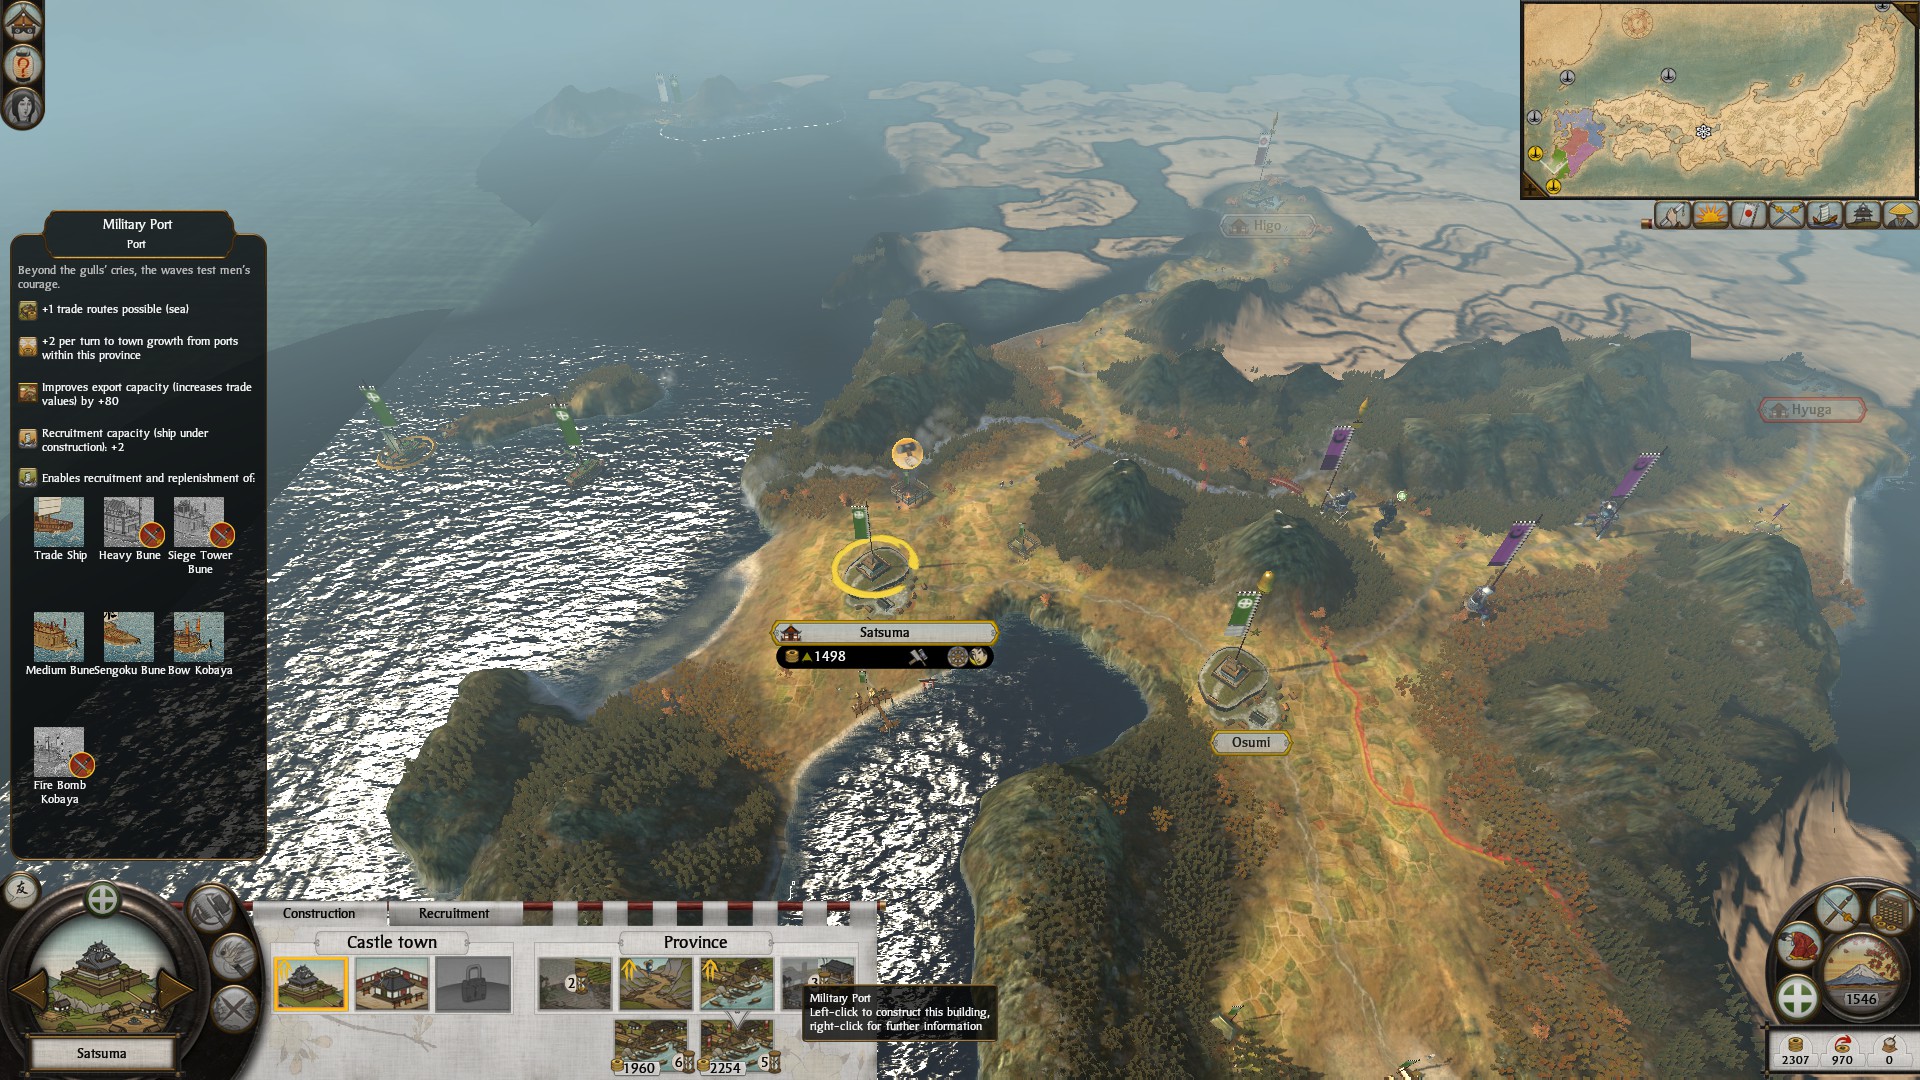
Additionally, you want to spend this turn's money & any money gain from military access with Sagara on a Military Port. Do this before considering spending money on a harbor in Osumi. This will allow you to build two ships each turn once built, and can win you the naval war coming vs the Shoni.
The Opening Moves as Shimazu Part III
Blue Circles = Province Capital
Black lines = Roads
Dark brown lines = Bridges
Blue lines = Rivers
Green lines = Shortcuts
Yellow areas = Beaches
Yellow circles = Trade nodes
Other colored areas = different factions/clans
Purple triangles = Warhorse speciality
Purple squares = Smithing speciality
Purple circles = Craftworks speciality
Purple diamond/rhombus = Philophical tradition
Right ways arrows = Naval tradition
Upwards arrow = Hallowed ground
TURN 8
Turn taxes back down to Normal.

Your next research priority should be Zen, this is because of the Otomo's Christianity. The province of Bungo has a nanban trade port that spreads it to nearby provinces. Depending on how long it take you to get there, you will need to build temples & monks to counteract the religious effects. All Shinto-Buddhist clans will adopt Christianity when capturing Bungo, potentially even making a nanban quarter if given enough time.
Remember to build trade ships each turn as well.
Your next building priority should be a harbor, (having the ability to build ships quickly is essential for the campaign since your income initially will be heavily dependent upon trade, it's better to go into the negative building ships than going bankrupt due to a blocked port).
You could also build a road or a Ashigaru to help for reinfoment/ replenishment if the Ito have or have not attacked.
DEALING WITH POTENTIAL SCENARIOS
From this point onward the AI is too unpredictable, therefore your strategy & the challenges you'll face will likely differ. I will give you some pointer though for events that may happen. You shouldn't have to raise your taxes anymore unless your economy is threaten at sea. If it is, build multiple bow kobayas with the military port you have and the harbor. I won the sea war by autoresolving and taking advantage of the zone of control to protect myself from blockades. Here are some scenarios you could face:
IF SAGARA THREATENS TO ATTACK
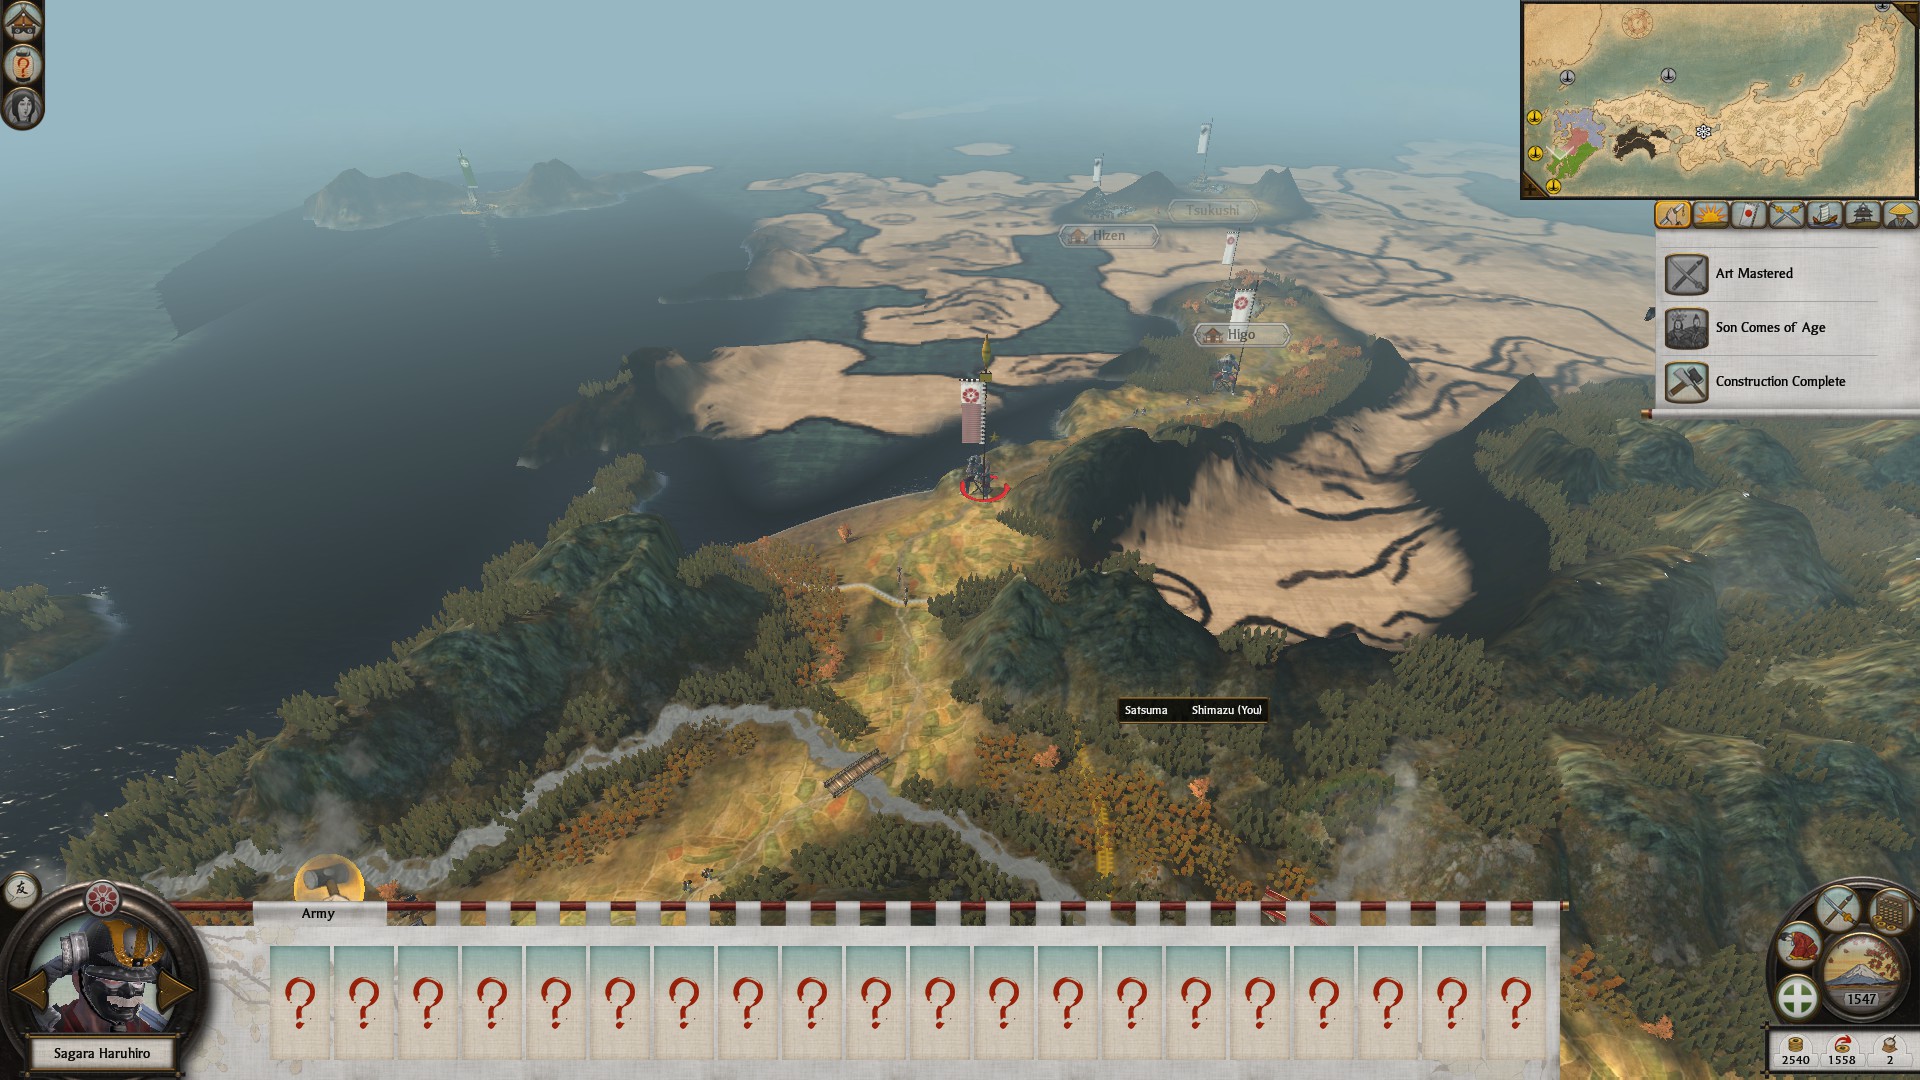
If you notice in the end turn phase an army moving towards your border, this likely means that Sagara is intent on attacking you. To remedy this, first see if they will accept an alliance, this is the best indicator that they are intent on attacking. Either way sell them military access indefinately for however much they are willing to pay, then form an alliance if possible. If they refuse any offer of alliance then arrange a marriage, this should avoid war and you can now ally with them.
WHEN THE SHONI ATTACK
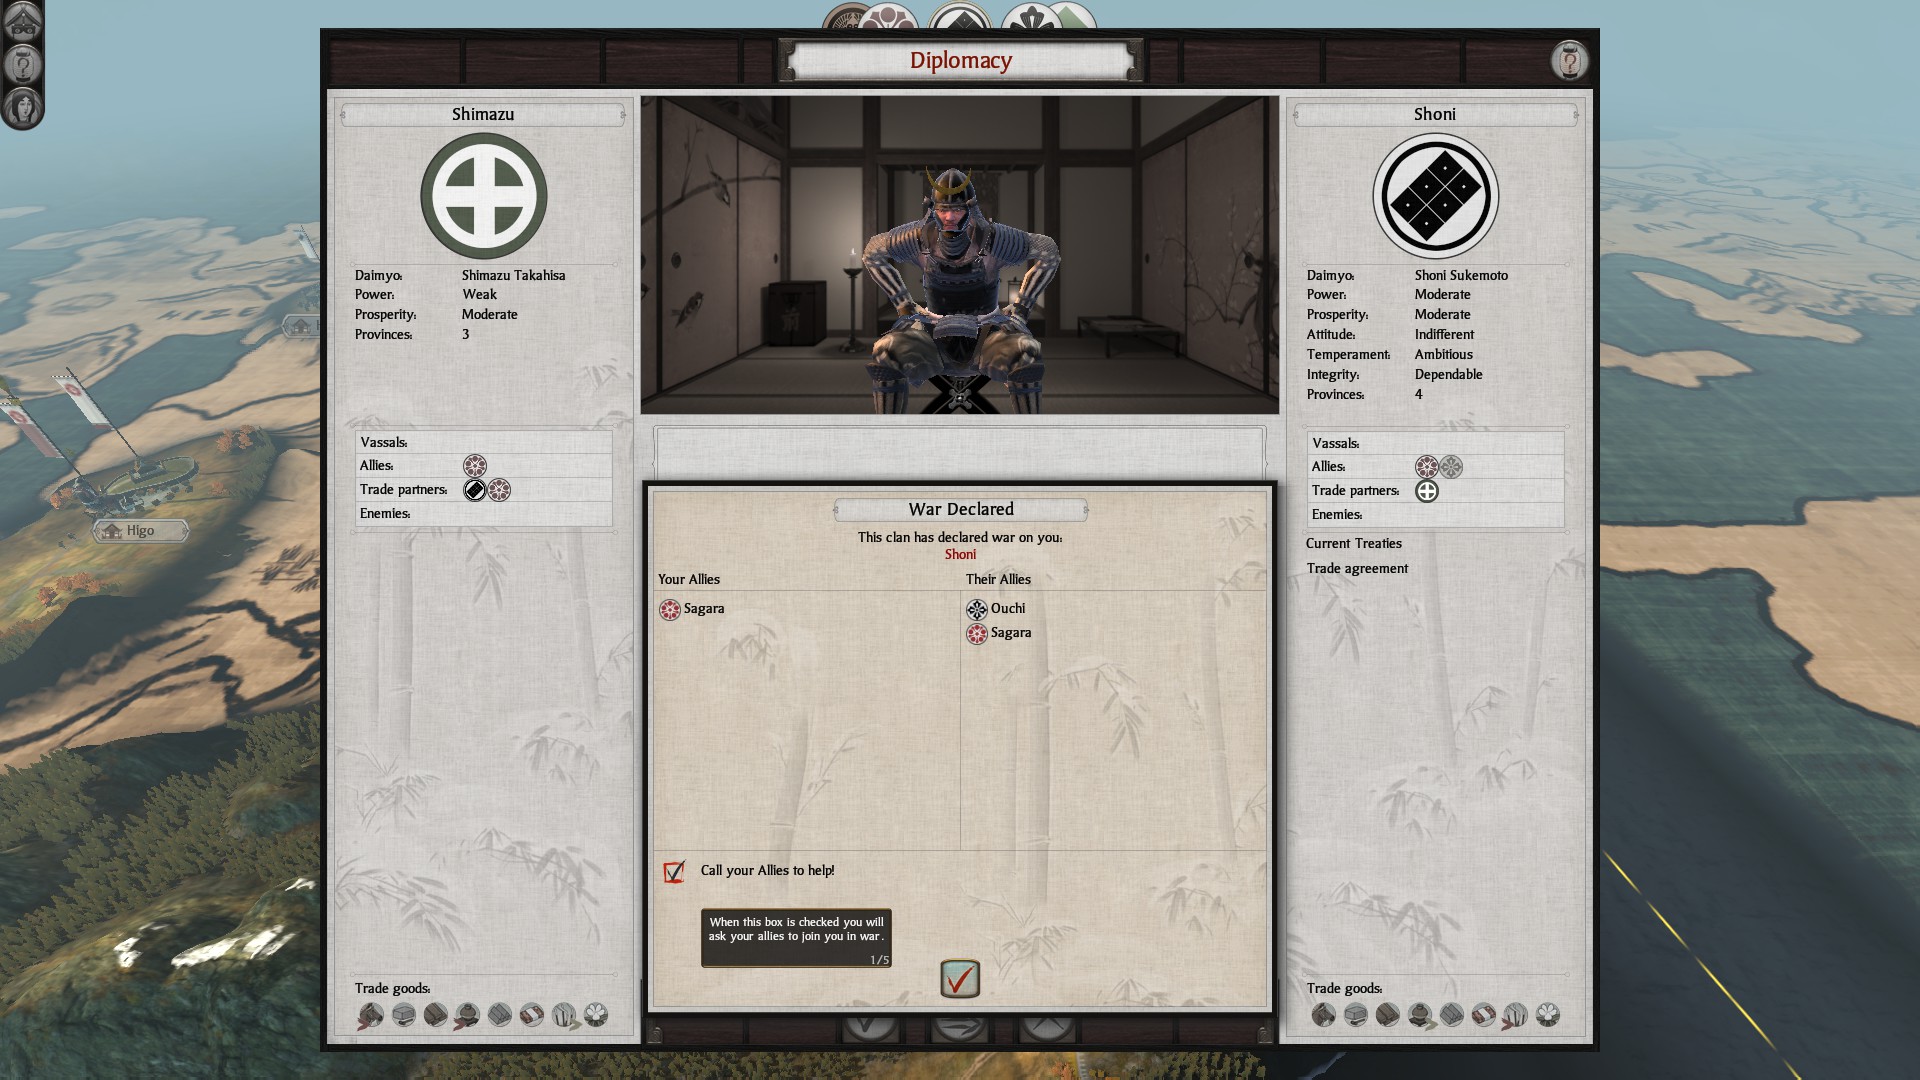
NEVER CALL IN SAGARA, this is because the AI will always break their alliance which leaves one of your borders vunerable & Sagara rarely picks a side, even when only allied with the Shoni.
You want to determine where their main armies are. To do this use your ninja to scout ahead for the their armies. Also, when I first discussed the map, I made I mentioned a cove that gives you an excellent line of sight to their capital, I would use this by moving one of the Bow Koboyas to that cove to scout for their armies.
Next start cancelling trade ships and building medium bunes. Most likely you will need to defend the bottom two trade nodes from the Shoni when they send their fleet towards you. Holding these is important for building your first army.
WHEN YOU CAPTURE HYUGA
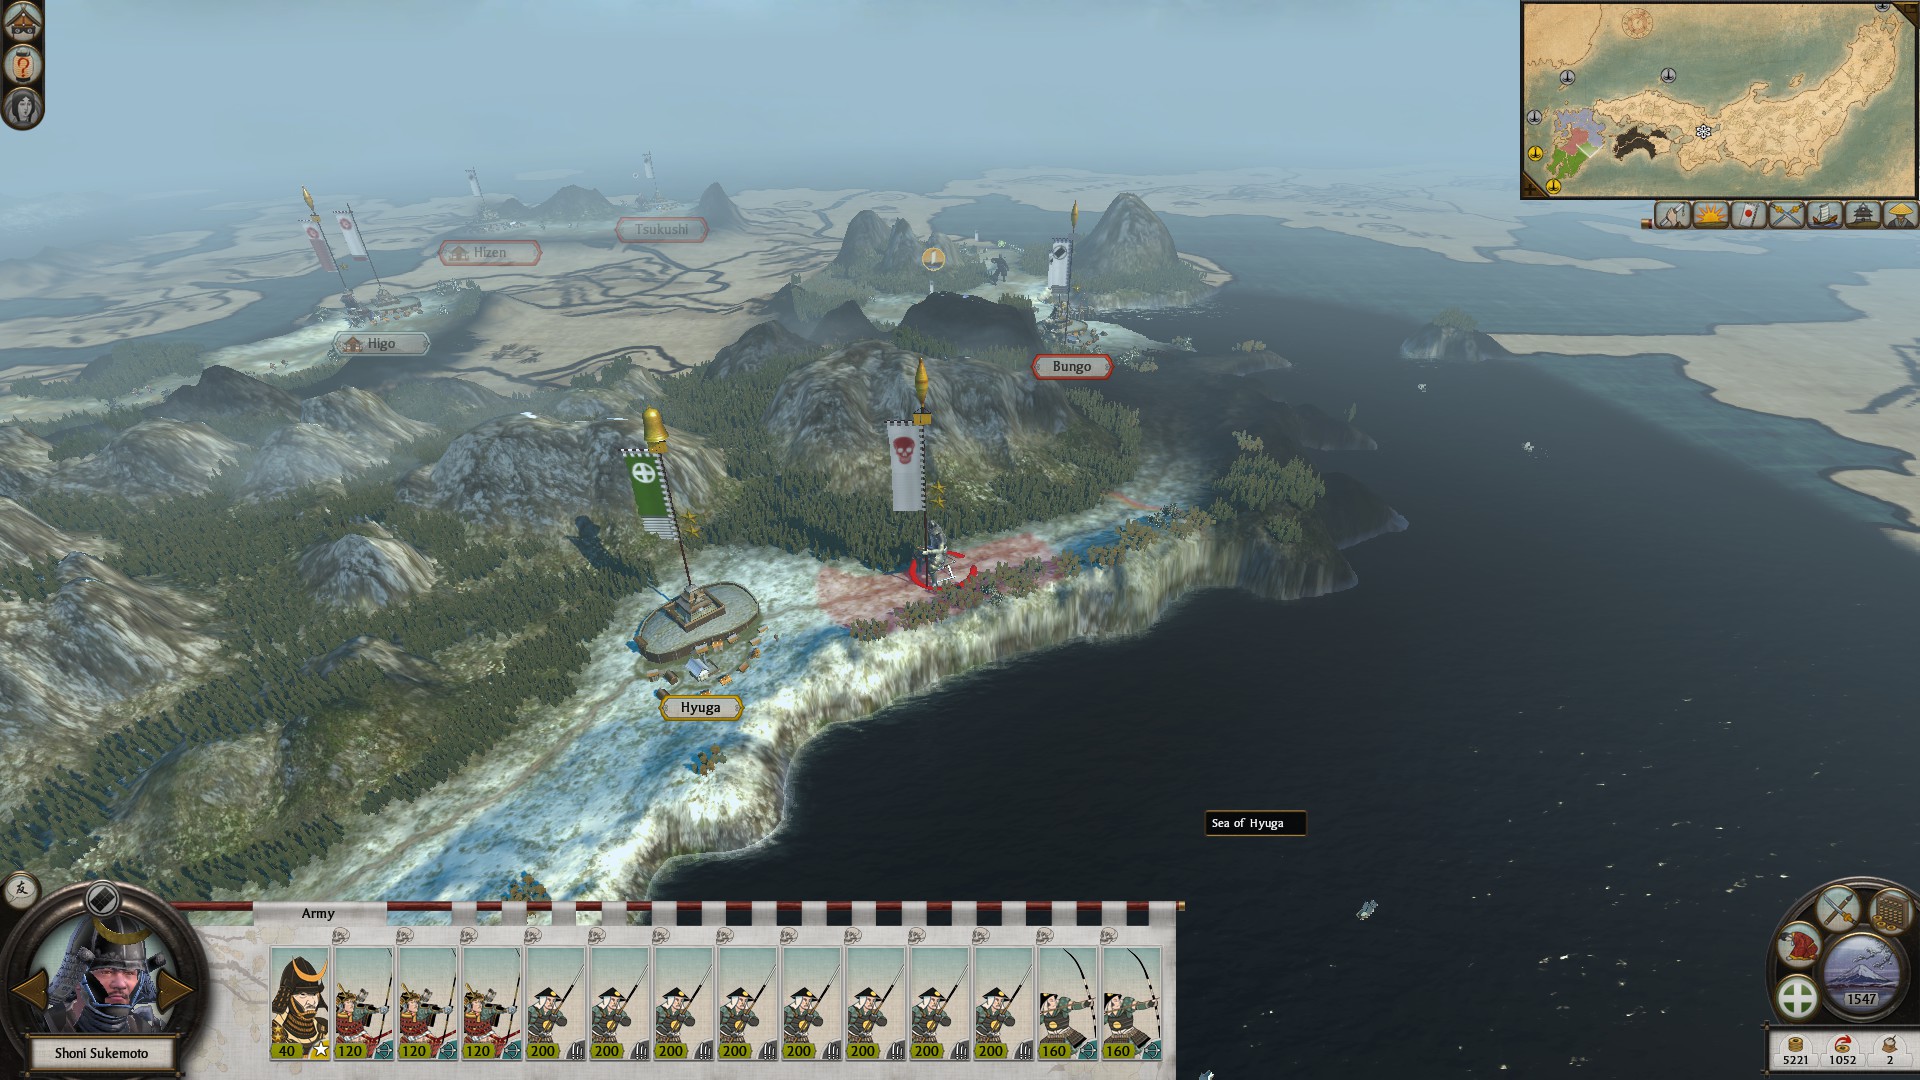
When you do finally capture Hyuga you should build another Sake Den to get two Ninjas, the ninjas help immensely in scouting for armies and predicting movements.
In my case I wasn't confident I could defend Hyuga with the army I had and retreated back to Osumi. While this can be extremely discouraging it isn't the end of your campaign. You must be prepared for setbacks.
HOW TO UPGRADE YOU GENERALS

When upgrading your generals you want to upgrade them all in a specific way:
- Rank 2: Put the first 2 points into Strategist.
- Rank 3: Put 1 point more into Strategist & hold your other point.
- Rank 4: Put all 3 points into Infantry Leader.
- Rank 5: Put 1 of each point into: Poet, Religious & Honorable.
- Rank 6: Put all 3 points into Inspirational.
Considering all the potential traits for generals, these are by far the best to get. I don't spend the second point on rank 3 so you can put all 3 points into Infantry Leader at rank 4, Infantry Leader is the best trait that generals can have & should be prioritized immediately. While rank 5 & 6 are more optional, I recommending going this route to decrease the upkeep cost of your army & give them extra morale.
YOUR NEXT RESEARCH PRIORITIES
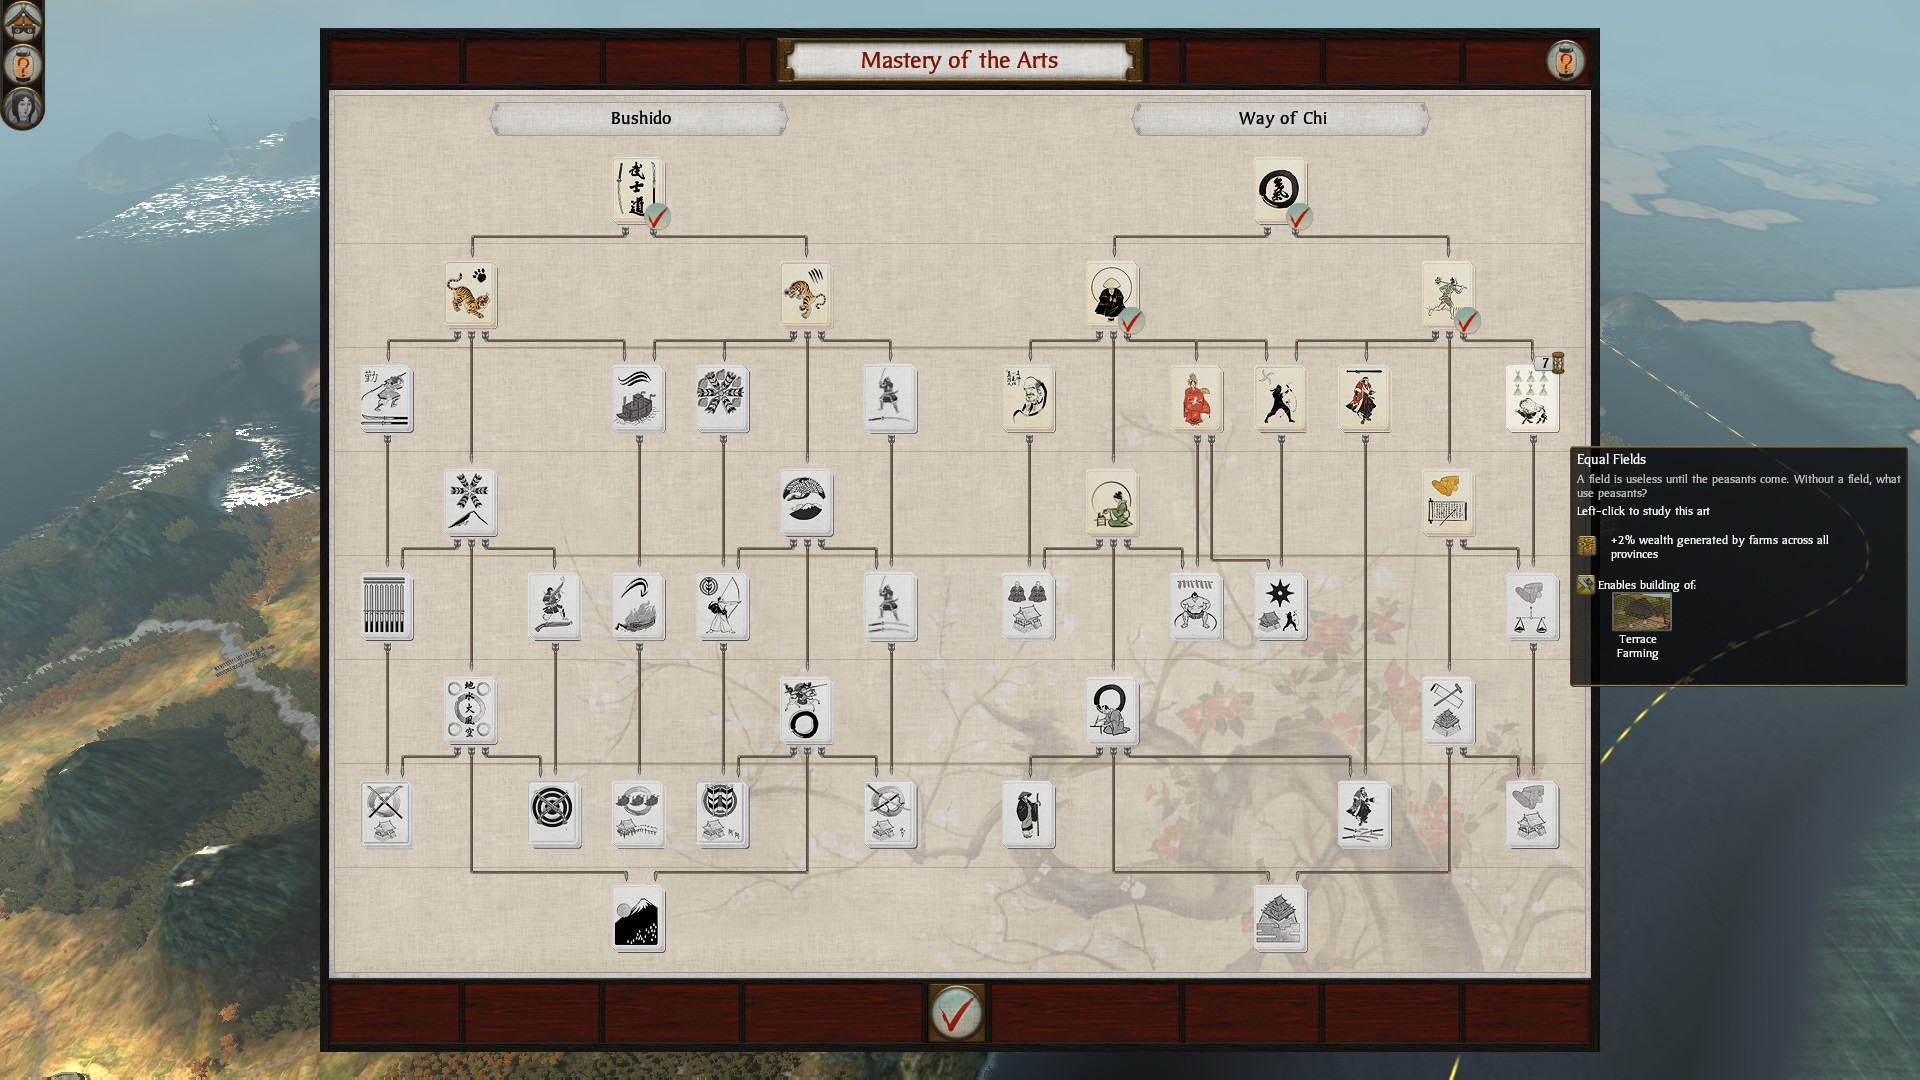
Your next research priorities should be:
- Equal Fields (Way of Chi)
this is so you can continue to build your economy in the early game when inbetween wars. This is essential. - Tax Reform (Way of Chi)
If you ignore this you may come dangerously close to bankruptcy, it adds a needed cushion of relief when your trade comes under threat. - Strategy of Attack (Bushido)
This or strategy of defense could be started depending on the first desired bonus. - Way of the Sword (Bushido)
This should be taken instead of Heaven and Earth, if your still fighting or recuiting Katana Samurai this will help more, it not only completes your first mission giving you a Katana Samurai, but it gives you veterancy if you need to make more. - Strategy of Defense (Bushido)
This or strategy of attack could be started depending on the desired bonus. However, you don't want to start Heaven and Earth before getting a free katana samurai (first mission) & early veterancy for sword units. By the time you start Heaven & Earth you should have most or all of Khyshu. - Essence of the Spirit (Way of Chi)
This is needed to increase the conversion of Christianity. First you should build sake dens in conquered territories for happiness. However, if this isn't enough then upgrade Forts to Strongholds & build a Buddhist Temple. Next, you want to put the monk you recruit from the province into the city. Eventually upgrading the Temple to a Monastery for even faster conversion + happiness. This is the best route of building to take to eliminate lasting religious unrest issues. - Way of the Bow (Bushido)
I would complete this when you have captured all of Khyshu, this and Essence of the Spirit are needed to make the required buildings for Bow warrior monks. Fire arrows should come too late to be of much use when conquering Khyshu anyways. - Heaven & Earth (Bushido)
I would complete this when you have captured all of Khyshu. In Satsuma, the encampment should be upgraded to an Armory & in Buzen you should make the Hunting lodge upgrade when possible.
The Opening Moves as Shimazu Part IV
UPGRADING YOUR NINJAS
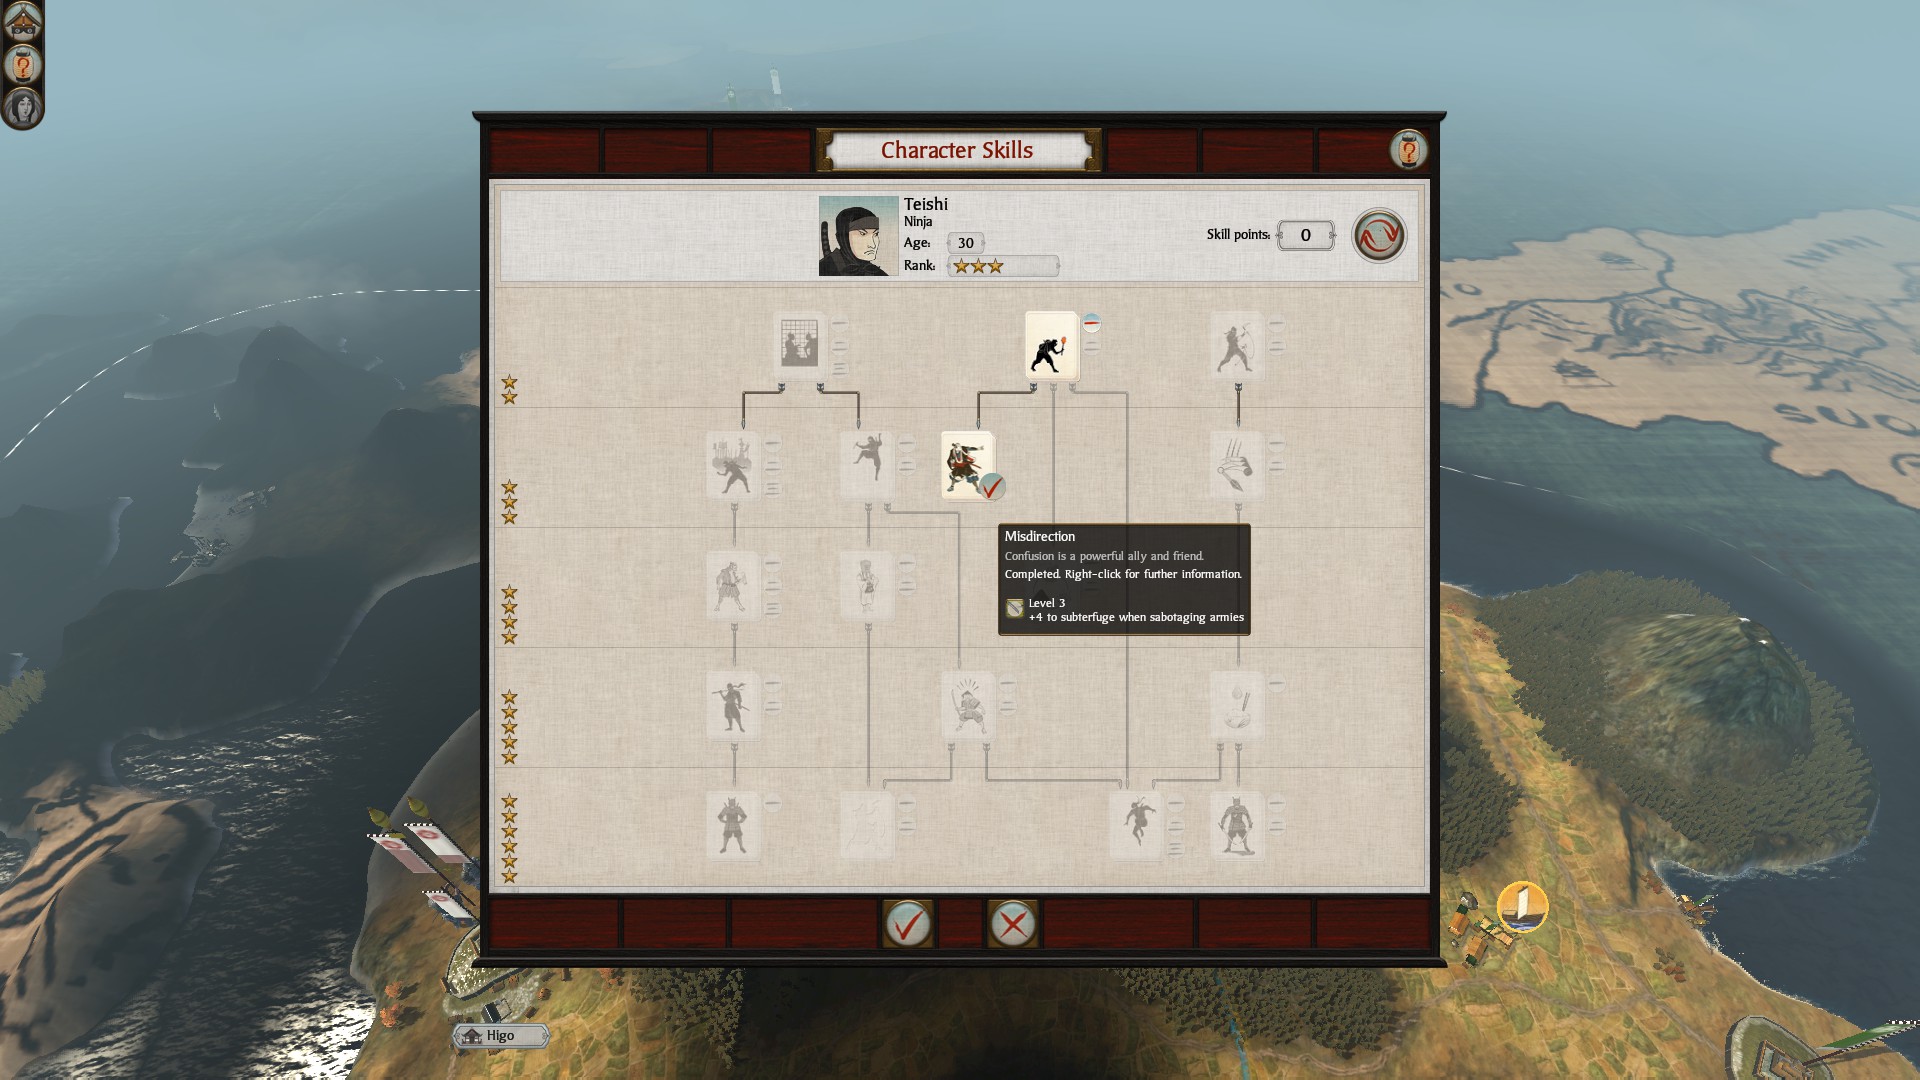
Any agent in a town for 1 turn will gain +3 expierence each turn, agents in the field gain no expierence, you should use your ninja as scouts but also as saboteurs. By moving into the enemies territory select a building that gives you a 50% or more chances of sucess and cost the least. once you find a building like this, this will be your priority. Each turn spend the money to have your ninja sabatoge a building. They might fail several times in a row, but continue doing it. Gor each unsucessful sabotage ninjas gain +3 expierence, but for each sucessful sabotage ninjas will gain +15 expierence. This is the best way to level up your ninja, make sure to avoid Metsuke since the 3 agents work like rock, paper, scissors.
ROCK (Metsuke), PAPER (Monk), SCISSORS (Ninja).
Upgrade your ninjas like this:
Rank 2:
1 point in Saboteur, hold the other point.
Rank 3:
All three points into Misdirection (sabotaging armies)
Rank 4: (Any past this point is optional, but this is my advice & prefrence).
2 points in Assassin (optional)
Rank 5:
1 point in Exotic Weapons, 1 point in Poisoner.
Rank 6:
2 points in Notorious Killer.
Using ninjas to sabotage armies over & over again stopping their movement until you can respond is the best use. Careful doing risky assassinations on high level Dayimo, your ninja may die.
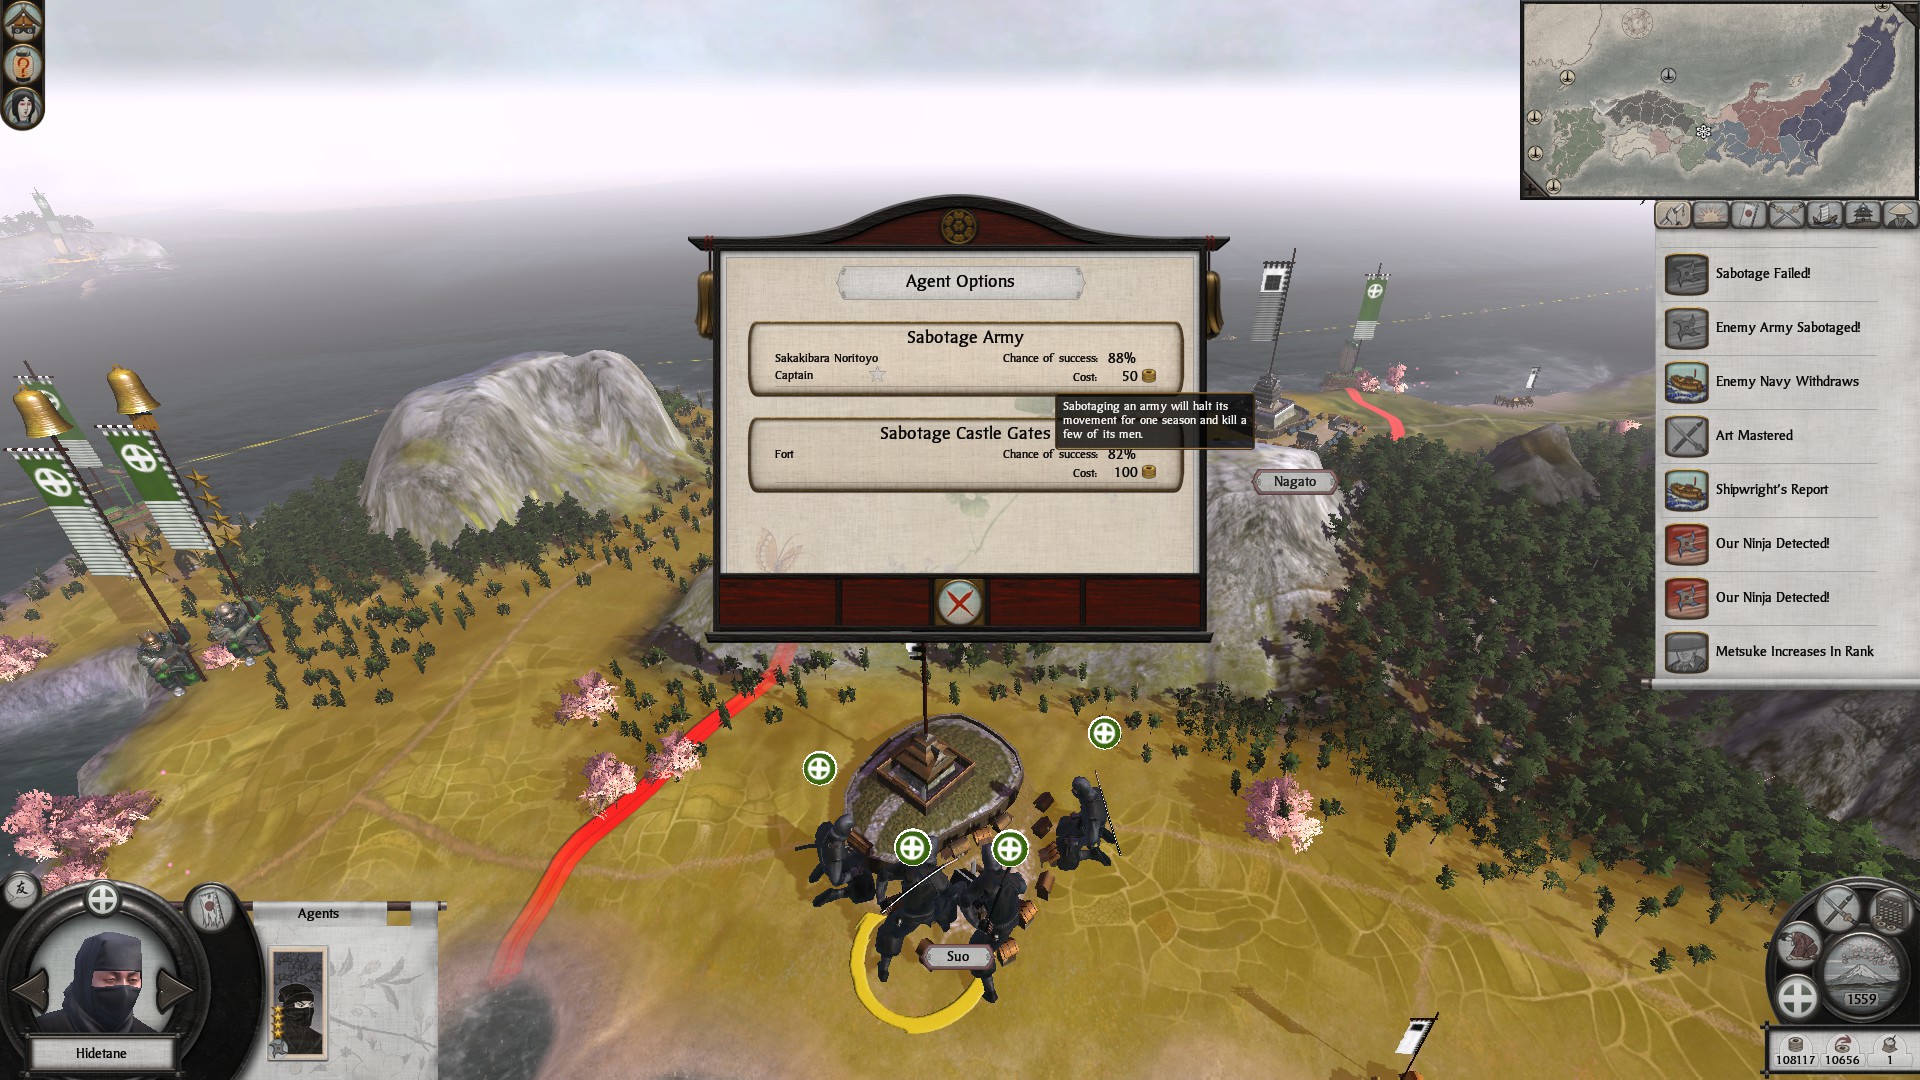
This is an example of me leveling several ninjas at once by sabotaging a single unit, and the gates.
There are four levels of outcome when an agent does an action:
MOUNTING THE COUNTERATTACK
Unfortunately I didn't get an image of me going head to head with the army that initially took Hyuga. However, I was able to beat them at a siege they did on Osumi with reinforcing Katana Samurai from Satsuma & more Yari Ashigaru made in Osumi.
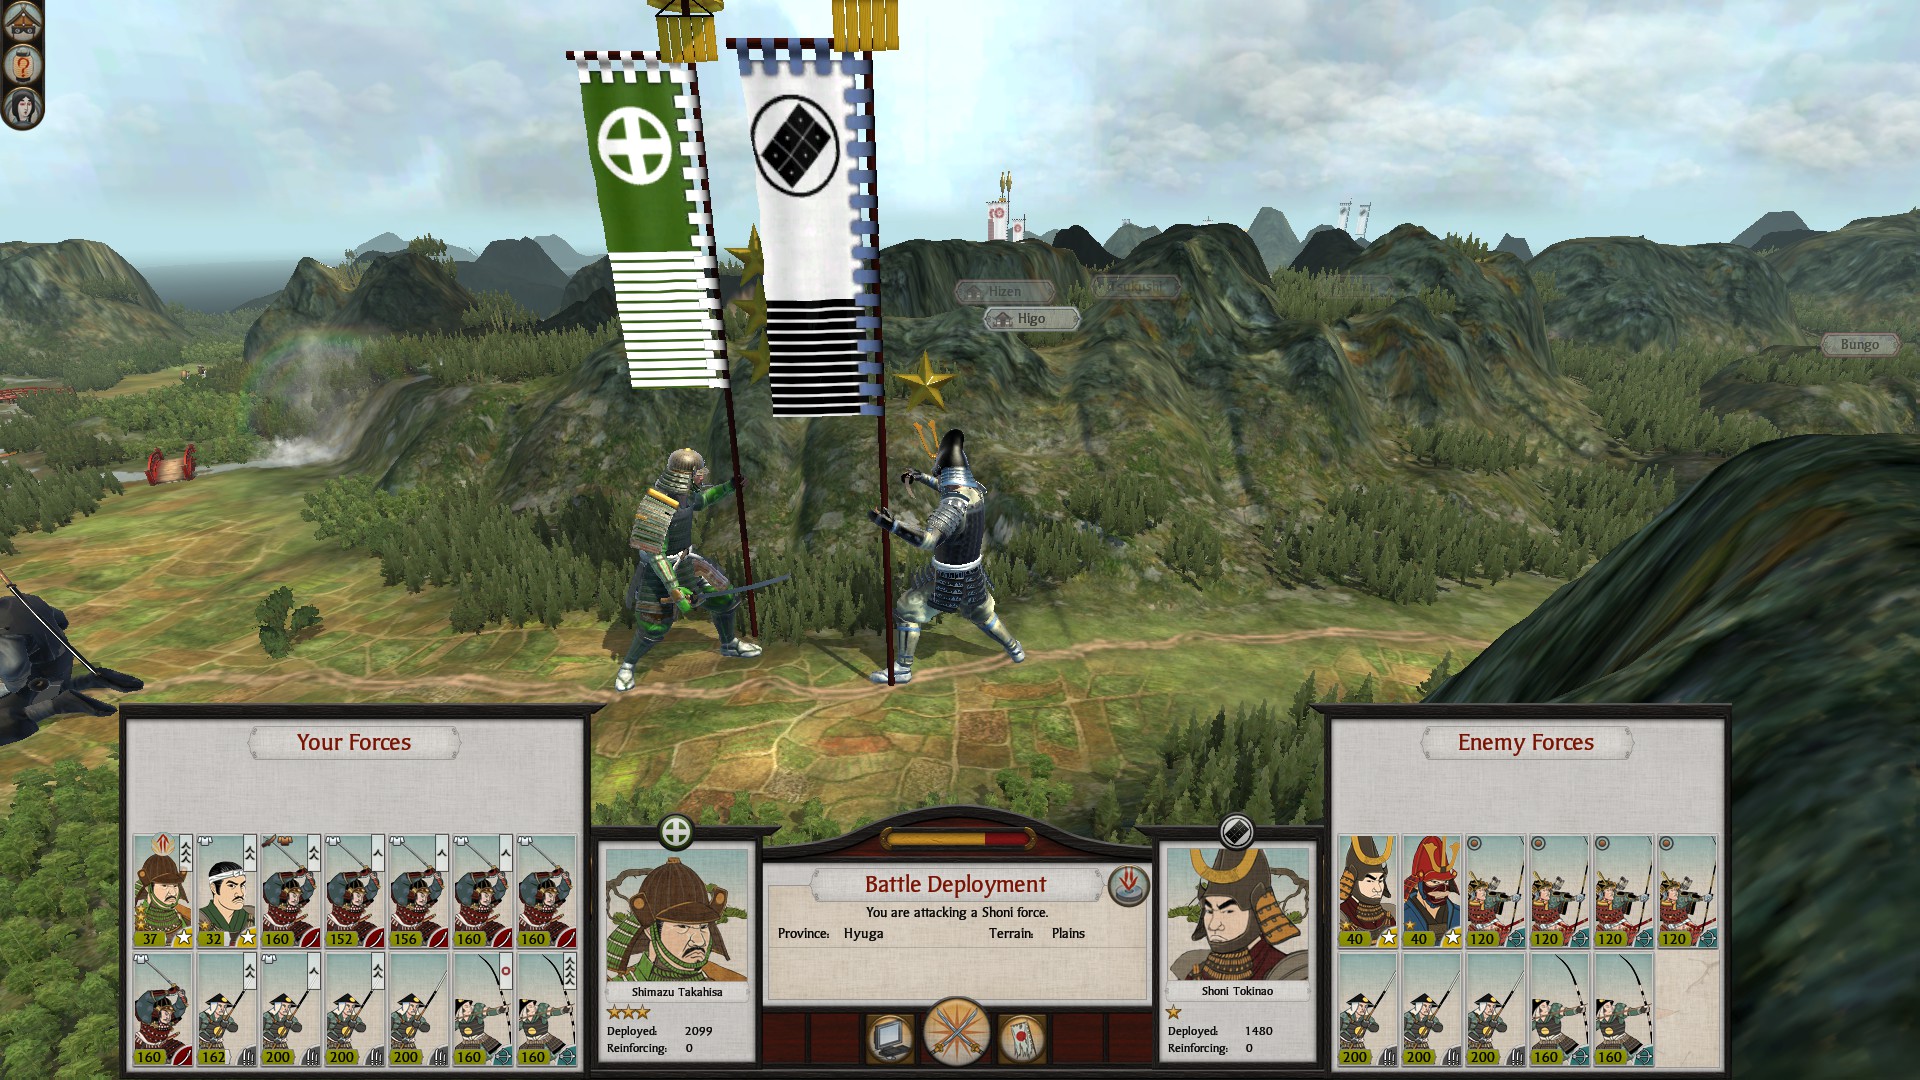
This is a screenshot from the second battle I faced vs the Shoni when attempting to take back Hyuga. This is the ideal army composition you want to have for now. 2 Generals, 6 Katana Samurai, 4 Yari Ashigaru, 2 Bow Ashigaru. I would hold off on recruiting more Katana Samurai until the Armorury in Satsuma is done. Once it is, recuit 2 Katana Samurai ASAP and repeat this again until you have 6 combined with the old ones. If you can, recuit Yari Ashigaru & Bow Ashigaru with armor to replace the other ones. This depends on how agressive your being attacked however.
By making use of cover & avoiding fighting on plains this will nearly elimanate any bow samurai advantage they get allowing you to move onto Bungo or Hizen (taking the shortcut I mentioned before).
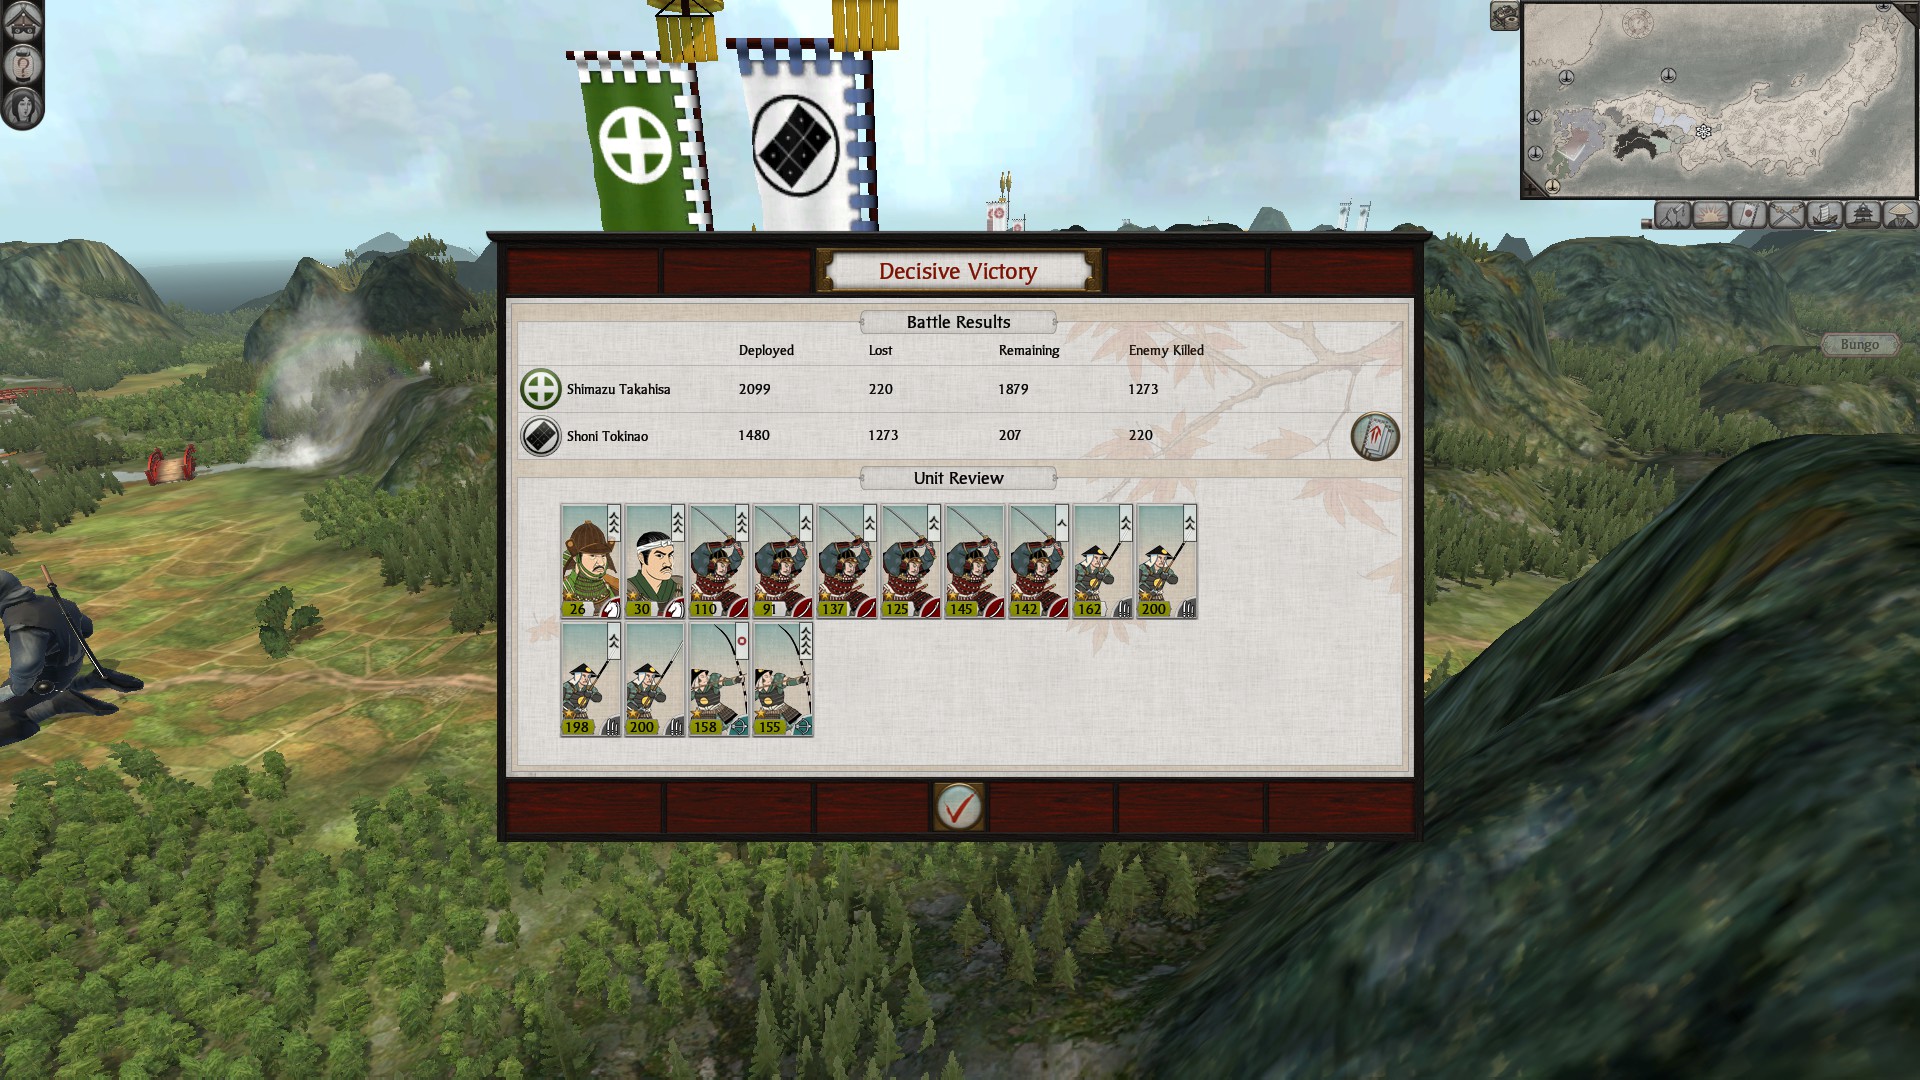
This was the result from the battle I fought, using the methods of baiting allowed me to take so few casualties.
When Moving to Bungo I faced another army, again I used baiting tatics to win since I need to push through their endless stacks that accompany VH & Legendary.

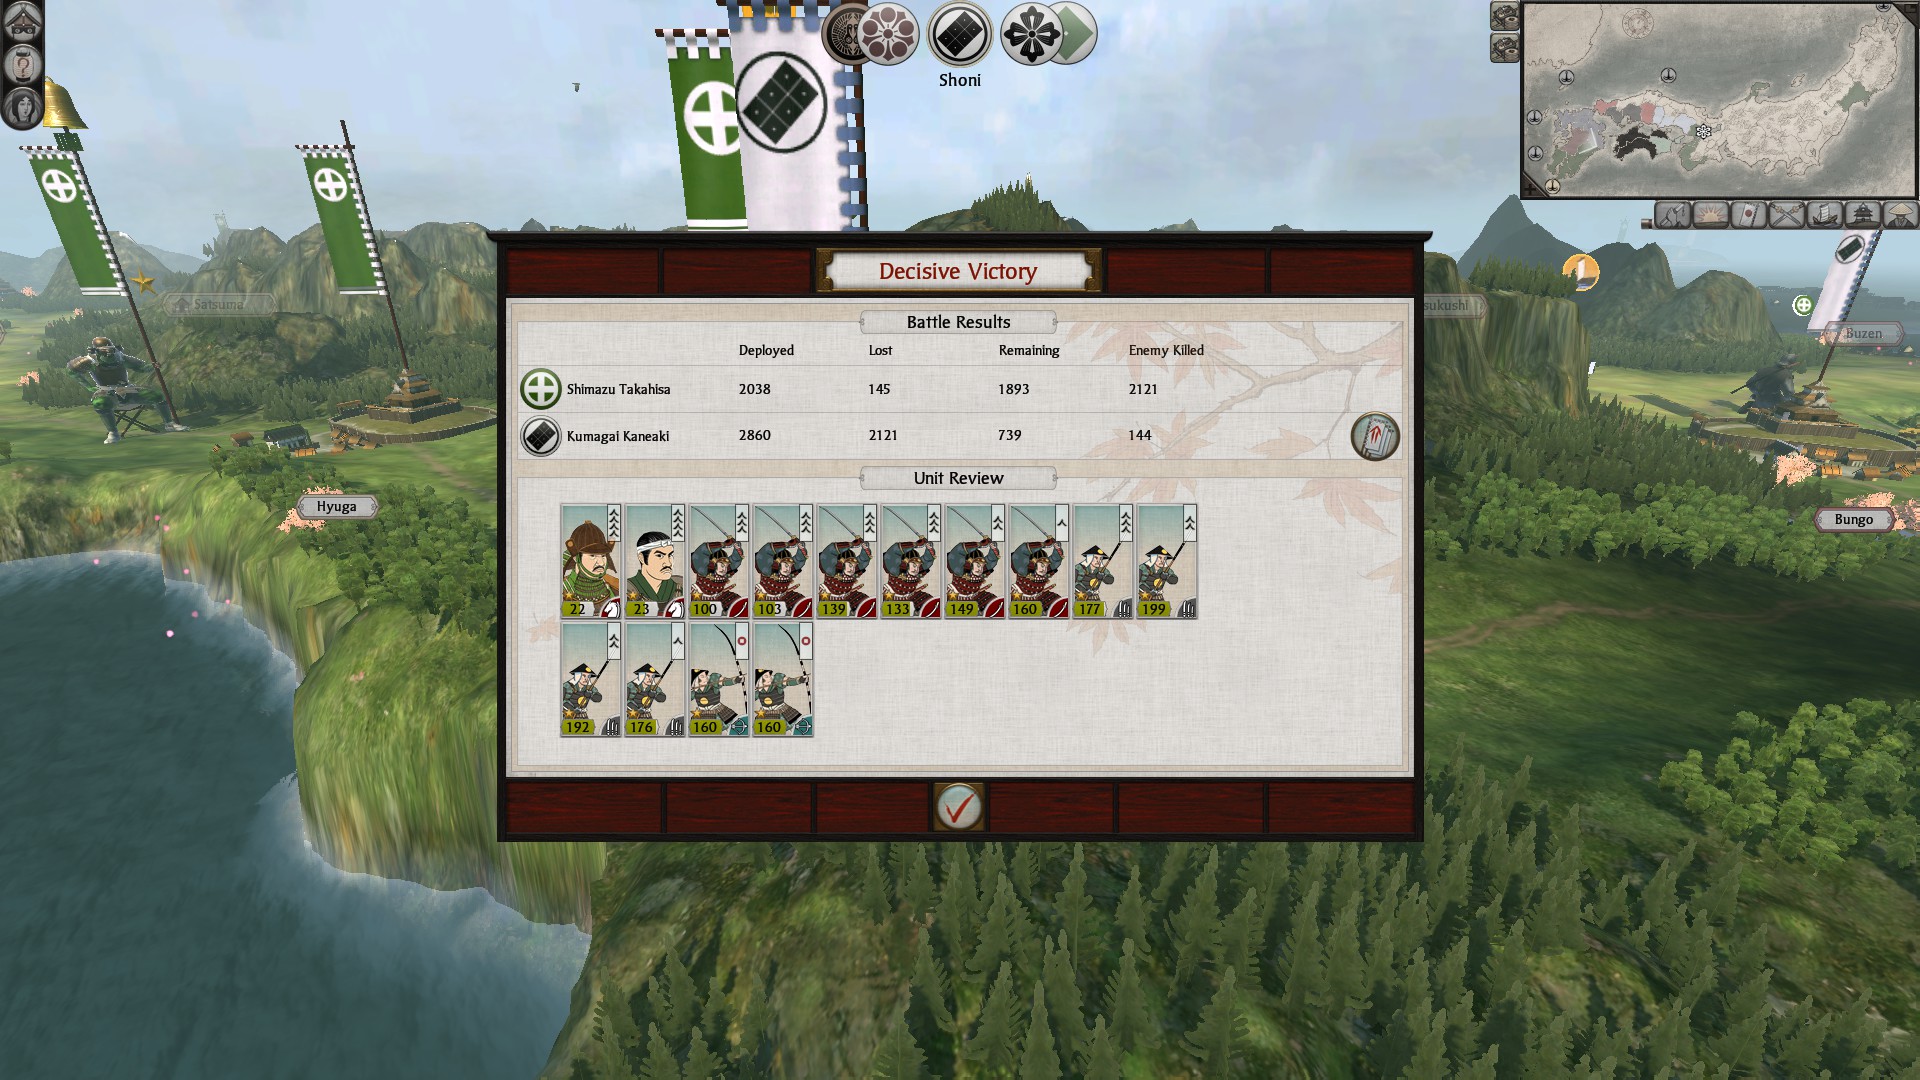
WHEN REACHING BUNGO
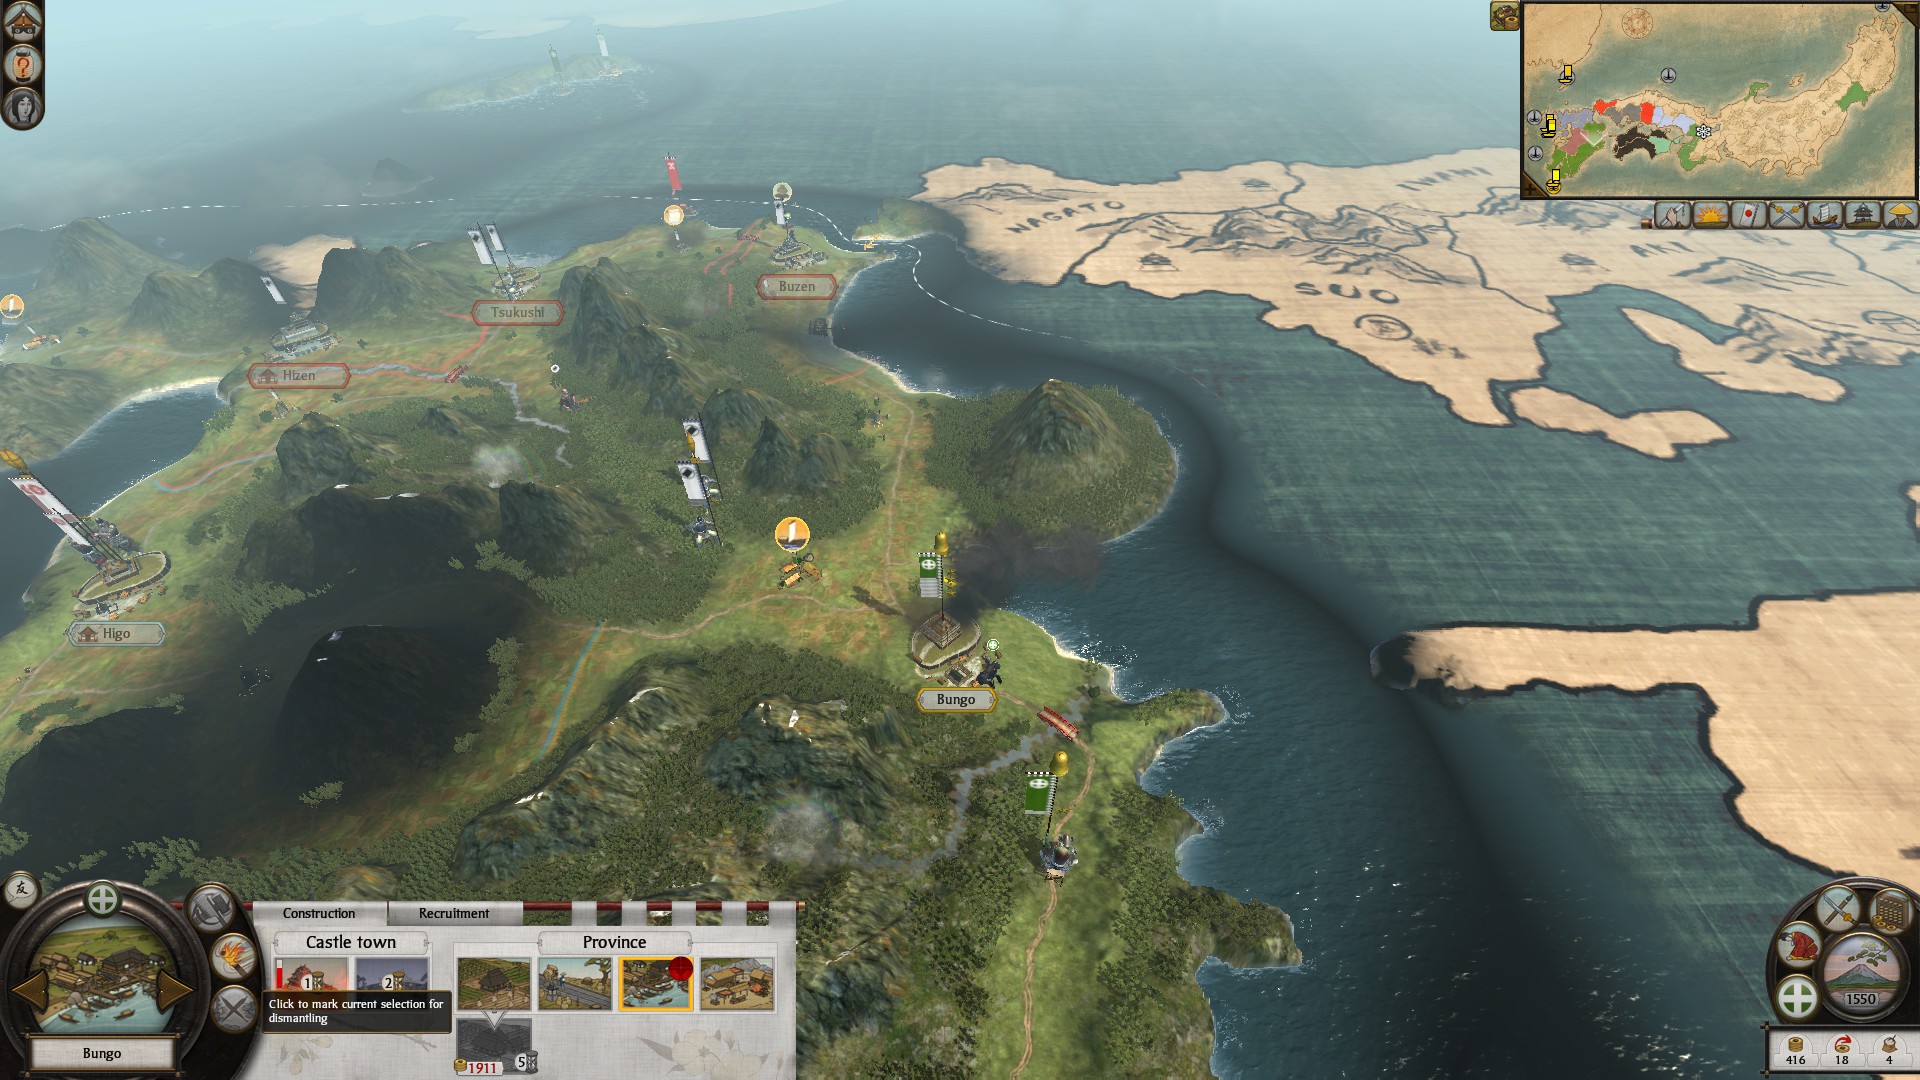
When you finally reach Bungo, do the usually of repairing the Castle, but demolish both the building in the building slot and the nanban trade port.
You want to build a sake den instead in the building slot.
Unfortunately there's no way to keep the nanban trade port on VH or Legendary without going Christian, each turn unhapiness in the province will increase by 1 do to "non-clan religion", because of this your income next turn should be spent on upgrading Bungo to a stronghold if not already, I have always had to upgrade the castle, you should too.
You want to build a buddhist temple in the second building slot and recruit a monk, then place the monk inside of Bungo. After doing this you should finally be able to safely move out of Bungo, you still might have to recuit a few Ashigaru to keep the polulation happy.
WHEN REACHING BUZEN
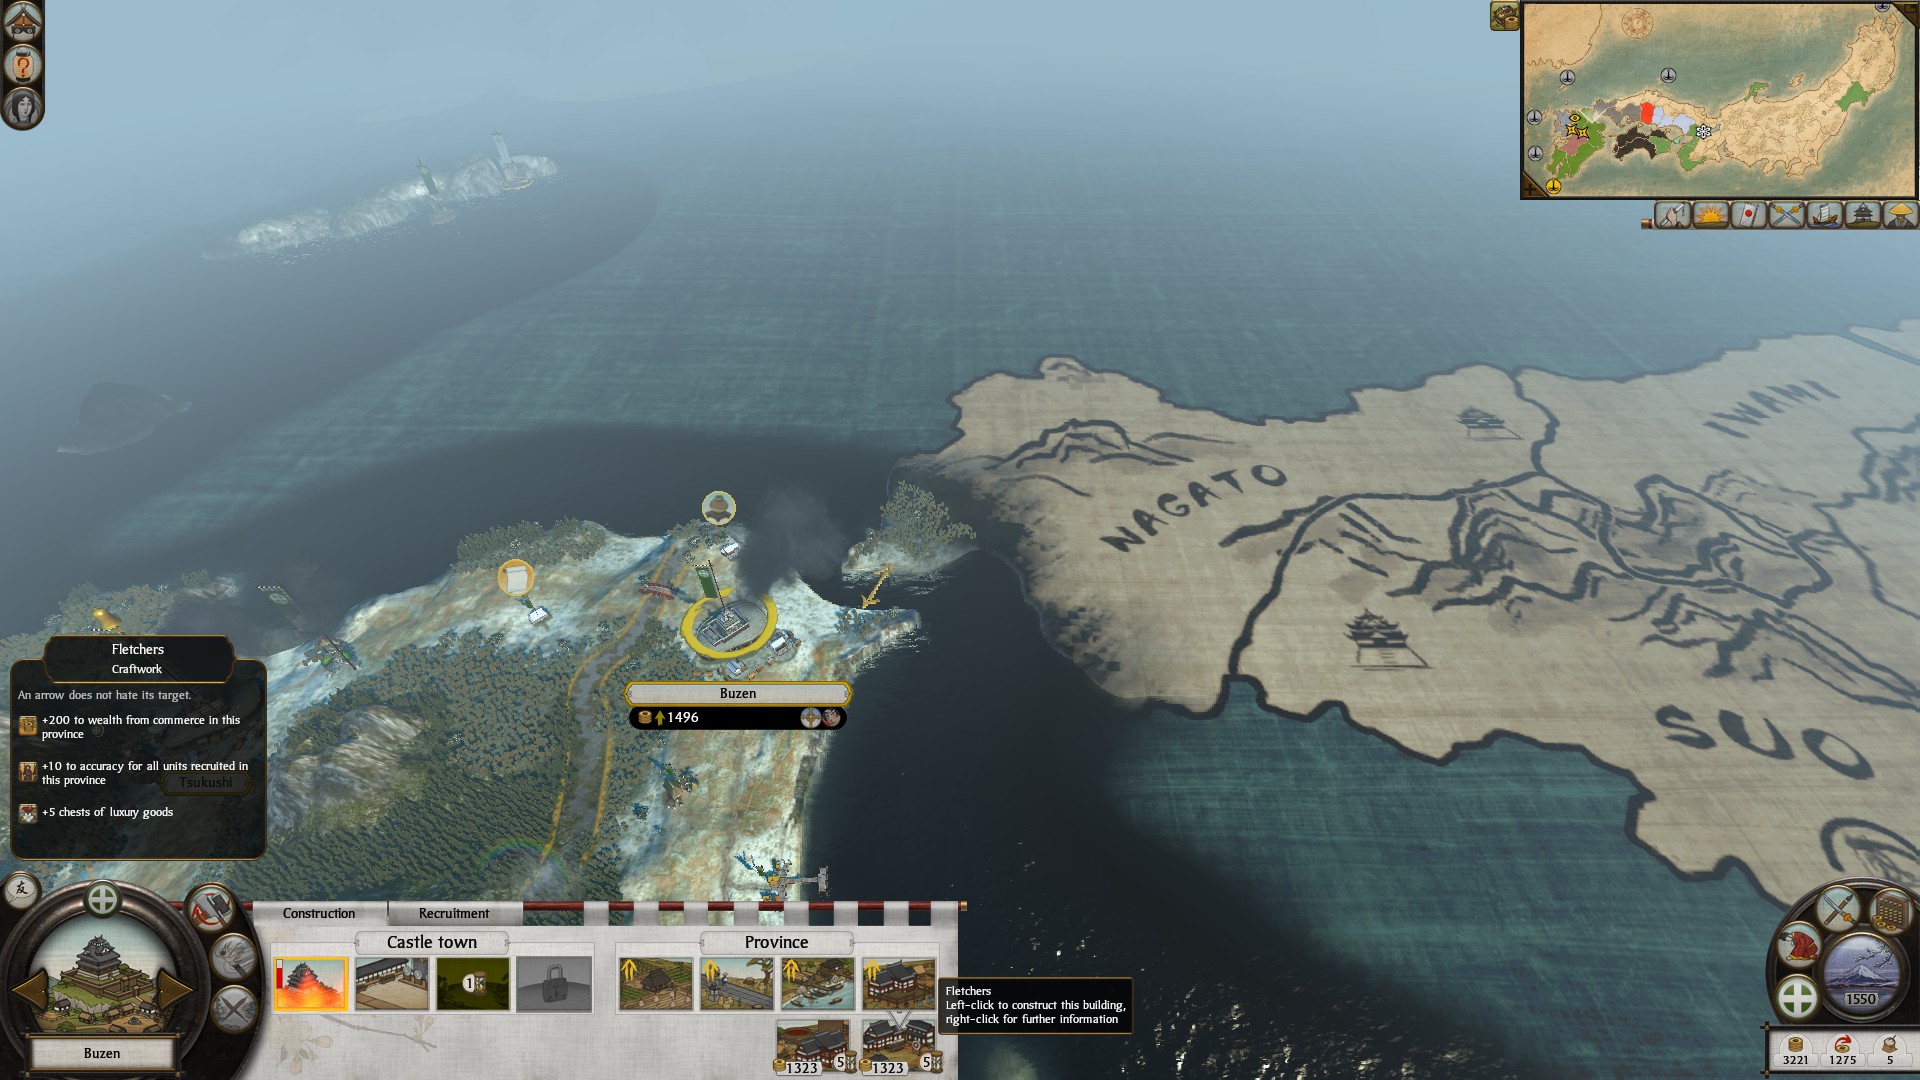
Buzen has a craftworks which makes it optimal for being your archer recuitment hub, when you have enough money & aren't focusing on containing Bungo's Christianity build the Fletchers upgrade. This will give you more accuracy to bow units. Also demolish any building in Buzen EXCEPT the archery dojo to build a temple here. Eventually you will make bow warrior monks here, also this allows you to have a second monk for dealing with Christianity.
When you finally capture all of Khyshu upgrade Buzen to a fortress & then a castle. These upgrades allow you to have more recuitment slot when making archers & I regreted not making Buzen into a castle sooner. You want upgrade the archery dojo to a foot archery range & upgrade the temple to a monestary. By having the monestary and the foot archery range you should finally be able to recruit bow warrior monks.
WHEN REACHING TSUKUSHI
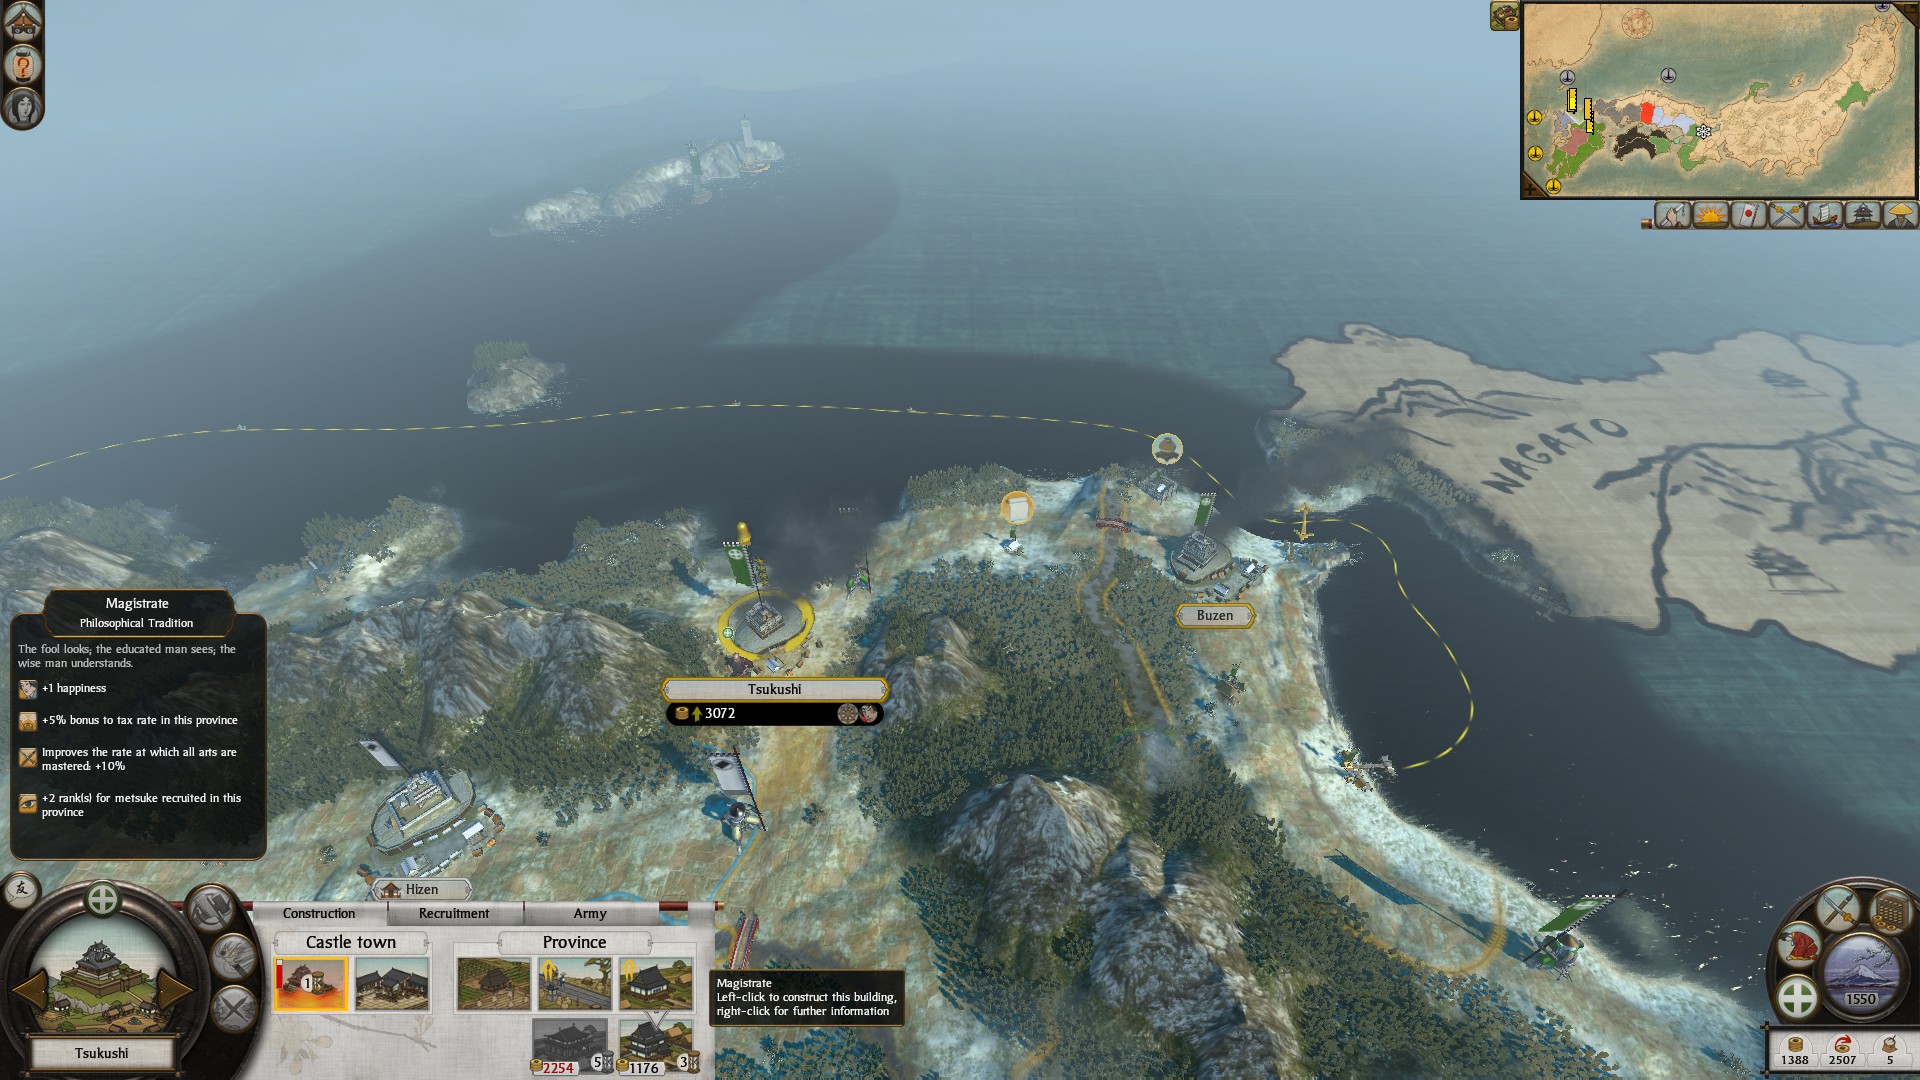
Tsukushi have the philosophical tradition speciality chain, you should recruit all of your Metsuke here. Upgrade the existing school here to a magistrate, if a library exist then demolish it & ignore all missons to make it a library. By having a magistrate all Metsuke here will be of rank 3 when recuited which gives you a jump start on these agents.
If you didn't watch the agents video I suggested, I would do so upon recruiting your first Metsuke here to see what upgrades to give them. It's worth it to recuit a Metsuke instantly upon arriving here because they add repression when put inside a province, you can disband this unit later in favor of a rank 3 Metsuke immediately.
Tsukushi should be upgraded to a stronghold & then eventually a fortress when you take all or most of Khyshu. Then you will build a sake den -> gambling den here & a market -> rice exchange -> merchant guild. Finally the farms should be prioritized here, upgraded to the max because of the very fertile soil. This province will definately be a money making province.
EVENTUALLY HIZEN & HIGO
Both Hizen & Higo have very fertile soil which means that the farms should be upgraded to the max in these provinces. Also because of this they will bring in alot of income, this is why any markets should be upgraded into rice exchanges & merchant guilds as well.
Any agent in a town for 1 turn will gain +3 expierence each turn, agents in the field gain no expierence, you should use your ninja as scouts but also as saboteurs. By moving into the enemies territory select a building that gives you a 50% or more chances of sucess and cost the least. once you find a building like this, this will be your priority. Each turn spend the money to have your ninja sabatoge a building. They might fail several times in a row, but continue doing it. Gor each unsucessful sabotage ninjas gain +3 expierence, but for each sucessful sabotage ninjas will gain +15 expierence. This is the best way to level up your ninja, make sure to avoid Metsuke since the 3 agents work like rock, paper, scissors.
ROCK (Metsuke), PAPER (Monk), SCISSORS (Ninja).
Upgrade your ninjas like this:
Rank 2:
1 point in Saboteur, hold the other point.
Rank 3:
All three points into Misdirection (sabotaging armies)
Rank 4: (Any past this point is optional, but this is my advice & prefrence).
2 points in Assassin (optional)
Rank 5:
1 point in Exotic Weapons, 1 point in Poisoner.
Rank 6:
2 points in Notorious Killer.
Using ninjas to sabotage armies over & over again stopping their movement until you can respond is the best use. Careful doing risky assassinations on high level Dayimo, your ninja may die.
This is an example of me leveling several ninjas at once by sabotaging a single unit, and the gates.
There are four levels of outcome when an agent does an action:
- Critical Failure means you lose the agent (For example you try to do an assasination, but they catch the ninja and kill him)
- Failure means you didn't do it (For example the ninja doesn't assasinate the target but he gets away)
- Success means you succeeded in the goal but not all the way (For example you wound the target but not kill them)
- Critical Success means you got it perfectly (You kill the target and take them out of play)
MOUNTING THE COUNTERATTACK
Unfortunately I didn't get an image of me going head to head with the army that initially took Hyuga. However, I was able to beat them at a siege they did on Osumi with reinforcing Katana Samurai from Satsuma & more Yari Ashigaru made in Osumi.
This is a screenshot from the second battle I faced vs the Shoni when attempting to take back Hyuga. This is the ideal army composition you want to have for now. 2 Generals, 6 Katana Samurai, 4 Yari Ashigaru, 2 Bow Ashigaru. I would hold off on recruiting more Katana Samurai until the Armorury in Satsuma is done. Once it is, recuit 2 Katana Samurai ASAP and repeat this again until you have 6 combined with the old ones. If you can, recuit Yari Ashigaru & Bow Ashigaru with armor to replace the other ones. This depends on how agressive your being attacked however.
By making use of cover & avoiding fighting on plains this will nearly elimanate any bow samurai advantage they get allowing you to move onto Bungo or Hizen (taking the shortcut I mentioned before).
This was the result from the battle I fought, using the methods of baiting allowed me to take so few casualties.
When Moving to Bungo I faced another army, again I used baiting tatics to win since I need to push through their endless stacks that accompany VH & Legendary.
WHEN REACHING BUNGO
When you finally reach Bungo, do the usually of repairing the Castle, but demolish both the building in the building slot and the nanban trade port.
You want to build a sake den instead in the building slot.
Unfortunately there's no way to keep the nanban trade port on VH or Legendary without going Christian, each turn unhapiness in the province will increase by 1 do to "non-clan religion", because of this your income next turn should be spent on upgrading Bungo to a stronghold if not already, I have always had to upgrade the castle, you should too.
You want to build a buddhist temple in the second building slot and recruit a monk, then place the monk inside of Bungo. After doing this you should finally be able to safely move out of Bungo, you still might have to recuit a few Ashigaru to keep the polulation happy.
WHEN REACHING BUZEN
Buzen has a craftworks which makes it optimal for being your archer recuitment hub, when you have enough money & aren't focusing on containing Bungo's Christianity build the Fletchers upgrade. This will give you more accuracy to bow units. Also demolish any building in Buzen EXCEPT the archery dojo to build a temple here. Eventually you will make bow warrior monks here, also this allows you to have a second monk for dealing with Christianity.
When you finally capture all of Khyshu upgrade Buzen to a fortress & then a castle. These upgrades allow you to have more recuitment slot when making archers & I regreted not making Buzen into a castle sooner. You want upgrade the archery dojo to a foot archery range & upgrade the temple to a monestary. By having the monestary and the foot archery range you should finally be able to recruit bow warrior monks.
WHEN REACHING TSUKUSHI
Tsukushi have the philosophical tradition speciality chain, you should recruit all of your Metsuke here. Upgrade the existing school here to a magistrate, if a library exist then demolish it & ignore all missons to make it a library. By having a magistrate all Metsuke here will be of rank 3 when recuited which gives you a jump start on these agents.
If you didn't watch the agents video I suggested, I would do so upon recruiting your first Metsuke here to see what upgrades to give them. It's worth it to recuit a Metsuke instantly upon arriving here because they add repression when put inside a province, you can disband this unit later in favor of a rank 3 Metsuke immediately.
Tsukushi should be upgraded to a stronghold & then eventually a fortress when you take all or most of Khyshu. Then you will build a sake den -> gambling den here & a market -> rice exchange -> merchant guild. Finally the farms should be prioritized here, upgraded to the max because of the very fertile soil. This province will definately be a money making province.
EVENTUALLY HIZEN & HIGO
Both Hizen & Higo have very fertile soil which means that the farms should be upgraded to the max in these provinces. Also because of this they will bring in alot of income, this is why any markets should be upgraded into rice exchanges & merchant guilds as well.
Reaching Midgame
HOW LONG SHOULD IT TAKE ME TO CAPTURE KHYSHU, WHEN DOES MIDGAME BEGIN?
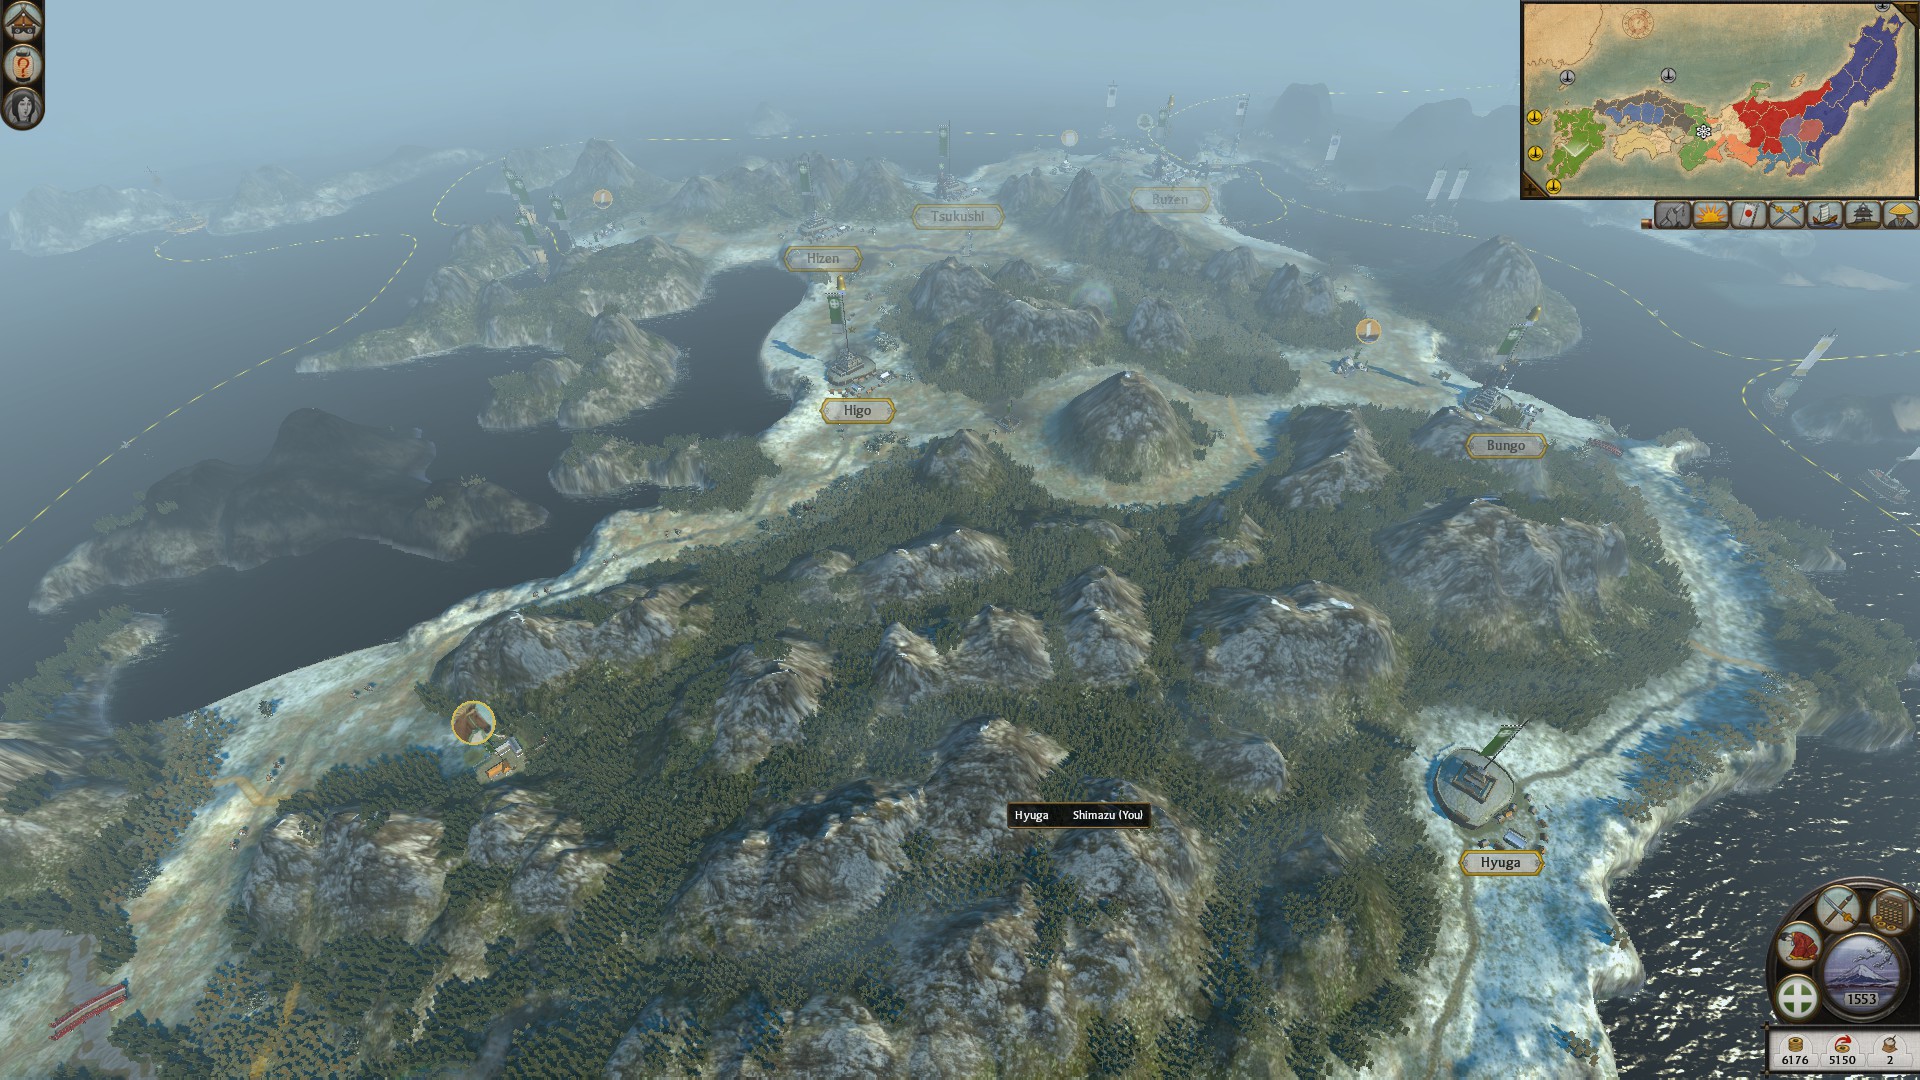
In my game I was able to capture Kyushu by 1553 (turn 36). I would say between turn (35-50) is a good target to shoot for, past this and it will leave you behind. This is because you want to trigger realm divide at ~1570 when you only have ~100 turns left. You will stay on Khyshu for awhile turtling and buliding up an army, then you need to capture more provinces & develop these. 50 turns to do this and acquire enough koku for when all your trade and income is attacked will hurt you severly. I acquired 1,000,000 koku with upgraded provinces & started realm divide at turn 104, owning a good chunk of Honshu & Shikoku. You don't have to worry too much about rushing since the AI will still develop the provinces you plan to take, although they may upgrade them less optimal way.
WHERE WAKO PIRATES SPAWN & DEALING WITH THEM

Wako Pirates will frequently spawn off of Satsuma, forteunately the pirates will never block your ports. However, they will raid your trade routes or attack your ships on nodes if they feel they are confident enough to take them. Because of this you will have to keep a fleet by these trade nodes to protect them. Often they actually help you if enemies are nearby since they strangely favor attacking the AI first instead of the player. I couldn't get a screenshot of this but they typically spawn by the coast, next to the beach on Satsuma.
MOST VALUABLE TRADE RESOURCE: HORSES
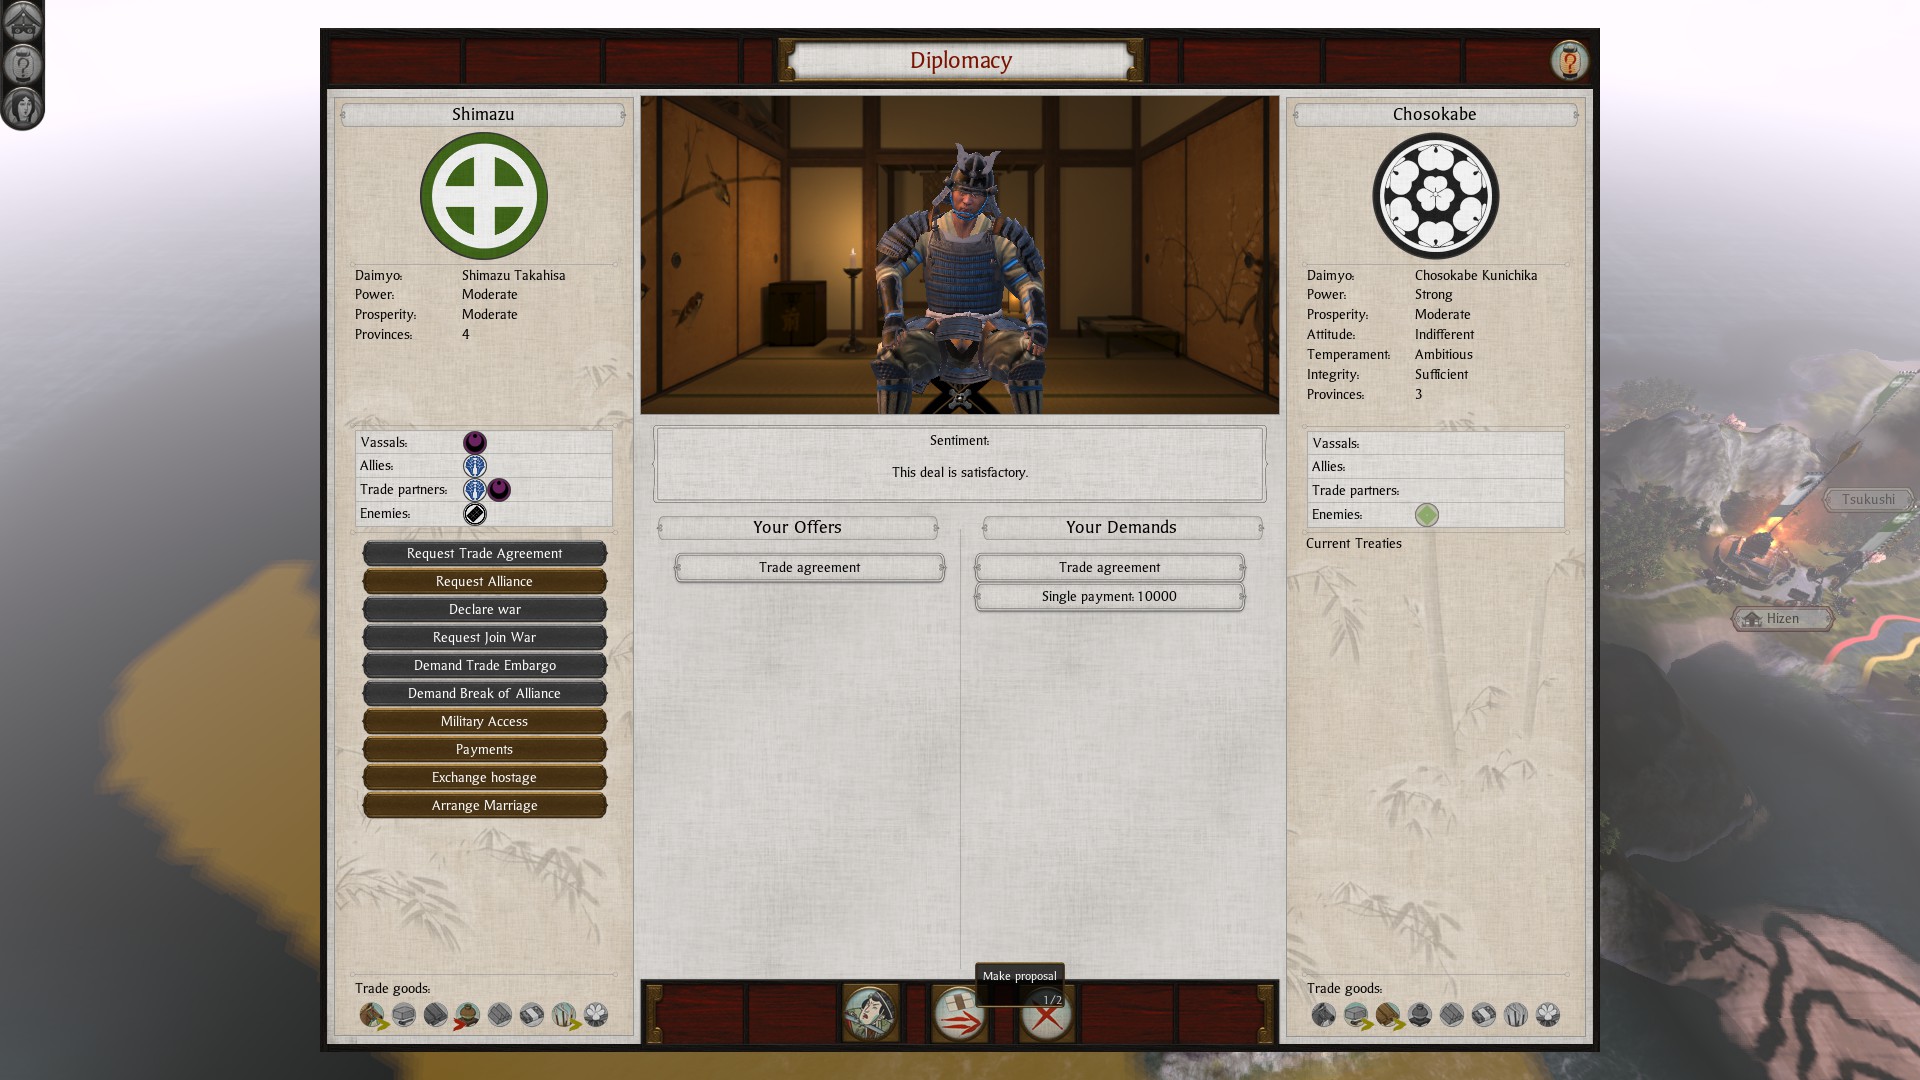
Horses are by far the most valuable trade resource and you can make thousands of koku selling trade to clans that don't have them.
WHAT SHOULD MY ARMIES LOOK LIKE, AND WITH WHAT UPGRADES?
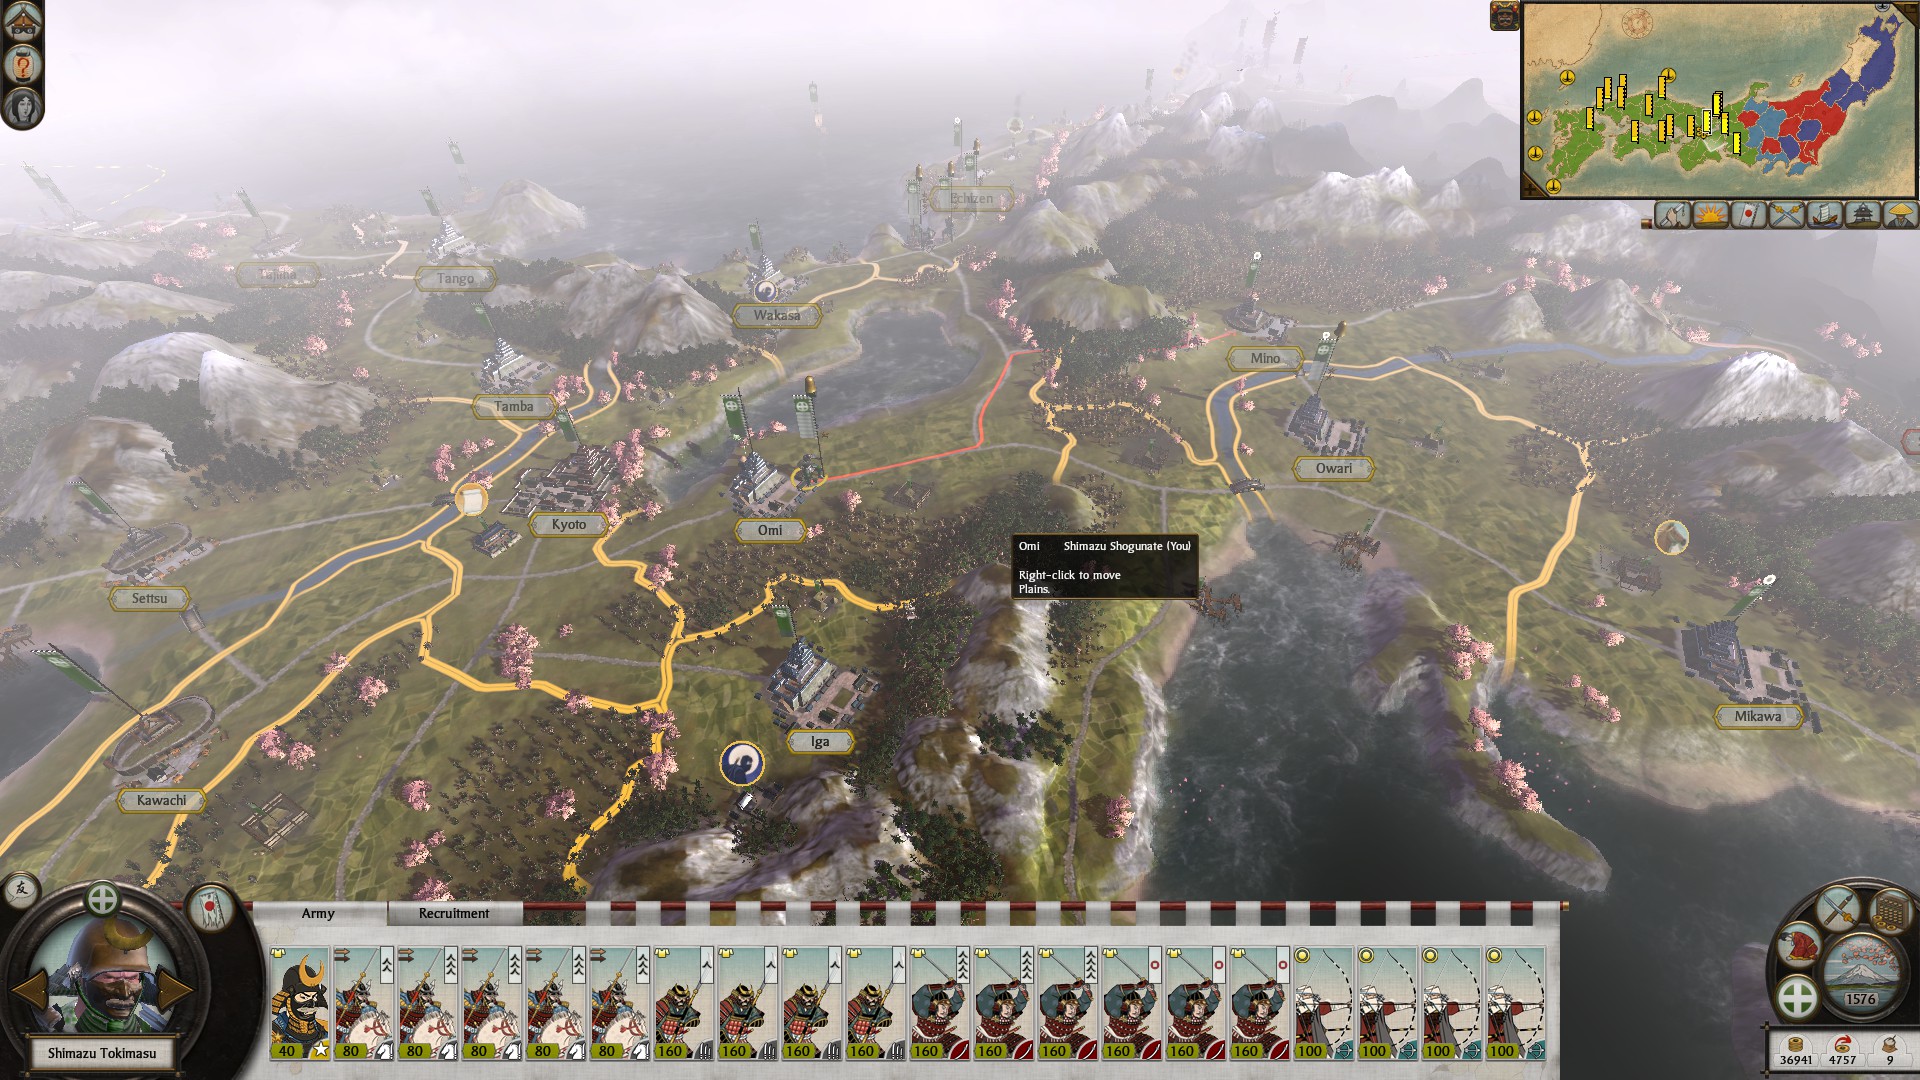
WARNING THIS ISN'T QUITE OPTIMAL, long term your armies should look like this for SHIMAZU (other clan strategies differ), since it will be mid game Yari Ashigaru will take the place of Naginata Samurai & Bow Samurai will take the place of Bow Warrior Monks. It Should be:
4 Spear Infantry: Yari Ashigaru (superior to exceptional armor) -> Naginata Samurai (exceptional armor)
6 Katana Infantry: Katana Samurai (superior armor) -> Katana Samurai (exceptional armor)
4 Bow Infantry: Bow Ashigaru -> Bow Samurai (Improved accuracy +5 to +15) -> Bow Warrior Monks (exceptional accuracy +15 to +25).
4 Calvery: 4 Light Calvery (+3 charge bonus) -> 4 Yari Calvery (+5 charge bonus)
2 Generals
To get armor, accuracy, & charge bonuses recuit all your units in provinces that give these bonuses: Satsuma (smithiing), Buzen (Craftworks) and Higo (Horses). Except for Higo, since charge bonus have an effectiveness cap, upgrade the castle if need to make an encampment in both Satsuma and Buzen, Upgrade these encampments to a Armorury in Satsuma & a Hunting Lodge in Buzen. These bonuses will stack on the existing bonuses in the provinces.
Satsuma should go down the Armory path like I advised, and Buzen should go down the Bow path.
Blacksmith -> Armourer -> Master Armourer.
Artisans -> Fletchers -> Master Bowmaker.
The reason for heavy armor focus on these units is because on VH & Legendary bow damage is significantly increased and armor prevents this as well as adding melee defense to units. melee attack only helps in the initial engagement.
Bows should have heavy accuracy focuses because bow warrior monks will never have enough armor & should never be in melee. Also, by putting units in loose formation you can beat other archers with superior accuracy if need be. Bow warrior monks are amazing and you want to shred enemy bows or units ASAP.
CAN I BUILD A NANBAN TRADE PORT?
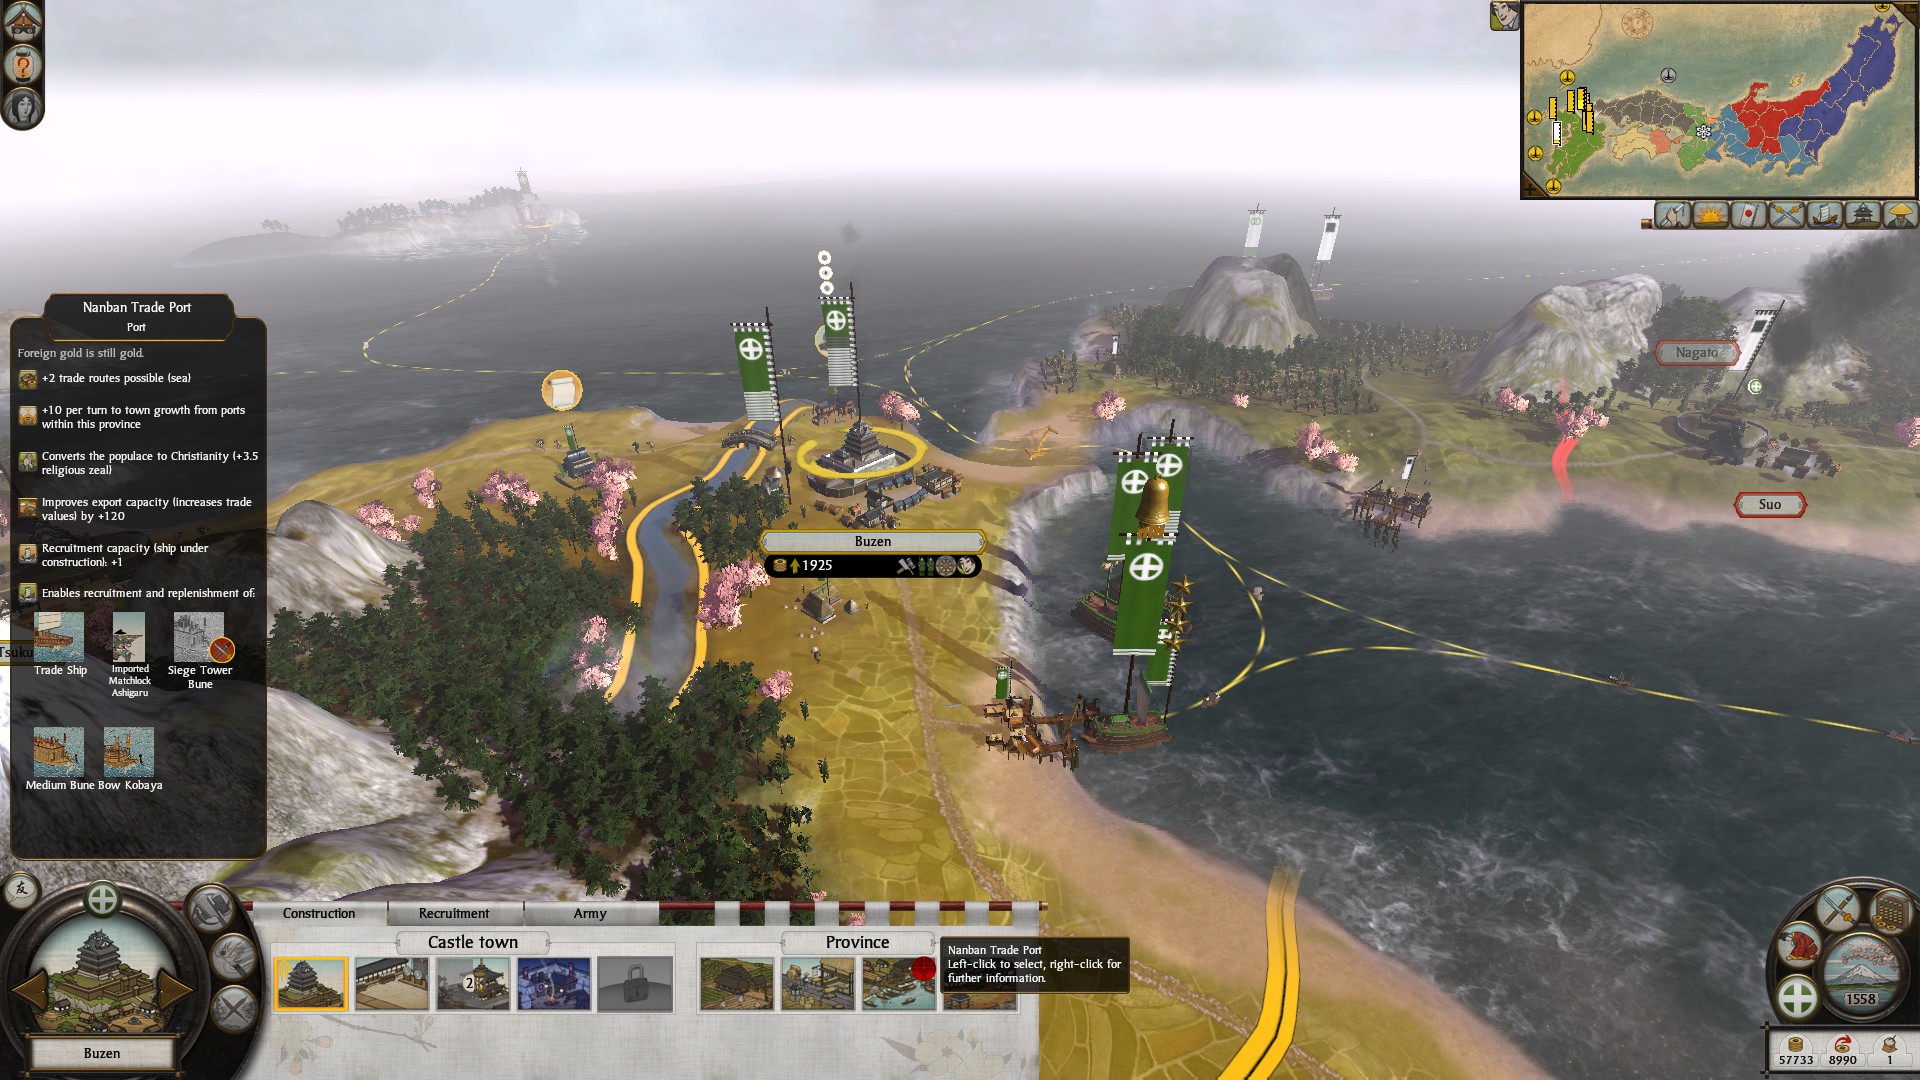
Yes, I highly recommend building it in Buzen for the accuracy bonuses on the matchlocks. Only do this though when your close to building a monestary there and in Bungo, or have two monks in the province, it's very hard to fight a +3.5 conversion rate. The +2 trade routes is very nice to bring in more income, definately worth it in the long run.
WHERE SHOULD I EXPAND NEXT?
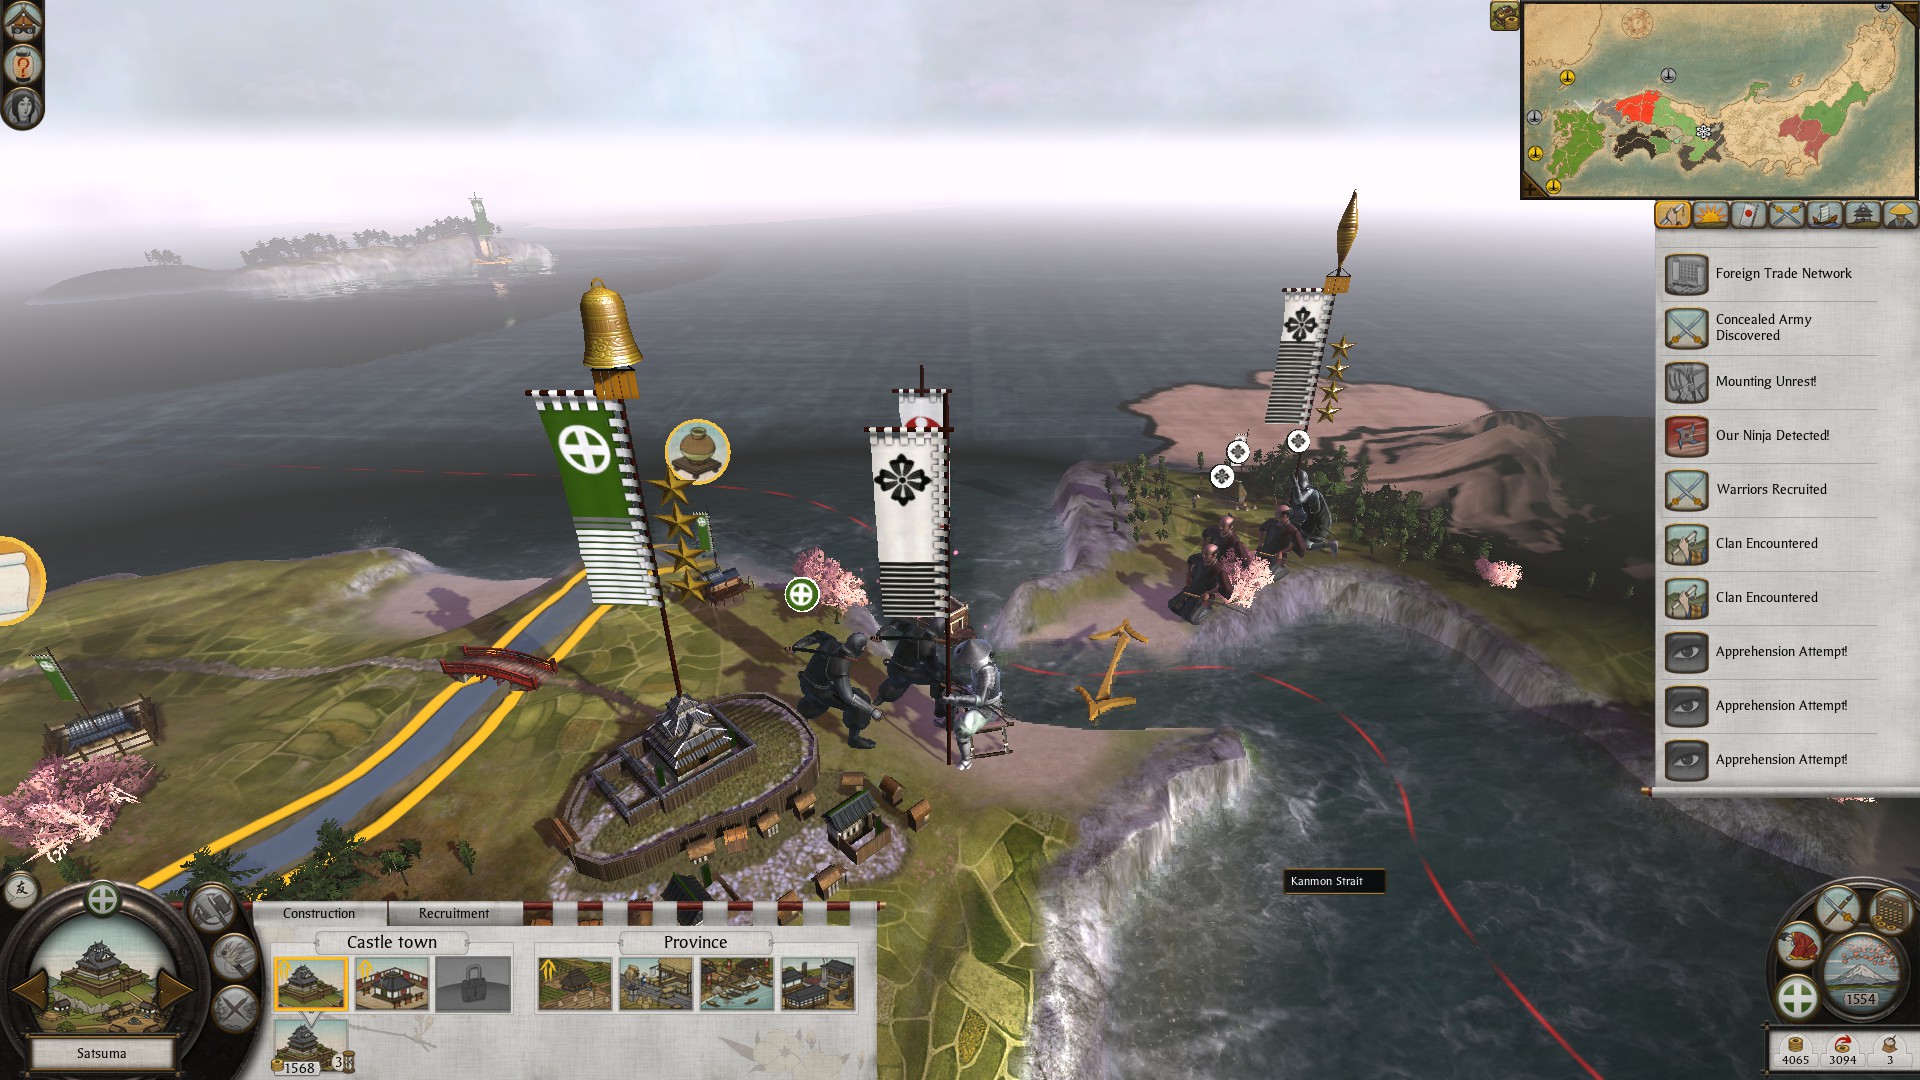
You should expand onto Honshu, mainland Japan. Whoever controls the mainland to the East will likely attempt to attack you, you can sell military access to deter war, but if they enter your border they will attack you so follow their army defending whatever castle town. I would hold my main army in Buzen along with secondary armies nearby. You don't have to go on the offensive, if fact often you should wait until they unsucessfully fling themselves at you first. This way you can take the inititive and rush them on offensive.
After doing this and conquering down to Bizen I would upgrade the strongholds along my territory to make a wall, then you should navy invade Shikoku. If you block crossing straits you can sometimes trap armies on Awaji.
WHERE TO RECRUIT MONKS
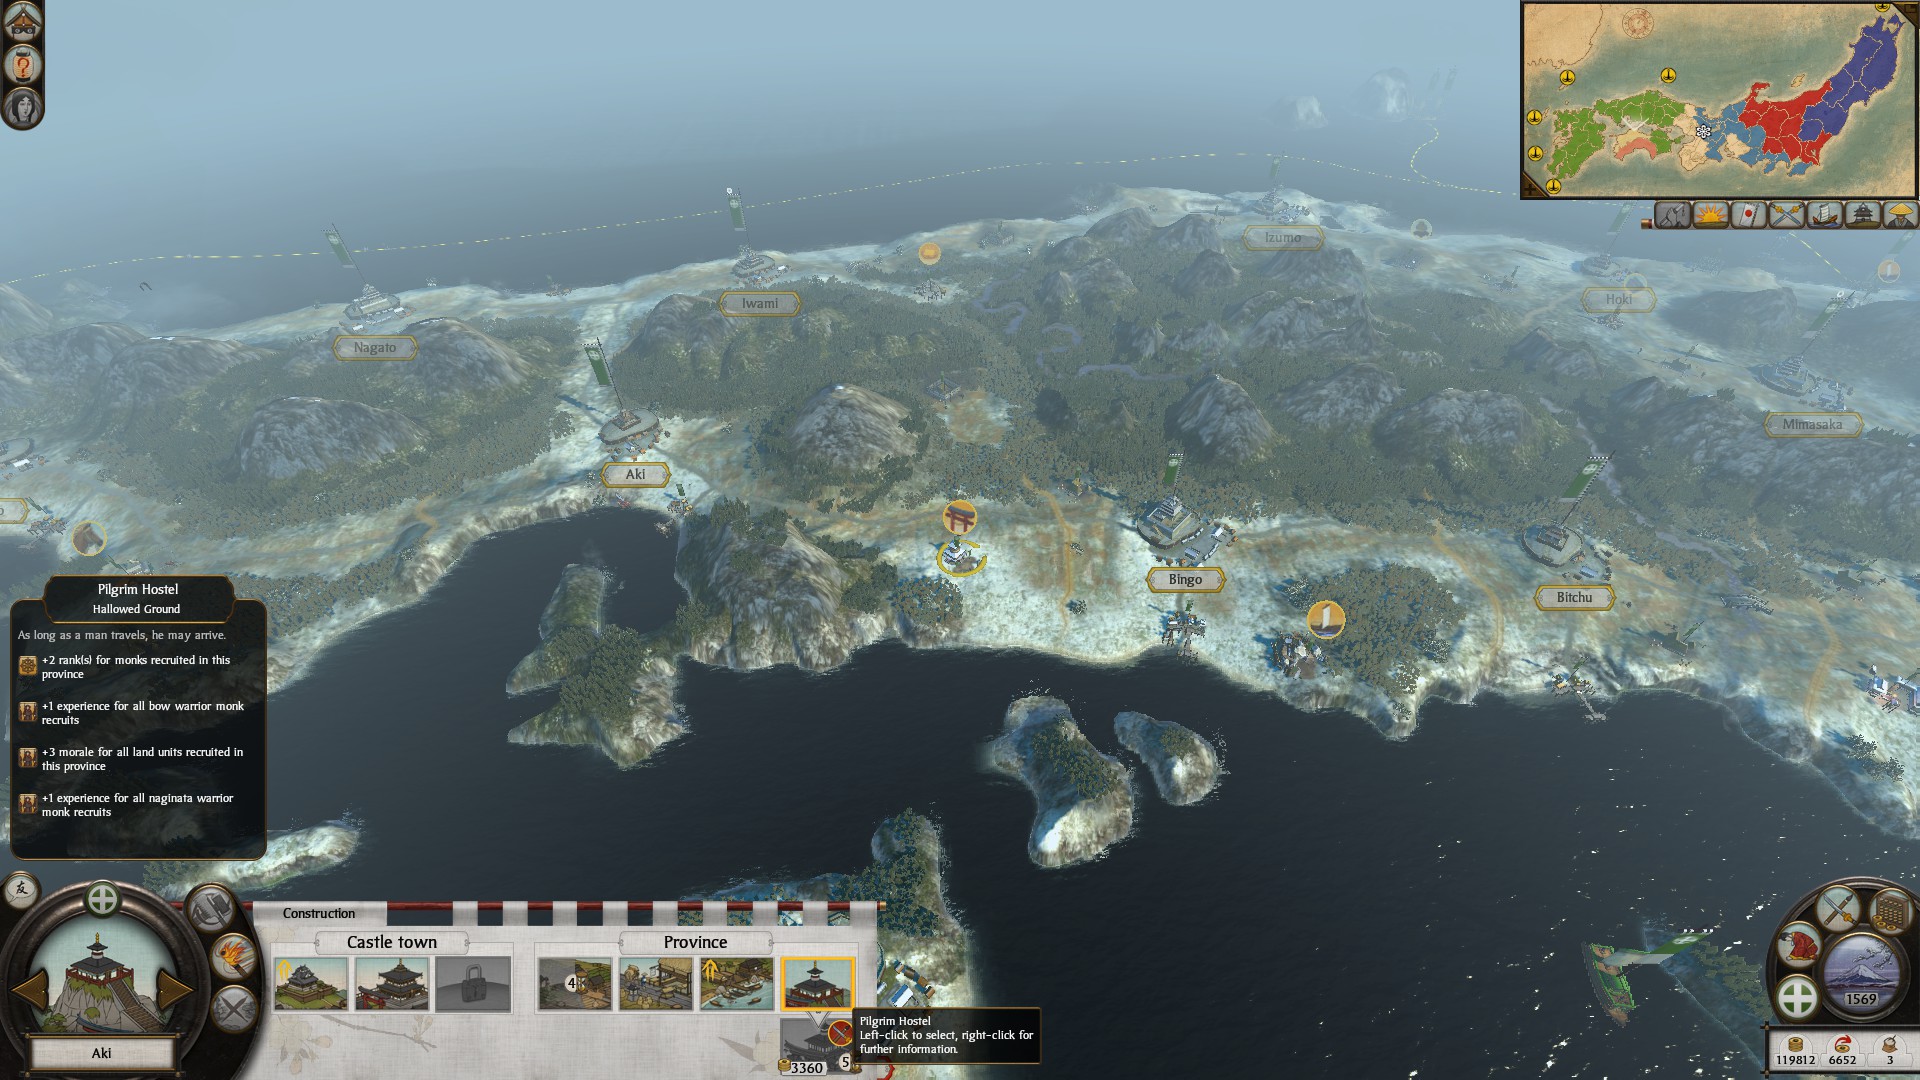
Upgrade the temple in Aki to a prigrm hostle. This is a great place to recruit monks. When building slots are greater than a market in the provinces you take, you can either make a sake den or temple for additional agent recruitment. Unfortunately the good places to recruit ninja are all in the middle so you can only recruit superior Metsuke & Monks.
WHERE SHOULD MY NEXT RECUITMENT HUBS BE?
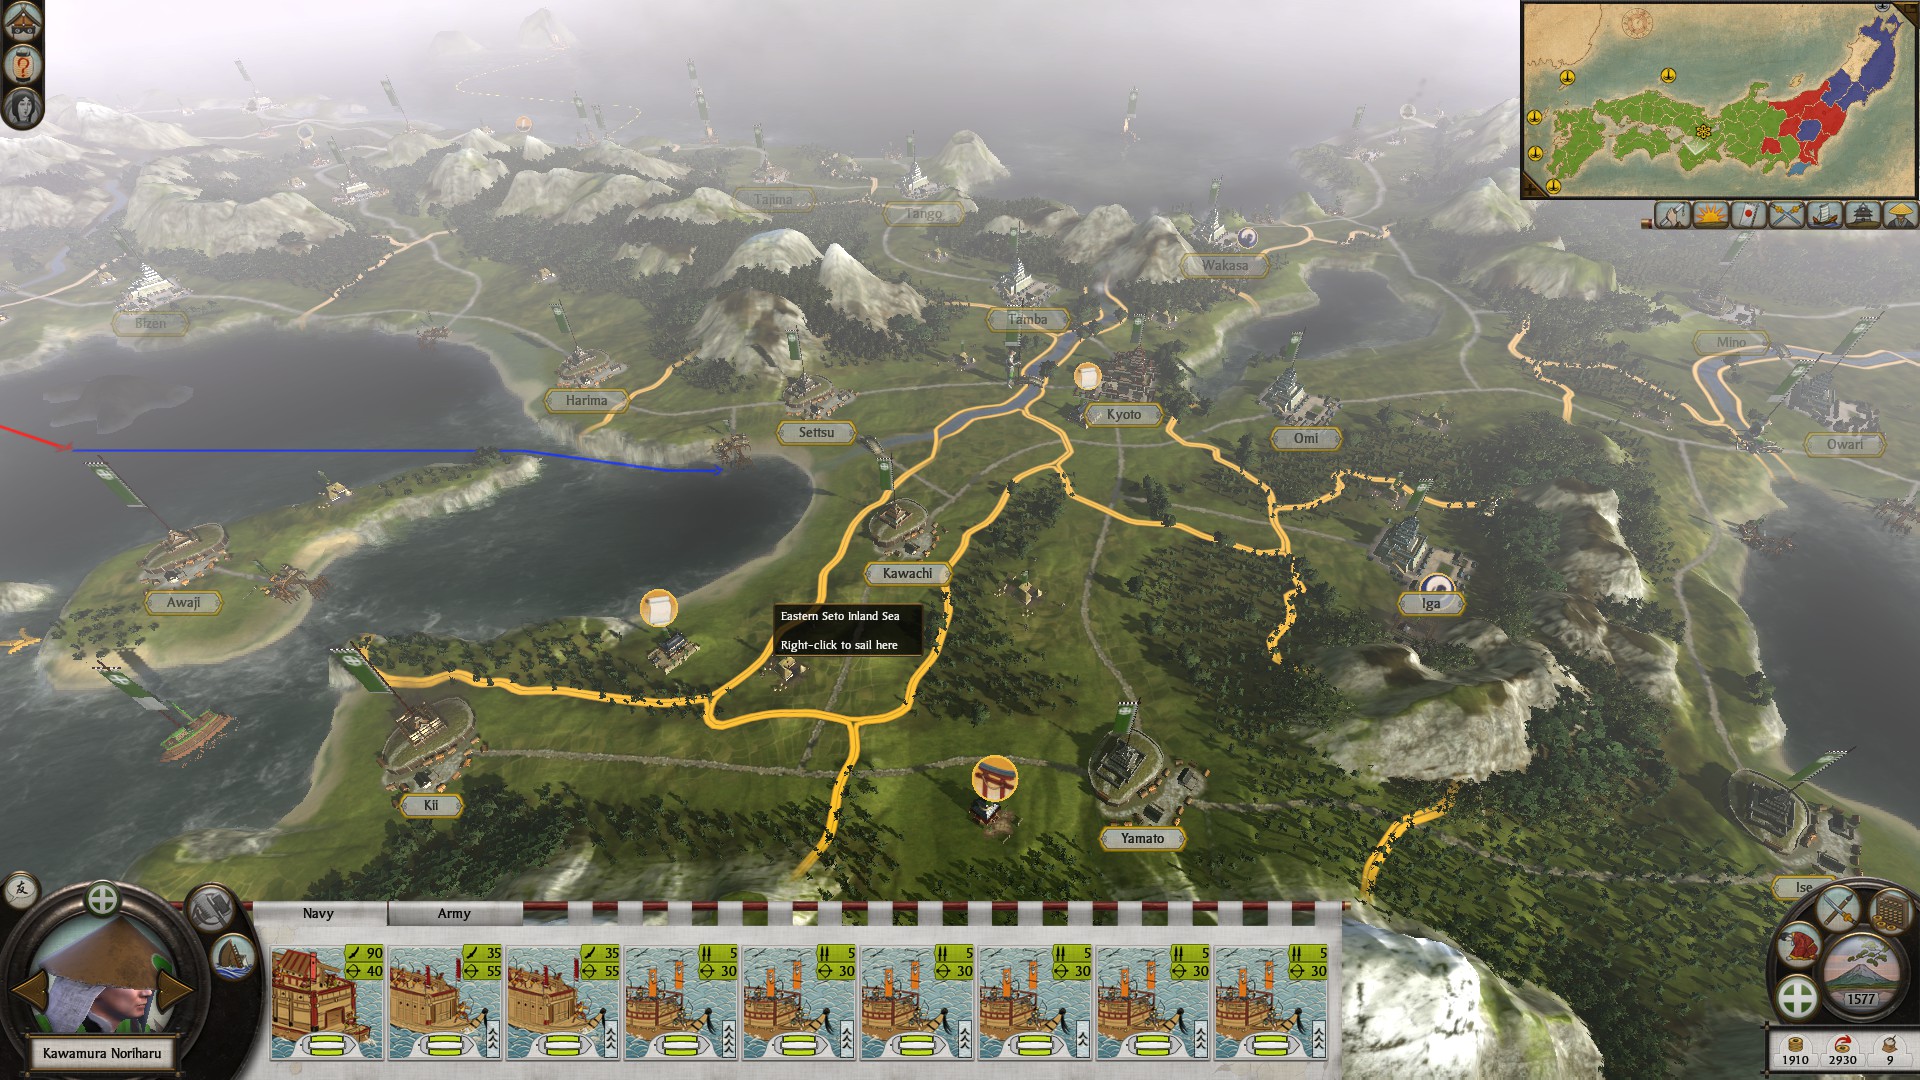
I wouldn't build a second recruitment hub for archers. I found it much easier to build archers I needed for the front and send a transport navy back and fourth from Bizen. The closer craftworks on on the Northern side which requires your units to walk by land to met up. This is much slower than by sea, ferrying them to Settsu. Settsu will be your main basing province in delivering units to the Front.
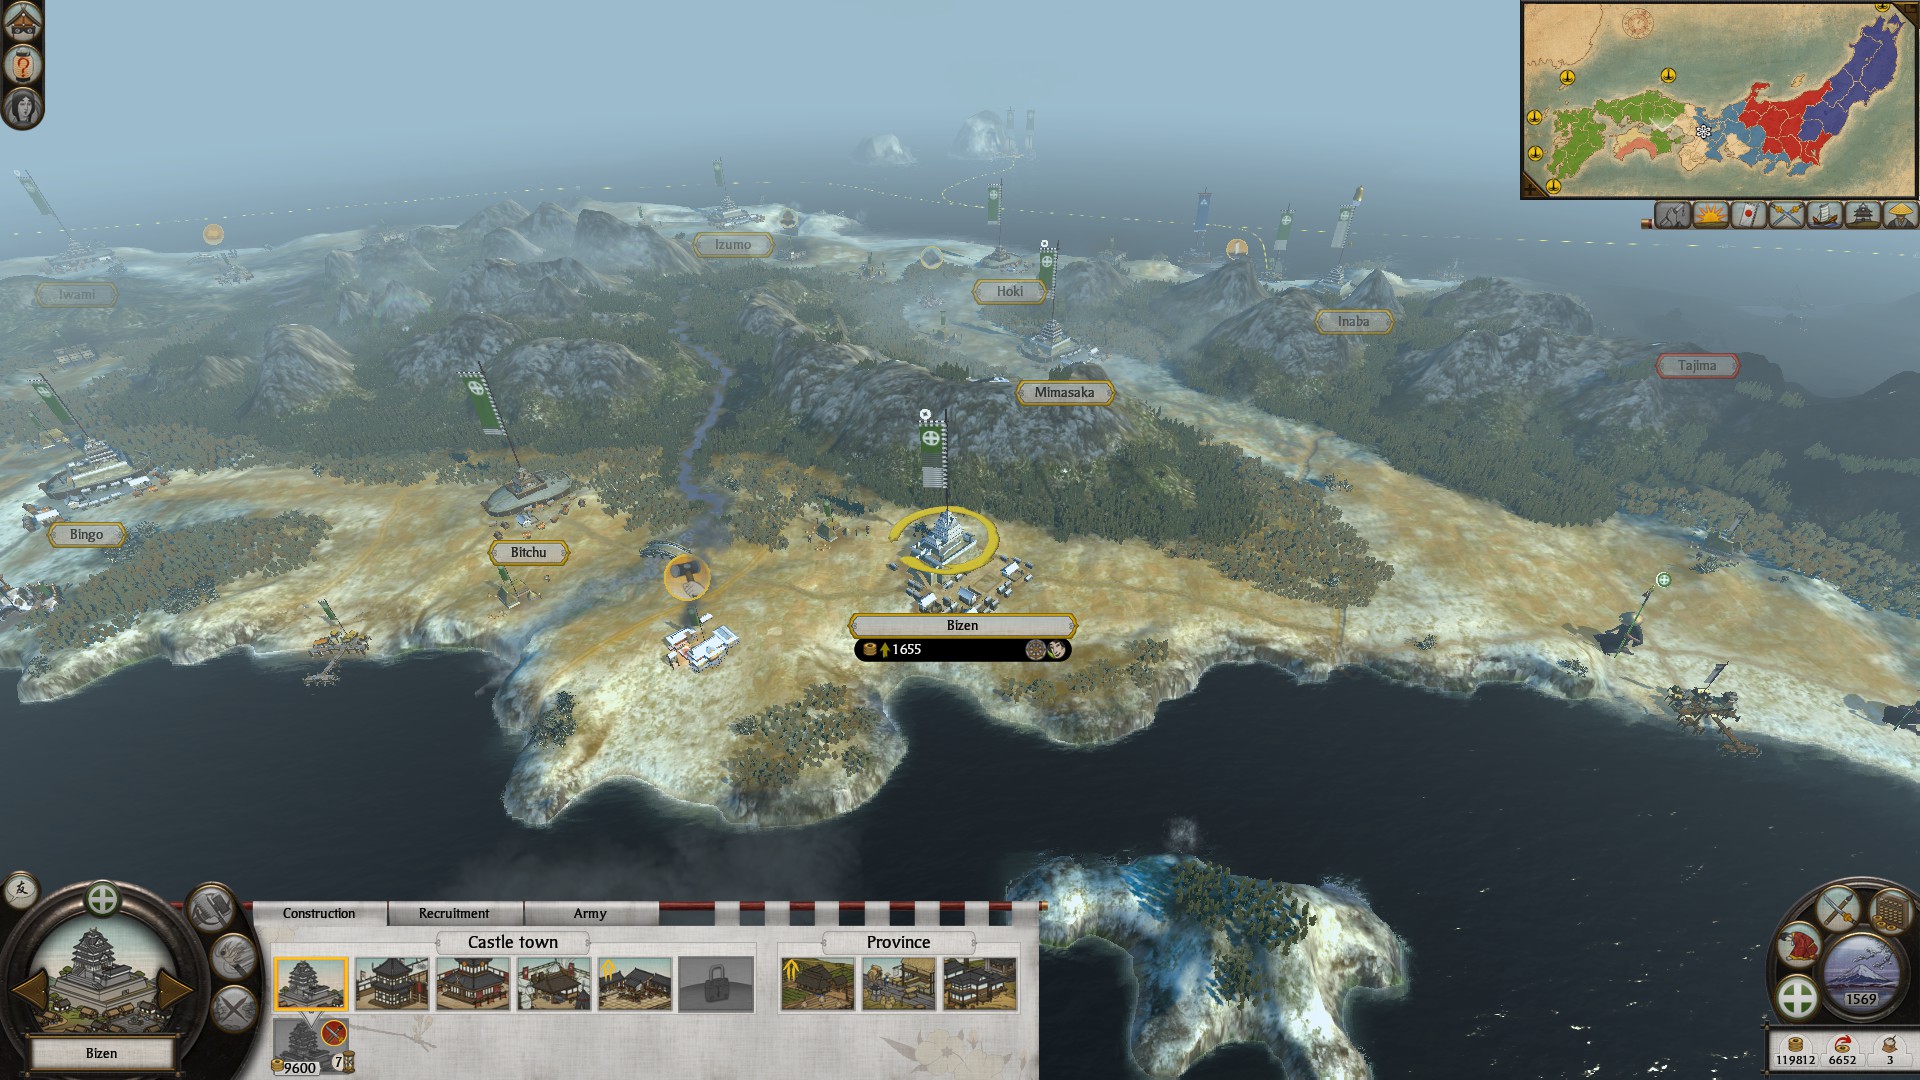
Bizen Should be your second recuitment hub for your melee infantry. This is close enough to the frontline and Settsu to walk instead. Build the Legendary Kenjutsu School in Bizen, as you can only have one, you want this to be in the province you recuit your units from now on.
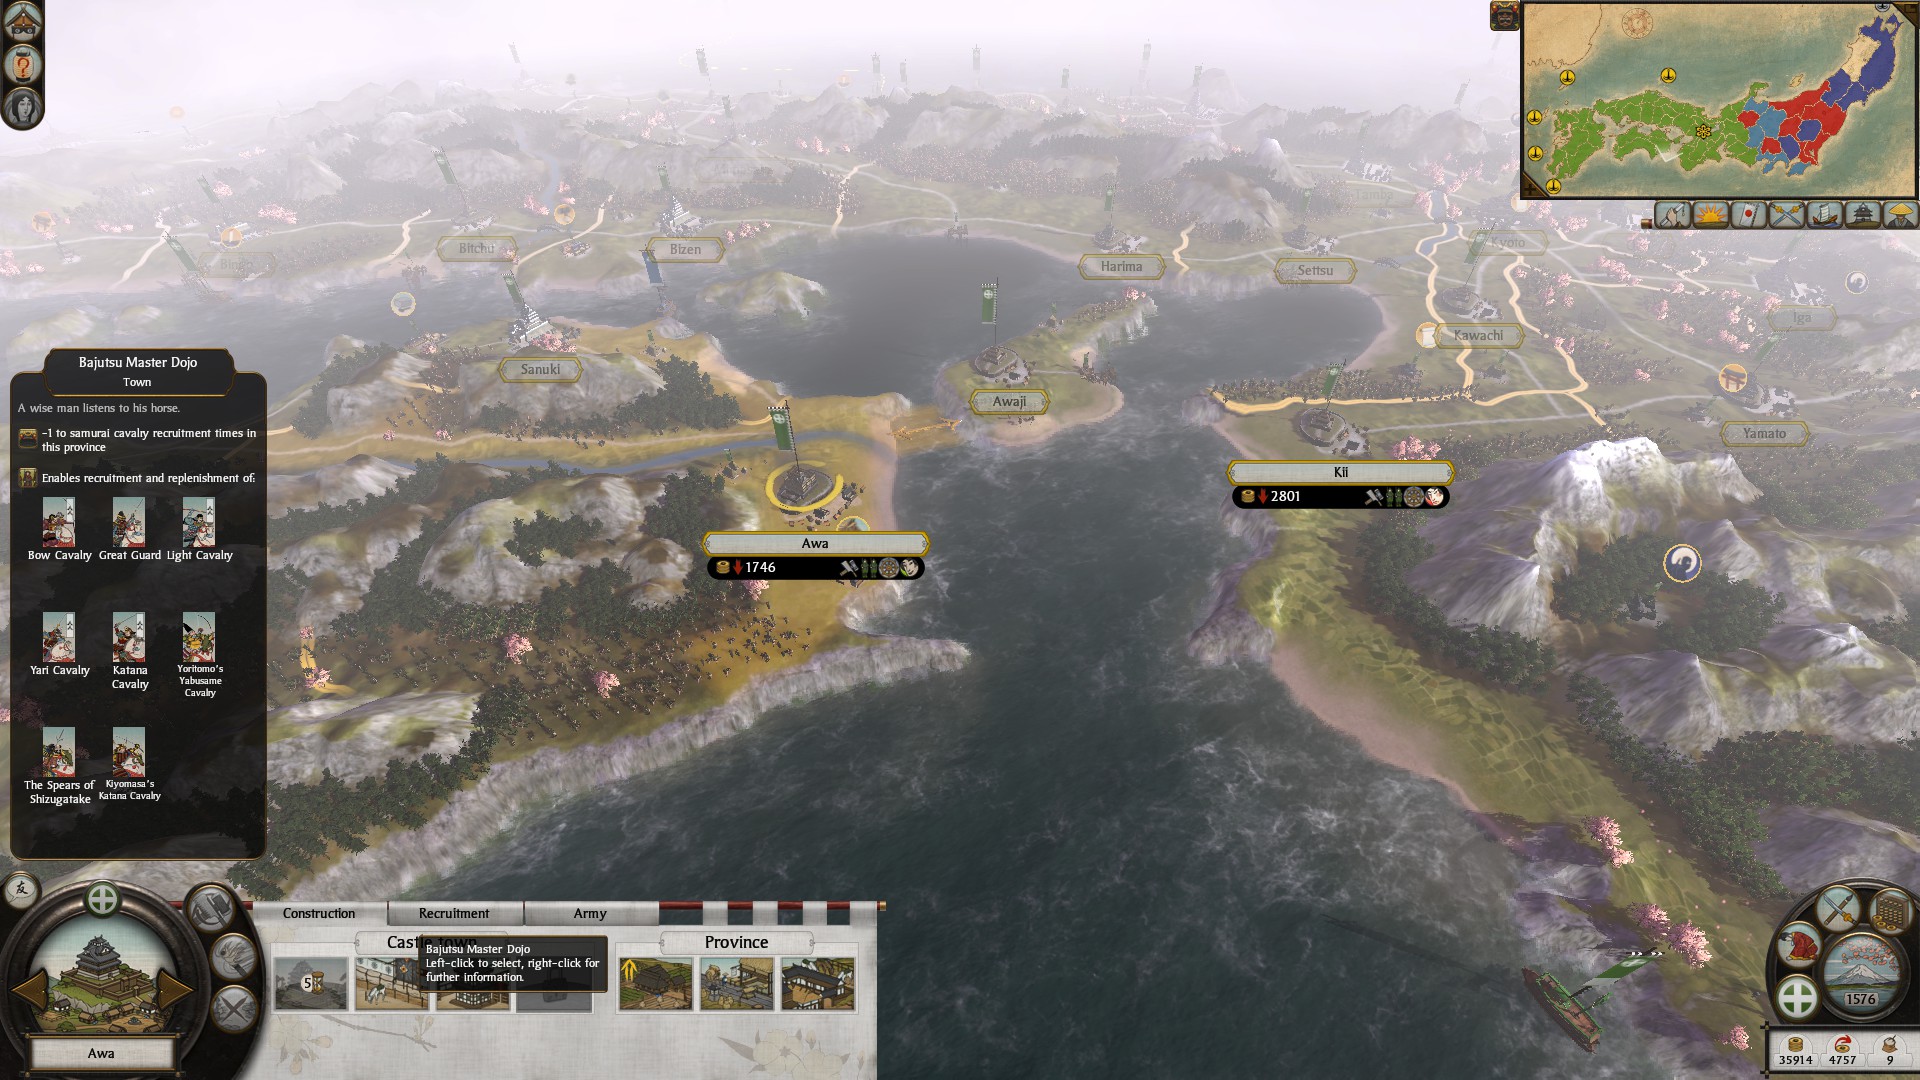
Build the Legendary Bajutsu School in Awa, you can only have one so build it here. Like Bizen is the replacment of Satsuma, this should be your new recuitment hub for Calvery. It's much closer to the front of the conflict & you will be able to ferry Calvery into Settsu.
In my game I was able to capture Kyushu by 1553 (turn 36). I would say between turn (35-50) is a good target to shoot for, past this and it will leave you behind. This is because you want to trigger realm divide at ~1570 when you only have ~100 turns left. You will stay on Khyshu for awhile turtling and buliding up an army, then you need to capture more provinces & develop these. 50 turns to do this and acquire enough koku for when all your trade and income is attacked will hurt you severly. I acquired 1,000,000 koku with upgraded provinces & started realm divide at turn 104, owning a good chunk of Honshu & Shikoku. You don't have to worry too much about rushing since the AI will still develop the provinces you plan to take, although they may upgrade them less optimal way.
WHERE WAKO PIRATES SPAWN & DEALING WITH THEM
Wako Pirates will frequently spawn off of Satsuma, forteunately the pirates will never block your ports. However, they will raid your trade routes or attack your ships on nodes if they feel they are confident enough to take them. Because of this you will have to keep a fleet by these trade nodes to protect them. Often they actually help you if enemies are nearby since they strangely favor attacking the AI first instead of the player. I couldn't get a screenshot of this but they typically spawn by the coast, next to the beach on Satsuma.
MOST VALUABLE TRADE RESOURCE: HORSES
Horses are by far the most valuable trade resource and you can make thousands of koku selling trade to clans that don't have them.
WHAT SHOULD MY ARMIES LOOK LIKE, AND WITH WHAT UPGRADES?
WARNING THIS ISN'T QUITE OPTIMAL, long term your armies should look like this for SHIMAZU (other clan strategies differ), since it will be mid game Yari Ashigaru will take the place of Naginata Samurai & Bow Samurai will take the place of Bow Warrior Monks. It Should be:
4 Spear Infantry: Yari Ashigaru (superior to exceptional armor) -> Naginata Samurai (exceptional armor)
6 Katana Infantry: Katana Samurai (superior armor) -> Katana Samurai (exceptional armor)
4 Bow Infantry: Bow Ashigaru -> Bow Samurai (Improved accuracy +5 to +15) -> Bow Warrior Monks (exceptional accuracy +15 to +25).
4 Calvery: 4 Light Calvery (+3 charge bonus) -> 4 Yari Calvery (+5 charge bonus)
2 Generals
To get armor, accuracy, & charge bonuses recuit all your units in provinces that give these bonuses: Satsuma (smithiing), Buzen (Craftworks) and Higo (Horses). Except for Higo, since charge bonus have an effectiveness cap, upgrade the castle if need to make an encampment in both Satsuma and Buzen, Upgrade these encampments to a Armorury in Satsuma & a Hunting Lodge in Buzen. These bonuses will stack on the existing bonuses in the provinces.
Satsuma should go down the Armory path like I advised, and Buzen should go down the Bow path.
Blacksmith -> Armourer -> Master Armourer.
Artisans -> Fletchers -> Master Bowmaker.
The reason for heavy armor focus on these units is because on VH & Legendary bow damage is significantly increased and armor prevents this as well as adding melee defense to units. melee attack only helps in the initial engagement.
Bows should have heavy accuracy focuses because bow warrior monks will never have enough armor & should never be in melee. Also, by putting units in loose formation you can beat other archers with superior accuracy if need be. Bow warrior monks are amazing and you want to shred enemy bows or units ASAP.
CAN I BUILD A NANBAN TRADE PORT?
Yes, I highly recommend building it in Buzen for the accuracy bonuses on the matchlocks. Only do this though when your close to building a monestary there and in Bungo, or have two monks in the province, it's very hard to fight a +3.5 conversion rate. The +2 trade routes is very nice to bring in more income, definately worth it in the long run.
WHERE SHOULD I EXPAND NEXT?
You should expand onto Honshu, mainland Japan. Whoever controls the mainland to the East will likely attempt to attack you, you can sell military access to deter war, but if they enter your border they will attack you so follow their army defending whatever castle town. I would hold my main army in Buzen along with secondary armies nearby. You don't have to go on the offensive, if fact often you should wait until they unsucessfully fling themselves at you first. This way you can take the inititive and rush them on offensive.
After doing this and conquering down to Bizen I would upgrade the strongholds along my territory to make a wall, then you should navy invade Shikoku. If you block crossing straits you can sometimes trap armies on Awaji.
WHERE TO RECRUIT MONKS
Upgrade the temple in Aki to a prigrm hostle. This is a great place to recruit monks. When building slots are greater than a market in the provinces you take, you can either make a sake den or temple for additional agent recruitment. Unfortunately the good places to recruit ninja are all in the middle so you can only recruit superior Metsuke & Monks.
WHERE SHOULD MY NEXT RECUITMENT HUBS BE?
I wouldn't build a second recruitment hub for archers. I found it much easier to build archers I needed for the front and send a transport navy back and fourth from Bizen. The closer craftworks on on the Northern side which requires your units to walk by land to met up. This is much slower than by sea, ferrying them to Settsu. Settsu will be your main basing province in delivering units to the Front.
Bizen Should be your second recuitment hub for your melee infantry. This is close enough to the frontline and Settsu to walk instead. Build the Legendary Kenjutsu School in Bizen, as you can only have one, you want this to be in the province you recuit your units from now on.
Build the Legendary Bajutsu School in Awa, you can only have one so build it here. Like Bizen is the replacment of Satsuma, this should be your new recuitment hub for Calvery. It's much closer to the front of the conflict & you will be able to ferry Calvery into Settsu.
Pre-Realm Divide
WHAT TECHNOLOGIES DO I NEED BEFORE REALM DIVIDE?
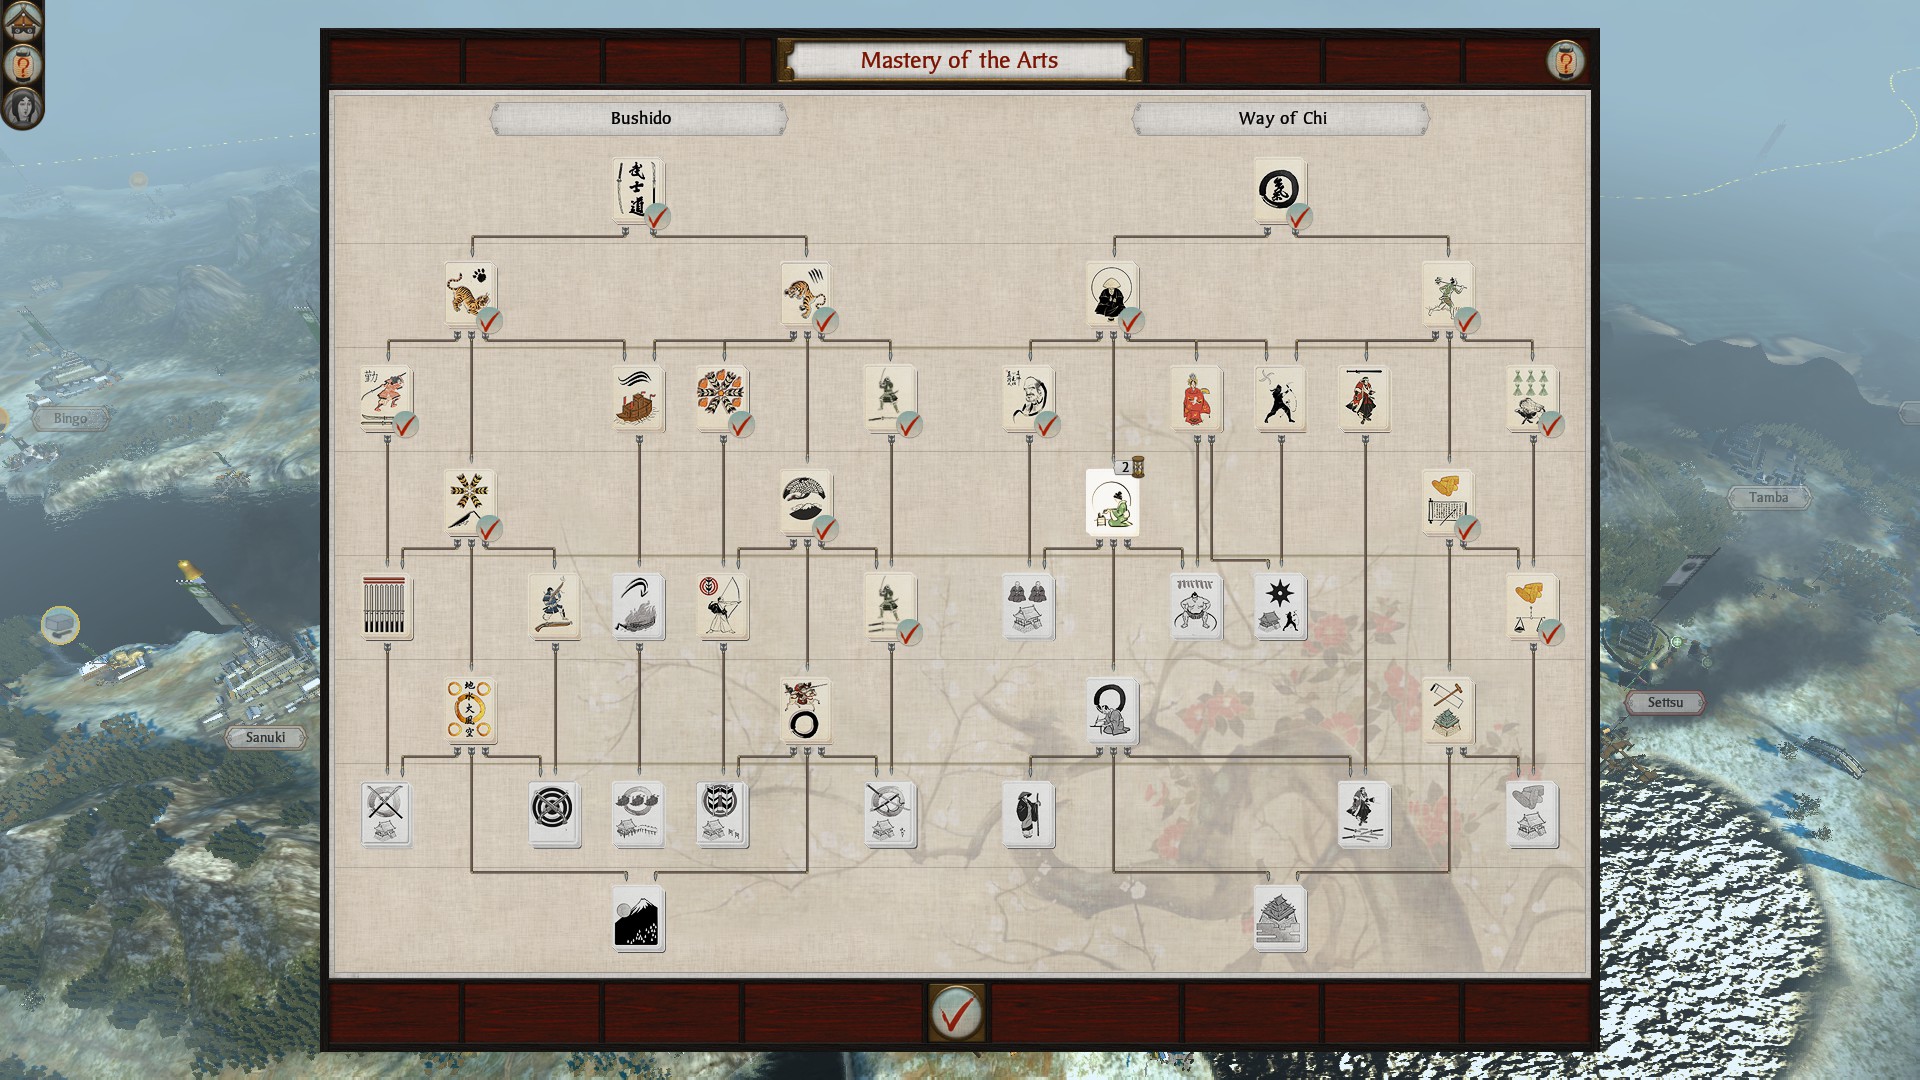
These are the techonologies I had before realm divide, After you've done Heaven & Earth, and Way of the Bow. I'd go Way of the Spear for +1 expierence when recruiting, then go into Form & Sword Expertise. Horse Mastery & Kenjutsu Mastery take too long in my opnion & other clans will beat you to the legendary buildings on, well legendary difficulty. I'd take a detour for Chonindo (very important pre-RD) with land consolidation, trade income & the master bowmaker building instead. After that you may want Tea Ceremony for the +10 diplo and +1 honor just in case.
After that, if possible pre RD go for Horse Mastery for the Legendary Bajutsu Dojo & warhorse studs giving you more resources to trade.
INFLUENCING OTHER CLANS' RELATIONS
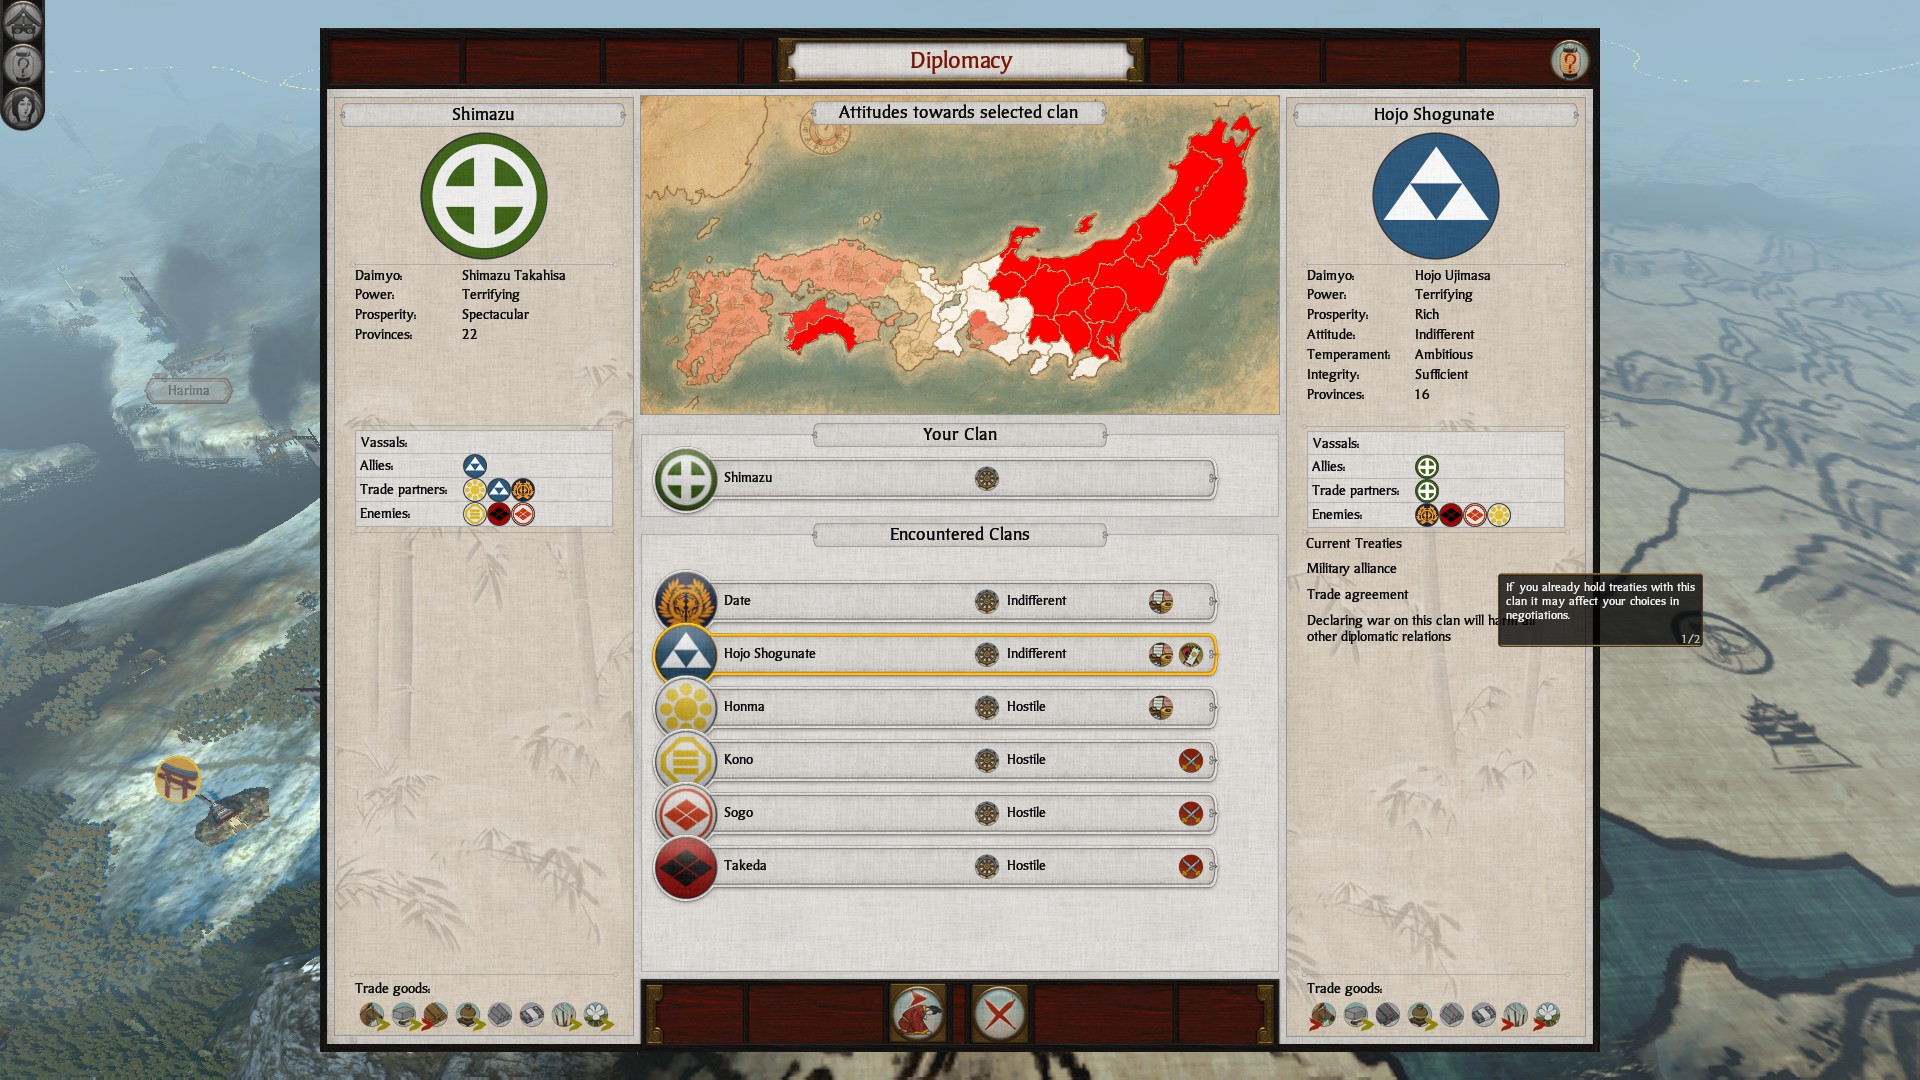
I was able to make the Hojo go to war with the Takeda and the Date, to do this I paid the Hojo several thousand koku, literally around 30,000 to break off their alliance, I then allied with them myself to prevent them from re-allying. If you don't otherwise ally with the biggest faction/factions on your border they tend to declare war on you, attempting to keep expanding. This is why I attempted to get an alliance while breaking off theirs.
INCITING REVOLTS IN NEIGHBORING PROVINCES IS VERY HELPFUL

If you look at the map, the provinces that have no color are rebel provinces. I found the best use of monks is too incite a revolt this makes conquering the first few provinces post realm divide extremely easy and can give you a short boost needed in taxes. Typically I was able to capture these towns with below 200 casualities. Don't rush too fast though since your enemies will march and appear out of nowhere with large stacks. Caution must be exercised.
HOW TO UPGRADE MONKS
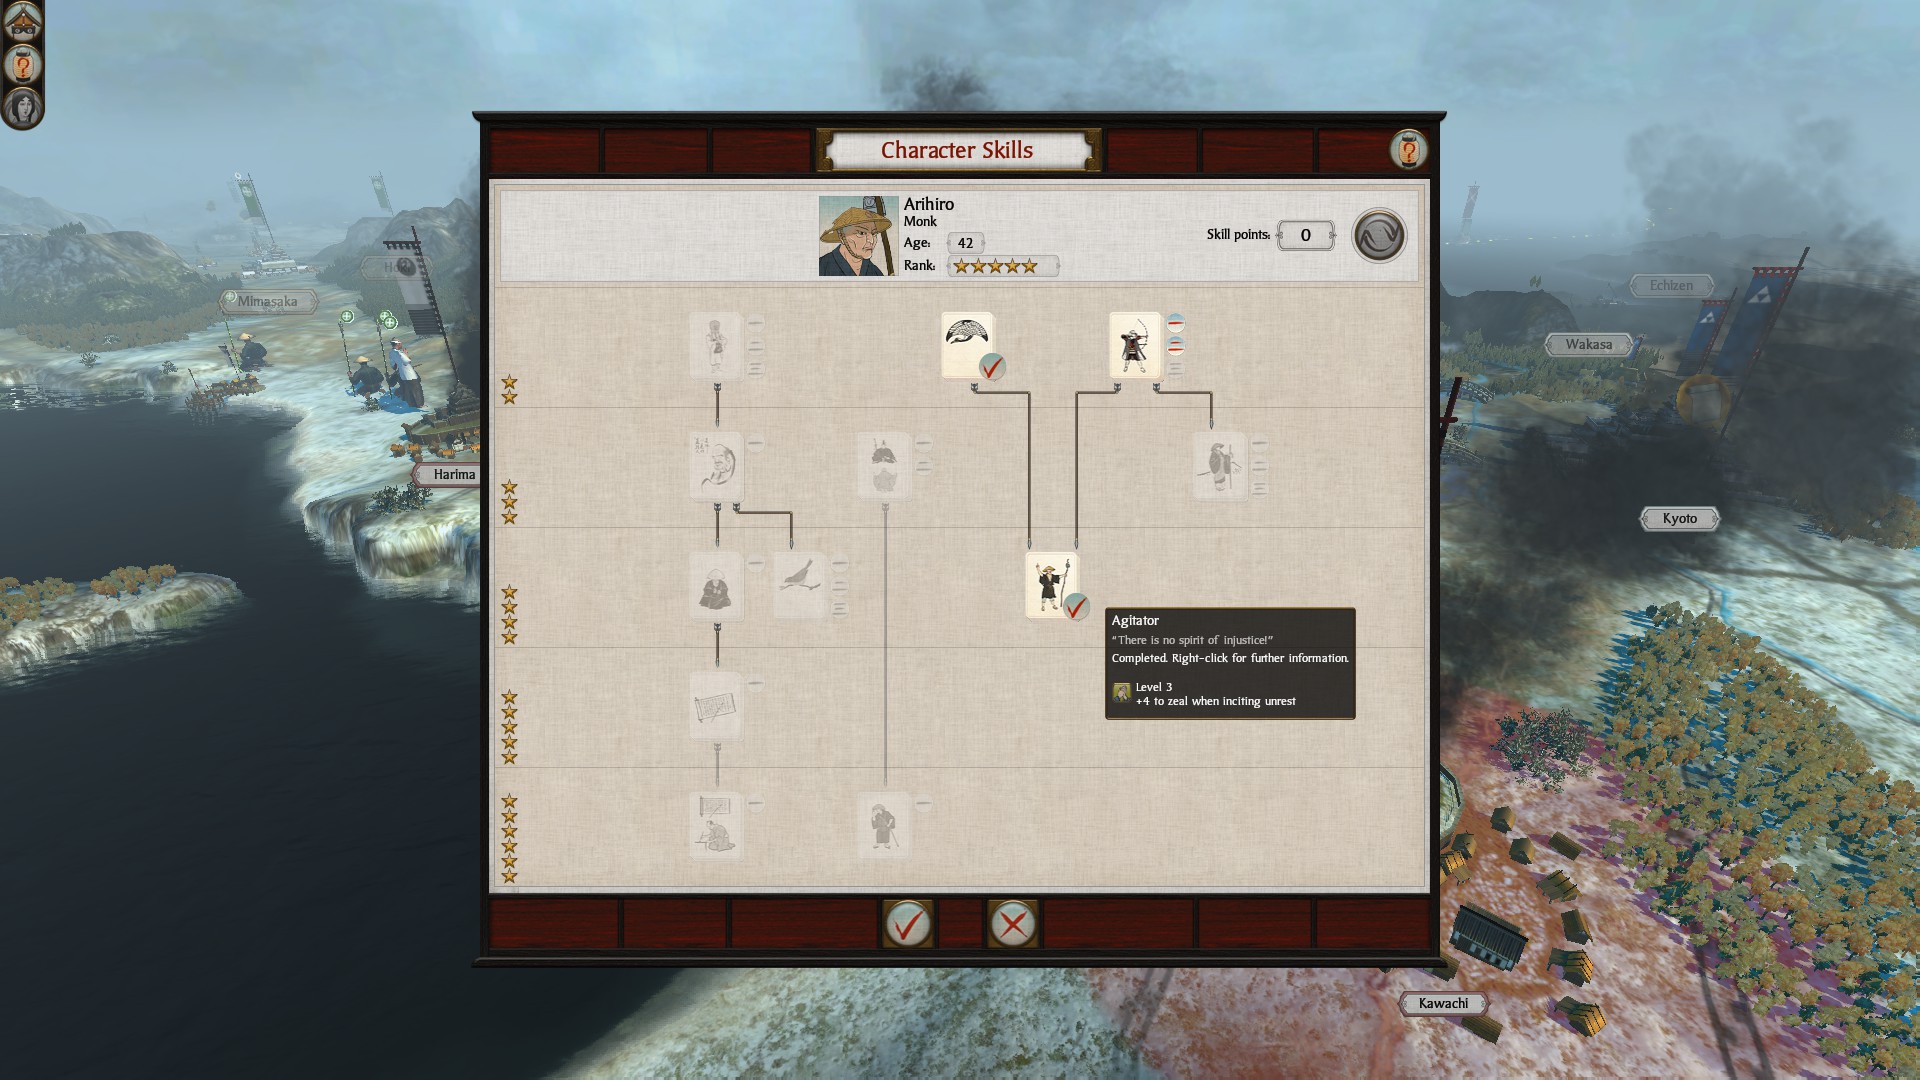
Monks should be used for keeping the peace in conqured town, and inciting revolts before RD & During. The AI rarely takes back rebel towns if at all which creates a safe buffer between you & them. Paying to improve relations is worthwhile since they will hate you, obviously doing what you must to ally them is essential otherwise this hit in relations will likely result in war.
I would upgrade your monks like so:
WATCH OUT FOR ENEMY NINJAS SINCE MONKS ARE VUNERABLE TO THEM
Monks however, are strong against Metsuke which allows your Ninjas to operate freely, scouting & sabotaging armies.
You could go down the other tree for techonology upgrades. However, personally I don't like being dependent on my agents for technology since you could plan for your technology to happen sooner when it doesn't if an agent gets killed. At this point in the game, once you capture the area around Kyoto, the AI tends to build a library that give you an insane "+20 research to all arts". I just can't think of any research that I want after the initial important ones. I also don't put my monks in armies since their use to me in Realm Divide is to keep provinces happy and convert enemy agents.
HOW TO LEVEL UP MONKS QUICKLY
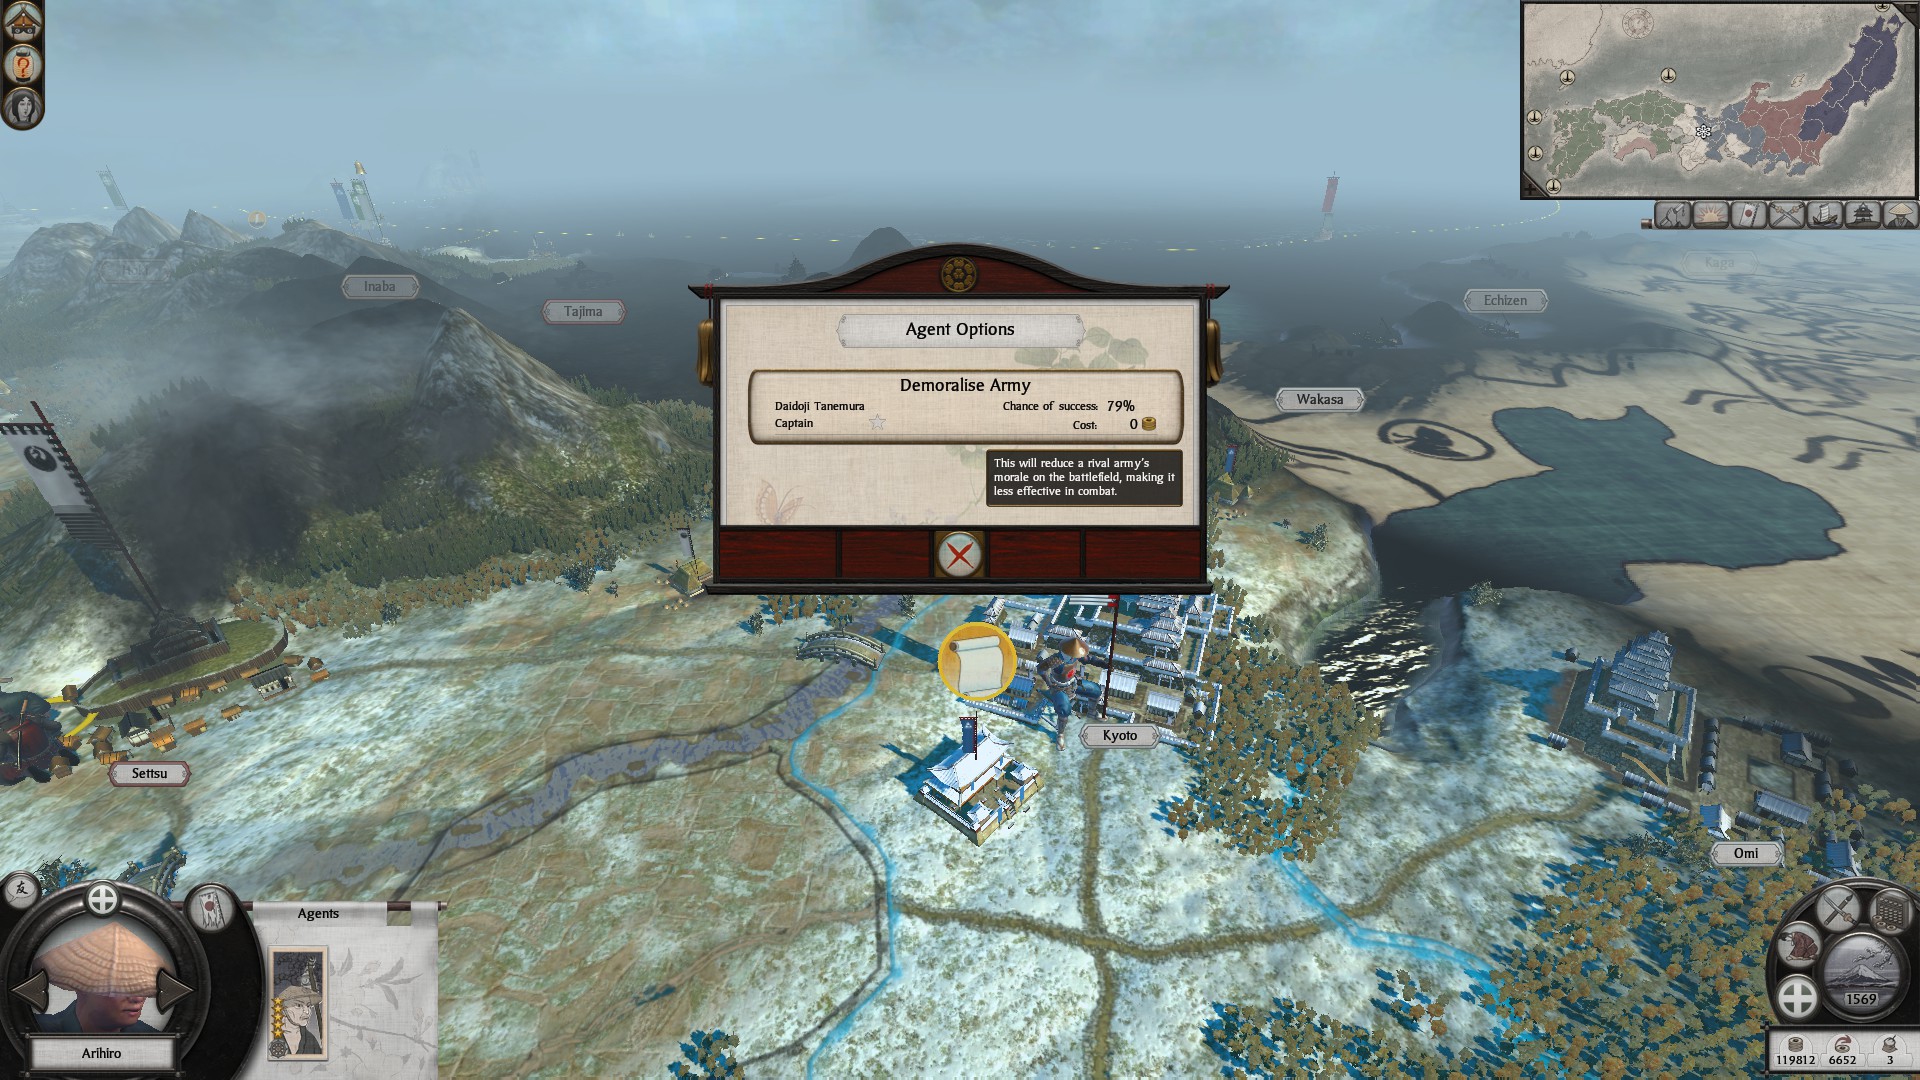
Monk can get experience like ninja by harassing low level, low cost, high success targets. I would use the demoralize army several times each turn. Monks can also convert characters which seems strong against all enemy agents (even with the rock, paper, scissors of agents). I highly recommend keeping Ninja and monks together on the frontlines to sabotage armies, keeping them from reinforcing battles or moving on their turns, as well as, monks to convert all enemy agents in the vicinity. DON'T TRY TO DEMORALIZE ENTIRE ARMIES, I often find this too risky & high level monks can get excuited. This is similar for my high level ninjas which can easily be excuited vs high level generals/ dayimos if you try to assinate. Vs high level Metsuke just let Monks do the job.
FINANCES BEFORE REALM DIVIDE
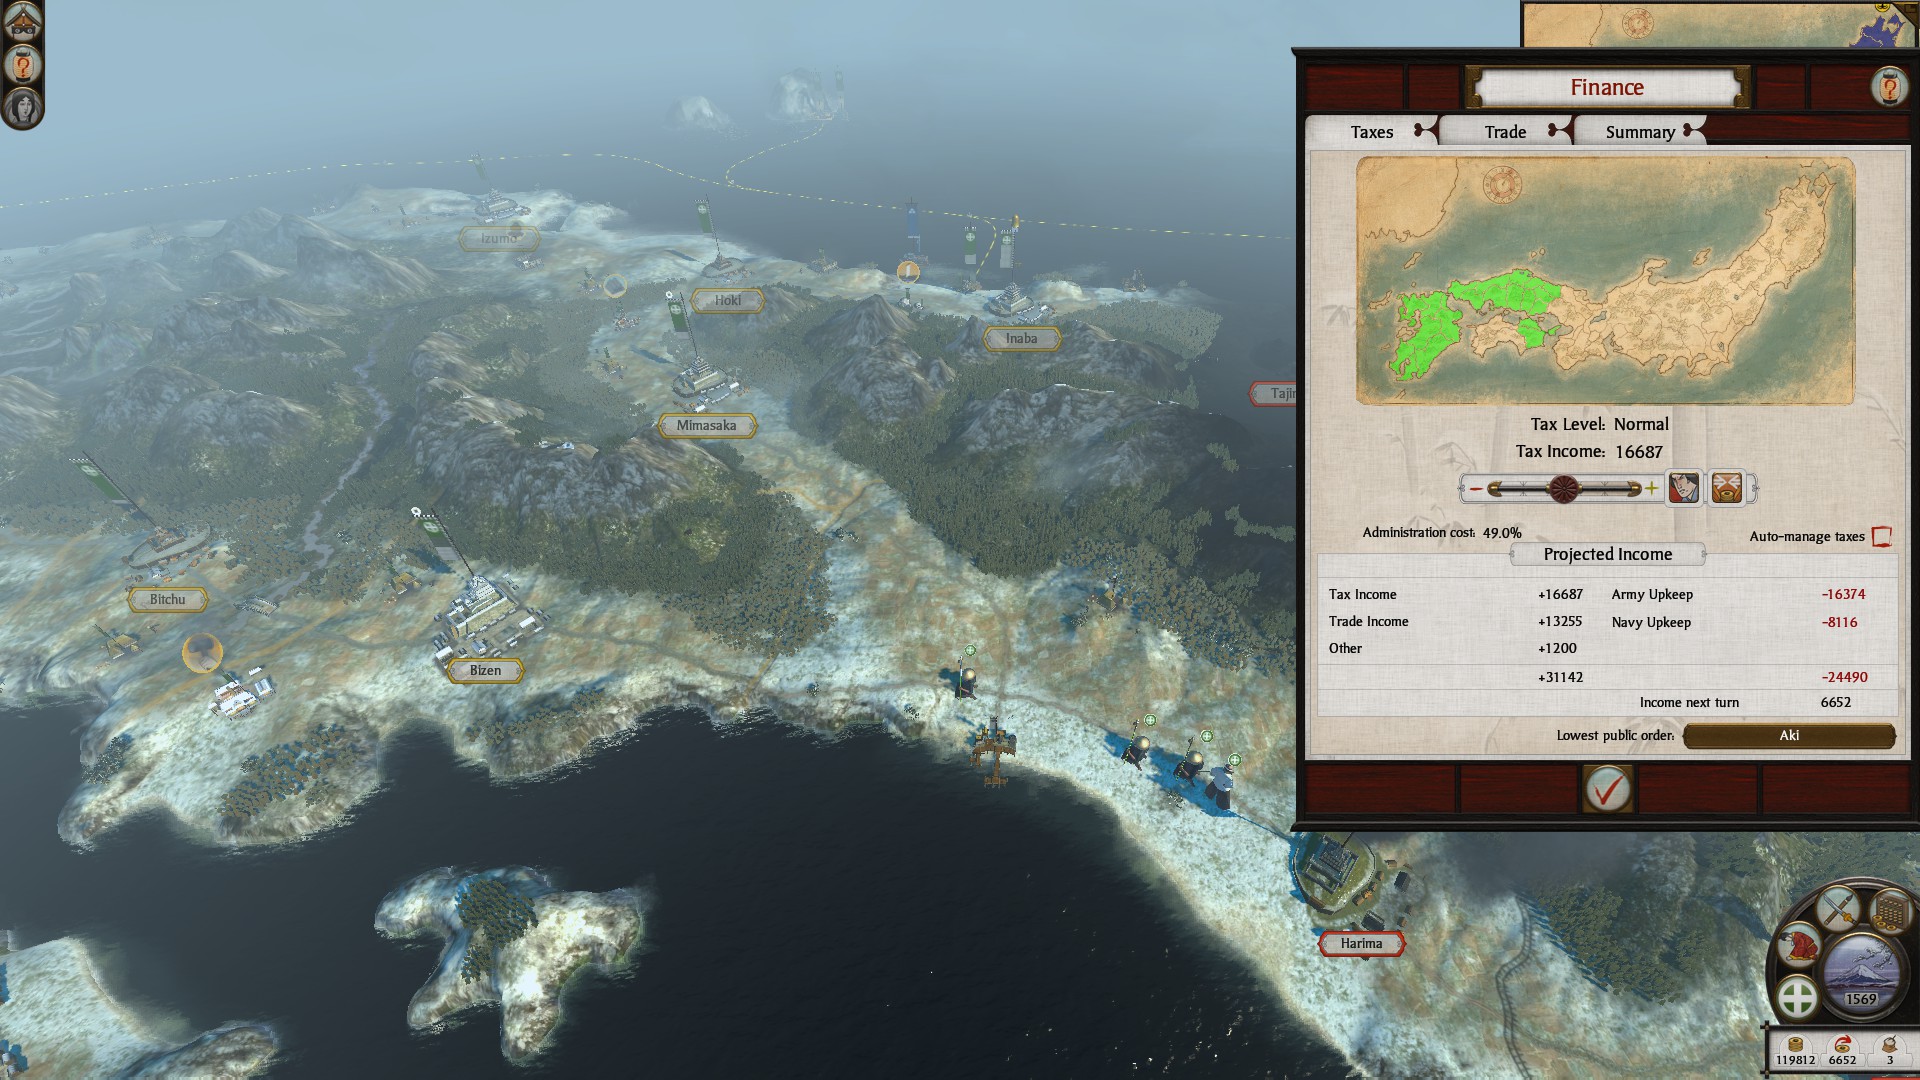
Try fund your army almost completely on your own tax income, this is what you should shoot for when about to trigger Realm Divide. It doesn't have to be completely on your own tax income since unsold trade resources still generate an income. I'm not sure how much trade income you'll get after, but know you don't have to be spot on. Don't waste time upgrading forts not near the front. Besides, you will get +1 growth per turn for each food surplus across all provinces. Since you can't demolish higher level forts you should build markets in non-strategic provinces, as well as sake dens & buddhist temples if there are still more building slots. Budhhist temples can be upgraded to monestaries which gives a moderate boost in researching the Way of Chi. It's not excellent, but over multiple monestaries you could shave off a turn or two from research. It's +3% research to +5% for monestaries.
USE GEOGRAPHY & BOTTLENECKS FOR A DEFENSIVE WALL
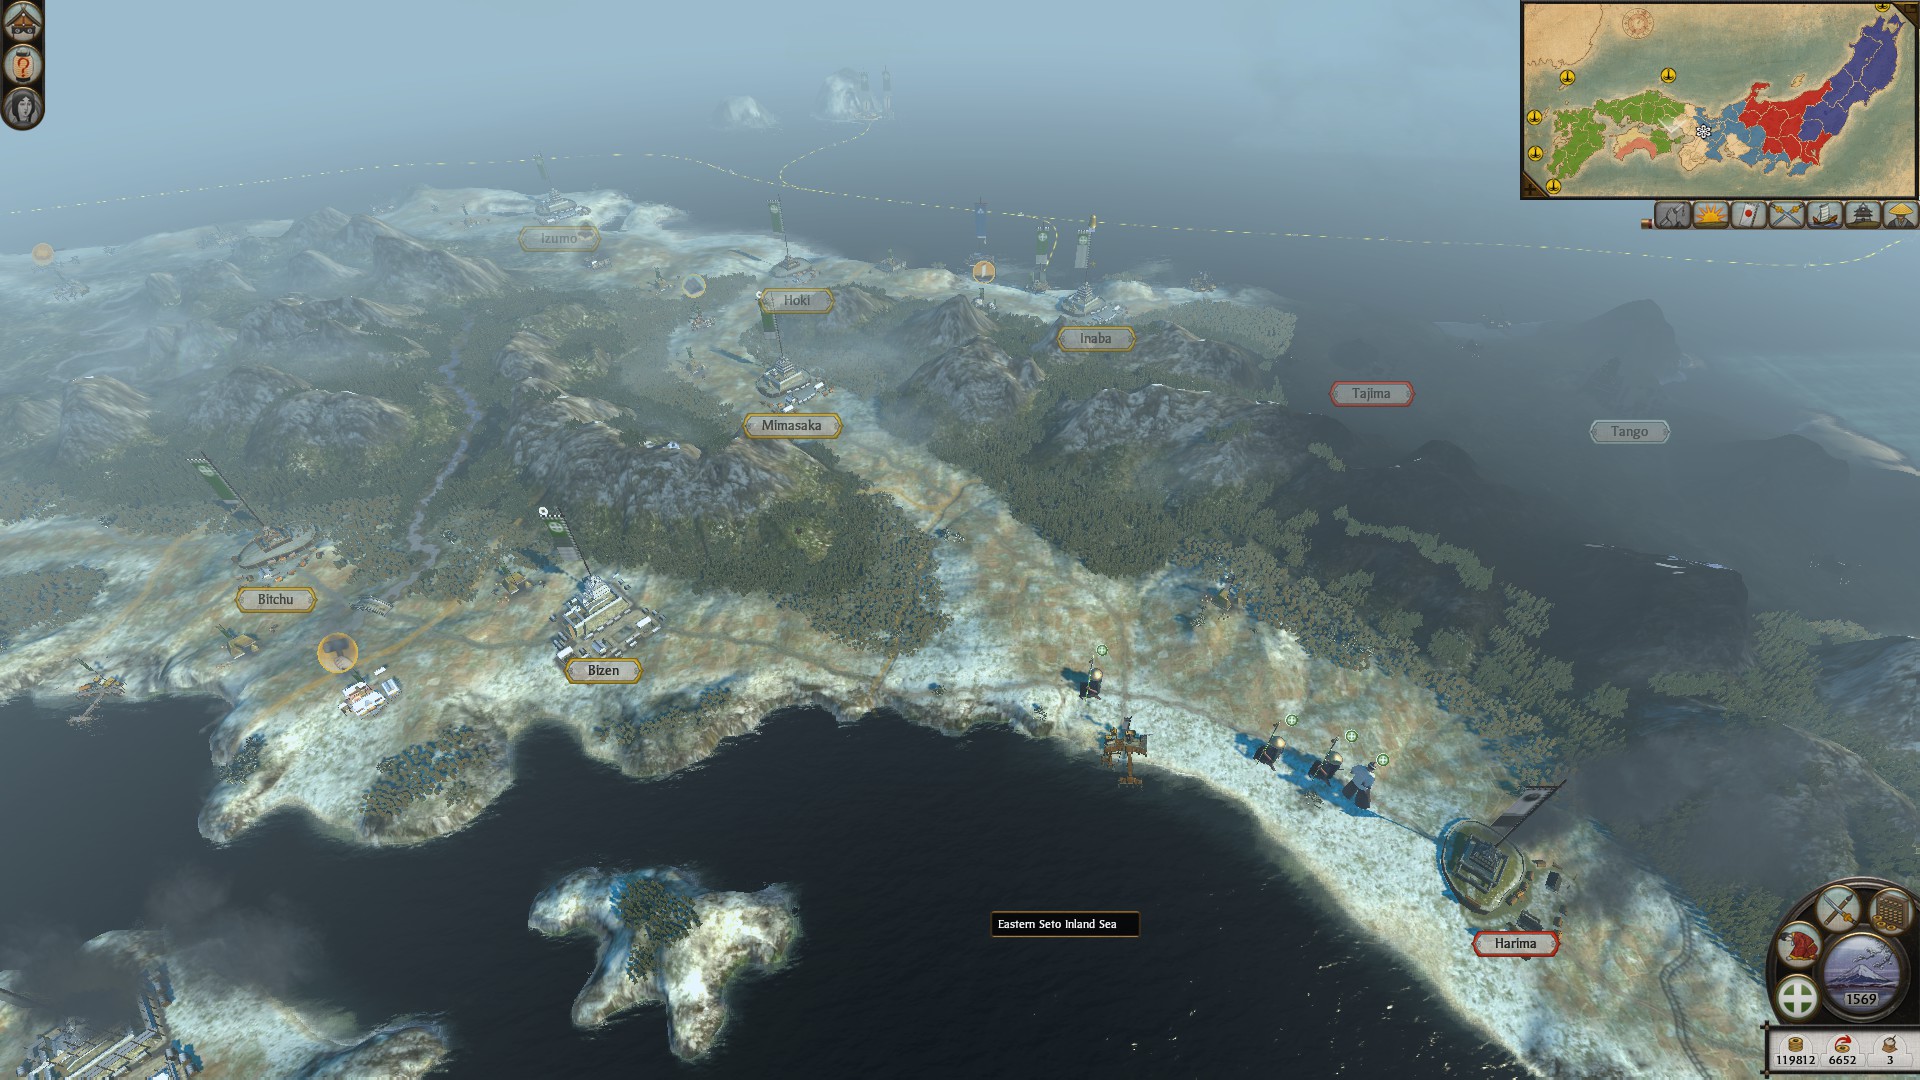
These 3 provinces: Bizen, Minasaka & Inaba should make up a wall of fort on the mainland for your eastern border. Japan's geography should be used to create bottlenecks to funnel enemy armies to. This will be important to create pre-RD. Once you can do this upgrade these forts to strongholds and fortresses at least. that way you can win in a defensive siege if you need to.
MONEY NEEDED BEFORE REALM DIVIDE
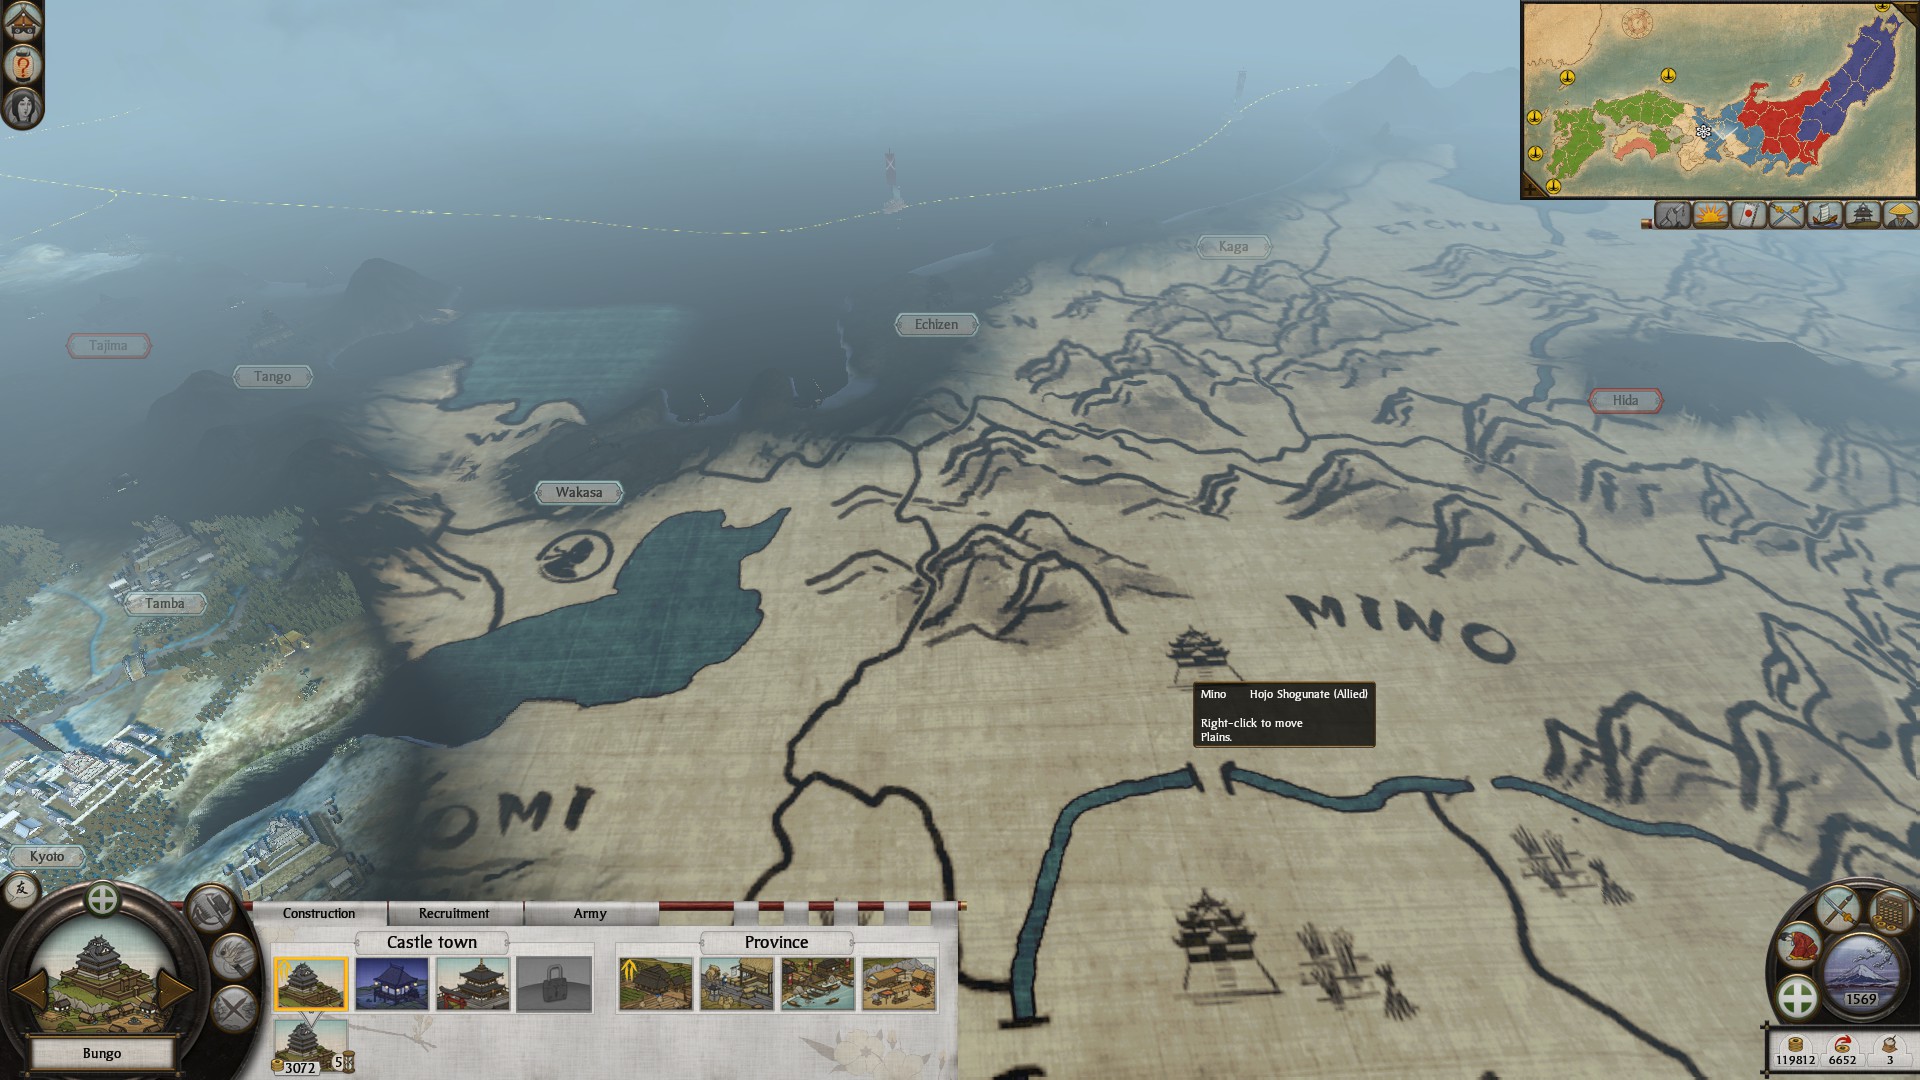
It's hard too see, but I made over 100,000 koku before I triggered realm divide, even this this didn't make me till the end. If you need to you could always resort back to raising taxes to very high every other turn.
These are the techonologies I had before realm divide, After you've done Heaven & Earth, and Way of the Bow. I'd go Way of the Spear for +1 expierence when recruiting, then go into Form & Sword Expertise. Horse Mastery & Kenjutsu Mastery take too long in my opnion & other clans will beat you to the legendary buildings on, well legendary difficulty. I'd take a detour for Chonindo (very important pre-RD) with land consolidation, trade income & the master bowmaker building instead. After that you may want Tea Ceremony for the +10 diplo and +1 honor just in case.
After that, if possible pre RD go for Horse Mastery for the Legendary Bajutsu Dojo & warhorse studs giving you more resources to trade.
INFLUENCING OTHER CLANS' RELATIONS
I was able to make the Hojo go to war with the Takeda and the Date, to do this I paid the Hojo several thousand koku, literally around 30,000 to break off their alliance, I then allied with them myself to prevent them from re-allying. If you don't otherwise ally with the biggest faction/factions on your border they tend to declare war on you, attempting to keep expanding. This is why I attempted to get an alliance while breaking off theirs.
INCITING REVOLTS IN NEIGHBORING PROVINCES IS VERY HELPFUL
If you look at the map, the provinces that have no color are rebel provinces. I found the best use of monks is too incite a revolt this makes conquering the first few provinces post realm divide extremely easy and can give you a short boost needed in taxes. Typically I was able to capture these towns with below 200 casualities. Don't rush too fast though since your enemies will march and appear out of nowhere with large stacks. Caution must be exercised.
HOW TO UPGRADE MONKS
Monks should be used for keeping the peace in conqured town, and inciting revolts before RD & During. The AI rarely takes back rebel towns if at all which creates a safe buffer between you & them. Paying to improve relations is worthwhile since they will hate you, obviously doing what you must to ally them is essential otherwise this hit in relations will likely result in war.
I would upgrade your monks like so:
- Rank 2: 2 points in Inspiring (or put 1 point in Militant to reach the Agitator requirement).
- Rank 3: 1 point in Inspiring & 1 point in Militant. (I might hold 1 point here to put all 3 into Agitator).
- Rank 4: 2 points in Religious Advisor (I find this the best use of monks, coverting characters vs AI agent spam) or 2-3 points in Agitator for creating a buffer of rebel towns.
- Rank 5: I typically go the other path, 2 points in Religious Advisor, making sure all Monks are good aganist enemy agents.
- Rank 6: 2 points in Persuader (more character conversion, f@ck your agent spam AI!).
WATCH OUT FOR ENEMY NINJAS SINCE MONKS ARE VUNERABLE TO THEM
Monks however, are strong against Metsuke which allows your Ninjas to operate freely, scouting & sabotaging armies.
You could go down the other tree for techonology upgrades. However, personally I don't like being dependent on my agents for technology since you could plan for your technology to happen sooner when it doesn't if an agent gets killed. At this point in the game, once you capture the area around Kyoto, the AI tends to build a library that give you an insane "+20 research to all arts". I just can't think of any research that I want after the initial important ones. I also don't put my monks in armies since their use to me in Realm Divide is to keep provinces happy and convert enemy agents.
HOW TO LEVEL UP MONKS QUICKLY
Monk can get experience like ninja by harassing low level, low cost, high success targets. I would use the demoralize army several times each turn. Monks can also convert characters which seems strong against all enemy agents (even with the rock, paper, scissors of agents). I highly recommend keeping Ninja and monks together on the frontlines to sabotage armies, keeping them from reinforcing battles or moving on their turns, as well as, monks to convert all enemy agents in the vicinity. DON'T TRY TO DEMORALIZE ENTIRE ARMIES, I often find this too risky & high level monks can get excuited. This is similar for my high level ninjas which can easily be excuited vs high level generals/ dayimos if you try to assinate. Vs high level Metsuke just let Monks do the job.
FINANCES BEFORE REALM DIVIDE
Try fund your army almost completely on your own tax income, this is what you should shoot for when about to trigger Realm Divide. It doesn't have to be completely on your own tax income since unsold trade resources still generate an income. I'm not sure how much trade income you'll get after, but know you don't have to be spot on. Don't waste time upgrading forts not near the front. Besides, you will get +1 growth per turn for each food surplus across all provinces. Since you can't demolish higher level forts you should build markets in non-strategic provinces, as well as sake dens & buddhist temples if there are still more building slots. Budhhist temples can be upgraded to monestaries which gives a moderate boost in researching the Way of Chi. It's not excellent, but over multiple monestaries you could shave off a turn or two from research. It's +3% research to +5% for monestaries.
USE GEOGRAPHY & BOTTLENECKS FOR A DEFENSIVE WALL
These 3 provinces: Bizen, Minasaka & Inaba should make up a wall of fort on the mainland for your eastern border. Japan's geography should be used to create bottlenecks to funnel enemy armies to. This will be important to create pre-RD. Once you can do this upgrade these forts to strongholds and fortresses at least. that way you can win in a defensive siege if you need to.
MONEY NEEDED BEFORE REALM DIVIDE
It's hard too see, but I made over 100,000 koku before I triggered realm divide, even this this didn't make me till the end. If you need to you could always resort back to raising taxes to very high every other turn.
Realm Divide & Endgame
I'VE HIT REALM DIVIDE WHAT SHOULD I EXPECT?
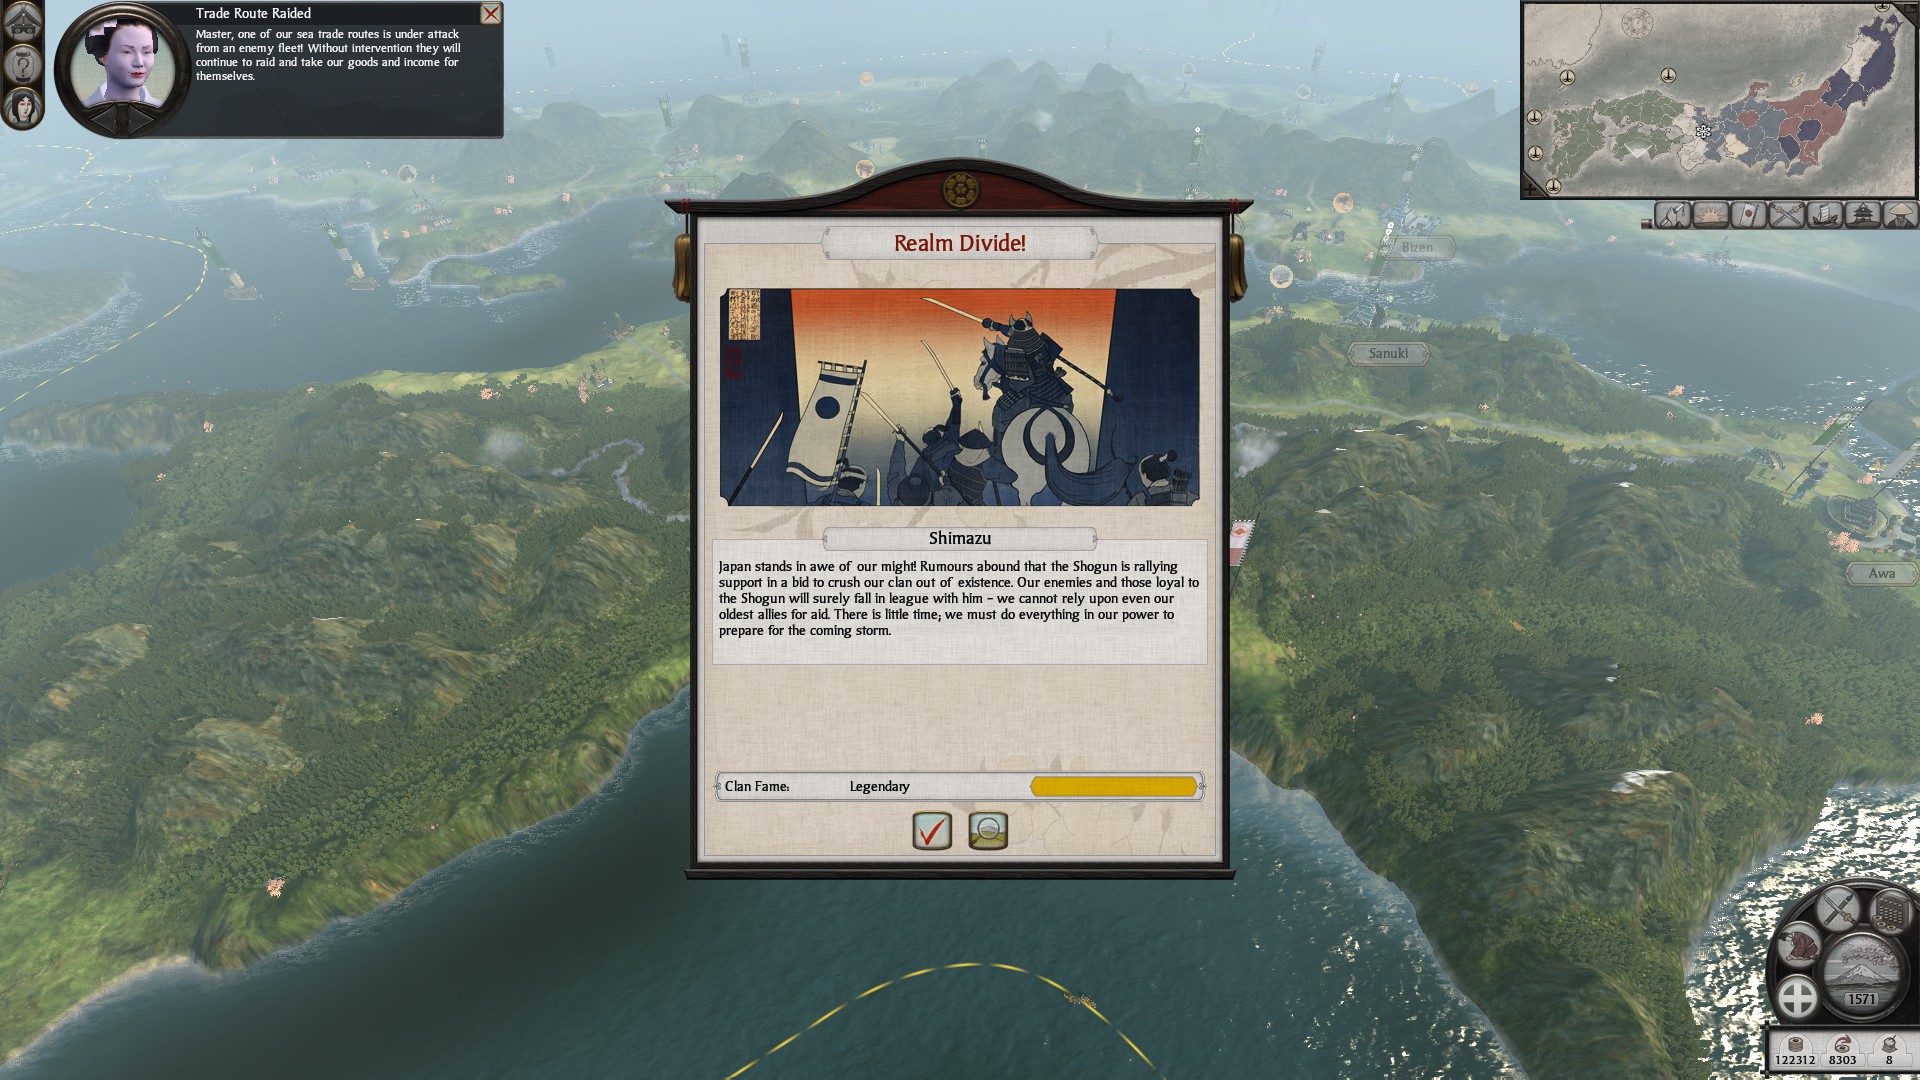
Once you hit realm divide, brace for the onslaught of naval invasions from both sides of Japan, as well as, several army stacks marching together. On this difficulty the AI will rarely attack with only 1 stack & will typically have 3-4 stacks reinforcing & marching, this is why you want max level ninja and high level monks at the time of Realm Divide so you can sabotage armies & fight them one at a time. The monks will shut down enemy agent spam if you focused on giving them conversion upgrades, otherwise enemy agents will be a sharp thorn in your side during this part of the game.
The second realm divide hits you should start building ships in key locations and positioning your armies on your soon to be enemies borders. Take as many rebel towns as you can, as long as your supported by your agents & reinforcements. Territorial expansion no longer matters.
WHAT PROVINCE SHOULD BE LAST BEFORE RD?
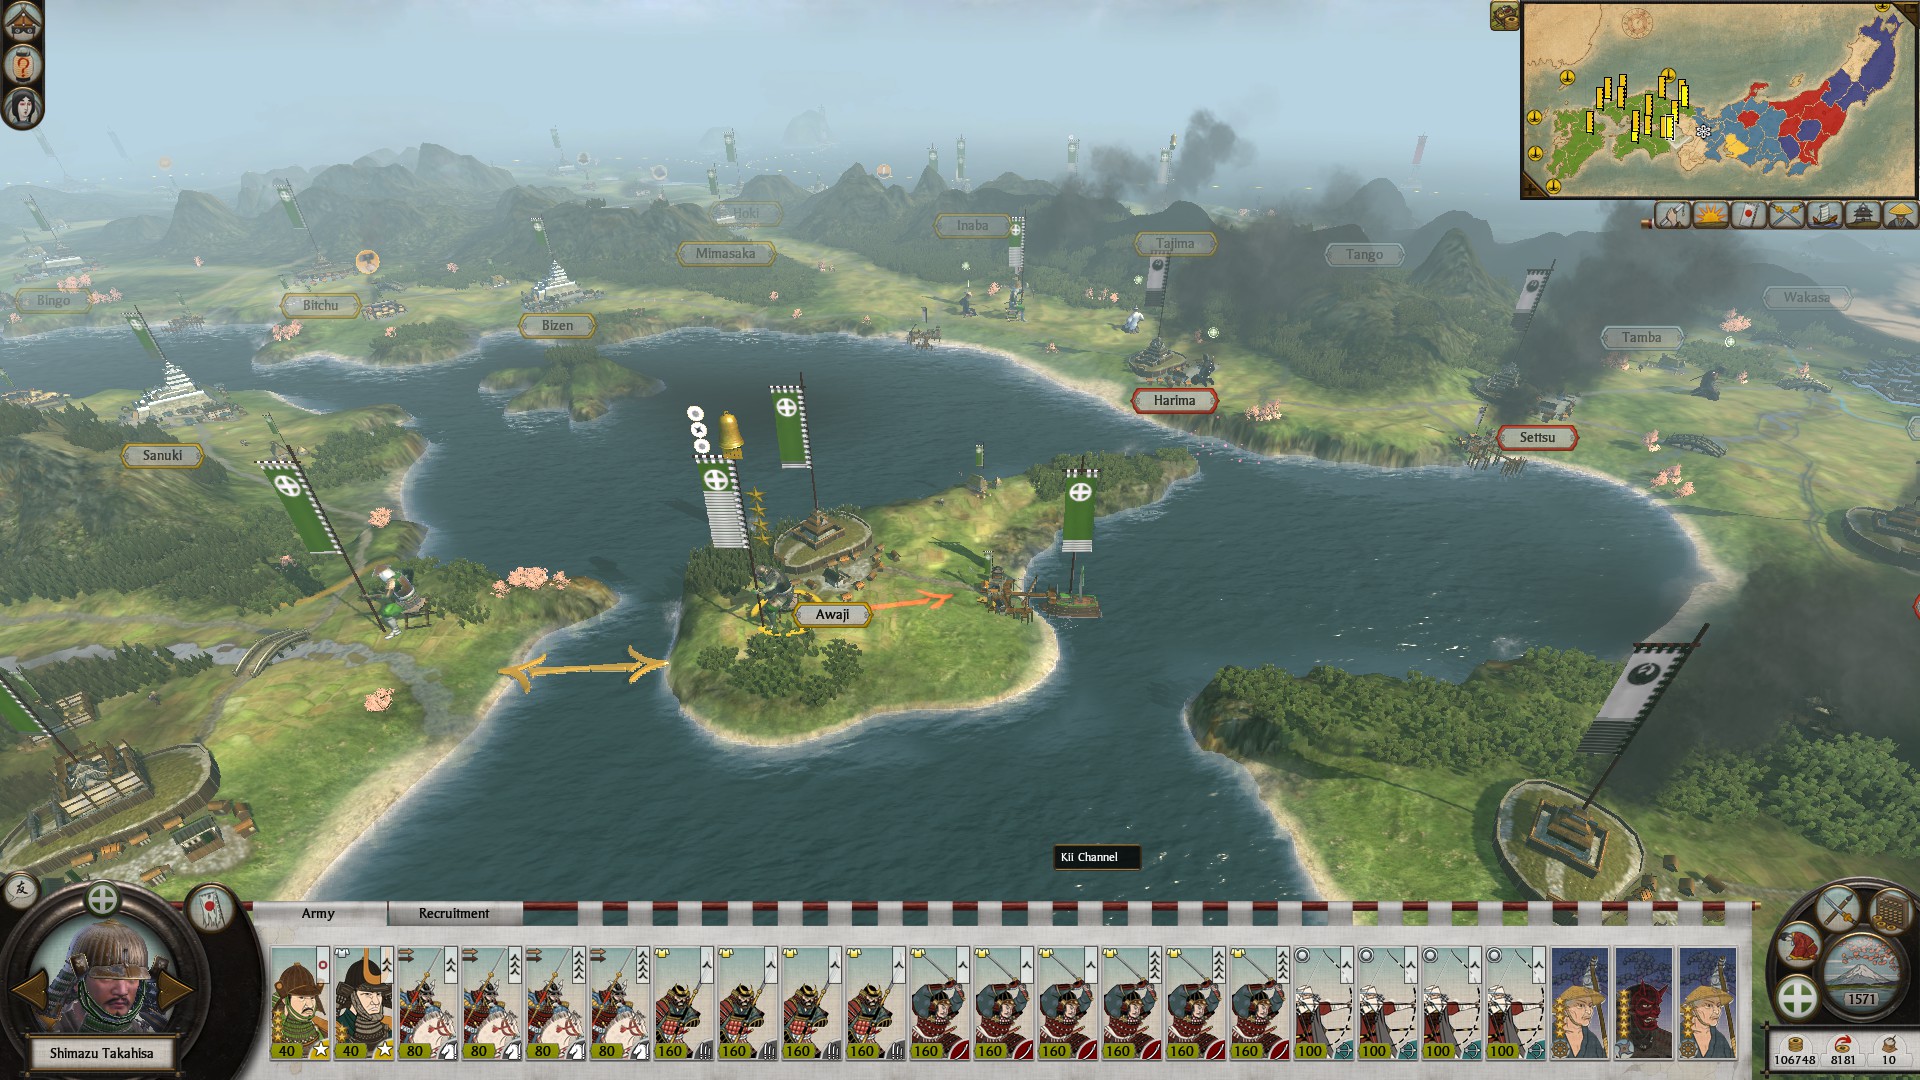
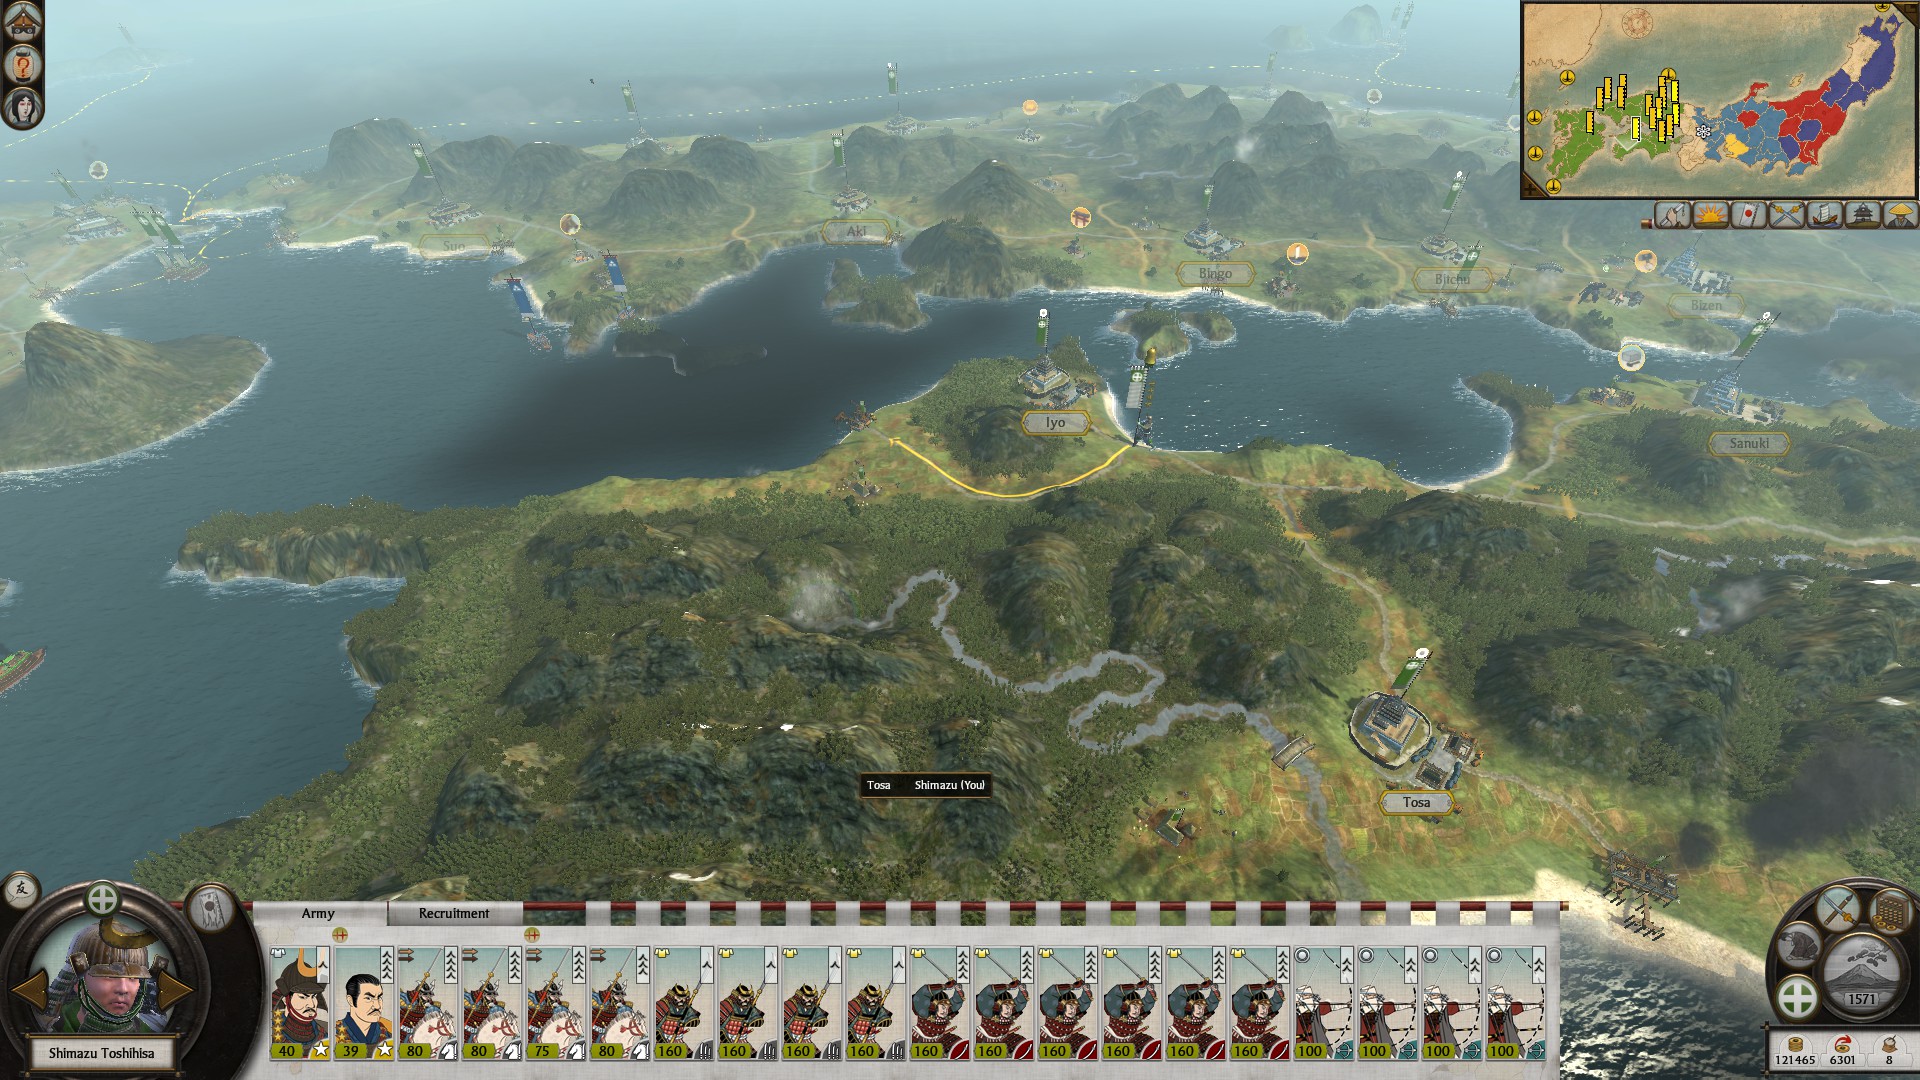
Ideally you should have captured the three provinces I mentioned to make a wall of fortresses on at on Honshu. From there you should have focused on taking over Shikoku. In my game the last province on Shikoku triggered realm divide for me. You might have one or two to capture before realm divide so keep a close eye on your meter. Once Shikoku is captured, then you must get your armies off the island & back onto the mainland ASAP. There are two ports on the Northern side to leave one in Iyo & another in Awaji. To avoid the risk of losing your entire army in a naval battle, port hop across Japan until you reach the front. Unless an agent is absolutely necessary to supress the population, bring all your agents with you. You want your top level Ninjas & monks with the army.
WHAT SHOULD I RESEARCH DURING REALM DIVIDE?
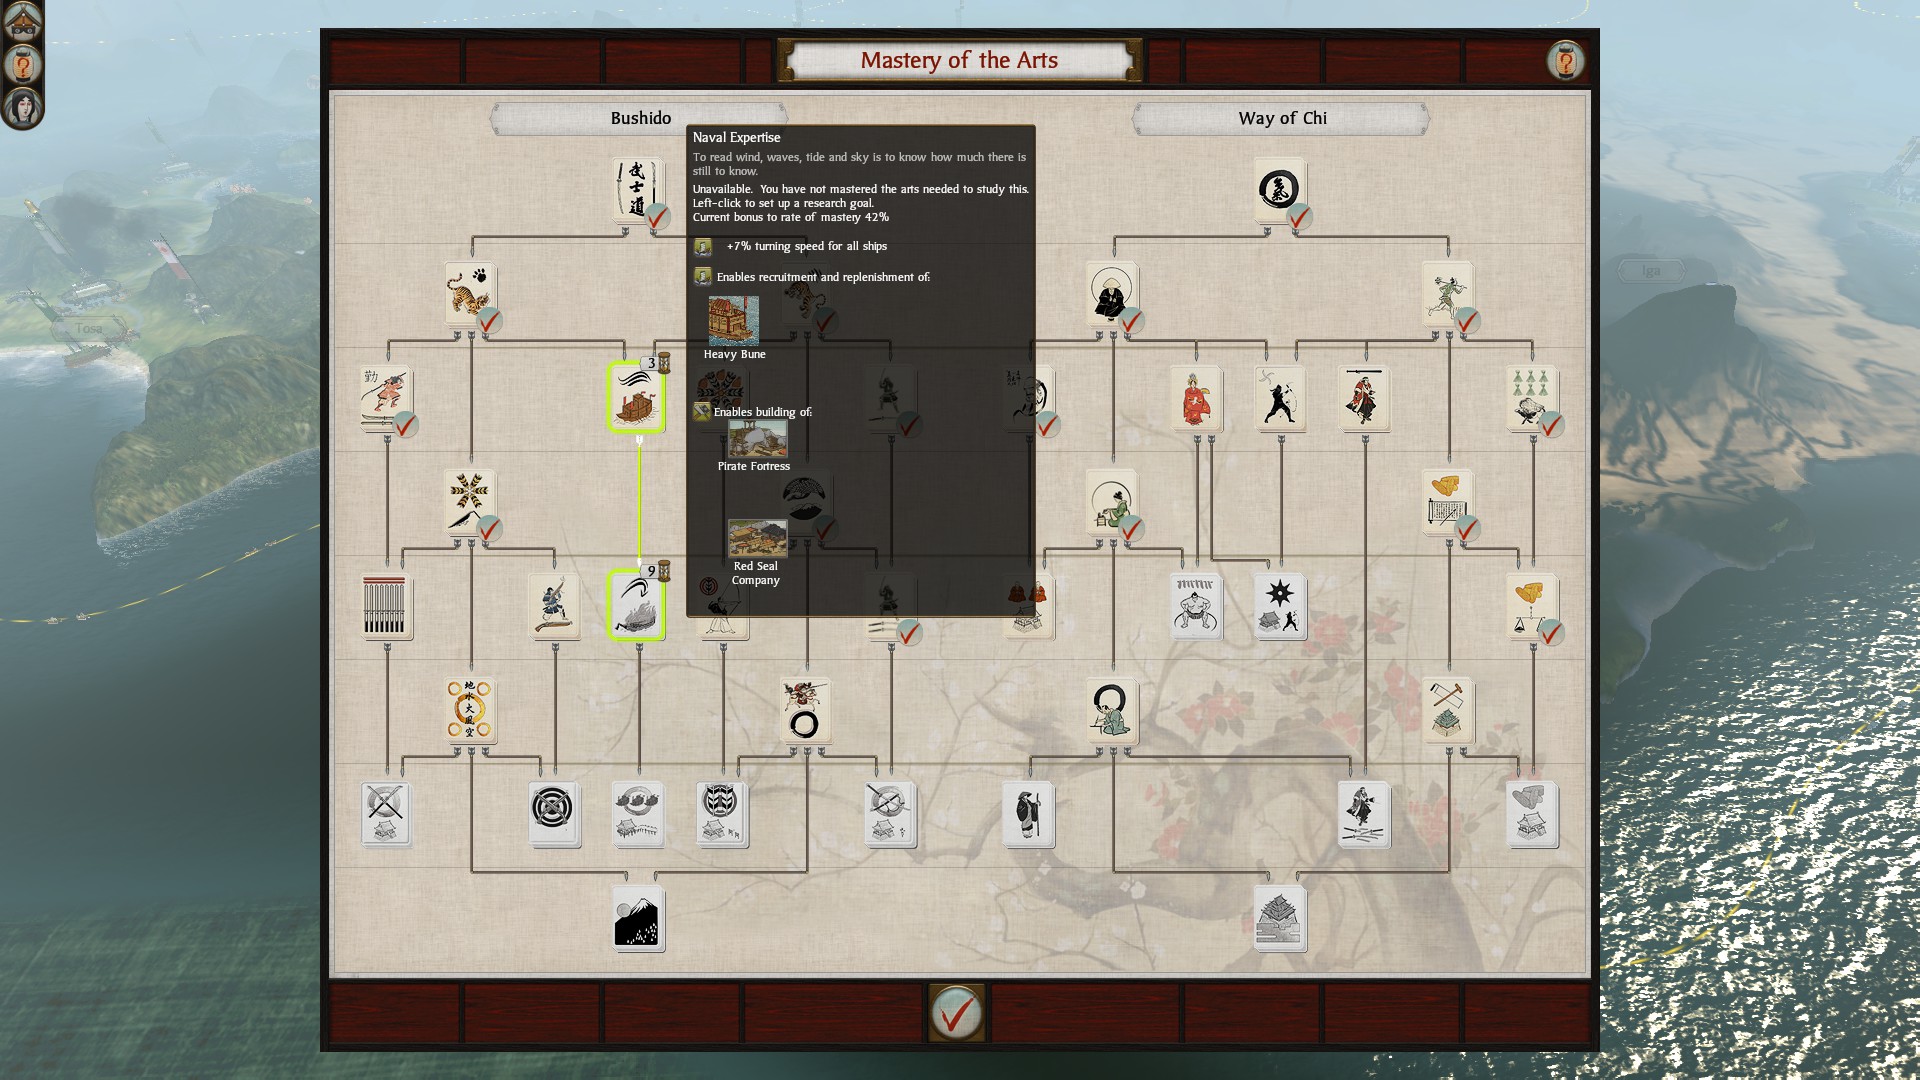
Because the AI will try to naval invade frequently, this is the time it's best to focus on ship technology. The +10% movement speed for ships on the campaign map can go a long way to preventing naval invasions.
WHERE SHOULD MY NAVIES BE?
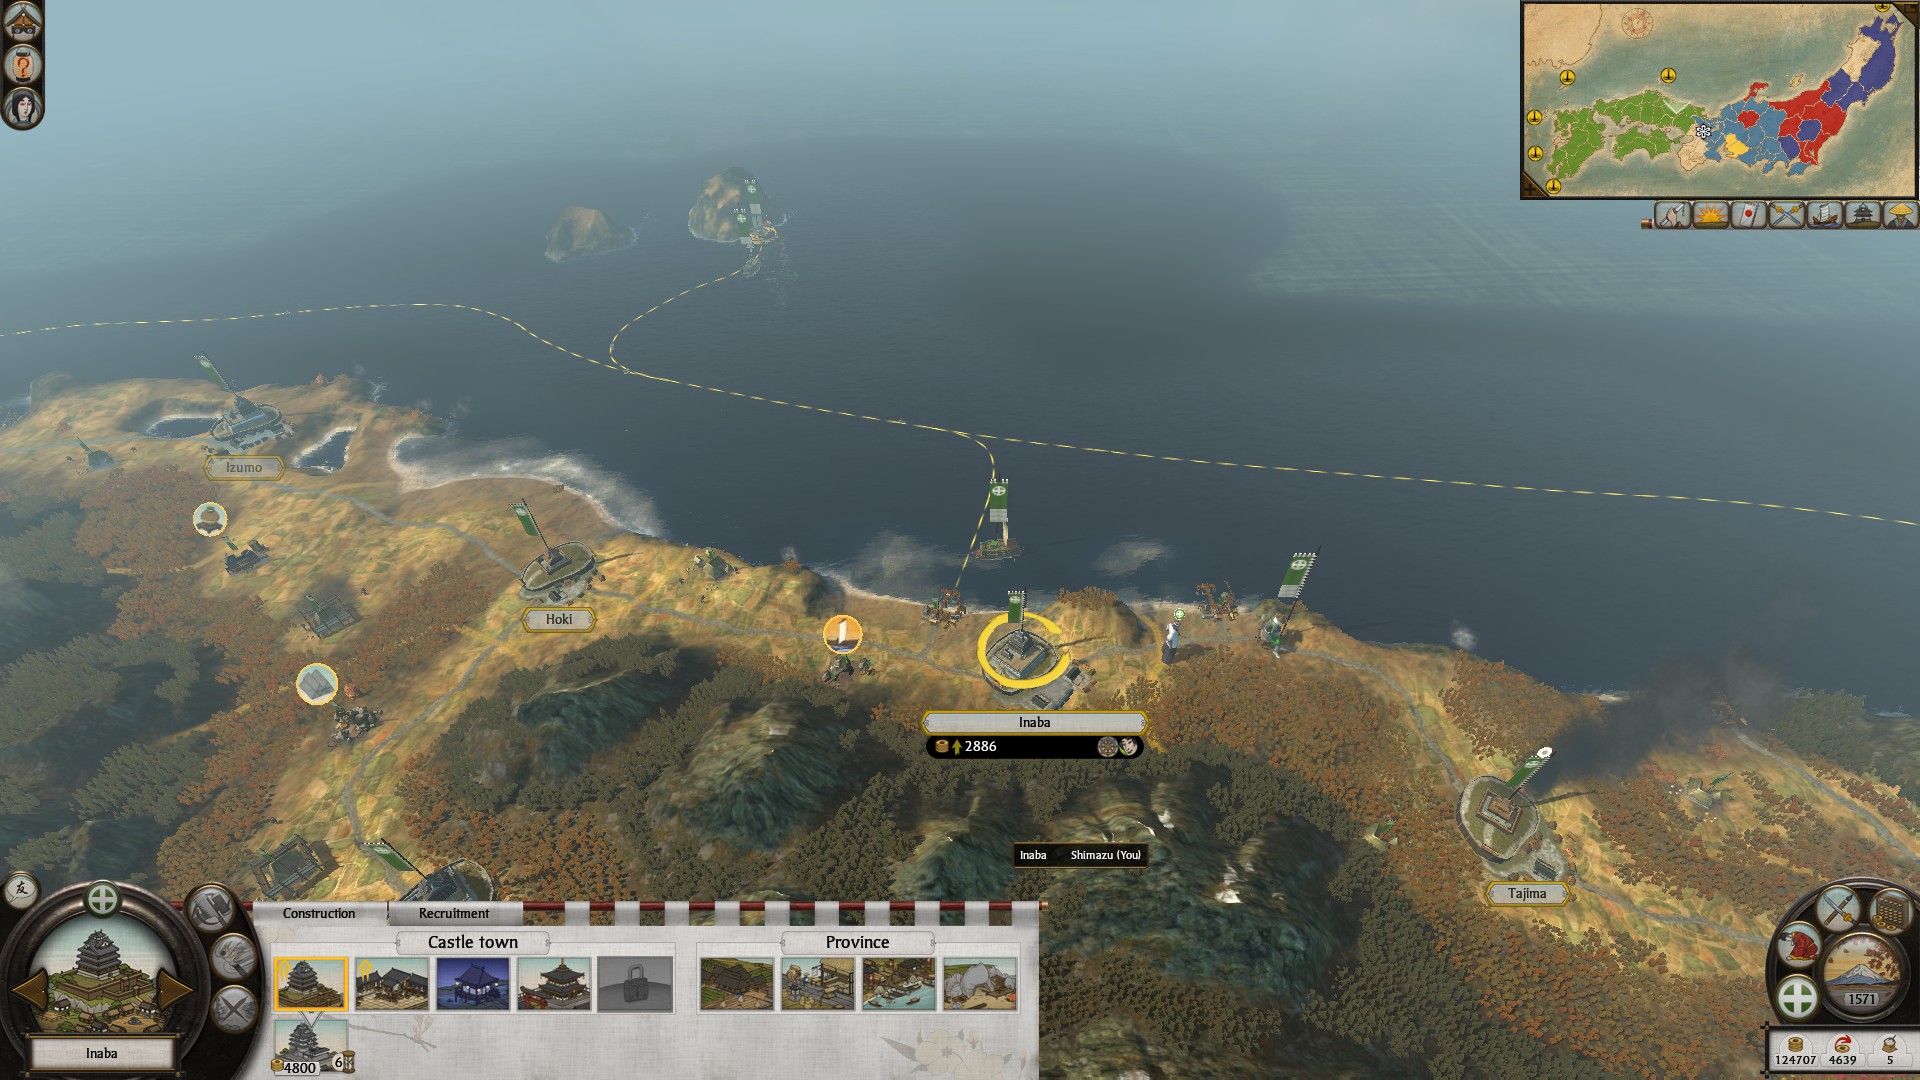
Inanba should be used as major naval base to protect trade, capture the midway node & protect Northern Japan from invasions. The sailing speciality will allow you to recruit expierenced ships which will be needed to form a blockade & scout along the coast. Upgrade the naval tradition building in this province to for more experience to new ships. This is the pirate lair building chain.
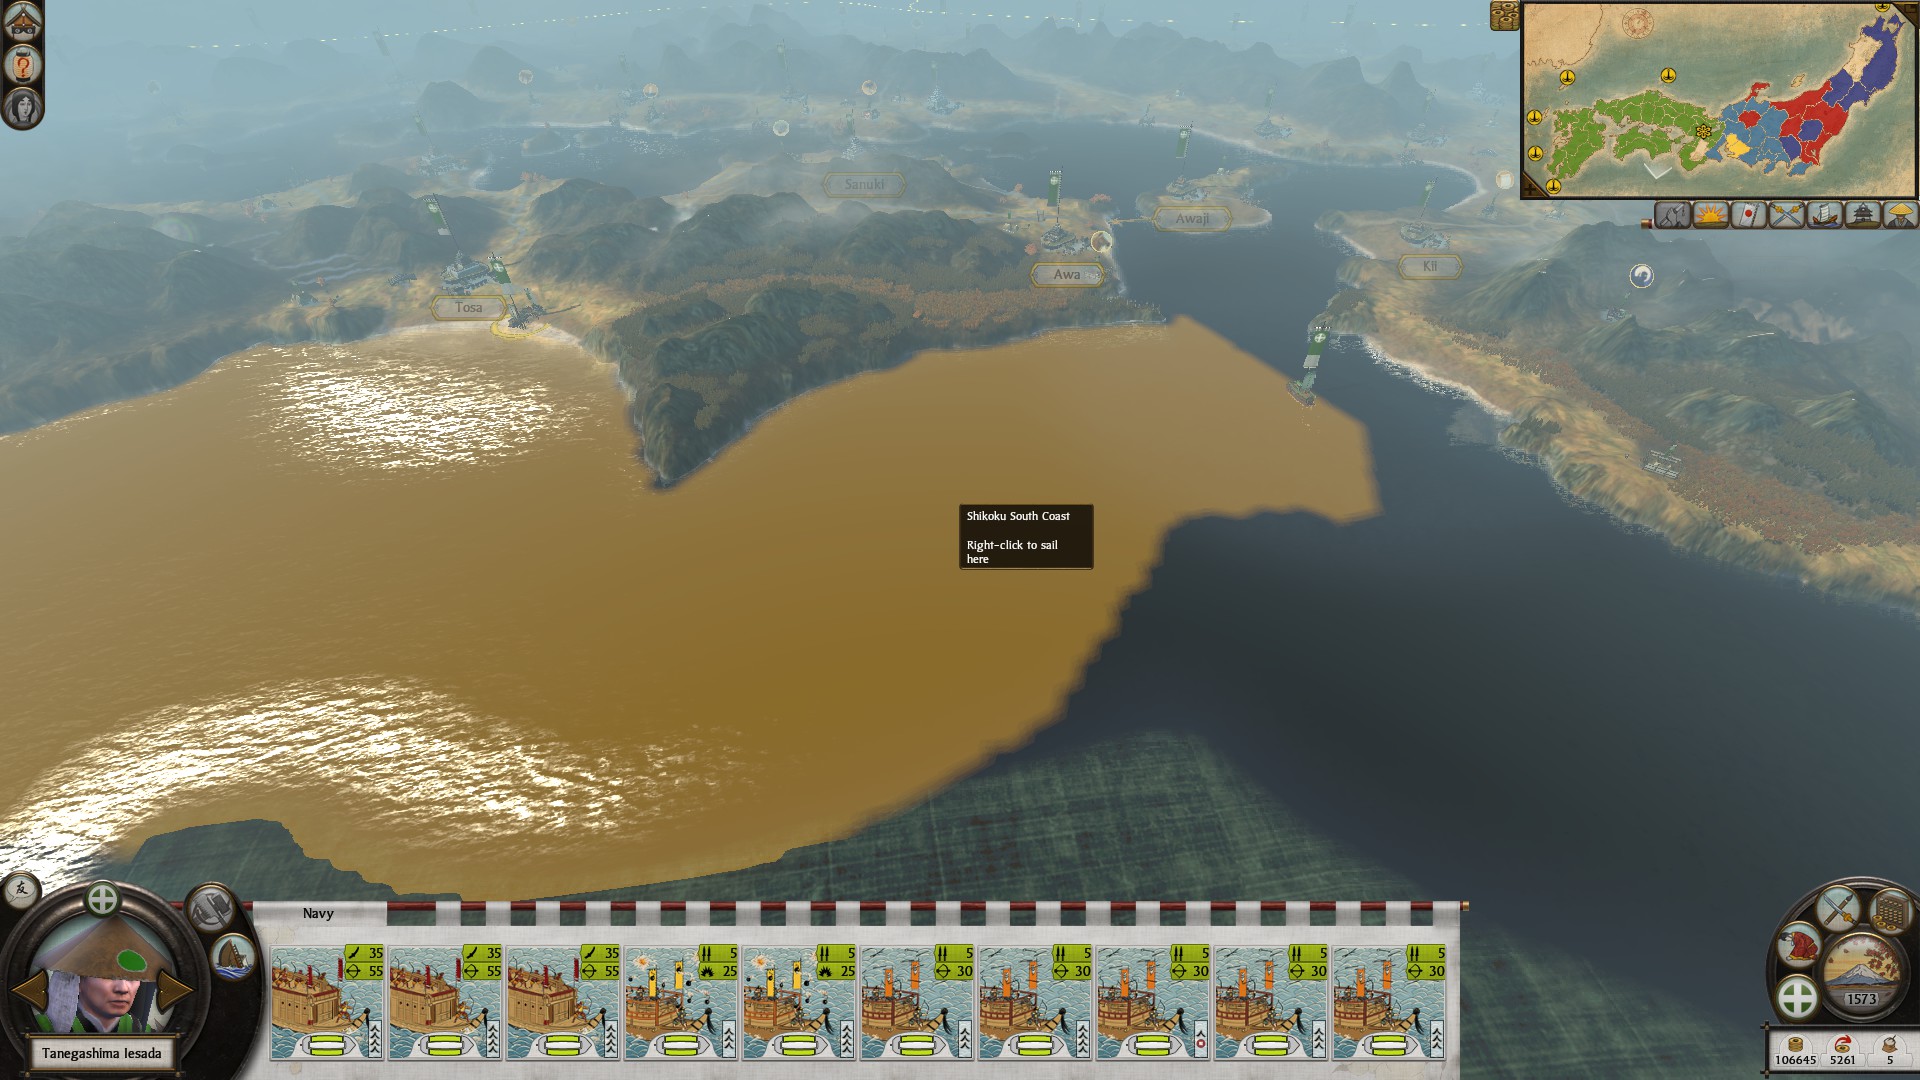
On the southern side of Japan use Awaji as a major repair port as well as Tosa. Ships should try to be recruited in Bungo or Bingo, both of these have naval tradition which can give a little extra experience when fighting. Likely in the Pre-RD part of the game you made Bungo a wehouse for more tarrifs income. You could choose to make it or Bingo a pirate lair for additional experience.
Lastly given pirates that spawn off Satsuma & trade routes into Osumi & Satsuma. You should've built military ports which can help you amass a fleet quickly to deal with enemies attempting to block your ports.
If a enemy faction has the Black Ship then you will need to use 1-2 fleets & Nihon Maru (upon becoming Shogun) to sink it.
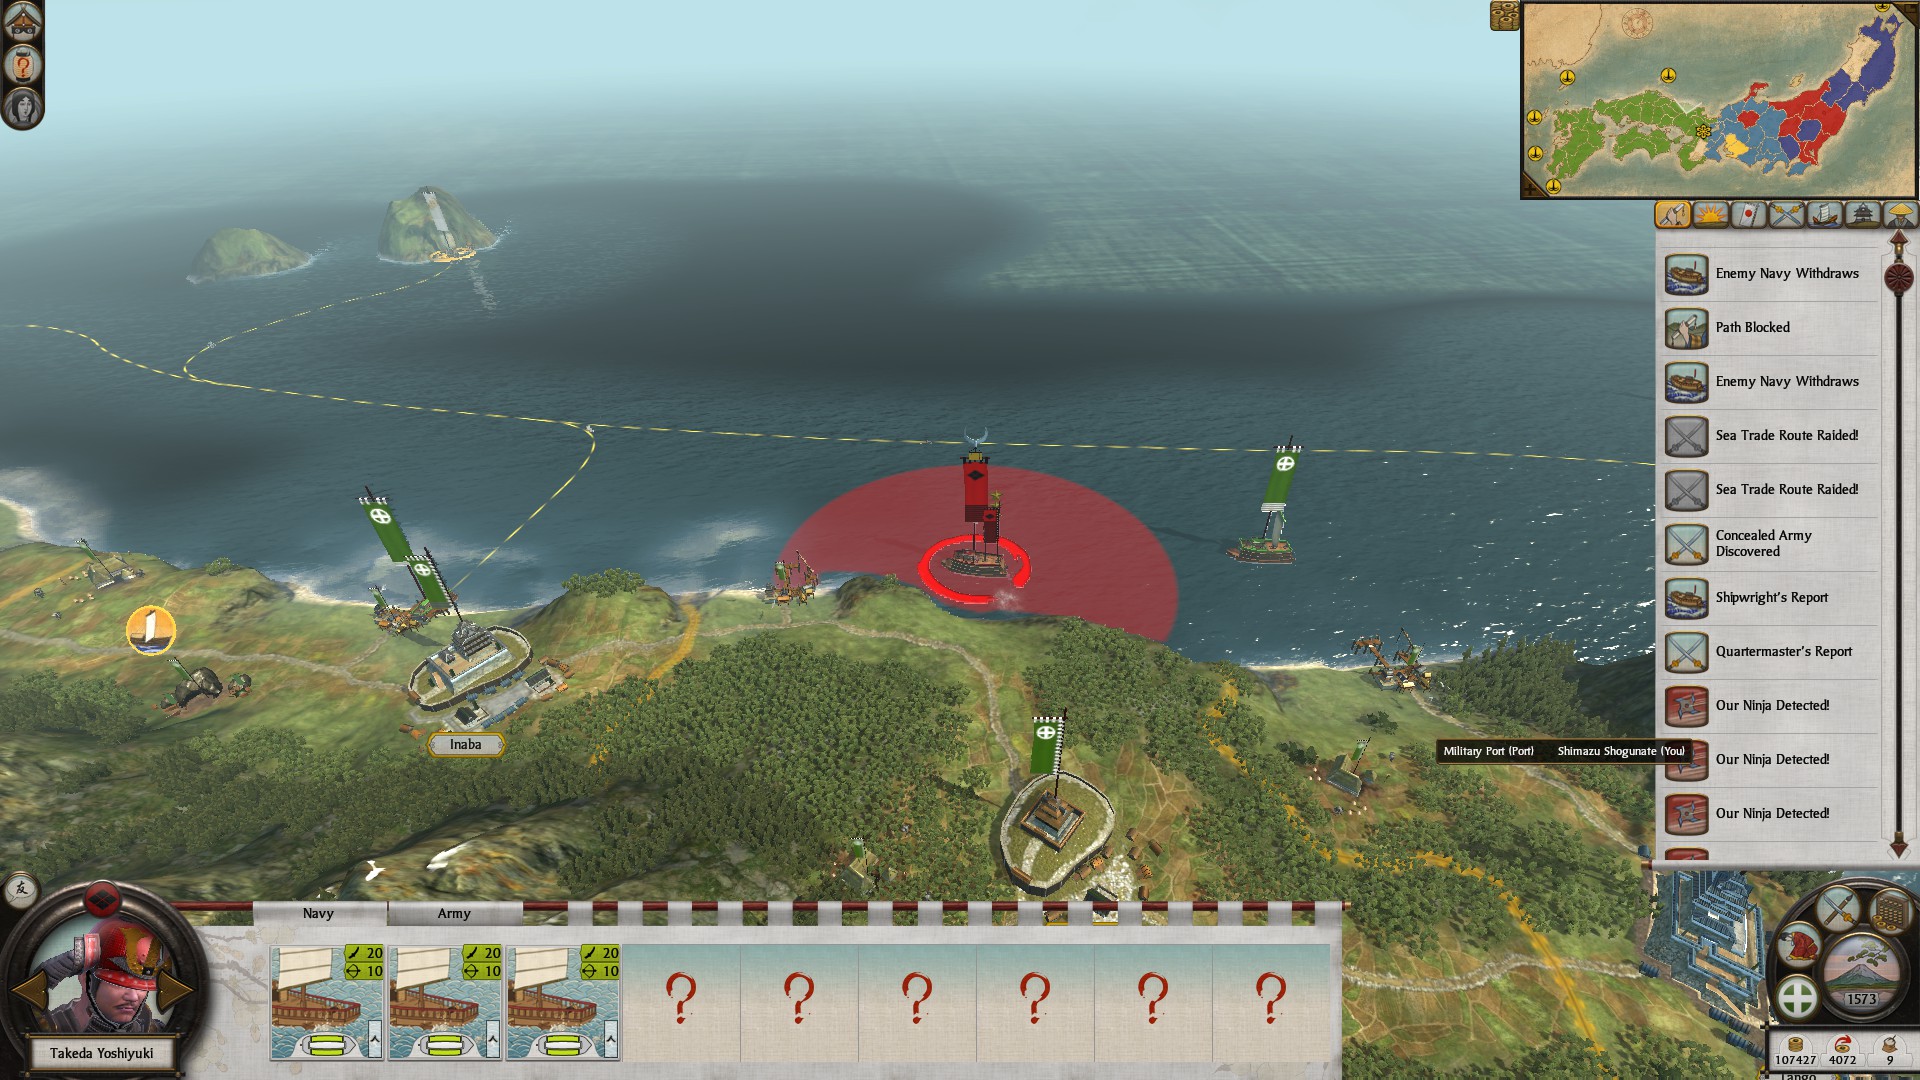
When you do encounter a navy sailing towards your provinces, make sure to attack in the direction you want them to go, in this case since my provinces are west I want to move a fleet to attack from the West. This way they will likely retreat in the opposite direction. This is why it's good to have two navies on either side of the transport fleet. One to scare them to retreat east, and another to intercept & attack them.
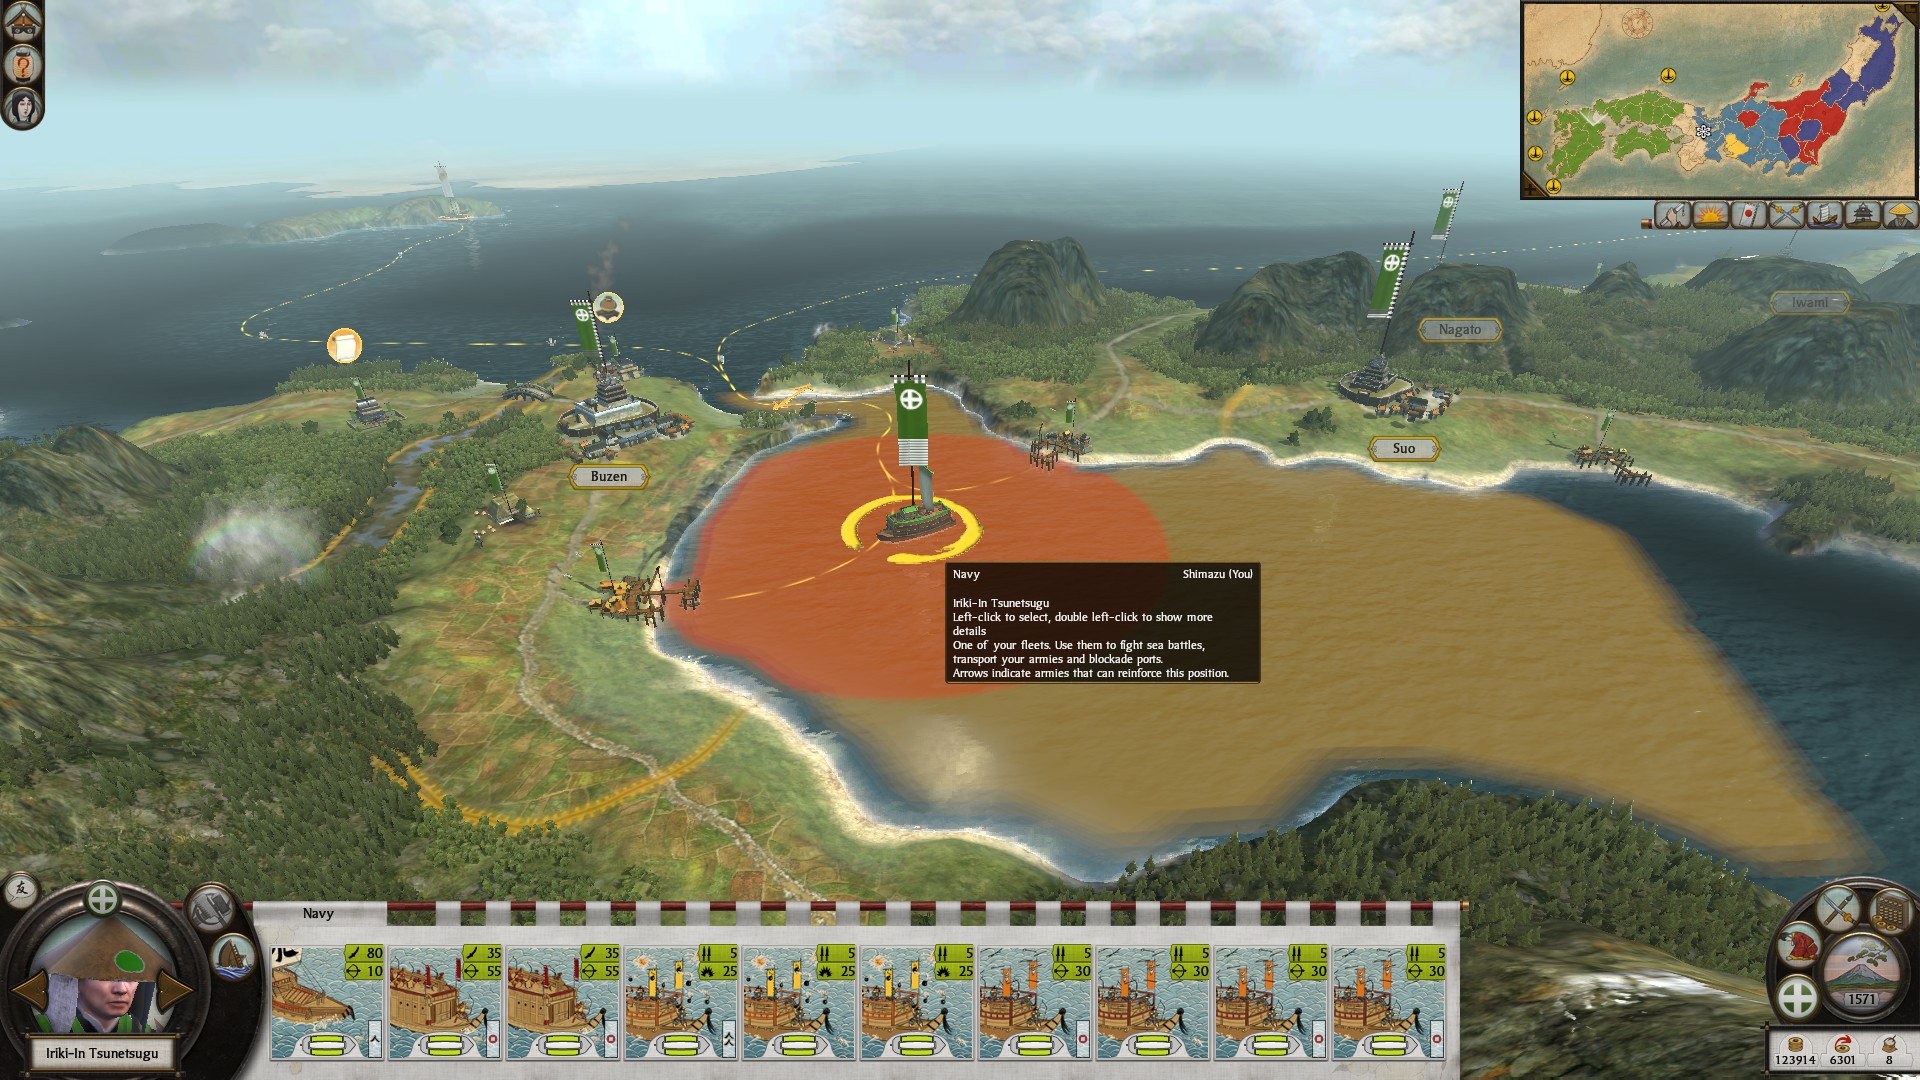
Most enemy ships, without armies are looking for ports to block, don't let them. At all times try to position your fleets in strategic locations so they are forced to go around you (then you attack in the direction you want them to flee) or make your zone of control encompass your trade ports.

Hopefully you realm divide triggered when you conquered nearly all of Shikoku. Taking out clans on the island will save you a lot of trouble in the long run. I would recruit ashigaru to hold provinces. You need to get all your armies off the Island & to your border to start conquering mainland Japan again. There are two northern ports in Iyo and Awaji which you should leave from.

I mentioned this before but have 1 Metsuke in the rear of your forces, this is incase the enemy has a high level Ninja since Metsuke excel at killing them.
WHY NINJAS ARE SO IMPORTANT
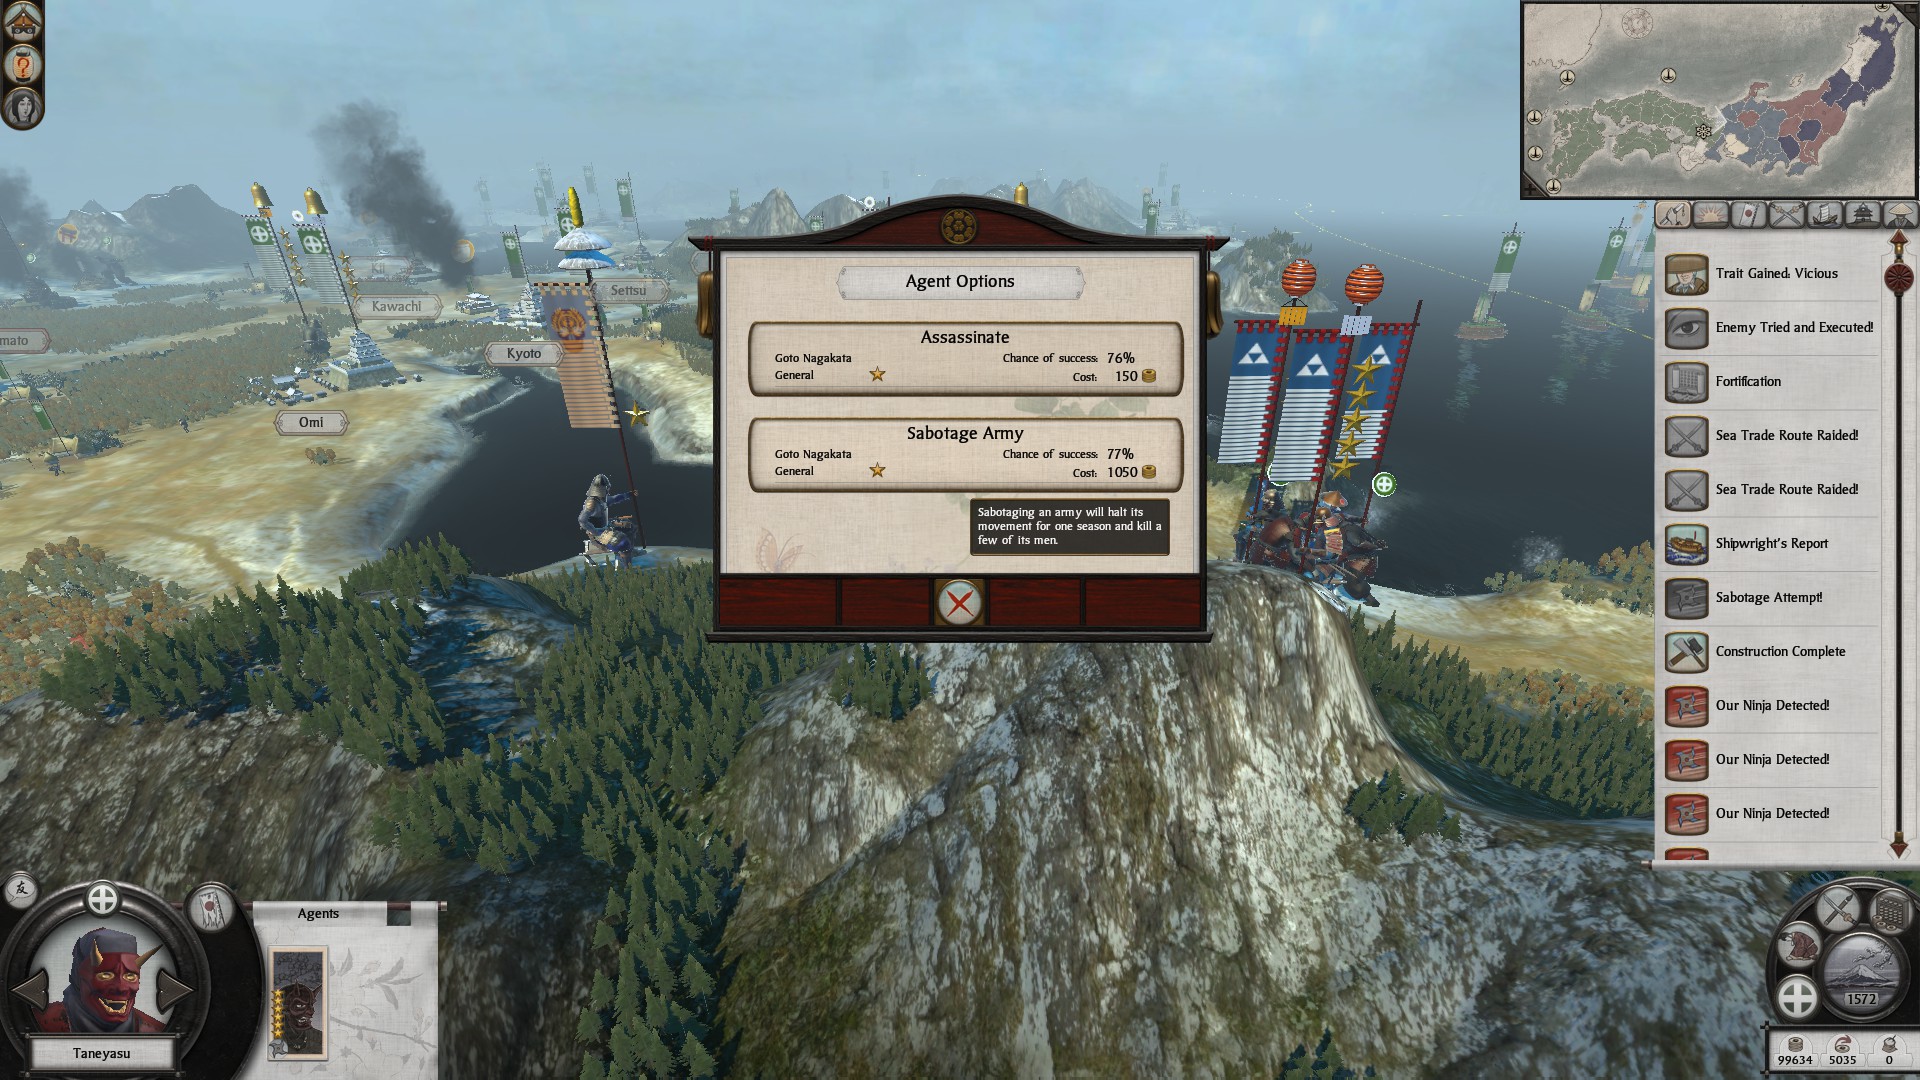
Sabotaging armies is critical to winning on VH & Legendary difficulty. Sabotoged armies can't reinforce other battles, retreat on the campaign map, or move during their turn. These effects only last for 1 turn but they are essential to winning. I was able to beat these armies with one, eventually reinforcing with a stack of Ashigaru.
Once you hit realm divide, brace for the onslaught of naval invasions from both sides of Japan, as well as, several army stacks marching together. On this difficulty the AI will rarely attack with only 1 stack & will typically have 3-4 stacks reinforcing & marching, this is why you want max level ninja and high level monks at the time of Realm Divide so you can sabotage armies & fight them one at a time. The monks will shut down enemy agent spam if you focused on giving them conversion upgrades, otherwise enemy agents will be a sharp thorn in your side during this part of the game.
The second realm divide hits you should start building ships in key locations and positioning your armies on your soon to be enemies borders. Take as many rebel towns as you can, as long as your supported by your agents & reinforcements. Territorial expansion no longer matters.
WHAT PROVINCE SHOULD BE LAST BEFORE RD?
Ideally you should have captured the three provinces I mentioned to make a wall of fortresses on at on Honshu. From there you should have focused on taking over Shikoku. In my game the last province on Shikoku triggered realm divide for me. You might have one or two to capture before realm divide so keep a close eye on your meter. Once Shikoku is captured, then you must get your armies off the island & back onto the mainland ASAP. There are two ports on the Northern side to leave one in Iyo & another in Awaji. To avoid the risk of losing your entire army in a naval battle, port hop across Japan until you reach the front. Unless an agent is absolutely necessary to supress the population, bring all your agents with you. You want your top level Ninjas & monks with the army.
WHAT SHOULD I RESEARCH DURING REALM DIVIDE?
Because the AI will try to naval invade frequently, this is the time it's best to focus on ship technology. The +10% movement speed for ships on the campaign map can go a long way to preventing naval invasions.
WHERE SHOULD MY NAVIES BE?
Inanba should be used as major naval base to protect trade, capture the midway node & protect Northern Japan from invasions. The sailing speciality will allow you to recruit expierenced ships which will be needed to form a blockade & scout along the coast. Upgrade the naval tradition building in this province to for more experience to new ships. This is the pirate lair building chain.
On the southern side of Japan use Awaji as a major repair port as well as Tosa. Ships should try to be recruited in Bungo or Bingo, both of these have naval tradition which can give a little extra experience when fighting. Likely in the Pre-RD part of the game you made Bungo a wehouse for more tarrifs income. You could choose to make it or Bingo a pirate lair for additional experience.
Lastly given pirates that spawn off Satsuma & trade routes into Osumi & Satsuma. You should've built military ports which can help you amass a fleet quickly to deal with enemies attempting to block your ports.
If a enemy faction has the Black Ship then you will need to use 1-2 fleets & Nihon Maru (upon becoming Shogun) to sink it.
When you do encounter a navy sailing towards your provinces, make sure to attack in the direction you want them to go, in this case since my provinces are west I want to move a fleet to attack from the West. This way they will likely retreat in the opposite direction. This is why it's good to have two navies on either side of the transport fleet. One to scare them to retreat east, and another to intercept & attack them.
Most enemy ships, without armies are looking for ports to block, don't let them. At all times try to position your fleets in strategic locations so they are forced to go around you (then you attack in the direction you want them to flee) or make your zone of control encompass your trade ports.
Hopefully you realm divide triggered when you conquered nearly all of Shikoku. Taking out clans on the island will save you a lot of trouble in the long run. I would recruit ashigaru to hold provinces. You need to get all your armies off the Island & to your border to start conquering mainland Japan again. There are two northern ports in Iyo and Awaji which you should leave from.
I mentioned this before but have 1 Metsuke in the rear of your forces, this is incase the enemy has a high level Ninja since Metsuke excel at killing them.
WHY NINJAS ARE SO IMPORTANT
Sabotaging armies is critical to winning on VH & Legendary difficulty. Sabotoged armies can't reinforce other battles, retreat on the campaign map, or move during their turn. These effects only last for 1 turn but they are essential to winning. I was able to beat these armies with one, eventually reinforcing with a stack of Ashigaru.
Tips, Tricks & Exploits
HOW TO MOVE ACROSS THE MAP FASTER

WHILE I'M BUILDING UP, HOW DO I AVOID THE "EYE FOR THE LADIES" TRAIT?
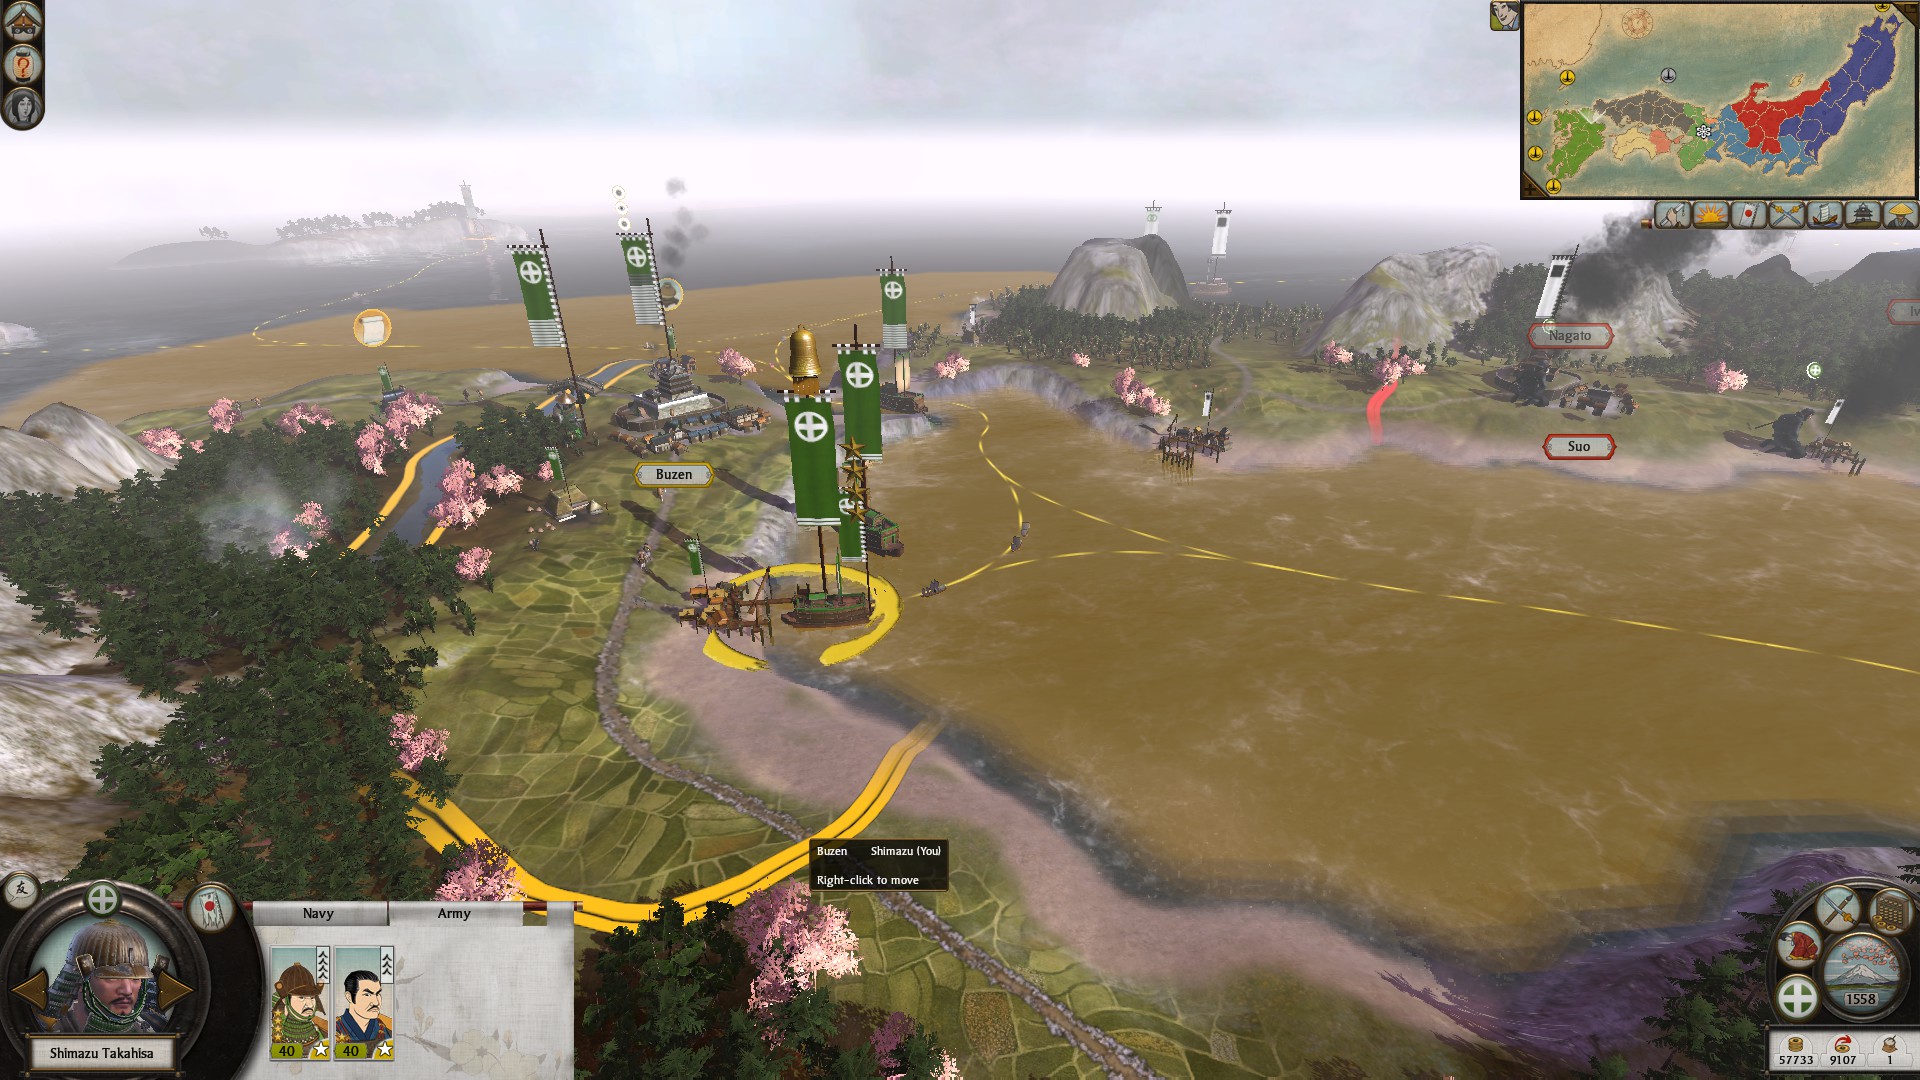
HOW TO MAKE NEW GENERALS
Putting you pairs of generals on bow kobayas in a harbor will avoid this trait, you could move your generals from town to town, but this is annoying & time consuming.
AVOIDING ACROSS MAP WARS & FACTION DISCOVERIES
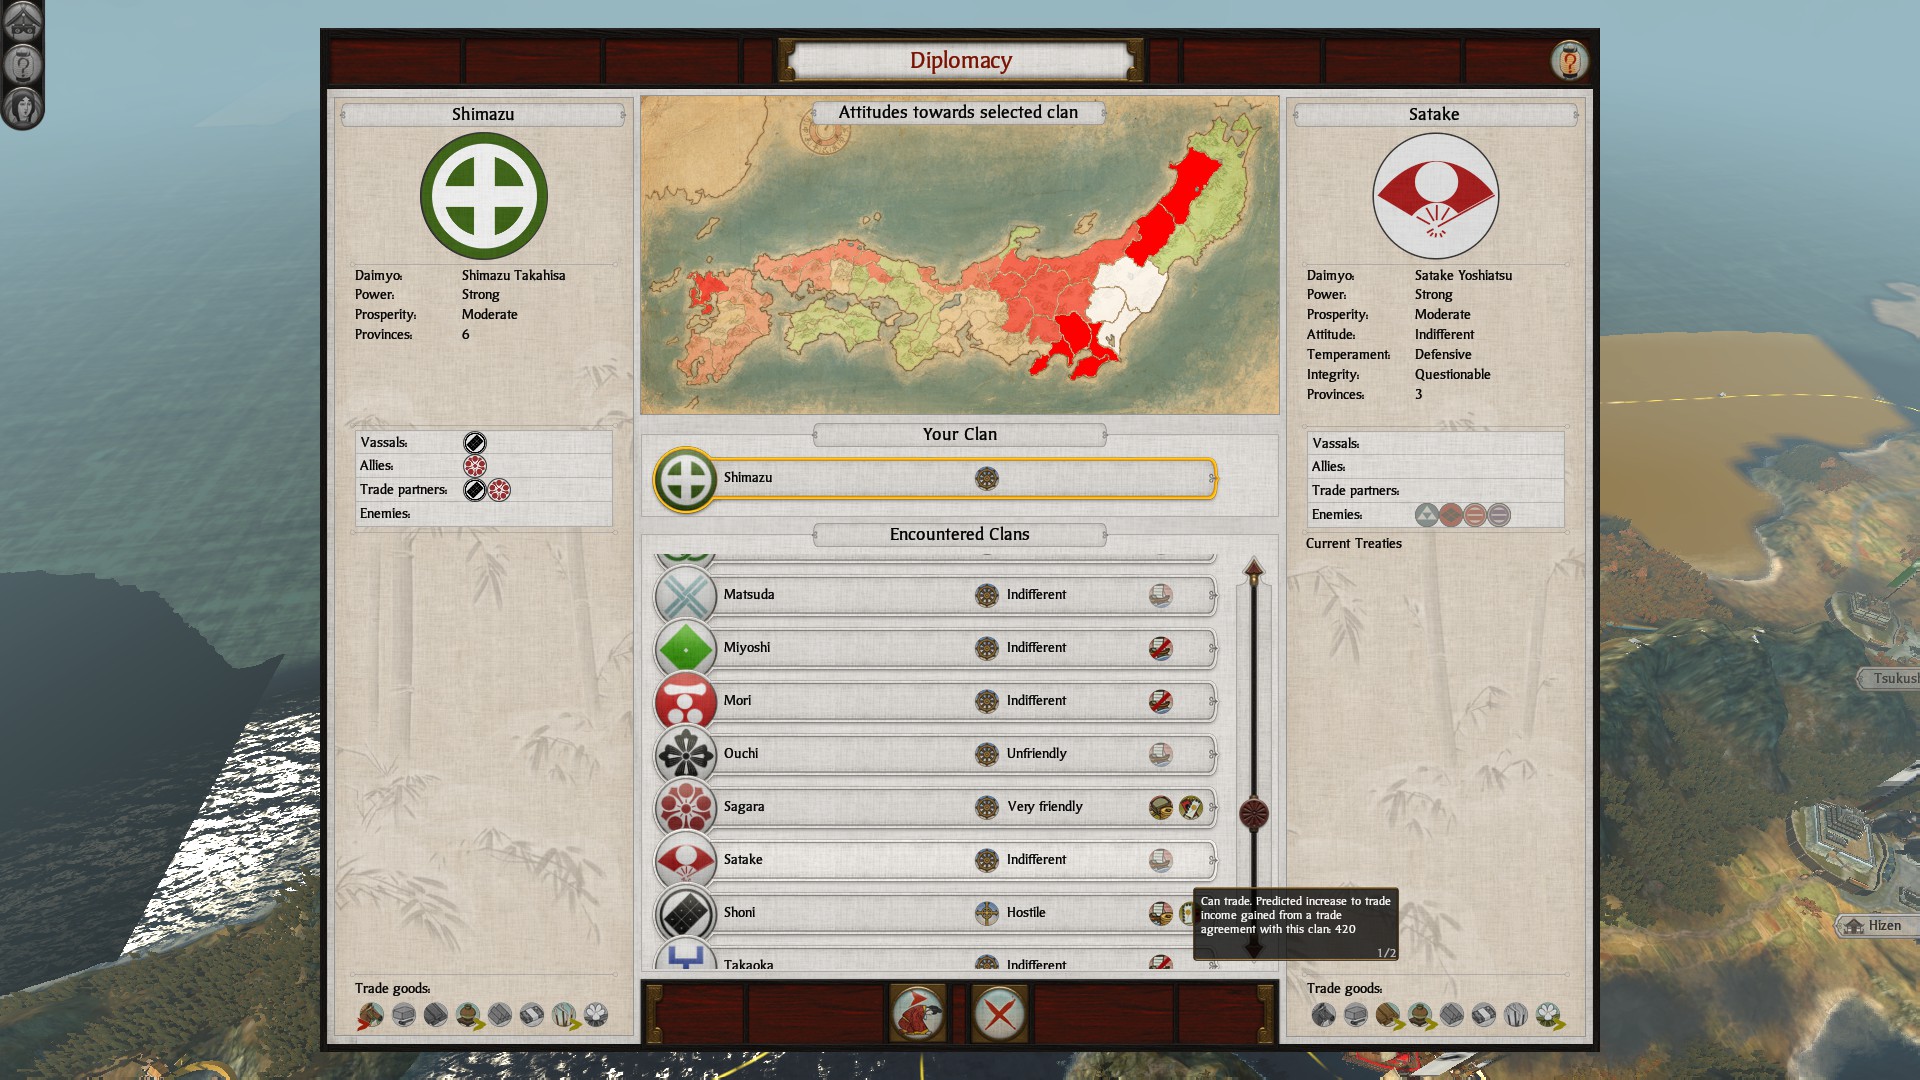
Don't trade across Japan unless you are forced to, the nature of Legendary difficulty is to be in a constant state of war since all of the other clans hate you. Ideally you only want to trade nearby.
ALL THE TRADE NODES ARE FAIR GAME
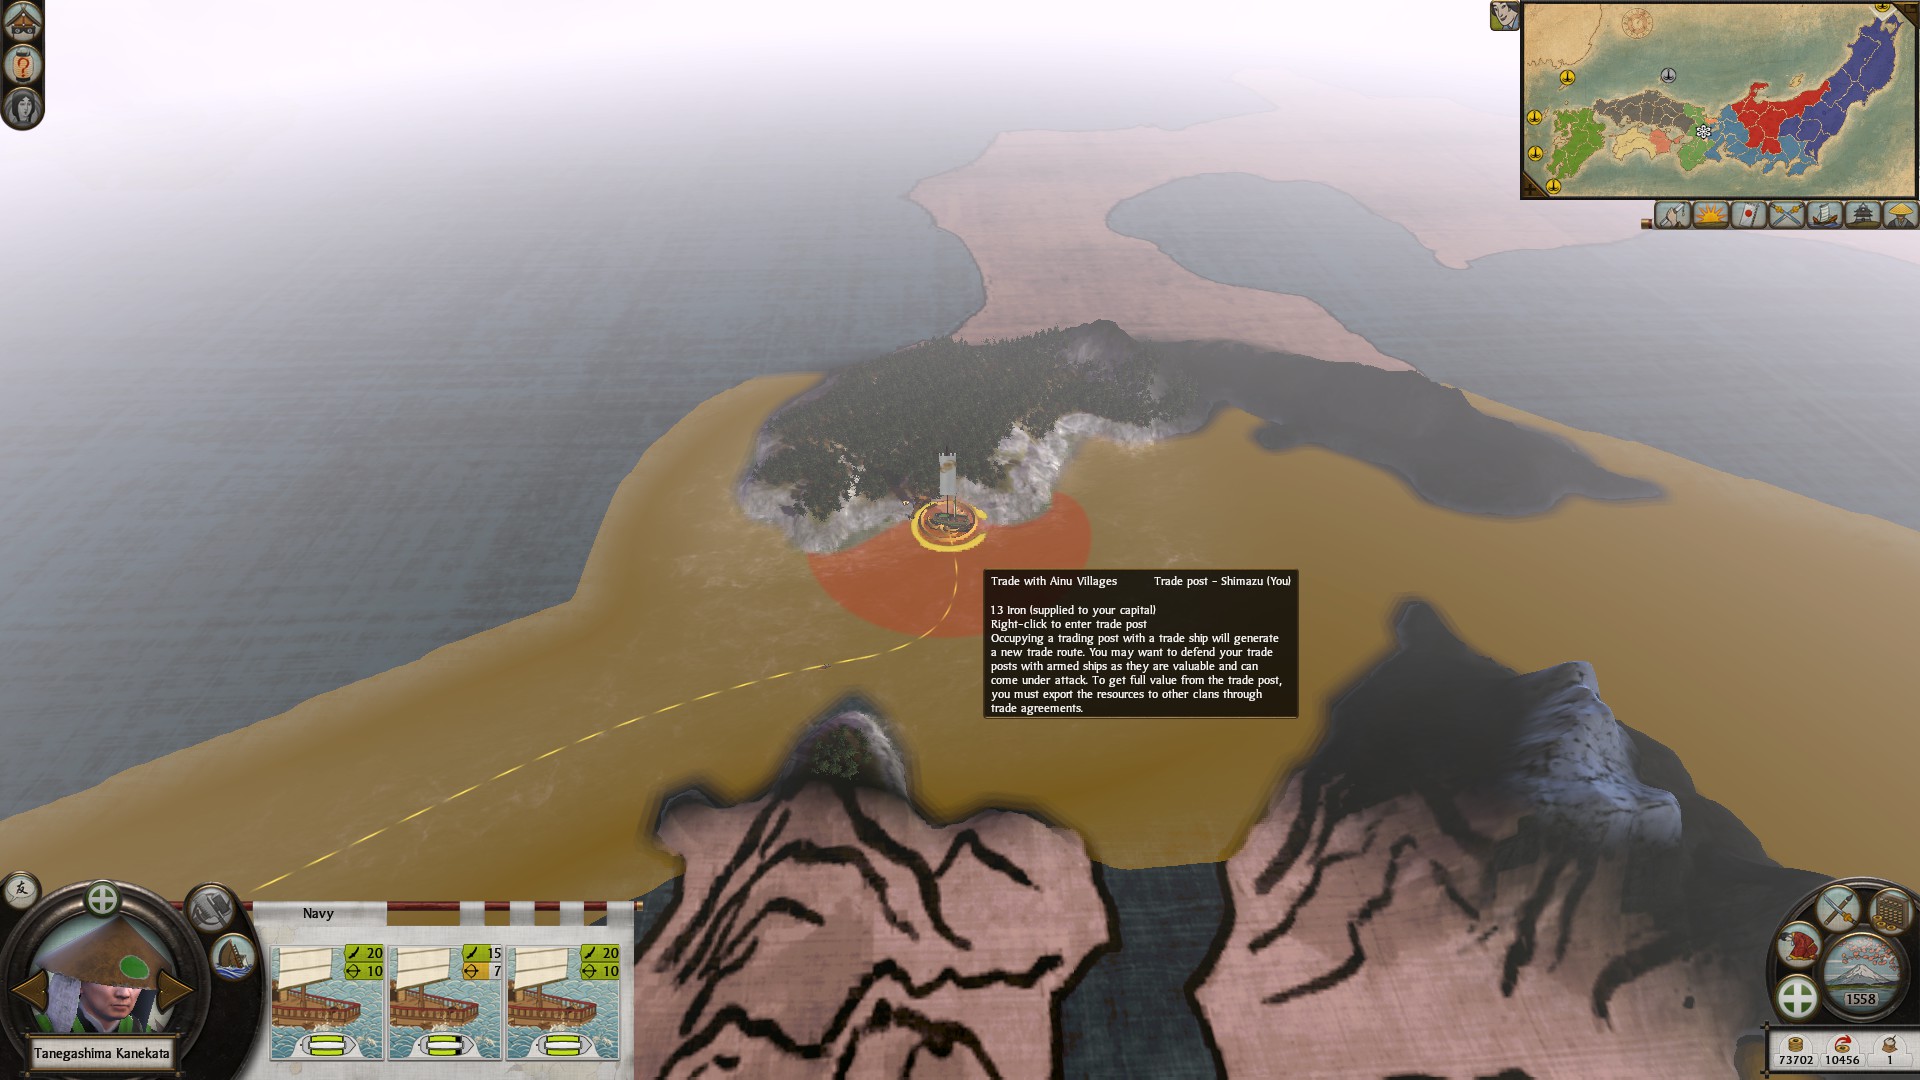
A counter to my last statements is that when you discover all of the major clans, it might be worth it to go to the Northern most province. I went there & to my suprise found no trade ships on the trade node. While this is great, as expected it creates a long trade route line back to your trade provinces, discovering anything along the route.
WHILE I'M BUILDING UP, HOW DO I AVOID THE "EYE FOR THE LADIES" TRAIT?
HOW TO MAKE NEW GENERALS
Putting you pairs of generals on bow kobayas in a harbor will avoid this trait, you could move your generals from town to town, but this is annoying & time consuming.
AVOIDING ACROSS MAP WARS & FACTION DISCOVERIES
Don't trade across Japan unless you are forced to, the nature of Legendary difficulty is to be in a constant state of war since all of the other clans hate you. Ideally you only want to trade nearby.
ALL THE TRADE NODES ARE FAIR GAME
A counter to my last statements is that when you discover all of the major clans, it might be worth it to go to the Northern most province. I went there & to my suprise found no trade ships on the trade node. While this is great, as expected it creates a long trade route line back to your trade provinces, discovering anything along the route.
Conclusion
Feel Free to leave any comments on things you've found to be useful. I've hoped that you've enjoyed this guide and that some of the tactics will help you conquer your enemies.
I realize that this is an old game, but if you're like me you've gotten back into games you play before and enjoy the nostalgia and feel of it. It's hard to find quality guides to old games so I hope this can help my fellow Daimyo conquer Japan!
This guide is also really long because it's a collection of ideas I never really had the chance to record down all in one go. Some of these strategies even apply to other total war games.
I actually meant to post this guide around 2 to 3 years ago, but I never felt quite satisfied with how much detail I included. I now realize that I might as well post it now than never. I think that in every games there's a series of patterns you can begin to identify, leading on the path to mastery.
I didn't really talk much about naval strategy in this guide, and as someone who's favorite TW game is actually Empire, I like to "T" and broadside enemy ships as well as disabling the sails while using the wind and various features of ships to my advantage. Some of these strategies are also reflective here. However, they are also applicable to FOTS.
I may eventually write a guide for FOTs since 17th to 19th century warfare interest me the most.
I realize that this is an old game, but if you're like me you've gotten back into games you play before and enjoy the nostalgia and feel of it. It's hard to find quality guides to old games so I hope this can help my fellow Daimyo conquer Japan!
This guide is also really long because it's a collection of ideas I never really had the chance to record down all in one go. Some of these strategies even apply to other total war games.
I actually meant to post this guide around 2 to 3 years ago, but I never felt quite satisfied with how much detail I included. I now realize that I might as well post it now than never. I think that in every games there's a series of patterns you can begin to identify, leading on the path to mastery.
I didn't really talk much about naval strategy in this guide, and as someone who's favorite TW game is actually Empire, I like to "T" and broadside enemy ships as well as disabling the sails while using the wind and various features of ships to my advantage. Some of these strategies are also reflective here. However, they are also applicable to FOTS.
I may eventually write a guide for FOTs since 17th to 19th century warfare interest me the most.
More Total War: SHOGUN 2 guides
- The bonuses of all clans★ 5 (622)54k views710 ♥3 minUpdated Dec 28, 2020
- The Basics: Sun Tzu in Shogun 2★ 5 (1k)47k views1.5k ♥20 minUpdated Mar 20, 2021
- Shimazu - Everything you need to know★ 5 (564)44k views783 ♥10 minUpdated Jun 15, 2015
- Campaign Economy and Guidelines (S2, RotS, FotS) **Final version**★ 5 (564)38k views1.1k ♥20 minUpdated Oct 25, 2025
- On Rebels and Using Them to Your Advantage★ 5 (413)34k views454 ♥13 minUpdated Dec 5, 2021
- Ultimate Guide - Shogun 2★ 5 (274)21k views547 ♥25 minUpdated Nov 23, 2025



This guide was created by its original author on the Steam Community. Are you the author and want it removed? Request removal.