Overview
Do you want to play portal 2 co-op in splitscreen but don’t have any controllers to play with? This guide will help you set up splitscreen co-op with only one keyboard and mouse.
Intro
Disclaimer: Player 2 will have to play the game using only the keyboard and no mouse. This would normally be a problem for fast-paced FPS games, but for playing Portal 2 it’s honestly not too difficult to get the hang of, since most of the game’s difficulty lies in logic and finding the solution to puzzles rather than precise aim and fast reaction times.
My keybindings for player 2 are:
I – forward
J – left
K – backward
L – right
N – shoot portal 1
M – shoot portal 2
U – jump
O – interact
semicolon – zoom
forward slash – crouch
Arrow keys – look around
(I use a qwerty keyboard)
You can set these to whatever you want, but I find these the easiest to play with.
Downloading and installing
This part of the process is relatively simple. You will first need to download a program called UCR (Universal Control Remapper) download link[evilc.com] . This will allow you to make your computer think there is a controller connected. Once you have downloaded the .zip file, extract it to an empty folder. You will also need to download VJoy, download here[vjoystick.sourceforge.net]
which UCR needs to emulate a controller. Run vjoysetup.exe and install it like you would any other program. VJoy doesn’t need to be open, UCR will take care of that for you.
Go into the UCR folder and run UCR.exe


Vjoy>Install SCPVBus (Will restart UCR).
Once UCR has restarted, you should be ready to start setting up the controls.
Setting up the controls in UCR
The UCR menu might look a bit complicated, but there are only a couple things you have to worry about.


With your new profile selected, we can now start adding controls. Go to the top of the window and find the Plugin Selection.

Basically how this works is each of these plugin boxes represents one control, either a button or an axis. So we’re going to keep adding these to the list until we have enough controls. But first we need to set up this one.

Each thumbstick needs two axes, so there should be two boxes for each thumbstick.
I set the left stick to use the IJKL keys on the keyboard (qwerty keyboard) because the WASD are going to be used by player one, who can use the default keyboard and mouse controls of portal 2. Make sure your keybindings for player 2 don’t interfere with player 1’s controls.

tl;dr : set the low and high keys to J and L (or whatever you want move left and right to be)
Next you need to set the axis to what you want this mapping to be used for. You won’t have to mess with the deflection settings for now.


Now that you have selected the “stick”, you want to choose the axis. Click on the button again and choose VXbox Axes > LS X. Of course, for the other axes you would select the corresponding one.
Next you will have to set the other axes. You will need the LS X you just created, as well as an LS Y, RS X, and RS Y. The Y axes of the sticks is a little different, as setting your up key to high and down key to low will result in inverted controls. Instead, set your up (in this case the i key) to Low and your down (K) to High.

Create a new plugin box and name it LS Y. For every other setting, follow the previous steps, still choosing stick 1 but set the axis to LS Y.
Following the previous steps, create your RS X and RS Y boxes. I’ve set the right stick (look) to the arrow keys. (don’t forget to save often) Your window should look like this:

Pressing the keys you’ve mapped should make the preview sliders move around. If they aren’t, you’ve done something wrong. Make sure you remembered to set the correct stick and axis.
Now that you’ve set up your thumbsticks, we need to set up the triggers. Gamepad triggers aren’t actually buttons, rather they are axes based on how hard you pressed them.

To set this up, create a new axis box and name it LT (left trigger). Set the stick to 1 again and the axis to LT.

Set the High to the button you want to use for the trigger, and leave the Low blank. I set this to N, but again, you can set it to whatever you want.

Go to the deflection and change the Mid from 50 to 0. This will make sure the trigger is off when not being pressed. Do the same thing for the right trigger.
Your window should look like this:

If the triggers are working correctly, the preview sliders should be all the way to the left when inactive and all the way right when pressed.
Next we need to set the buttons. I only set jump, interact, zoom, and crouch, but you can set other buttons too if you want more actions.
To set a button, go back to the plugin selection menu and choose Remapper – Button to Button. Then add it to the list. I called this one Jump.


The button to button box is relatively simple. Set the input button to the keyboard key you want to use, for this I use the U key. Some people might like to set it to something more close to the spacebar, like the .> key.
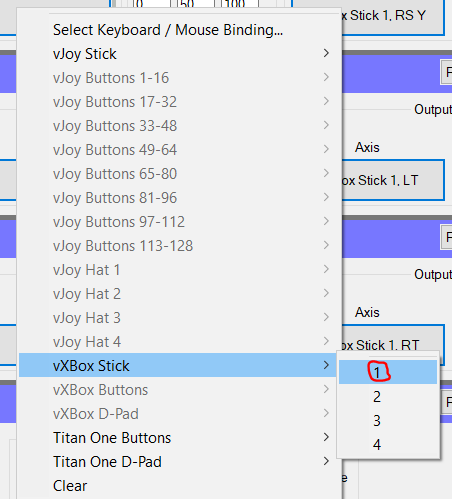
The output button is the controller button, for jump it’s A. To set this you will have to select the stick, again to VXBox stick 1. Then click it again and select the A button.

A – Jump
B – Crouch
X – Interact/Pick up
RB – Zoom
LB – Marker
The emote button and other radial menu buttons will lock the other player’s control when the menu opens, so I wouldn’t recommend using it.
Once your buttons are set, your window should look like this: (some of my buttons got stuck offscreen but i’ve got everything set up)

If you got all that done, good! You’re *finally* done with UCR. The program has to be open to work, but you shouldn’t have to mess with it anymore. There is one more step in getting the fake controller set up though.
Go into the windows search bar (or you can find this in settings) and search for “Device Manager”, then open device manager. Search again for “set up usb game controllers”, and open it too.
When you open Game Controllers, we want there to only be one controller. If you see two controllers, don’t worry, that is normal.

Setting up the controls in UCR part 2
All we have to do is disable VJoy controller so that we will only use the fake xbox controller. This can be done in Device manager, which we just opened.
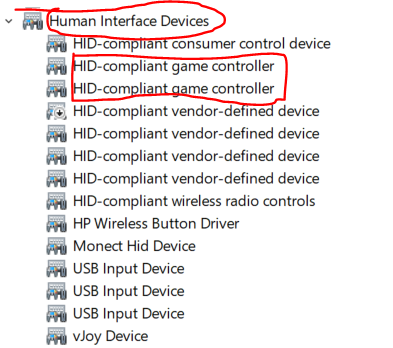
Find the folder “Human Interface Devices”. There should be two devices named “HID-compliant game controller” Double clicking on one of these will show you the properties. Double click on one of these.

If the device you clicked on was “on USB input device”, just double click on the other one to make sure. Don’t disable the device named “vJoy device”, just the “HID-compliant game controller”. When you go back into game controllers, you should only see “Controller (XBOX 360 For Windows)”


Setting up Portal 2
First of all, make sure that UCR is currently running. There will be no controller emulation otherwise.
Now you can launch Portal 2 from steam.
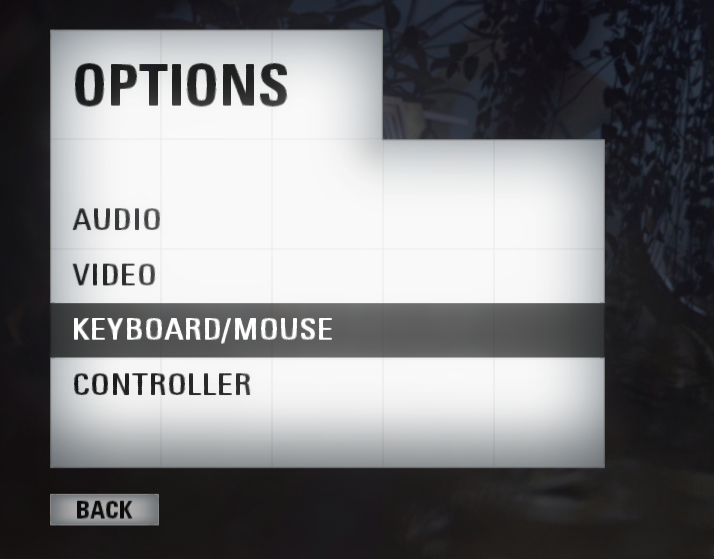
The first thing you should do, if you used the arrow keys for looking, is to unmap arrow keys from Portal 2’s keybindings. This is also a good time to enable the developer console, as we’re going to need it later.
Change “Enable Developer Console” to Enabled, then select Edit Keys/Buttons.

Scroll to the bottom of the list, where you should find the Turn Left and Turn Right.
Then click “Clear Key”, and repeat this step on left, right, up, and down, until all of them are empty, like the image below.
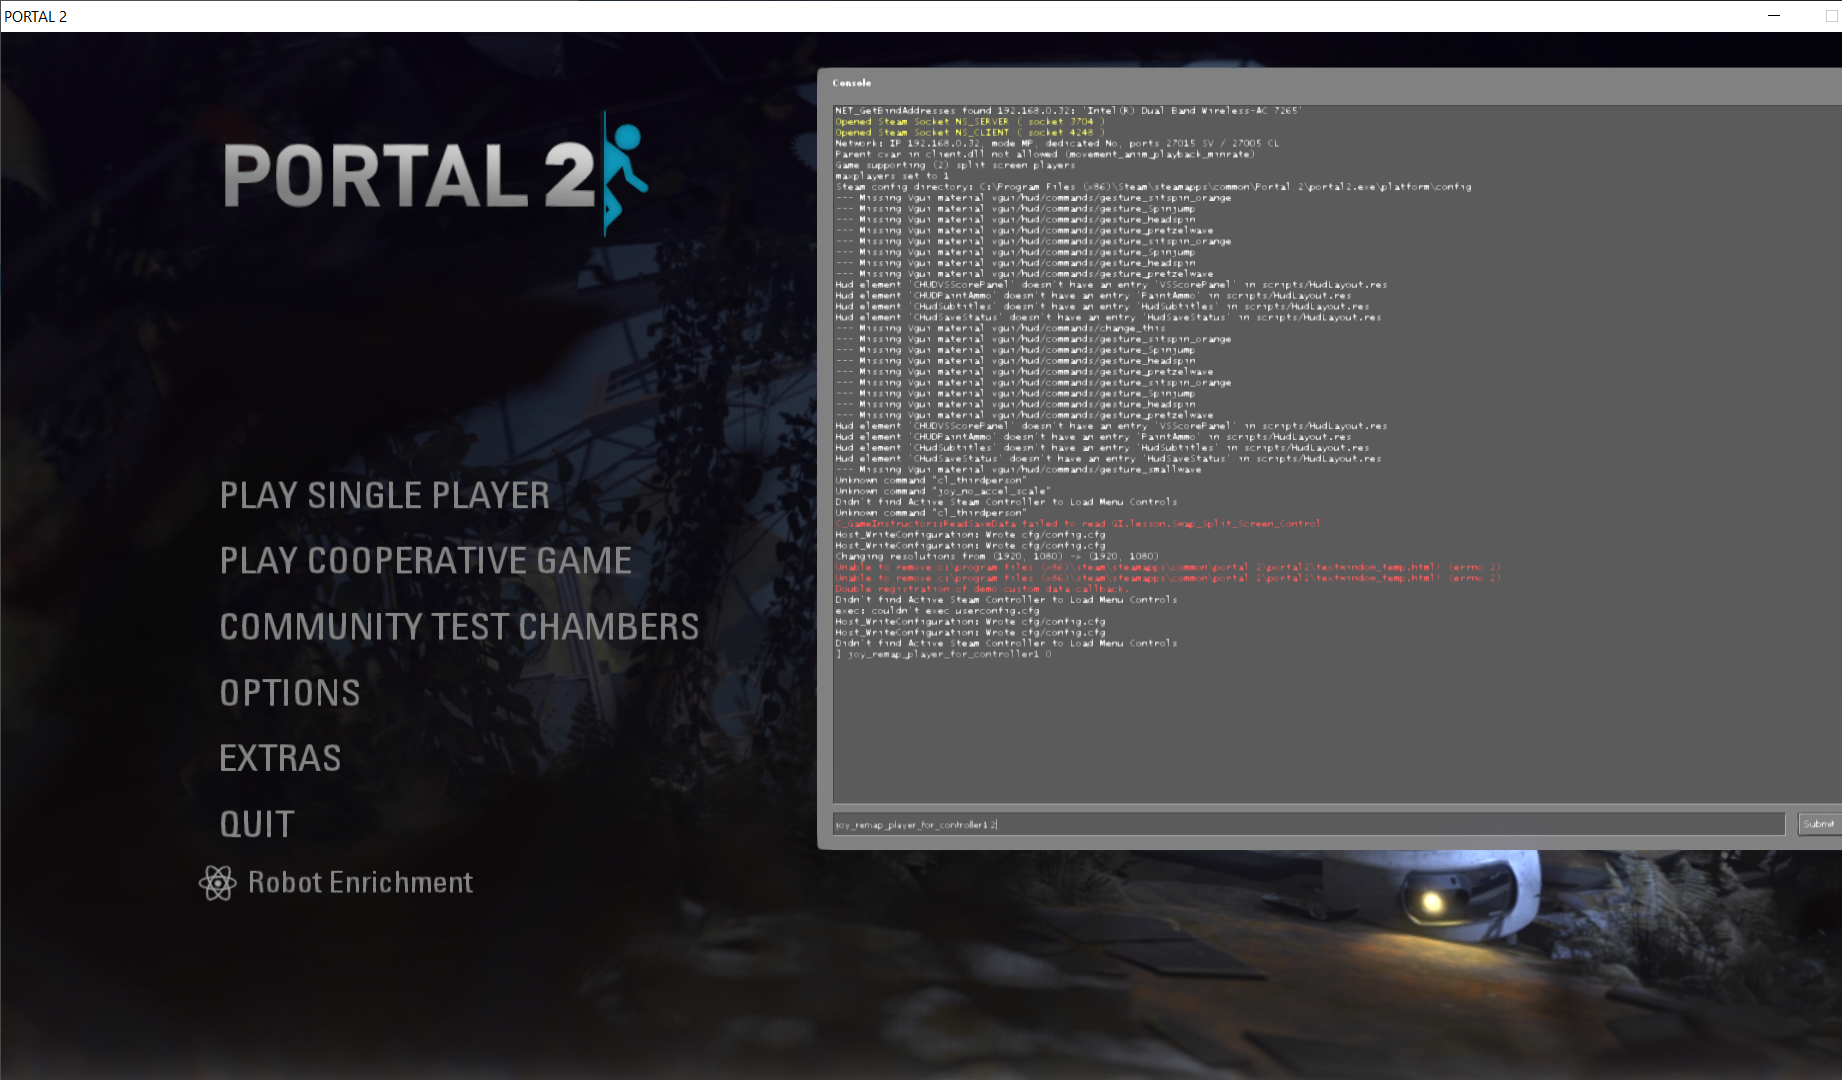
Press Apply and navigate back to the main menu. Press the tilde key [~] (usually directly under the esc key) to open the console. It should look like this:
In the text box, type or copy-paste this command: joy_remap_player_for_controller1 2
Then press enter, and close the console.
This command will make it so controller 1 will control player 2. This command is also useful if you have one controller, because normally portal 2 requires you to have 2 controllers.
The last step is simple: go to “Play Cooperative Game”, and without clicking any of the menu buttons, press the key you have set to interact on player 2 (in my case the O key). This should start 2-player splitscreen.