Overview
This in-depth guide will teach you how to pop one single Red Bloon. There is no guarantee that you will be able to pop a second one.
Preparation
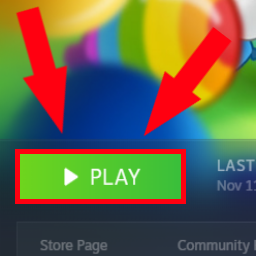
Before you can pop your first Red Bloon, you need to own the game and then start it from your Steam Library. Simply navigate to BTD6 and click the big, green and obvious button indicated by the two large, red, and obvious arrows as well as the large, red, oulined box indicating the position of the button required to continue.
Summary of Preparation
- Open Steam
- Navigate to BTD6
- Start the game by using the large, green, and obvious button
Navigating the Title
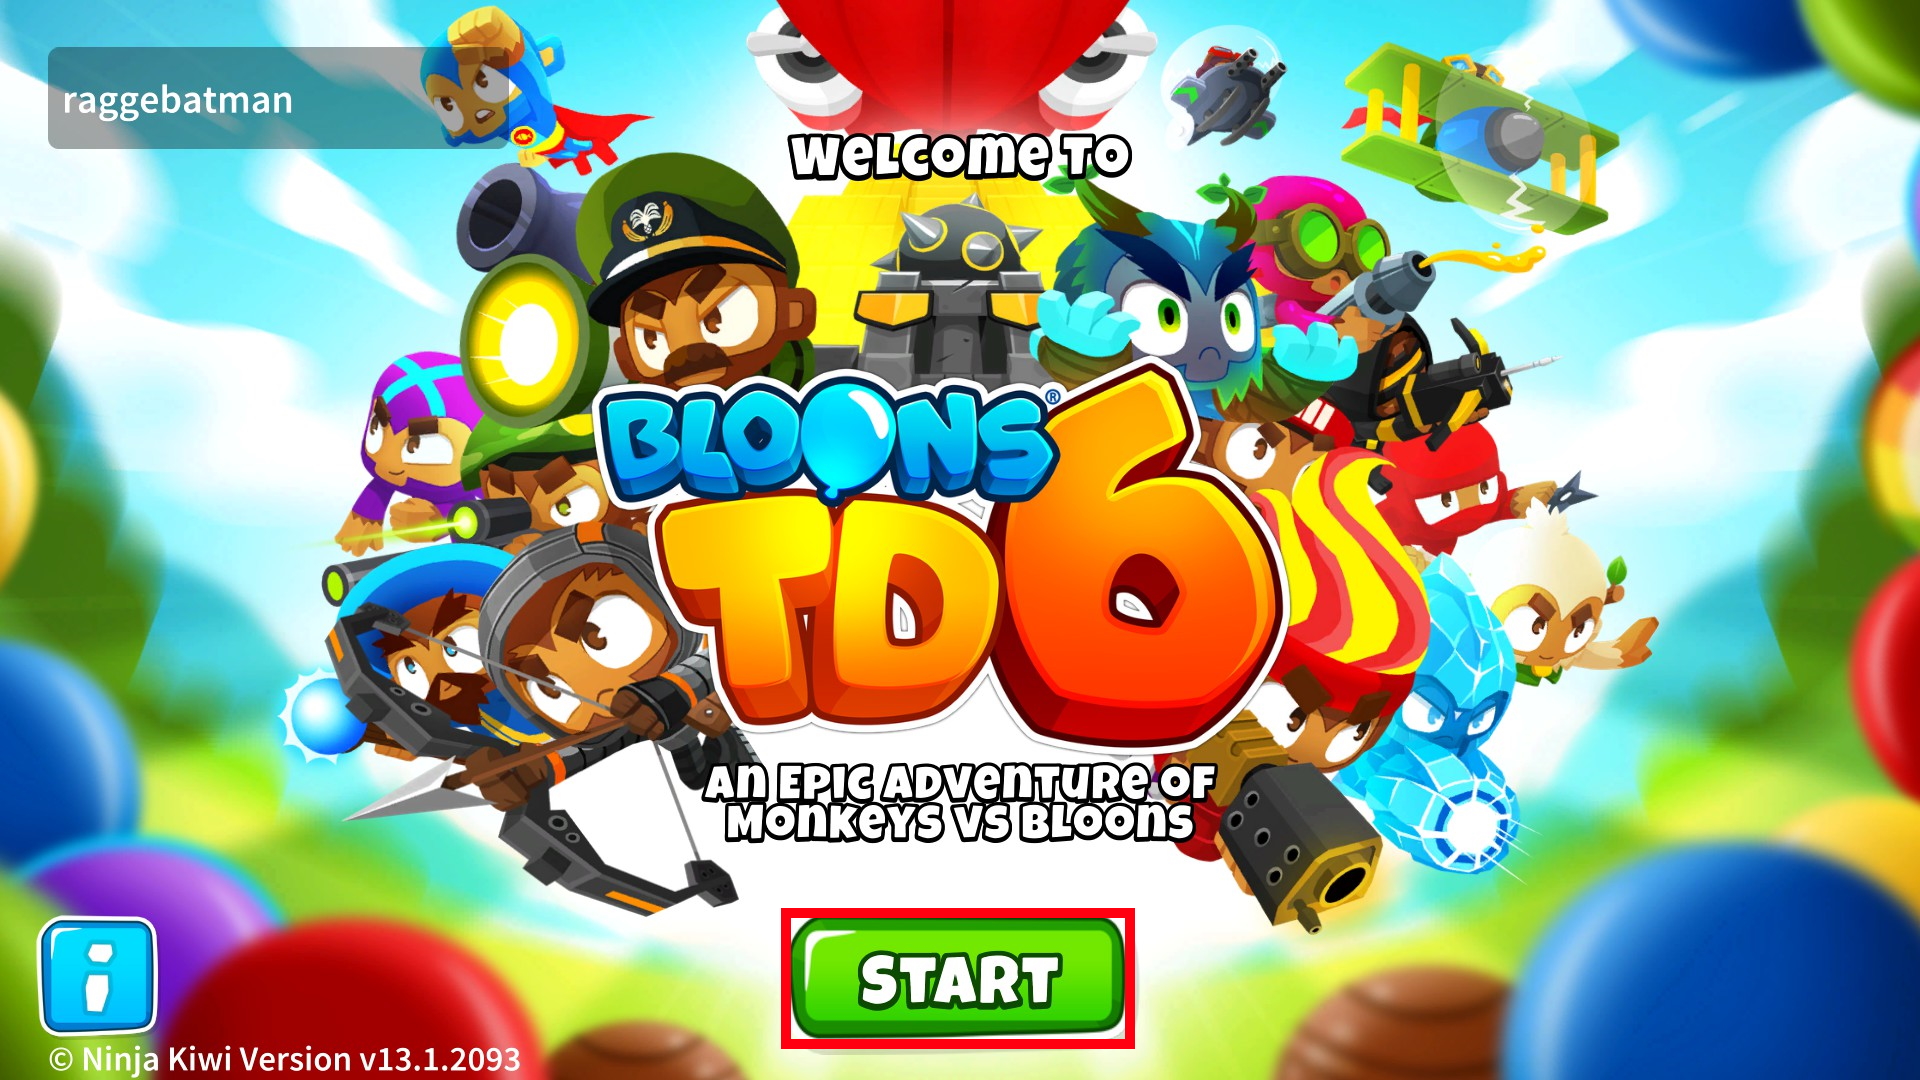
Now that you have hopefully succeeded at opening the game, an intro screen should have popped up. Navigate to the center of your screen and click on the second large, green, and obvious button outlined by the thick, large, and obvious red box as an indication towards the position of the large, green, and obvious button.
Summary of Navigating the Title
- Navigate to the center of your screen
- Position your cursor over the large, green, and obvious button
- Use your left-click feature of your computer mouse or mousepad if you use a laptop to make the next screen appear
Navigating the Menu
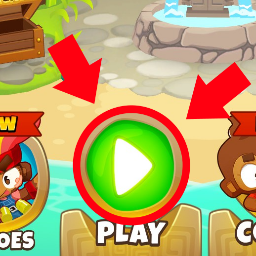
After getting through the two painstakingly difficult tasks briefed over earlier in this guide, you are ready to take on the task of navigating through the menu of Bloons Tower Defense 6. To start off, use your visual cortex and the other stuff that makes up yourself to find the large, green, and obvious button with a white rightwards facing triangle symbol on it.
To help you with finding this button, we have marked it on this image below with two large, bright, red, and obvious arrows facing towards the large, green and obvious round button outlined by a thick, large, and obvious red line to indicate as to where the large, green, and obvious button may be.
After you have found the button, position your cursor over the pixels of your screen that make up the large, green, and obvious button to then make your move and use a left-click on it. This should trigger the next screen to appear.
Summary of Navigating the Menu
- Look at the screen
- Find the green button
- Just click on it
Navigating the Maps
Now that you have hopefully followed the guide as stated earlier in these texts, you should now be at the screen where you get to choose what map you want to play. You can really pick any map you want, just placate your digital mouse on top of the map images that are currently being rendered.
If you don’t know how these maps look , we have provided you an image as a reference below the summary of this section.
As you can see, the map represents the track that you are about to choose, as we have outlined it with a clear, thick, large, bright, and red line to indicate whereas to the map may be represented to exist on the screen.
Summary of Navigating the Maps
- C L I C K O N A M A P R E E E

Navigating the Difficulties
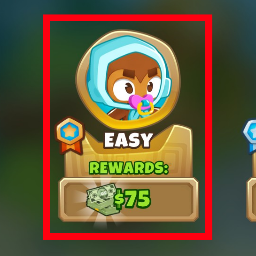
Now you should see the difficulties. Each difficulty level has its own difficulty that comes with it. For example, Hard mode C.H.I.M.P.S is the easiest alternative but for some reason the last one you unlock. What we did in our guide is to choose the hardest difficulty setting of them all, Easy, and we’ll describe to you how.
To soon start your adventure, you must select one of the three desired difficulties. On Easy mode, the Bloons are not only weaker but also slower so it’s the ideal choice for a professional like us. Simply locate your preferable difficulty setting and move your cursor over to it. Then slam your left-click as lightly as you can whilst activating it.
If you have any troubles finding one of these three difficulties, simply take a peek at our included image. The thick, large, bright, red, and obvious outline should perfectly indicate for you where at least one of the difficulties hold place.
Summary of Navigating the Difficulties
- Choose one of the three preferable and desired difficulties
- Navigate to it and activate it with whatever you use
Navigating the Menu, Revenge of the Buttons
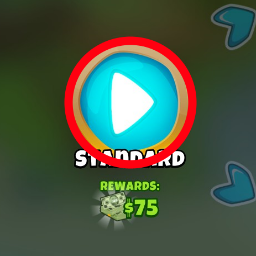
Now that you have hopefully followed our guide so far without any chance of ever failing doing these advanced tasks as we have supplied you with all the necessary information and no more, let’s navigate the next screen. Here is a perfect example of round 63, a cluster of buttons. However, as this will be your first ever Red Bloon pop (hence why you are reading this, right? (right???)), there is only one large, bright, blue button with a rightwards facing white triangle and outlined with a large, thick, bright, red, and obvious line to choose from. This, is called the Standard mode button and to help you with finding it we have outlined it in a thick, bright, large, and red line as to placate the location of the button a bit more precisely.
Simply hover over the large, bright, blue button with a rightwards facing white triangle on it and you’ll be on your way to glory in no time as you will have full access to every round in the game, guaranteed, without failure.
Summary of Navigating the Menus, Revenge of the Buttons
- Click on the only button available to you, there is nothing else
Placing Your Tower
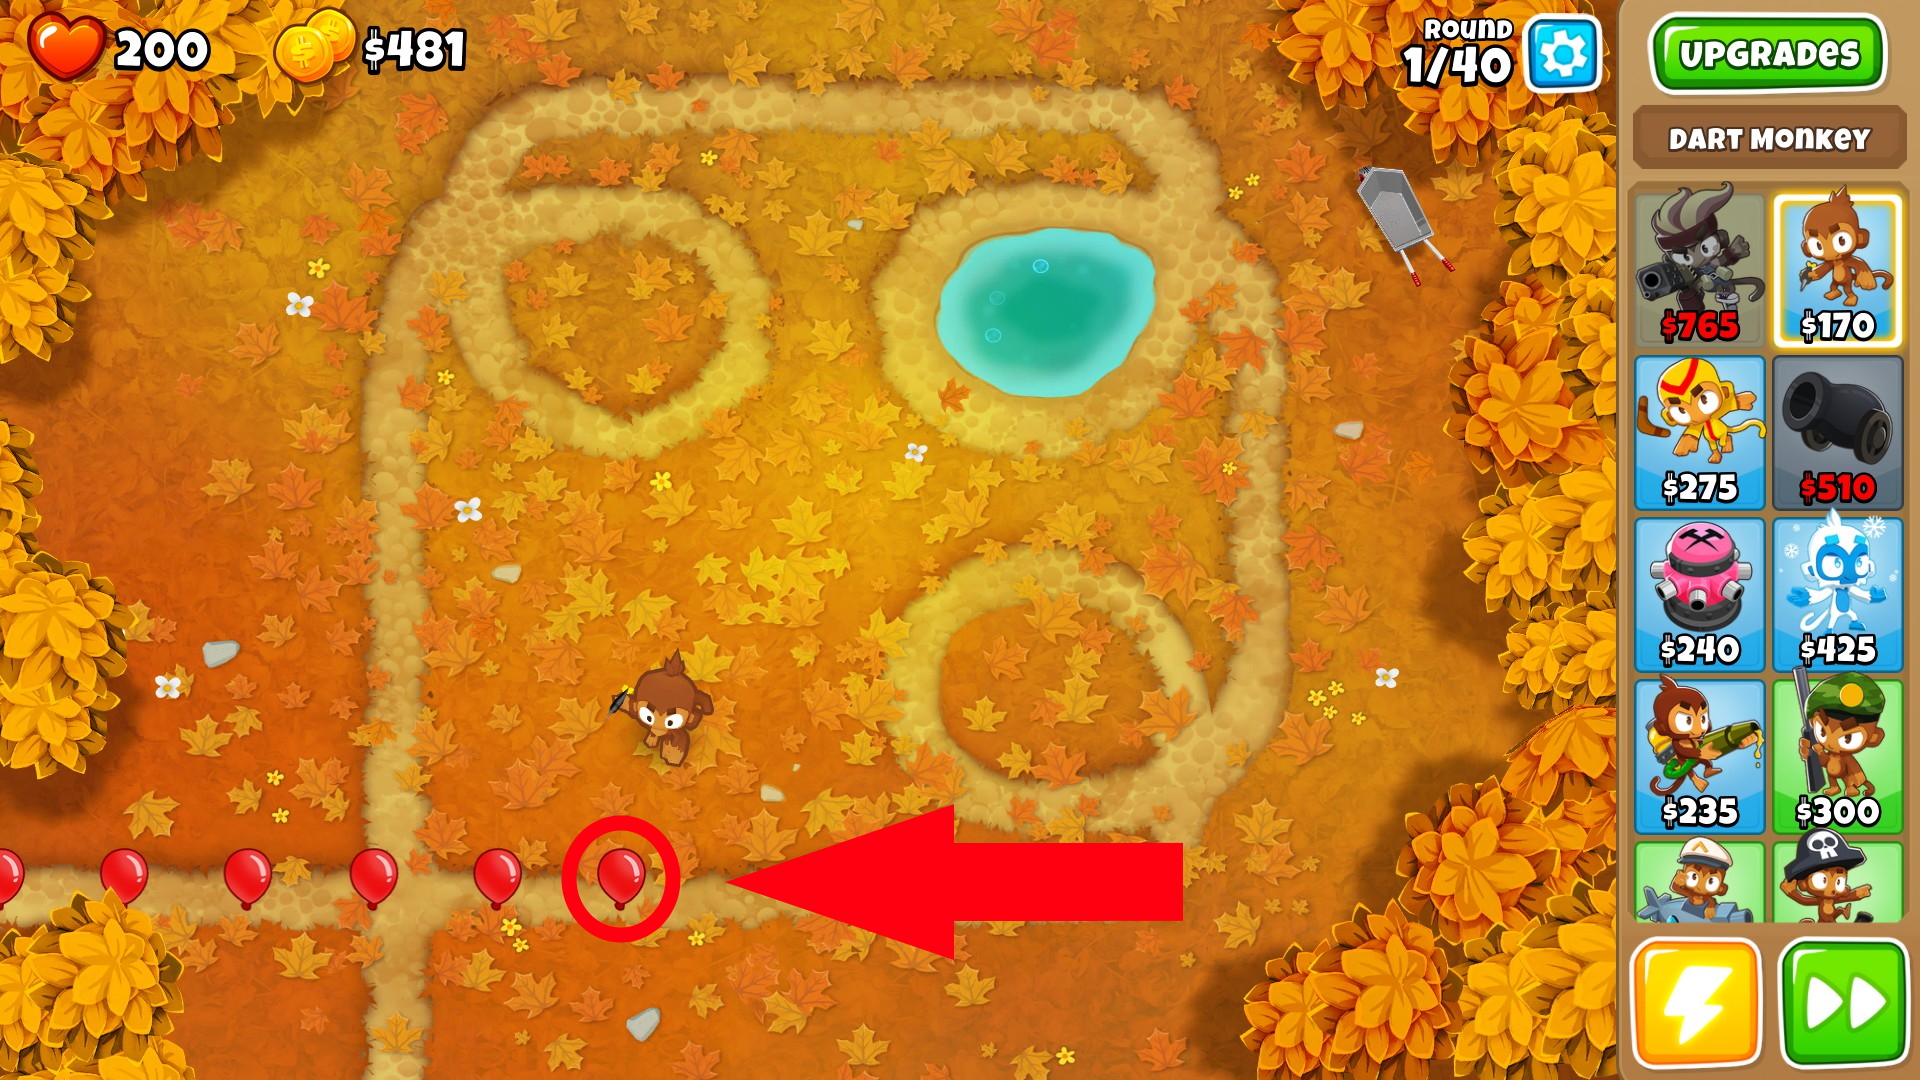
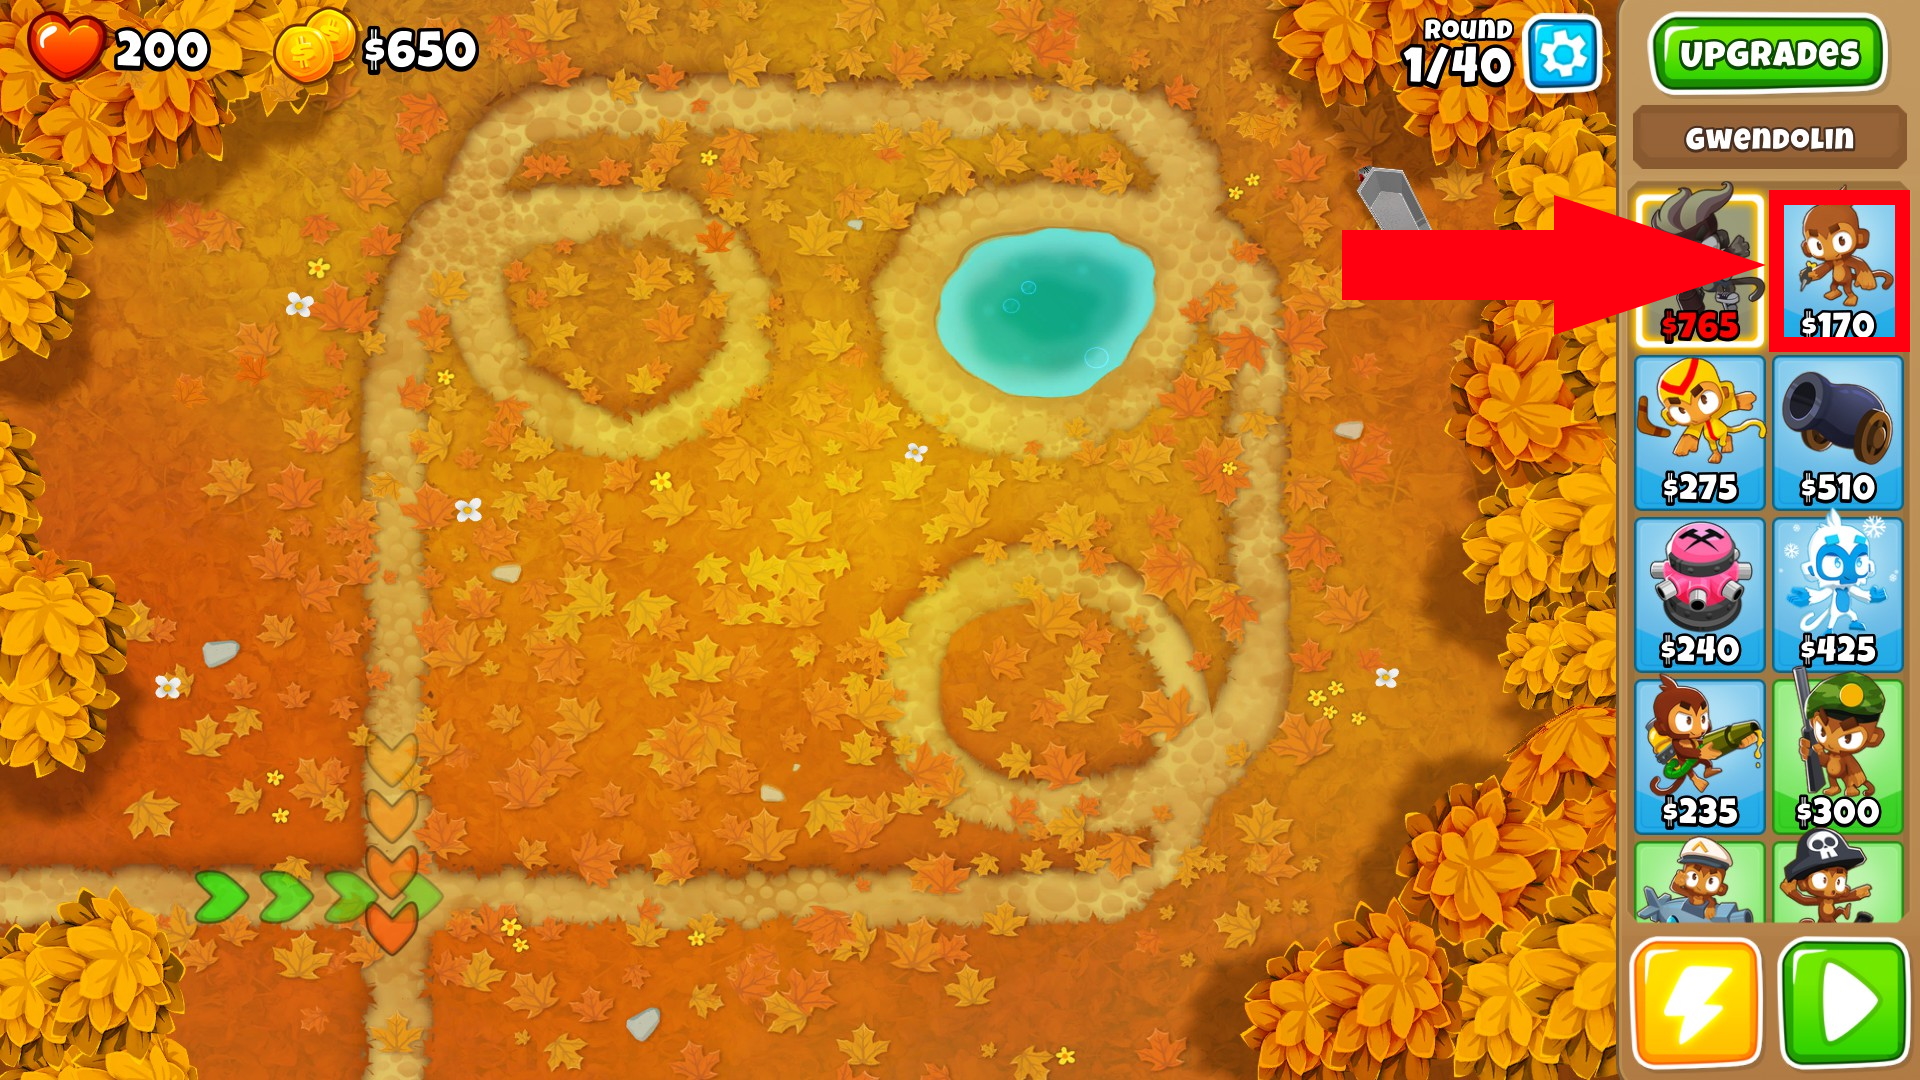
This is without a doubt where most people will fail the game. Without knowing what you’re doing, it is extremely hard to pop your first Red Bloon as they will likely destroy your defenses no matter what. That is where our guide comes to save your day and the monkeys. Those poor monkeys… Anyway, as you can see with the large, bright, thick, stretched out, red, and obvious arrow pointing towards our little monkey friend outlined by a thick, bright, large, red, and obvious line, you are supposed to select the Dart Monkey. Simply hover over it, hold down the desired button for activating it, and that’s it.
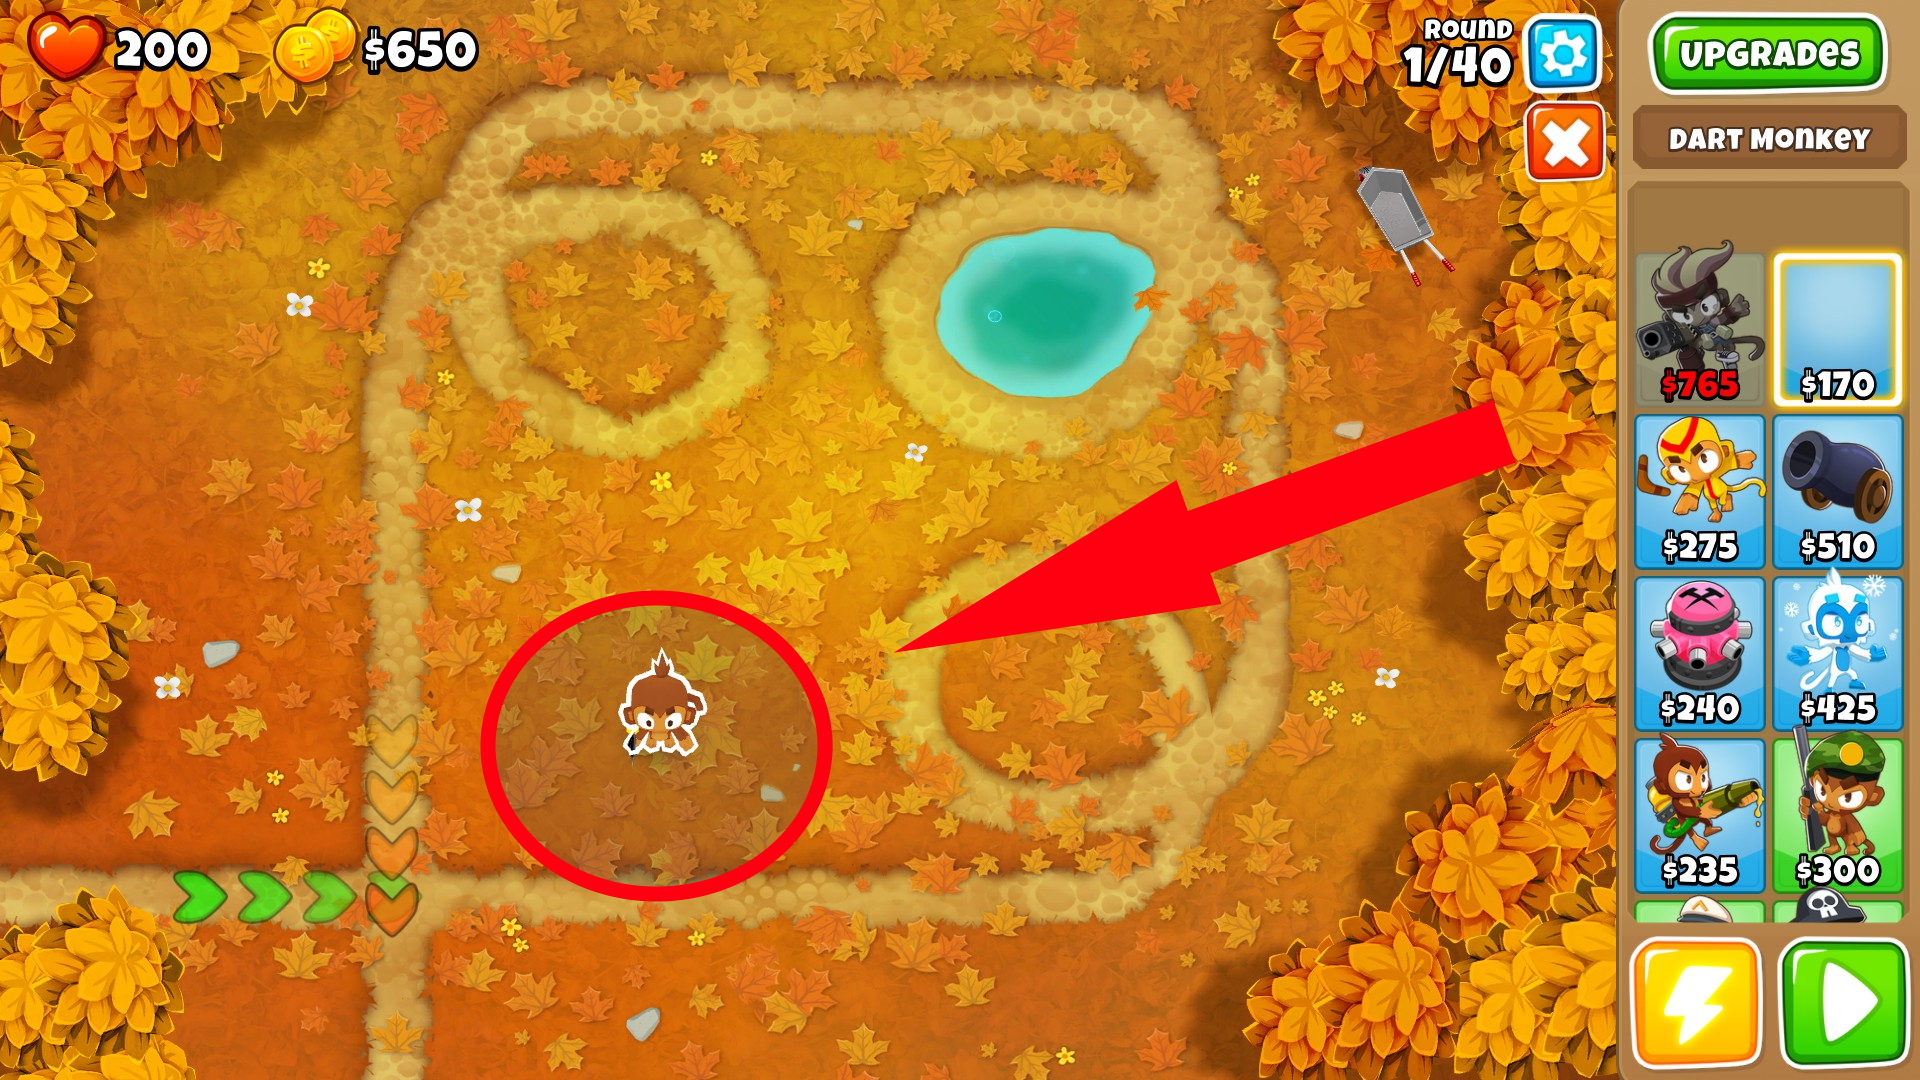
Now that you are still hopefully holding and dragging our Dart Monkey friend, you will want to drag it over to the left so that the gray area outlined with the thick, large, bright, red, and obvious line covers at least a little part of the track. As you hold it over the desired location, simply release the trigger and he will fall from the sky as if he was sent by the True Sun God as a messenger towards the pesky Red Bloons.
Summary of Placing Your Tower
- Slide to the right
- Hold down the left-click button on the Dart Monkey
- Slide to the left
- Cha-cha real smooth
Starting the Round and Watching Your Dart Monkey Slaughter all the Red Bloons into Bits and Pieces
Now you might be thinking to yourself, “what even is this guide?” and we have the perfect solution for your conerns! To start the round so that your little Dart Monkey friend can brutally pop all the Red Bloons and shred them into bits of plastic pieces to destroy the environment that the Dart Monkeys in general live in, simply navigate your digital cursor with your physical pointer tool over to the pixels that make up the large, green, bright, and obvious button with two small rightward facing white triangles on top of eachother and use your physical trigger that activates the bits and bytes in your device to execute the function that we could call the left-click on a modern day physical pointer device known as the computer mouse which usually uses laser technology to read the surface it is placated upon and give input to your device. You may now sit back, relax, and watch the cold-blooded ape pop the Red Bloons leaving none alive. Your first Red Bloon is now popped. Congratulations on finishing the guide.
Summary of Starting the Round and Watching Your Dart Monkey Slaughter all the Red Bloons into Bits and Pieces
- Click the green button to your lower right and watch the Dart Monkey slay our fellow enemies