Overview
This guide will teach you how to take your animations from SFM and bring them to life on a model. I currently don’t know neither do I think it’s possible to add custom animations to Valve’s assets, however you could always just extract the fbx’s and remake them in blender and or modeldoc.
Things you will need
A custom model (you could also just remake one of valve’s models like I did)
Blender 2.8[www.blender.org]
Blender Source Tools
S2FM
ModelDoc
Exporting Your Animation
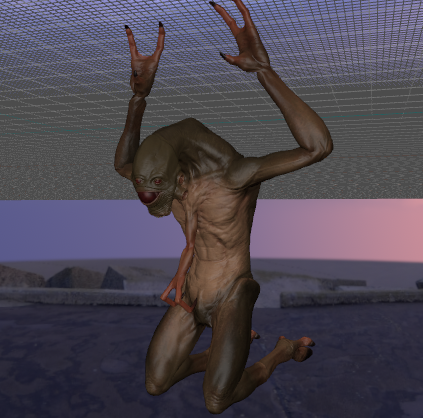
Once you have your animation done in S2FM, scrub to the beginning of the timeline and right click the character animation set that you have done your animation on. In my case its a Vortigaunt. Locate the Export pop-out and then click animation. A screen will appear asking where you want to save it, right now this doesn’t matter as we will be exporting in Blender anyways. Before you export though make sure that you are exporting a DMX.

Congratulations, you have now exported your SFM Animation! However we are not done yet. If you were to take the DMX and put it on your model in modeldoc it will mess up the bones. This is why we must go through blender and export a DMX through there.
Putting your animation into Blender
Open up Blender import the dmx we just exported. You can do so by going to file>import> Source Engine (.smd, .vta, .dmx, .qc)

Once you import your .dmx you will see it in blender represented by armature, or bones! Your bones are likely going to be rotated in the wrong direction. Make sure your bones are stood upright. In my experience the bones have also been facing backwards, you can fix this by rotating the bones around 180 degrees on the z-axis

Now all we have to do is export the .dmx from Blender. In order to export a .dmx you have to assign an export path to the Source Engine Tools. When setting a path I recommend setting it to somewhere inside your addon therefore you won’t have to move it in for the next process. You can do this in the scene tab. It is VERY IMPORTANT that you set the DMX Version to Binary 9 and Model 22. If you don’t do this ModelDoc will not read it.

Congratulations, you are now ready to add the animation to your model.
Putting the animation onto your model
Open up ModelDoc and import your character if you haven’t already done so. Set the Archetype to Generic Actor. This will allow you to import animations easier.

To Import animations press the star button which is located right next to the add button and press Add Simple Animations. THIS SETTING WILL NOT APPEAR IF THE ARCHETYPE ISN’T SET TO GENERIC ACTOR
Now locate your .dmx that we exported from Blender and add it in. Once you import it press the Needs Compiling button. Once it compiles you now have imported your animation onto the model and it can now be used in Hammer!

