
Overview
This guide will help you on your quest to become a PacifistTrue Pacifist! (*Note* this is a work in progress because I am doing a Pacifist run on my youtube channel and I will update this guide when I upload another episode that is just for sparring a boss. Also, *Note* the info in this guide comes from the Undertale Wiki[undertale.wikia.com] & the videos are from my Youtube channel. This is the same setup for each section.)
How To Spare Toriel
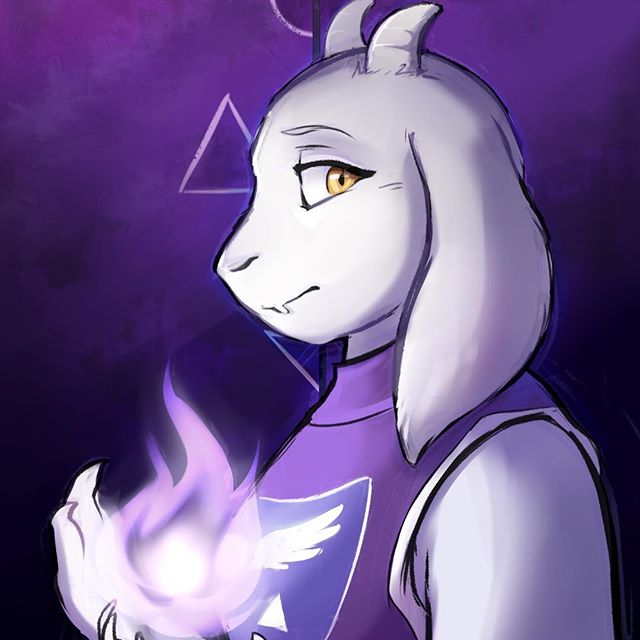
*One Froggit from earlier warns the protagonist that they may have to try repeatedly to spare someone even if the “spare” text color is not yellow (or whatever color the protagonist has chosen, if they changed it).
*Missing attacks have the same effect as sparing her.
*Eventually, Toriel stops fighting and talks. The option to “Flee” disappears. If the protagonist continues to spare her, she will allow the protagonist to leave the Ruins. She asks the protagonist never to return, hugs them and walks back down the corridor.
*If the protagonist backtracks to the beginning of the game before leaving the Ruins, she will be near the patch of golden flowers at the very start of the ruins.
How To Spare Papyrus

*In the Genocide Route, Papyrus instantly offers to spare the protagonist. However, a single hit will kill Papyrus. Sparing him aborts a Genocide Route.
*Repeatedly attacking Papyrus will cause him to attempt to use his special attack ahead of when he would normally attempt to use it.
How To Spare Undyne

Good ol’ Undyne (I didn’t know what random comment/text to put for Undyne, so I just put that. :P)
*She throws arrows from all sides at the protagonist in Green Mode, including specifically slow and fast moving arrows, as well as arrows that flip the orientation that they are approaching from. She also launches spears in straight lines at the protagonist in Red Mode.
*To spare Undyne, the protagonist must flee from her while in Red Mode (it is not possible to escape in Green Mode) and run through the cave she was guarding. She’ll chase them down, and due to her fast speed may require two more volleys to escape from, each one harder than the last.
*Fleeing from her makes the battle significantly easier than trying to weather all of her volleys in one go, as she progressively increases her projectile speed over the course of the fight; each fleeing resets the speed. After completing three green phases, she will begin each new battle in Red Mode allowing immediate escapes. The protagonist can also escape back the way they came from, although it takes two battles to do so as she spawns right behind the protagonist. Doing this will allow the protagonist to heal using a save point before doing her third volley.
*If not escaped while Red, she can restrict the Bullet Board to a very small box which launches spears upwards toward the protagonist in three columns. This attack has a pixel-perfect safe spot between the left and center spears; holding X or Shift to move slower may be necessary. She also throws a volley of continuous spears at the protagonist on a larger Board.
How To Spare Muffet

Yay! Muffins! (Idk why I called her that…) She is most likely the easiest boss to spare in the whole game.
*Muffet offers to spare the protagonist after 17 turns.
*Using a Spider Donut or Spider Cider from the Ruins during her battle will bring up the spare option after a short monologue.
*Bribing Muffet decreases the damage dealt by each hit by one. The amount paid increases every time used, however.
*Using Struggle 3 times will permanently cut the current cost to bribe her in half. This works only once, and the discount will not increase in proportion after a bribe.
*If the protagonist purchases an item from the Spider Bake Sale in Hotland, Muffet will refuse to fight and will let the protagonist pass. Although, it is rather expensive and should only be a last resort if the protagonist cannot pass Muffet.
How To Spare Mettaton/Mettaton EX

THIS FIGHT IS GLORIOUS! (Not the first part, the other part.)
First Part: Just survivie. Thats it. 😛
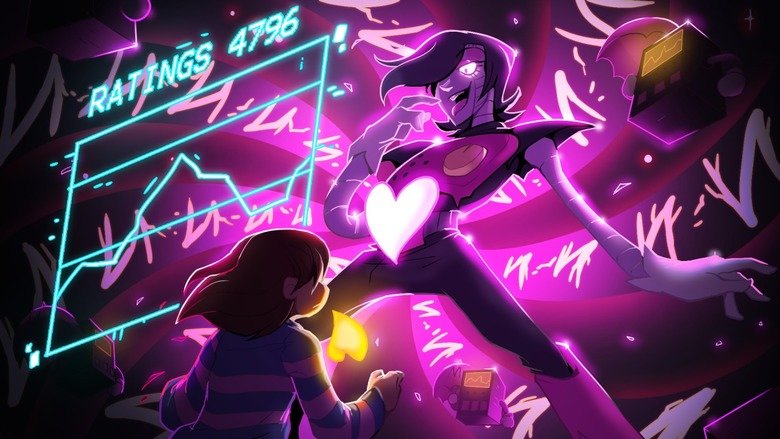
The Mettaton EX fight can be hard sometimes(I know from experience, trust me. Doing this fight was hard this time around.)
Sparing Mettaton EX(It is long cuz it tells you all the things for the ratings.)
*To defeat Mettaton EX without killing him, survive until his arms and legs are blown off and achieve a show rating of 10,000 or more; if his limbs are not blown off, a show rating of 12,000 or more will end the battle. The longer the player waits without acting, the ratings will go down. The ratings will stay at 3,001 at the minimum until the player does something. Mettaton’s limbs fall off regardless of whether or not his heart is shot, but shooting it will end his turn earlier. Ratings can be boosted in several ways:
*Getting hit gives a violence boost of 10 to 50 points.
*Shooting anything during Mettaton’s turn.
*Using the FIGHT option to directly harm Mettaton will result in him either biting his lip or sticking his tongue out while saying “Yeah,” giving an Action boost of 300 points. Further attacks will cause him to grin visibly but give fewer Action Points.
*Eating food sold by Burgerpants will give 300-500 rating points, but the Steak in the Shape of Mettaton’s Face will give 700 points instead. Eating Junk Food gives the ‘Eating garbage?!’ penalty of 50 points. All other consumables have no effect.
*Equipping a different piece of armor will give 1,500 points as long that piece has not been worn previously during the fight.
*Using the Stick will cause it to be thrown at Mettaton. He will catch it in his mouth and ratings will boost by 700 points. Repeating this action will give 1 point. Using the stick after Mettaton has lost his arms and legs will instead give 1,400 points.
*Using the Boast action will cause ratings to shoot up during Mettaton’s turn, but taking damage will cost 100 points and stop the rating spike.
*Using the Pose action will give 100-1000 points, inversely proportional to the amount of health the protagonist has left.
*Using the Heel Turn action will increase the aforementioned violence boost to 100 points. This is more of a risk as it requires the protagonist to get hit.
*Early in the battle, Mettaton will ask the protagonist to write an essay about what they like most about him.
*Writing “LEGS” earns 350 points, which is the highest amount, being the ‘correct answer.’
*Writing “TOBY” earns 300 points, Mettaton saying that Toby sounds sexy.
*Writing “DANCING” earns 250 points, Mettaton saying that he is self-taught.
*Writing “ARMS” will earn 250 points, Mettaton commenting most people talk about his legs, but embrace them for their writing anyways.
*Writing “VOICE” earns 200 points, Mettaton commenting that he has the voice of a siren.
*Writing “HAIR” earns 200 points.
*Writing anything that does not meet any requirement will earn 100 points.
*Writing certain words like “fabulous,” “beautiful,” “radiant”, and “personality” make Mettaton comment on them.
*Writing nothing earns 80 points. Mettaton is not surprised that the protagonist is speechless.
*Writing any swear word loses 150 points, Mettaton exclaiming that the show is family-friendly.
*Writing a word that Mettaton deems insulting will prompt him to tell the protagonist that this is an essay about him, not them.
*Writing a lot of letters with no sense will result in Mettaton being impressed that the protagonist wrote so much about him, even though he does not understand what they said.
*If Mettaton EX is spared, he will appear only as his torso and head when the game returns to the overworld view. This will happen even if the protagonist ends the fight before his limbs fall off. However, if he is killed, he will appear in his original box form in the overworld view, but busted up.
Attacks(Just so you guys know. :P):
*Copies of Mettaton’s legs stick out from either side of the box and scroll downwards. They can be either moving inwards and outwards or not move; this can be controlled by shooting them, which stops the moving legs in their tracks or causes the motionless legs to begin moving again.
*Copies of Mettaton’s legs quickly emerge from the side of the screen. An exclamation mark will appear in the area that they will appear in before this attack is used.
*Small rectangular Mettatons glide down on umbrellas. As they reach the bottom of the screen, they will begin to toss hearts that are embroidered with the letter M.
*Bombs marked with a plus sign travel downwards, which explode into lasers of a similar formation when shot with the yellow soul.
*White squares marked with black circles travel downwards (and sometimes side to side), which are broken with a single shot from the yellow soul.
*Spaced outlines of bombs and white squares with black circles travel downward, which will eventually reverse direction.
*Long segmented arms resembling Mettaton’s travel downwards, with sliding orange-yellow boxes along their length which cause the arms to retract when shot.
*Mettaton’s heart emerges from the square on his waist and shoots lightning-bolt shaped projectiles either in a circular blast formation or single linear shots (that only happen when he loses all of his limbs). Firing at his heart will end Mettaton’s attack earlier; not shooting his heart will still cause his limbs to fall off due to being a scripted event. Contrary to popular belief, attacking Mettaton’s heart this way does not count as FIGHTing him.
*A disco ball appearing from the top of the square projects laser beams in either blue or white, which can be toggled in color by shooting the disco ball. They rotate at a variable pace.
Plain white squares moving downwards. These can only be destroyed by a bomb.
How To Spare Asgore
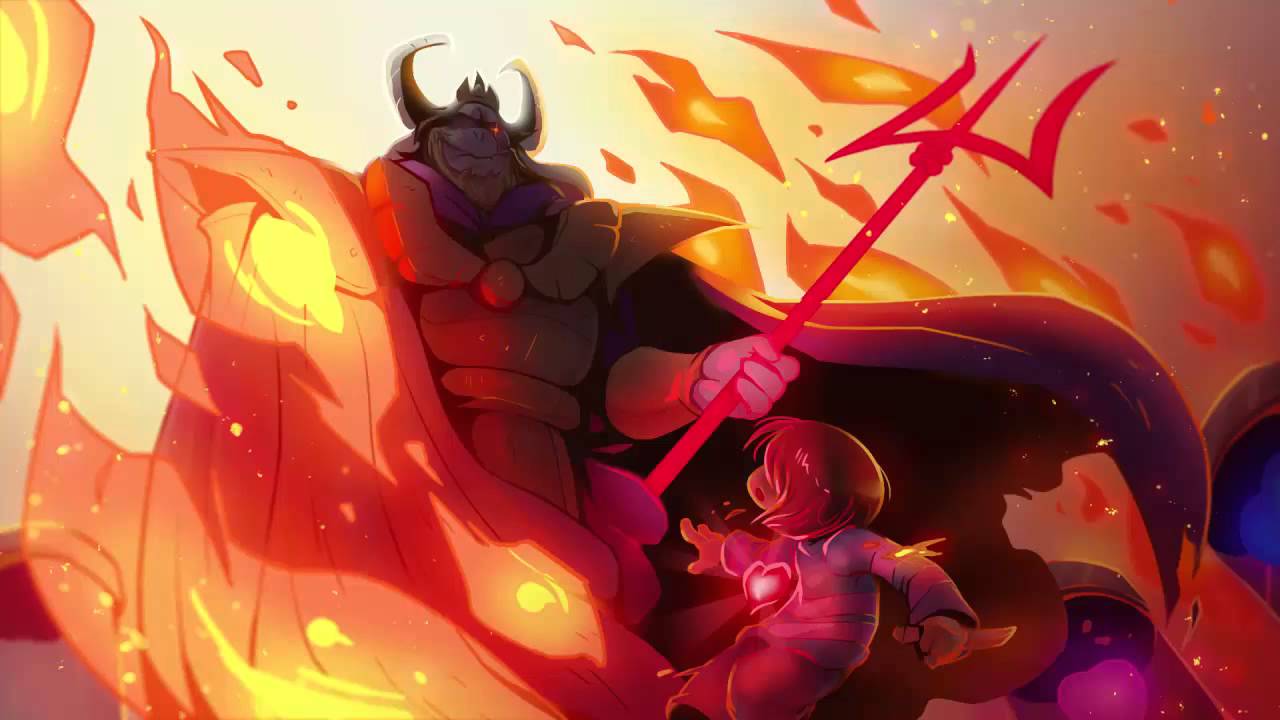
Here’s the thing: You can’t really spare Asgore unless you are doing a True Pacifist run. :/ But, You can lower his stats…
*Asgore’s Attack and Defense can be lowered in two ways:
*Consuming Toriel’s Butterscotch Pie during the boss fight reminds Asgore of her, causing his stats to lower.
If the protagonist had not killed anyone, talk to him three times. This causes Asgore to remember something.
*With no MERCY button, the protagonist has no choice but to attack Asgore until he reaches a sliver of health.
*Pro Tip* Before Asgore uses his trident attack, his eyes will flash orange or blue in the same pattern as he will attack. This can be used to move or stay still and avoid his attacks.
Attacks:
*Asgore’s attacks are faster and more intense versions of Toriel’s attacks.
*Several waves of small fireballs from the top of the screen, which move in curving patterns. The protagonist must maneuver their SOUL between the waves as they undulate.
Smaller waves of small fireballs that move down the middle of the screen interspersed with massive clouds of projectiles that cover entire sides of the screen. Dodge the small waves, and get out of the way when a box marked with “!” appears.
*Partial circles of fireballs that gradually spiral in around the Bullet Board. Find the gaps in each ring and move through them in sequence, but be careful – some of them spin faster than others.
*His hands move along the sides of the screen, leaving behind large fireballs that move towards the protagonist’s SOUL after all the bullets appear. Stay out of the hands’ way and wait for the fireballs to begin moving before getting out of their way – they home in on the spot where the SOUL was when they began moving.
*Rings of large fireballs fire from the top of the screen, gradually moving from one corner to the other. Weave between the fireballs as they come.
*Asgore’s eyes flash blue and orange randomly, followed by sweeping strikes of his trident hit the entire Bullet Board. This uses blue and orange attacks.
*Asgore’s attacks become faster as the battle goes on, but none of them can kill the protagonist unless they are already at 1 HP (so damages greater than the current amount of HP does not zero it out). Otherwise, the protagonist’s HP will only drop as low as 1. This aspect can be used to one’s advantage by only healing once a turn ends prematurely due to this, and thus reduces the number of times one has to heal.
How To Spare Flowey/Photoshop Flowey
Oh Hey, It’s this little Beech…
Sadly, I don’t have my own video for this due to me doing a Pacifist run. 😛 So, here’s a Flowey related picture instead. 😛
*Flowey’s attacks are difficult to dodge:
Moving short distances to dodge Flowey’s vines and bullets will save enough room to dodge effectively.
*Try not to linger at the bottom of the screen as this may provoke Flowey into using his beam attack. That said, moving side-to-side at the bottom-center of the screen will help in evading the flamethrower attack.
*The protagonist can touch Flowey’s body without taking damage, so get as high as possible to avoid the explosions from Flowey’s bombs.
*During the attacks of the Six Humans, there will be an “ACT” button that can be activated using the “Z” key. The protagonist will then call for help, and the attacks of the SOULs will turn into green attacks shortly after, healing the protagonist. The SOULs’s attacks deal damage, but they will not kill the protagonist.
*Once all six SOULs have been interacted with, they will heal the SOUL and then drop Flowey’s defense to zero. The “FIGHT” button will then show up much more frequently, almost immediately in succession with each use, along with healing bullets that spawn from Flowey. To defeat Photoshop Flowey, FIGHT must repeatedly be used until Flowey’s HP drops to zero.
At this point, Flowey’s only attacks are the X-shaped bullets, fired at a much slower pace for 40 seconds, after which his attacks will pick back up, indicated by the music.
*The game remembers which SOULs have been asked for help, even if the game is closed, or a game over occurs. Thus, it is not necessary for one to attempt to make significant amounts of progress in the fight but merely struggle through the attacks until the next SOUL interlude arrives.
*When Flowey’s HP is depleted, it is possible to kill (FIGHT) or spare (MERCY) him. If the protagonist spares Flowey, he will give the protagonist a tip on how to get a better ending. If the protagonist kills him, Flowey will be absent throughout the next playthrough of the game, resurfacing after the protagonist fights Asgore. Regardless of the protagonist’s choice, Flowey will not fight them again, unless they perform a True Reset or complete a Genocide Route.
Attacks from the SOULs cannot kill the protagonist; only attacks from Flowey himself cause a “Game Over.”
How To Spare Asriel Dreemurr

This fight is indescribable…Just watch the video…Or get that far on your own…It’s not that hard. 😛
*It’s not THAT hard 😛 Just do it! I SAID TO JUST DO IT!!! DON’T LET YOUR DREAMS BE DREAMS!!! JUST DO IT!!!
(*I’m sorry I had to say that. :P)
How To Spare So Sorry!

*So Sorry is one of 3 Hidden enemies In Undertale. The protagonist encounters in the Art Club Room. He was a bought-in character during the Kickstarter for the game.
*The protagonist must read the sign in the Art Club room when the computer’s clock is set for October 10th at 8 PM to encounter him. The MTT Resort must also be reached beforehand.
*Contrary to popular belief, killing So Sorry accrues EXP and is considered a kill by the game, which will cause a True Pacifist Route attempt to fail.

*Attacks
*He swings his tail at the protagonist while he turns around to search for things in his vest. This tail uses blue and orange attacks.
*Crumpled paper is thrown at the protagonist in mass amounts.
He mistakenly draws Doodlebogs, which throw doodles in circular formations at the protagonist.
The doodlebogs are disposed of with the “Draw” ACT option.
*When the battle is about to end, So Sorry does both of his first aforementioned attacks at the same time.
(Here’s what Doodlebogs look like.)

Strategy
(Sadly) So Sorry cannot be spared. The battle can be ended in two ways.
*Progressing the battle without attacking for at least ten turns. The battle does not progress while doodlebogs are present.
*Attacking 11 times.
(So, no sparing So Sorry 4 u!)
How To Spare Glyde!

(there aren’t to many good pics 4 Glyde.)
Glyde is a hidden monster the protagonist can encounter in Snowdin Forest. It was a bought-in character during the Kickstarter for the game.
Go to the Mysterious Door room outside Snowdin (with the four mushrooms), and move for about three minutes. This encounter must happen before the fight with Papyrus, or Glyde will not appear. The higher the kill count of the protagonist during a Genocide Run, the longer it will take for Glyde to appear.

Attacks:
*Waves of star-shaped bullets will be sent towards the protagonist, similar to the final boss of the Neutral Route.
*Same as before, but larger, exploding versions of star-shaped bullets will accompany it in between waves, making it harder to dodge.
*Rarely, Glyde will say one of its lines as if about to perform a normal attack, but then no projectiles will appear.
Strategy:
*To beat Glyde, the protagonist must applaud them twice and then do nothing for the rest of the battle.
Bye Bye!!! ;P

