Overview
This is a Beginner’s Guide to The Elder Scrolls IV: Oblivion.This guide is meant for new players to the game who find the game hard, dislike the combat or have no idea what are they supposed to do when they get out of jail.
Where to go?
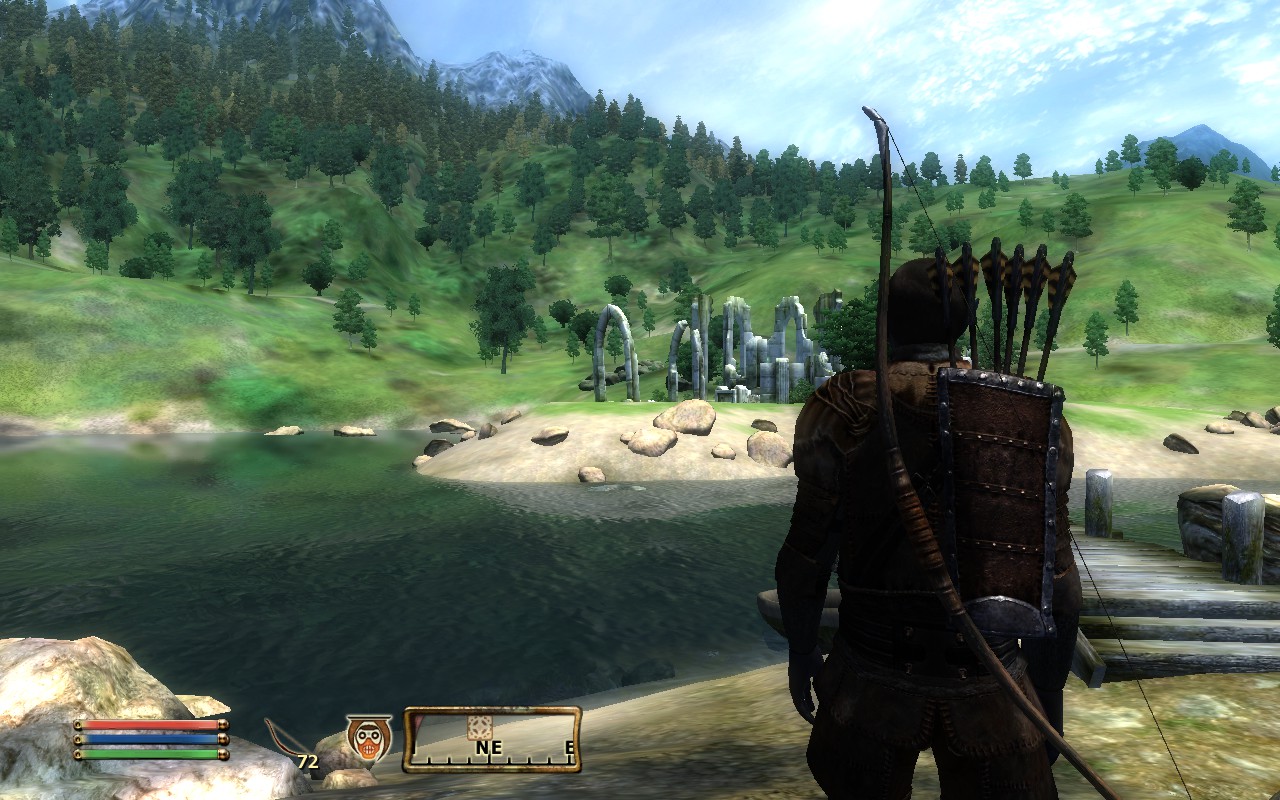
So you finnally stepped out of the sewers, had a look around and found yourself a bit lost. Where to go now?
In front of you lies an Ayleid ruin, Vilverin. Ruins are a great place to find loot to sell later, and this ruin in particular will get you an even better reward. They are also a very good way to level up quickly.
Jump in the water, you’ll find a Slaughterfish swimming in the water. Kill it and take the scales (remember, only melee combat and touch magic can be used underwater). If you look around in the water you’ll find some clams that have pearls in them.
Start heading to the ruin. To your right (if you’re facing the ruin’s door) there are two bandits, this is a good time to start practicing your skills. Both of the bandits are usually wearing light armor so, if you prefer light armor, this is a good time to replace the one you are wearing. If you look around the bandits encampment you’ll find a book called “Immortal Blood”, reading it increases your Hand to Hand skill.

You’ll need that lettuce for a future quest do not drop it or sell it, trust me.
To your left (if you are facing the entrance) there should be some sort of dock, there lies a chest and a jewerly box being protected by a couple of mudcrabs. (watch image for exact location).
Now that you grabbed everything its time to enter the ruin.
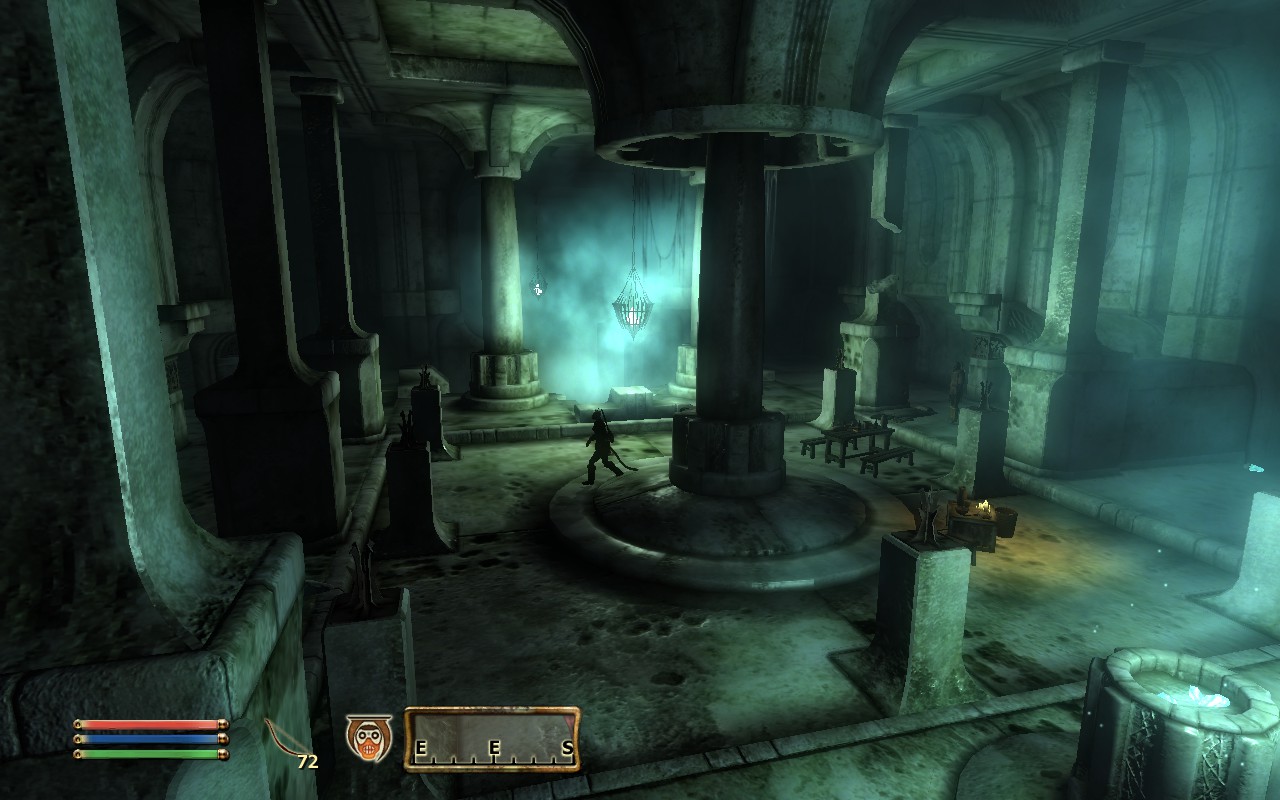
Vilverin
Brace yourself, the dungeon crawling starts now.
Vilverin is an Ayleid ruin. What does that mean? Well, you’ll understand the lore behind them by playing the game, and i won’t talk about lore in this guide.
Vilverin is populated by bandits and undead and its filled with great loot, so prepare your inventory to grab as much as you can. If your inventory is already full, Shift + Click on items you want to drop.
Vilverin is composed of 4 zones. I’m gonna use the dungeon images from Uesp to help you navigate and find loot. If you dont know what Uesp is go check it out in www.uesp.net , this website is your best source for anything about The Elder Scrolls.
First Zone

By exploring this first zone you will find a lot of Welkynd Stones, their value is 50GP and if you’re a mage you can use them to fully recharge your magicka bar.
Treasure:
- 2 Chests 01 (both locked)
- 1 Chest 02 (locked)
- 1 Restoration Ayleid Chest
- 1 Dirty Scroll
- 7 Welkynd Stones. One is on the floor, just south and east of H; the other six are at a.
- 9 Stone Bricks at the bottom of the second stairwell.
- The following armor will always be found: 1 Iron Boots, 1 Iron Cuirass, 1 Iron Greaves, 1 Green Robe Hood, 1 Green Robe, and 1 Iron Shield
- The following ingredients will always be found: 2 Apples, 2 Bread Loaves, 2 Carrots, 5 Cheese Wedges, 3 Corns, 3 Crab Meats, 1 Flour, 1 Ham, 3 Lettuces, and 1 Mutton
- The following weapons will always be found: 1 Iron Claymore and 1 Iron Dagger
- Some of the above items are clustered at the following locations:
- At G: 2 Cheese Wedges, 2 Corns, 2 Crab Meats, and 3 Lettuces
- At H: 1 Chest 01 (locked), 1 Iron Boots, 1 Iron Claymore, 1 Green Robe Hood, 1 Green Robe, and 1 Iron Cuirass
- At I: 1 Apple, 1 Bread Loaf, 1 Carrot, and 1 Mutton
- At J: 1 Apple, 1 Bread Loaf, and 2 Cheese Wedges
- At a: 1 Dirty Scroll and 6 Welkynd Stones
If you are ready to level up, sleep in the beds located at b
Second Zone

Skeletons have 70% resist to Frost, are immune to to poison and are immune to paralysis, I suggest you use physical attacks on them since they only have 20hp.
Zombies heave 30% resist to Frost, 30% resist to magic and are immune to poison, but they have a great weakness, they have 60% weakness to fire. Use your fireball spell on them, if by any chance you already have an echanted weapon with fire damage use it on them.
While in the Second Zone you may find yourself stuck, look for hidden passages. Some of them lead you to different areas of the dungeon, I suggest you explore everythingsince you might lose some chests.
Treasure:
- 3 Ayleid Casks 01 (2 locked)
- 2 Ayleid Casks 02 (1 locked)
- 2 Restoration Ayleid Chests
- 2 Welkynd Stones. One is on the floor by the cyan dot near K and the other is high on a pedestal in the easternmost part of the northeasternmost area (near gates H and J).
- The other following items will always be found: 3 Lockpicks, 2 Iron Arrows, and 1 Iron Warhammer
Third Zone

After that you will find a room with glowing blue buttons, each button opens a door and every door has an enemy skeleton except for one, I wont tell you which is the one so your best bet is to open every door since some of them have chests. Either open each door at a time and kill an enemy at a time or open every door at the same time and do a royal rumble!
In the third large room you will find a small cage protecting a Varla Stone. Varla Stones are worth 1000GP and can be used to restore all your weapons enchantments (as long as they are in you inventory).
Treasure:
- 1 Varla Stone (in a Varla Stone Cage) at location V on map. The activation block for the cage is on the overlooking balcony to the south of the room (cyan dot on map).
- 1 Ayleid Chest (contains Vilverin Chamber Key to open gate K) at k. Accessed by opening the door at H
- 1 Chest 01 (locked)
- 2 Restoration Ayleid Chests
- 11 Welkynd Stones. Six are on pedestals in the first large room with Spike Pit trap (T), four are the northwesternmost room, and one is in the east alcove of the room with 6 hidden doors.
- The other following items will always be found: 1 Iron Shield and 1 Iron Shortsword.
Fourth Zone

By following the entrance corridor you will find swinging blades, be carefull and time your run as they do a lot of damage. If you look at the map to the left, you’ll see that you’re now in a room shapped like a “plus”, each corridor leading out of that room is protected by swinging blades, in the center of that room, marked with an “S” lies an Ayleid Statue, grab it as it is a very important item for later on.
The small rooms at North and South are protected by skeletons and have chests in them.
Goind west to the large room you will encounter your first boss, a necromancer called Jalbert. He should not give much trouble but if you are starting to have problems lure him to the swinging blades and he probably gets insta-killed.
Treasure:
- 1 Ayleid Statue at location S on map
- 1 boss-level Ayleid Reliquary (Undead variety) at B
- Vilverin Sepulcher Key at k, opens the gate at G
- 2 Restoration Ayleid Chests
- 1 Undelivered Letter
- The other following items will always be found: 2 Lockpicks, 1 Novice Mortar & Pestle, 1 Iron Shield, 1 Sacred Lotus Seeds, and 1 Fine Iron Longsword
- The following plants will always be found: 1 Sacred Lotus plant
- Some of the above items are clustered at location a: Vilverin Sepulcher Key, 2 Lockpicks, 1 Novice Mortar & Pestle, 1 Sacred Lotus Seeds, 1 Undelivered Letter, and 1 boss-level Ayleid Reliquary (Undead variety).
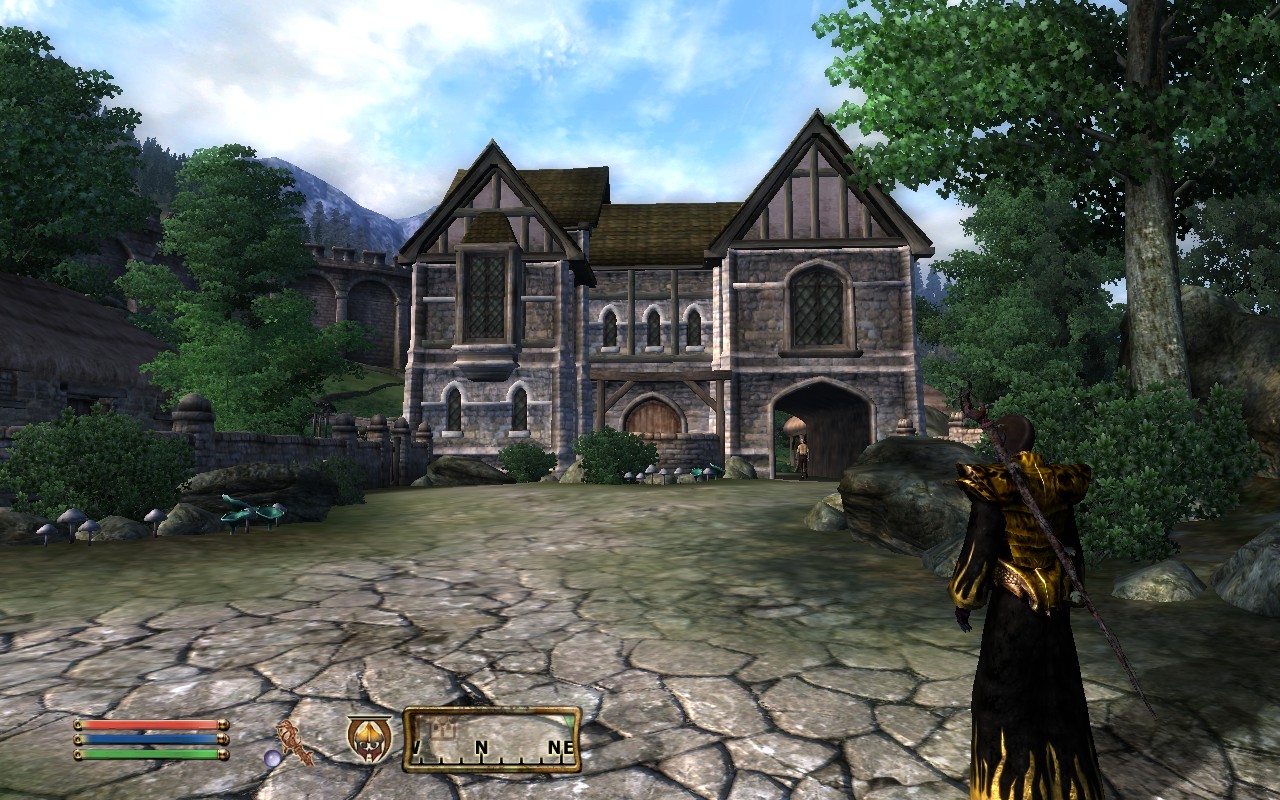
Imperial City
So you left Vilverin with your pockets filled with loot. But where to sell it? The Imperial City is your best bet since it has all the types of stores you need to sell all your loot.
There are some tricks to get the best prices from the items you got. They involve looking for the best buyers, your Speech skill and your Mercantile skill.

Head to the Imperial City’s Market Dristrict, here you’ll find a lot of stores but not every vendor will give you the best price for that sword you got back in Vilverin. The best Merchants should have their Mercantille skill lower than 60.
Places to avoid selling:
- Divine Elegance – Even though Palonirya has 1200GP she has a Mercantile skill 80 which makes it very hard to sell items to her at a good price. She sells clothing.
- A Fighting Chance – Rohssan also has 1200GP and a Mercantile skill of 80. Avoid her aswell. She sells weapons.
- The Gilded Carafe – Claudette Perrick has 1200 GP and a Mercantile skill of 80. She sells potions and alchemy ingredients.
Places good to sell:
- Rindir’s Staffs – Rindir has 600GP and a Mercantile skill of 30, this makes him very easy to sell items for a good price. He sell’s magical equipment.
- Jensine’s “Good as New” Merchandise – Jensine also has 600GP and a Mercantile skill of 30. She will buy anything from you and she sells miscellaneous items.
- Slash ‘N Smash – Urbul gro-Orkulg has 800GP and a Mercantile skill of 40. He sells blunt weapons.
- The Best Defence – Maru has 800GP and Mercantile skill at 40 whille Varnardo has 1000GP and Mercantile skill at 60. Maru sells light armor and Varnardo sells heavy armor.
Getting good prices

The speech minigame is a bit confusing for the new players but if you do it often you’ll start to get the hang of it. Whille in the minigame you have the option to “Bribe” or “Start”. Bribing results in you giving gold to the NPC to increase his dispposition.
Click “Start” to begin the minigame. Its very simple, you have four options, Admire, Boast, Joke, and Coerce, two of them increase the dispposition and the other two decrease it. You can tell which ones are good by looking at the NPC’s face, they will either smile or look angry. The trick to this is getting the colour wedges that are full on the good options so they have a bigger impact and getting the almost empty wedges on the angry options. Each time you make a choice the colour wedges will rotate.
If you are having a bad time with this i suggest using Charm spells/scrolls on the NPC.
Now that you have filled the NPC’s dispposition its time to sell your loot, use the barter menu to help you get a better price. (And don’t sell that lettuce you picked up!)
Remember that Ayleid Statue? It’s time to sell it. By selling this statue you will start a quest. After selling that statue a man will approach you telling you to see his master Umbacano (this may take some days). This quest is the most well payed quest in the game but its also very hard and tiresome to do. I suggest you to follow a guide to this one since I will not talk about it any further.
Whille you are in the Imperial City you might look for some trainers to level up your skill. Trainers will ask you money to train you and you can only train five times per level.
Now that you have tradded your loot for gold we only need to make one more stop and start adventuring.
Adventuring!
Weynon Priory is south of Chorrol, I suggest you walk there instead of fast travelling since you are going to find a lot of loot by doing so and you might actually increase a level by fighting enemies.
When you get to Weynon Priory talk to Jauffre, we will tell you where to go to Kvatch to start the main quest, YOU DONT WANT TO DO THAT, starting the main quest now will open the oblivion gates and since you are low level you will not get big rewards and are probably going to have a bad time. The main quest is better started at level 10 or higher.
After talking with Jauffre ask him for “Assistance”, he will open a chest with leather armor, heavy armor, weapons and potions. Go find Prior Maborel and ask him for “Assistance”, he’ll give you his horse. Talk to Brother Piner about “Assistance” and he’ll give you a book called “The Warp in the West”, this book increases your Block skill. Finnaly, talk to Eronor about “Assistance” and he’ll give you a repair hammer.
Well since right now you are at least level 2 you can do Sheogorath’s Daedric Quest, (daedric quests are usually very rewarding since they give you unique items and are usually very fun) to do this quest you need three items: yarn, a Lesser Soul Gem and (guess what) a lettuce! Yes that lettuce I made you carry is gonna be usefull.
Yarn is very easy to find, just enter some random house and there probably should be one, the lettuce you should already have but if you lost it just look around in some houses. The Lesser Soul Gem can be found in Mage’s Guild halls or you can buy them in some magic store.
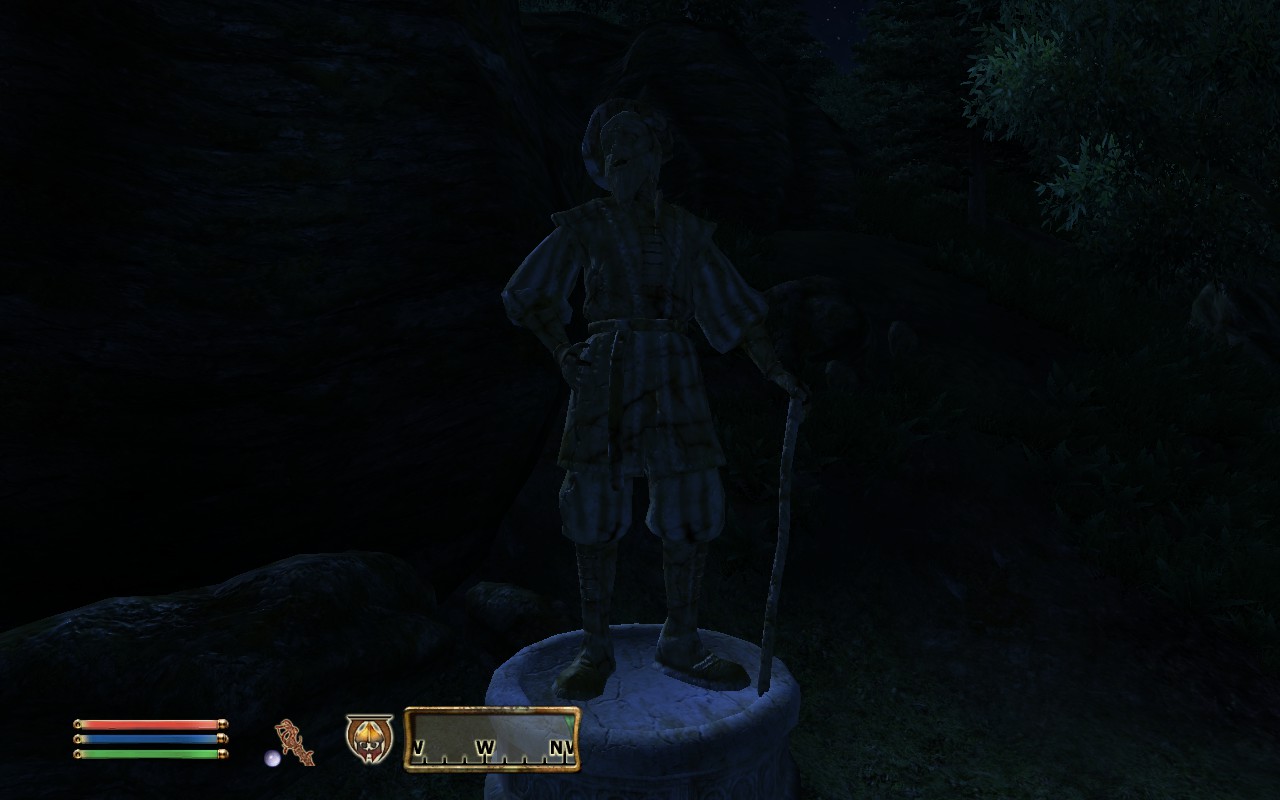
To start the quest you must find Sheogorath’s Shrine (it works the same way in every daedric quests) the shrine is located on the border to Elsweyr, halfway between Bravil and Leyawiin. You must find the shrine on your own since no NPC will tell you where it is.
After you found the shrine leave the offering by clicking the statue and talk to Sheogorath. His daedric quest is very funny and I wont spoil it for you.
You’ve completed Sheogorath’s quest and got your reward, what now? Well this is where we say goodbye…
Start doing some side-quests and some dungeon crawling, also join the other factions of the game like Fighter’s Guild, Thieves Guild, Mages Guild and the Dark Brotherhood. When you feel that you are ready go to Kvatch and start the main quest.
Have fun!