Overview
Confused as to why other people are able to use custom hats online without the other players downloading it, while everyone else has to have the mod for you to use your custom hat? This is the guide for you!
Introduction
So, if you’re reading this guide, you must want to know how to use custom hats online WITHOUT everyone else having to have the exact same mod setup as you. Look no further, as this guide will be the one to solve this problem! It’s actually quite simple.
Creating the Hat Image
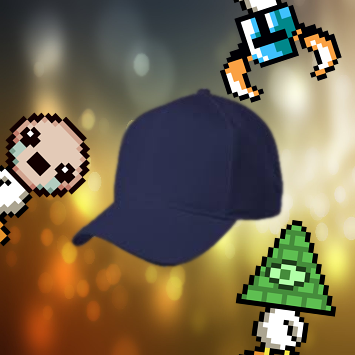
(Skip this section if you do not plan on creating custom hats, but instead plan on using ones others have made.) To start things off, you’re going to need a base image to create what your hat will look like. You’re going to need an image editor that can handle transparency and layering for this step. I recommend GIMP[www.gimp.org], PaintNET[www.getpaint.net], or if you’re willing to pay, Adobe Photoshop[www.adobe.com]. DO NOT USE MICROSOFT PAINT, IT DOES NOT SUPPORT TRANSPARENCY OR LAYERING. Once you’ve downloaded one of those, open this in your web browser, save it, and open it in the image editor: 
- Keep the different sprites of the character’s animation in mind. For example, if your hat perfectly fits around the duck’s face while it is idle, but exposes its face while it is in a different position, such as walking or crouching, it won’t work as well.
- Avoid making shirts for that same reason: it won’t always cover the duck’s torso completely. Apparel that isn’t supposed to cover the torso completely, like a necklace, is fine.
- Unfortunately, the only thing that you’re able to change with a custom hat is its appearance, not particle effects, quacking sound, or cape. Hopefully these functions will be available in the future.
- Be creative!
When you’re done with that, delete the template layer and save the hat as a .png file with whatever name you want.
Using Quackhead
(Skip this section if you do not plan on creating custom hats, but instead plan on using ones others have made.) For the second part of this guide, we’re going to be using an online tool called Quackhead[penguinscode.github.io]. As far as I know, Quackhead is the only way to create .hat files, which is what the final product of our hats will be. Quackhead is a relatively straightforward tool. First, you will need to click “Add Team” in the upper right hand corner of your browser window. Navigate to the .png file you created in the window that pops up, and open it. Now you need to give your team a name, preferably a plural term like the names of the vanilla teams. Repeat those steps as much as needed if you created more than one hat. Once you’re done with all of that, click “Export as .hat files” and save the .hat or .zip file it gives you.
Putting Your Hat in the Game
This is probably the easiest part of the guide. Navigate to C:Program Files (x86)SteamsteamappscommonDuck Game, or if your Steam files are in a different location, wherever your Duck Game folder is. Now just take the .hat file(s) and simply place them in that folder, next to your DuckGame.exe. (If you created multiple hats, the .hat files will be inside of a .zip file. Do not place the .zip file in your Duck Game directory, just copy the .hat files from the .zip file to SteamsteamappscommonDuck Game.) That’s all you need to do! You should now be able to use your custom hat(s) in online mode in Duck Game WITHOUT having to have everyone else have the hat(s) downloaded, too. Enjoy!
-Axonium
